Today, I’m sharing a complete guide to enclosing your terrace, covering permits, design ideas, and essential safety considerations.
I’ve helped dozens of homeowners through this process and researched building codes across different regions.
The process varies depending on whether you have a terrace or balcony, so understanding your specific setup is important.
Here’s everything you need to know before starting your enclosed terrace project.
Homeowner’s Checklist Before You Enclose a Terrace
Before diving in, take a moment to evaluate your space with a practical checklist:
- Space and exposure: Is your terrace sunny all day, shaded, or wind-prone? Direct sunlight may require shading solutions, while heavy winds call for reinforced enclosures. Privacy also matters if the terrace overlooks neighbors.
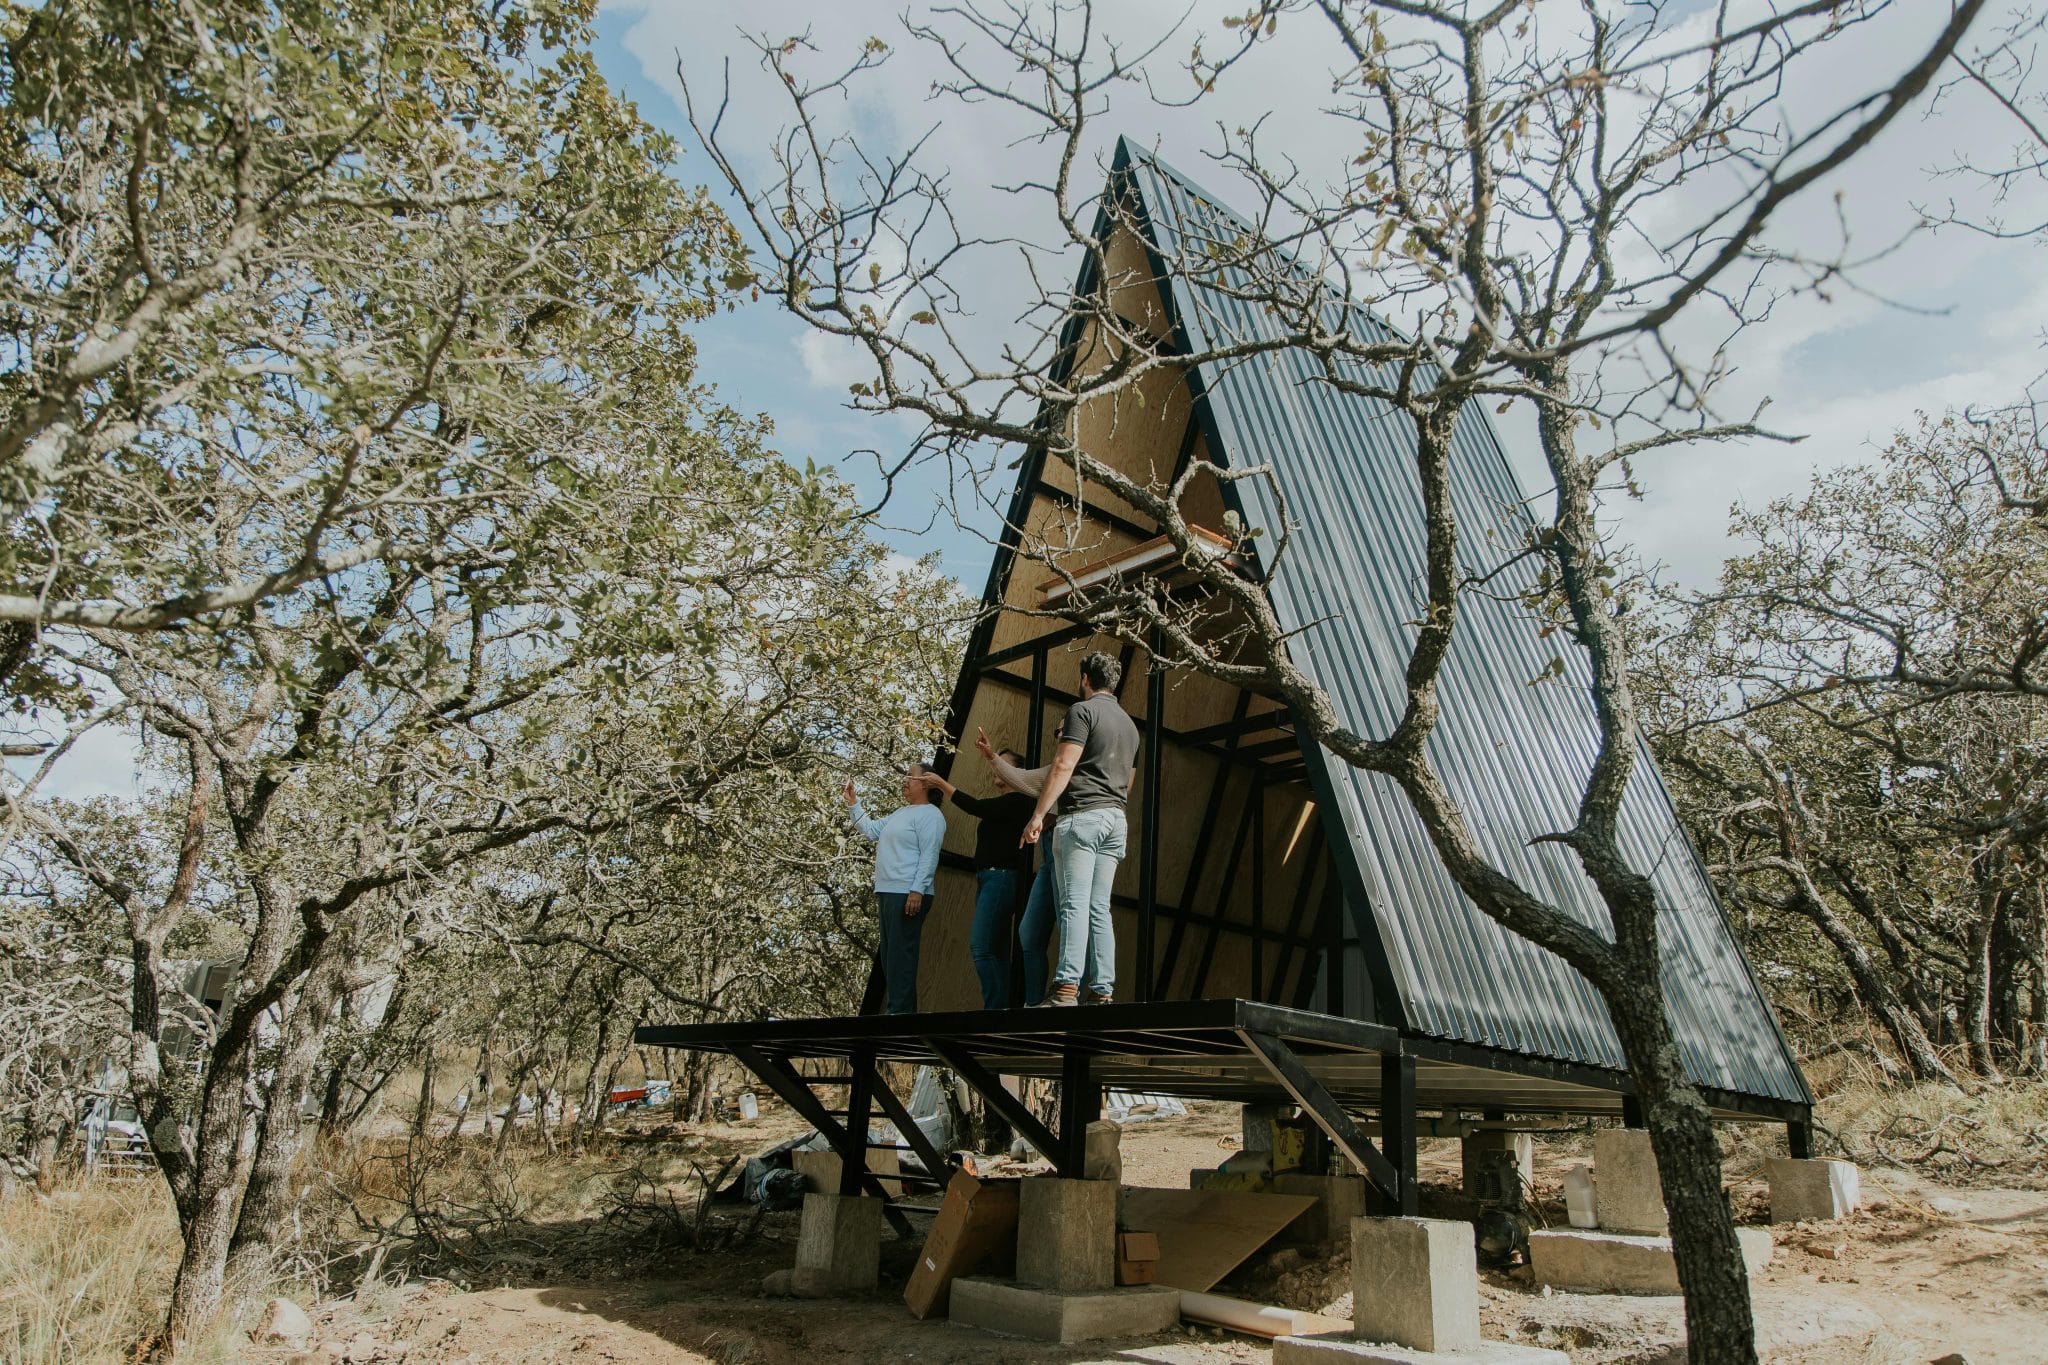
- Structural condition: A quick assessment with an engineer or contractor will reveal whether your terrace can support walls, glass, or extra furniture weight.
- Rules and associations: Local zoning codes and housing association guidelines must be reviewed. Many condos and apartments impose restrictions to keep building exteriors uniform.
- Condominium considerations: Shared structures often require approvals from co-op boards or associations. Skipping this step could delay your plans.
Getting these basics right prevents costly mistakes later.
Permit Pathways: Navigating Legal Approvals

Enclosing a terrace needs permits and approvals to avoid penalties. Following a clear process ensures legality and smoother construction. Here’s how most homeowners handle approvals.
Step 1: Gather Documents
Start by collecting the required paperwork, usually architectural drawings, layout plans, proof of ownership, and construction details.
Having complete, accurate documents from the beginning reduces delays with officials and shows that your project is well-organized and fully compliant.
Step 2: Consult Authorities
Check with your local municipal office or housing authority for specific requirements.
Many homeowners choose to hire licensed contractors or architects, since they know exactly how to prepare applications and often submit documents directly on your behalf.
Step 3: Submit Applications
Once documents are ready, submit them for review. Depending on your city, approval times may span from a few weeks to several months.
Patience is key here, as authorities often verify structural safety, materials, and neighborhood compatibility before granting the go-ahead.
Step 4: Pay Fees and Schedule Inspections
Fees vary depending on the size and scope of the enclosure. After paying, be prepared for inspections by city officials or building engineers.
At this stage, minor plan adjustments may be requested to meet building codes or safety regulations.
Step 5: Get Formal Approval
Only begin construction when your permit is officially approved in writing. Starting early risks heavy fines or even demolition orders.
With the paperwork in place, you can build confidently, knowing your enclosed terrace project is secure and legally protected.
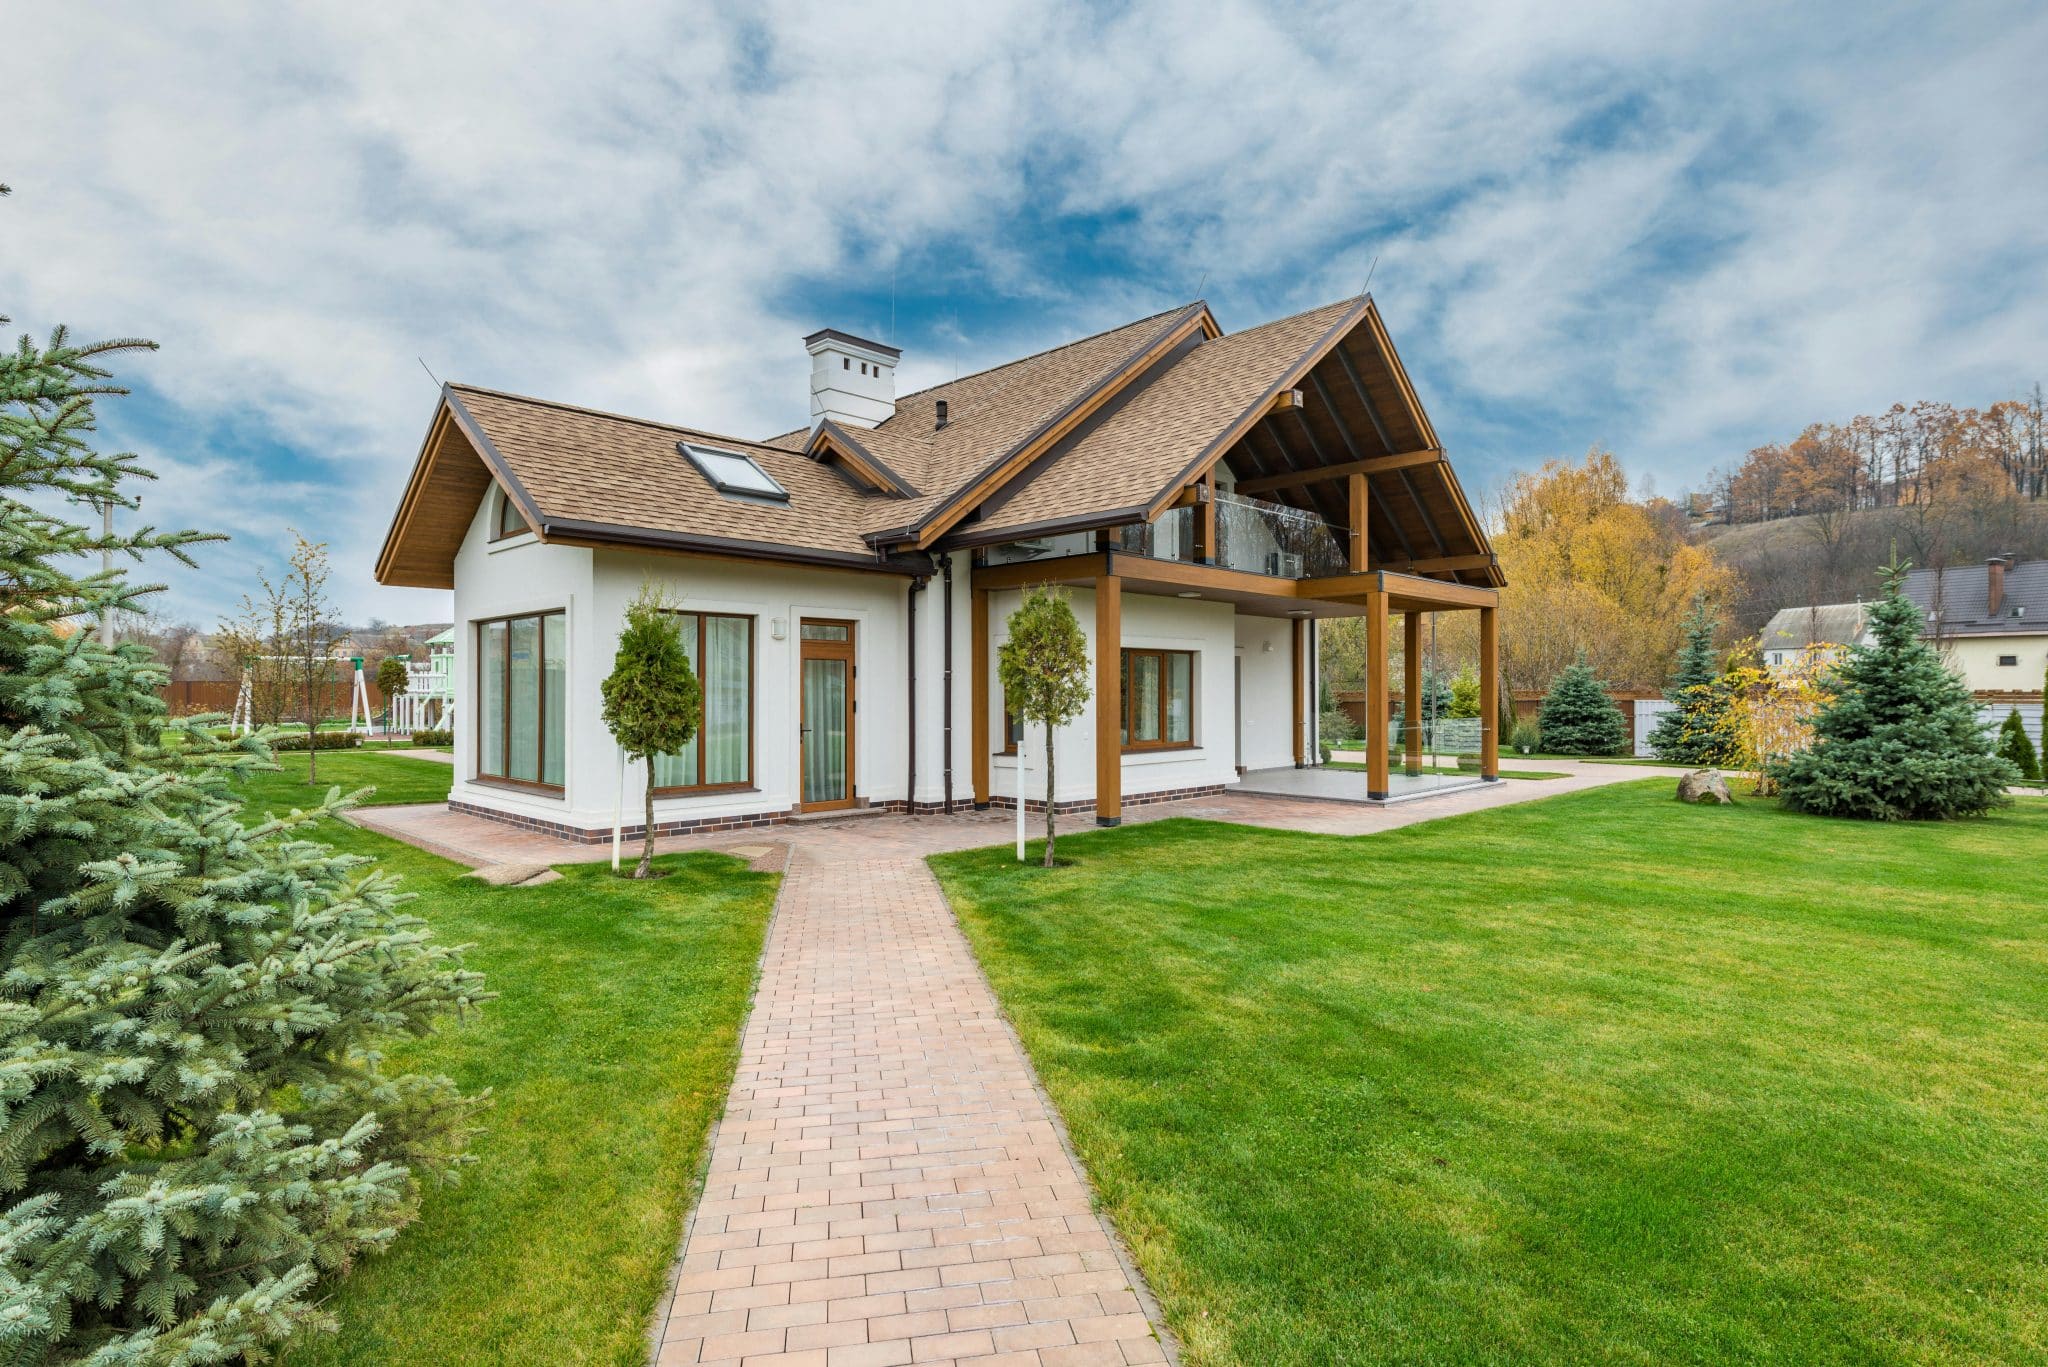
Creative Design Solutions for Every Terrace
Once approvals are secured, creativity takes the lead. Enclosures no longer mean boxy or dull add-ons.
- Divide the terrace into lounge corners, dining areas, or small gardens for versatile use.
- Use sliding glass, folding panels, or retractable pergolas to shift between open air and enclosed comfort.
- Install dimmable LED lighting, ceiling fans, or Wi-Fi routers to make the terrace functional day and night.
- Draw inspiration from others who’ve remade bare terraces into glass-wrapped lounges, yoga studios, or playful kid zones.
This approach ties into property investment basics.
When homeowners understand the actual meaning of terrace in real estate, they can make smarter decisions about their outdoor spaces.
Well-designed enclosed terraces and balconies, chosen based on type and safety needs, create extra living space and increase home value.
Smart Safety Upgrades From the Ground Up
Safety is where function meets peace of mind. If you’re enclosing a terrace, your checklist should include:
- Load checks: Engineers must verify that the terrace can safely hold walls, roofs, or water-heavy planters. Rooftop terraces especially need reinforcement.
- Weather-proofing: From sunlight to heavy rain and snow, choose materials with UV shields, rain seals, and insulation.
- Security: Install strong locks, cameras, or alarms on enclosed glass panels. Always create an emergency exit or alternate access.
- Family concerns: Non-slip flooring, rounded corners, and strong railing systems ensure spaces are kid- and pet-safe.
Safety investments protect both your family and your financial investment.
Maintenance and Sustainability
Maintaining an enclosed terrace means balancing regular upkeep with long-term sustainability.
| Category | What to Do | Why It Matters |
|---|---|---|
| Regular Care | Clean glass panels, check joints, and manage pests | Prevents damage, keeps the terrace safe and usable |
| Eco-Friendly Upgrades | Install insulation, reflective coatings, and greenery | Saves energy, reduces temperature swings |
| Future-Proofing | Invest in durable materials and neutral finishes | Enhances resale value and attracts future buyers |
Viewing terrace upkeep through categories makes it easier to balance comfort, savings, and long-term durability.
Wrapping it Up
Enclosing a terrace isn’t just a design choice; it’s a planning process that blends legal approvals, creative design, and structural safety.
By starting with a simple checklist, moving carefully through the permit stage, and focusing on safety and sustainability, homeowners can create terraces that are stylish, functional, and secure.
With thoughtful planning, your enclosed terrace becomes more than just extra space. It changes into a year-round retreat, a place to dine, relax, or even work, while adding long-term value to your home.