Crochet fans often search for designs that look fancy but aren’t too hard to make. That’s exactly why the crochet pineapple pattern catches many crafters’ eyes! These beautiful designs add a special touch to home items, clothing, and gifts without requiring expert skills.
Want to stand out from other crocheters? The crochet pineapple pattern offers that special flair that basic stitches can’t match.
What if I told you that you could learn this beautiful pattern in just a few hours? You’ll gain a skill that turns simple yarn into items your friends will beg you to make for them.
Ready to pick up your hook and try something new? Let’s get started with pineapple patterns!
The Symbolism of Pineapples in Crochet

The pineapple shape has been a favorite in crochet work for over a century. First showing up in the 1800s, this fruit pattern became very popular during the 1940s and 50s when handmade items were highly valued.
But why pineapples? In many cultures, this fruit stands for warmth and welcome.
When early American settlers came home from sea voyages, they would put a pineapple on their gate or door. This told neighbors they were invited to visit and hear tales from far-off places.
I find it sweet that when we make a pineapple doily or shawl today, we’re carrying on this tradition of sharing and kindness. The pattern itself has a mix of open and closed stitches. This creates that classic look that seems much harder than it truly is.
The way the stitches fan out from a center point makes a shape that looks just like the surface of the fruit.
What I love most about this pattern is how it works for so many items – from simple coasters to grand bedspreads. Each piece carries that same message of “you are welcome here.”
Tools and Materials Required
| Item | Details |
|---|---|
| Yarn | Bernat Blanket Yarn (Yellow: Sun Soaked, Green: Smoky Green) |
| Crochet Hook | 7 mm size hook |
| Safety Eyes | 20 mm size |
| Black Yarn Scrap | For the smile (Bernat Blanket preferred) |
| Tapestry Needle | To weave in ends and sew facial features |
| Scissors | Any sharp craft scissors |
| Stuffing | Polyester fiberfill (Poly-fil or equivalent) |
| Optional Tools | Screwdriver with hollow end (to press safety eye backs if tight) |
| Stitch Marker | For tracking rounds (optional but helpful) |
Making a Classic Crochet Pineapple
The classic crochet pineapple pattern remains one of the most loved designs among yarn crafters. I’ve found that this pretty stitch combo creates a fun texture that stands out on anything from doilies to shawls.
When you start making a crochet pineapple pattern, you’ll see how the simple shell and fan stitches work together to form something that looks much fancier than it really is.
Step 1: Forming the Pineapple Base (Rounds 1–5)
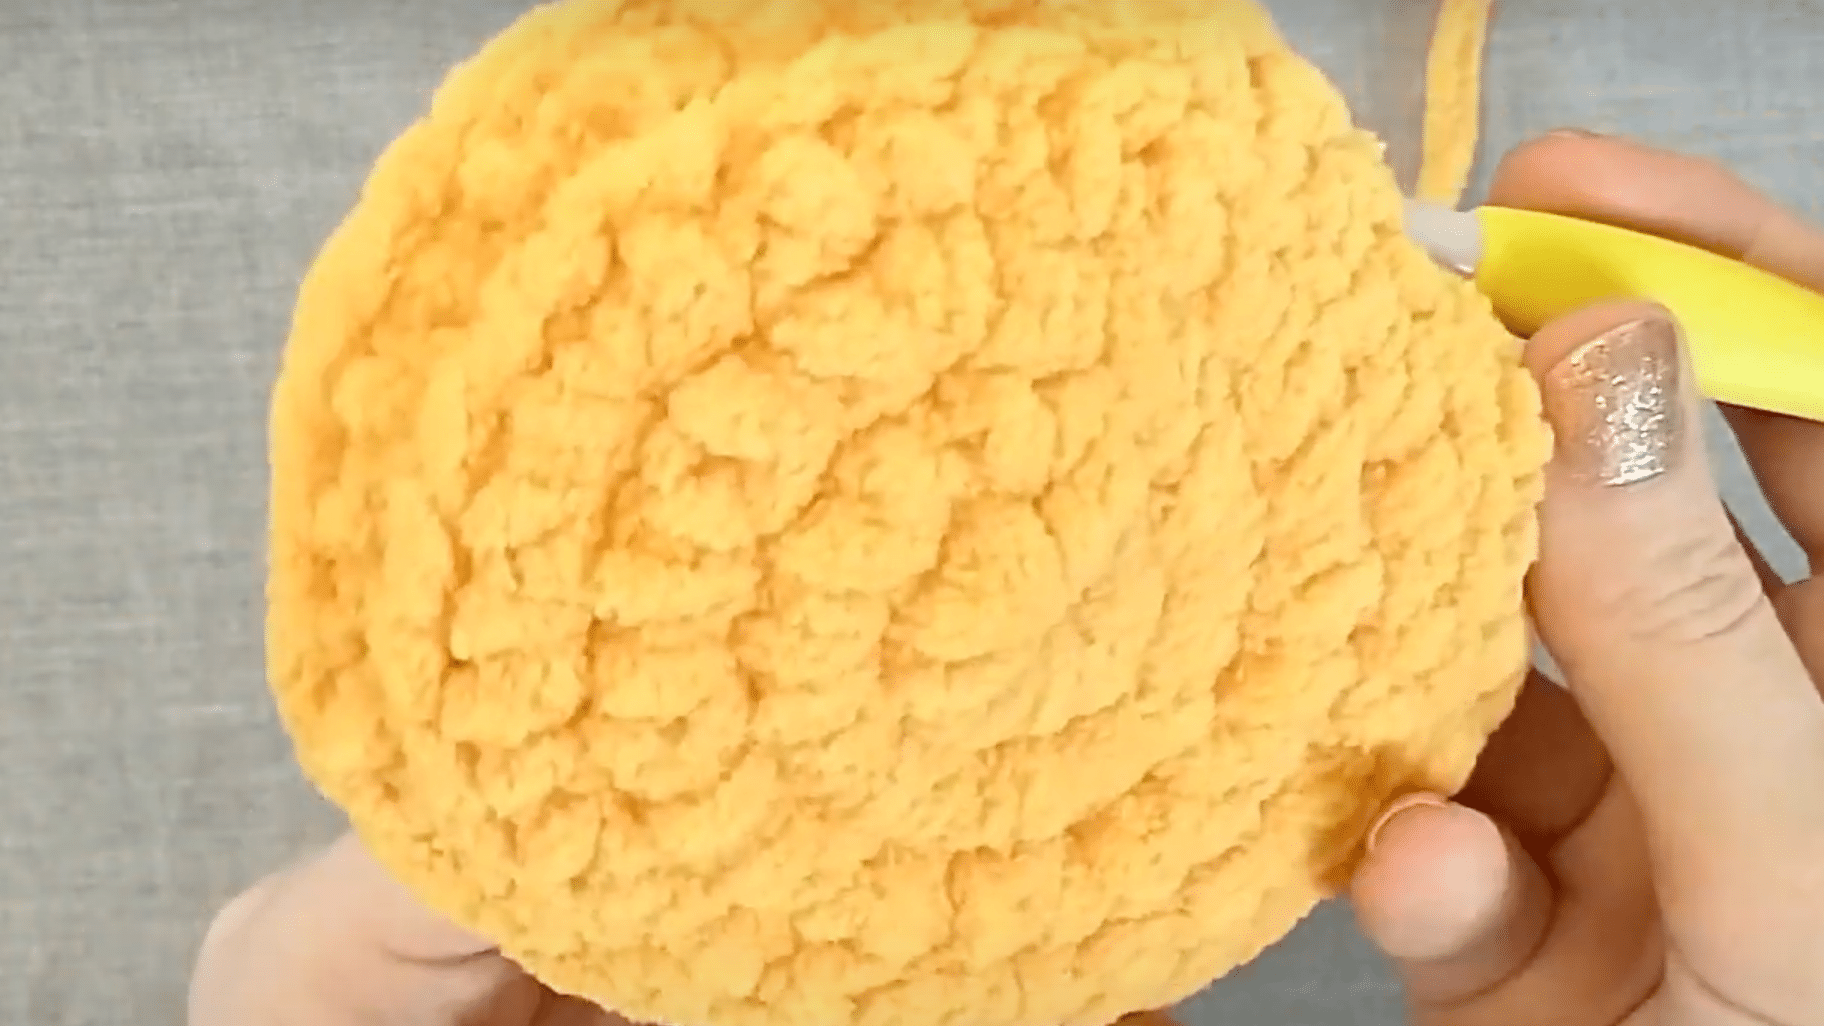
Start by making a magic ring using the yellow yarn. Wrap the yarn around your fingers to create an “X”, pull the loop through, twist, and secure. Work 8 single crochets into the ring and pull tight.
From there, increase in each stitch to make 16, then alternate increases with singles to get 24 stitches in round 3, and 32 in round 4.
In Round 5, crochet 32 stitches in the back loops only; this forms a flat pineapple bottom.
Step 2: Creating the Bumpy Pineapple Texture (Rounds 6–7)
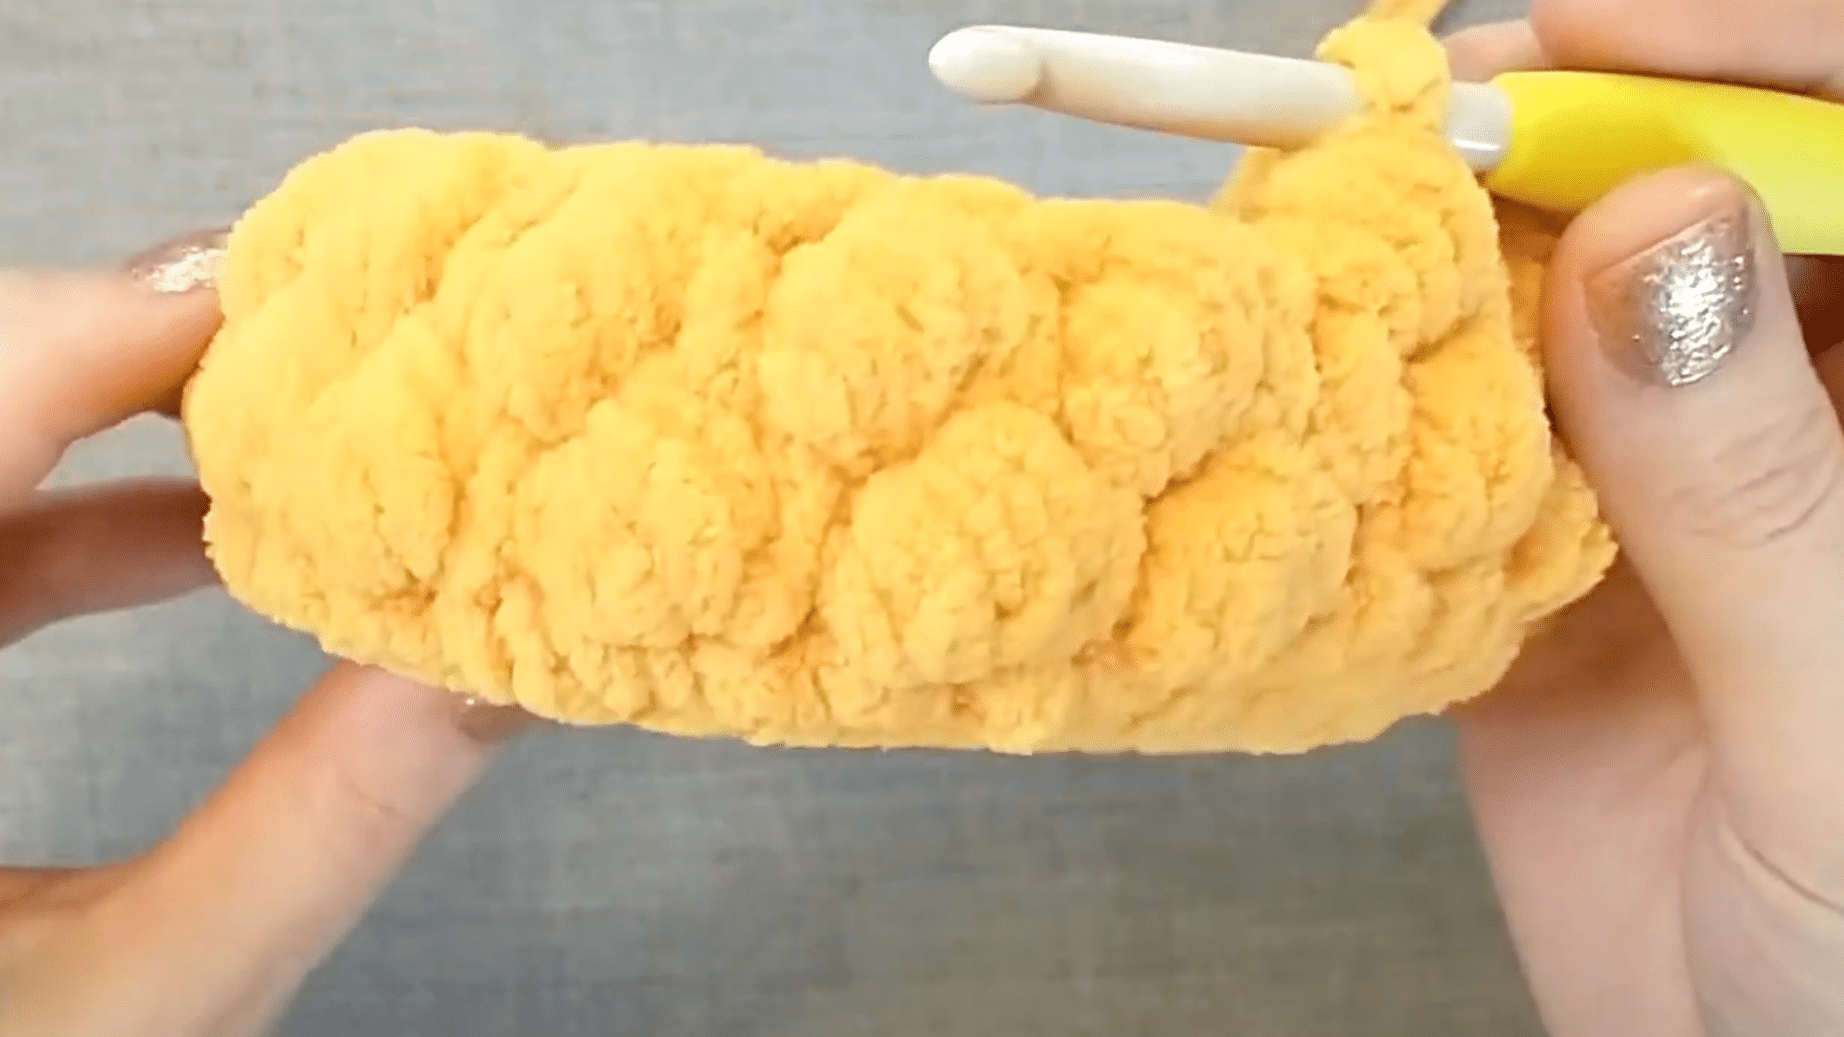
In Round 6, alternate one popcorn stitch (3 yarn overs into the same stitch, then pull through all loops) with a single crochet, repeating this pattern around. You’ll get 16 popcorns and 16 singles.
In Round 7, reverse it: start with a single crochet, then work a popcorn. This alternating sequence gives the pineapple its characteristic textured bumps.
Step 3: Building Height and Dimension (Rounds 8–12)
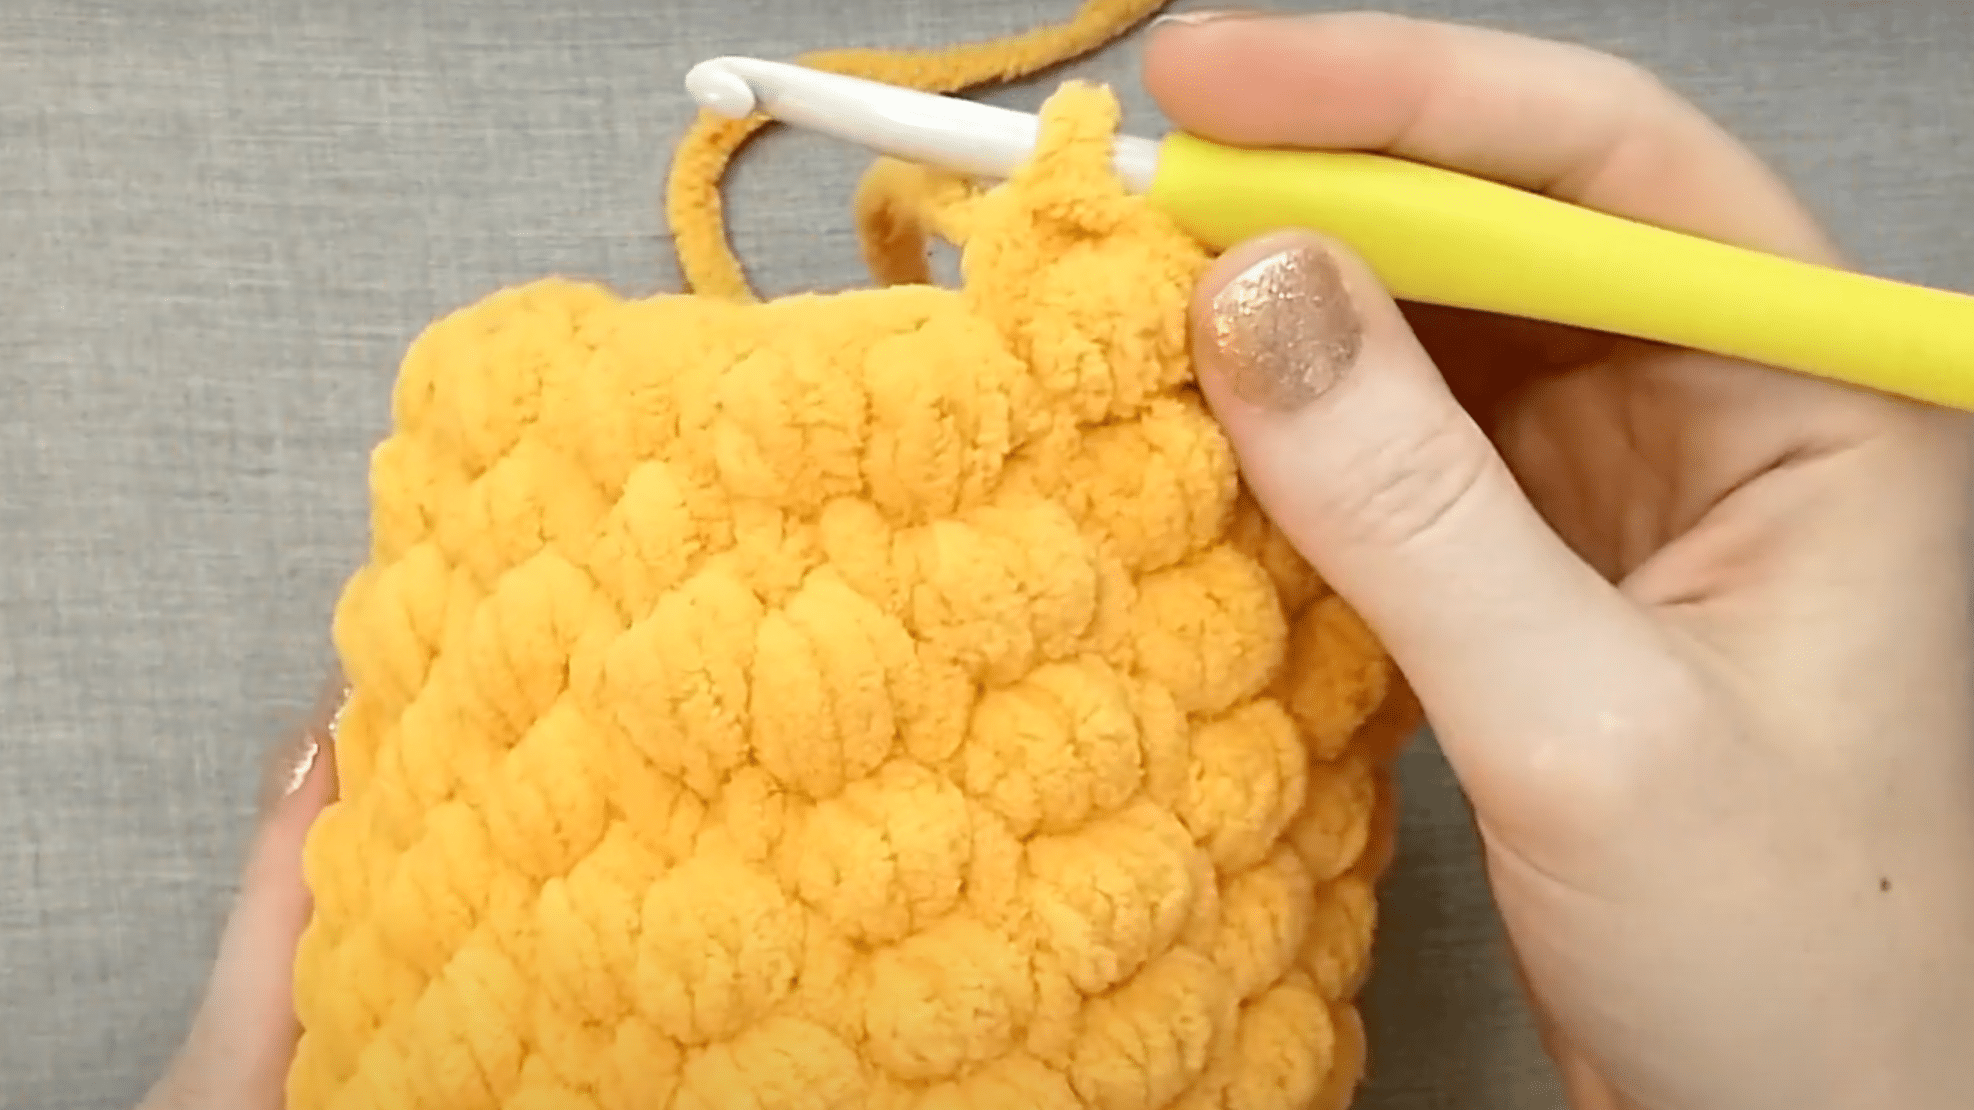
Repeat rounds 6 and 7 until you’ve reached round 12. That means: 6, 7, 6, 7, 6 again. The pattern now stacks the popcorns in an offset manner, enhancing the three-dimensional texture. It’s useful here to count rounds by the rows of popcorn and use a stitch marker if needed.
You should now have a plump, rounded pineapple body taking shape.
Step 4: Shaping the Top (Rounds 13–14)
Begin tapering the pineapple by introducing decreases. In round 13, do a single crochet, a popcorn, an invisible decrease, and repeat this sequence. In round 14, alternate a decrease with a popcorn stitch. You’ll go from 32 to 24, then down to 16 stitches, which tightens the opening at the top-just like the natural curve of a real pineapple.
Step 5: Adding the Face (After Round 14)
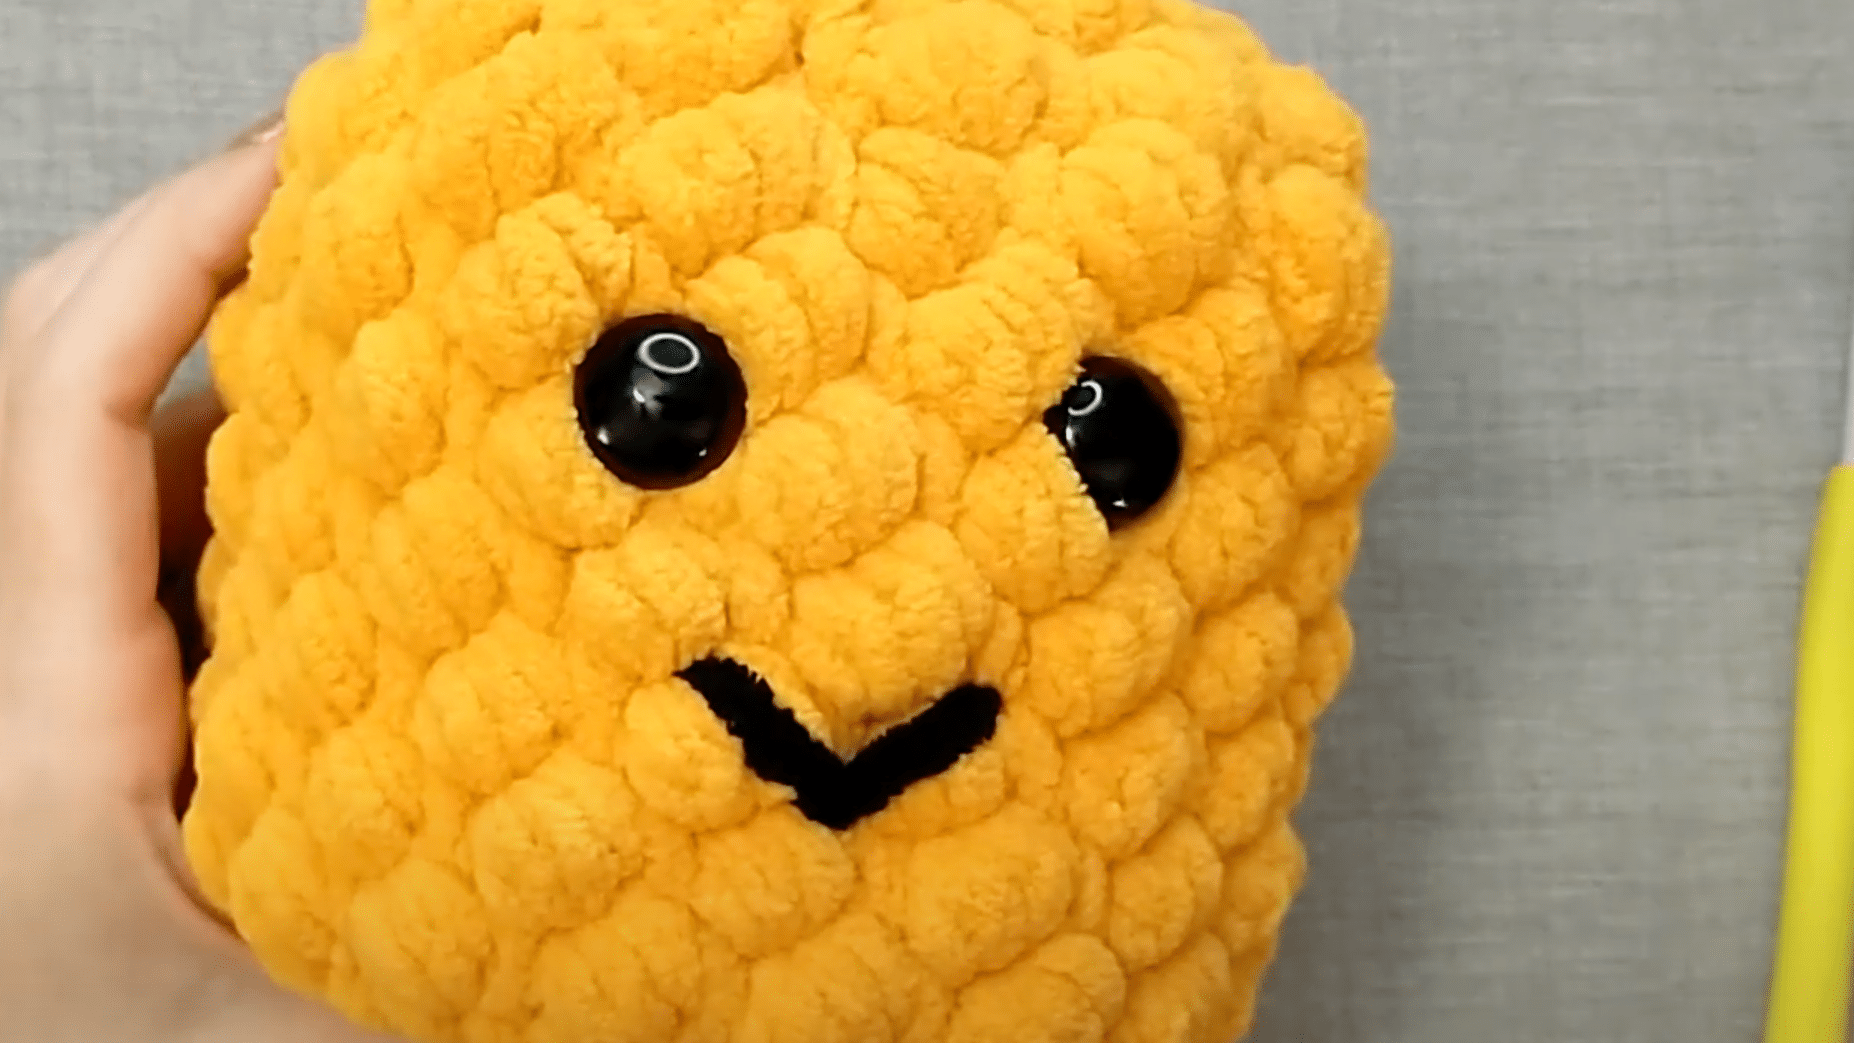
With 16 stitches, it’s time to add charm. Insert your safety eyes between rounds 9 and 10, placing two popcorns between them.
Use the black yarn and tapestry needle to stitch a small smile below the eyes. Knot the ends inside the pineapple-no need to weave them in fully. This is your last chance to adjust the face before stuffing!
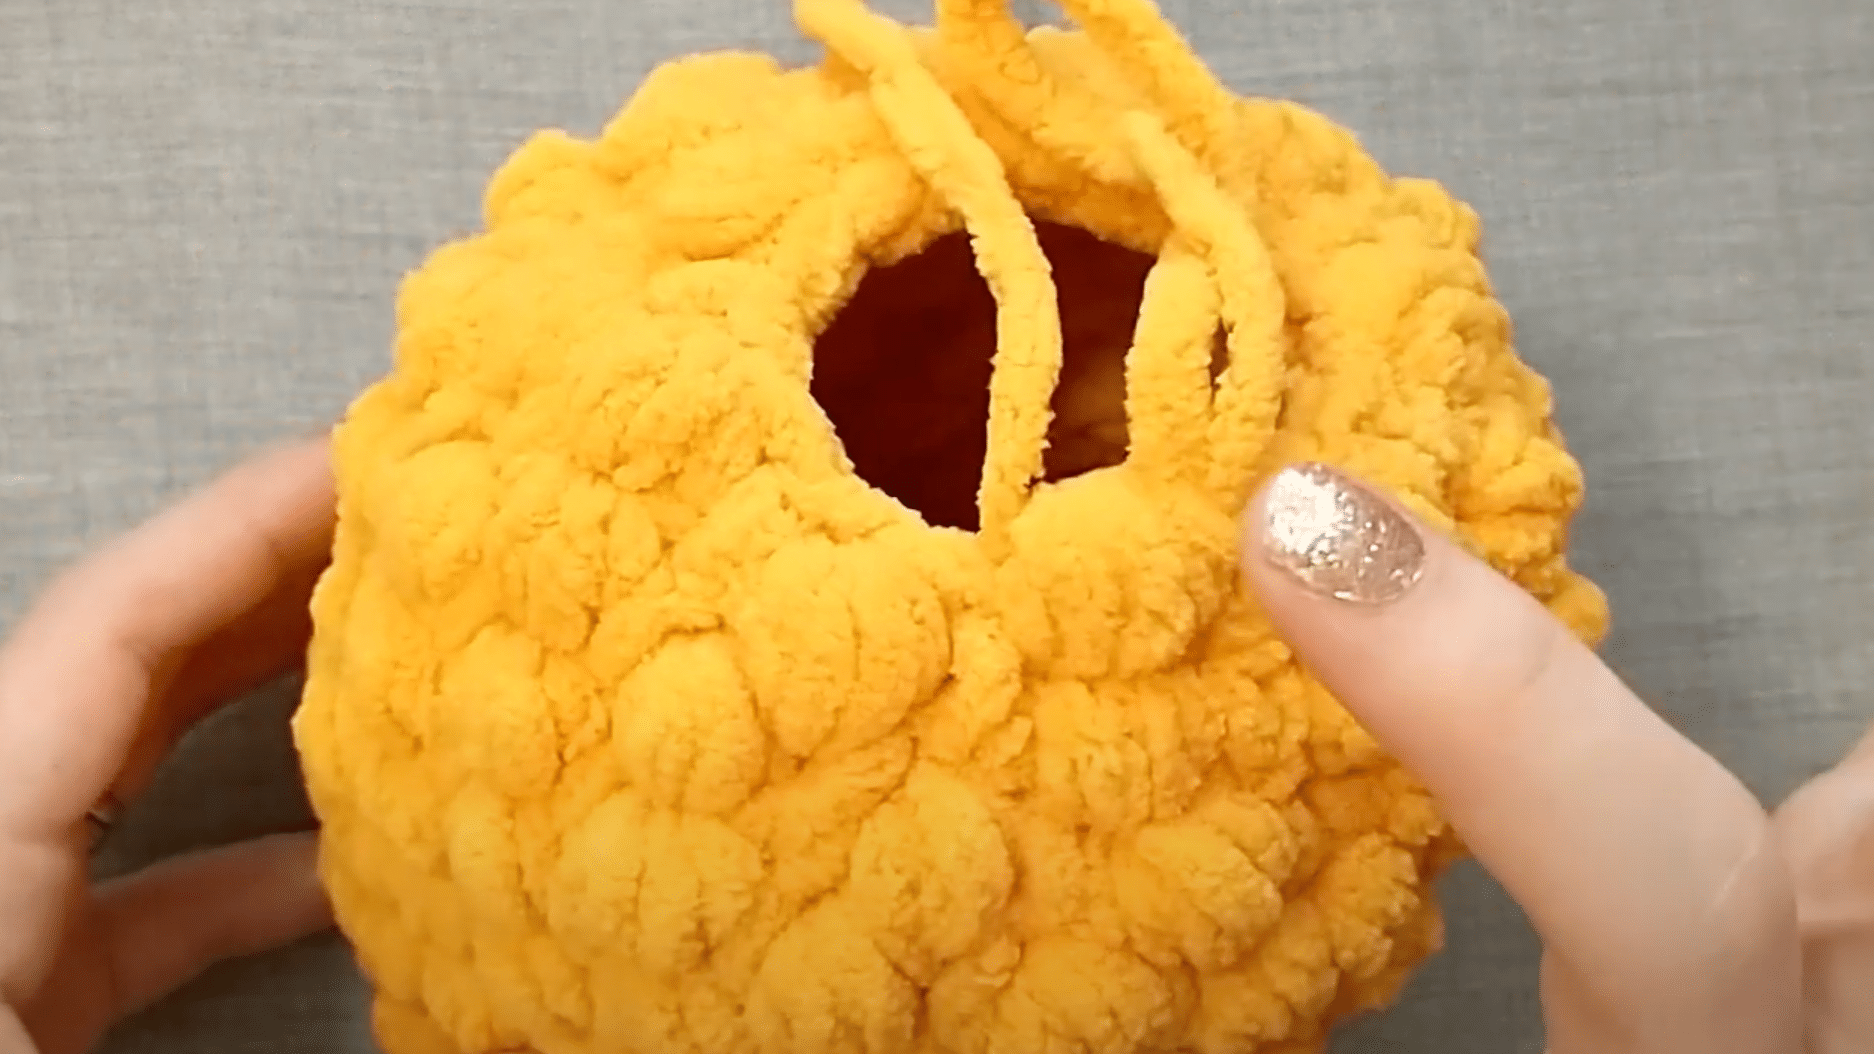
Step 6: Stuff and Start the Leaves (Rounds 15–17)
Stuff the pineapple firmly with polyfill to make it huggable. In Round 15, switch to green yarn and crochet 16 single crochet stitches.
Round 16 is where you begin the leaves: in front loops only, crochet a single, chain 6, and work back down with a series of stitches-single, two half doubles, two doubles-then slip stitch to anchor. Do this 8 times. In round 17, work single crochets into the back loops from round 15 to prepare for the next layer of leaves.
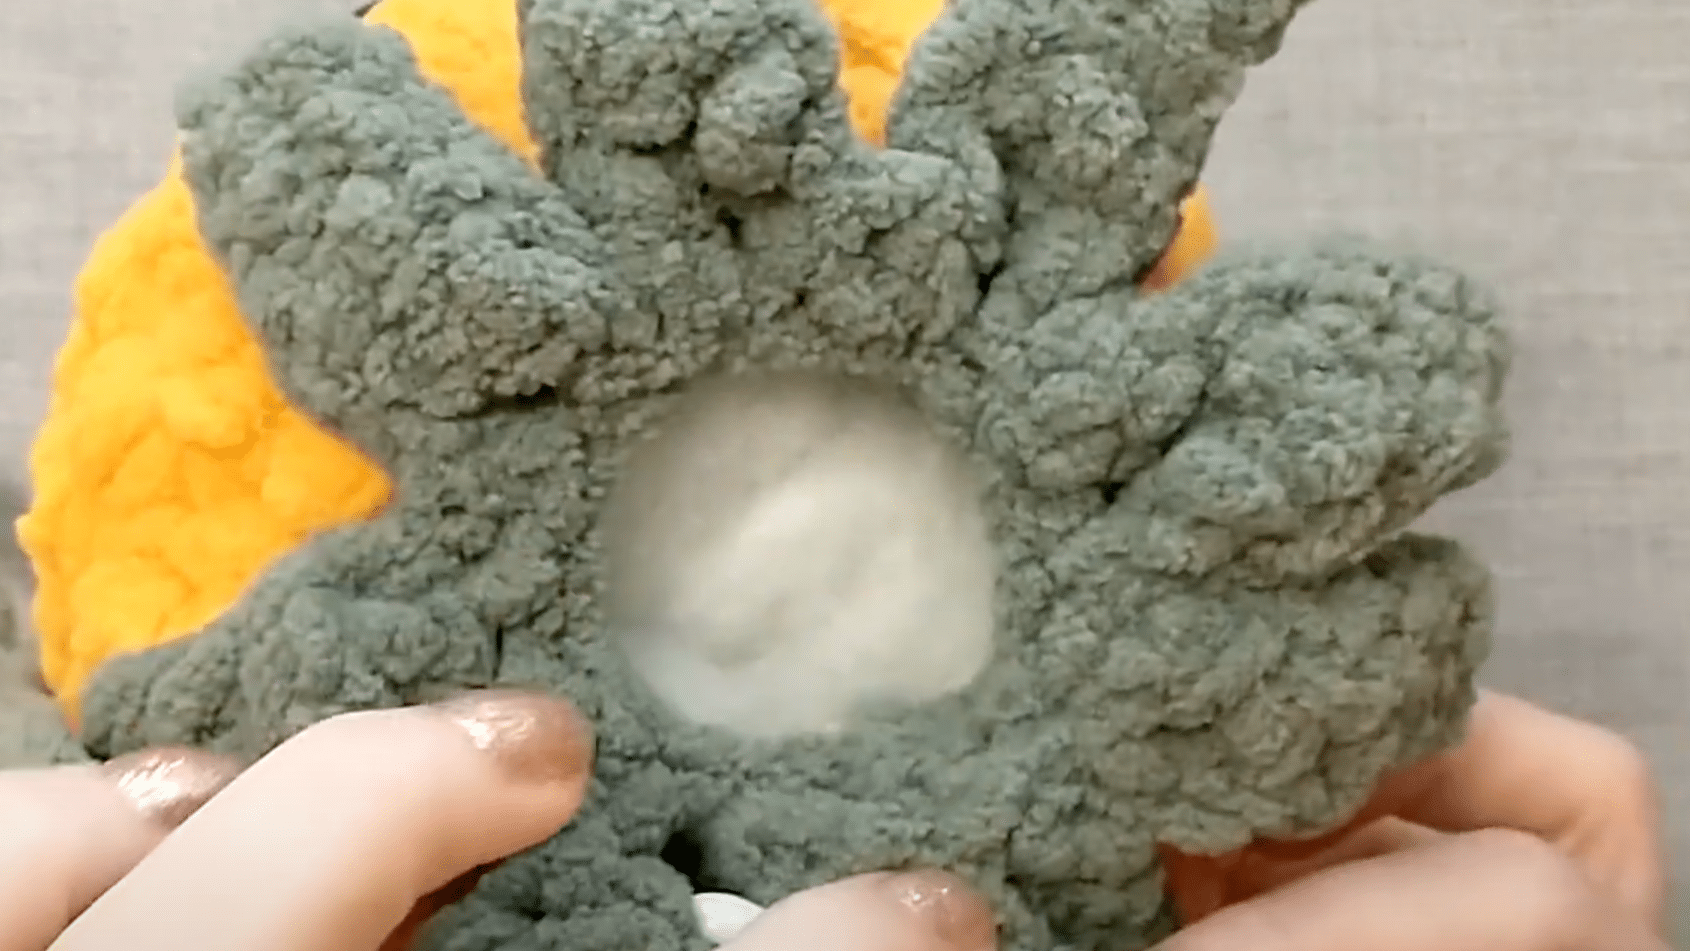
Step 7: Finish the Crown (Rounds 18–20 and Closing)

Repeat the leaf-making process for rounds 18 (8 leaves) and 20 (4 final leaves), always in the front loops. Round 19 between them decreases again to 8 stitches.
To close, chain 1 and leave a long tail. Use your tapestry needle to sail through the remaining loops, cinch tightly, and secure with a hidden knot. Tuck the tail down through the body and trim.
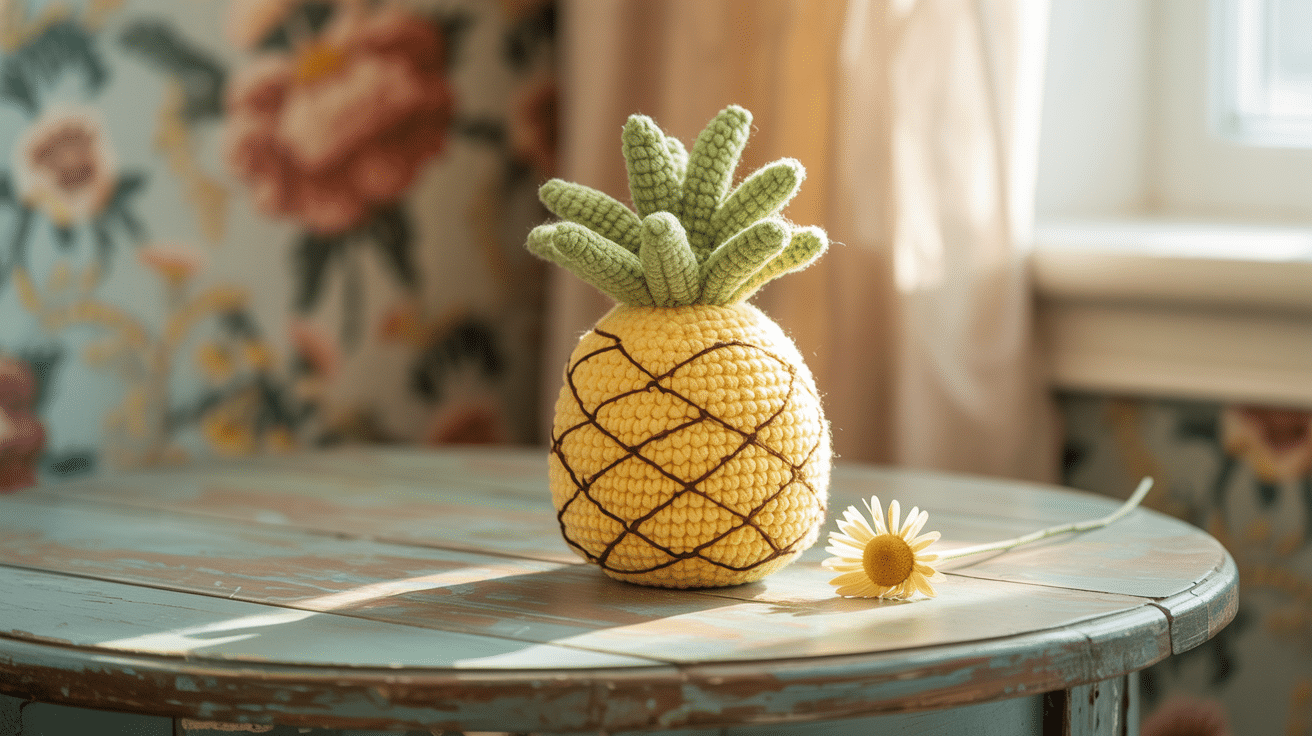
Fluff your pineapple top-and done!
For more detailed steps, check out the YouTube link below:
Amigurumi Pineapple: Adding Personality with Embellishments
Looking for ways to make your crochet pineapple pattern stand out? There are so many creative directions you can take!
Whether you want a cute amigurumi toy, a cheerful appliqué, or a functional accessory, the pattern can be adapted and embellished to reflect your personality.
Here are some fun ideas and patterns to inspire your next project:
1. Amigurumi Pineapple Plush
Make a classic amigurumi pineapple using a crochet pineapple pattern with soft, squishy yarn. Add safety eyes, a stitched smile, and even eyebrows for extra character.
Use different yarn textures for the body and leaves to create visual interest. Embroider cheeks or use felt for a pop of color. This style is perfect as a desk buddy, keychain, or cuddly toy.
2. Pineapple Appliqué

Try a flat pineapple pattern to make appliqués that can be sewn onto bags, hats, or clothing. Add dimension with bobble or popcorn stitches for the body and create layered leaves with varying chain lengths. Embellish with tiny beads or sequins for a playful touch.
Attach your appliqué to a cozy pillow cover or wall hanging for instant tropical vibes.
3. Pineapple Purse or Pouch
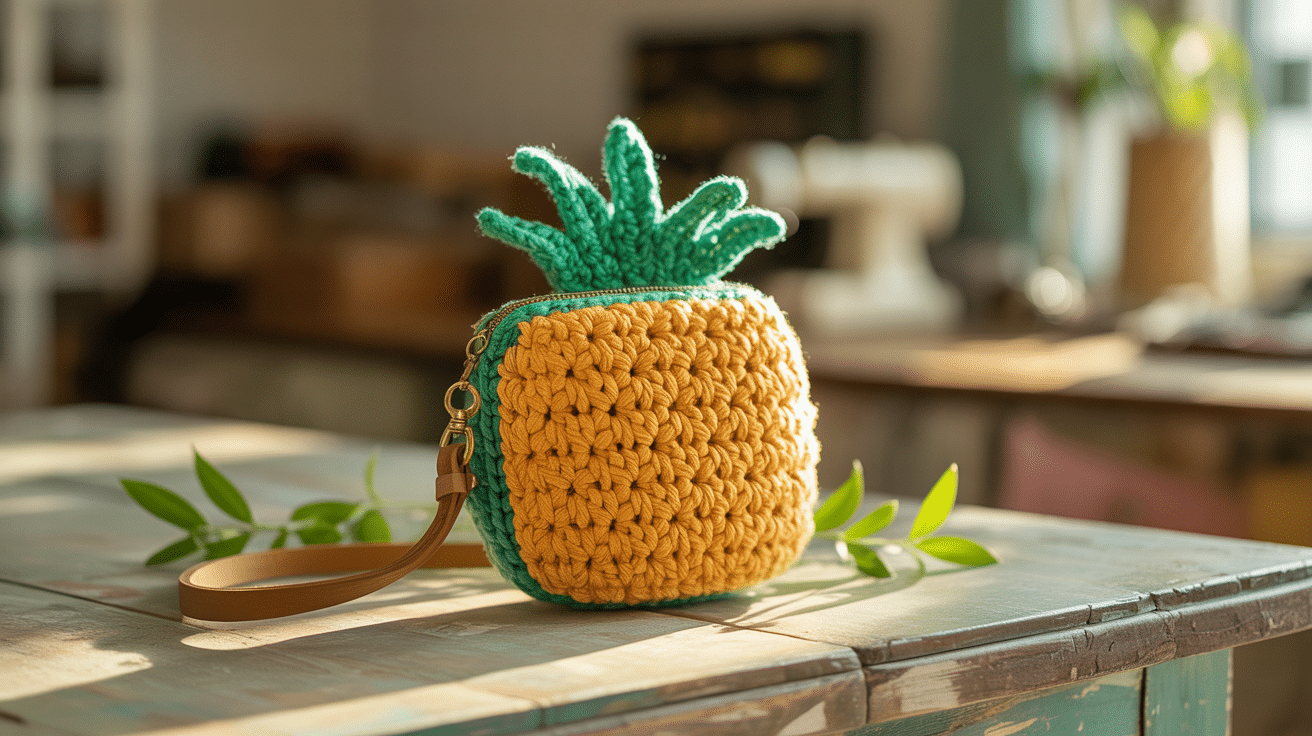
Convert your crochet pineapple into a small purse or drawstring pouch. Crochet the body in the round, then add a shell or textured stitch for the pineapple skin. Use a crocheted I-cord or rope as a drawstring closure.
Personalize by adding a cute face, embroidery, or even a tassel at the bottom. This makes a fun accessory for both kids and adults.
4. Oversized Pineapple Pillow
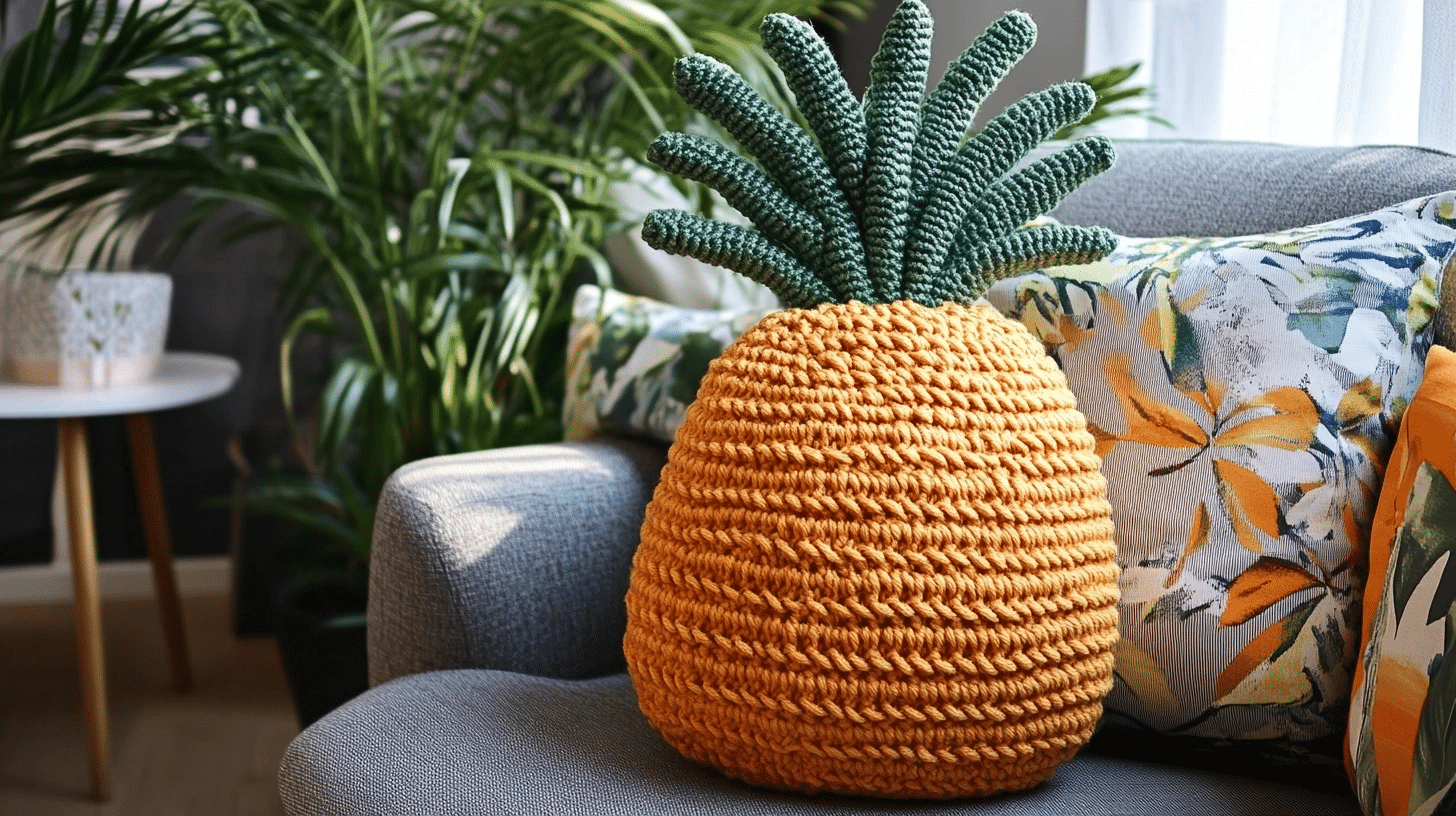
Scale up your crochet pattern using chunky yarn and a larger hook to create a statement pillow. Stuff it firmly and finish with oversized leaves. Add felt or embroidered facial features for a whimsical look, or keep it simple and textured for a chic home décor piece.
Customizing Your Pineapple: Size, Color, and Style Variations
Making pineapple crochet isn’t just about following steps – it’s about adding your own touch too! I love how this pattern can change so much with just a few small tweaks.
You can make tiny pineapples for earrings or huge ones for bedspreads. The basic pattern stays the same, but your choices in yarn, hook size, and colors make each project uniquely yours.
| Variation Type | Small Size | Medium Size | Large Size |
|---|---|---|---|
| Hook Size | 1.5mm – 2.5mm | 3mm – 4mm | 4.5mm – 6mm |
| Yarn Weight | Thread, Lace | Sport, DK | Worsted, Bulky |
| Project Ideas | Earrings, Bookmarks | Doilies, Coasters | Shawls, Blankets |
| Work Time | 1-2 hours | 3-8 hours | 10+ hours |
| Stitch Count | 15-30 per row | 30-60 per row | 60+ per row |
Wrapping It Up
Pineapple patterns bring a special charm to crochet work that few other designs can match.
Throughout this guide, we’ve seen how the crochet pineapple pattern can be adapted to fit projects of all sizes, from tiny bookmarks to room-filling blankets.
What will you create with your new pineapple skills? Perhaps a set of doilies for your dining table or a shawl to wear on cool evenings? Remember that practice makes perfect with this pattern. Your first attempt might not look just right, but each pineapple gets better than the last.
I’d love to see what you make! Leave a comment below with photos of your finished projects, or share any questions you have about the technique.
Let’s keep the pineapple crochet tradition alive together!