Bugs can turn a perfect summer evening into an itchy nightmare. We’ve all been there – trying to enjoy dinner outside but spending more time swatting mosquitoes than eating.
Store-bought repellents work, but they’re full of chemicals that don’t smell great and might not be good for you or your family.
Homemade citronella candles offer a better way. They create a pleasant atmosphere while keeping those pesky insects away naturally. Plus, they’re simple to make with ingredients you can find easily.
In this blog post, I’ll show you how to create your own citronella candles at home. We’ll cover the basic supplies you’ll need, step-by-step instructions, and tips to make them last longer.
What is Citronella?
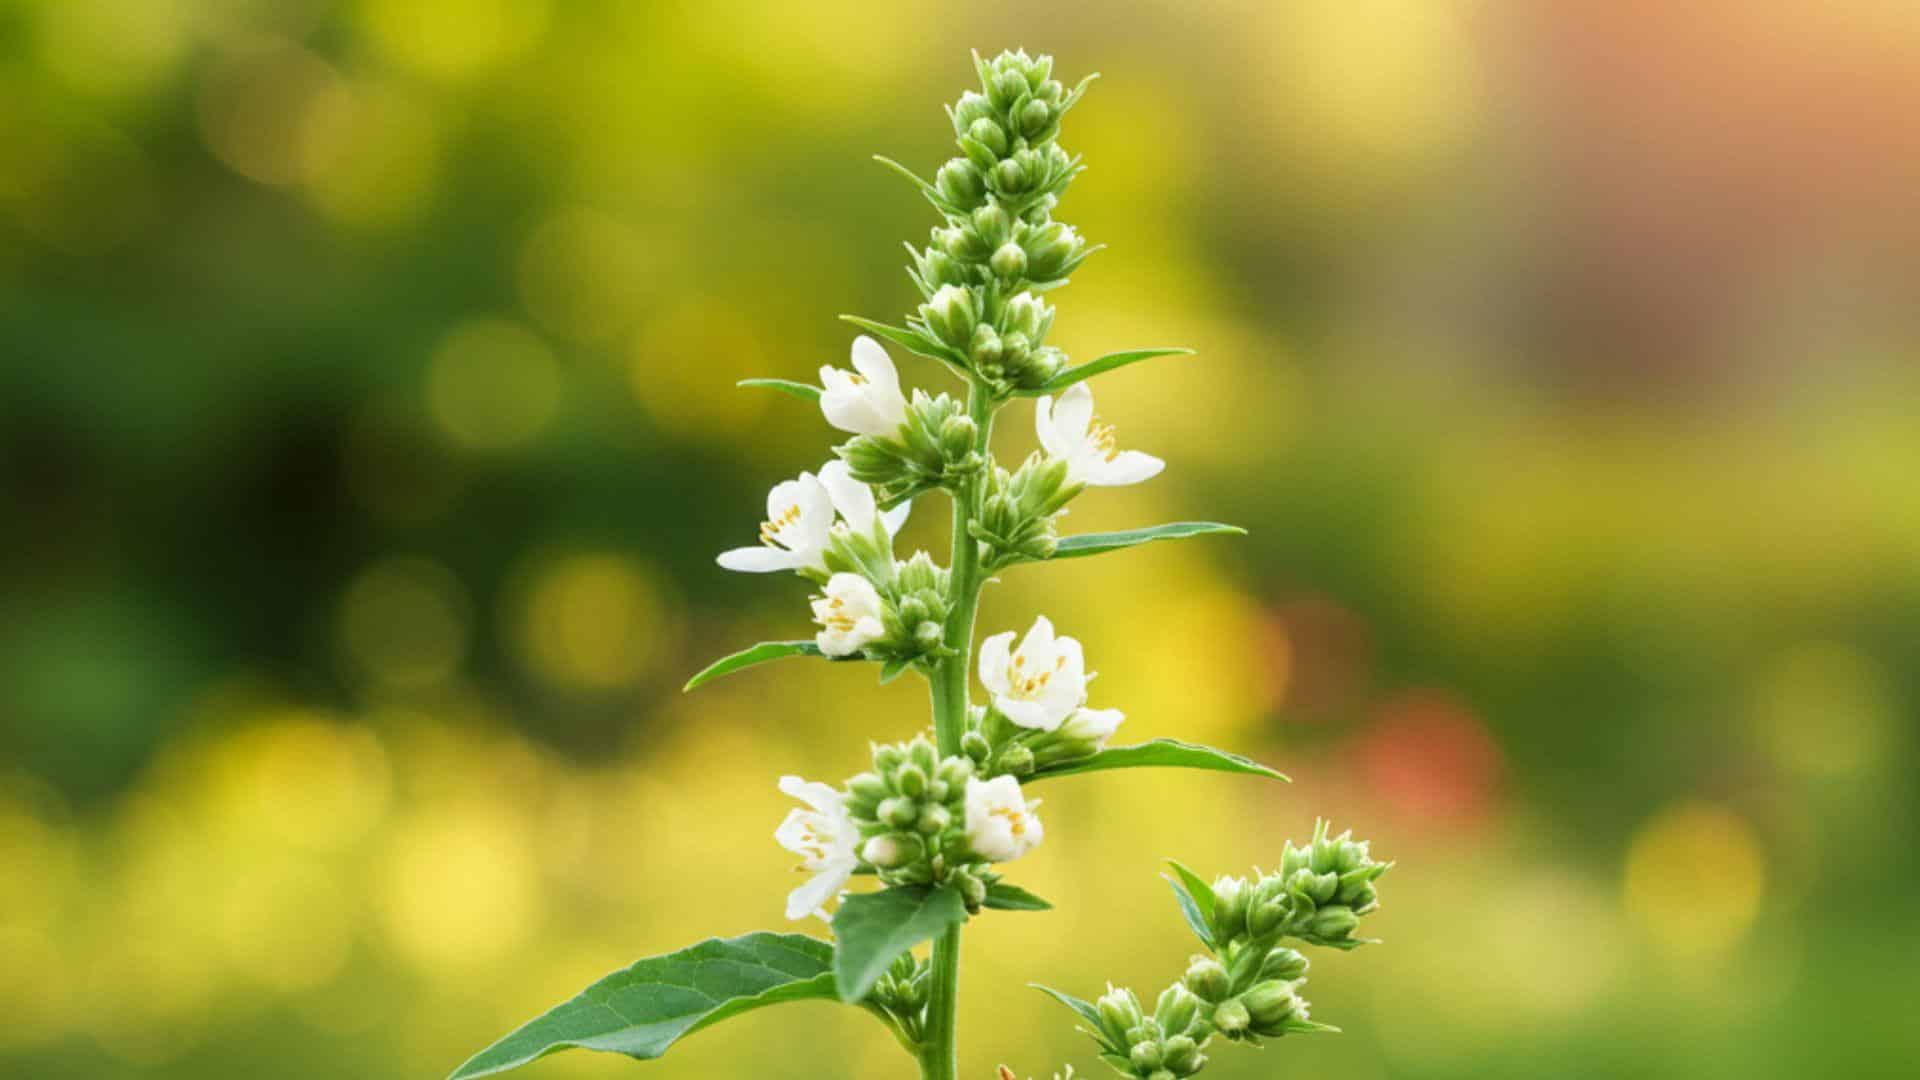
Citronella is a natural oil that comes from certain grass types, mainly found in Asia. The oil has a fresh, lemony scent that humans find pleasant but bugs find off-putting.
The plants used to make citronella oil grow in clumps and can reach up to six feet tall with long, thin leaves. When these leaves are pressed, they release the oil that works so well at keeping insects away.
I’ve found that citronella works because its smell masks the scents that attract bugs to us.
Mosquitoes, for example, find us by tracking the carbon dioxide we breathe out and the natural smells our bodies make. When citronella is in the air, it blocks these signals.
The oil has been used for over 50 years as a natural bug repellent. It’s registered with the EPA and is known to be safe when used correctly.
Unlike some chemical options, citronella breaks down quickly in the environment and won’t harm plants or animals.
You can buy citronella in different forms – as a pure essential oil, in commercial sprays, or in store-bought candles. But making your own candles gives you control over the strength and other ingredients.
How to Make Citronella Candles at Home
Making your own citronella candles is easier than you might think. I’ve made these many times and always feel satisfied with the results. Here’s how you can do it too.
First, gather the supplies, You’ll need:
- Wax (soy or beeswax work best)
- Wicks with metal bases
- Citronella essential oil
- Mason jars or heat-safe containers
- A pot for melting wax
- A thermometer
- Wooden sticks for stirring
Step 1: Prepare your workspace

Cover your counter with newspaper or an old tablecloth. Wax can be messy and hard to clean up once it hardens. Keep paper towels handy for quick spills.
Step 2: Measure your wax

Fill your container with wax flakes, then pour them into your measuring cup. Add 10% more to account for shrinkage as the wax cools. For each 8-ounce candle, you’ll need about 9 ounces of wax flakes.
Step 3: Melt the wax carefully

Use a double-boiler setup. I put water in a large pot and place a heat-safe bowl or smaller pot on top. Heat on medium until the wax melts fully. Stir gently with a wooden spoon or craft stick.
Step 4: Monitor the temperature

This is where many people go wrong. The ideal temperature for adding oil is between 125°F and 140°F. Too hot, and the oil will burn off; too cool, and it won’t mix well.
Step 5: Add the citronella oil

Use 1 ounce of citronella oil per pound of wax for strong bug-fighting power. Mix well for about 30 seconds to make sure the oil spreads evenly.
Step 6: Pour with care

Hold the wick in place with a pencil or clothespin laid across the top of the jar. Pour the wax slowly to avoid air bubbles. Leave about half an inch at the top of the container.
Step 7: Let set properly
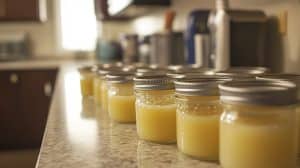
Allow candles to cool at room temperature for at least 4 hours. Avoid moving them or they might develop cracks or uneven surfaces.
Step 8: Cure your candles
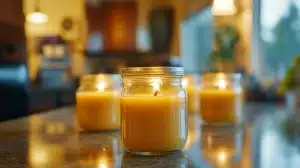
For the best scent, let your candles sit for 2-3 days before using them. This helps the citronella oil bond fully with the wax.
A common mistake is not using enough oil. If your first batch isn’t strong enough, try adding more next time. Also, outdoor wind can reduce how well they work, so place them in spots with less breeze.
For a more detailed tutorial on how to make homemade citronella candles, check out the video below:
Homemade vs. Store-Bought Citronella Candles
When I compare homemade citronella candles to store-bought options, I notice several key differences that might matter to you, too.
| Factor | Homemade Citronella Candles | Store-Bought Citronella Candles |
|---|---|---|
| Cost | It costs about $3-4 per candle, cheaper in bulk | Typically, $10-15 per candle |
| Strength Control | Can control the amount of citronella oil for stronger repellent | Often contain just enough oil to provide scent, not enough to repel bugs |
| Natural Ingredients | Uses soy or beeswax, burns cleaner, renewable sources | Often contains paraffin wax, a petroleum byproduct that releases harmful chemicals |
| Custom Looks | Can be customized to match outdoor decor (e.g., mason jars, tins) | Limited to the designs available in stores |
| Freshness Factor | Freshly made with full-potency essential oils | It may have sat on shelves for months, losing effectiveness over time |
The main advantage of store-bought candles is convenience. They’re ready to use right away with no prep work. But for me, the benefits of making my own far outweigh the small time investment needed.
Where to Use Your Homemade Citronella Candles
I’ve found that smart places to keep my homemade citronella candles make a big difference in how well they work. Here are the best spots to put your homemade bug fighters.
Outdoor Dining Areas
Place candles on your patio table when eating outside. I put one at each end of the table for meals, creating a bug-free zone right where we need it most. The gentle glow also adds a nice mood to dinner time.
Around Seating Areas
Circle your outdoor chairs and sofas with candles. I space them about 4-5 feet apart to create a barrier that keeps bugs away from the whole sitting area. This works better than just one large candle.
Deck Railings and Steps
Put candles along the edges of your deck or on steps leading to your yard. This creates a boundary that many flying insects won’t cross. I use smaller jars here so they don’t tip over easily.
Pool Areas
Mosquitoes love water, so pool areas need extra protection. I place candles several feet back from the water’s edge where people towel off or relax on loungers.
Garden Paths
Line walking paths with candles to keep bugs away while you stroll. This is helpful during evening garden parties or when you’re working in the yard at dusk when mosquitoes are most active.
Entry Points
Place candles near doors and windows to prevent bugs from following you inside. I put them about 10 feet from the door, creating a buffer zone that keeps insects from gathering near entries.
For best results, I light the candles about 15 minutes before planning to use the space. This gives time for the citronella to spread through the air.
Benefits of Using Citronella Candles Over Other
Using citronella candles for bug control has several advantages compared to other methods. I’ve tried many options over the years, and here’s why I keep coming back to citronella candles.
1. No Chemicals on the Skin
Unlike sprays and lotions, citronella candles keep bugs away without putting anything on your skin. This means no sticky feeling, no worries about washing it off later, and no concerns about skin sensitivity or allergic reactions.
2. Pleasant Scent
Chemical bug sprays often smell harsh or medicinal. Citronella has a fresh, lemony scent that most people find pleasant. When I host outdoor gatherings, my guests often comment on the nice smell rather than being put off by it.
3. Creates Atmosphere
Bug zappers and electronic repellents are functional but add nothing to your outdoor space. Candles create a warm, inviting glow that enhances the mood of any outdoor setting, adding both function and beauty to your yard.
4. Safe for Food Areas
I feel better using citronella candles around food compared to spraying chemicals nearby. This makes them perfect for barbecues, picnics, and outdoor dining where food is exposed.
5. No Noise or Batteries
Electronic bug repellents often make buzzing sounds or require batteries or outlets. Candles work silently and need no power source, making them useful anywhere, even in remote camping spots or areas without electricity.
6. Multiple Benefits
Besides keeping bugs away, candles provide light in the evening and can help mask other outdoor odors. This multi-purpose nature makes them more valuable than single-function bug control methods.
While citronella candles work well, they do have limits. They won’t clear a large area of all insects, and they work best when there’s little wind. For complete protection, I sometimes combine them with other methods for tough bug situations.
Creative Uses of Homemade Citronella Candles
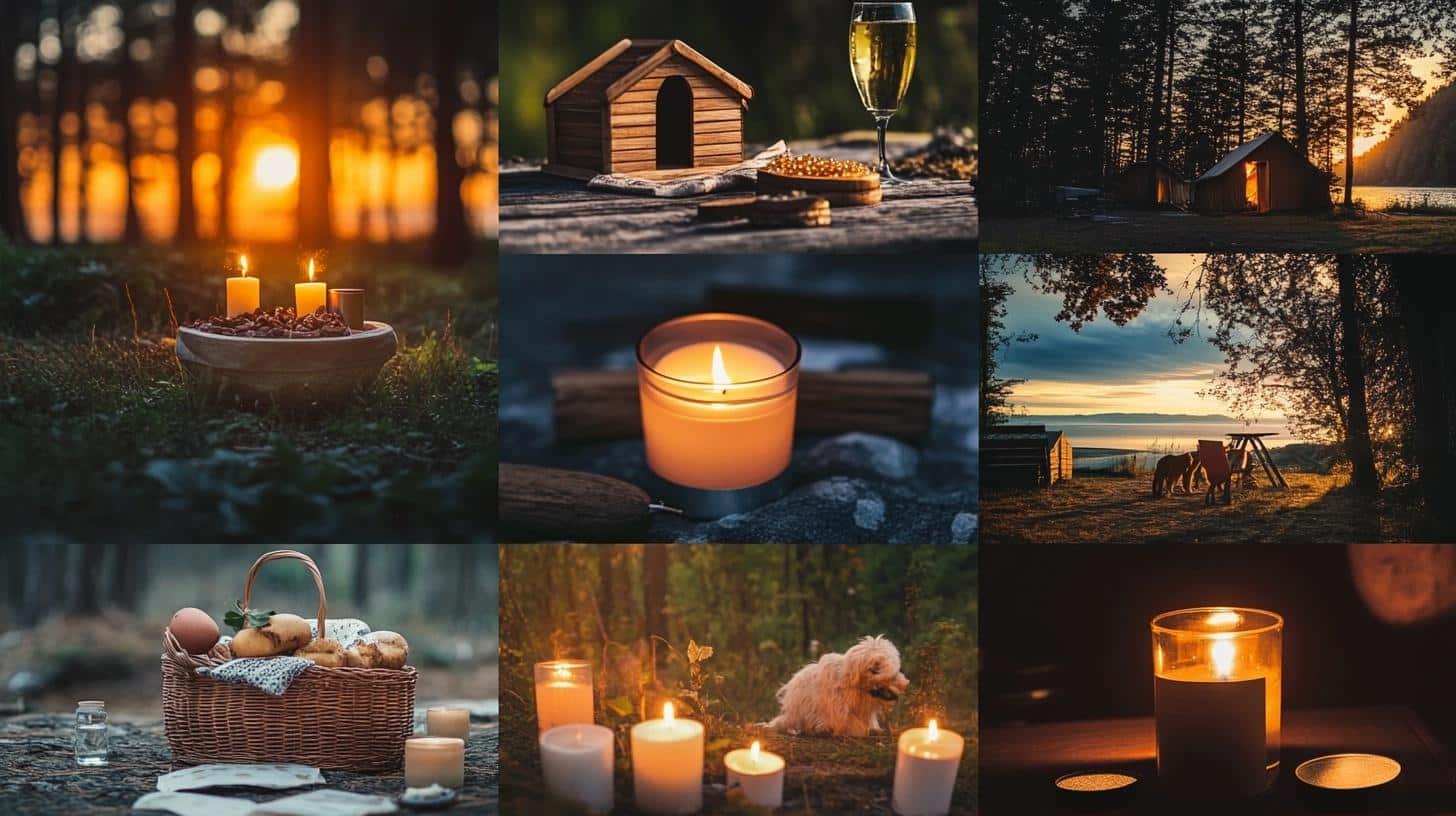
I’ve found that citronella candles can do more than just keep bugs away. Here are some fun and useful ways to get more value from your homemade candles.
- Camping Companion: Take smaller citronella candles on camping trips. They’re perfect for the campsite, where bugs can be plentiful and other repellent options limited. I make special travel-sized versions in metal tins with lids for easy packing.
- Gift Baskets:I often make extra candles to give as summer hostess gifts. They’re especially welcome for friends who love to entertain outdoors. Pair a candle with a bottle of wine or some gourmet snacks for a thoughtful present.
- Garden Markers:Use small citronella candles in pots to mark rows in your garden. The scent helps keep bugs away from your plants, and the containers can be labeled to show what’s growing where.
- Beach Day Helper:Small citronella candles work well at the beach to keep sand flies and mosquitoes at bay. I use them during sunset beach picnics when insects tend to come out.
- Workshop Protection:I keep citronella candles in my garage workshop where the doors are often open. They help keep bugs away while I’m working on projects, especially in the evening hours.
- Emergency Light Source:Citronella candles serve double duty during power outages. They provide light while also keeping bugs away when windows need to be open due to a lack of air conditioning.
- Pet Area Protection:Place candles around outdoor pet areas (at a safe distance) to keep bugs from bothering your animals during their outside time. This works well for dogs who might be sensitive to topical repellents.
- Porch Reading Nook:Create a bug-free zone for enjoying books outdoors. I surround a comfortable chair with a few candles to make a pleasant reading spot on my porch.
Conclusion
Your own homemade citronella candles gives you an effective way to fight bugs without harsh chemicals. These natural repellents work by masking the scents that attract insects to you and your outdoor spaces.
With simple ingredients and a bit of time, you can create candles that match your style while saving money compared to store-bought options. The process isn’t hard, and the results last through many summer evenings.
What makes these homemade candles so useful is their flexibility. You can place them anywhere—from dining tables to garden paths and even take them camping or to the beach.
They add a warm glow to your outdoor activities while keeping the bugs at bay.
If you’ve made your own citronella candles, I’d love to hear about your experience in the comments section below!