Store-bought curtains can be expensive and rarely fit perfectly, but making your own is easier than you think.
No fancy equipment or years of sewing required.
With basic materials and techniques, you can make custom curtains that match your style, saving money and achieving the exact window size.
In this blog, you will find different ways and variations on how to make curtains that will turn your room without breaking the bank, as well as other style variation ideas.
Choosing Fabric for Curtains
Choosing the right fabric is crucial for knowing how to make curtains, as it affects how they hang, last, and look.
- Heavy fabrics, such as cotton or cotton-linen blends, hang better and create a professional drape, whereas light fabrics appear flimsy and cheap.
- Thick fabrics block more light and offer privacy, while lighter weaves let in more light but provide less coverage.
- Large patterns need more fabric to match properly. Small patterns and solids are more forgiving for beginners.
- Dark colors create cozy spaces but fade in sunlight. Light colors brighten rooms but show dirt more.
- Standard decorator fabric is typically 54 inches wide. Check this before buying to avoid surprise seam needs.
Perfect Fabric Choices:
The best fabric for homemade curtains is heavy cotton or a cotton-linen blend.
These fabrics hang well, press easily, sew smoothly, and are durable enough to last for years without wearing out.
Choose decorator fabrics specifically designed for home furnishings, as they have the ideal weight and are pre-treated to resist fading and shrinking.
This ensures your homemade curtains last for years.
How to Make Pleated Curtains with Pleat Tape
Pleat tape turns ordinary curtains into luxurious window treatments with modest effort.
This method enables you to create multiple pleat styles, ranging from pinch pleats to goblet pleats, using the same basic technique and materials.
Tools and Materials Required
| Material | Purpose |
|---|---|
| Pleat tape with casings spaced 1 inch apart | Creates a consistent pleating structure |
| Four-prong pleat hooks or pleater hooks | Gathers fabric into desired pleat styles |
| Curtain rings with eyelet holes | Connects hooks to the curtain rod |
| Heavy fabric (linen or cotton) or store-bought curtains | Main curtain material (allow double width) |
| Matching thread | Sews pleat tape to fabric |
| Fabric scissors | Cuts fabric and tape to size |
| Measuring tape | Measures fabric and window dimensions |
| Pins | Holds pleat tape in position |
| Sewing machine | Stitches tape securely to fabric |
| Iron and ironing board | Press seams for a professional finish |
| Standard sewing supplies | Completes the basic sewing setup |
Step-by-Step Process for Pleat Tape Curtains
Follow these straightforward steps to turn basic fabric or store-bought curtains into beautiful, custom-made pleated window treatments that look expensive.
Step 1: Prepare Your Fabric
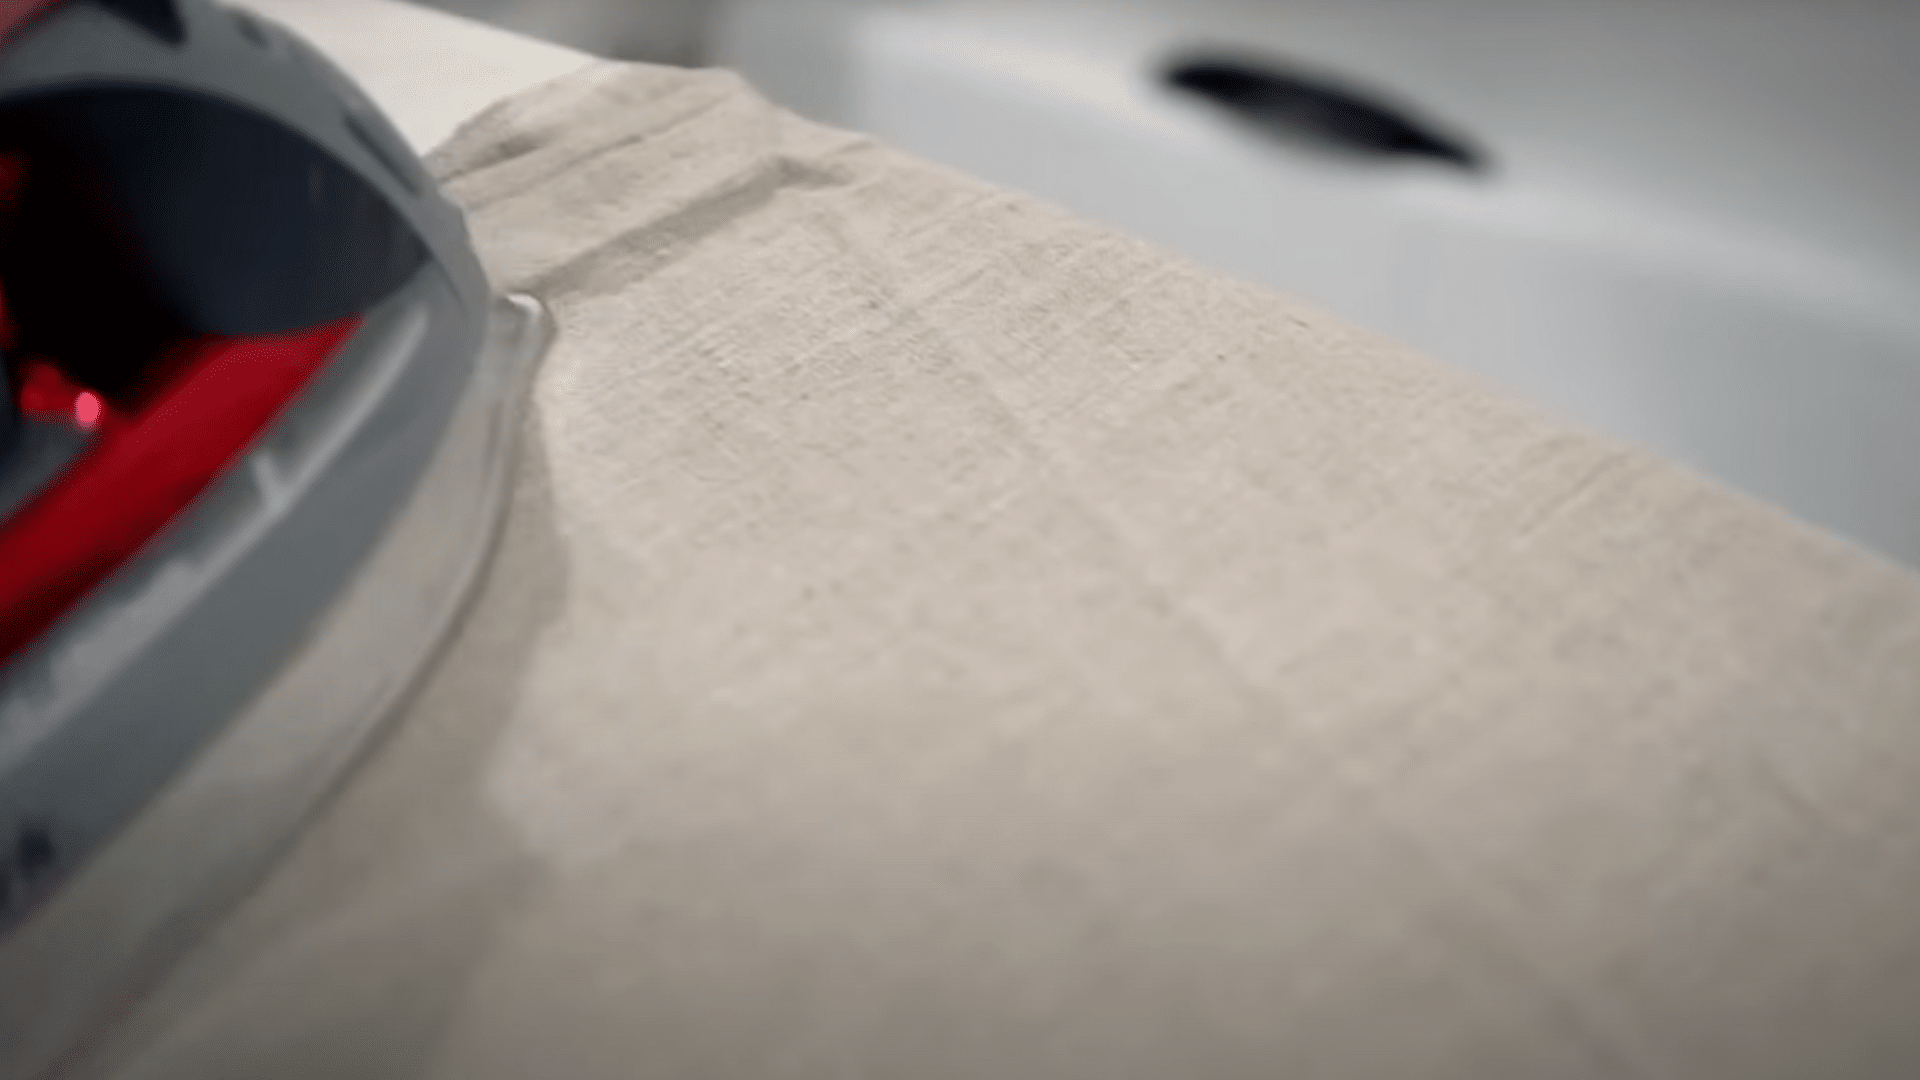
Wash and dry your fabric to prevent future shrinkage problems. Press the fabric thoroughly, especially along curled edges.
This preparation step ensures your finished curtains will maintain their shape and appearance after cleaning.
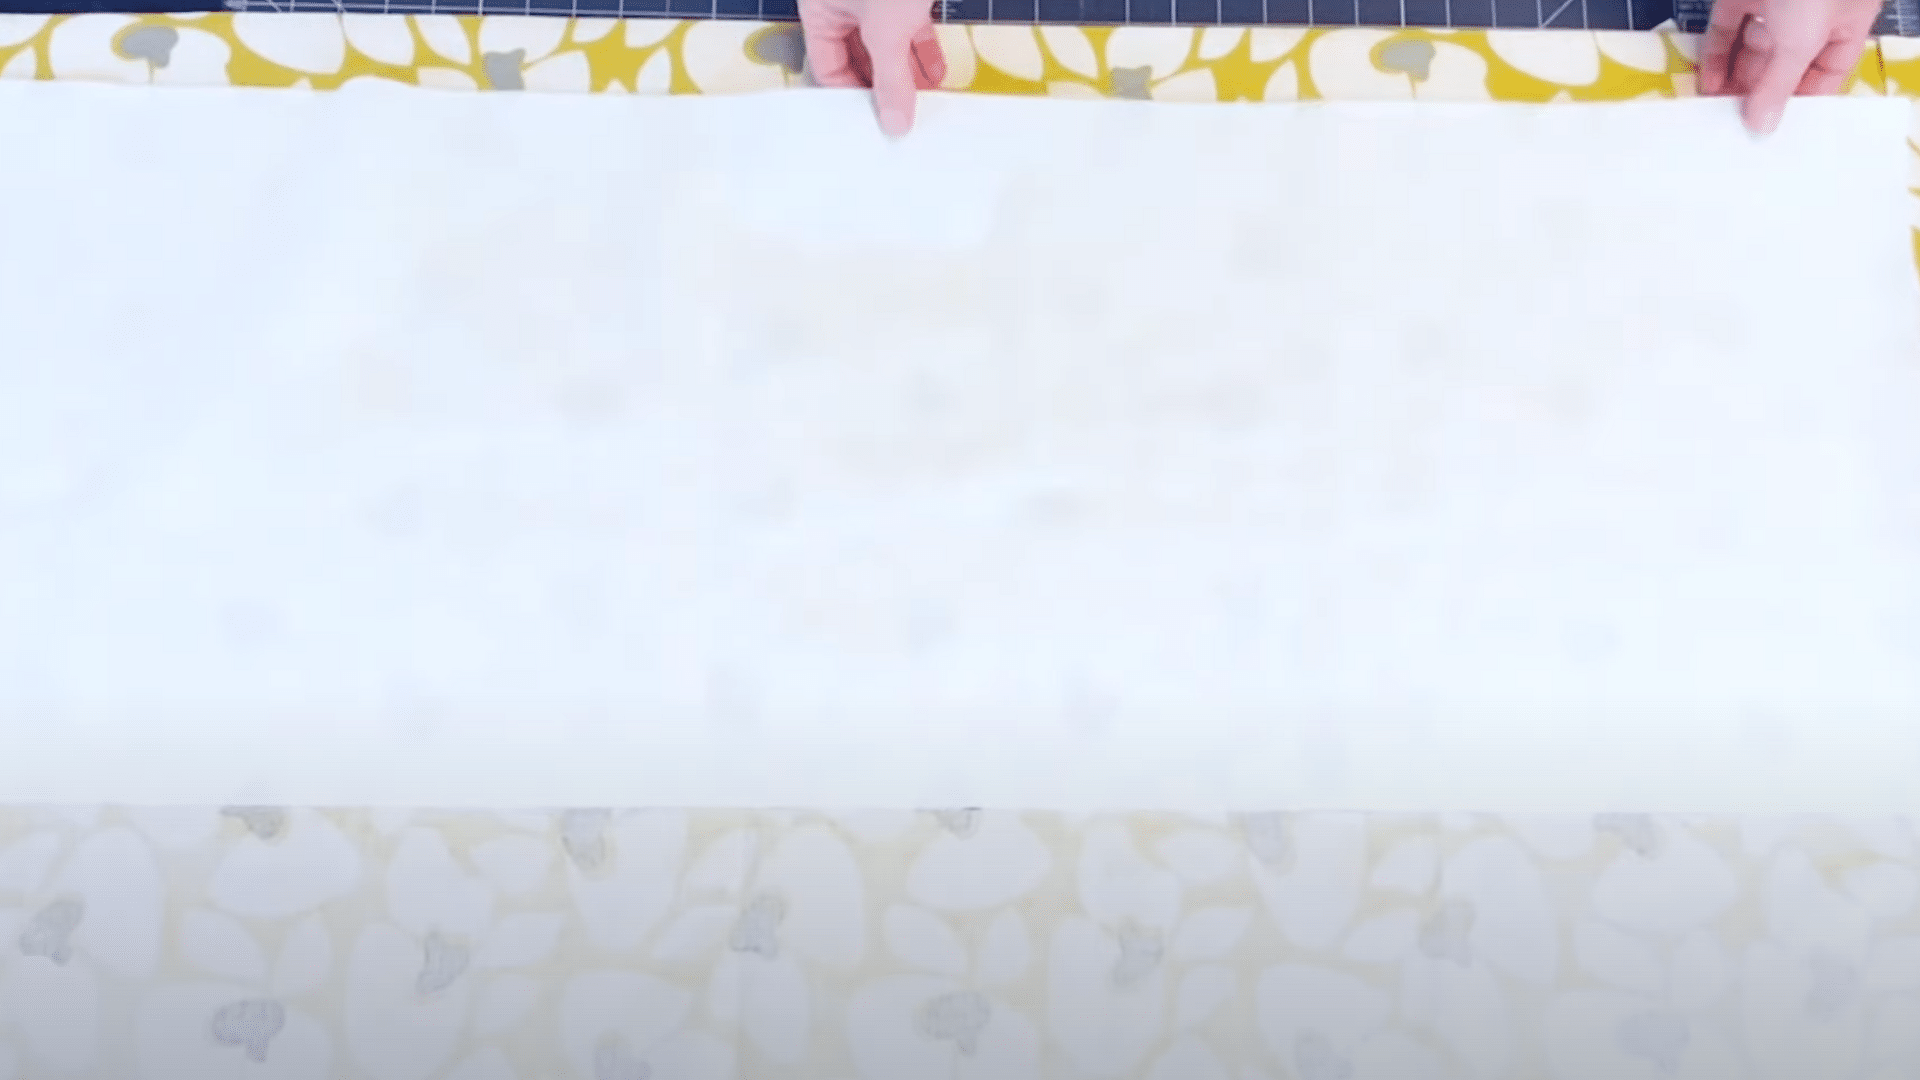
Step 2: Hem the Side Edges
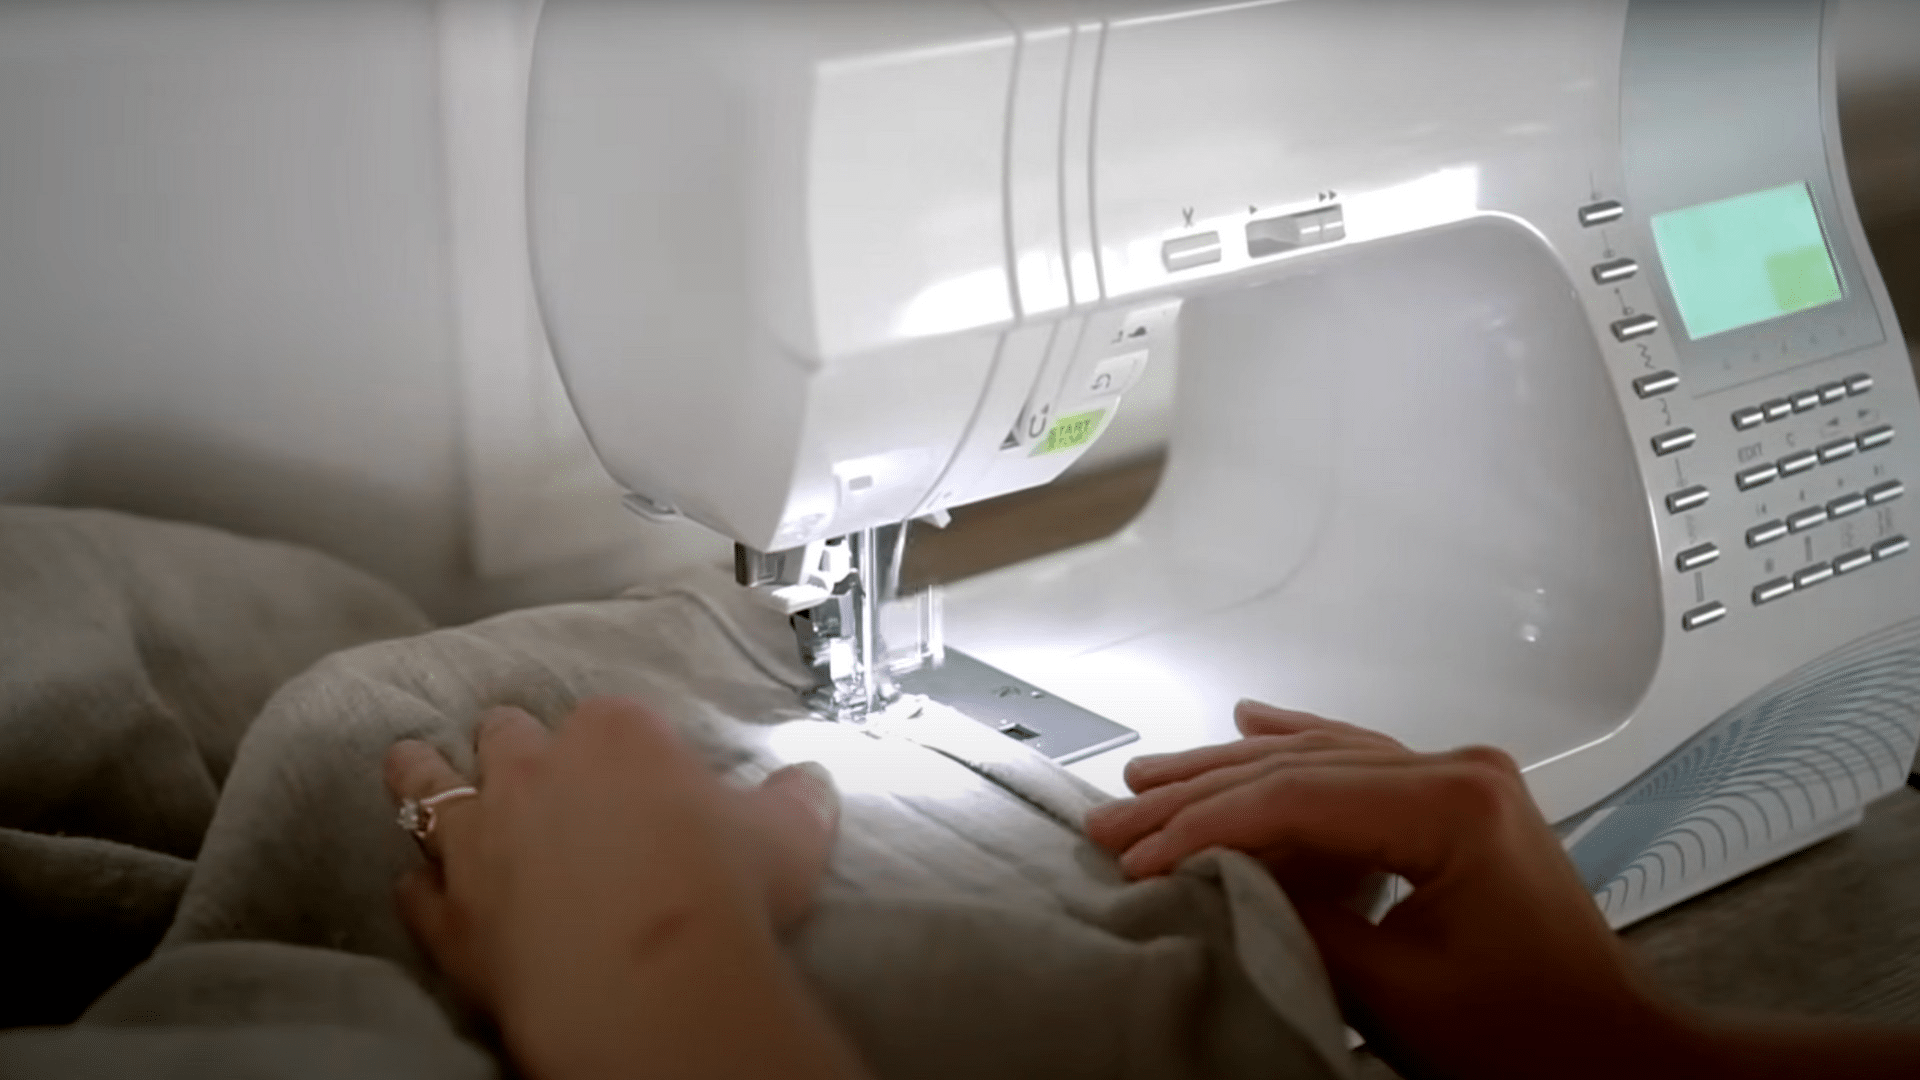
Turn in the raw edges along both sides of your fabric panel and stitch them in place.
This creates clean, finished edges that look professional and prevent fraying over time, even with repeated use and washing.
Step 3: Prepare the Top Edge
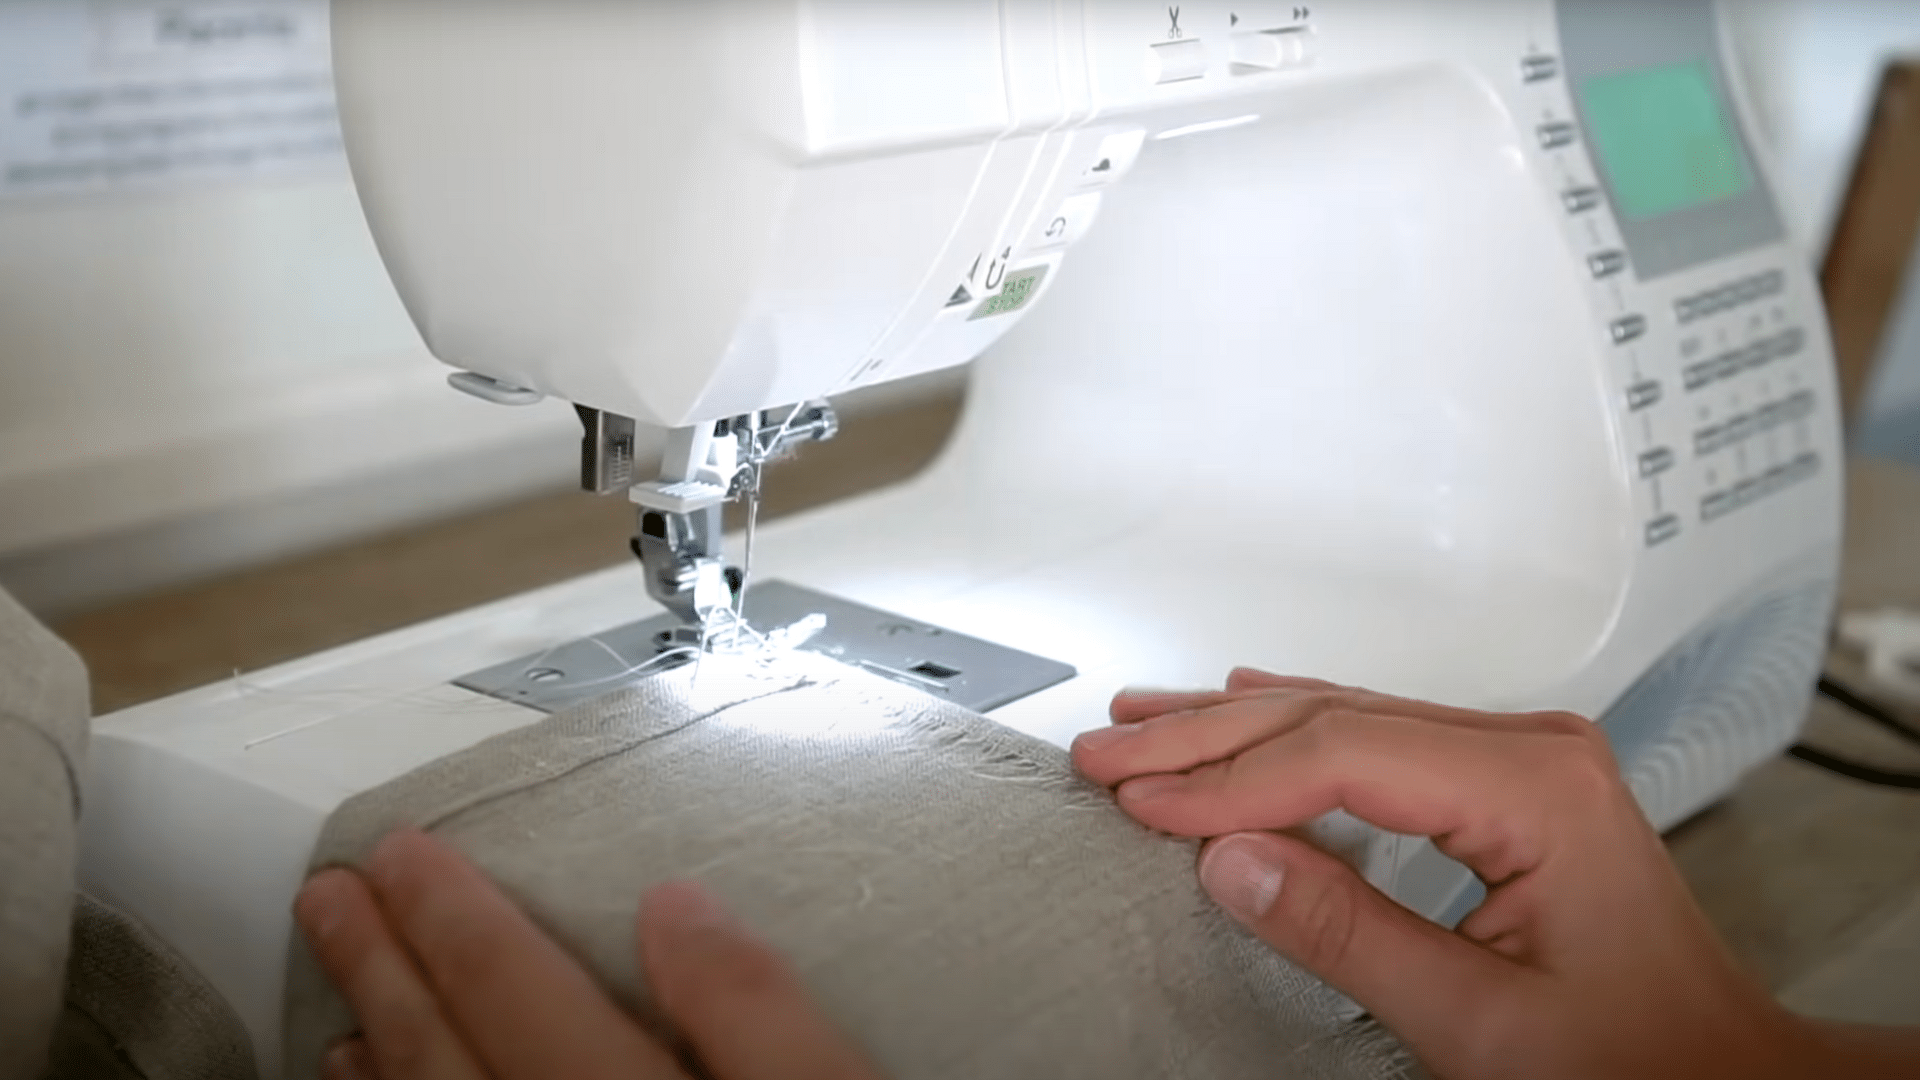
Fold the top edge down about half an inch and stitch it in place.
This step encases the raw edge and creates a clean foundation for attaching the pleat tape in the next step.
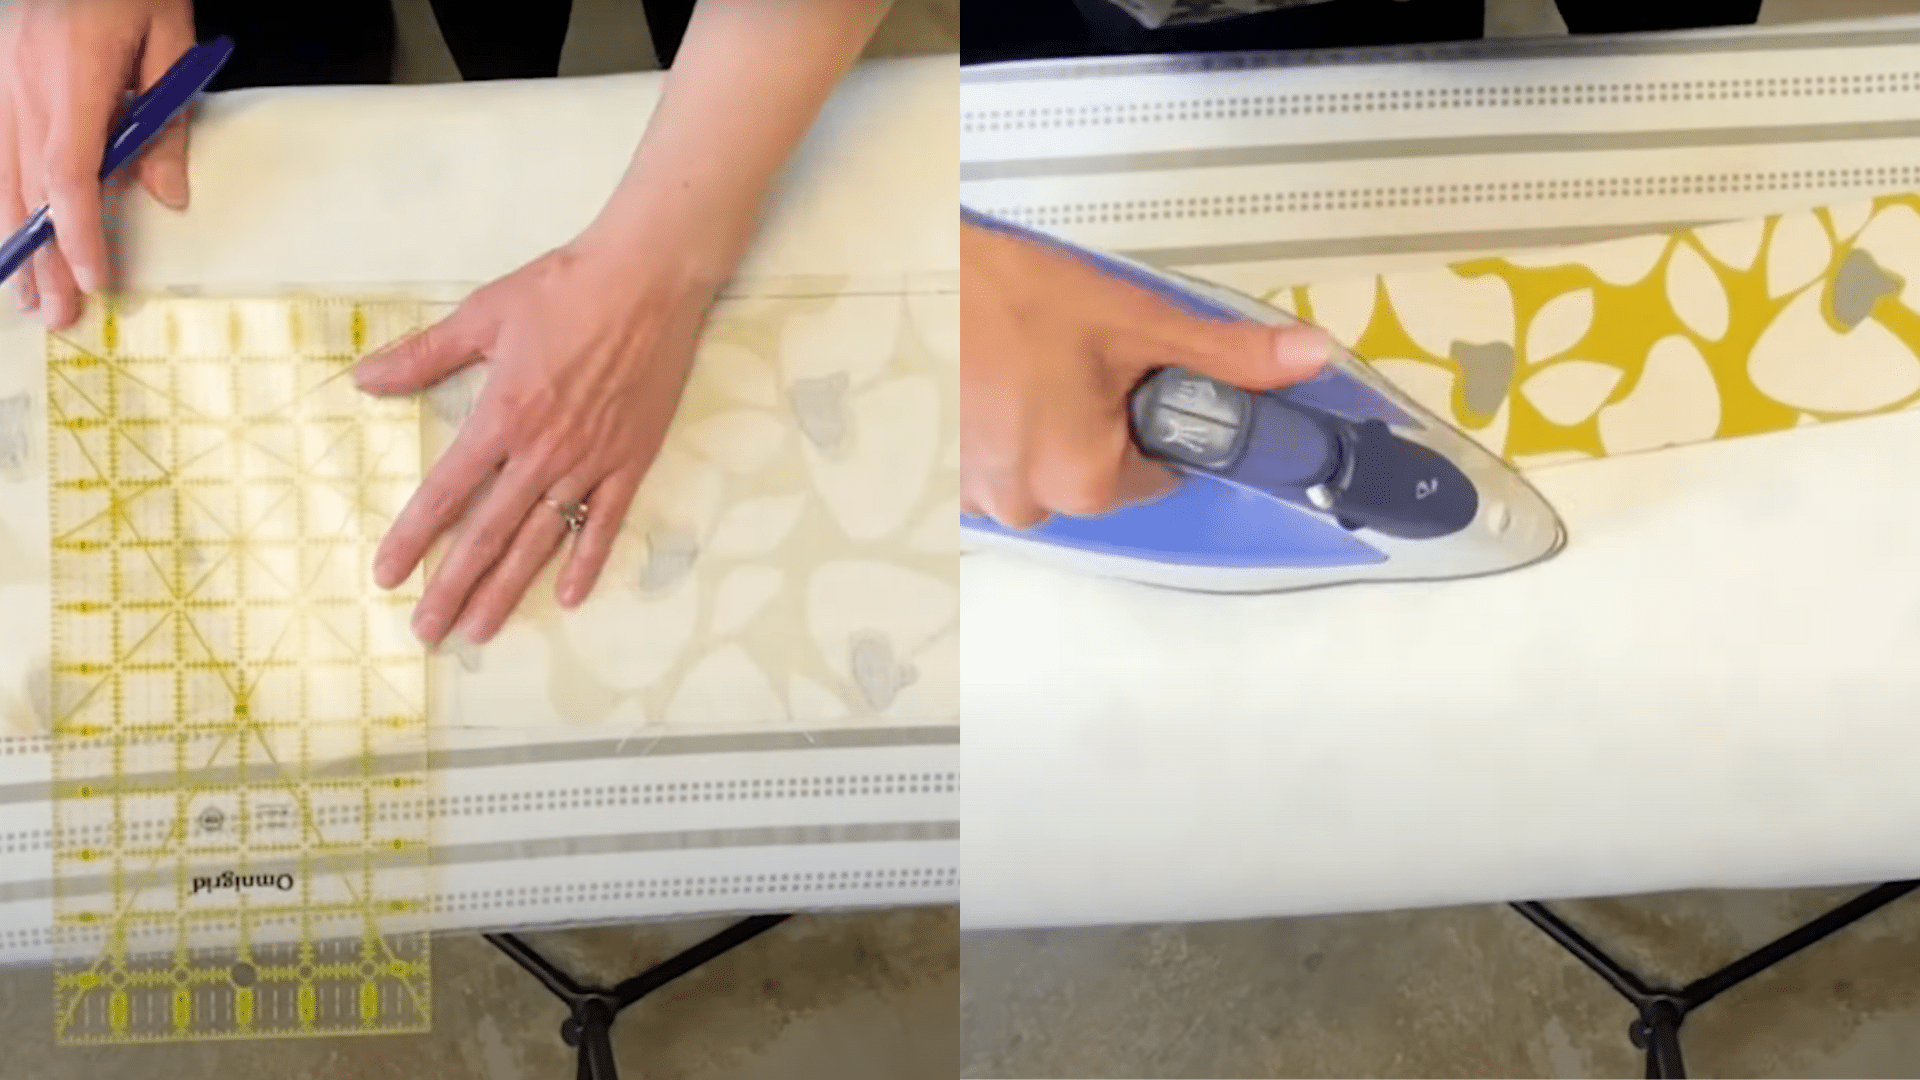
Step 4: Pin the Pleat Tape
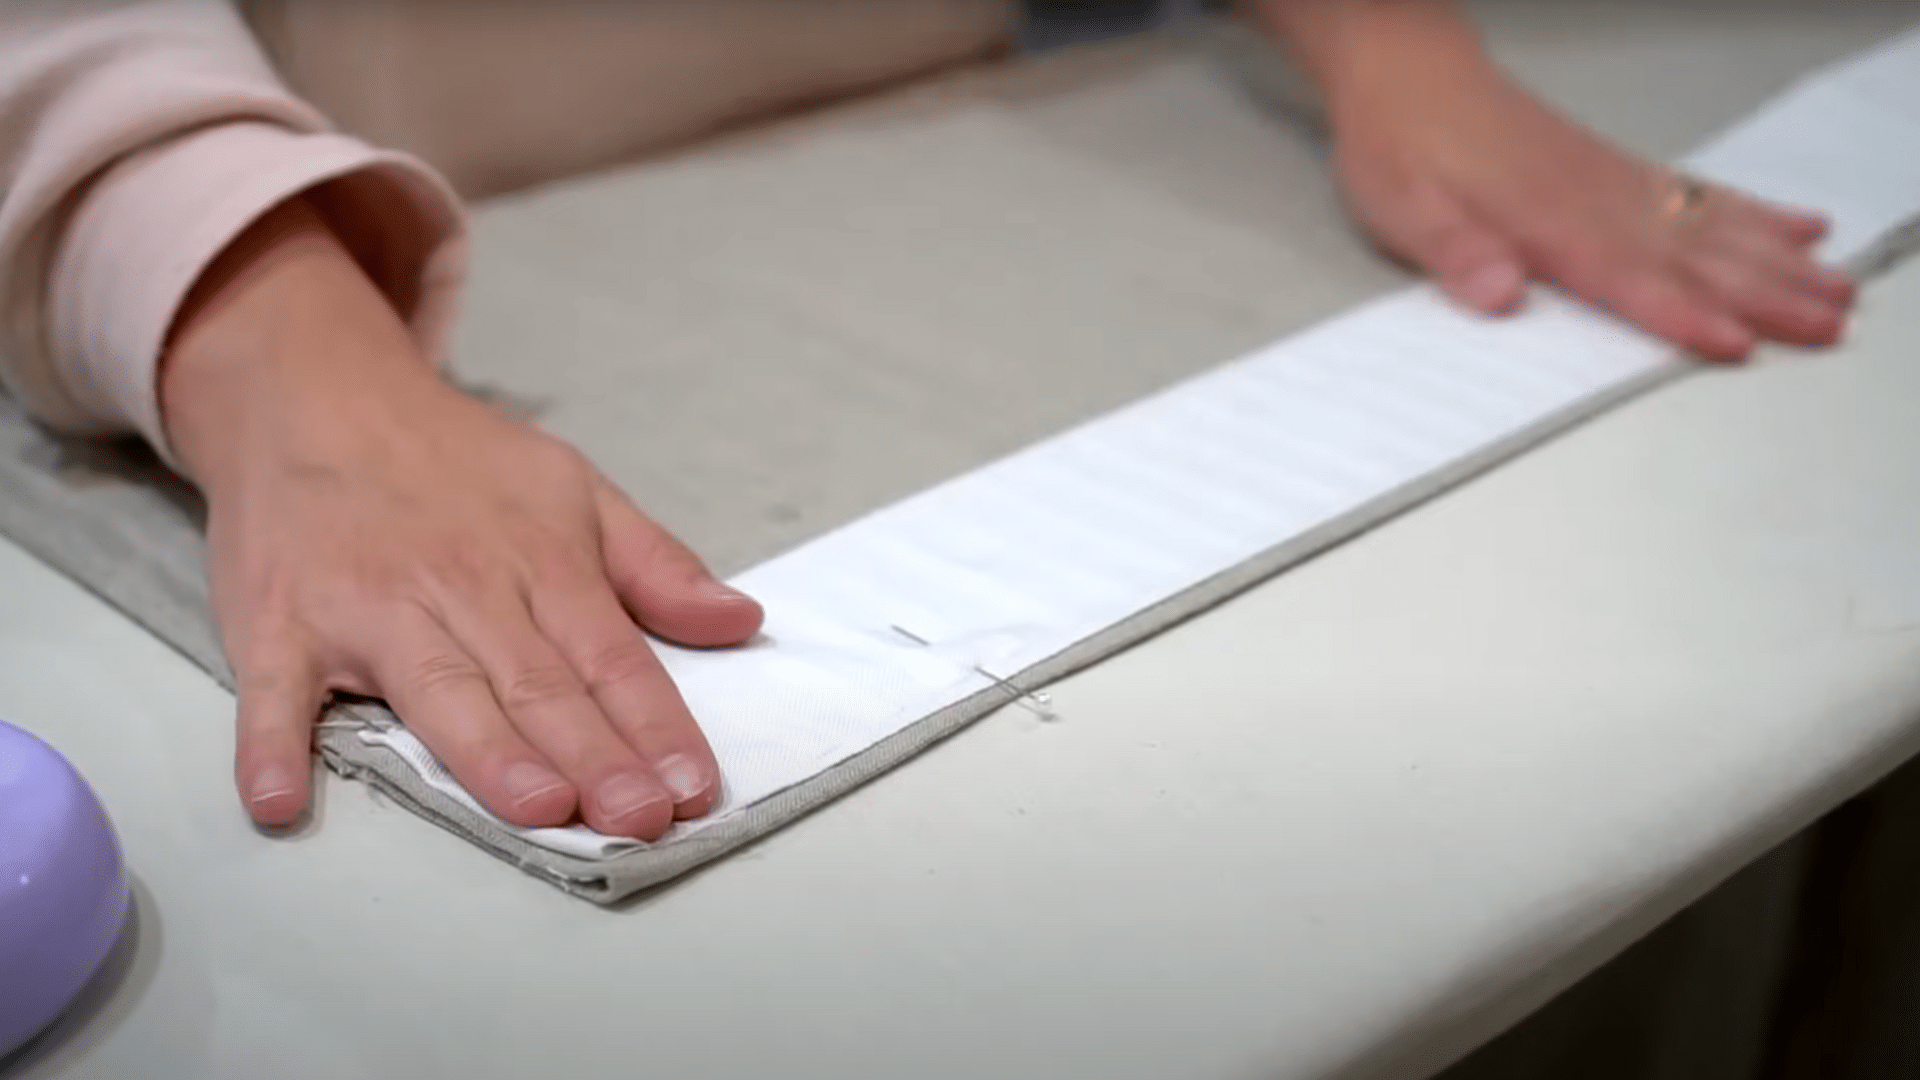
Fold the top edge over, using the pleat tape as a guide, and leave at least a quarter inch of extra fabric on both sides of the tape.
Press the fold and pin the tape securely in position.
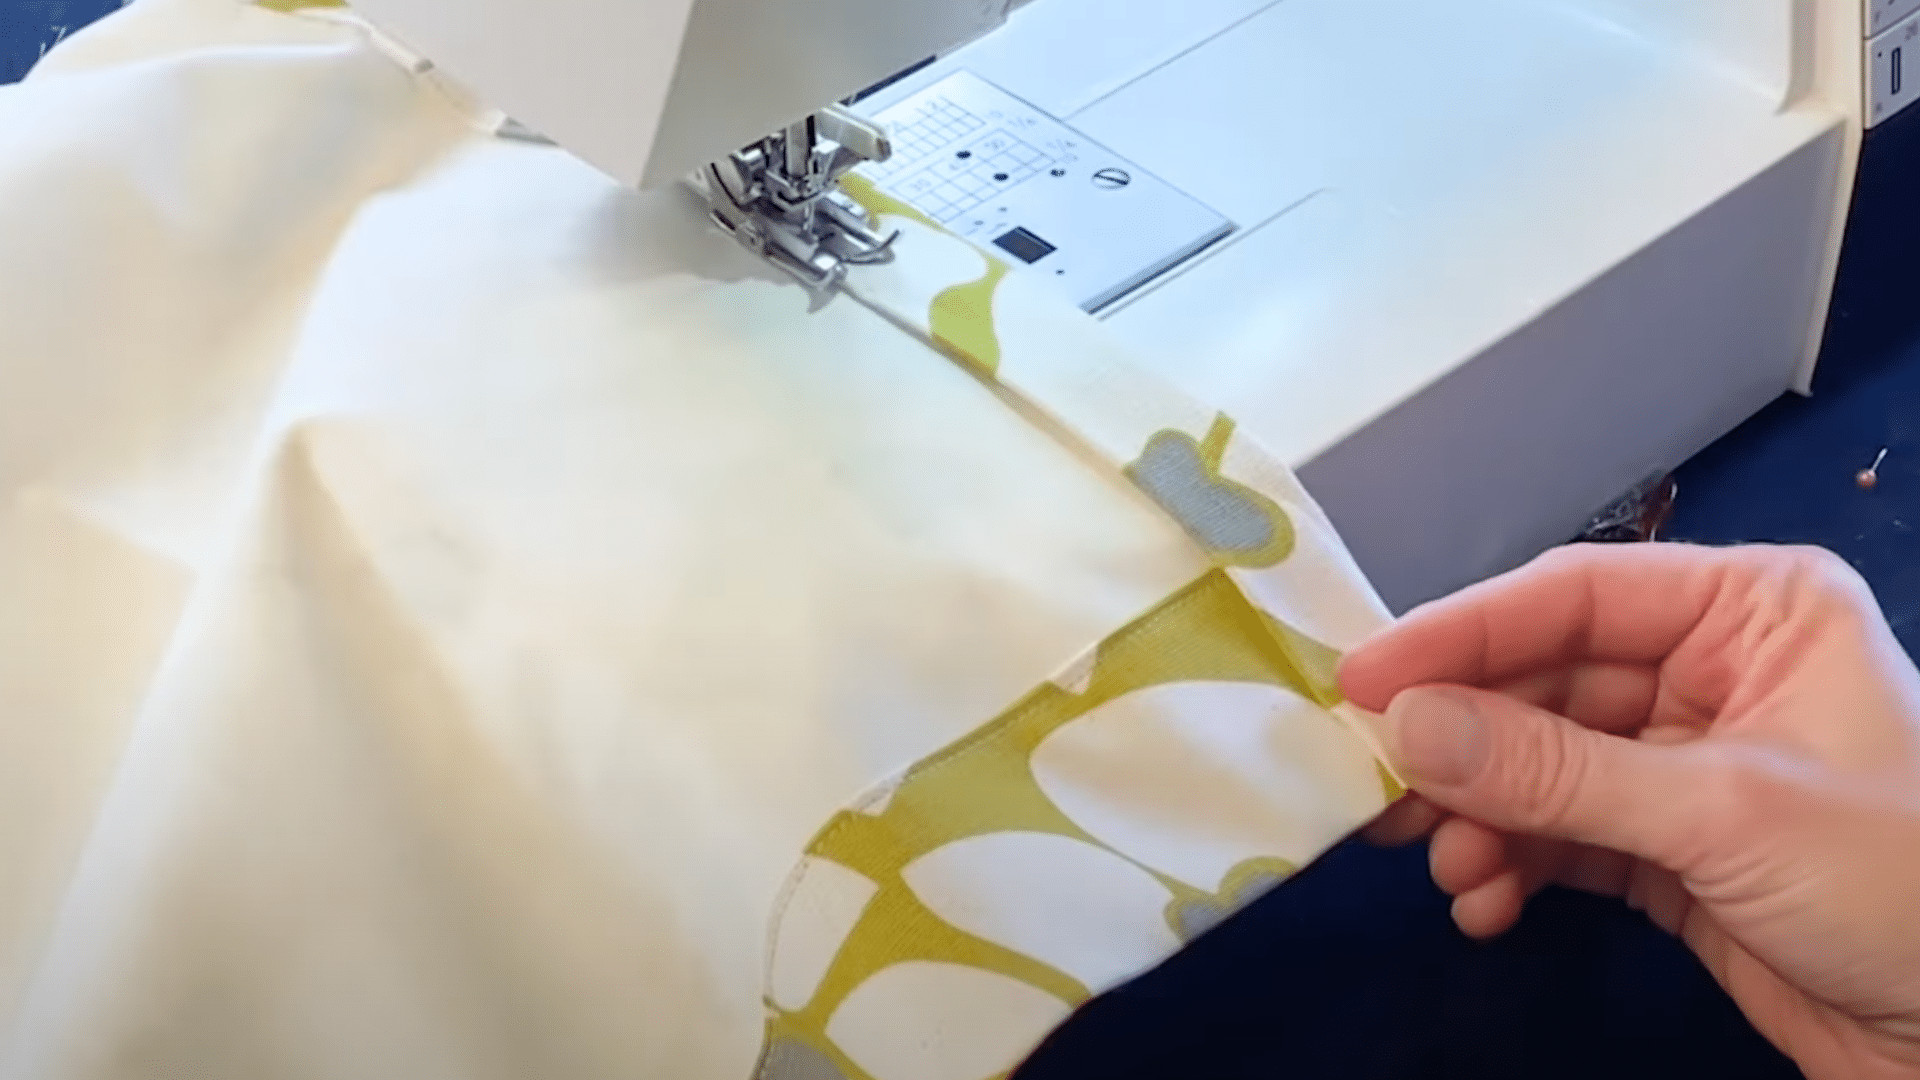
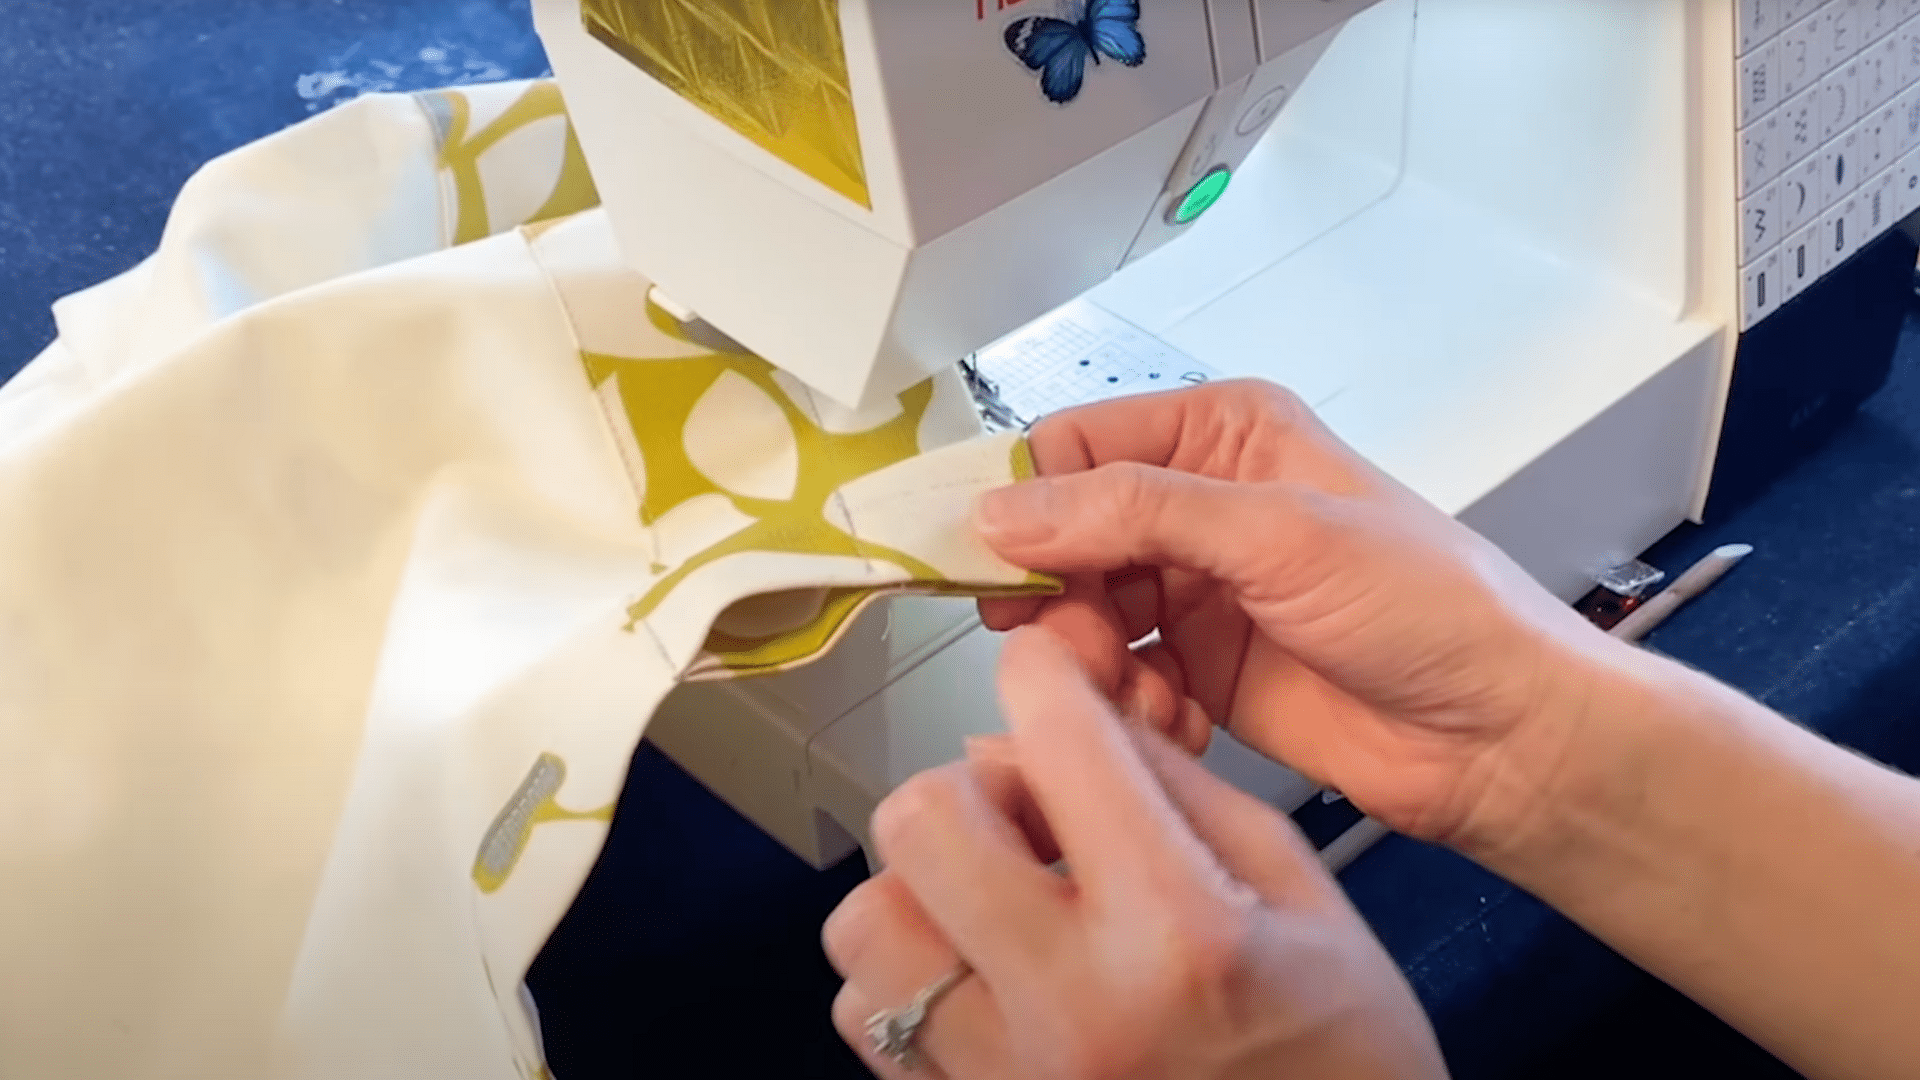
Step 5: Sew the Pleat Tape
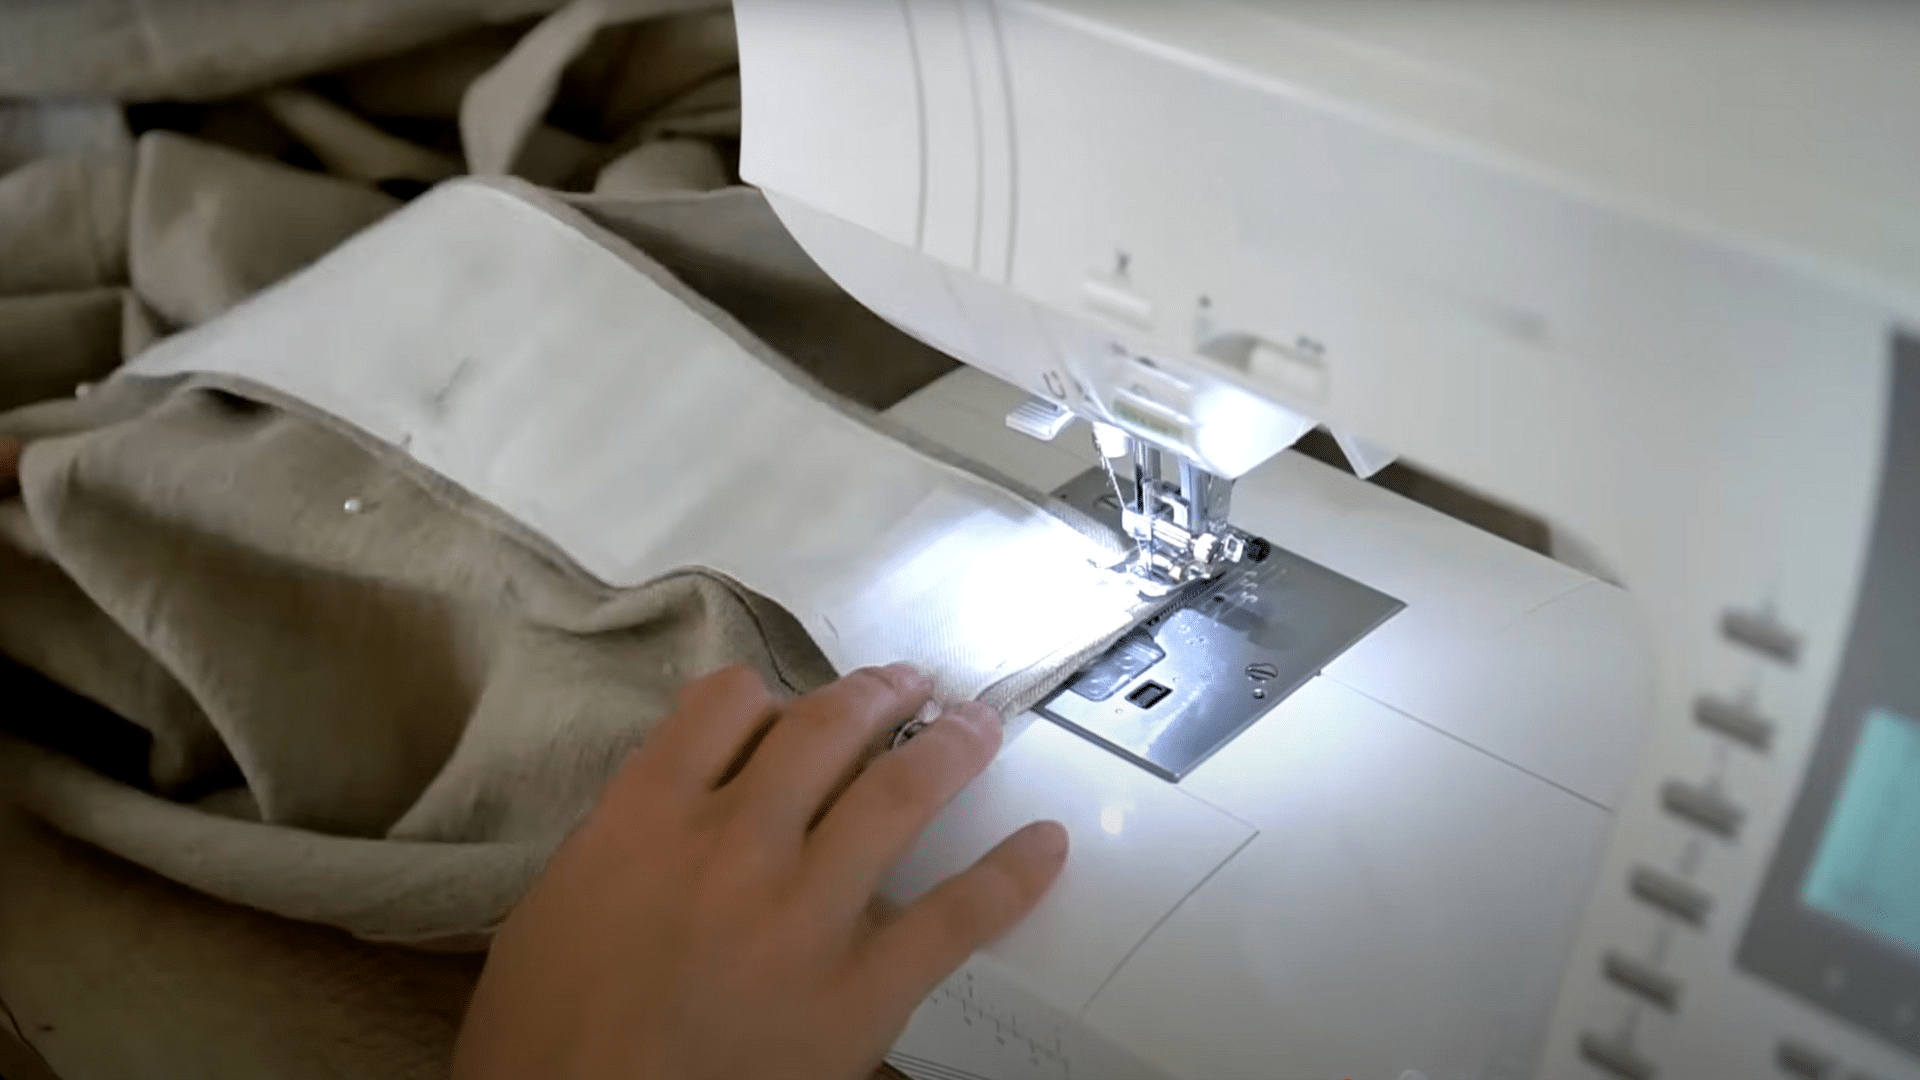
Stitch around all edges of the pleat tape, being careful not to sew through the prong openings.
Maintain consistent seam allowances for a professional appearance on both sides of the curtain panel.
Step 6: Add Rings and Prongs
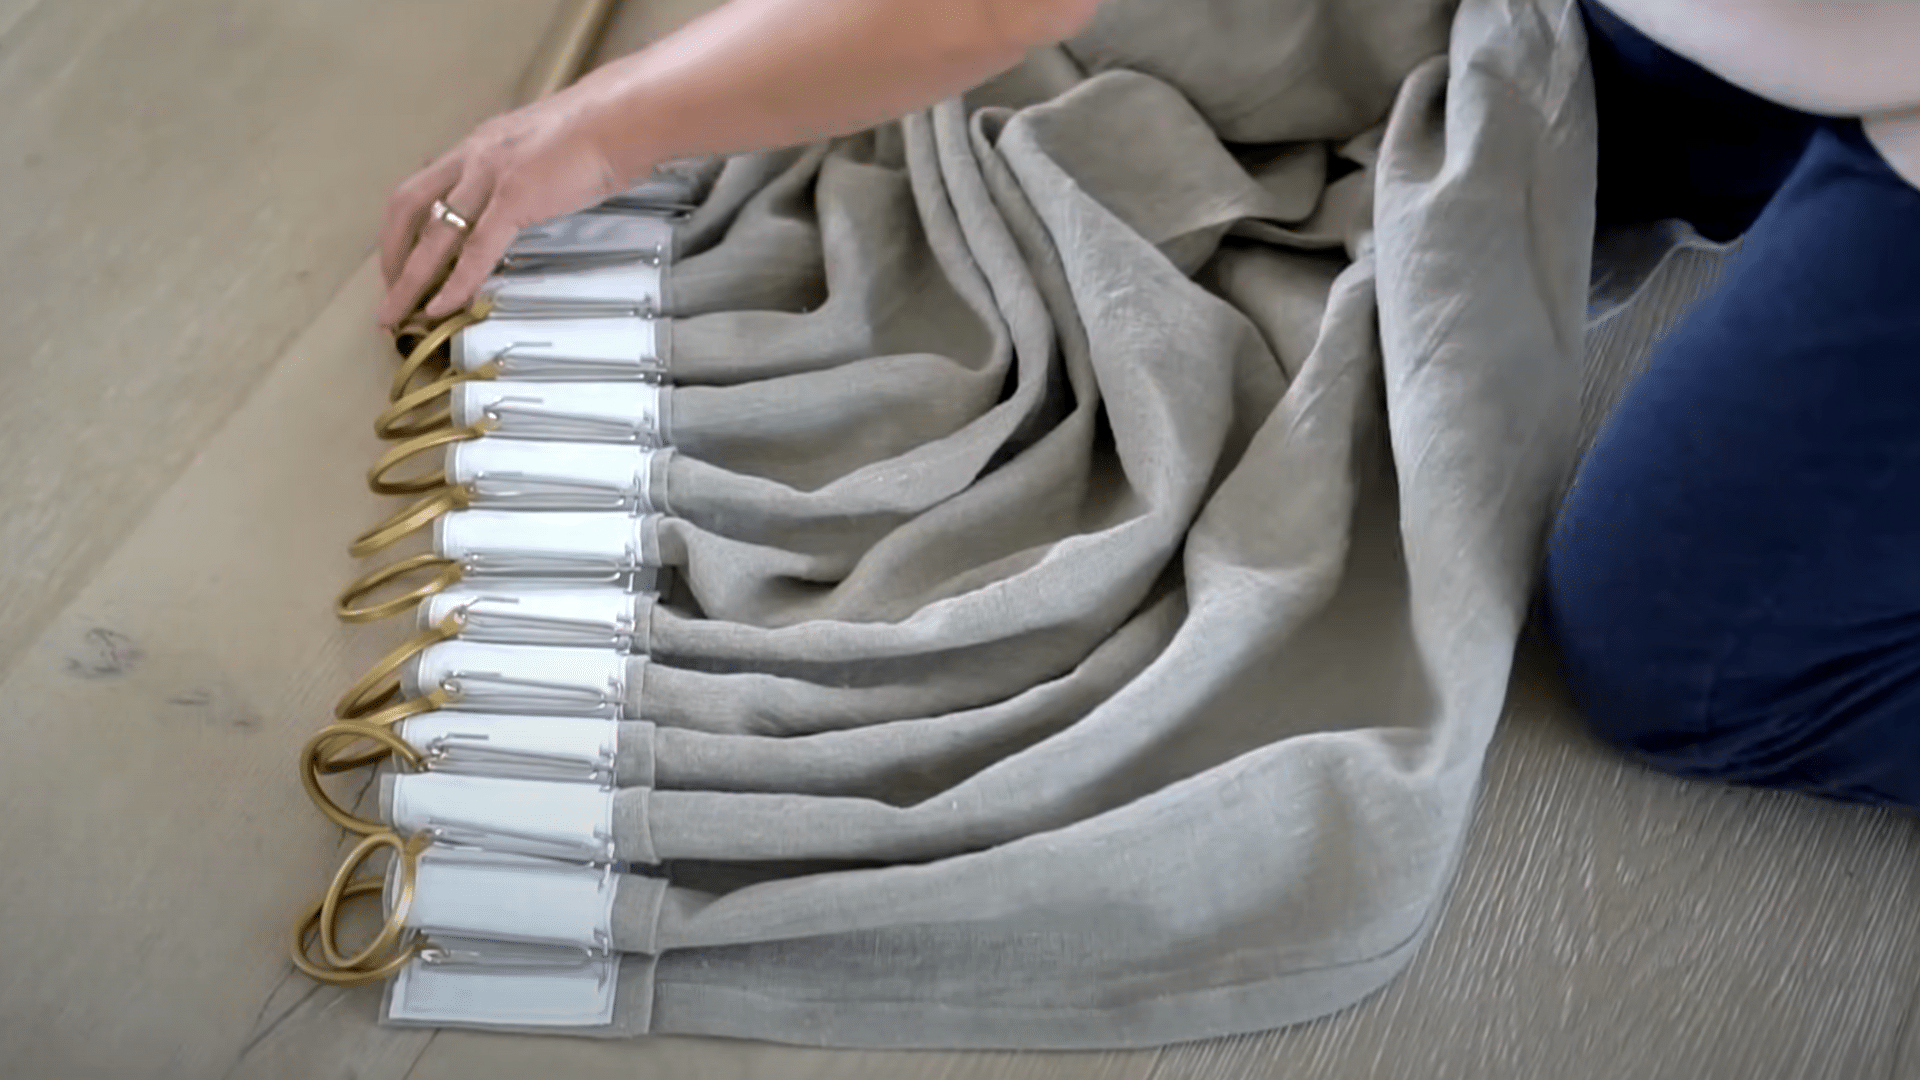
Press all hems and seams for a crisp, professional look. Insert prongs into every fifth pleat spot for a casual gathered appearance, or follow other pleat patterns for different styles and effects.
Step 7: Finish and Hang
Insert curtain rings through the eyelet holes into the hooks.
Thread the rod through the rings while on the floor for easier handling, then hang the completed curtains and adjust the pleats as desired.
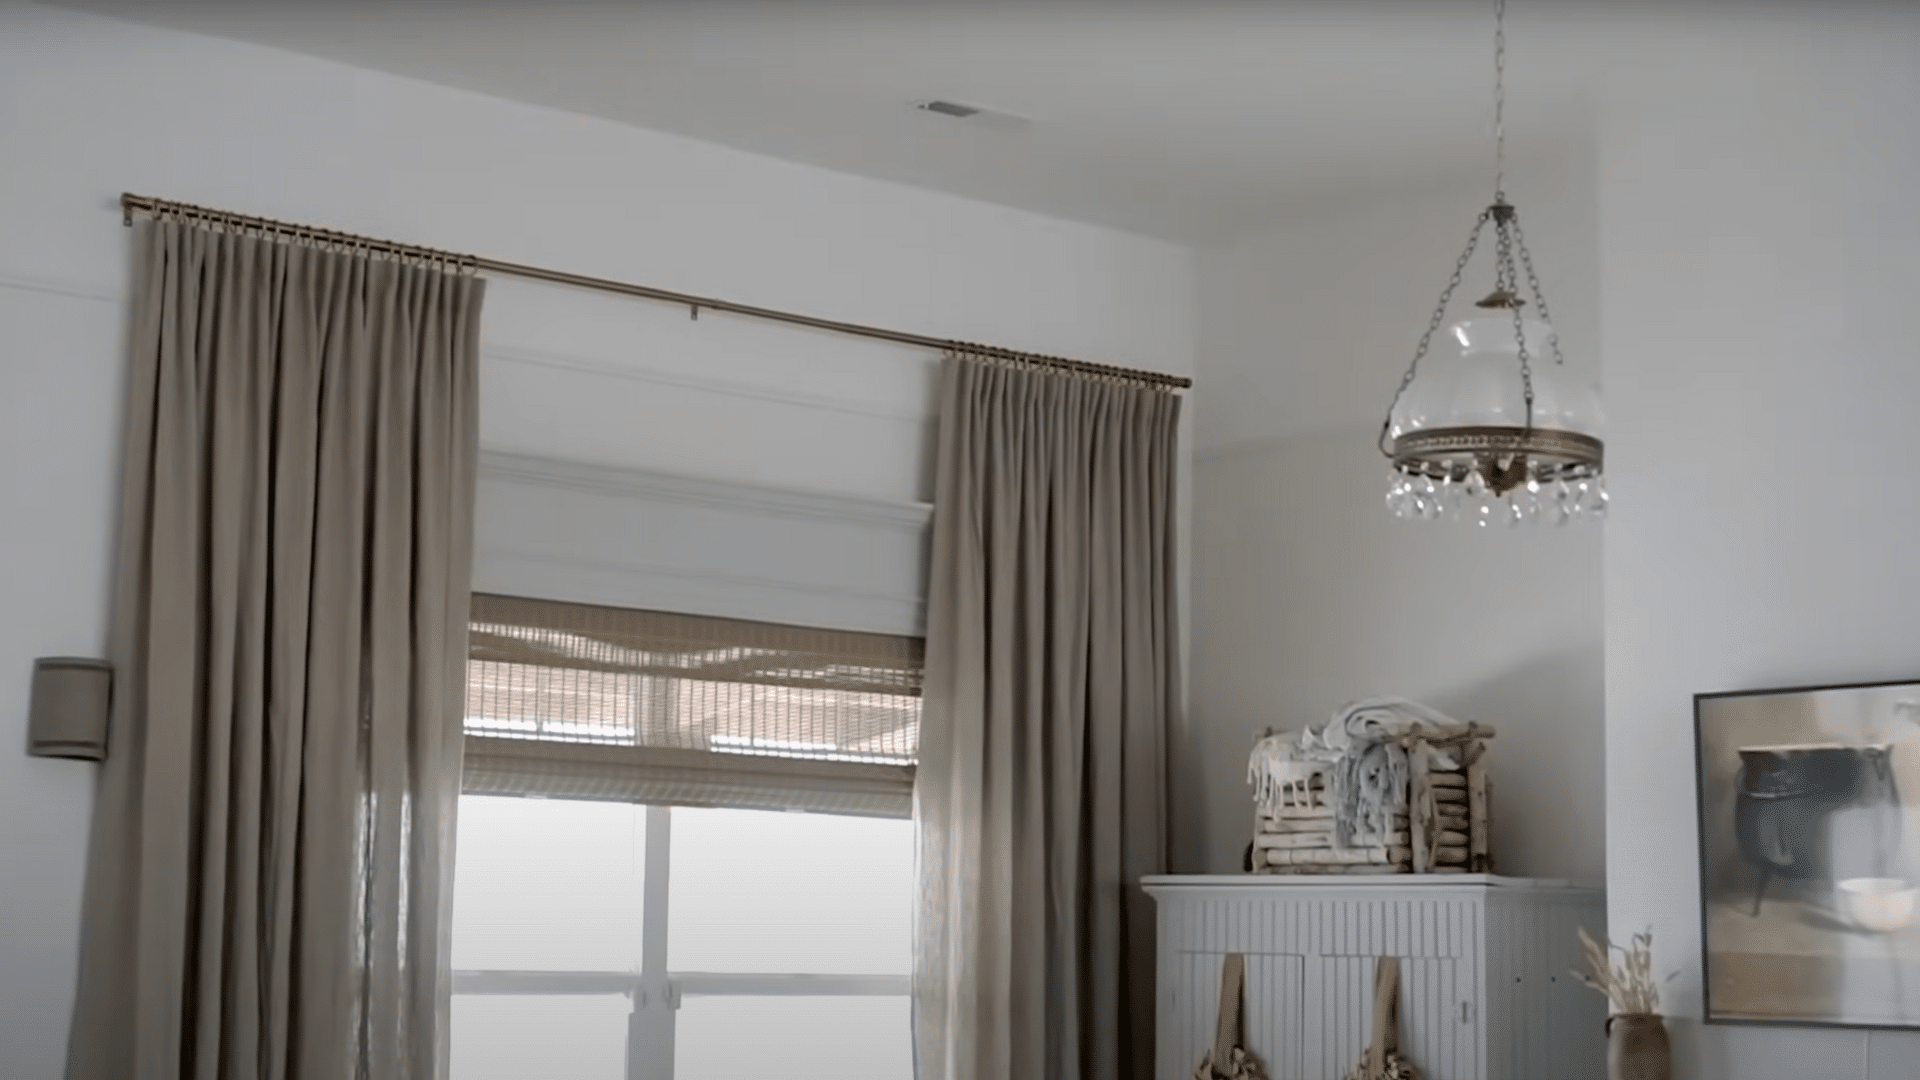
This pleat tape method gives you effortless styling options and creates luxury curtains that turn any room, with modest sewing skills required.
For more detailed step-by-step instructions, check out the video below by TIDBITS & Company:
How to Make Lined Curtains with Buckram
Creating lined curtains adds a professional touch to your windows while providing better light control and insulation.
This method utilizes buckram (also known as drapery crinoline) to create a structured header that produces beautiful pleats.
Tools and Materials Required
| Material | Purpose |
|---|---|
| Drapery fabric (velvet or heavy material) | Main curtain face |
| Lining fabric | Provides structure and blocks light |
| Buckram or drapery crinoline | Creates a structured header for pleats |
| Thread matching fabric color | Sews all seams together |
| Measuring tape | Measures fabric and determines lengths |
| Fabric scissors | Cuts fabric to the proper sizes |
| Pins | Holds fabric pieces in place |
| Sewing machine with a walking foot | Prevents fabric shifting during sewing |
| Plastic ruler | Ensures accurate measurements |
| Drapery hooks | Attaches curtains to rings |
| Curtain rings | Hangs finished curtains on the rod |
Step-by-Step Process for Lined drapes
Follow these steps to create beautiful lined curtains with a professional buckram header that will turn any room in your home.
Step 1: Cut Off Selvage Edges
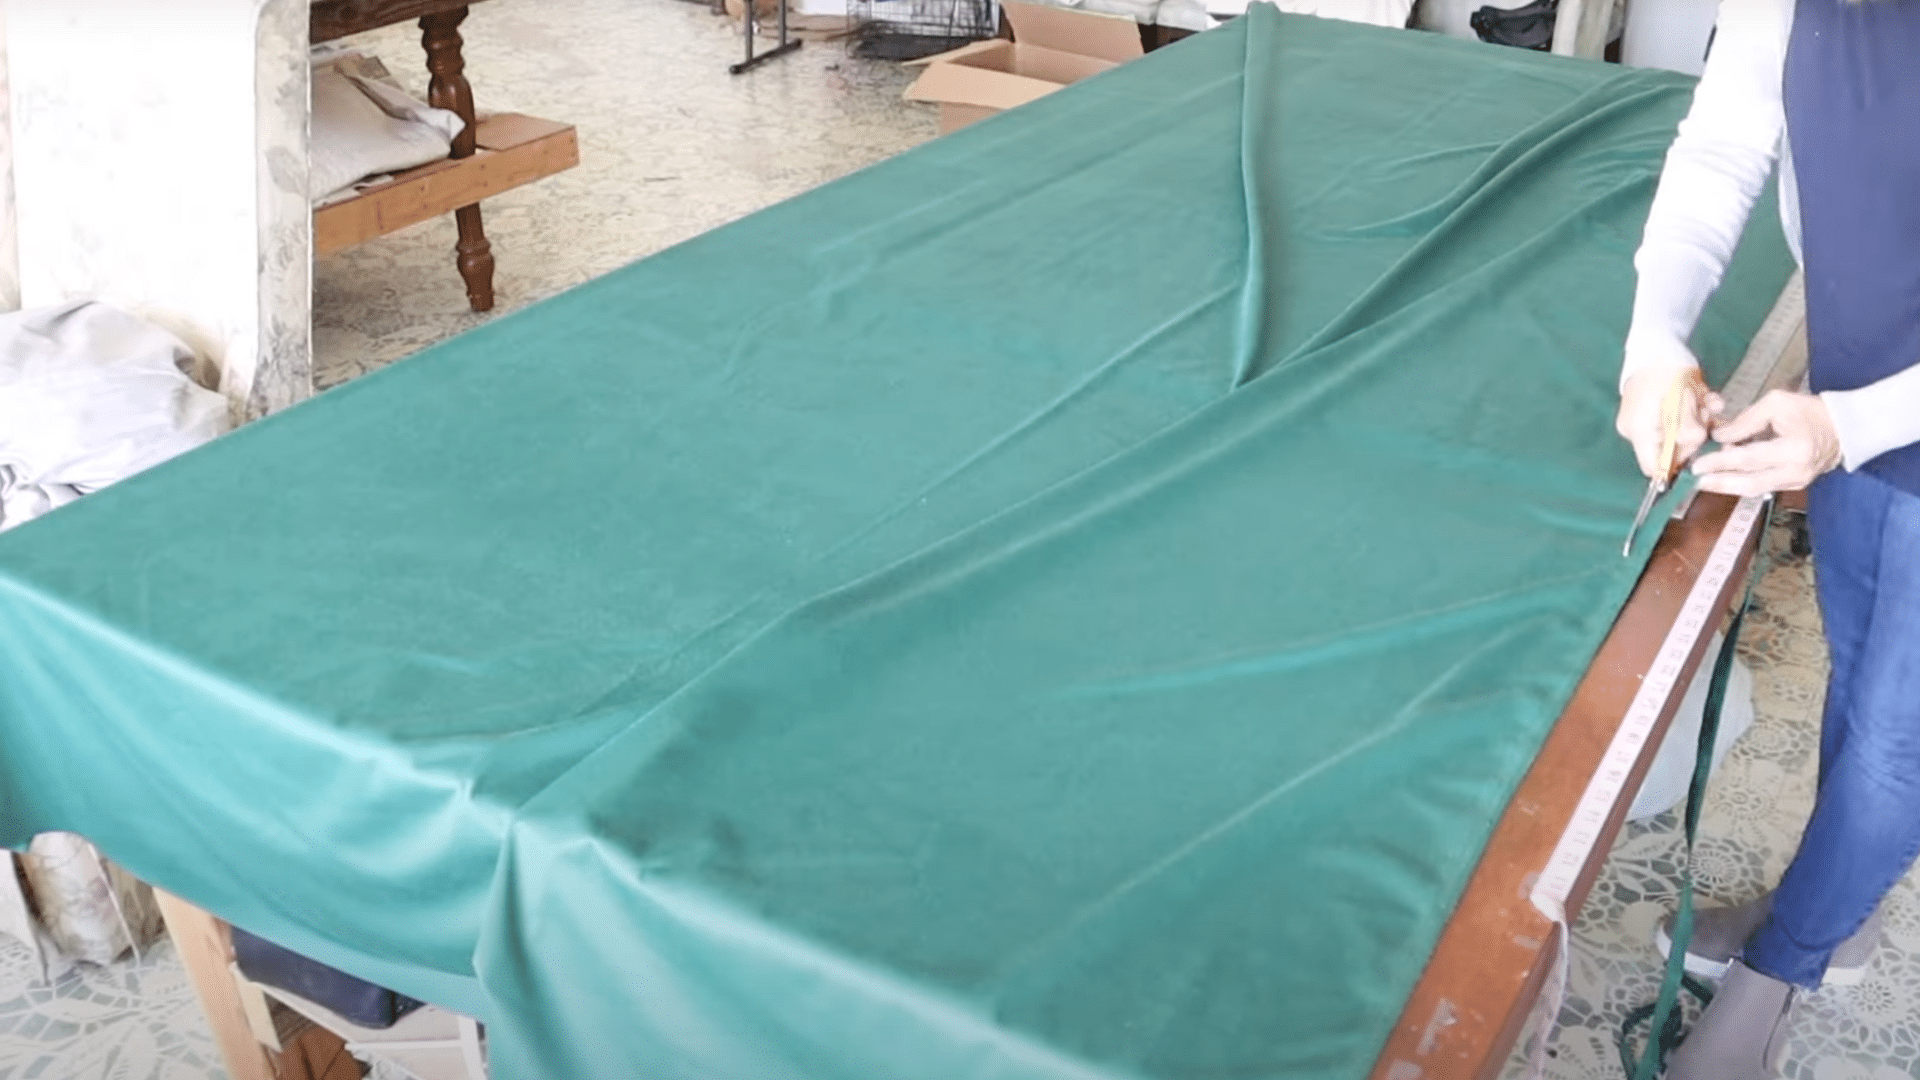
Remove the selvage edges from both sides of your fabric to prevent rippling.
The selvage can cause fabric to draw up and not lay flat. Cut carefully with sharp scissors for clean, straight edges.
Step 2: Determine Fabric Direction
Check for fabric nap, especially with velvet, by running your hand along the surface. All panels must run in the same direction for consistent color appearance. Mark the top and bottom clearly before cutting.
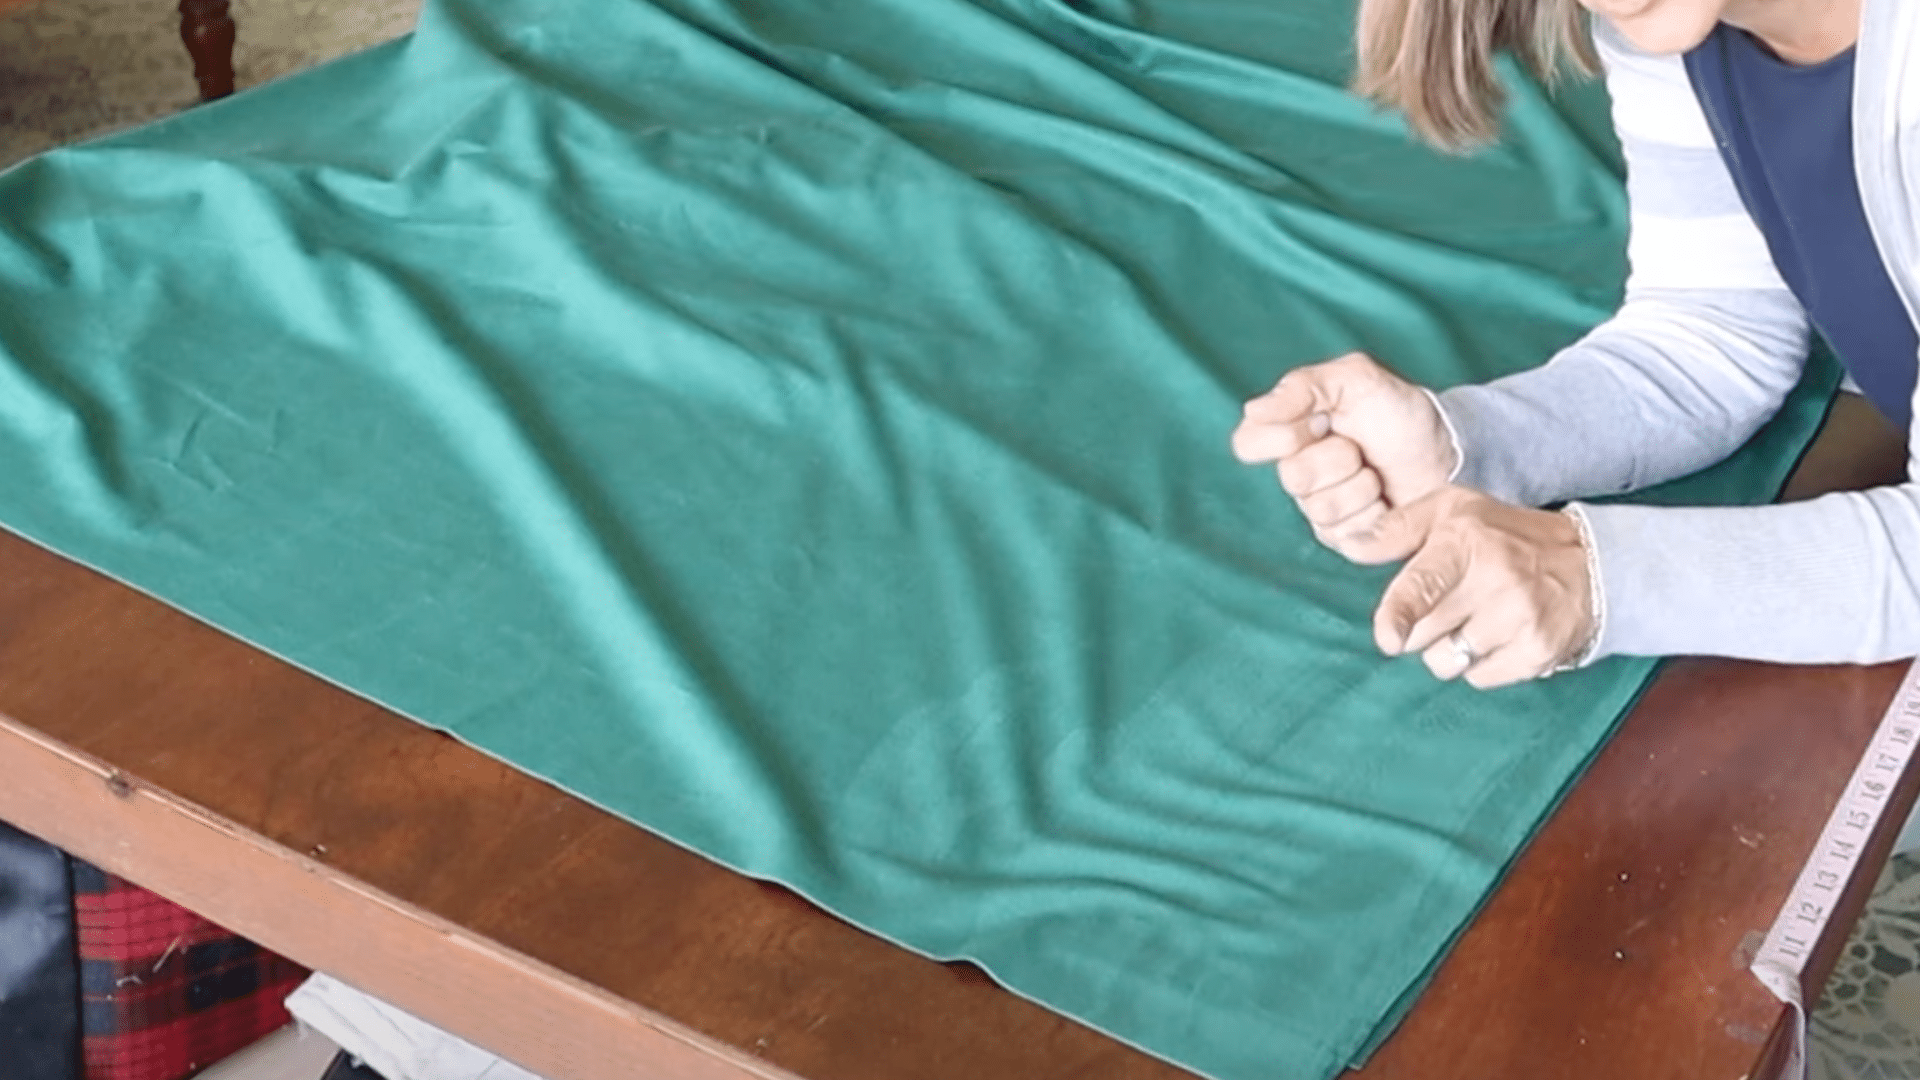
Step 3: Create the Bottom Hem
Fold the bottom edge up four inches, then fold again another four inches for a double hem. Pin across the entire width and sew with a walking foot to prevent shifting during the stitching process.
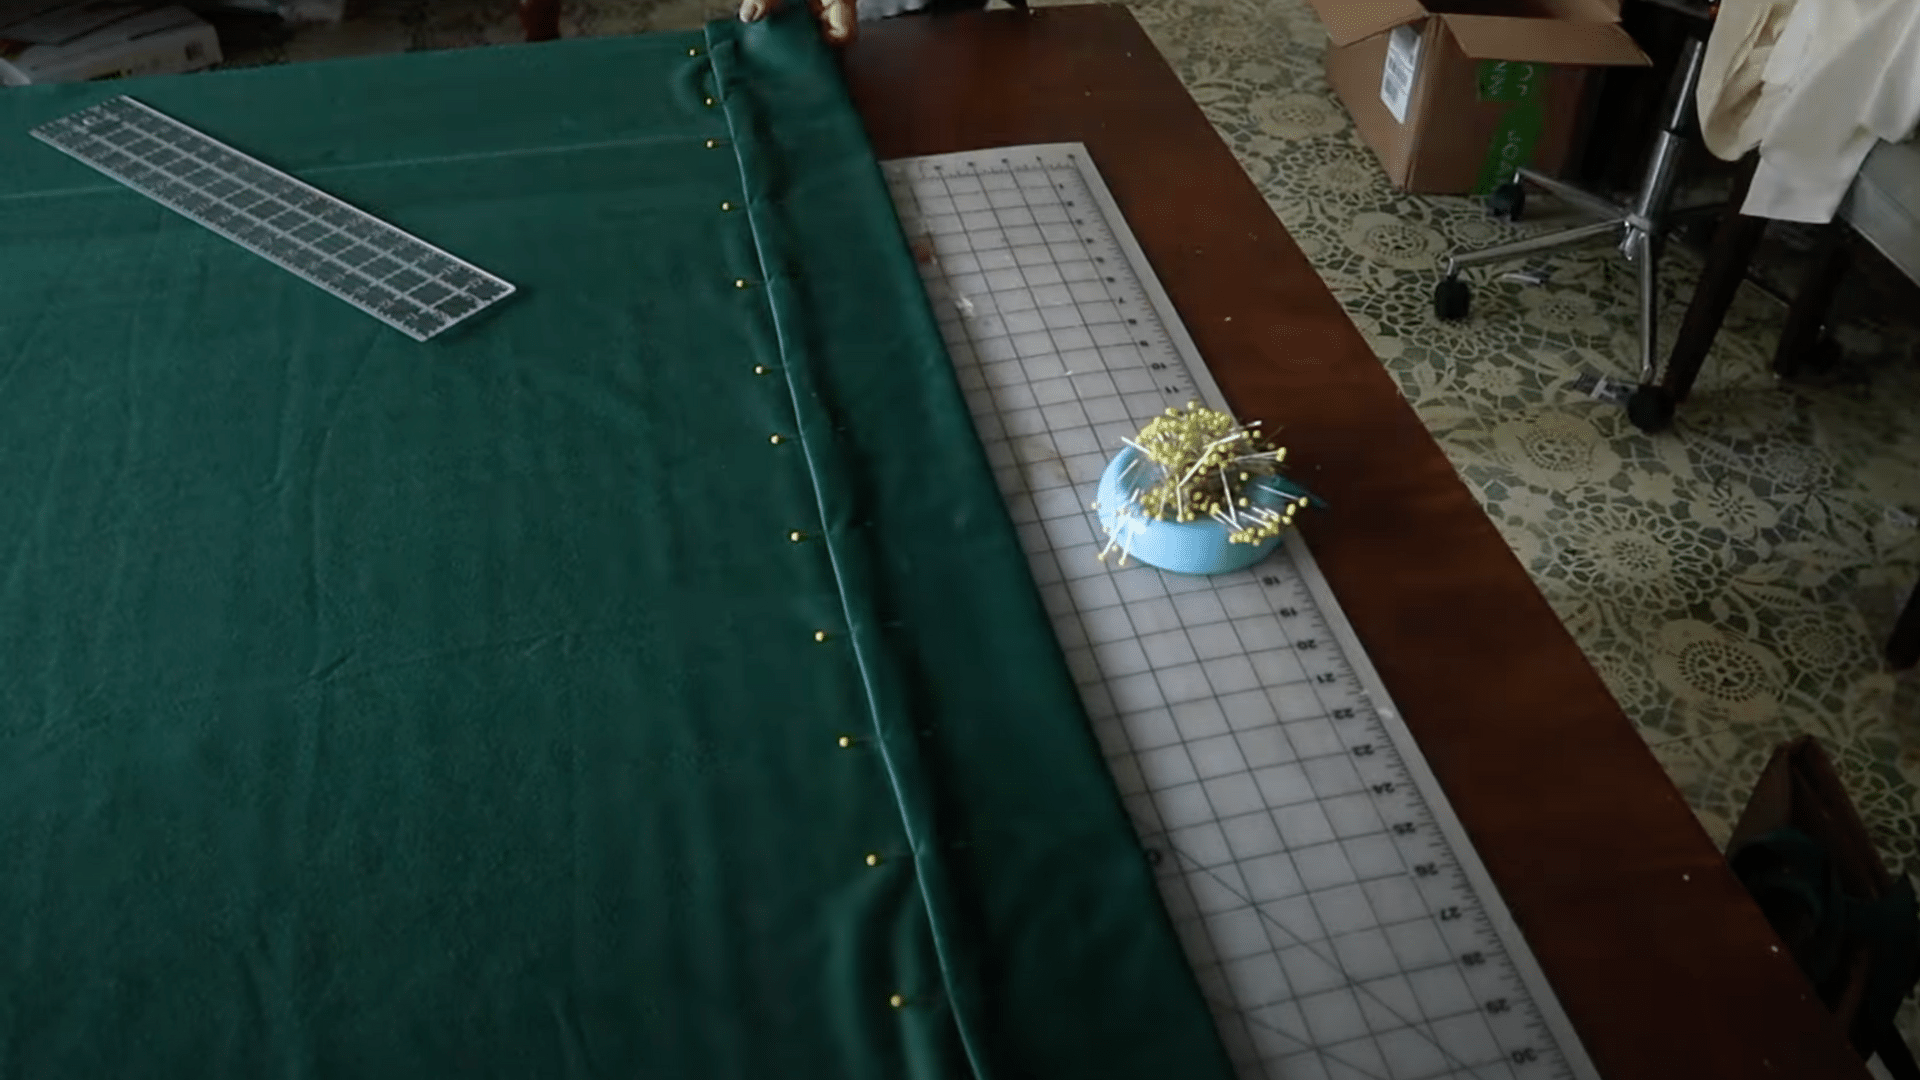
Step 4: Attach Lining and Sew Side Seams
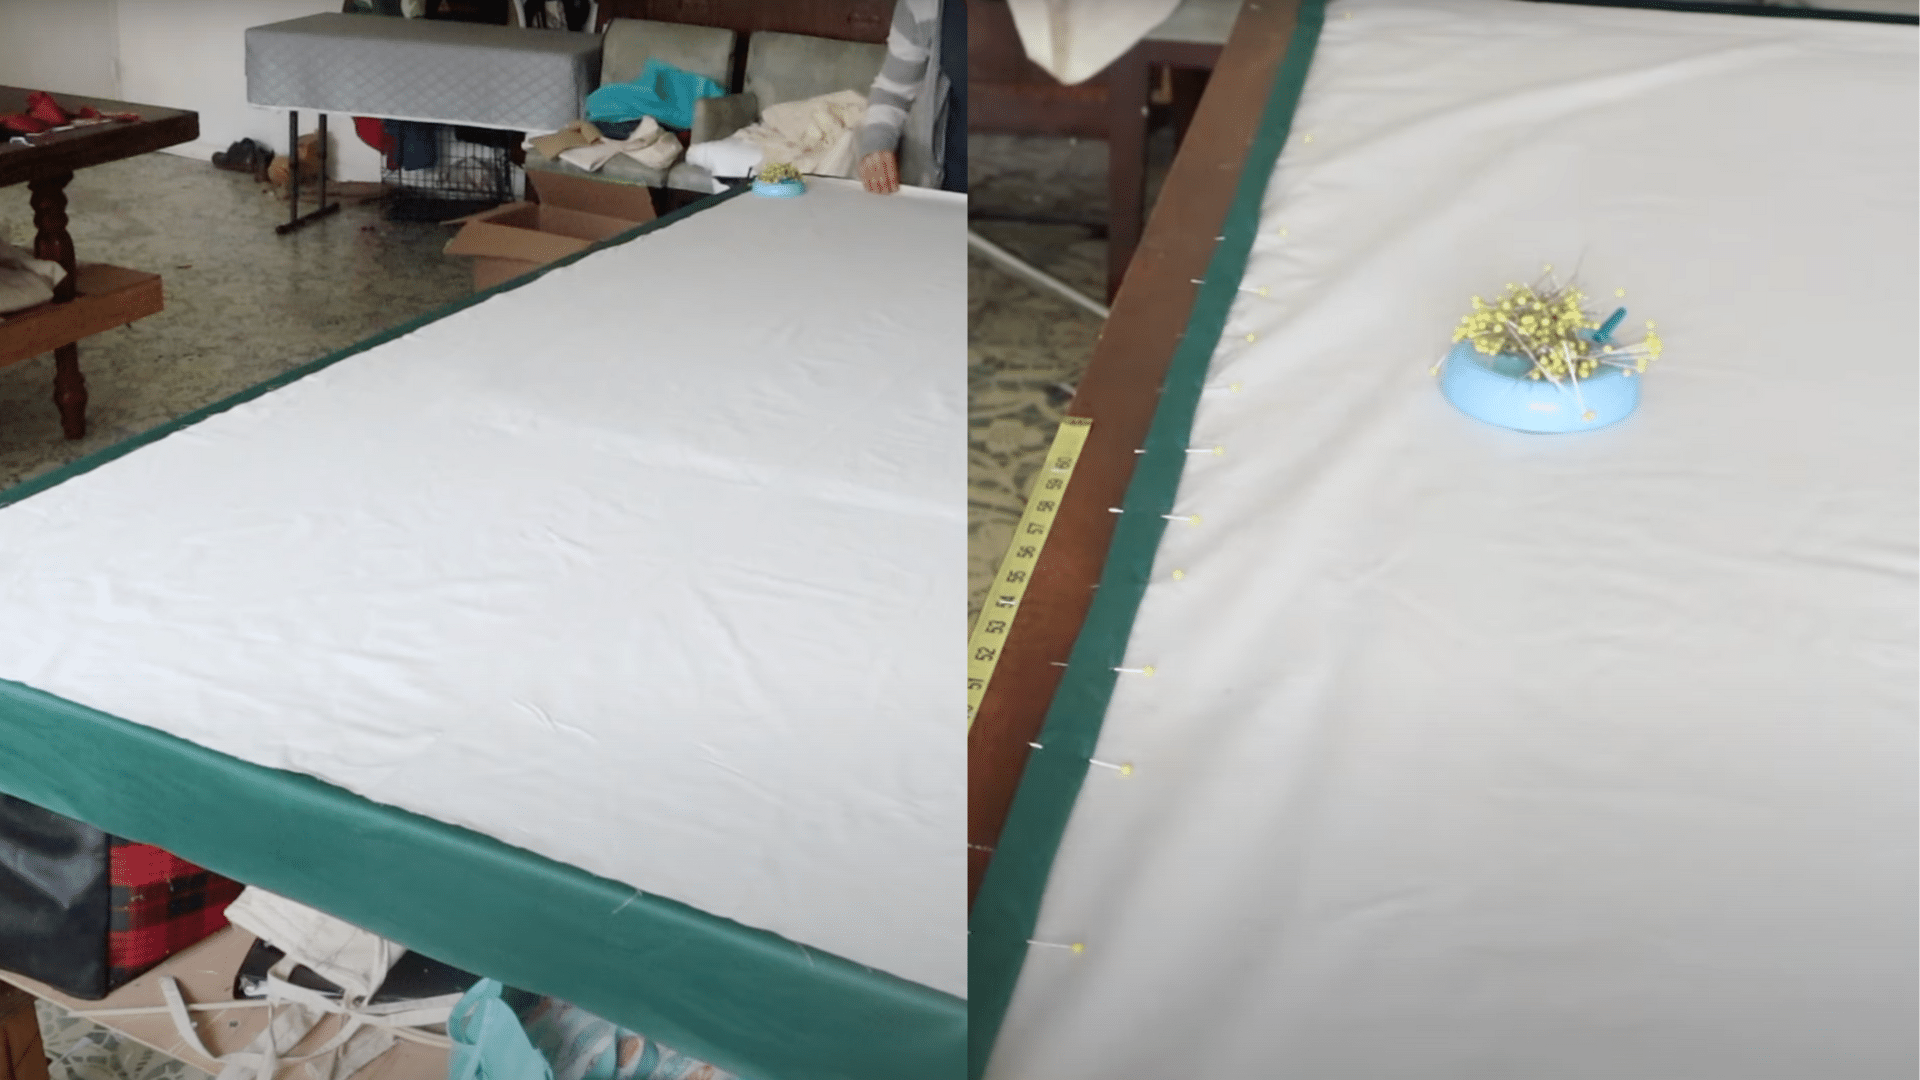
Place lining on top of the main fabric, positioning it 1.5 inches above the bottom hem. Pin side seams with double 1.5-inch folds and sew straight seams down both sides using your walking foot.
Step 5: Install Buckram Header
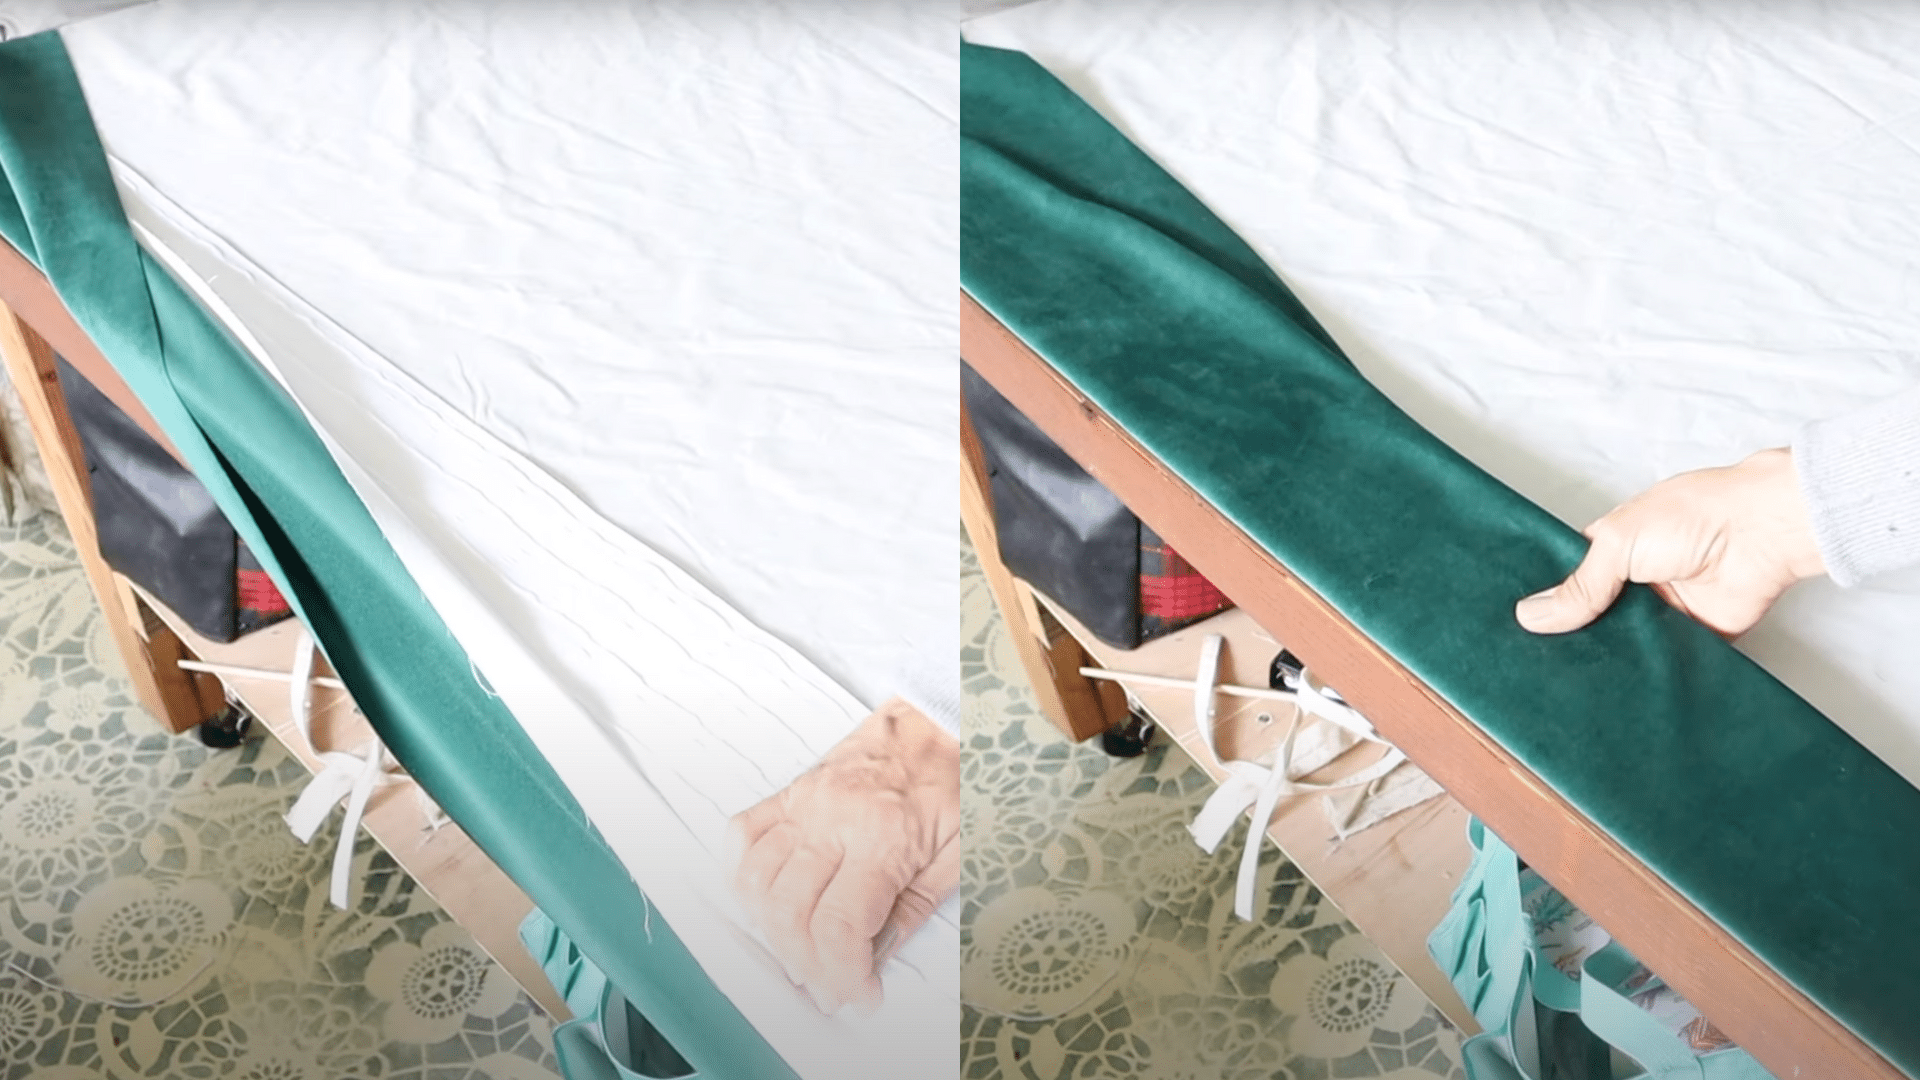
Place buckram at the table edge, fold the fabric over it, and then fold it under again for a double four-inch header. Pin across the width and sew right along the buckram edge for a crisp, finished look.
Step 6: Add Drapery Hooks
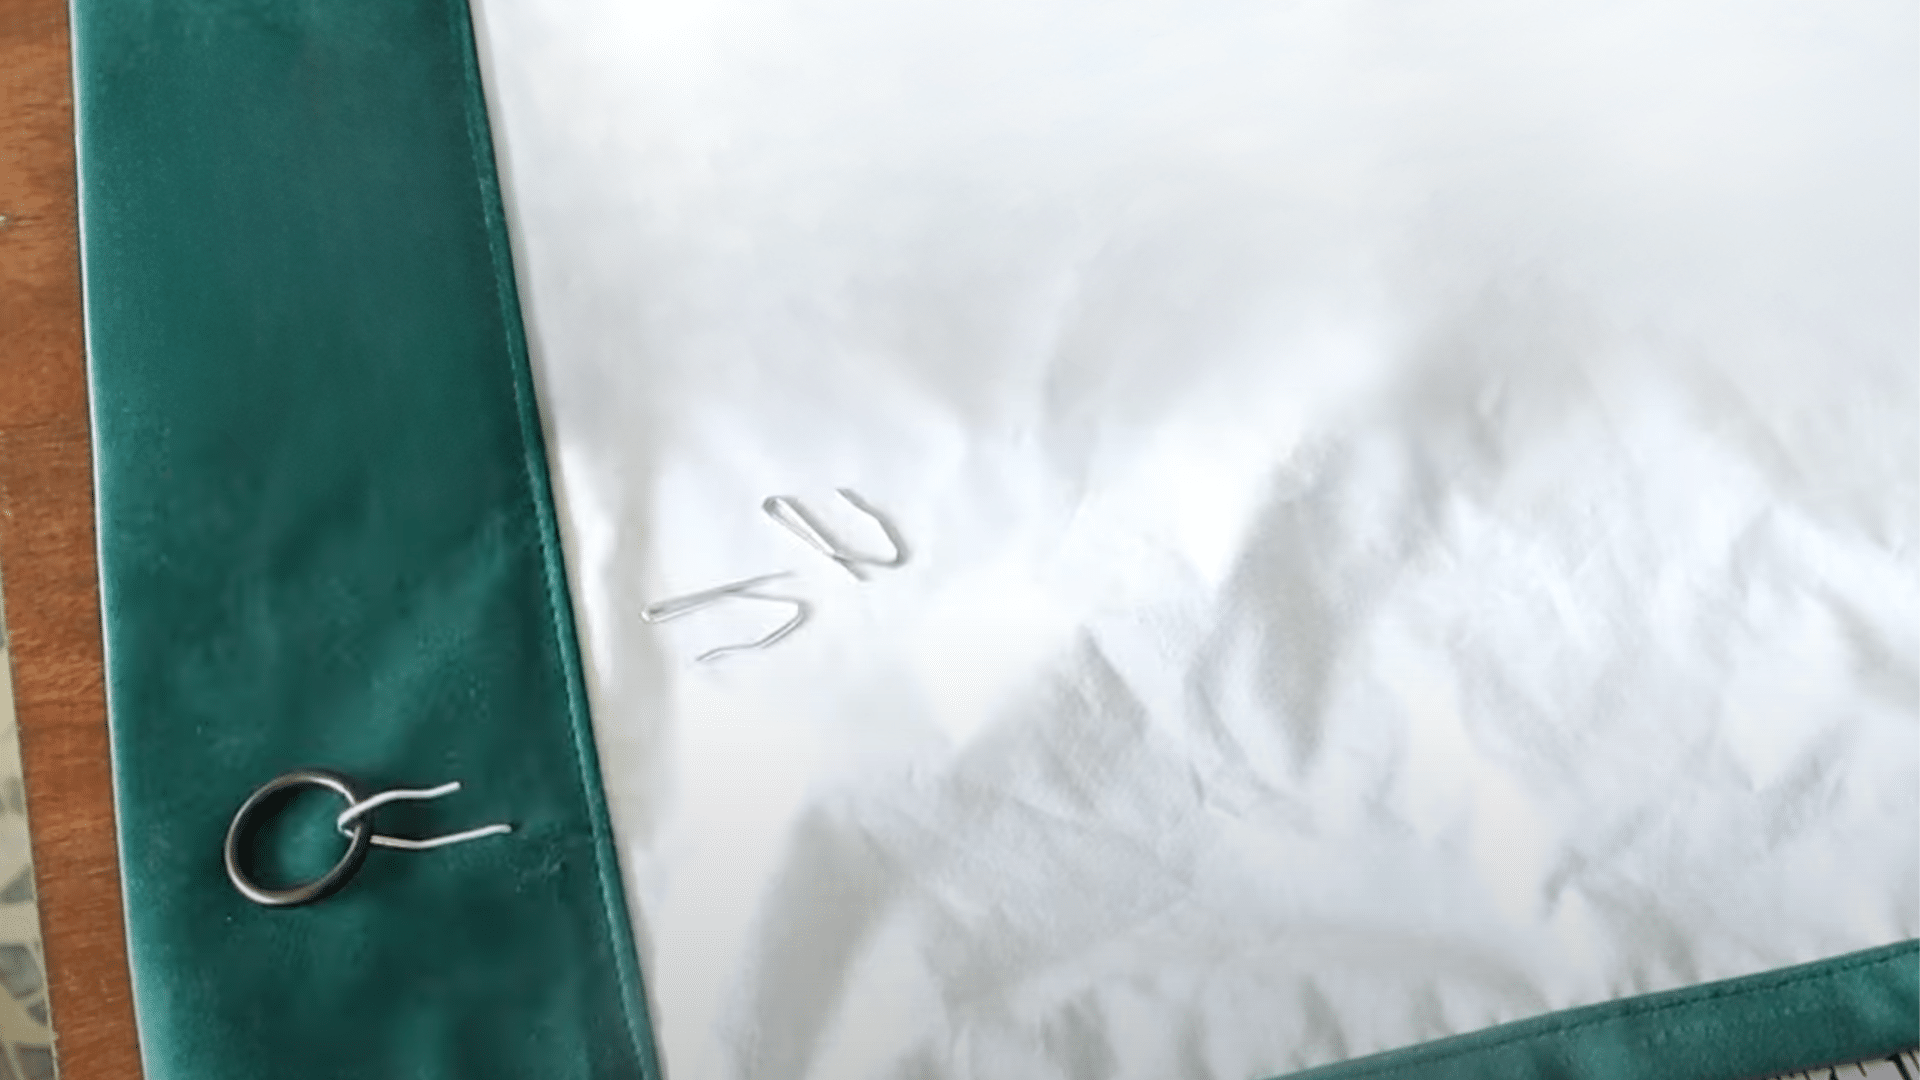
Insert drapery hooks into the header at regular intervals. Position hooks higher for visible rings or lower to hide rings behind the header. Attach curtain rings and hang them on your rod.
These steps create professionally lined curtains that provide better light control and a luxurious appearance in any room of your home.
For more detailed step-by-step instructions, check out the video below by Mimzy & Company:
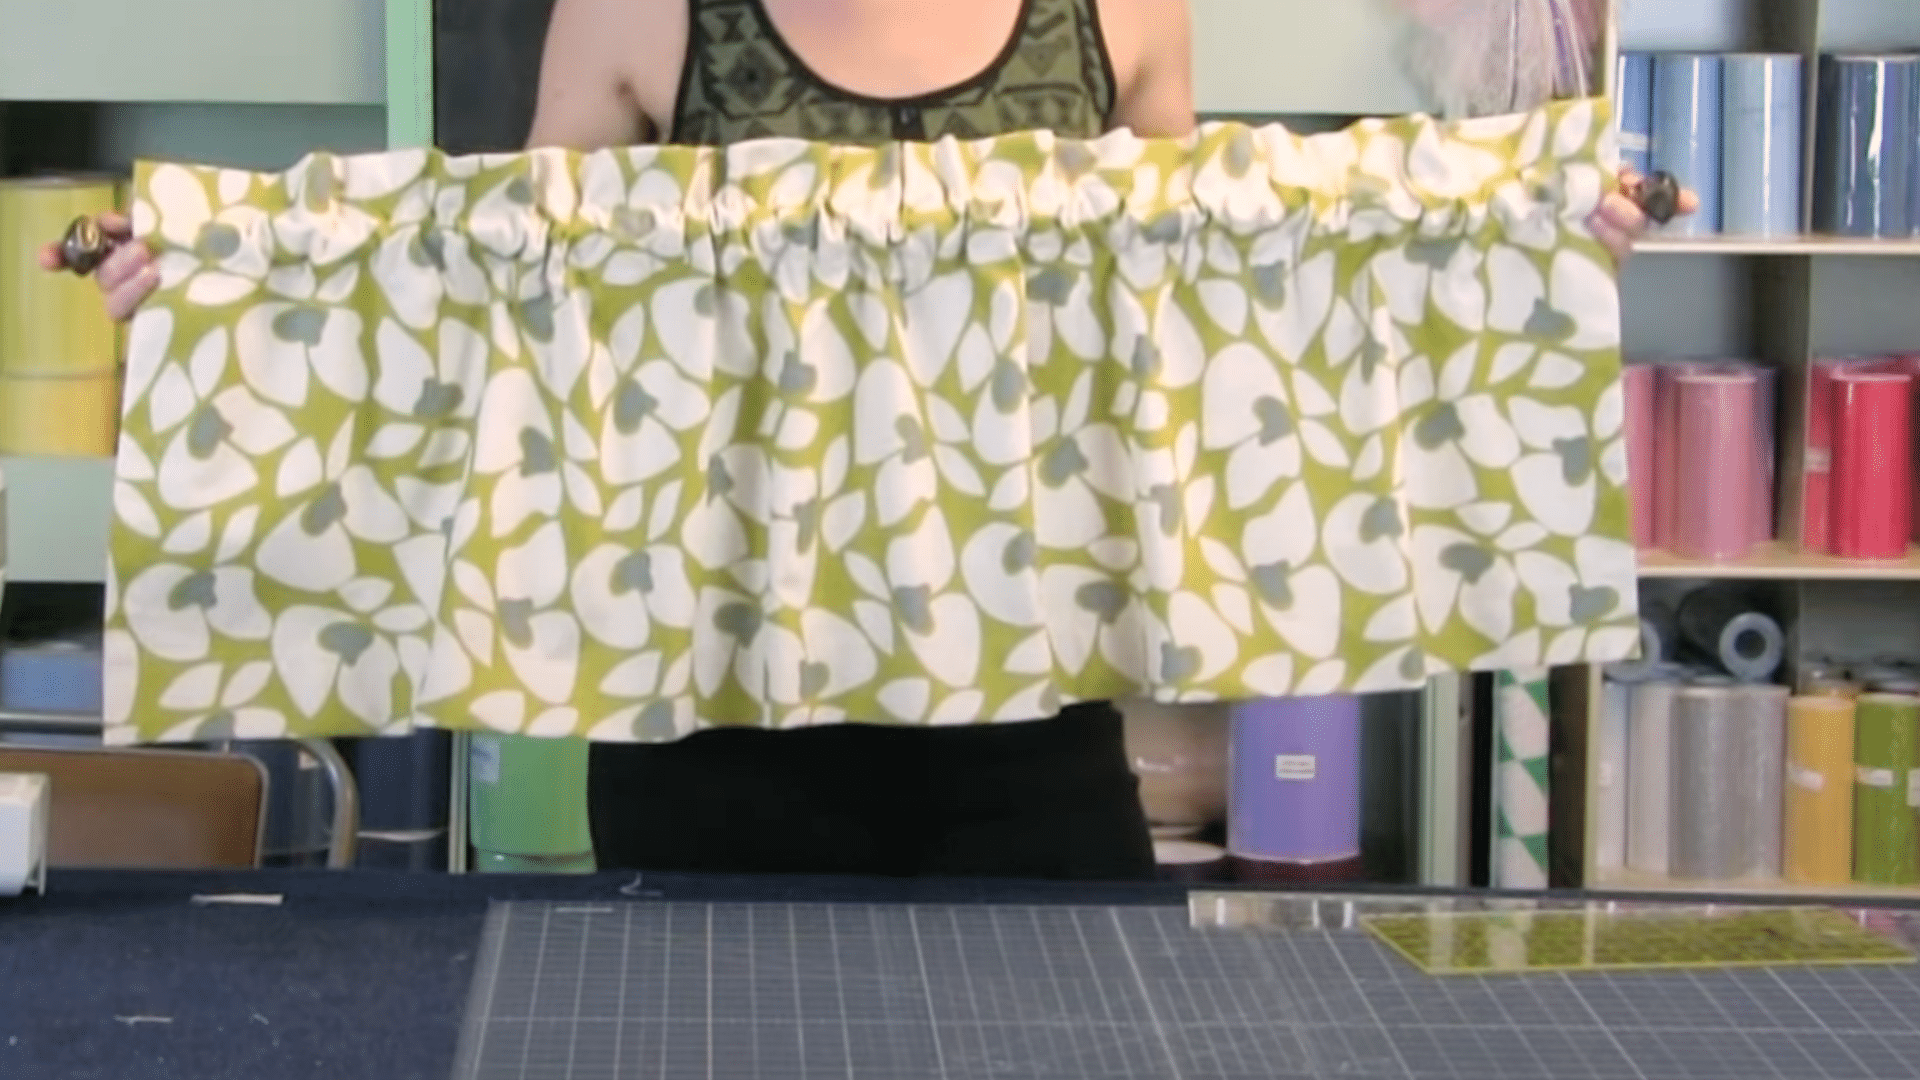
How to Make Lined Valances with Rod Pocket and Head
Valances add a decorative touch to windows while taking up modest space.
This lined version, featuring a header, creates a polished look that works perfectly above blinds or as a standalone window treatment.
Tools and Materials Required
| Material | Purpose |
|---|---|
| Home decorator fabric (54 inches wide) | Main valance material |
| Drapery lining fabric | Provides body and light blocking |
| Matching thread | Sews all seams and hems |
| Measuring tape and ruler | Ensures accurate measurements |
| Fabric scissors | Cuts fabric to the proper dimensions |
| Pins | Holds layers in place while sewing |
| Iron and ironing board | Presses crisp hems and seams |
| Sewing machine with an appropriate needle (14 or 16) | Handles multiple fabric layers |
| Friction pen or fabric marker | Mark’s sewing lines are clearly |
| Curtain rod (1 inch diameter) | Hangs finished valance |
With these basic supplies, you’ll create a lined valance that looks custom-made and adds professional style to your windows.
Step-by-Step Process for Lined Valances
Follow these steps to create a beautiful lined valance with a rod pocket and header that adds the perfect finishing touch to your windows.
Step 1: Calculate and Cut Fabric Measurements
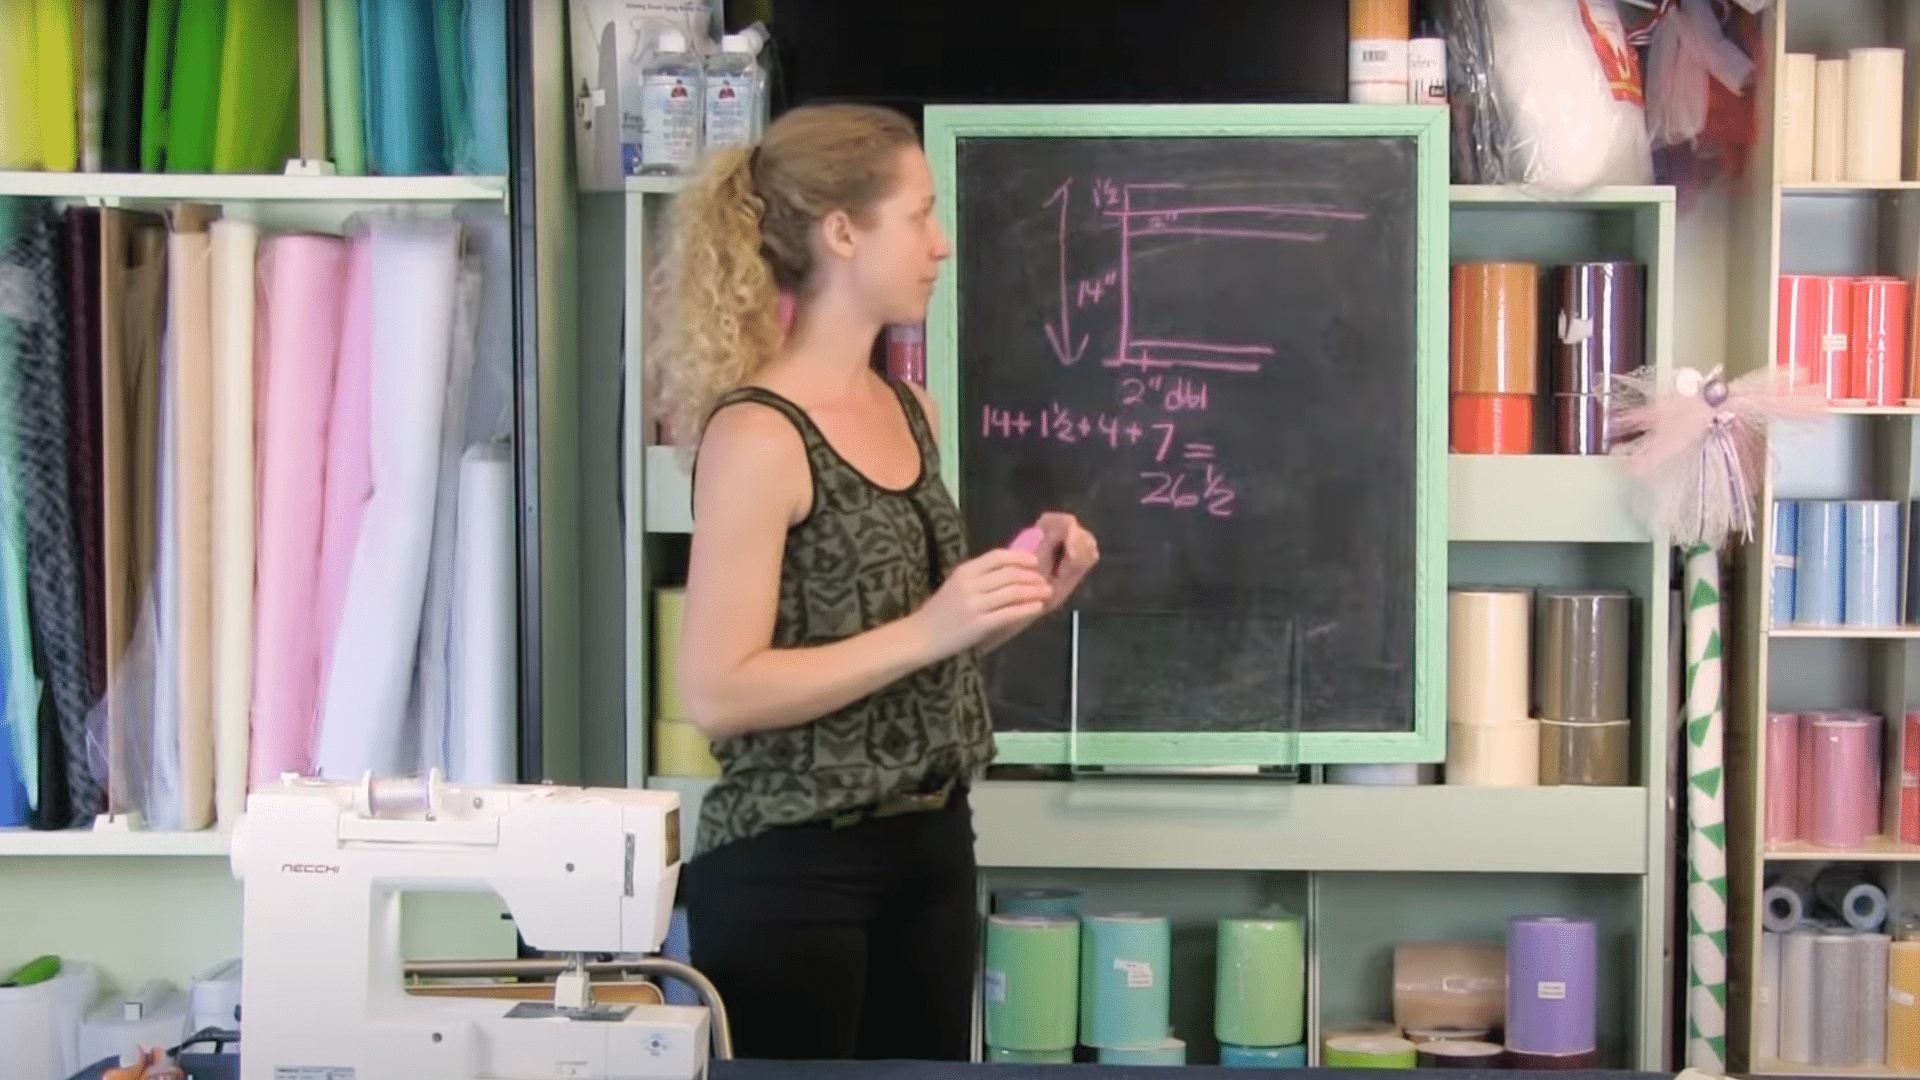
Measure your desired finished length (14 inches). Add a header (1.5 inches), a rod pocket (2 inches doubled = 4 inches), and a bottom hem (double 2 inches = 4 inches).
Total cutting height should be 26.5 inches.
Step 2: Create Bottom and Side Hems
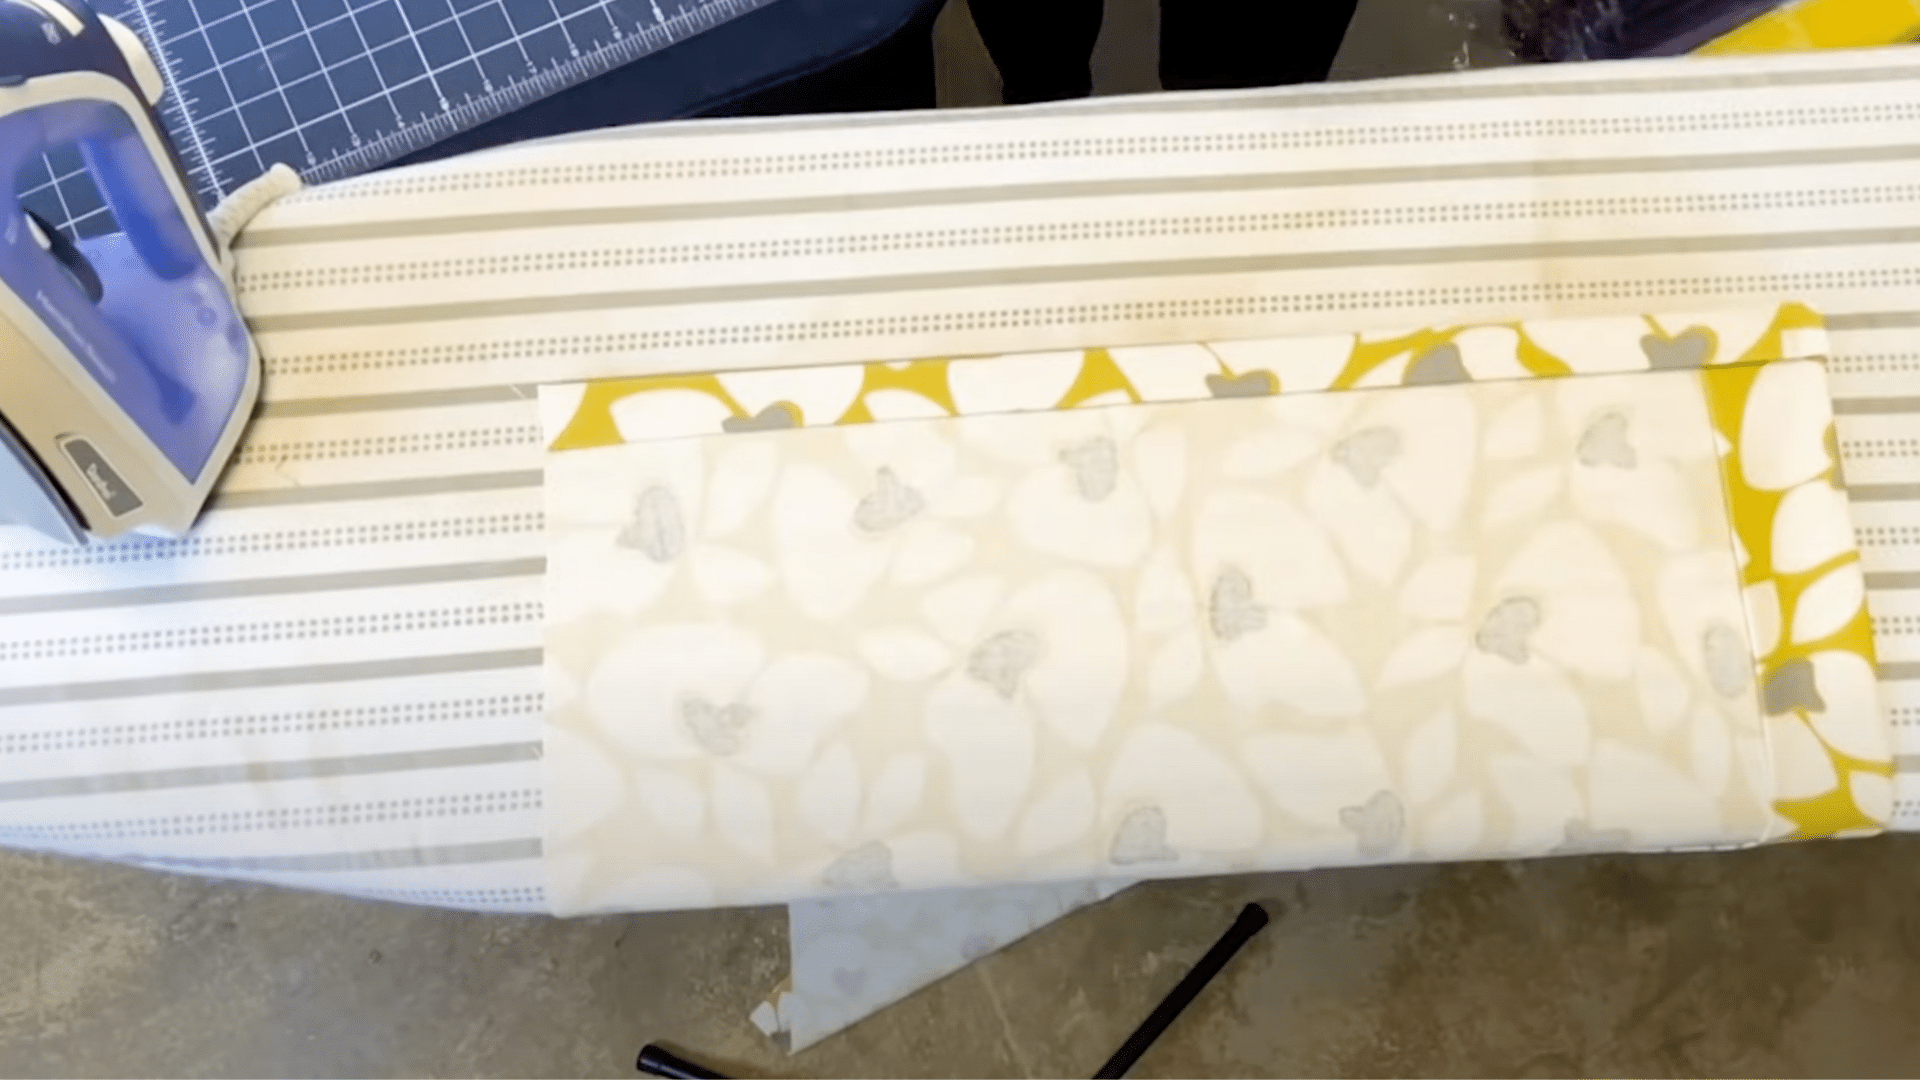
Press a double 2-inch bottom hem and double 1-inch side hems.
Trim excess fabric from corners to reduce bulk. Press all hems carefully for clean, professional edges before proceeding.
Step 3: Cut and Insert Lining
Cut lining 15 inches high and 0.5 inches narrower than the main fabric width.
Slide lining inside the pressed hems, leaving quarter-inch clearance on each side to prevent bunching or bubbling.
Step 4: Sew Bottom and Side Seams
Pin lining in place and stitch along the bottom hem edge. Sew side hems, opening corners to avoid crossing stitches.
Hand-stitch corner closures for a clean finish that won’t show.
Step 5: Mark and Press Top Hem
Measure 7 inches from the top edge and mark.
Fold the fabric to this line, ensuring the lining is tucked neatly inside. Press the fold carefully to create a crisp edge for the header section.
Step 6: Create Rod Pocket Division
Measure down 1.5 inches from the top fold and mark. This line separates the decorative header from the functional rod pocket below.
Step 7: Rod Pocket Seam
Stitch along the marked line using a longer stitch length and an appropriate needle for thick fabric.
Create the rod pocket channel while leaving the header section free above the stitching line.
Your finished lined valance will hang beautifully with the header, creating a decorative ruffle above your curtain rod.
For more detailed step-by-step instructions, check out the video below by Beyond Fabric:
Style Variations You Can Try
Once you know how to make curtains and master these basics, you can experiment with different curtain styles to match any room or decorating theme.
Here are popular variations to inspire your next sewing project.
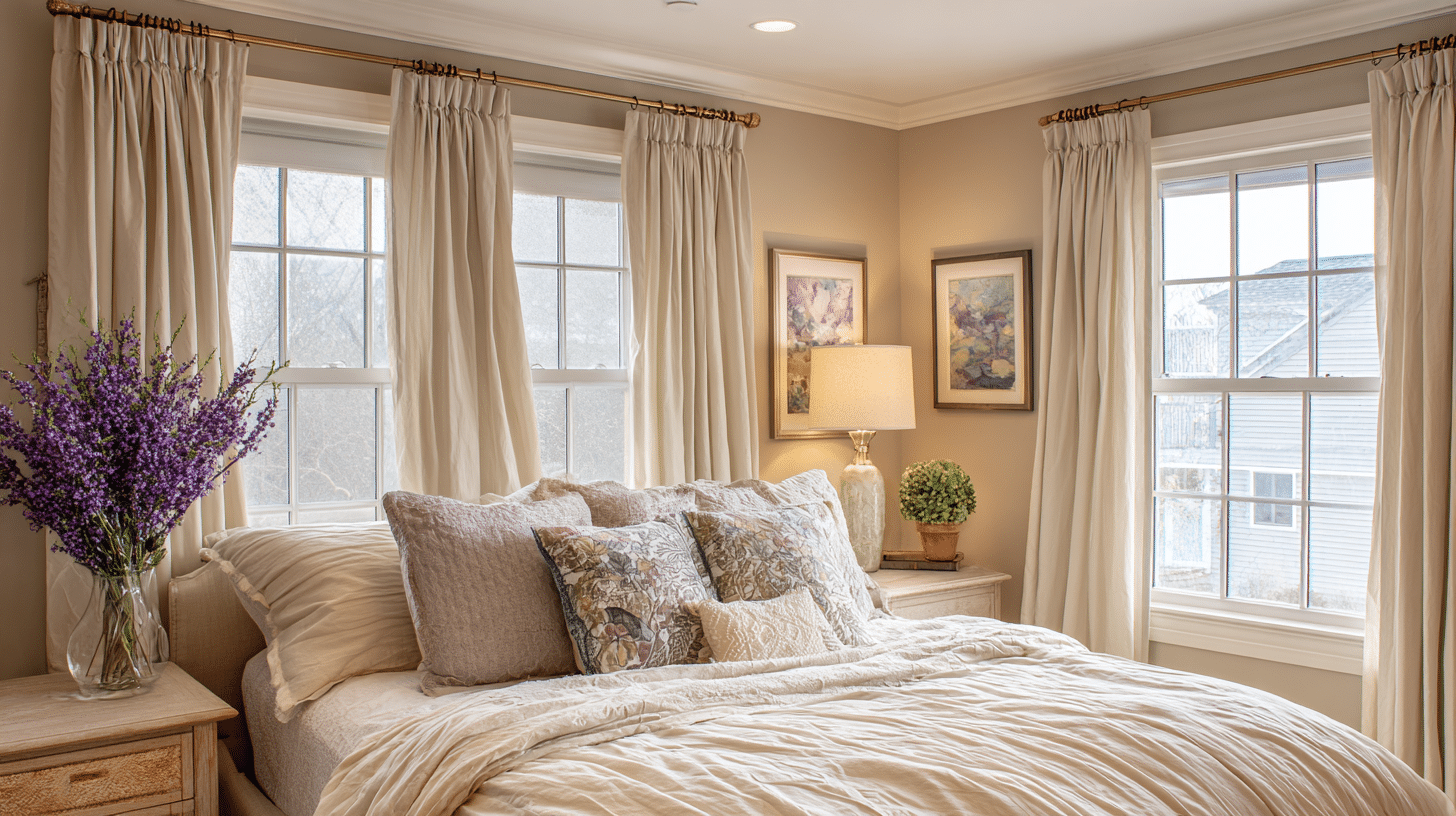
1. Pinch Pleat Curtains
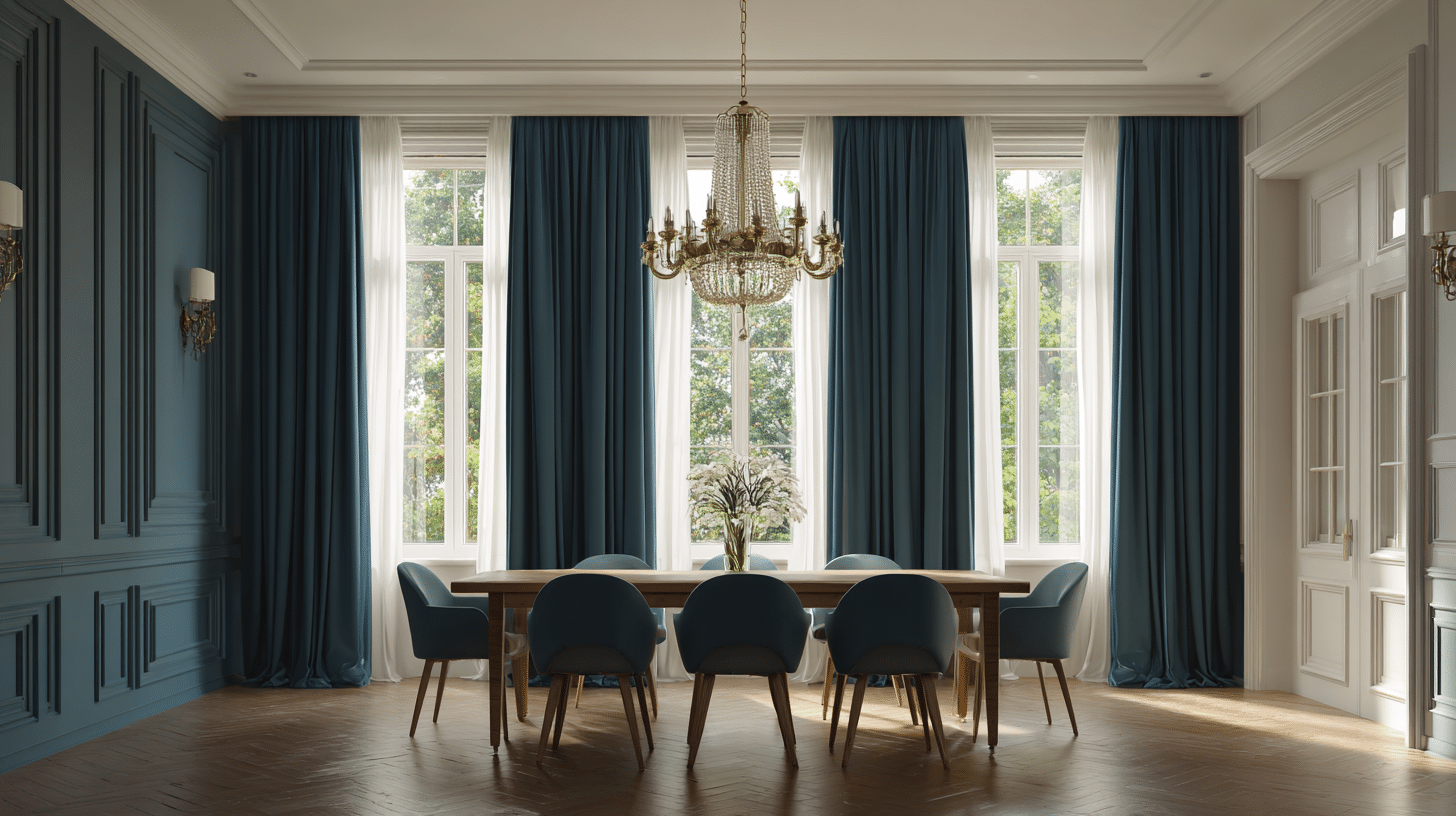
These classic curtains feature evenly spaced pleats at the top, creating a formal and structured look.
They work perfectly in dining rooms and living spaces where a traditional feel is desired. The pleats add texture and help the fabric hang in beautiful folds.
2. Tab Top Curtains
Simple fabric loops sewn to the top of the curtain slide directly onto the curtain rod.
This casual style works great in kitchens, bedrooms, and relaxed spaces. Tab tops are ideal for beginners, as they require modest sewing and no special hardware.
3. Grommet Curtains
Large metal rings are inserted through the fabric, creating a modern and streamlined appearance.
The rod slides through these grommets for smooth opening and closing. This contemporary style complements modern furniture and clean-lined room designs perfectly.
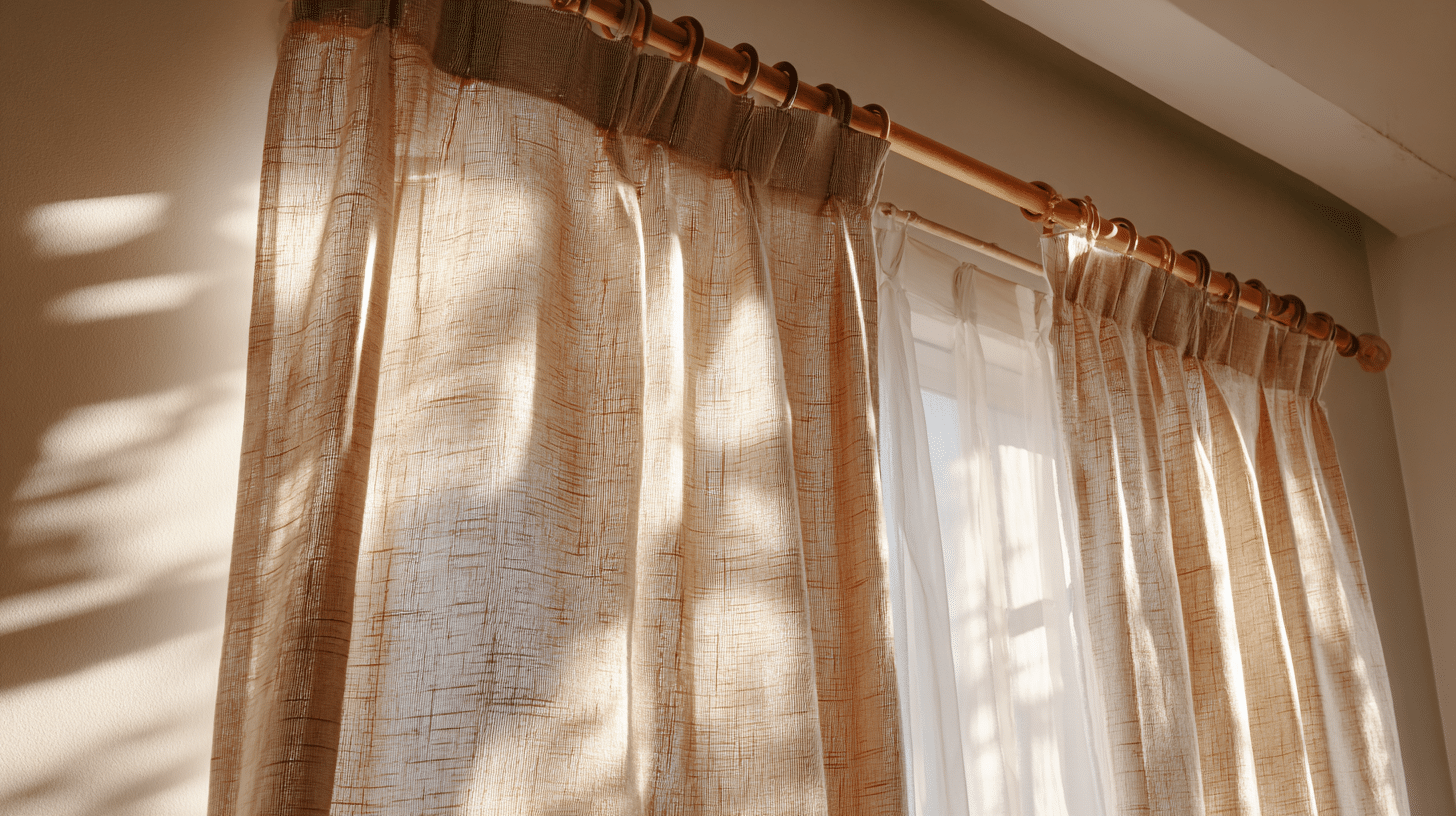
4. Rod Pocket Curtains
A simple hem at the top creates a pocket where the curtain rod slides through. This gathered style offers a soft, casual look that works well in bedrooms and cozy spaces.
Rod pockets are forgiving and easily conceal small sewing mistakes.
5. Tie-Top Curtains
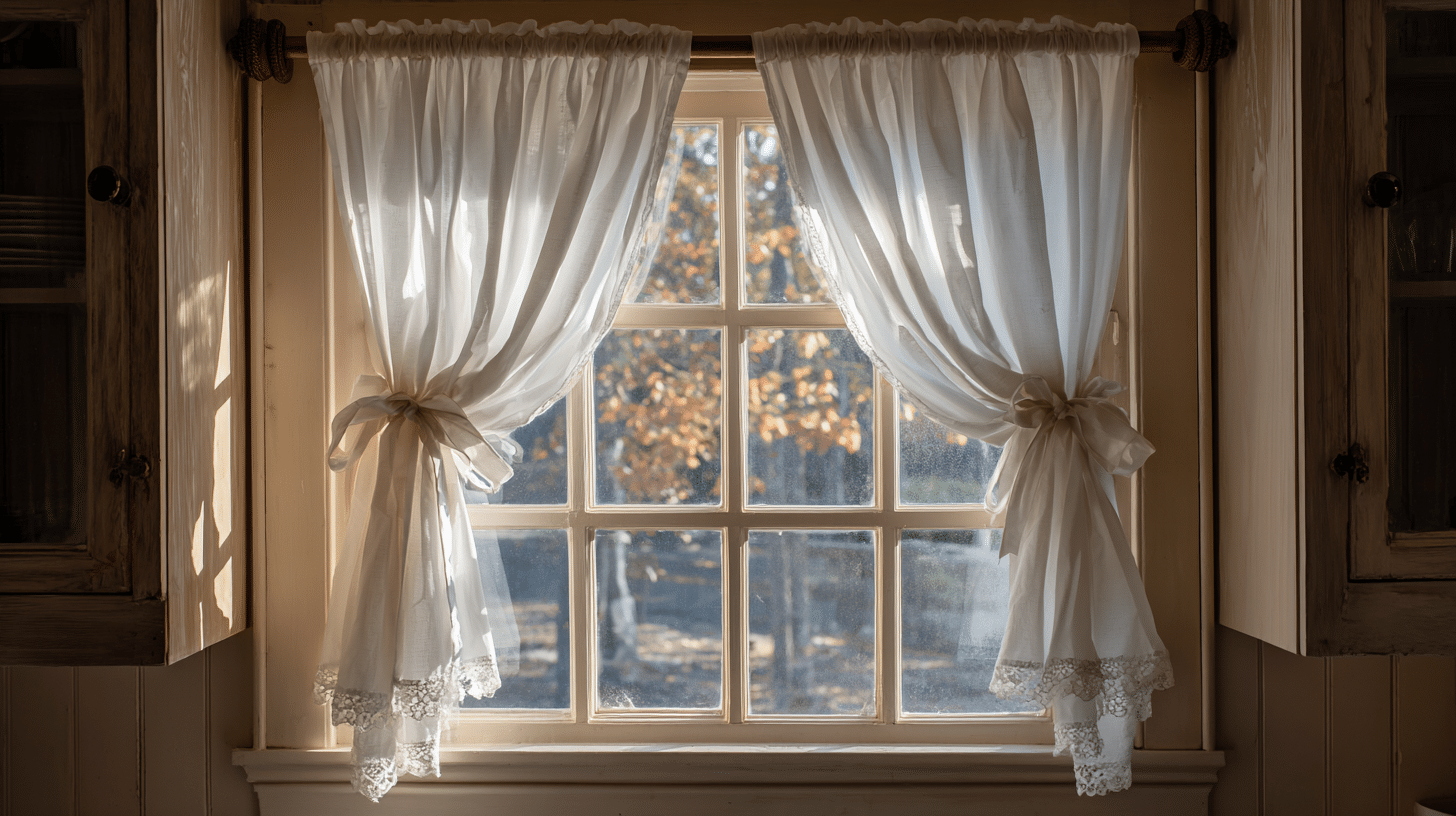
Fabric ties attached to the top of the curtain loop around the rod for a charming, cottage-style appearance. You can tie them in bows or knots for a variety of looks. This style adds a handmade, personal touch to any room.
6. Cafe Curtains
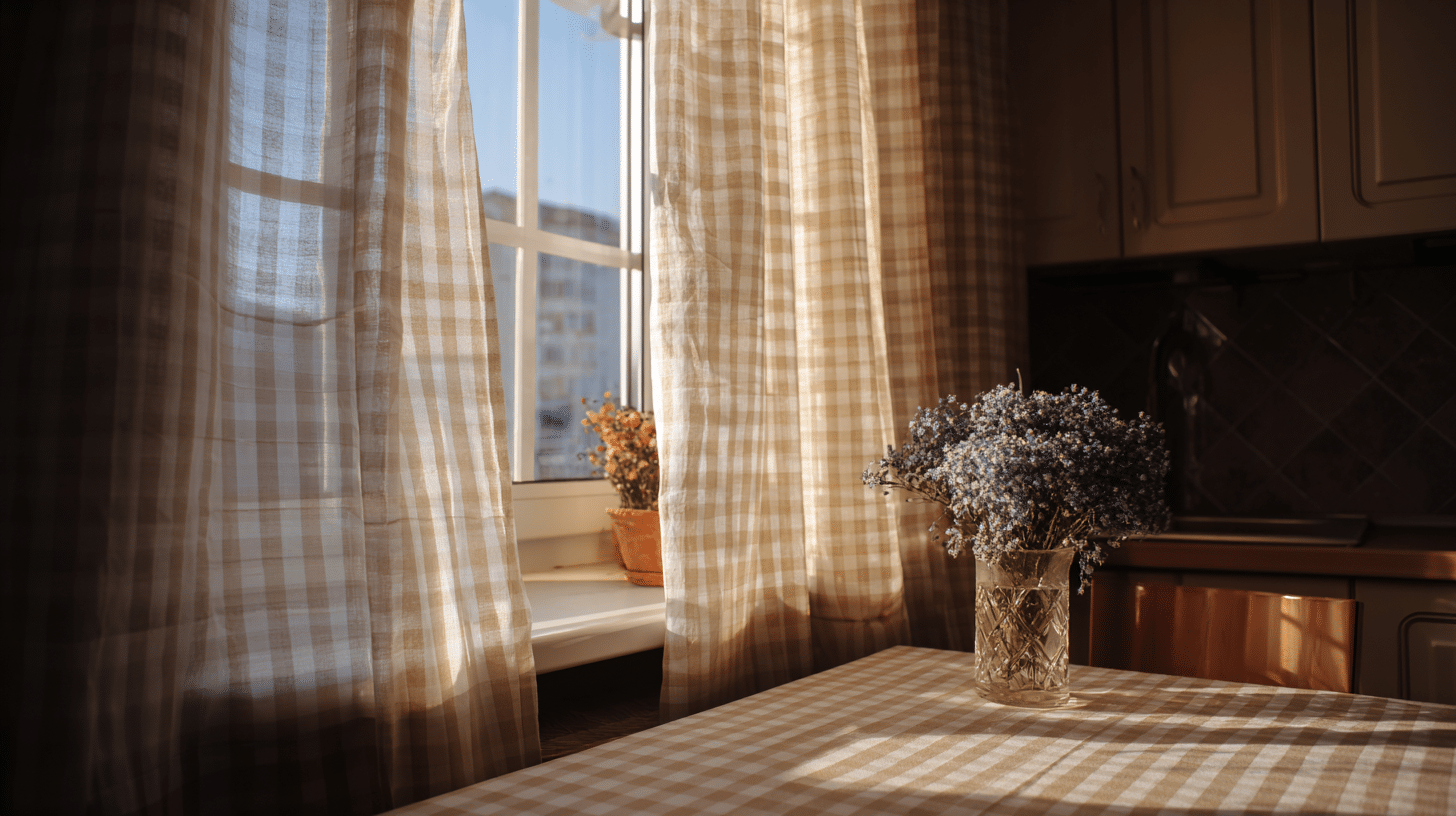
These short curtains cover only the bottom half of the window, providing privacy while allowing natural light to pass through above.
Ideal for kitchens and bathrooms that require both privacy and brightness. They use less fabric, making them budget-friendly too.
7. Valances
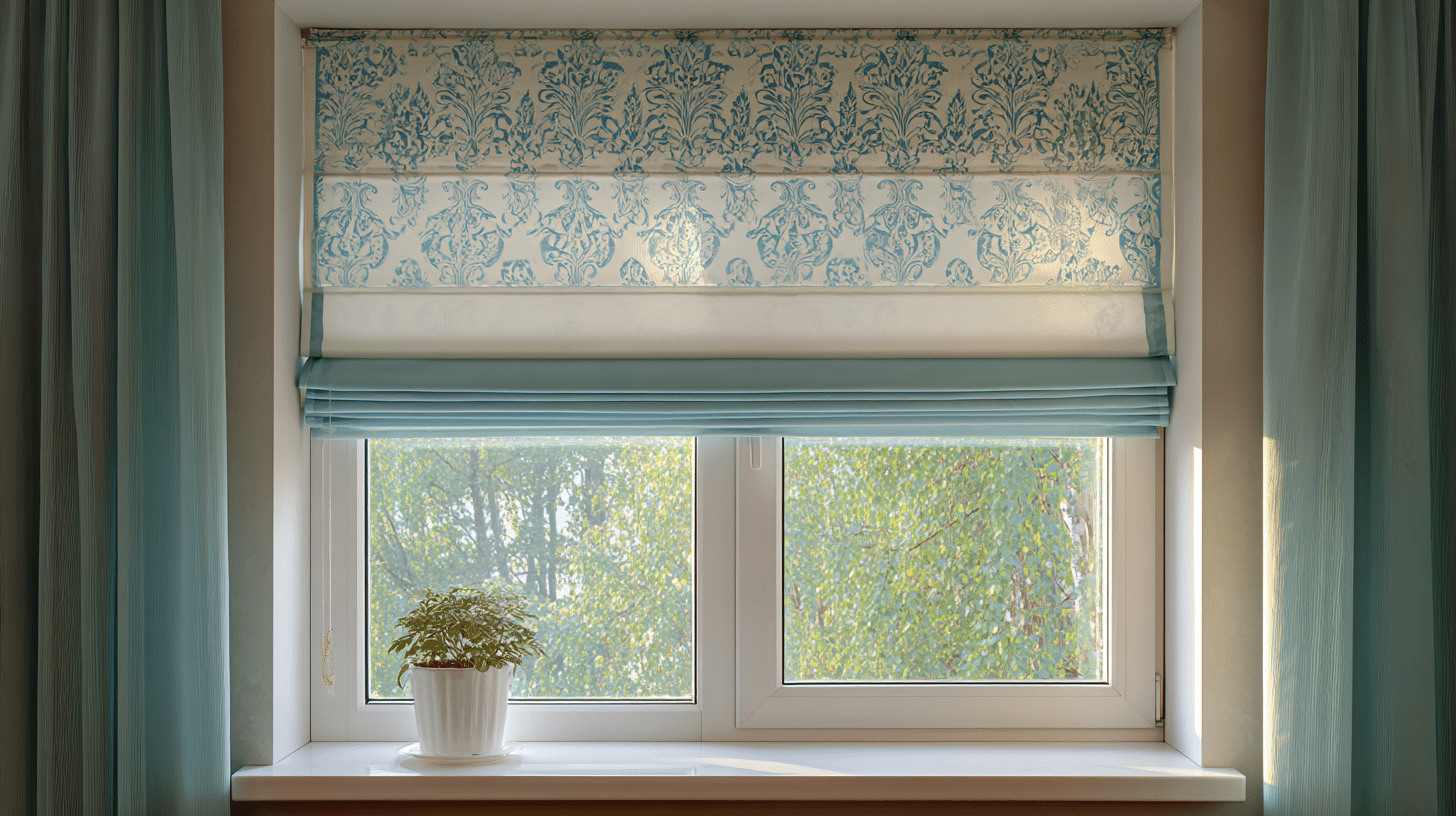
Short decorative panels that hang across the top of windows add style without blocking light. They can be used alone for a light treatment or combined with blinds.
Valances are great for small windows or rooms with limited wall space.
8. Balloon Curtains
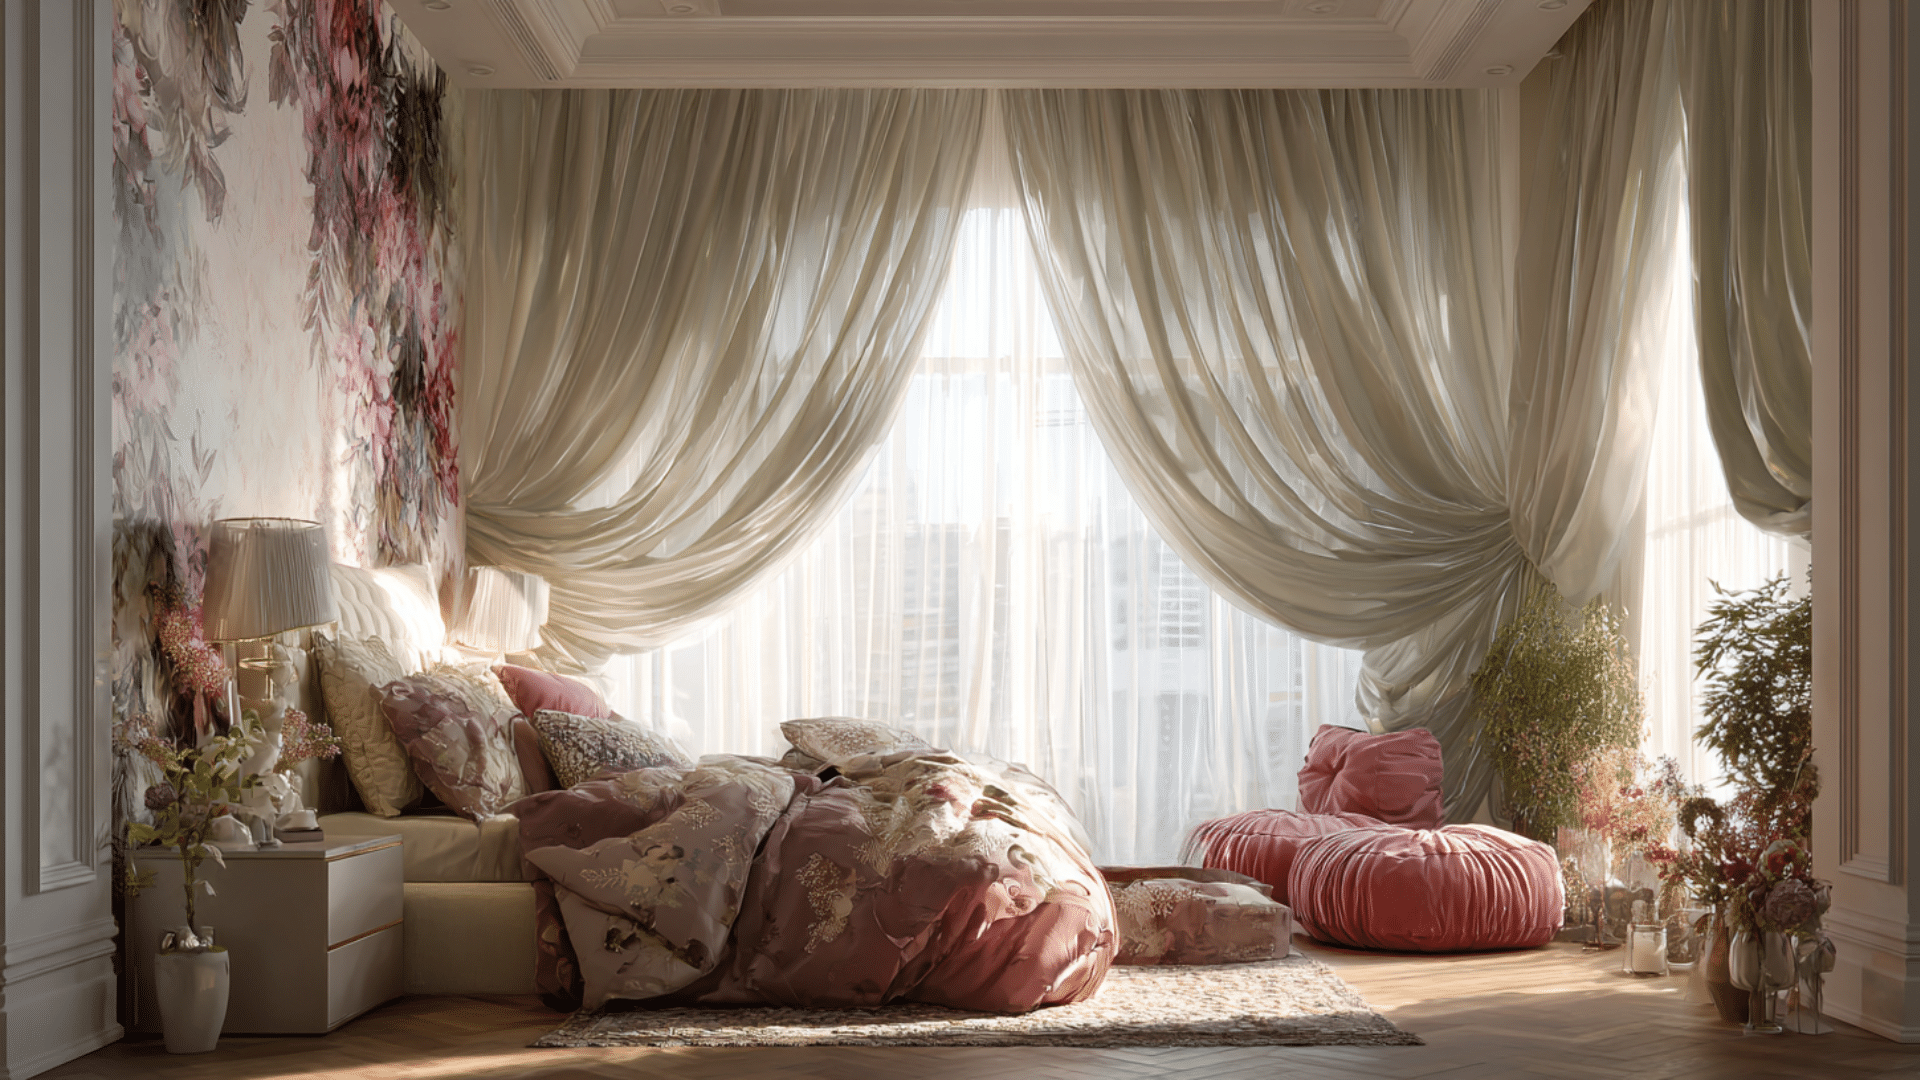
Fabric is gathered and pulled up at intervals to create puffy, balloon-like sections at the bottom. This romantic style works beautifully in bedrooms and feminine spaces.
The gathered fabric creates interesting shadows and adds dimensional texture to windows.
9. Swag Curtains
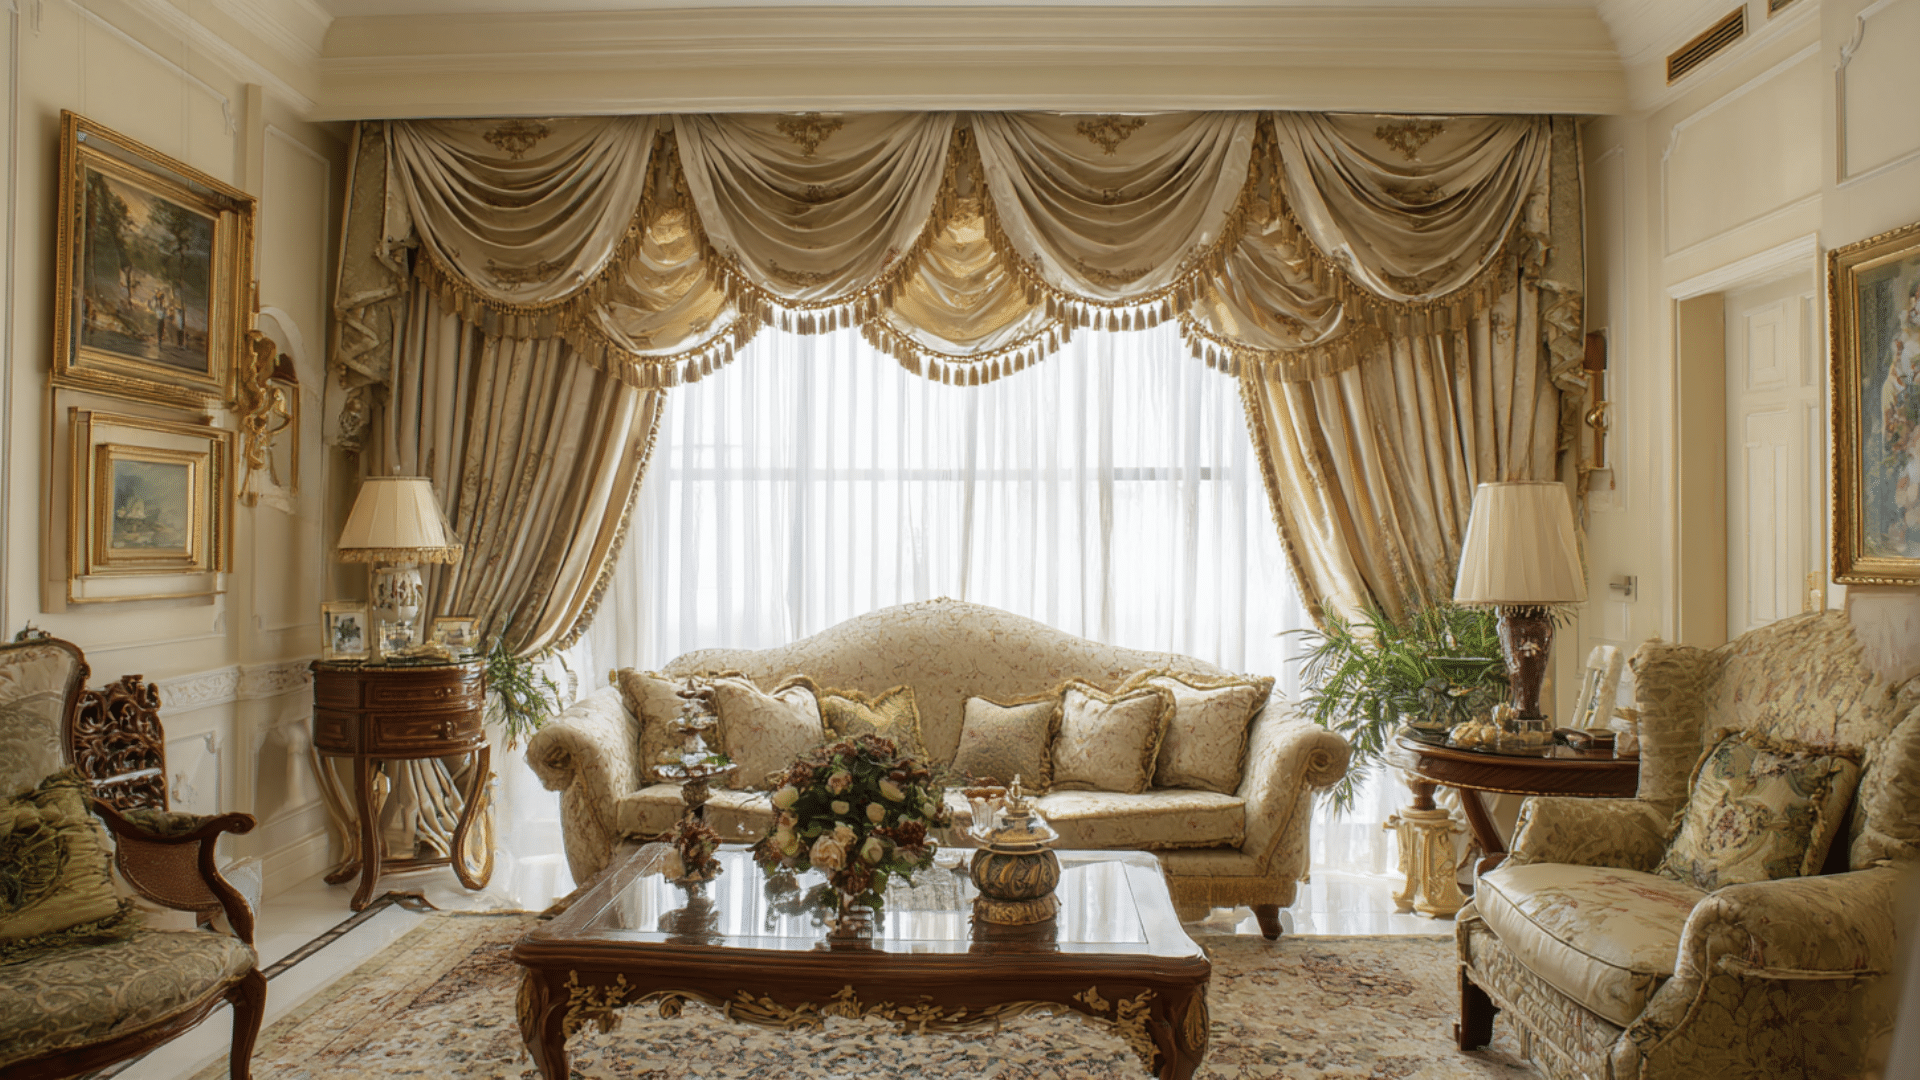
Draped fabric creates a graceful curve across the top of the window, lending a formal look.
Often paired with side panels, swags add a touch of calm to dining rooms and formal living areas. This style requires more advanced planning but creates stunning results.
10. Panel Curtains
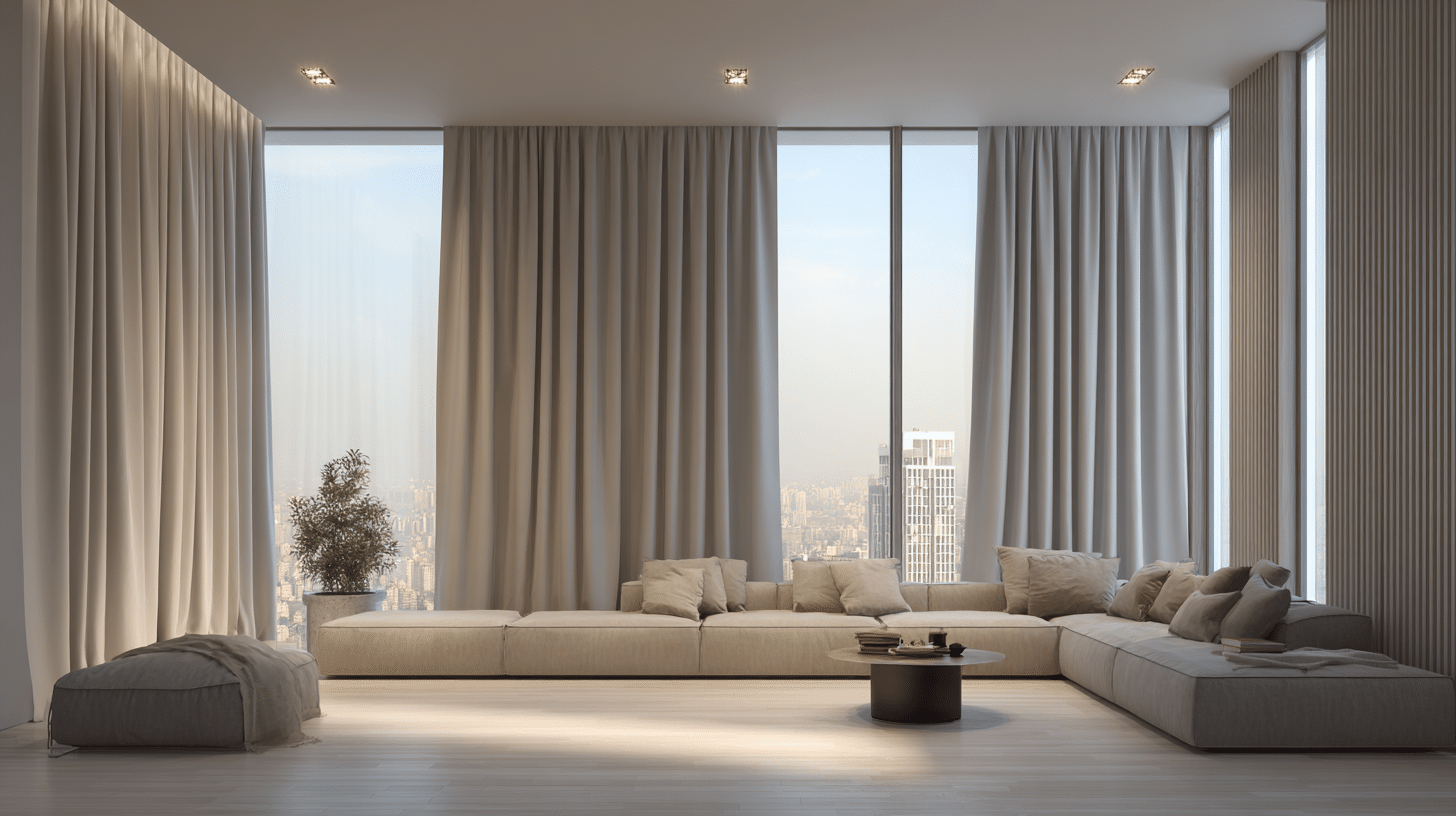
Simple, flat panels hang straight down without pleats or gathers, creating a clean, minimalist appearance.
This modern style works perfectly in contemporary homes and complements geometric furniture. Panel curtains are the easiest style for absolute beginners to master.
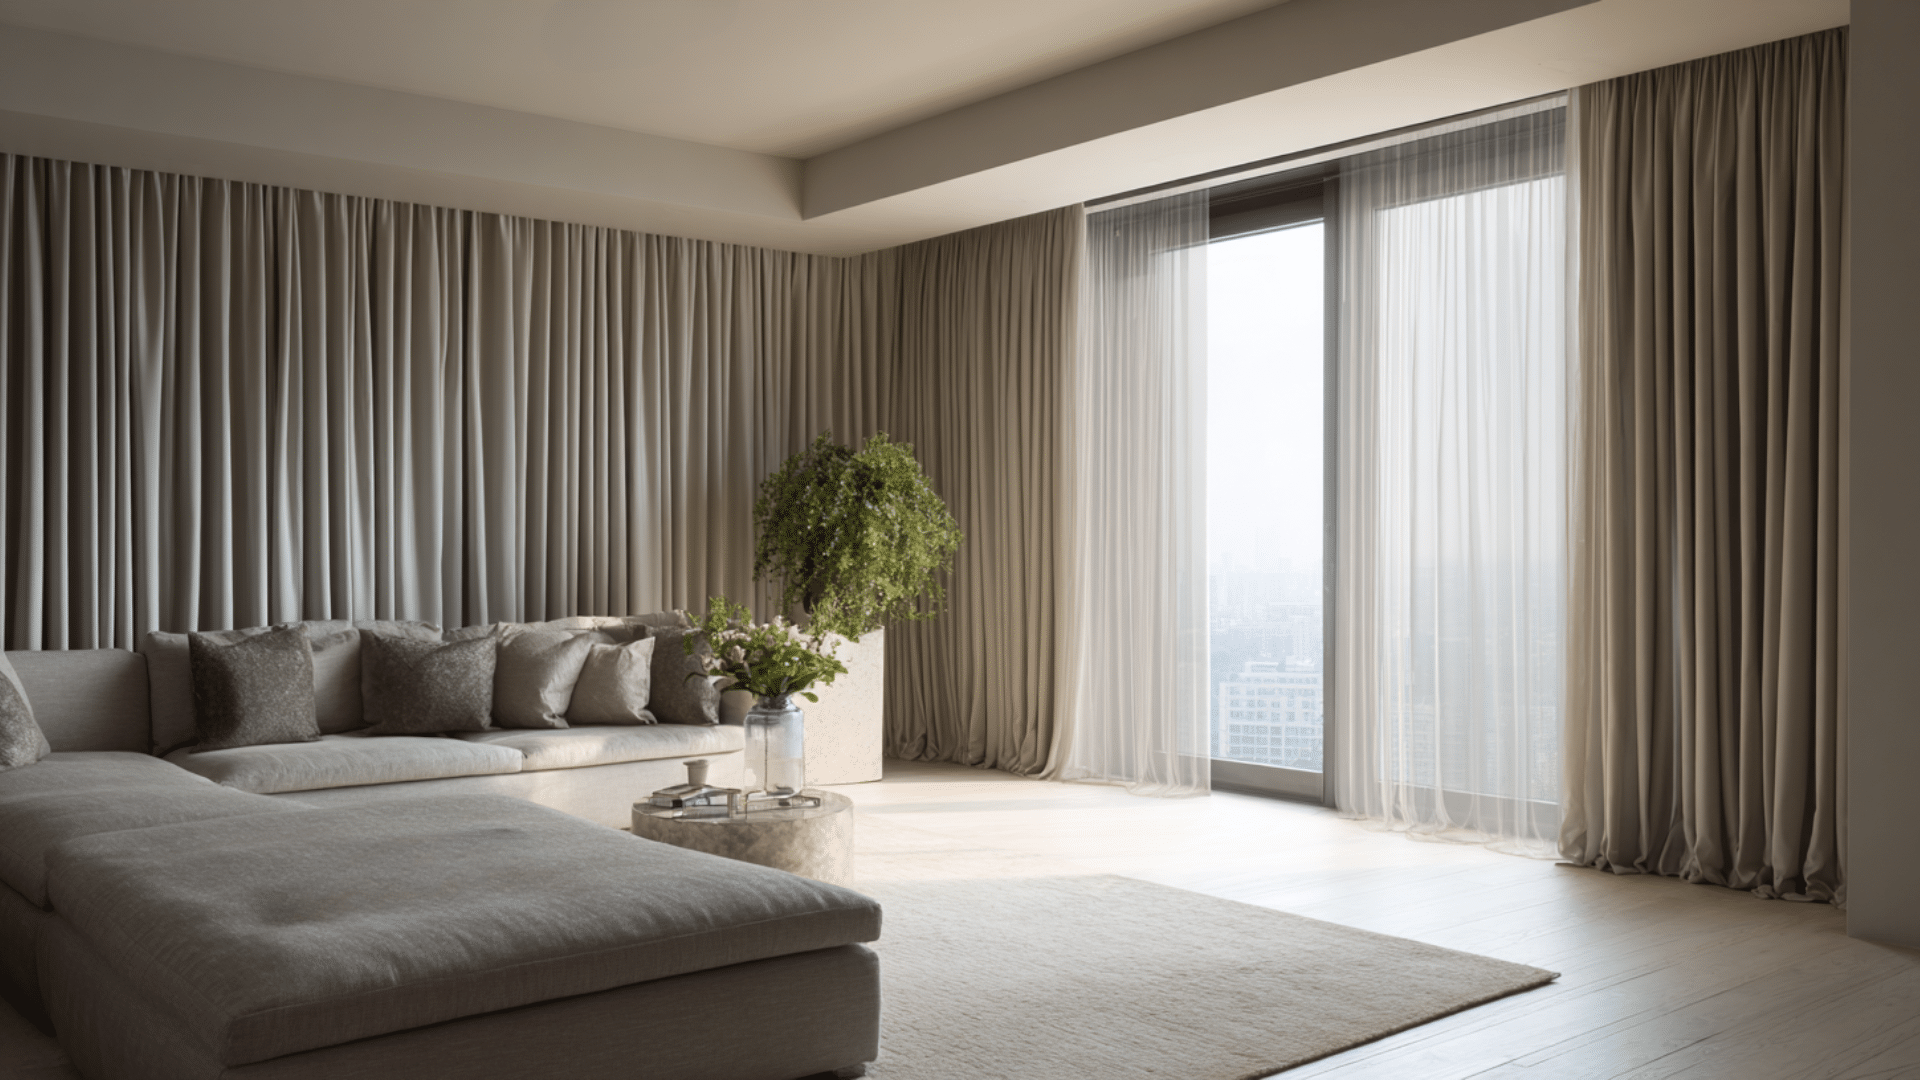
11. Layered Curtains
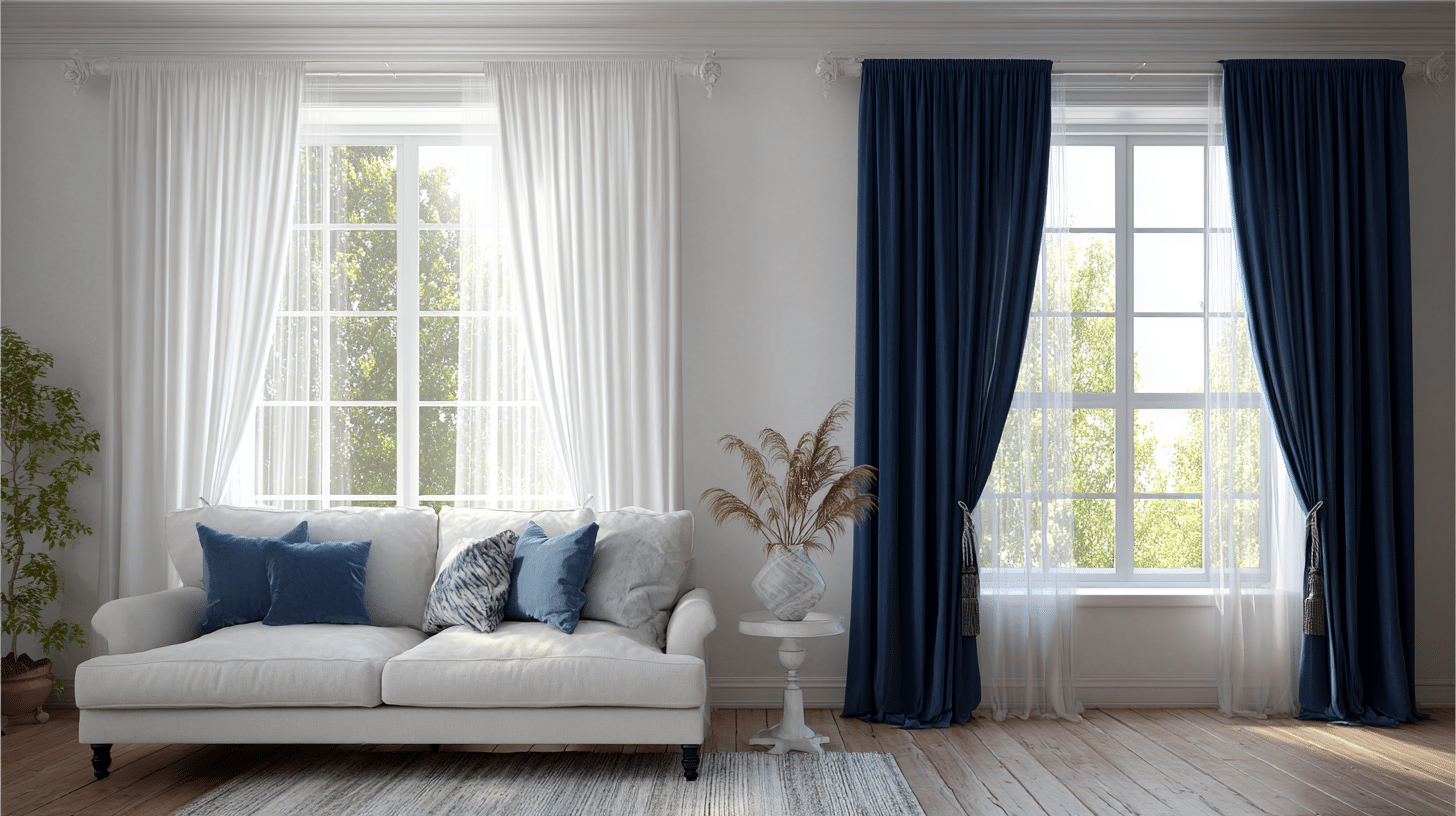
Combining different fabrics or textures creates depth and visual interest at your windows.
Try pairing sheer panels with heavier drapes for flexibility in light control. Layering lets you adjust privacy and brightness throughout the day.
Mistakes to Avoid While Making Your DIY Curtains
- Always measure twice and record measurements. Use extra fabric for hems and pleats.
- Lightweight fabrics may seem flimsy, but heavy cotton or cotton-linen blends hang well and exude a professional appearance. Avoid stretchy or thin materials.
- Press hems with steam before sewing for a crisp, finished edge. Take your time for well-pressed seams, enhancing quality.
- Use a square or ruler for straight cuts, measuring accurately at multiple points—crooked hems are noticeable when curtains hang.
- Always backstitch at seams to prevent the fabric from unraveling.
- Match the thread color to the fabric; cotton thread is best suited for cotton. Cheap thread can break and ruin stitches.
- Hang curtains before hemming to check length, making adjustments easier.
- Cut fabric pieces with the grain in the same direction to keep curtains straight. Be patient with each step, carefully measuring, cutting, and sewing, to yield professional results.
Conclusion
Making your own curtains is a rewarding project. You’ve learned how to make curtains, choose fabric, and avoid common beginner mistakes.
The techniques work for simple panels or formal drapes. Remember, every expert seamstress started where you are now.
Start with one window to build confidence. Soon, you’ll have custom treatments all over your home that friends will think are from an expensive boutique.
What room will you turn first? Grab your measuring tape and get started!