Your front door makes the first impression on guests and neighbors.
A fresh coat of paint can change your home’s curb appeal instantly. But many homeowners worry about choosing the right color or making mistakes during the painting process.
I promise to show you exactly how to paint a front door like a pro in simple steps. You’ll also get inspiring color ideas that will make your entrance stand out for all the right reasons, and you can even decide on a custom residential key that you can have keyed to your lock.
By the end, you’ll have everything you need to give your home a fresh new look.
Is it Possible to Paint a Front Door Without Removing it?
Yes, you can definitely paint your front door without taking it off the hinges. I’ve painted several doors this way, and it works perfectly fine when done right.
The secret is good preparation and timing. Remove or tape over all hardware like doorknobs and locks. Clean the door well and sand any rough areas. Use painter’s tape around the frame to protect your walls.
Work on a calm day with mild weather. You’ll need to keep the door slightly open while painting, so avoid windy or rainy conditions. Start with the panels using an angled brush, then use a small roller for flat surfaces.
You can’t flip the door around like you would if it were removed. But with patience and the right technique, your door will look amazing without all that extra work
Materials Required to Paint the Door
The following are the materials you’ll need to paint your door.
- Frog Tape: For taping off hinges and lock sets to protect from paint splatter.
- Sandpaper: For sanding between coats to smooth out imperfections.
- Paint: Blue Paint or any paint according to your preference
- Paint Brushes: For applying paint to various door sections.
- Scoring Tool or Utility Knife: For scoring tape (for clean removal).
- Drop Cloth or Protective Cover: To maintain a tidy workspace and protect surrounding areas
Step-by-Step Guide: How to Paint a Front Door
Painting your front door is a simple yet impactful way to improve your home’s curb appeal and create a welcoming entrance.
The following tutorial will walk you through the essential steps to achieve a smooth, professional finish that lasts.
1. Remove Rubber Coping
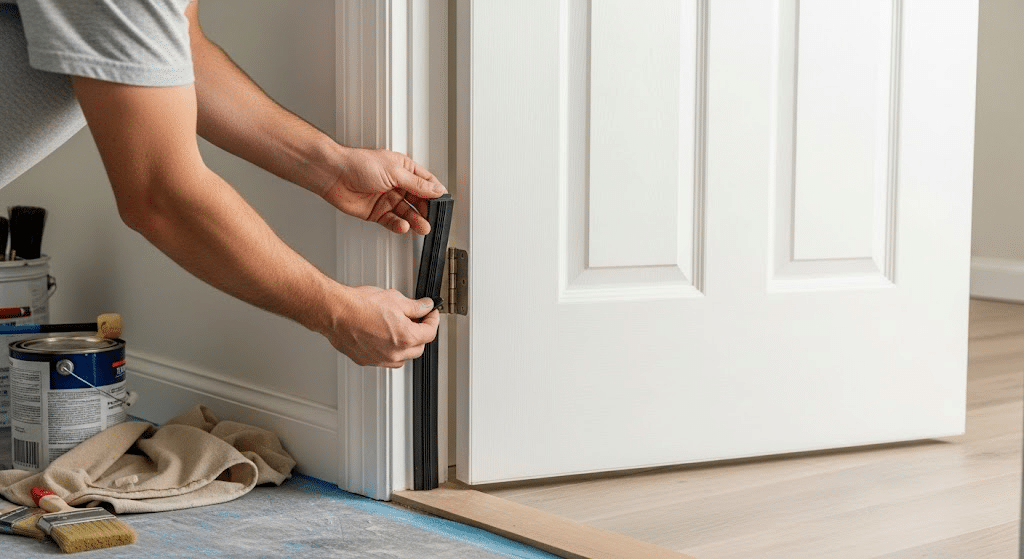
I begin by removing the rubber coping from the door. This prevents paint from drying into it, as the door must close later. Since the coping is new, it pulls off easily. This step ensures the door remains functional and avoids damage to the seal, keeping it clean for reattachment after painting. Prepping the door this way helps maintain a tidy workspace and protects components from paint splatter.
2. Tape the Hinges
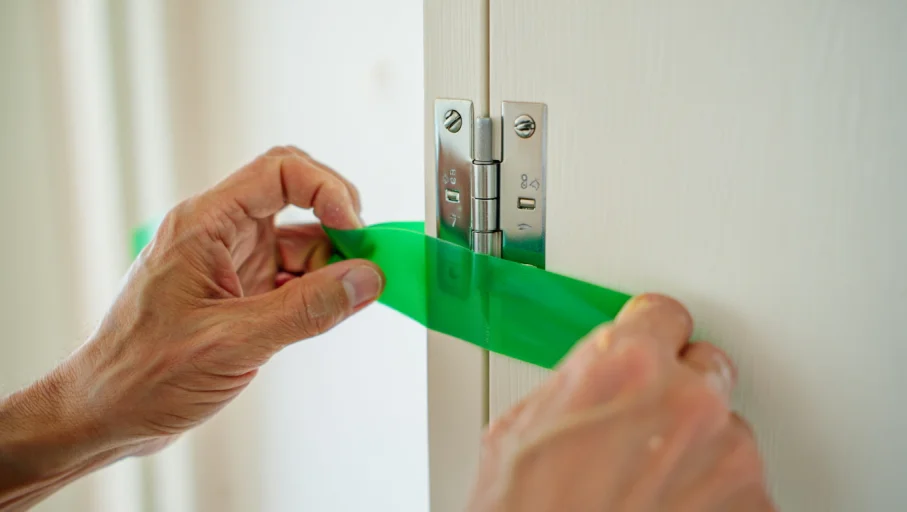
I tape the hinges using Frog Tape to protect them from paint splatter. This step, while not always necessary for my projects, simplifies cleanup for others. By carefully applying tape, I ensure the hinges remain free of paint, maintaining their functionality.
Scoring the tape allows for easy removal later. This preparation step is crucial for a neat finish and protects the hardware during the painting process.
3. Tape the Lock Set
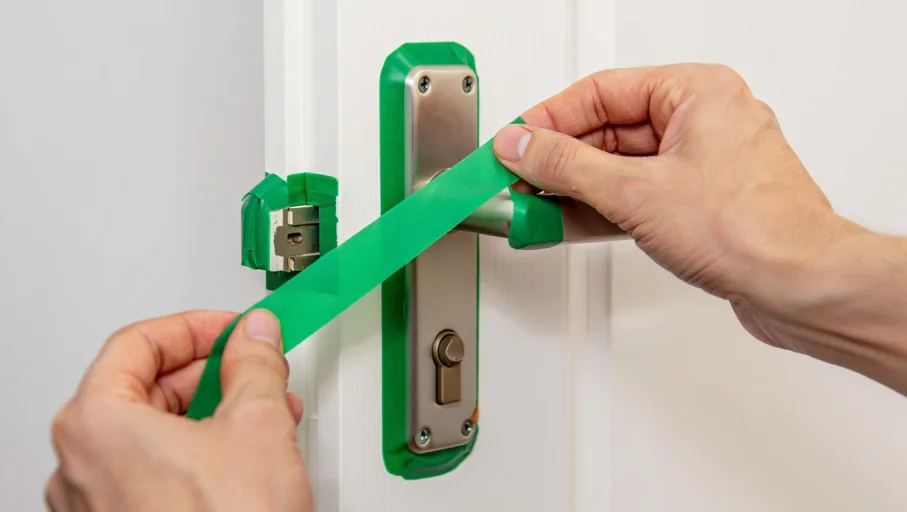
I tape around the lock set, as it will remain in place since the door is the main entry and must stay functional. This protects the lock from paint while allowing the door to be closed and locked during the process.
Taping ensures clean lines around the hardware, preserving its appearance and functionality.
This step is essential for maintaining the door’s usability while achieving a professional-looking paint job.
4. Paint the Heel
I start painting the heel, the side with the hinges, using the paint of your choice, suitable for both interior and exterior use.
I apply smooth, vertical strokes from top to bottom, avoiding overworking the paint. This ensures an even coat without runs. Since both sides of the door are painted white, this hybrid paint is ideal, especially with a storm door providing weather protection.
5. Paint the Toe
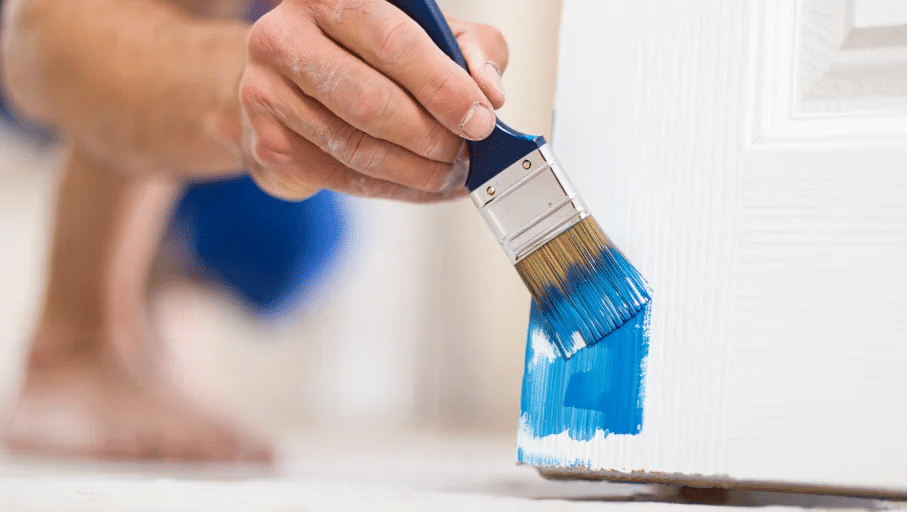
I proceed to paint the toe, following the same vertical stroke pattern as the heel.
I ensure consistency since both sides of the door are the same color. I apply the paint smoothly, avoiding excessive brushing to prevent runs.
This step maintains uniformity across the door’s edges, ensuring a cohesive look while leveraging the paint’s durability for both interior and exterior surfaces.
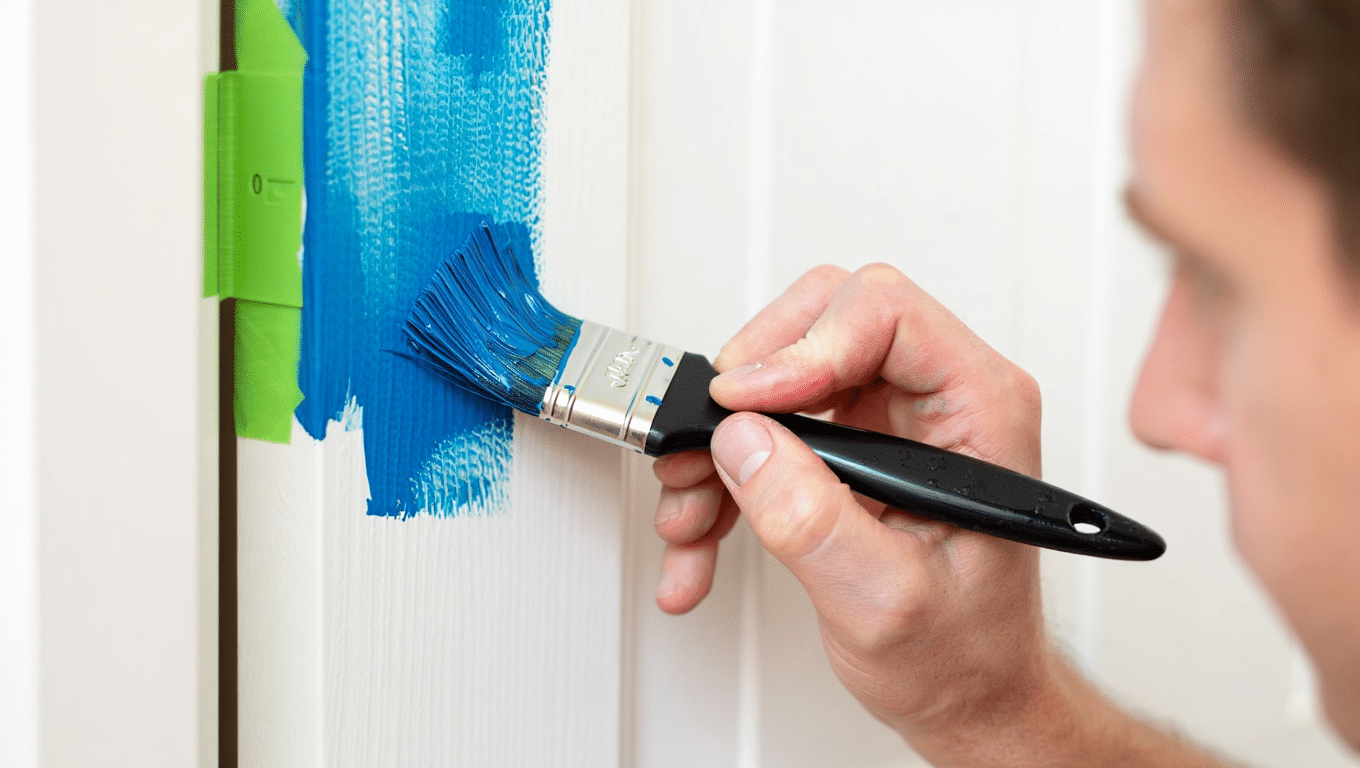
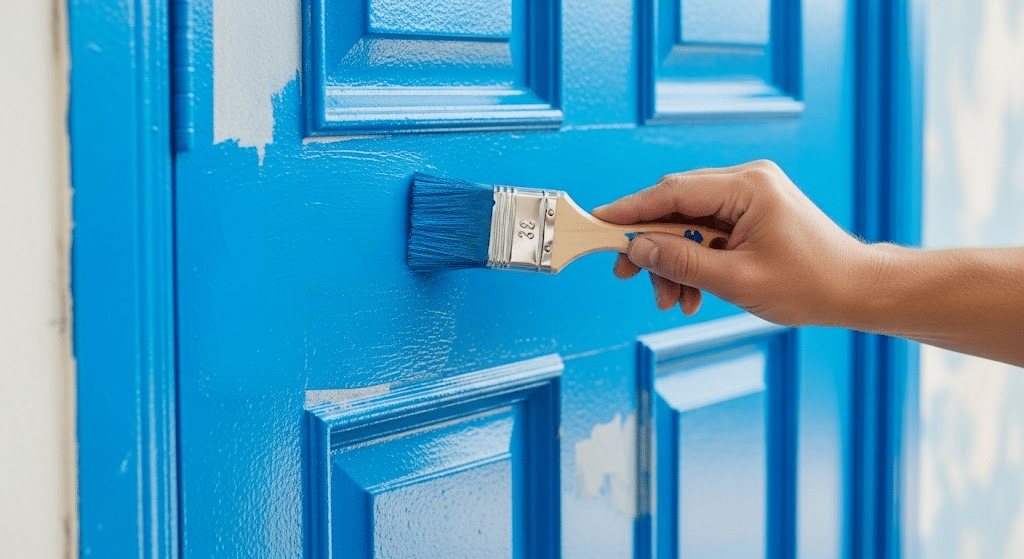
6. Paint the Panels and in Larger Sections
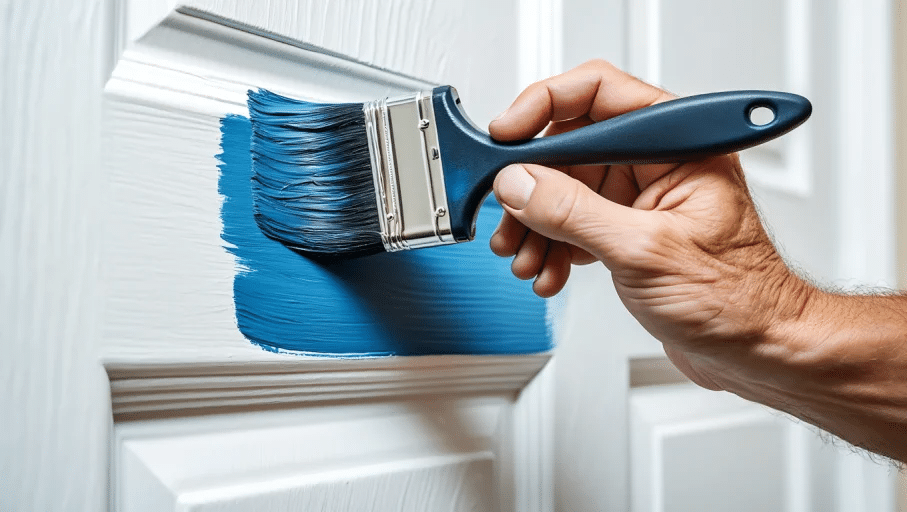
First, I paint the panels of the six-panel door with careful vertical strokes to mirror the wood grain, always keeping the paint layer even and checking for drips to ensure a smooth, professional look.
Once the panels are finished, I move on to the larger sections, using a brush for a classic finish and steady, consistent strokes, smoothing out any drips for a flawless result
7. Sand Between Coats
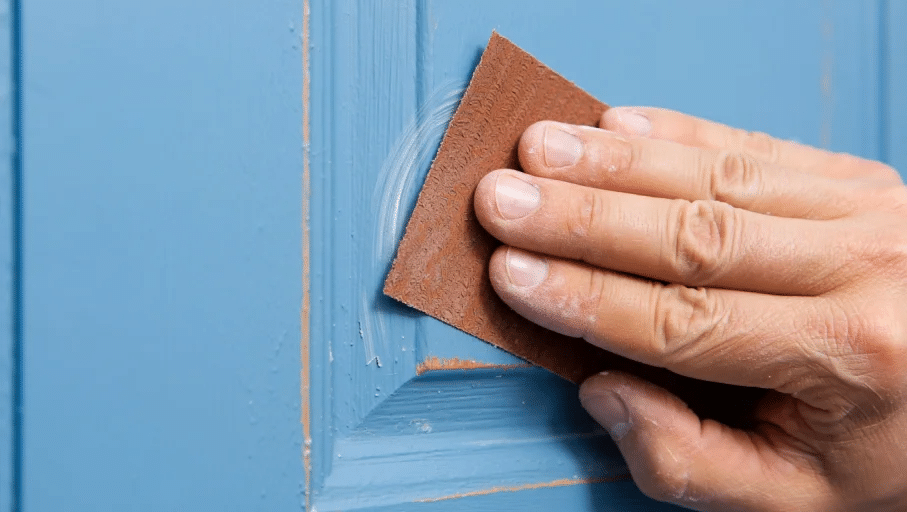
After the first coat dries, I lightly sand the door with sandpaper to remove any grit or imperfections.
I inspect for any rough spots or debris in the paint, ensuring a smooth surface for the next coat. This step is critical for achieving a professional finish, as it addresses minor flaws that could affect the final appearance.
A quick sanding ensures the subsequent coat adheres well and looks flawless.
8. Apply Additional Coats
I apply a second coat, following the same pattern: heel, toe, panels, and larger sections. After inspecting, I notice lighter areas, so I apply a third coat for full coverage.
I use the same vertical and horizontal stroke techniques, ensuring consistency. This step ensures the door has a uniform, durable finish, addressing any thin spots to achieve a vibrant, professional result that withstands wear and weather.
Front Door Color Inspirations for 2025
Choosing the right front door color in 2025 offers a fresh way to boost your home’s curb appeal while expressing personality and style.
This year, homeowners are moving beyond safe neutrals toward expressive, nature-connected, and classy shades that complement various architectural designs.
1. Sage Green

The sage green door blends harmoniously with the neutral brick and greenery, offering a natural, calming vibe.
Its muted tone complements modern and rustic styles, increasing curb appeal while remaining understated.
2. Midnight Blue
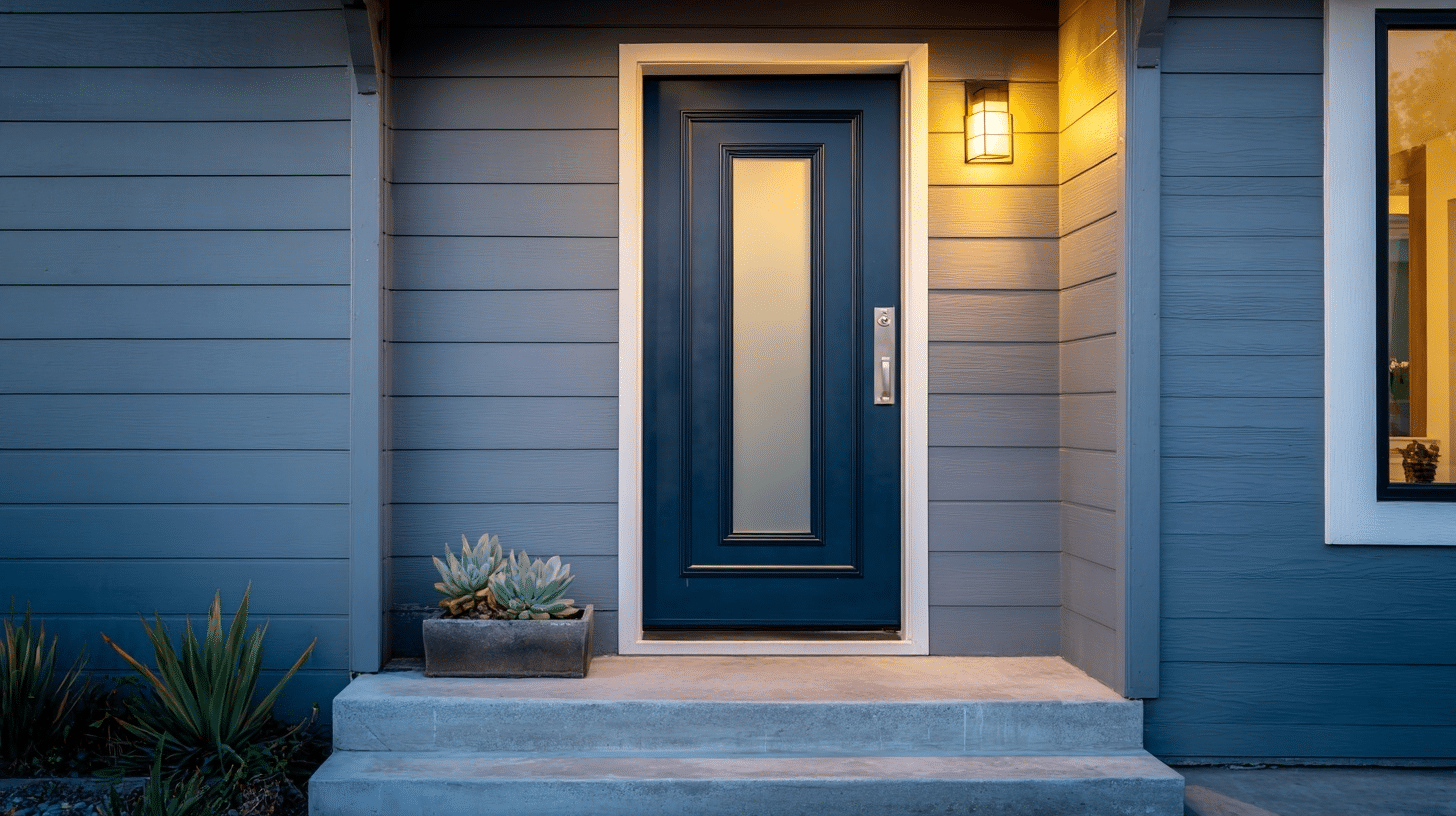
A navy bluedoor adds a striking contrast to the light gray exterior walls. This bold hue beautifies the entryway by creating a welcoming focal point, while the sleek design and frosted glass panel lend a modern touch.
3. Charcoal Gray
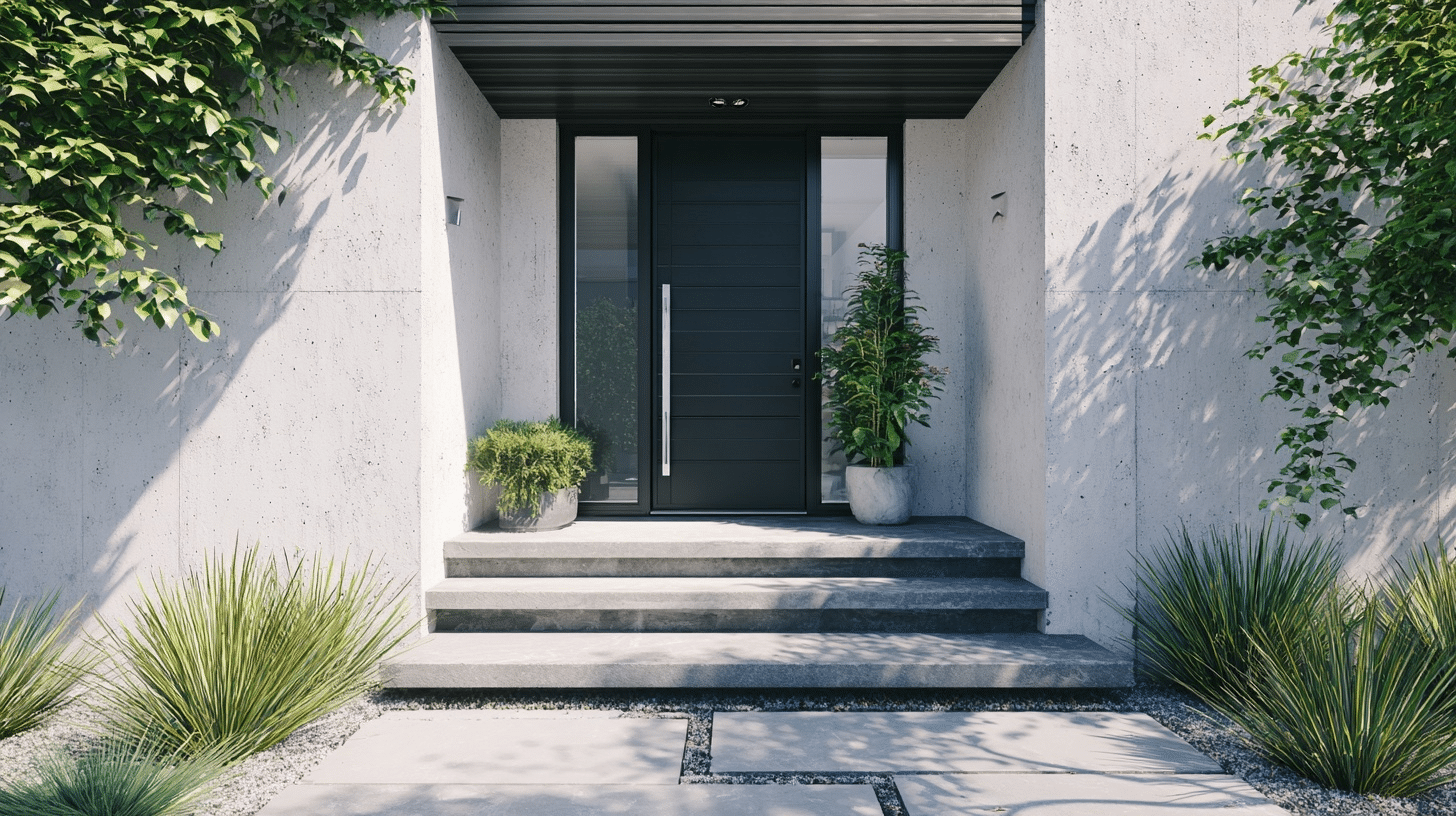
Charcoal gray provides a sleek, modern look that pairs seamlessly with concrete and greenery. Its neutral tone adds depth and beauty, balancing the bright surroundings.
Ideal for minimalist homes, it exudes strength and stability, making the entrance both inviting and stylishly understated.
4. Red
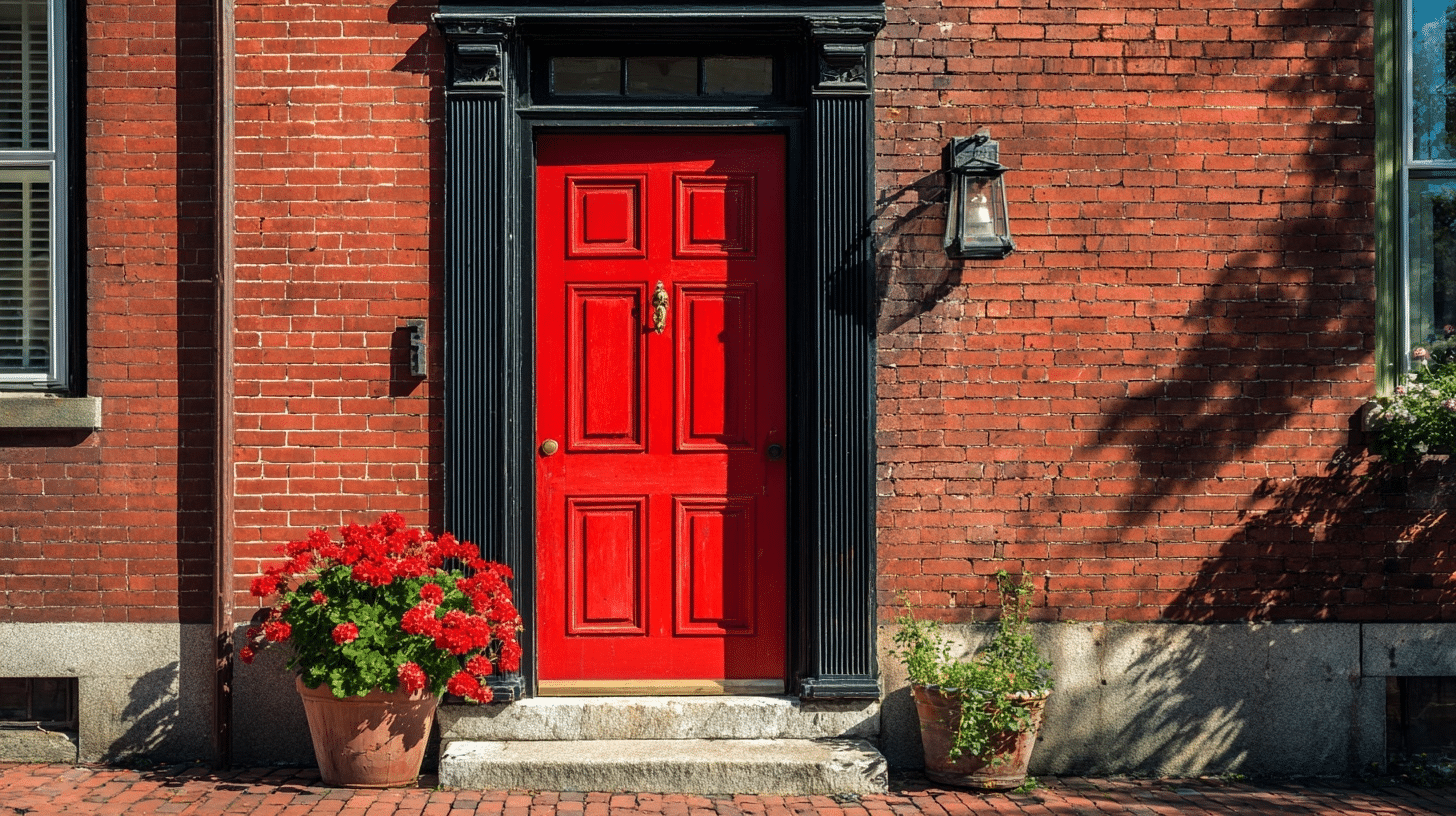
The red door injects energy and warmth, standing out against the brick backdrop. It symbolizes welcome and passion in traditional or eclectic homes. Its uplifts the entrance with a classic, cheerful charm.
5. Sunny Yellow
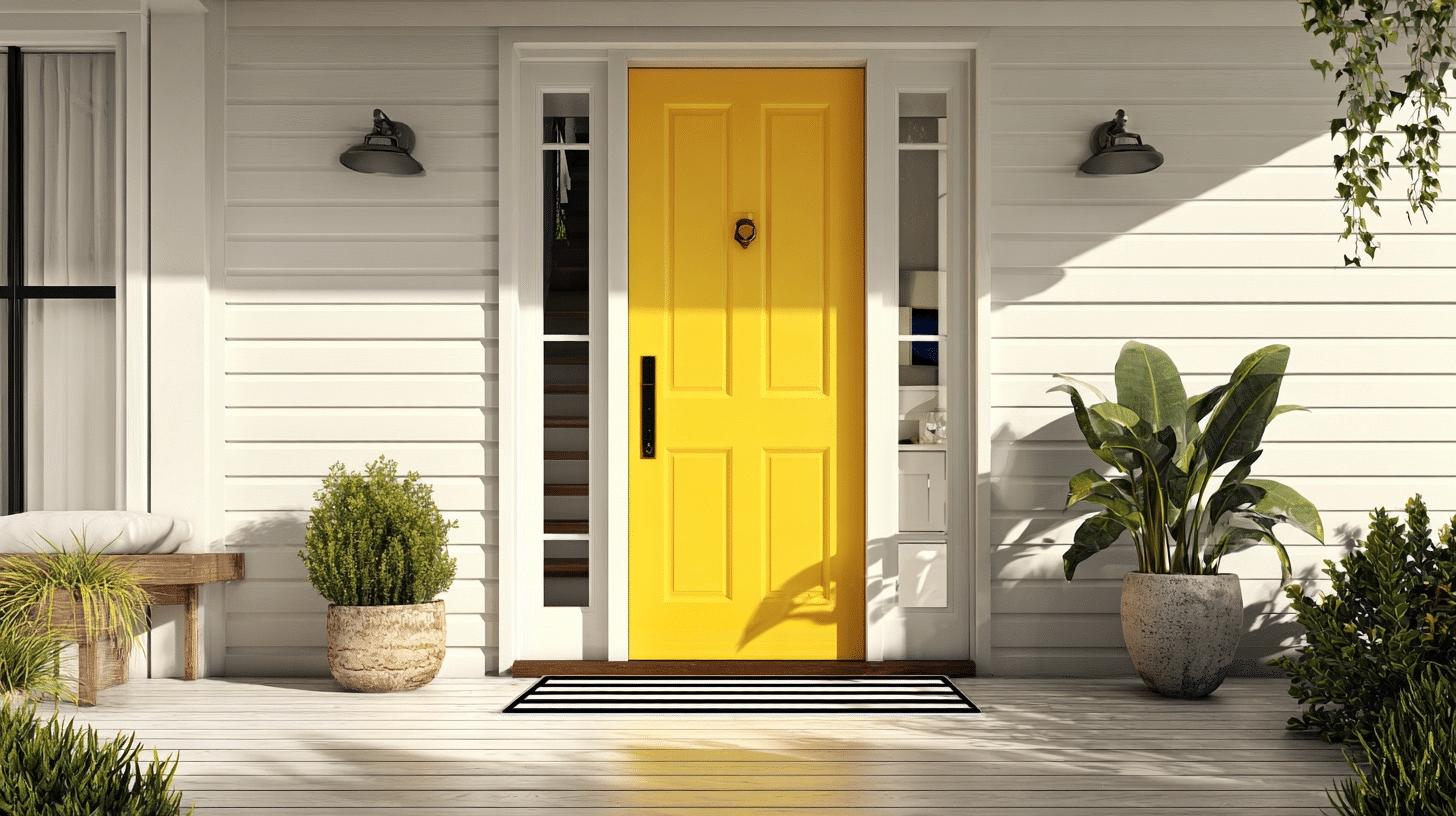
Its bright tone suits playful or modern homes, drawing the eye with warmth and positivity. Perfect for a welcoming entry, it adds a lively contrast, increasing the home’s curb appeal effortlessly.
Common Mistakes to Avoid When Painting a Front Door
Painting a front door can dramatically improve your home’s curb appeal, but common mistakes can spoil the finish and reduce the longevity of the paint job.
Paying attention to preparation, paint selection, and technique ensures a beautiful, durable result.
- Skipping Proper Preparation: Failing to clean, sand, and prime the door leads to peeling paint, uneven finishes, and short lifespan of the paint.
- Choosing the Wrong Paint: Avoid interior paints; use exterior-grade, semi-gloss finishes ideal for doors as they resist weather and are easier to clean.
- Painting Door Hardware Without Protection: Neglecting to cover door handles, locks, letterboxes, and hinges with painter’s tape or removing them beforehand results in messy splashes and difficult cleanup.
- Ignoring the Door’s Edges: Painting the edges incorrectly can make the door look unprofessional; paint the edges to match the door front and back as per its swing direction.
- Applying Too Thick or Too Few Coats: Heavy coats cause drips and uneven texture; multiple light coats provide better coverage and finish.
- Overbrushing or Reworking Paint While Wet: Going back over drying paint strokes causes marks and slows the process without improving the finish.
- Choosing a Door Color That Clashes: Select a color that balances well with your home’s exterior and other accents like shutters and garage doors for a cohesive look.
The Bottom Line
Painting your front door doesn’t have to be complicated. I’ve walked you through each step of how to paint a front door because I know how overwhelming home projects can feel. From picking the perfect color to applying that final coat, you now have a clear roadmap.
Your neighbors will notice the change. More importantly, you’ll smile every time you come home to your beautifully refreshed entrance.
Grab your supplies this weekend and begin with step one. Remember, the best part isn’t just the finished result, it’s the satisfaction of completing a project yourself.
I’d love to hear about your door transformation in the comments below. Share your before and after photos too!