I get it, you want to refresh your space without breaking the bank or dealing with complicated home projects. Most window treatments cost a fortune and require professional installation.
But you can create stunning window coverings using simple tablecloths from your local store. I’ll show you exactly how to make tablecloth curtains that look custom-made but cost a fraction of regular drapes.
This method works for renters, homeowners, and anyone who loves a good DIY win. Ready to upgrade your windows in just one afternoon?
Let’s turn those plain tablecloths into gorgeous curtains that’ll have your guests asking where you bought them.
Why Should You Try Them?
Instead of buying expensive fabric or ready-made curtains, you’re using tablecloths as your window covering material. Tablecloths come pre-hemmed and often feature patterns you won’t find in traditional curtain sections.
It’s incredibly budget-friendly, costing about half of regular curtains. You can easily switch them out for different seasons or moods. Plus, tablecloth sections offer unique prints and textures that make your windows stand out.
This method works perfectly for DIY enthusiasts, renters who can’t make permanent changes, anyone decorating on a tight budget, and people who love changing their decor seasonally.
Materials Required to Make Tablecloth Curtains
| Material | Purpose |
|---|---|
| 60×84″ Oblong Tablecloth | The main fabric used as a curtain panel |
| Curtain Clips (with hooks) | Used to attach the tablecloth to the curtain rod |
| Curtain Rod | Support structure for hanging the tablecloth curtain |
| Measuring Tape | Helps in the even placement of clips |
| Iron | Used for pressing the tablecloth after washing |
| Washing Machine & Dryer | To pre-shrink and soften the tablecloth fabric |
Steps for Turning a Tablecloth Into Curtains
Turning a tablecloth into stylish curtains is a simple, budget-friendly DIY project that adds personality to any room.
With careful prep, smart hardware choices, and precise clip placement, you’ll achieve a polished, custom look that rivals store-bought panels.
Wash and Dry the Tablecloth
I always start by throwing my tablecloth in the washing machine. This removes any store smells and gets rid of stubborn creases. More importantly, it handles any shrinkage before you hang it up. After drying, I hold it up to my window to double-check the length.
Trust me, you don’t want surprises after you’ve already installed everything. This simple prep step saves headaches later.
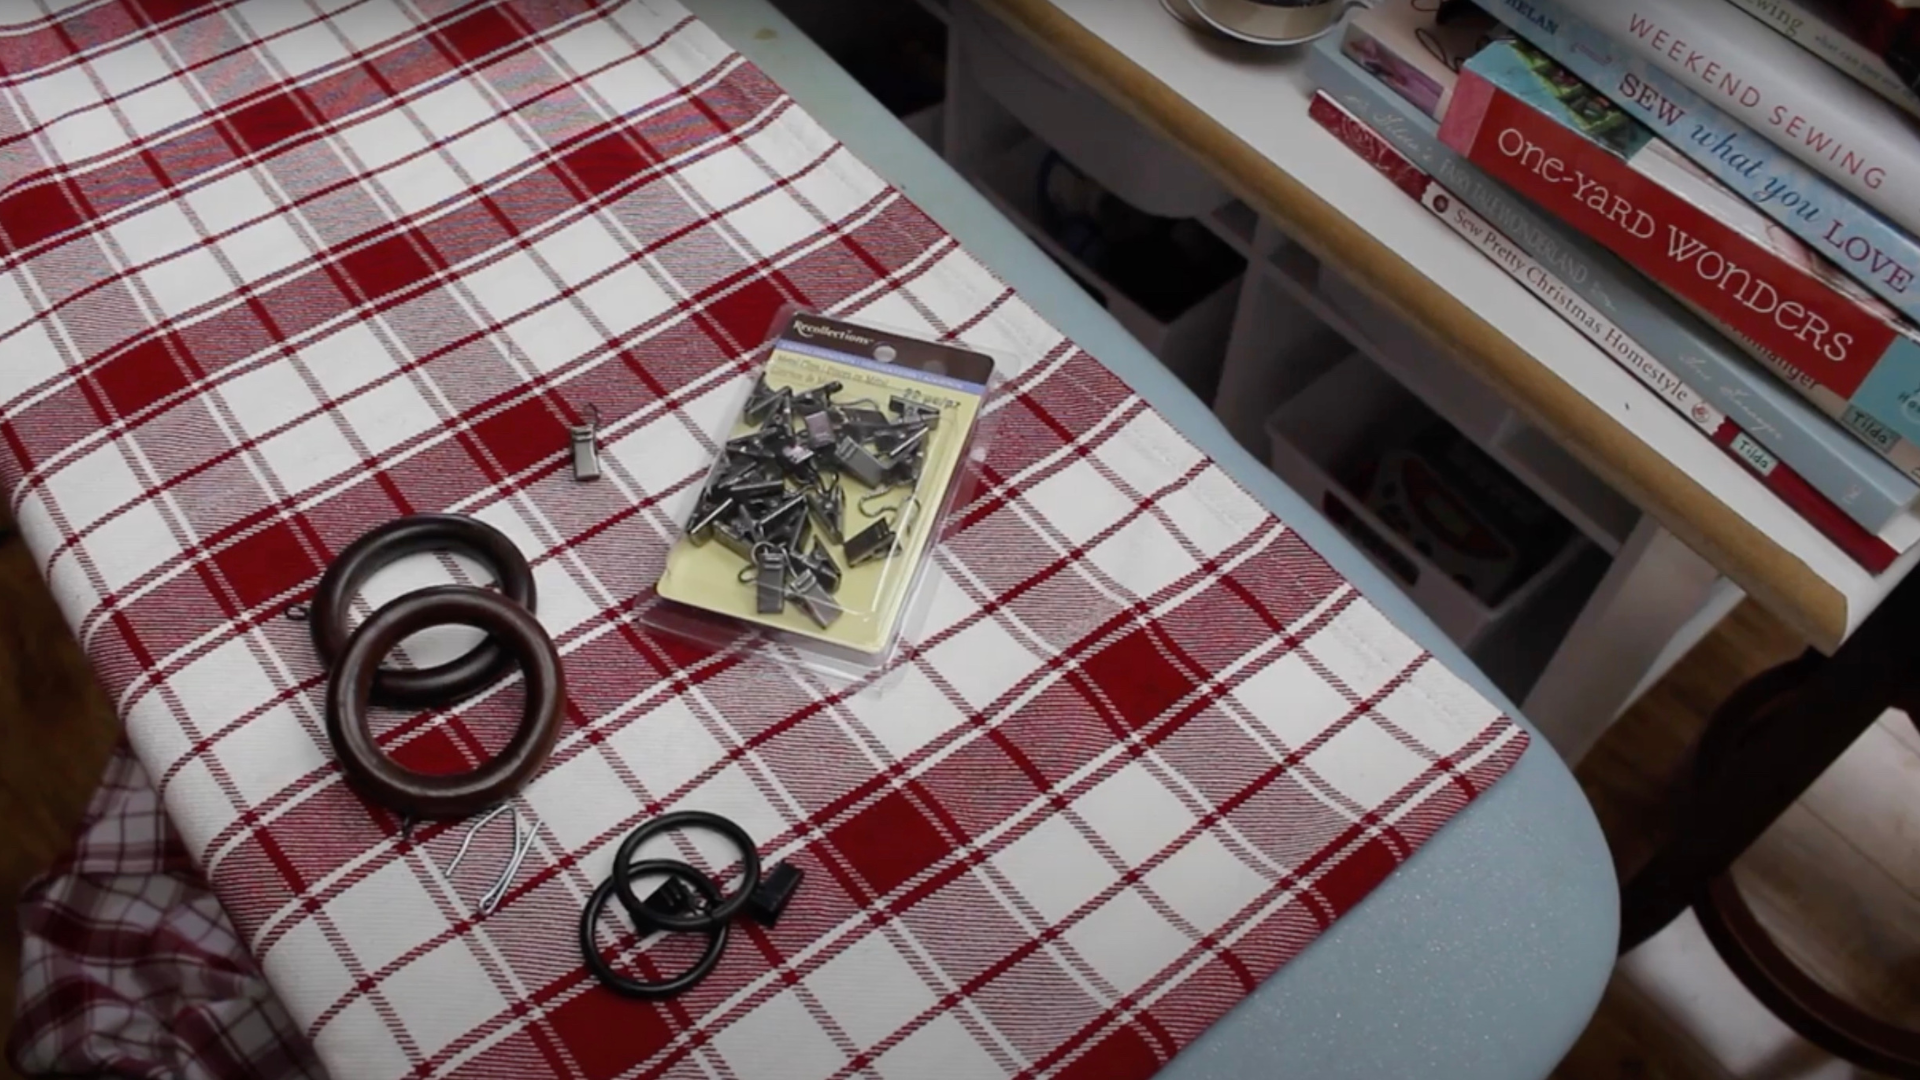
Choose Your Hanging Hardware
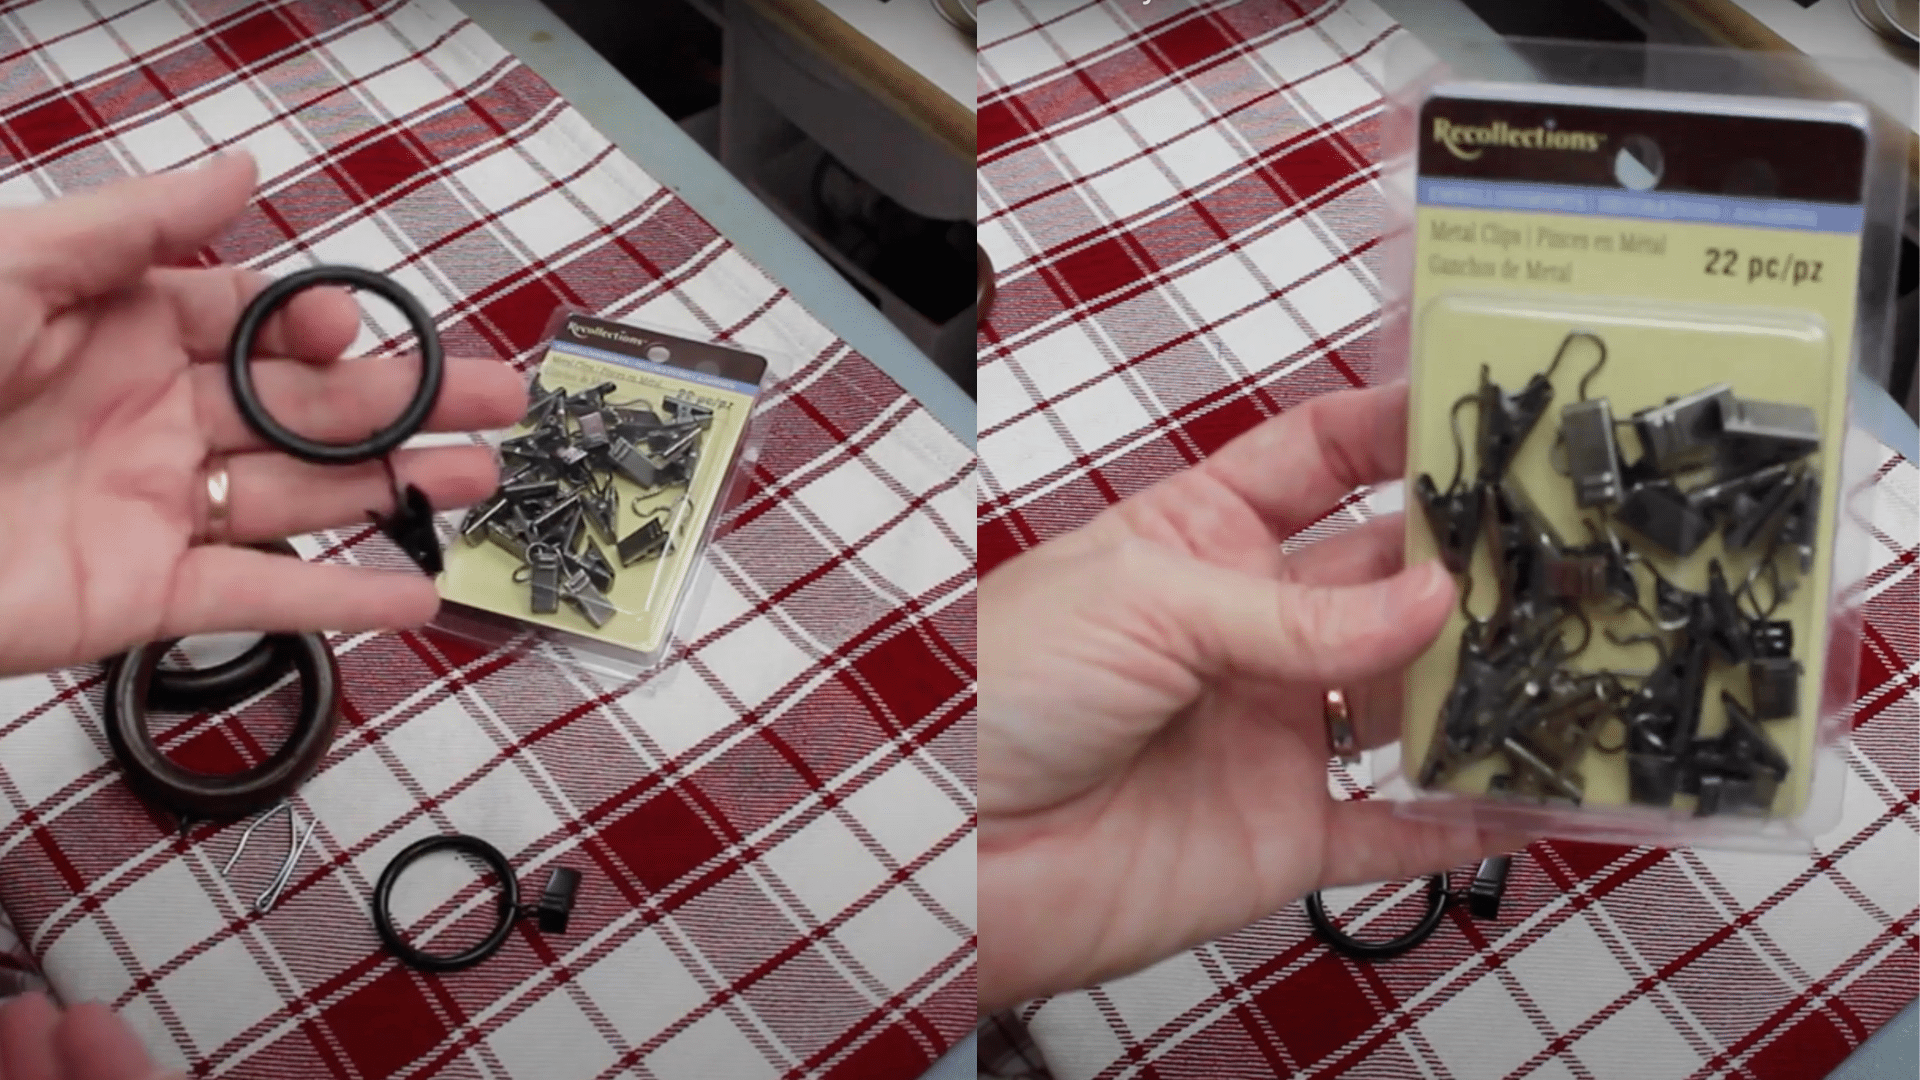
You’ve got two solid options here. I usually go with curtain clips and rings because they’re foolproof and work with any rod. You can grab them at any home store.
If you want to use hooks with existing rod inserts, that works too, but you might need clip-on alternatives if your tablecloth doesn’t have built-in loops. Pick whatever feels easier for your setup.
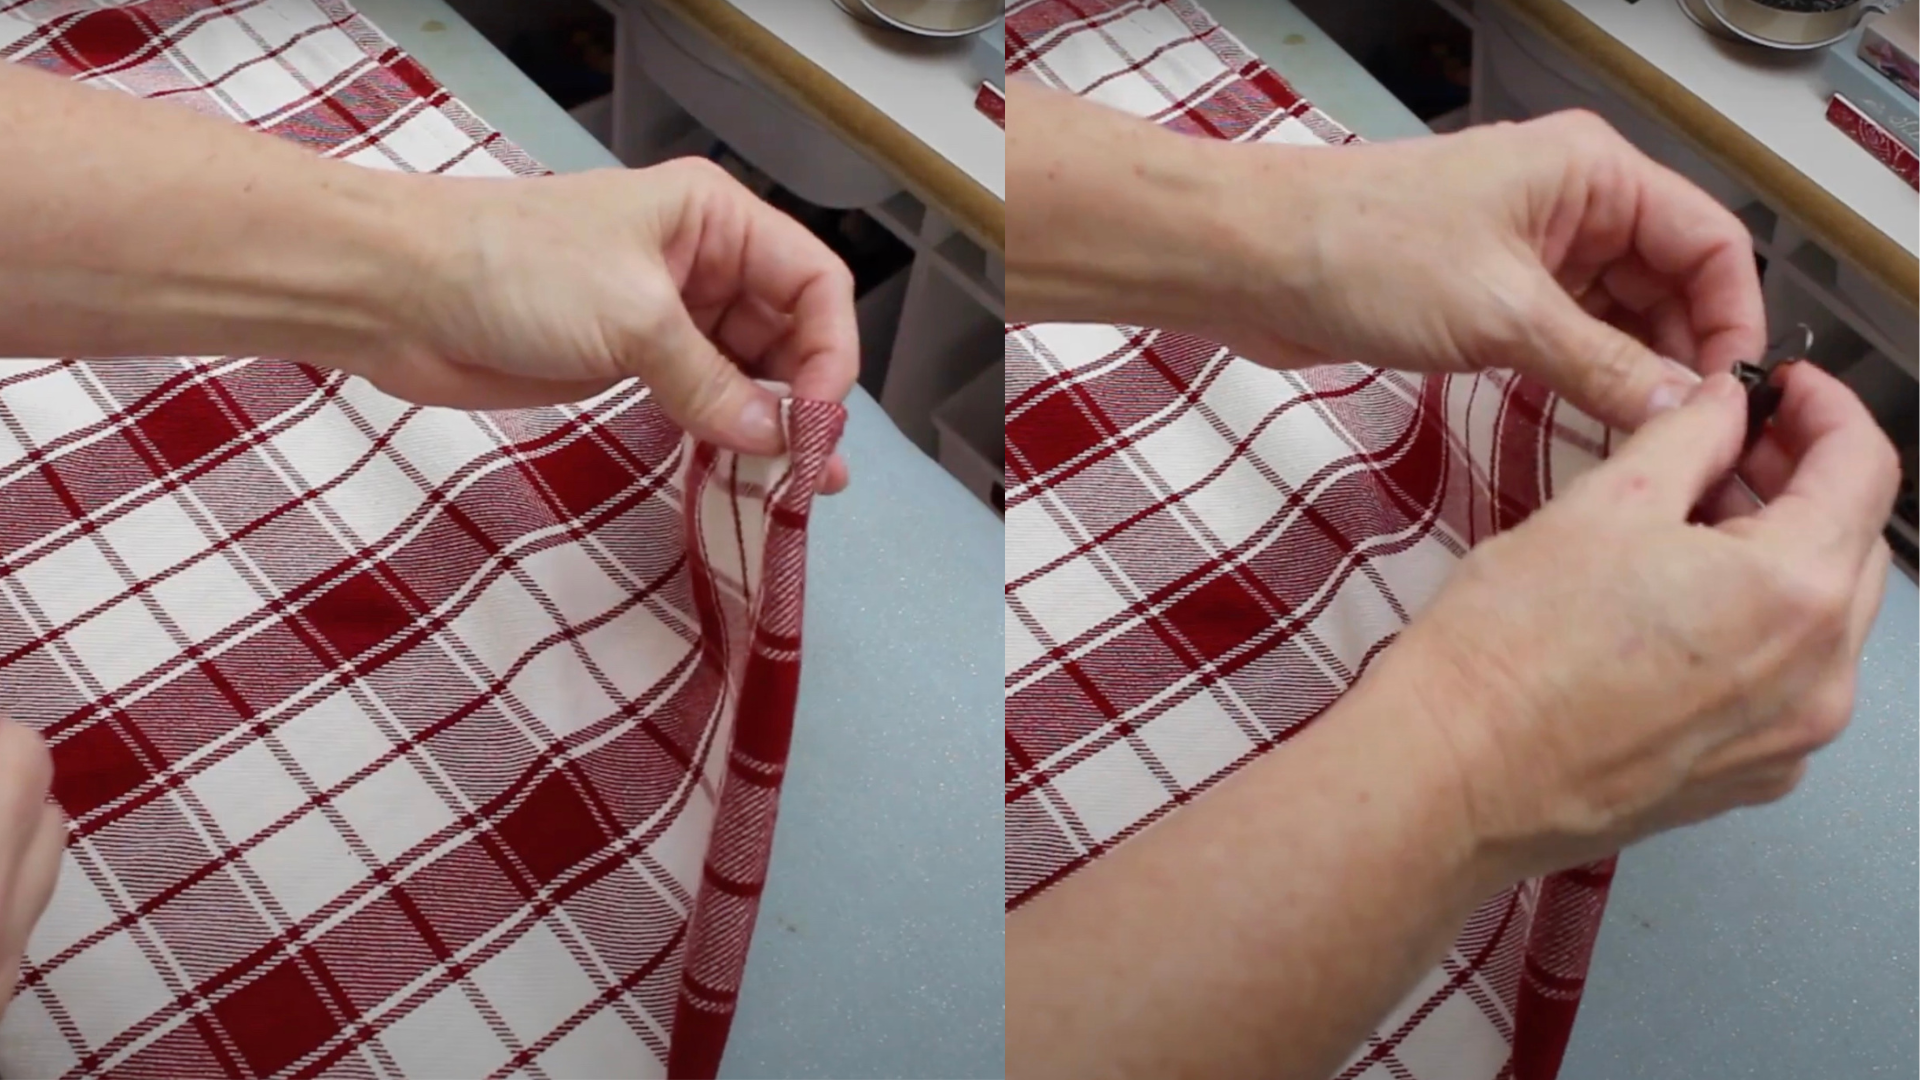
Clip the Ends
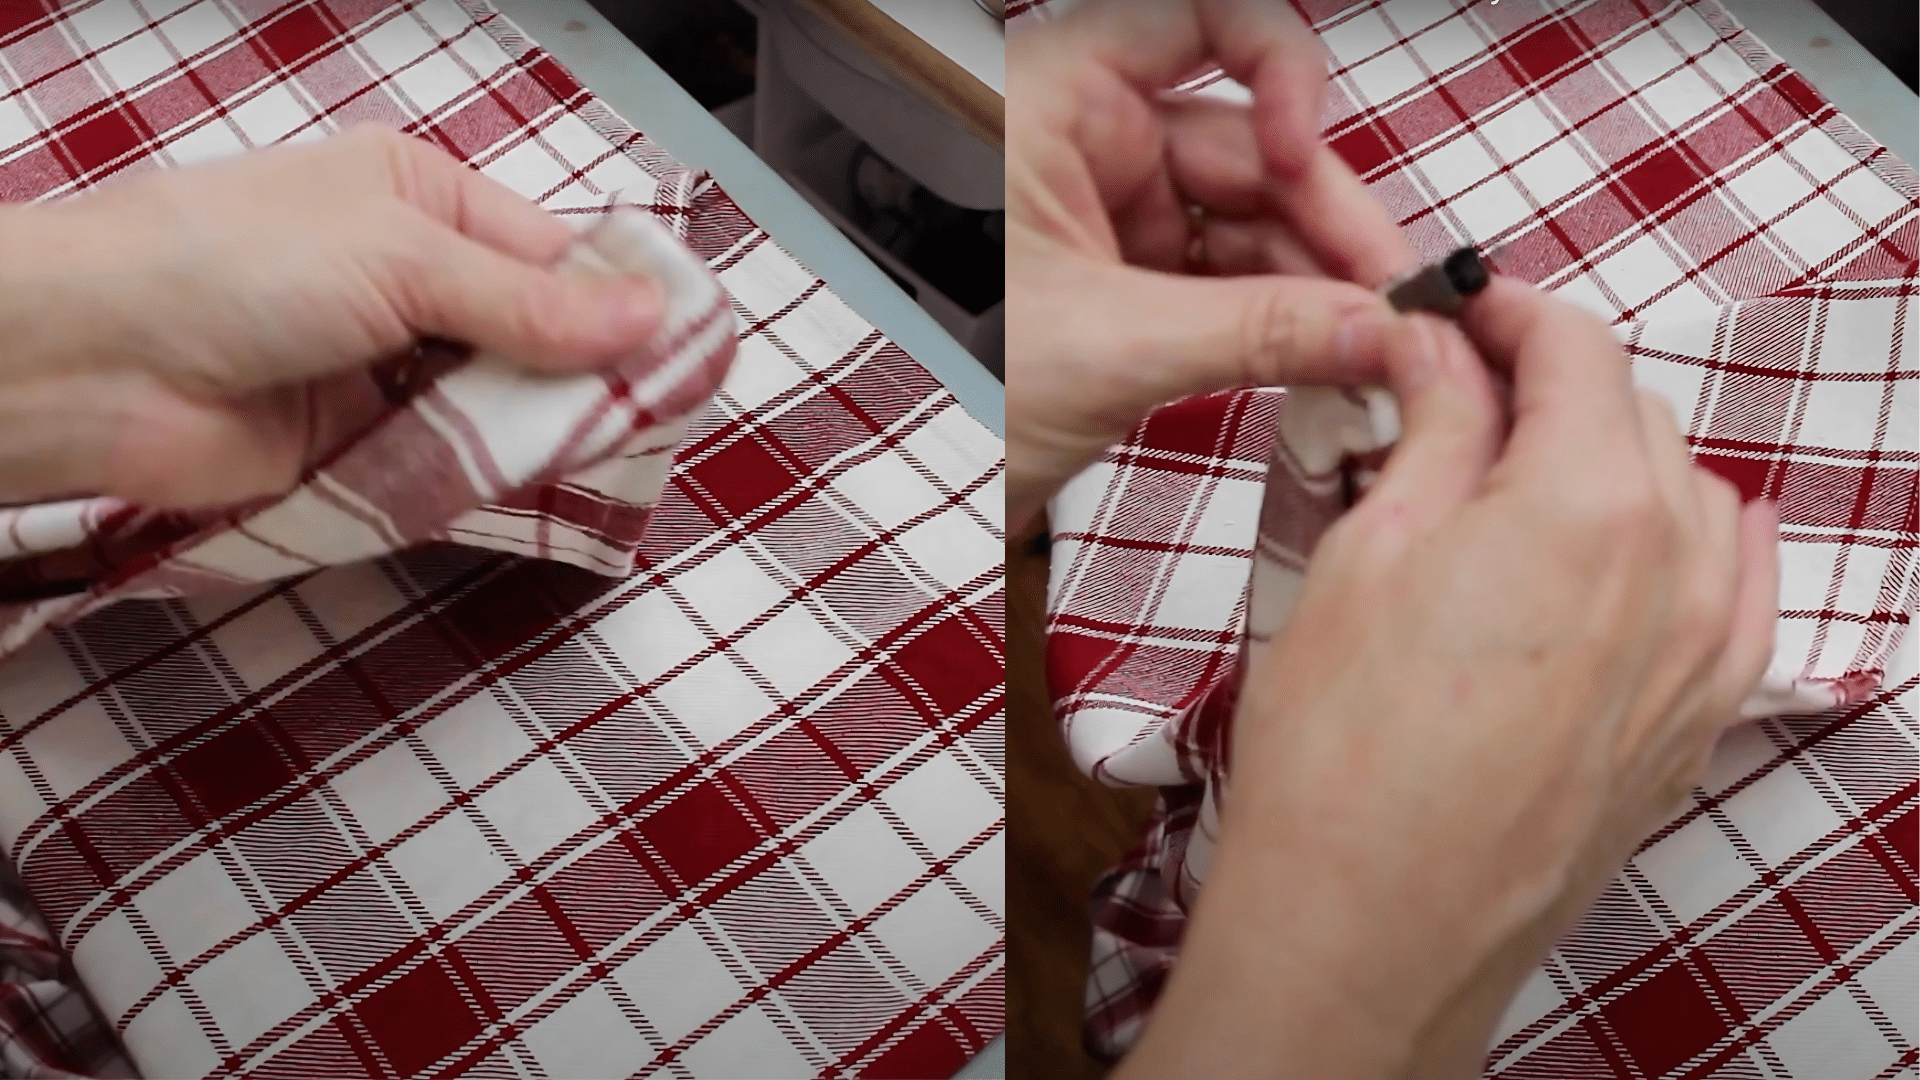
Time to lay your tablecloth completely flat on a clean surface. I start by attaching clips to both corner ends first. Make sure the clip faces the right direction so your tablecloth’s good side shows when it’s hanging. I learned this the hard way when I had to redo mine because everything was backwards. Take your time with this step.
Find the Middle
Next, I fold the tablecloth in half to find the exact center point. This creates a natural crease that shows you where to place your middle clip.
Getting this center clip right is crucial because it ensures your curtain hangs evenly on both sides. I always double-check by measuring from each end to make sure I’ve got the true middle before clipping.
Quarter and Eighth Folds
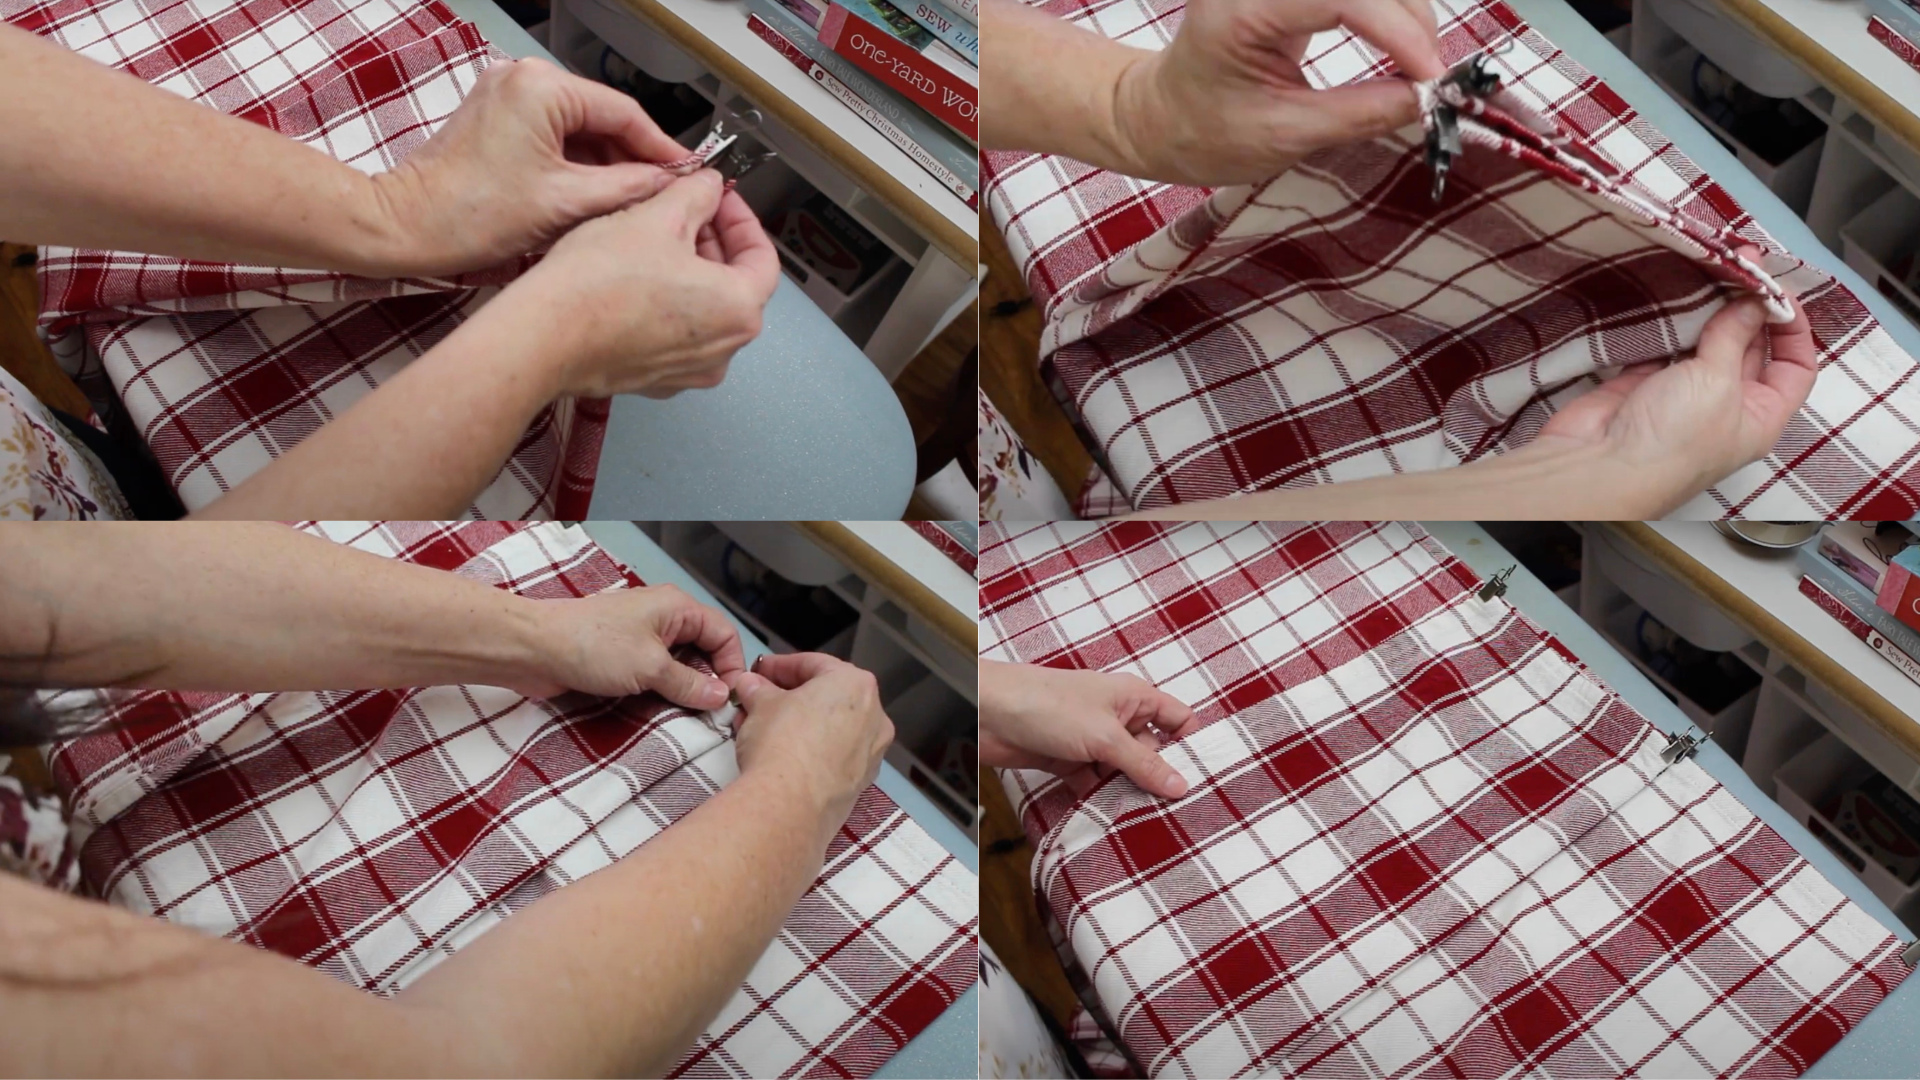
Now comes the spacing magic. I fold each half section again to create quarters, then add clips at those new creases.
Keep going and fold into eighths for even more clips. For me, I ended up with 9 clips total, which gave perfect spacing. The key is being consistent with your folds, so everything looks balanced when you hang it up.
Hang the Curtain
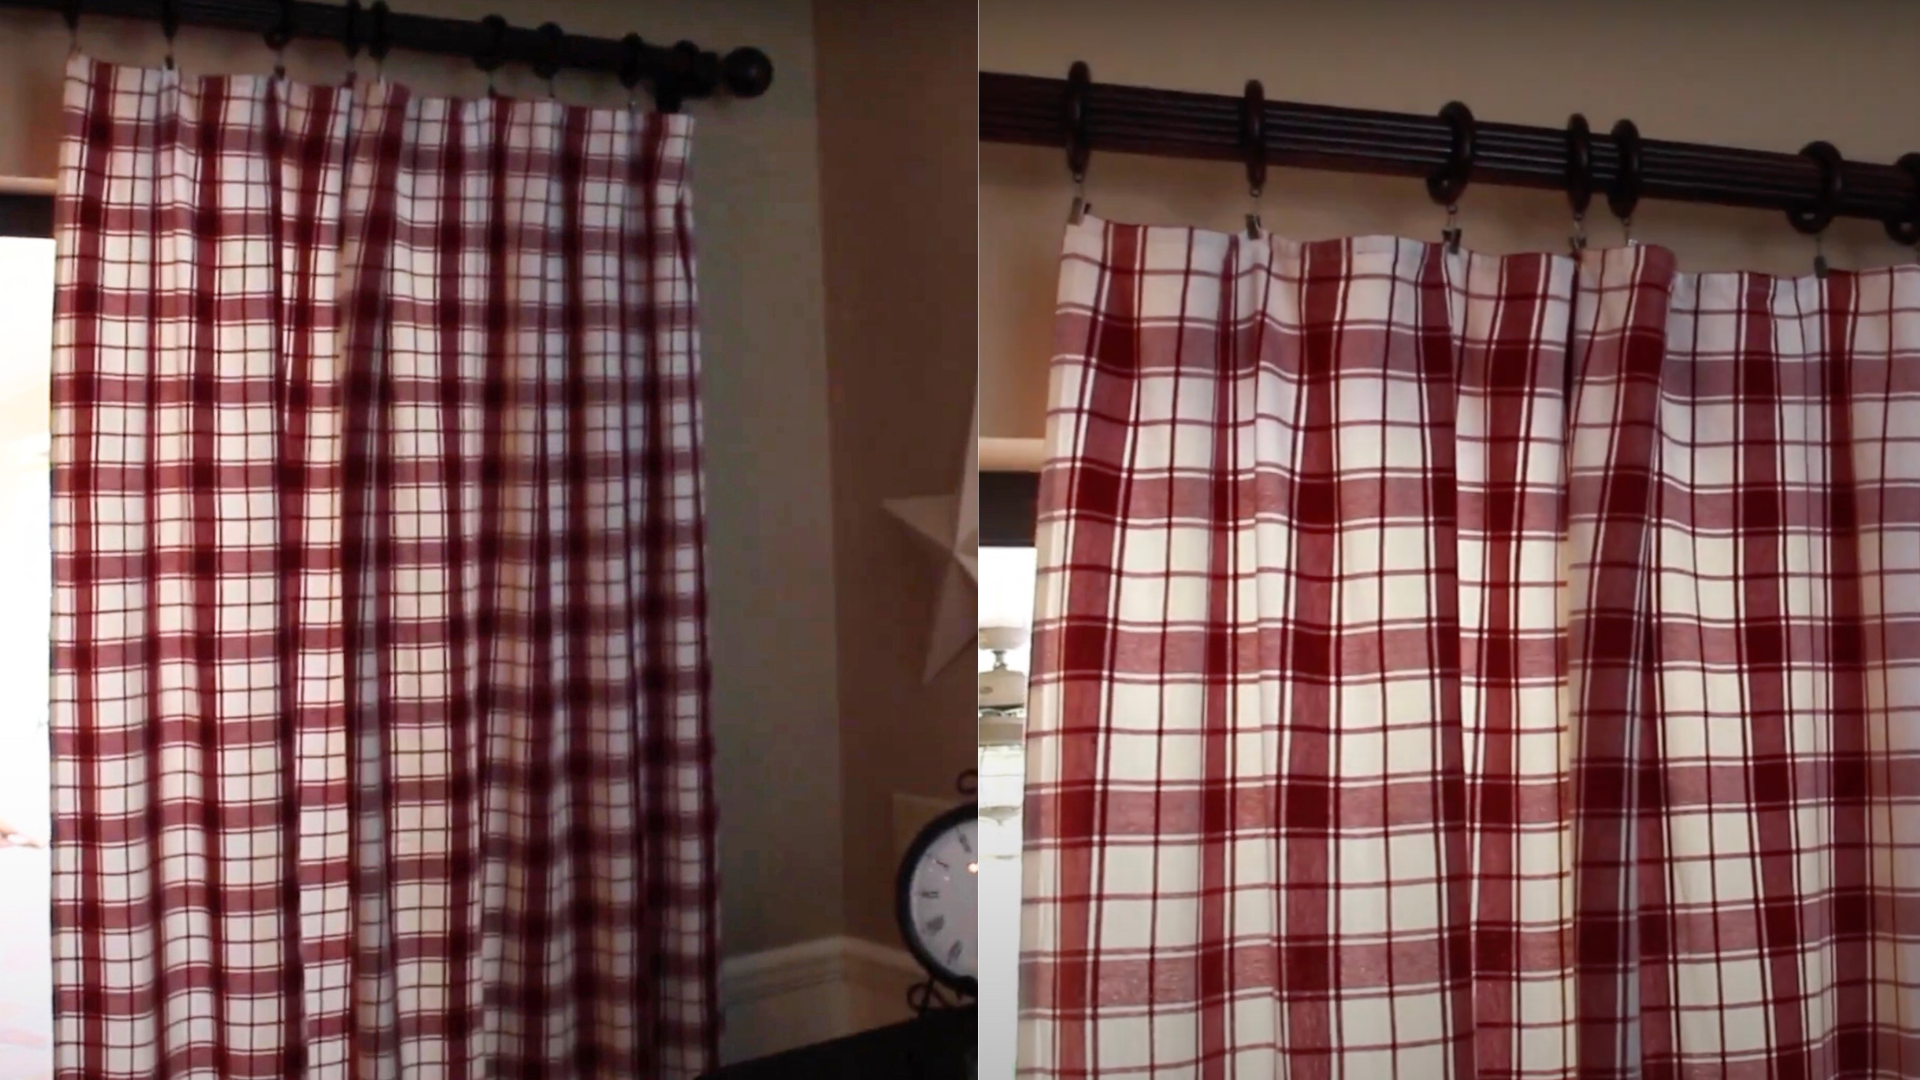
Finally, I slide all the hooks onto my curtain rod or clip the rings on. Spread them out evenly and step back to check how the fabric drapes. Don’t worry if you need to adjust clip spacing slightly; that’s normal.
I usually tweak a few positions to get that perfect, tailored look. Once it’s hanging right, you’re done with your new curtains.
For a more detailed tutorial on how to make tablecloth curtains, check out the video below:
Ideas to Inspire Your DIY Tablecloth Curtains
I love how versatile curtains made from a tablecloth can be for different styles and seasons. The following are some of my favorite design approaches that’ll give you tons of inspiration for your own space.
1. Seasonal Swaps
Curtains made from tablecloths make seasonal decorating effortless. Swap in light cottons with florals or bright hues for spring and summer, then switch to warm plaids or rich autumn tones for fall.
In winter, cozy flannels or festive prints add warmth. Neutral linens work year-round, and the lightweight fabric means changing them out takes just minutes.
2. Double-Duty Decor
Create a cohesive, designer look by using matching tablecloths for both your table and curtains.
This works especially well in open-concept spaces, tying dining and living areas together. It’s an affordable way to impress at dinner parties or gatherings, offering a coordinated style without the high price tag of custom decor.
3. Boho, Coastal, and Farmhouse Flavors
Tablecloth textures and patterns can instantly set your room’s vibe. For boho style, choose prints with fringe or tassels.
Coastal looks shine with light blues, whites, and linen textures. Farmhouse charm comes from gingham, buffalo check, or vintage florals. For modern minimalism, stick to solid, neutral-colored tablecloths for a clean, simple effect.
4. Kids’ Rooms and Play Areas
Tablecloth curtains are perfect for kids’ rooms and play areas. They come in fun cartoon prints and bright colors, are easy to wash, and require no sewing, making updates quick and affordable as your child’s tastes change.
Ideal for cheerful, non-permanent decor!
Common Mistakes to Watch For
- Wrong measurements: I always measure my window width and add extra inches for proper coverage. Measure twice, buy once, because returns are a hassle when you’ve already started your project.
- Too short curtains: Short curtains make rooms look choppy. I aim for curtains that either hit the windowsill perfectly or go all the way to the floor for a more polished appearance.
- Choosing stiff or slippery fabric: Stiff tablecloths won’t drape nicely, and slippery ones slide around on clips. I stick with medium-weight cotton or linen blends that hang well and stay put.
- Using too few clips: Skimping on clips creates uneven bunching and gaps. I learned this lesson when my first attempt looked messy because I only used five clips on a wide window.
- Ignoring the tablecloth’s existing design flow: Some tablecloths have directional patterns or borders meant for table use. I always check how the design will look when hung vertically before committing to the purchase.
Wrapping It Up
Making tablecloth curtains has completely changed how I approach window treatments.
You get custom looks without custom prices, plus the freedom to switch styles whenever inspiration strikes. I’ve gone from basic white sheets to bold patterns that reflect my personality.
The beauty lies in the flexibility that seasonal changes, room makeovers, or just trying something new become effortless. Don’t be afraid to experiment with textures, colors, and prints you’d never find in regular curtain sections.
Grab a tablecloth that catches your eye and give your windows the style upgrade they deserve today.