Potatoes are a household name, but ever watched a tiny potato seed turn into a full harvest?
Without knowing the growth stages, you might water too much during one phase and too little during another. You could harvest too early or wait too long.
Each stage has specific needs. From the initial sprouting to the final bulking phase, your potatoes undergo a series of constant changes.
When you know what’s happening at each step, you can give them exactly what they need.
Better timing means healthier plants and bigger harvests.
About Potato Growing Stages
Timing is key when growing potatoes. Plant in early spring, 2–4 weeks before the last frost, when the soil reaches 45°F.
Potatoes thrive in cool climates (60–70°F) with at least 6 hours of sun. Use loose, well-draining soil enriched with compost, and only plant certified seed potatoes.
Early types, such as Yukon Gold, mature in 60–80 days, while late ones take 90–120 days but store for longer. Cut large seed potatoes into pieces with two eyes, let them dry for 24 hours, and plant them 4 inches deep and 12 inches apart.
Hill soil around 6-inch shoots every 2–3 weeks to prevent greening and increase yield.
Potato Growing Stages in Detail

Your potato plant goes through six distinct potato growing stages from planting to harvest. Each stage has different needs and timing. Understanding these phases helps you grow better potatoes with bigger
Stage 1: Sprouting Phase (0-2 Weeks)
Your potato pieces wake up first. Tiny white shoots push through the soil. Roots start growing downward while green stems reach for sunlight. This stage requires steady moisture, but not excessive water.
Cool temperatures help strong root development. You won’t see much above ground yet, but magic is happening below.
Stage 2: Vegetative Growth (2-6 Weeks)
Green leaves burst from the soil. The plant focuses on building a strong leaf system. More leaves mean more food production through sunlight. Stems get thicker and taller.
This is when I do my first hilling. The plant requires ample water and nutrients at this time.
Stage 3: Tuber Initiation (6-8 Weeks)
Small tubers start forming underground. The plant switches from just growing leaves to making potatoes. You might see tiny white flowers blooming. Temperature matters a lot here – too hot and tubers won’t form well. I keep the soil consistently moist during this critical time.
Stage 4: Tuber Bulking (8-12 Weeks)
This is when potatoes really grow big. Tubers swell rapidly as the plant pumps energy into them. Leaves might start yellowing slightly. I do my final hill now.
The plant needs steady water, but avoid overwatering. Most of the final potato size happens during these weeks.
Stage 5: Maturation (12-16 Weeks)
Leaves turn yellow and die back naturally. The plant stops growing and focuses energy on hardening potato skins. Tubers develop their final size and storage quality.
I have reduced watering significantly. This stage tells me harvest time is approaching. Skin should resist rubbing off easily.
Stage 6: Harvest Time
Plants look completely dead above ground. Tubers have thick, set skins that don’t scrape off. I wait 2-3 weeks after plants die back for the best storage quality.
Dig carefully to avoid damaging potatoes. Cool, dry weather is perfect for harvesting and curing your crop
Storage and Post-Harvest Handling
Proper storage keeps your potatoes fresh for months after the potato-growing stages are over. After digging, let them cure in a cool, dark place for 7-10 days. This helps harden the skin and heal minor cuts.
Storage Steps:
- Brush off dirt, but don’t wash them
- Remove damaged or green potatoes immediately
- Store in breathable containers like burlap sacks or cardboard boxes
- Keep the temperature between 35-40°F with good air flow
- Maintain 85-90% humidity to prevent shriveling
- Check stored potatoes monthly and remove any soft ones
Never store potatoes with apples or onions – they release gases that cause sprouting. Avoid plastic bags since they trap moisture and cause rot. A cool basement or root cellar works perfectly. Properly stored potatoes last 4-6 months. Early varieties don’t store as long as late-season types
Fertilization and Protection
Your potatoes need different nutrients at each stage. During early growth, they crave nitrogen for strong leaves and stems.
As tubers form, phosphorus becomes crucial for root development and energy transfer. Potassium helps with disease resistance and tuber quality throughout the season.
For pest control, watch for Colorado potato beetles and aphids. I use row covers early in the season. Crop rotation prevents soil diseases like scab and blight.
Plant marigolds nearby to deter harmful insects.
Check plants weekly for signs of trouble. Healthy soil with good drainage naturally prevents most disease problems.
Common Challenges in Potato Growing Stages
Growing potatoes presents several challenges that can frustrate even experienced gardeners. Knowing these common problems helps you avoid them and get better harvests.
- Green potatoes from poor hilling and sun exposure
- Colorado potato beetles and late blight are destroying plants quickly
- Poor germination from old seed potatoes or cold, wet soil
- Cracked potatoes from uneven watering patterns
- Storage rot from harvesting damaged or wet tubers
Problems often arise from poor timing, incorrect soil conditions, or skipping essential care steps.
Dishes You Can Make with Your Home-Grown Potatoes
Here are some favorite ways to use your homegrown potatoes. Each dish brings out different flavors and textures from your harvest.
1. Mashed Potatoes
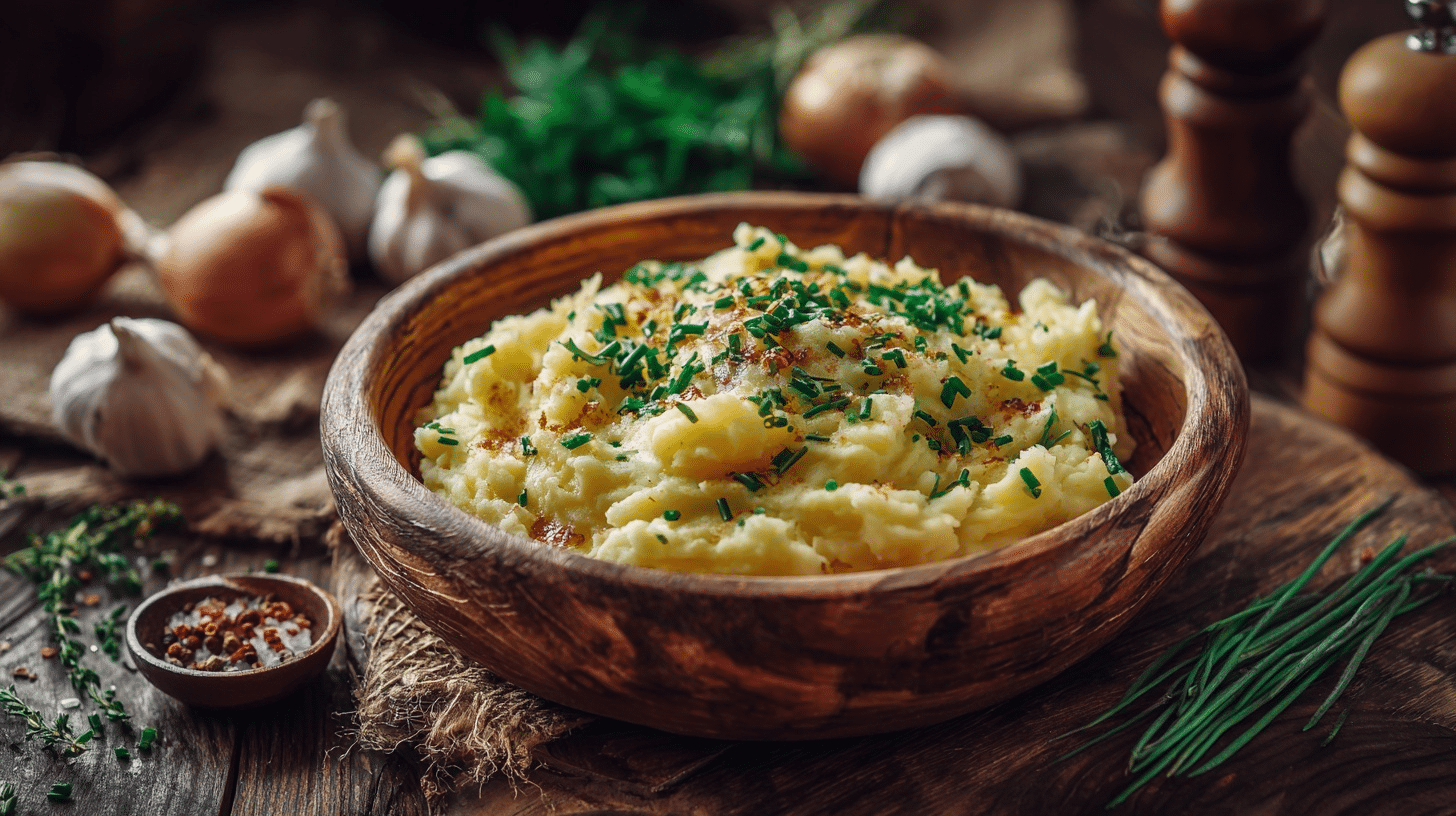
Creamy comfort food that’s perfect for family dinners. Boil peeled potatoes until soft, then mash with butter, milk, and salt.
Russet potatoes work best because they’re fluffy. Add garlic or herbs for extra flavor. Great side dish for roast chicken or beef stew.
2. French Fries
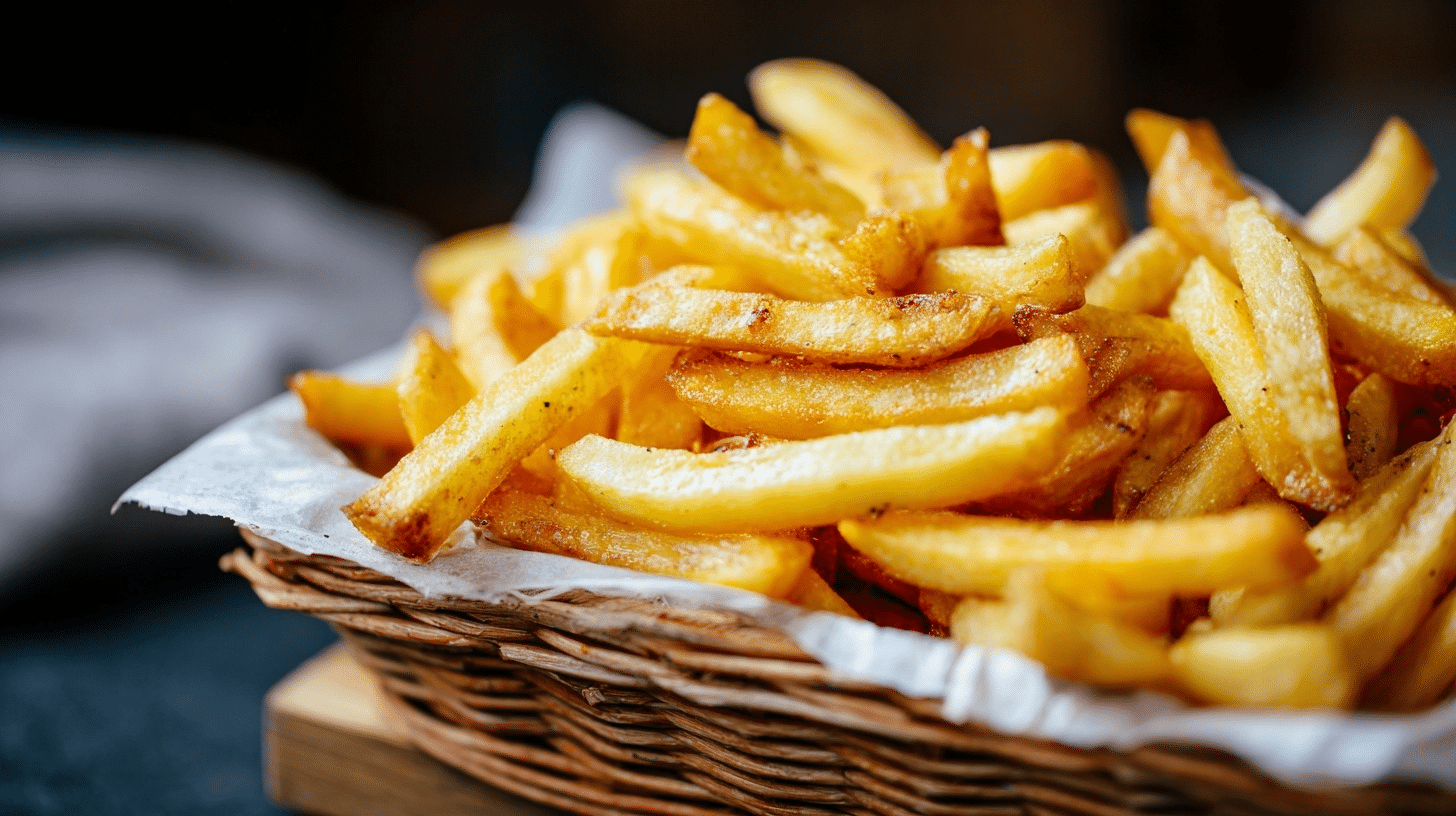
Crispy golden strips that everyone loves. Cut potatoes into sticks, soak in cold water, then fry twice for a perfect crunch. First fry at low heat, then high heat for a golden color. Russets give the fluffiest inside. Season with salt while hot.
3. Baked Potato
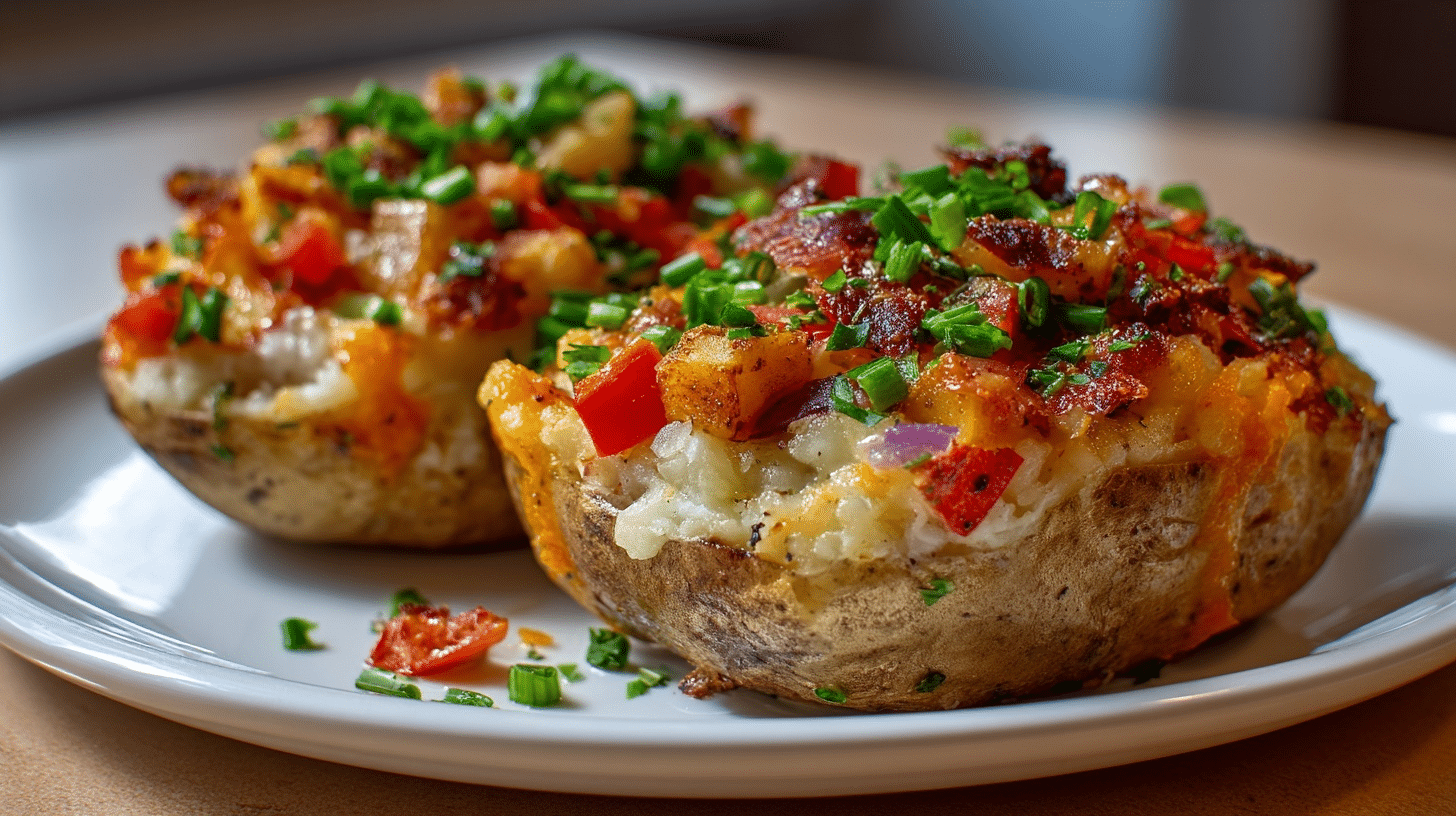
Simple and filling meal option. Pierce whole potatoes with a fork, rub with oil and salt, then bake at 425°F for 45-60 minutes. Skin becomes crispy while inside stays fluffy. Top with butter, cheese, or chives.
Perfect for using larger potatoes from your garden.
4. Potato Salad

Cold side dish is great for picnics and barbecues. Boil small potatoes until tender, then mix with mayo, mustard, and chopped vegetables.
Waxy varieties like red potatoes hold their shape better. Add hard-boiled eggs, celery, or herbs. Best served chilled after flavors blend together.
5. Hash Browns
Crispy breakfast favorite made from shredded potatoes. Grate raw potatoes, squeeze out excess water, then fry in hot oil until golden brown. Season with salt and pepper.
Russets work perfectly for this dish. Cook in a thin layer for maximum crispiness on both sides. Perfect when served with spaghetti.
Tips for Successful Potato Growing
Here are the key strategies that make the difference between a disappointing harvest and potato-growing success.
- Hill soil around plants every 2-3 weeks to prevent green potatoes and boost yields
- Buy certified seed potatoes and plant them when the soil reaches 45°F for the best germination
- Water consistently but avoid overwatering – soil should be moist, not soggy
- Check plants weekly for Colorado potato beetles and remove them by hand early
- Wait 2-3 weeks after plants die back before harvesting for better storage quality
- Cure potatoes in a cool, dark place for 7-10 days before long-term storage
Follow these basics, and you’ll avoid most common potato growing problems.
Conclusion
Growing potatoes successfully means understanding each stage from sprouting to harvest. When you time your planting right, choose quality seed potatoes, and care for each growth phase properly, bigger yields follow naturally.
Learning the potato growing stages helps you anticipate what your plants need at every step.
Your homegrown potatoes will taste better than anything you can buy at the store. Plus, you’ll have plenty for cooking those favorite dishes we mentioned.
What’s your next step? Get your seed potatoes ordered and start planning your garden space today.