Plain walls can make any room feel boring and incomplete. I know this feeling all too well! My living room walls stayed bare for months because I couldn’t find affordable wall coverings that matched my style.
But I found a solution that changed everything: DIY wallpaper projects.
I’m going to show you how to transform your space with homemade wallpaper that costs less and looks better than store-bought options.
In this blog, you’ll learn simple techniques to create custom wall designs, budget-friendly material options, and easy application methods that anyone can do no special skills needed.
Why Choose DIY Wallpaper for Home Makeovers?
Store-bought wallpapers often come with big price tags and limited designs.
I was shocked when I priced them for my small apartment, over $200 for just one wall! Wallpaper solves this problem perfectly.
When you make your wallpaper, you control every aspect of the design. You can match colors exactly to your furniture and create patterns that fit your space perfectly.
The best part? DIY options cost much less. Materials like fabric, paint, and paper often run under $50 total. Plus, you can fix or change your creation anytime, something impossible with commercial options.
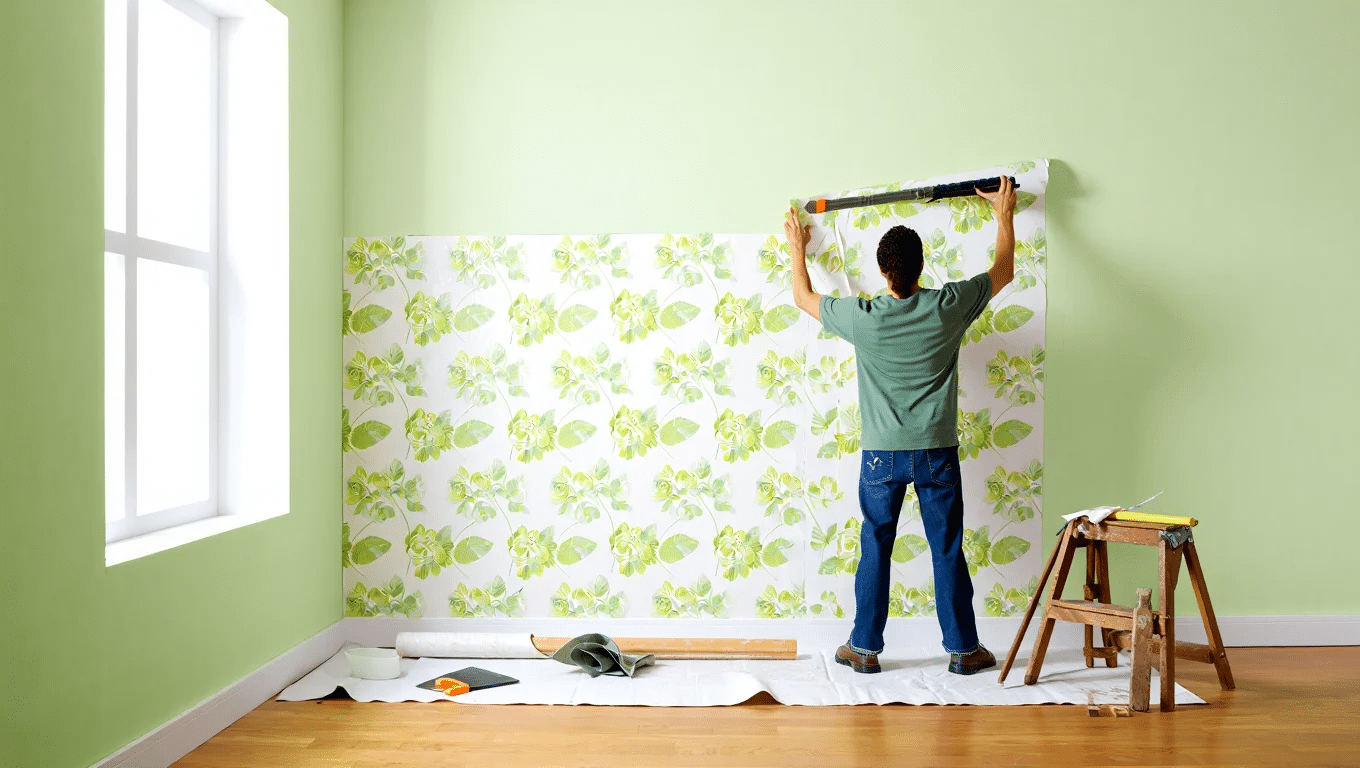
Step-by-Step Guide: How to Apply DIY Wallpaper
Putting up wallpaper isn’t as hard as it seems. With the right approach, you can finish a wall in just a few hours. Follow these steps to get a smooth, professional look without calling in experts.
1. Gather Your Materials
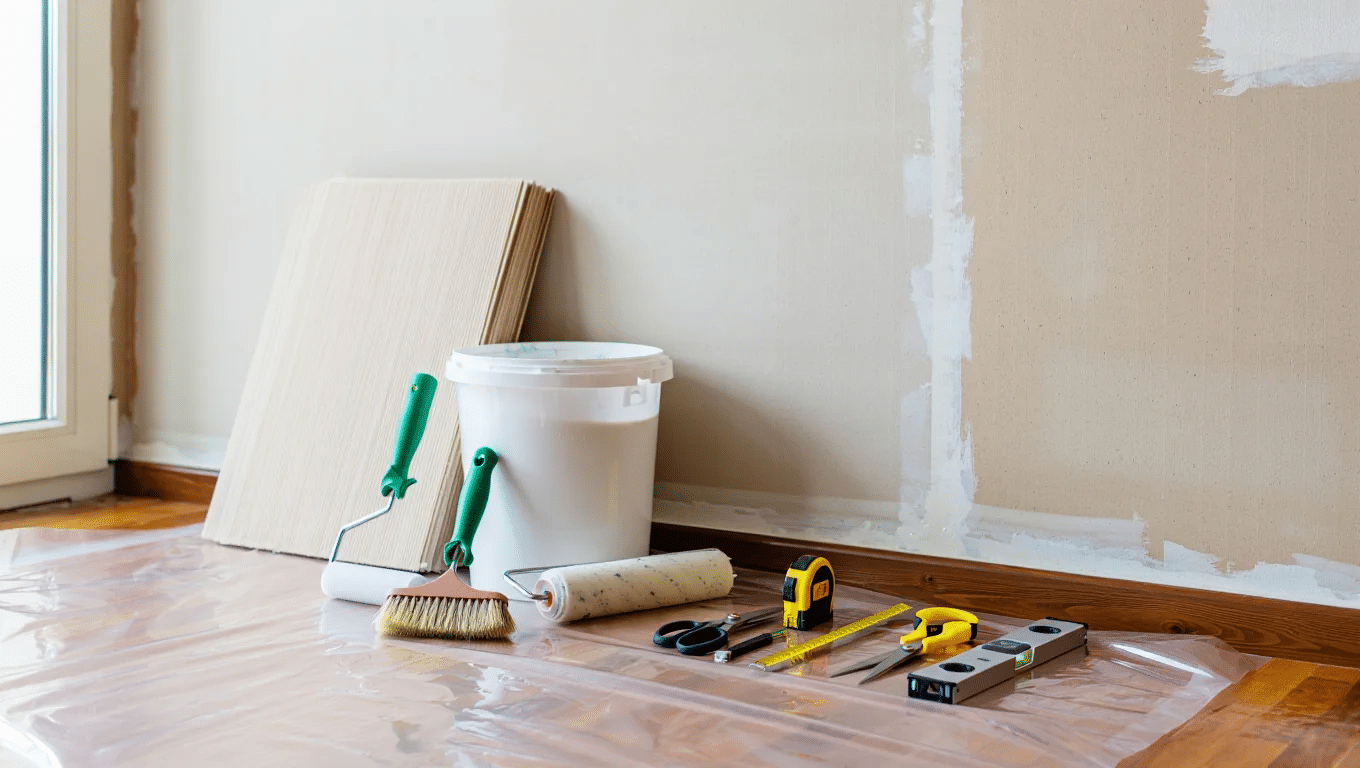
Start by collecting everything you need before you begin.
You’ll want your homemade wallpaper panels, adhesive paste (wallpaper paste or liquid starch works well), a smooth brush for applying paste, a plastic smoother tool, sharp scissors, a pencil, measuring tape, and a level.
Having everything ready prevents frustrating pauses during the process. I like to lay everything out on a plastic sheet to keep my floors clean.
2. Prepare Your Wall Surface
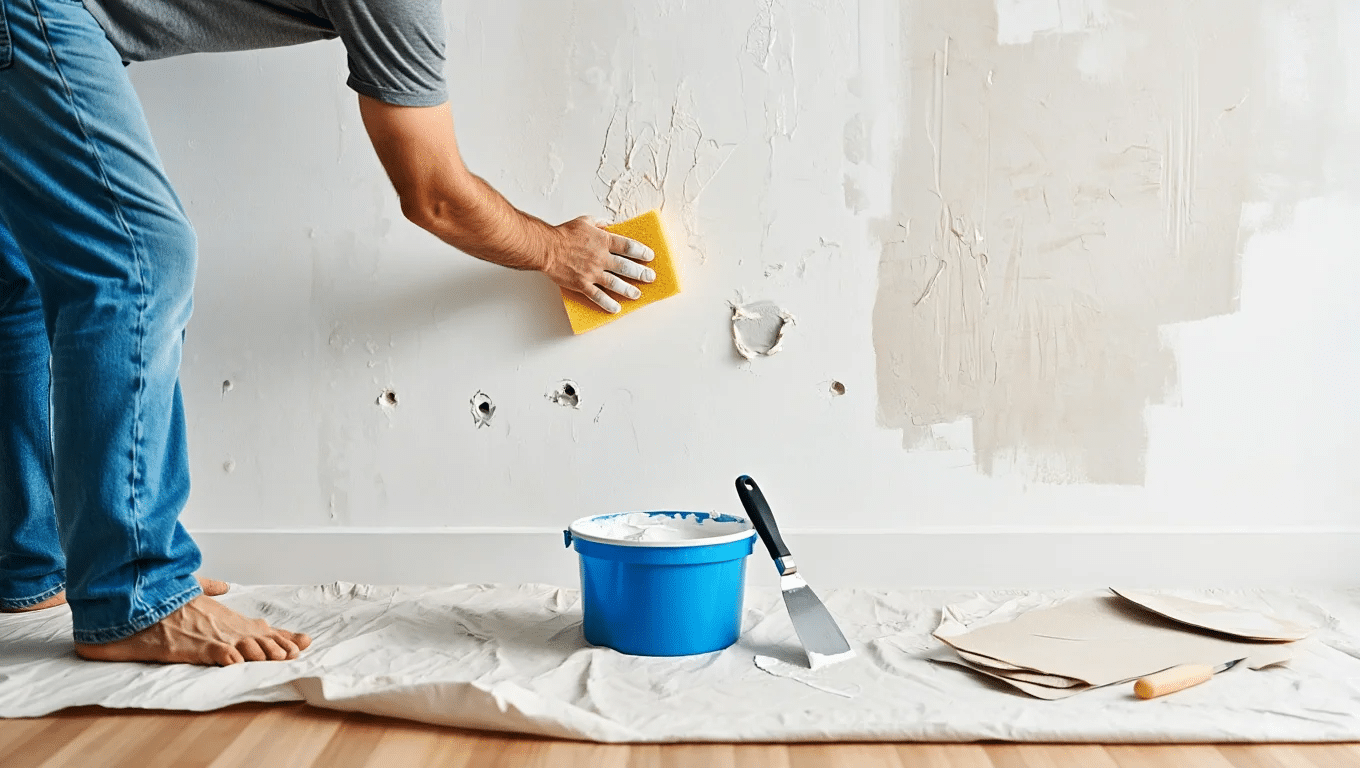
Clean walls are essential for good adhesion. Wash your walls with mild soap and water, removing all dust and grime. Fill any holes or cracks with spackle and sand smooth when dry.
For glossy painted walls, lightly sand the surface to help the paste stick better. I once skipped this step and regretted it when sections began peeling within days.
Let the walls dry completely before moving forward.
3. Measure and Cut Your Wallpaper

Measure your wall height and add two extra inches for trimming. Mark these measurements on your DIY wallpaper material and cut with sharp scissors.
For patterned designs, cut multiple panels at once to ensure pattern matching. I find it helpful to number panels lightly on the back to keep them in order. This step requires patience rushing leads to misaligned patterns that stand out badly.
4. Apply Adhesive
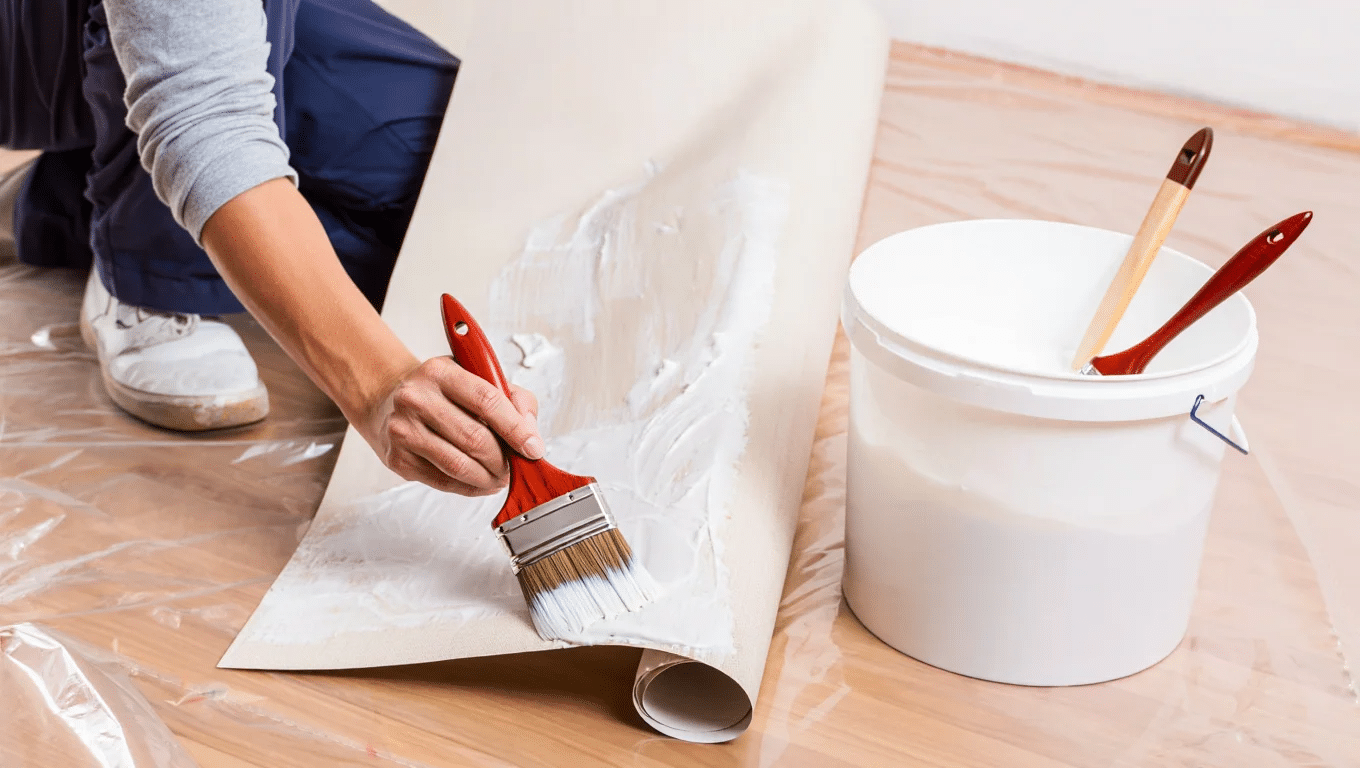
Spread adhesive evenly on the back of your wallpaper panel or directly onto the wall, depending on your paste type.
Work in sections about the width of your panel. Use smooth, even strokes to avoid lumps or dry spots that could cause bubbling later.
The paste should feel wet but not dripping. Too little paste won’t stick; too much creates a mess.
5. Position and Smooth the Wallpaper
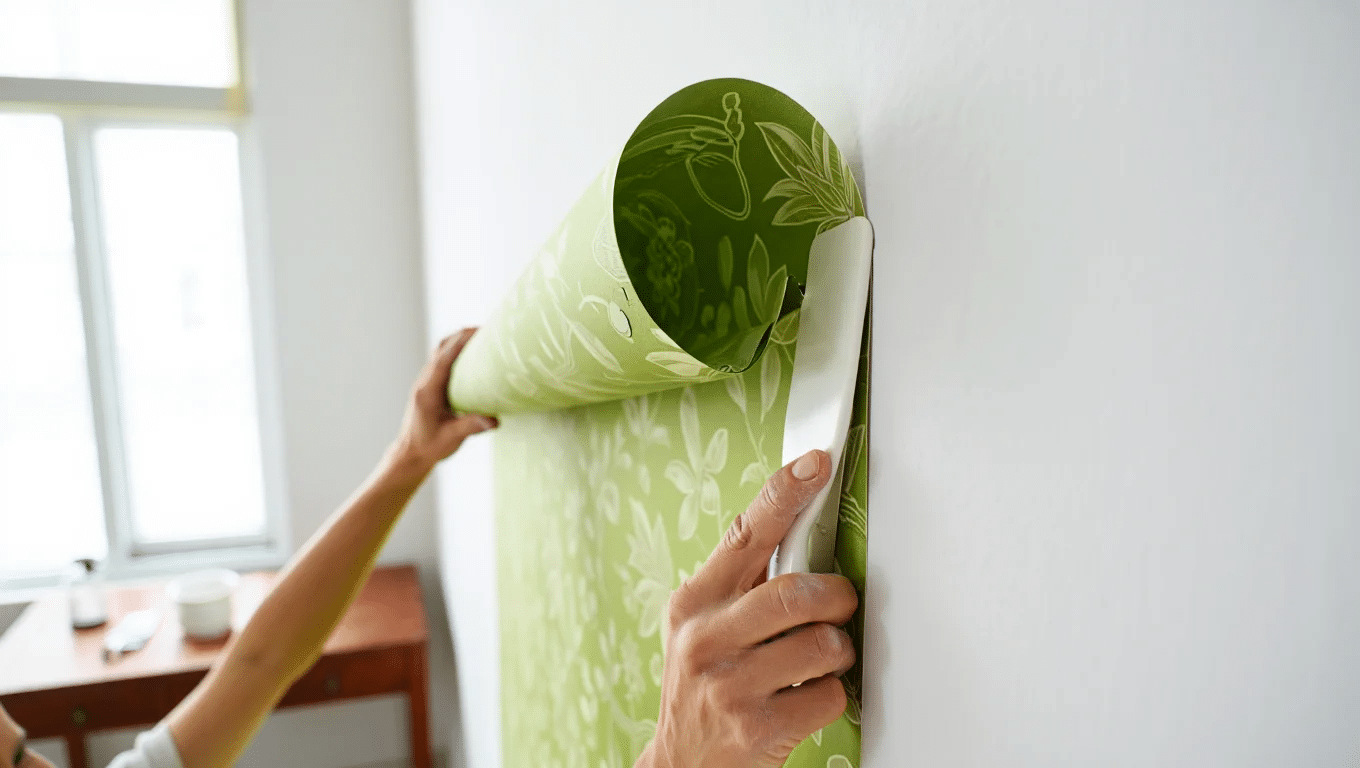
Start at the top corner, aligning your first panel with a plumb line.
Press the paper against the wall and smooth downward and outward with your plastic smoother. Work from the center out to push air bubbles toward the edges.
Take your time with this step, this is where wrinkles and bubbles form if rushed. Small bubbles can be pierced with a pin and smoothed out.
6. Trim Excess and Continue
Once the panel is secure, trim excess paper at the top and bottom using a sharp blade. Wipe away any paste that seeps out with a damp cloth immediately.
Continue applying panels, matching patterns carefully, and butting edges together without overlapping. I find it helpful to step back occasionally to check alignment from a distance.
This perspective helps catch problems before moving too far along.
Pro Tips for a Flawless DIY Wallpaper Finish
Getting that perfect look with wallpaper takes a bit of know-how. After trying many methods myself, I’ve found some tricks that make a huge difference. Here are my top tips to help you avoid common mistakes.
- Test first on a hidden area: To check how your adhesive works with your wallpaper material. A small test behind furniture can save you from full-wall failures.
- Use a level frequently: To ensure your patterns stay straight. Even small alignment errors become very noticeable across an entire wall.
- Keep a damp cloth handy: To quickly wipe away excess paste before it dries. Dried paste can be almost impossible to remove without damaging your work.
- Allow proper drying time: Between panels, especially in humid rooms. Rushing this process often leads to peeling corners and bubbles.
- Apply in moderate temperatures: Extreme heat or cold affects how adhesives work. I once tried this in the summer heat and had terrible results.
- Smooth from center outward: Using consistent pressure to push out air bubbles effectively. This method prevents trapping air pockets under the paper.
Types of DIY Wallpaper that You Can Try For Your Home
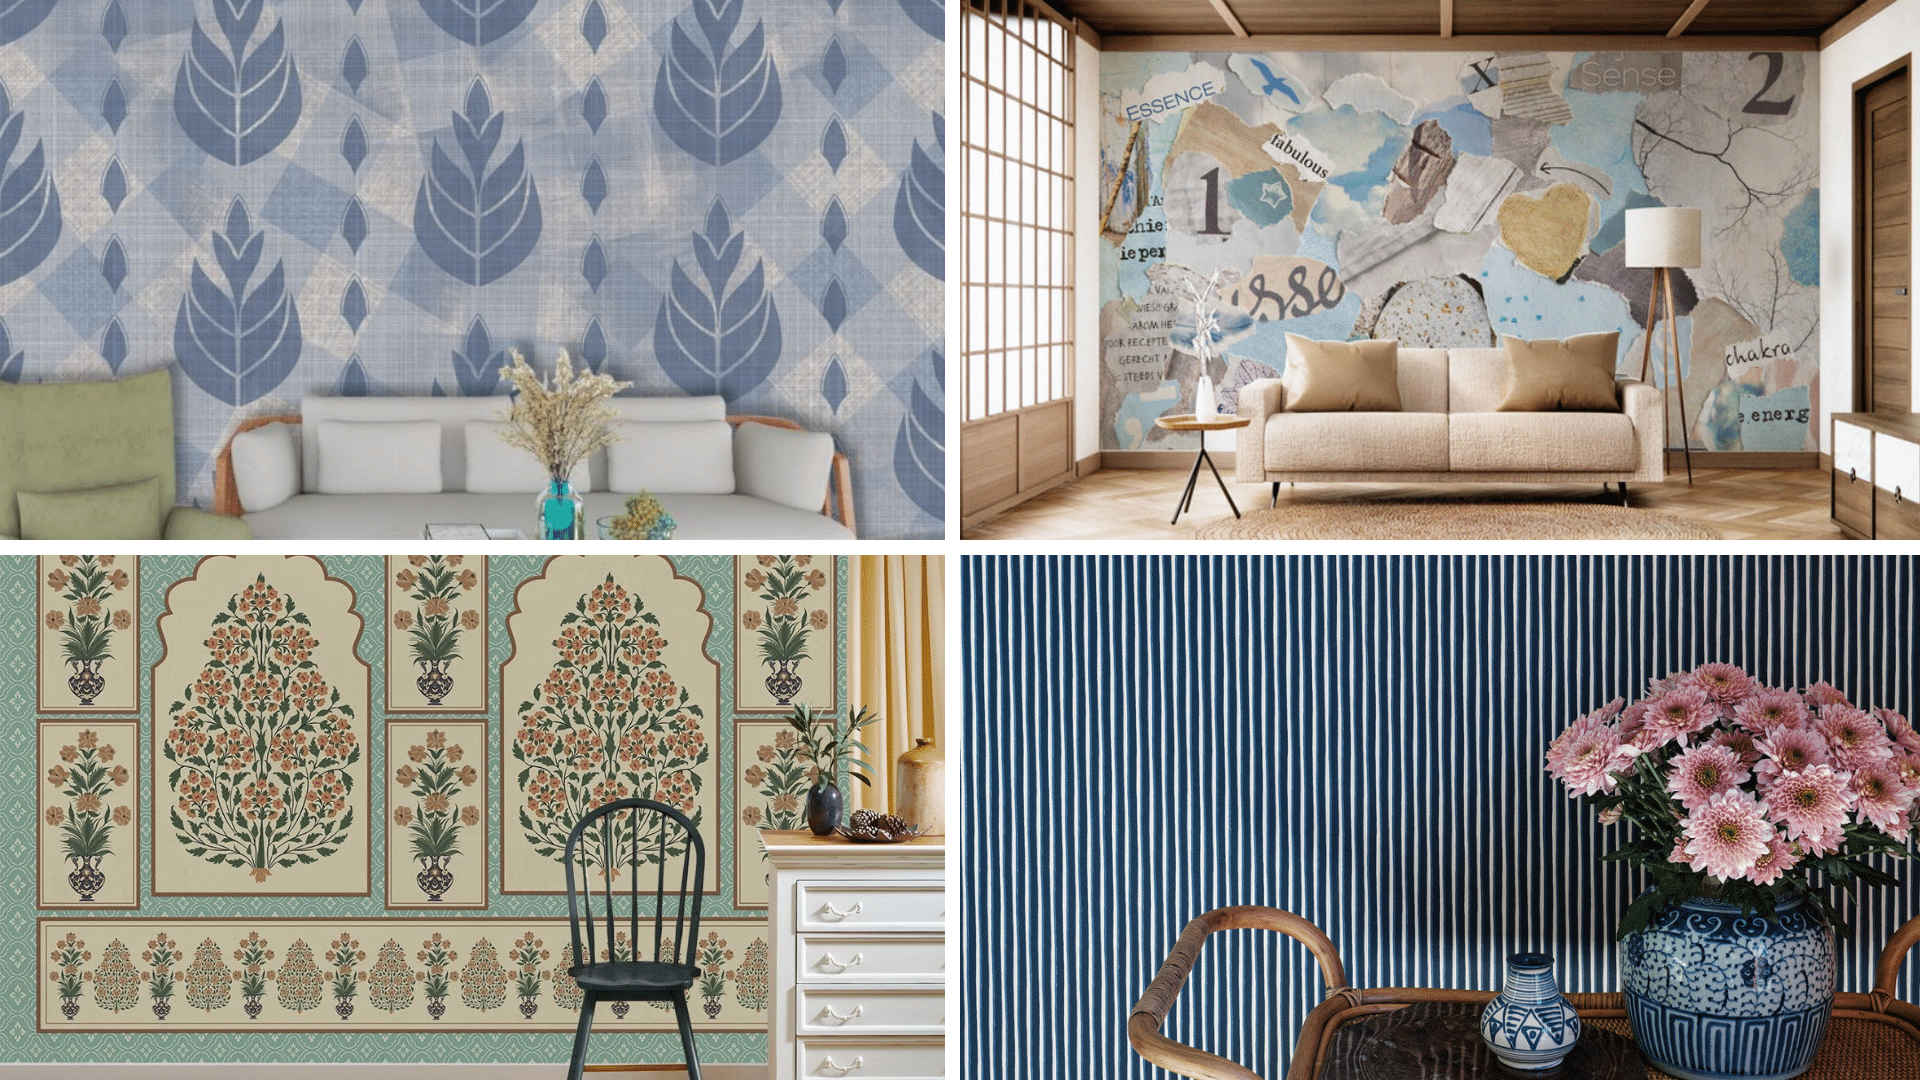
Not all wallpapers are created equal. I’ve tried many different methods over the years, and each has its feel and function.
Some work better in certain rooms, while others match specific design styles better. Here are my favorite types to try.
1. Fabric Wallpaper
Fabric wallpaper adds texture and warmth to any room. Simply soak fabric in liquid starch and apply it directly to the walls.
It peels off easily when you want a change, making it perfect for renters. Cotton works best, but lightweight linens can also create beautiful results. I used this in my bedroom with great success.
2. Painted Pattern Wallpaper
Create your patterns with paint and simple tools like sponges or stamps. This method gives you total control over colors and designs.
All you need is a base coat, your choice of paint colors, and pattern-making tools. This option works well in kitchens and bathrooms where moisture resistance matters.
3. Contact Paper Wallpaper
Contact paper comes in many colors and finishes, making it a quick solution for wall makeovers. It’s sticky on one side just peel and stick.
The vinyl material makes it ideal for high-moisture areas like bathrooms. Though not as long-lasting as other options, it’s perfect for quick updates.
4. Paper Collage Wallpaper
Magazine pages, maps, book pages, or photos can be turned into amazing wall art. Arrange your chosen papers in a pattern or random mix, then seal with wallpaper paste and clear coat.
My office features a wall of vintage map pieces that always starts conversations.
5. Stenciled Wallpaper
Stencils let you create repeating patterns without artistic skill. Place the stencil against your wall, dab paint through the openings, move to the next section, and repeat.
This method works with any color scheme and can mimic expensive designer papers for a fraction of the cost.
6. Painted Stripe Wallpaper
Stripes make rooms look taller and can be created with just painter’s tape and paint. Measure and tape off equal widths, paint between the lines, then remove the tape when dry.
The clean lines work well in modern spaces, and varying the width can create unique effects.
7. Hand-Stamped Wallpaper
Create custom stamps from potatoes, foam, or rubber to print patterns onto painted walls. This gives a handmade, slightly imperfect look that adds character to spaces.
The small variations make it look more authentic than machine-printed papers. My kids’ room features hand-stamped stars they helped make.
The Bottom Line
DIY wallpaper changes rooms without breaking the bank. The steps might seem challenging at first, but the results are worth it. My first attempt wasn’t perfect, but each project since has gotten better.
Start small with a single accent wall if you feel unsure. This builds confidence before tackling bigger spaces. The best thing about making your wall coverings is the satisfaction of walking into a room and seeing your personal touch everywhere.
Ready to try it yourself? Grab your supplies this weekend and start creating. Your walls are blank canvases waiting for your ideas. And remember, small mistakes won’t be noticed once your whole design is up. What matters is creating a space that feels like you.
Now go make those walls shine!