Making a textured crochet blanket can seem tough when you’re just starting. Those fancy stitches look complex, and many patterns assume you already know what you’re doing.
The popcorn stitch is simple to learn, and it adds amazing texture to your projects. This blanket will become a cozy addition to your home.
In this blog, I’ll walk you through each step of creating a popcorn stitch crochet blanket.
We’ll cover materials you’ll need, the basic stitch technique, and how to put it all together into a finished blanket you’ll love.
What is the Popcorn Stitch in Crochet?
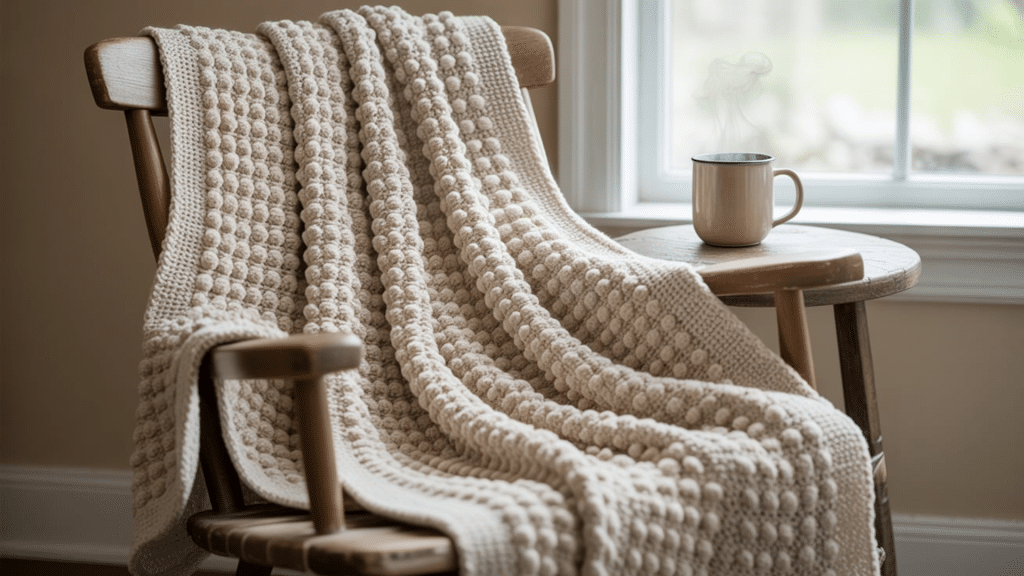
The popcorn stitch creates small, puffy bumps that stand out from your crochet fabric.
It’s made by working multiple stitches into the same spot, then pulling them together to form a rounded bump.
I love how this stitch adds both texture and warmth to blankets. You’ll work 5 double crochets into one stitch, remove your hook from the loop, insert it into the first double crochet, grab the working loop, and pull through.
This action bunches the stitches together, creating that signature “popcorn” effect. The result is a fun, three-dimensional texture that’s perfect for blankets, scarves, and hats.
Materials Needed for a Popcorn Stitch Crochet Blanket
The popcorn stitch creates a delightful, textured look that’s perfect for a cozy crochet blanket. It’s a favorite among crafters for its puffed, raised appearance that stands out beautifully against a flat background.
Here’s a quick table of materials you’ll need:
| Material | Details |
|---|---|
| Yarn | Medium (worsted) weight yarn; 100% acrylic or blend |
| Crochet Hook | Size H/8 (5.0 mm) or as recommended for yarn |
| Tapestry Needle | For weaving in ends |
| Scissors | For cutting yarn |
| Stitch Markers (optional) | To track pattern repeats or row starts |
Step-By-Step Tutorial on Popcorn Stitch Crochet Blanket
The popcorn stitch creates a fun, three-dimensional texture, perfect for crochet blankets.
This stitch pops out on one side, adding visual interest and a cozy feel. Below, you’ll find the nine essential steps to making a popcorn stitch crochet blanket, with clear instructions for each.
1. Gather Materials and Choose Hook Size

Start by assembling your yarn (such as Red Heart Super Saver) and a crochet hook. The recommended size is 3.75 mm (F); larger hooks, like 5 mm (I) or 6 mm (J), can be used.
Steps to follow:
- Select your yarn color(s) and desired hook size.
- Have scissors and a yarn needle ready for finishing.
- Consider using a larger hook for practice or tutorials.
- Ensure your yarn is smooth and easy to work with.
- Gather all supplies before starting your project.
2. Make a Slipknot and Chain Foundation

Begin with a slipknot, then create your foundation chain. For a square, chain 36 stitches. The chain length determines the width of your blanket or square.
Steps to follow:
- Make a slipknot and place it on your hook.
- Yarn over and pull through to make a chain.
- Continue chaining until you reach 36 stitches.
- Keep your tension even for a neat edge.
- Double-check your count before moving on.
3. Single Crochet in Back Loops of Foundation Chain

Work single crochets into the back loop of each chain stitch. This technique gives a clean, professional edge and helps the blanket lay flat.
Steps to follow:
- Turn your chain over to expose the back loops.
- Insert the hook into the second chain from the hook.
- Single crochet into each back loop across the row.
- Maintain even tension for uniform stitches.
- Complete the row and turn your work.
4. Start Popcorn Stitch Row

Begin the popcorn stitch row by chaining three (counts as first double crochet), then double crochet in the next two stitches. Prepare to create your first popcorn.
Steps to follow:
- Chain three at the start of the row.
- Double crochet in the next two stitches.
- Follow the pattern for stitch placement.
- Get ready to work the popcorn stitch in the next stitch.
- Keep your stitches loose for easier popcorn formation.
5. Create Popcorn Stitch And Alternate Double Crochet

To make popcorn, work four double crochets in the same stitch, drop the loop, insert the hook into the first double crochet, pull the dropped loop through, and chain one to close.
Steps to follow:
- Double crochet 4 times in the same stitch, then drop the loop.
- Insert hook into the first double crochet, pick up the dropped loop, and pull through.
- Chain 1 to secure, then double crochet in the next 3 stitches.
- Work a popcorn stitch in the next stitch and repeat across the row.
- End with 3 double crochets after the last popcorn, then turn your work.
6. Fasten Off and Change Colors (Optional)

If you wish to add stripes or color changes, fasten off at the end of a row and join a new color. This step is optional but adds visual interest to your blanket.
Steps to follow:
- Cut your yarn, leaving a 2-inch tail.
- Pull the tail through the last loop to fasten off.
- Attach new yarn with a slipknot to the first stitch of the new row.
- Weave in the yarn tail for a neat finish.
- Continue with your new color as desired.
7. Single Crochet Across Next Row

After a popcorn row, single crochet across the next row. Place single crochets into each double crochet and into the top of each popcorn to maintain stitch count and structure.
Steps to follow:
- Chain one at the start of the row.
- Single crochet into each double crochet.
- Single crochet into the top chain of each popcorn.
- Watch your stitch placement to avoid adding stitches.
- Complete the row and turn your work.
8. Offset Popcorns in Following Rows and Continue

For a staggered popcorn effect, shift popcorn placement in each new popcorn row. After reaching the desired size, add a single crochet border around the blanket for a polished finish.
Steps to follow:
- Begin the next popcorn row with chain three.
- Place popcorn between the previous row’s popcorn for an offset effect.
- Repeat alternating rows until the blanket reaches the desired length.
- Finish with a single crochet border around all edges.
- Weave in all loose ends to complete your blanket.
Common Popcorn Stitch Problems
When making a popcorn stitch crochet blanket, you might run into a few snags along the way. Don’t worry, that’s normal! I had plenty of issues when I first tried this stitch.
Let’s go through some common problems and how to fix them.
- Loose popcorns: If your popcorns look flat, try pulling your yarn tighter when closing the stitch. Hold the yarn firmly as you pull through.
- Too tight to work into: For stitches that are hard to insert your hook into, use a larger hook size just for that stitch, then switch back.
- Uneven popcorn size: Count your stitches carefully. Each popcorn needs exactly 5 double crochets to maintain consistent size.
- Blanket curling at edges: Add a border of single crochet around the entire blanket to help it lay flat.
- Gaps between popcorns: Make sure you’re not skipping any stitches between popcorns unless the pattern specifically calls for it.
- Running out of yarn: Popcorn stitches use about 30% more yarn than regular stitches. Buy extra to avoid running short.
The Bottom Line
You’ve now mastered the popcorn stitch crochet blanket and created a beautiful blanket with wonderful texture! The skills you’ve learned will serve you well in many future projects.
Remember, practice makes progress. Your first popcorn stitches might not look perfect, but each row gets better. The joy of crochet comes from the process as much as the final product.
Try using popcorn stitches in hats, scarves, or even bags. Or share your knowledge by teaching a friend how to make this fun stitch.
Now grab your favorite drink, curl up under your new blanket, and enjoy the fruits of your work!