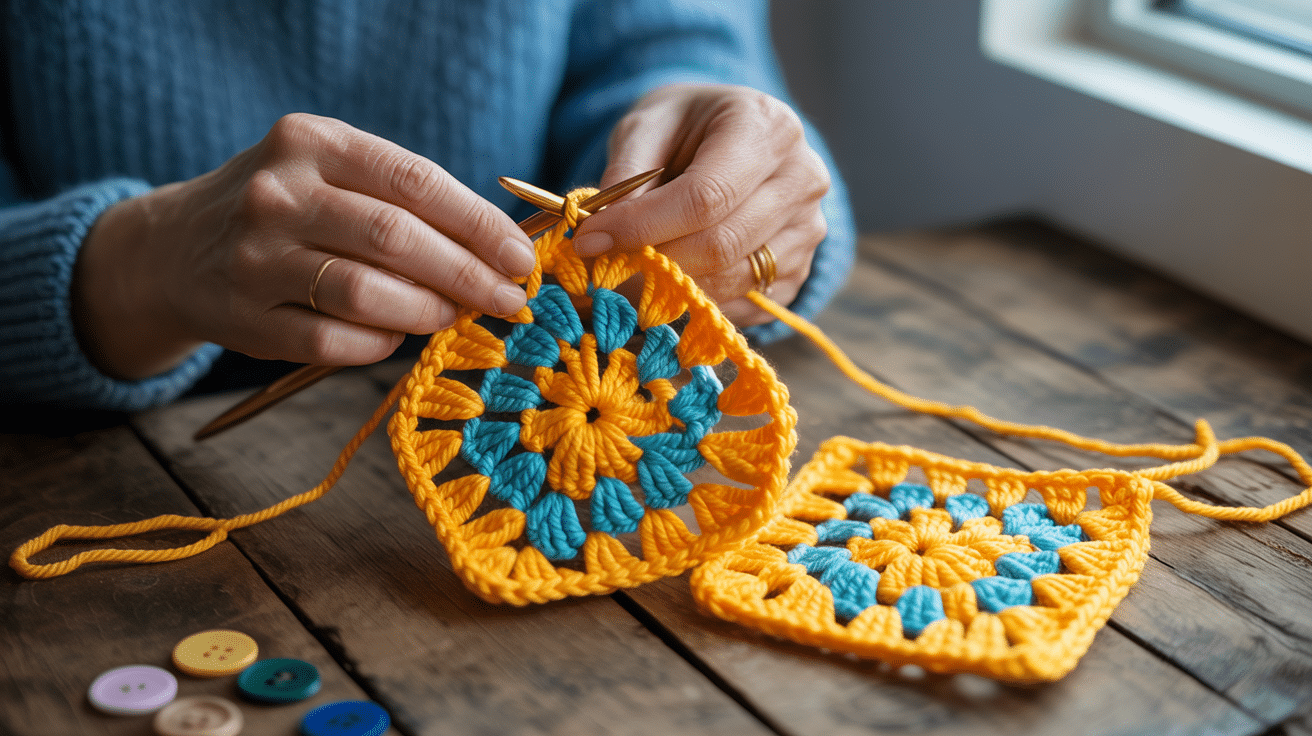
Connecting granny squares can feel tricky when you’re working on a big project. I know the struggle of finding methods that look good and hold strong.
The right joining technique can change your separate squares into a beautiful, cohesive piece that lasts for years. In this blog, I’ll show you unique ways to join granny squares.
I’ll help you learn simple methods for beginners, flat joins that create a smooth finish, and fancy techniques that add extra flair to your work. From basic whip stitches to more complex decorative joins, you’ll find something perfect for your next creation.
What Makes Granny Square a Trending Crochet Style?
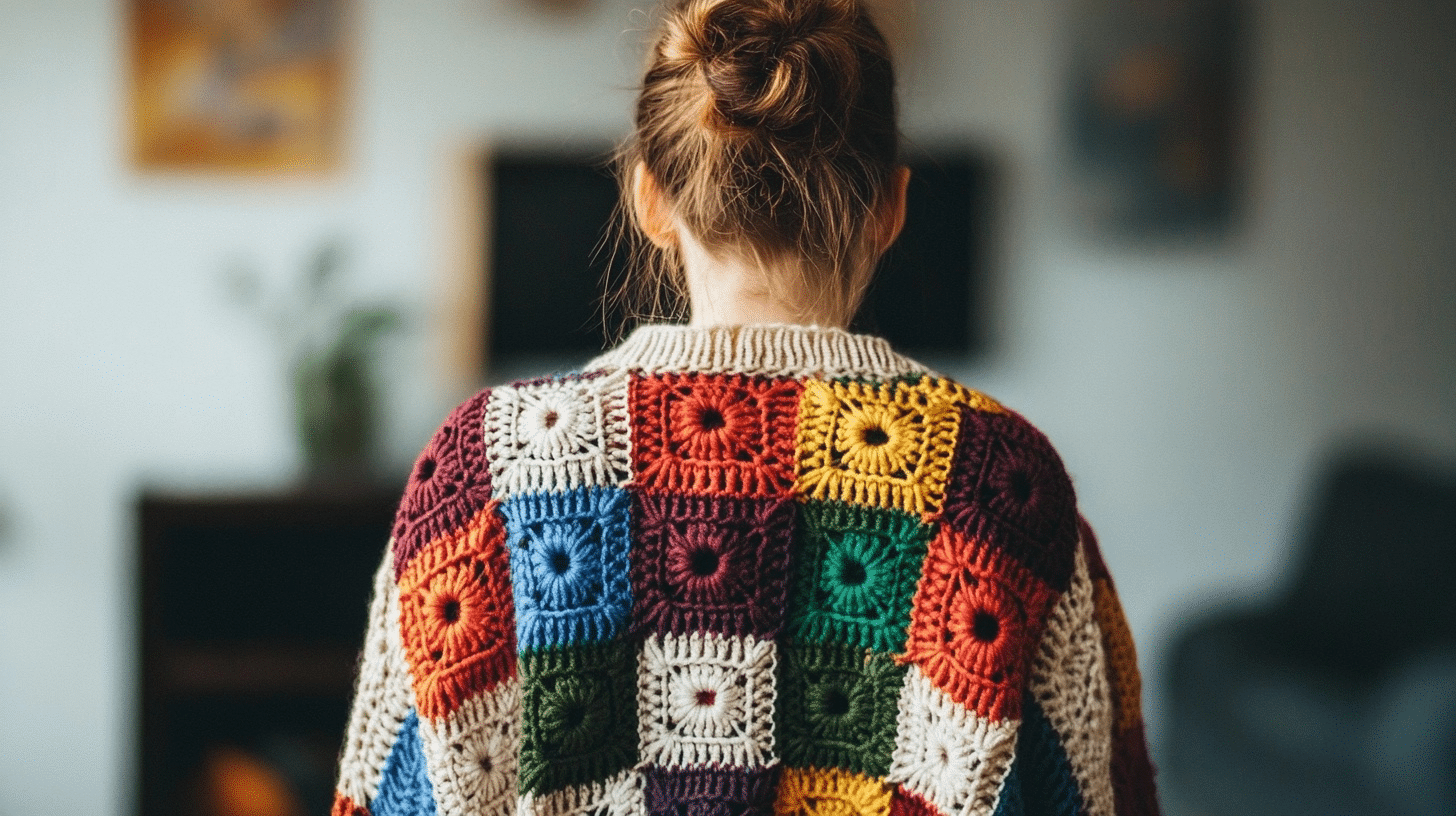
Granny squares remain popular because they’re so adaptable. Anyone can learn to make them, from total beginners to expert crafters. I love how they let me use scraps of yarn in creative ways, turning leftover bits into colorful blankets or bags.
Social media has boosted their appeal, with hashtags full of fresh ideas and modern color schemes. These squares work up fast, giving that quick sense of completion we all crave. Plus, they’re portable, I can make them anywhere!
The mix of tradition and innovation keeps granny squares relevant. They connect us to craft history while still feeling fresh and fun.
Unique Ways to Join Granny Squares that You Must Try
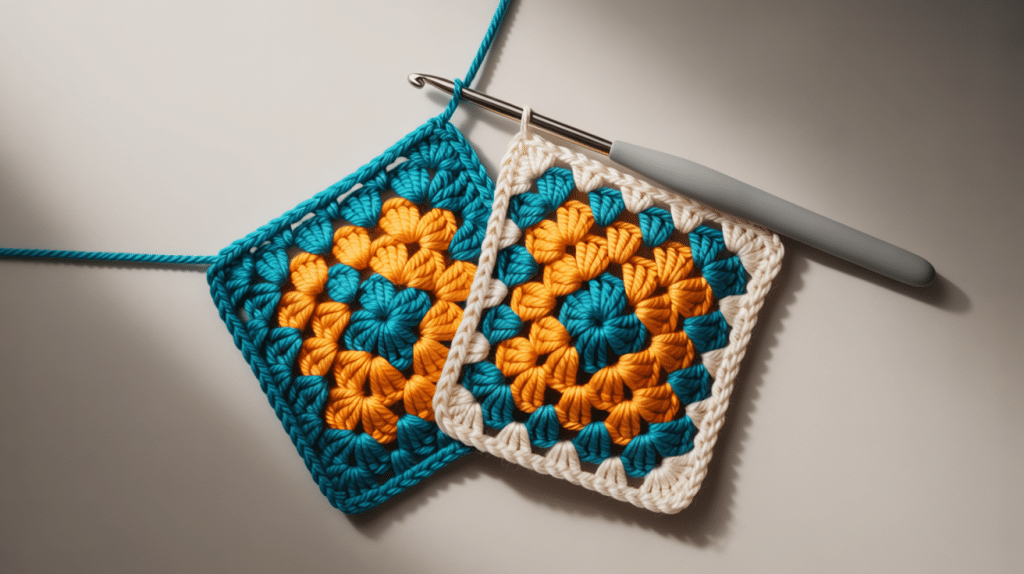
Crochet joining techniques add both structure and decorative flair to your projects. Each method offers a unique look and level of flexibility, from nearly invisible seams to bold, textured borders.
The following are a few unique ways to join granny squares.
1. Whipstitch Join (Single Loop & Both Loops)
The whipstitch join uses a sewing needle and yarn to seam crochet pieces together. For the single loop method, you insert the needle through only one loop of each piece, creating a subtle seam.
Using both loops results in a sturdier, slightly bulkier seam. This join is quick, easy, and ideal for projects where flexibility and minimal bulk are desired.
2. Single Crochet Join
According to me, the single crochet join is best for beginners. The single crochet join involves crocheting edges together using the single crochet stitch. Place the pieces with right sides facing and insert the hook through both edges, working a single crochet across.
This creates a raised, sturdy seam that adds texture and definition, making it both functional and decorative for blankets, garments, and modular projects.
3. Reverse Single Crochet Join
Also called the crab stitch, the reverse single crochet join is worked from left to right, opposite the usual direction. Insert the hook into the next stitch to the right, yarn over, and pull through to complete the stitch.
This method produces a twisted, cord-like edge, perfect for adding a decorative border or firm finish to your crochet pieces.
4. Slip Stitch Join (Front & Back)
The slip stitch join is one of my preferred ways to join squares. It is a simple, flat method for seaming crochet pieces. Insert the hook through either the front loop, back loop, or both loops of each piece and work a slip stitch across.
Joining through the back loop creates a subtle ridge, while using both loops results in a sturdier, nearly invisible seam, ideal for blankets and garments.
5. Slip Stitch and Chain Join
This technique alternates slip stitches and chain stitches to join motifs. After a slip stitch to connect pieces, a chain is made before the next join, creating a flexible, decorative seam.
This join adds a bit of stretch and visual interest, making it suitable for projects requiring a little give, such as shawls or lacy blankets.
6. Invisible Seam Join
The invisible seam join is designed to create a seamless, nearly undetectable connection between crochet pieces. Using a yarn needle, you weave the yarn through the stitches with consistent tension, carefully matching stitch placement.
This method is ideal for projects where a clean, professional finish is essential, especially when changing colors or joining motifs.
7. Flat Braid Join
The flat braid join is one of my preferred ways to join squares. It uses chains and slip stitches to create a lacy, braided effect between motifs. After working a chain, you slip stitch into the adjacent motif, repeating the process along the seam.
This join is decorative, flexible, and lies flat, making it a favorite for afghans, shawls, and projects where a delicate, openwork join is desired.
8. Simulated Braid Join
The simulated braid join mimics the look of a braided seam using crochet stitches. Typically, loops are pulled up along the edges of motifs and interlinked to form a braid-like ridge.
This method adds texture and visual interest, offering a bold, decorative join that stands out, especially in contrasting colors or for statement pieces.
9. Mesh Join
Mesh join is my favourite way to join granny squares. The mesh join connects motifs with chains and slip stitches, forming an open, net-like seam. After joining with a slip stitch, you chain a set number of stitches before the next join, creating a mesh pattern.
This join is airy and decorative, perfect for lightweight blankets, shawls, or any project where a lacy, open look is desired.
10. Join-As-You-Go (JAYGO) Method
The JAYGO method allows you to join motifs during the final round of crocheting each piece. Instead of sewing or crocheting motifs together afterward.
You can continue to connect them as you work, inserting your hook into adjacent motifs and completing the stitch. This technique saves time, ensures even joins, and is especially popular for blankets and modular projects.
11. Zigzag Slip Stitch Join
The zigzag slip stitch join uses slip stitches worked in a zigzag pattern between motifs. By alternating the insertion points, it creates a decorative, flexible seam with a subtle wave effect.
This join is both sturdy and visually appealing, making it ideal for adding a playful, textured border to blankets or other multi-piece projects.
12. Scallop Join
The scallop join creates a decorative, wavy edge by working groups of stitches-often double or treble crochets-into joining points along the seam.
This produces a series of scalloped shapes that add a lacy, feminine touch. The scallop join is perfect for finishing blankets, shawls, and garments with a soft, ornamental border.
13. Lace Edge Join
The lace edge join incorporates openwork stitches, such as chains and picots, to create a delicate, lacy seam between motifs.
This method adds both flexibility and elegance, making it ideal for lightweight projects like doilies, shawls, or decorative throws. The lace edge join increases the overall appearance with a refined, airy finish.
Choosing the Best Granny Square Join for Your Project
Finding the right joining method after learning about the unique ways to join granny squares can make or break your crochet project.
I’ve tried many techniques over the years and learned that each has its place. The perfect join depends on what you’re making and how you want it to look.
Here are my top tips to help you select the ideal method:
- Consider your project type: Blankets need strong joins, while garments need flexible ones that move with your body
- Match your skill level: Start with simple methods like whip stitch if you’re new to joining squares
- Think about yarn thickness: Bulky yarns work better with some joins than others
- Plan for durability: Items that will see heavy use need secure joining methods
- Factor in time constraints: Some joins are quick, while others are more time-consuming but decorative
- Look at both sides: Some joins look great on the front, but messy on the back
- Test before committing: Try joining a few squares before doing your entire project
The Bottom Line
Looking back at these unique ways to join granny squares, it’s clear that each brings something special to your crochet work.
I’ve found that taking time to pick the right technique makes a big difference in how my projects turn out.
Try one of these unique ways to join granny squares and see how it changes your results. Share your work online or with friends, you might inspire someone else to try a new technique!
Happy crocheting!