Have you ever dug up your potatoes and wondered where it went wrong?
The leaves looked fine. You watered regularly. But the yield was small, the skins were thin, or half the crop had cracked.
Nine times out of ten it traces back to one of three things: overwatering at the wrong stage, hilling too late, or pulling the crop before the skins have set.
Every one of these mistakes ties back to not knowing the potato growing stages.
There are six of them. Each one has a job.
And when you know what each stage needs, growing potatoes stops feeling like guesswork.
Before You Plant Potatoes
Timing matters more than most people expect. Plant in early spring, 2–4 weeks before the last frost, when the soil reaches 45°F.
Potatoes thrive in cool climates (60–70°F) with at least 6 hours of sun. Use loose, well-draining soil enriched with compost, and only plant certified seed potatoes.
Early types, such as Yukon Gold, mature in 60–80 days, while late ones take 90–120 days but store for longer.
Cut large seed potatoes into pieces with two eyes, let them dry for 24 hours, and plant them 4 inches deep and 12 inches apart.
Hill soil around 6-inch shoots every 2–3 weeks to prevent greening and increase yield.
Best Time for Growing Potatoes
The best time to plant potatoes is in early spring, about 2 to 4 weeks before the last expected frost in your area. Soil temperature matters more than the calendar date.
Aim for soil that has reached at least 45°F. Planting in cold, waterlogged soil slows germination and increases the risk of seed rot.
In most regions, this falls between late March and early May.
Gardeners in warmer climates can also plant a fall crop, usually in late summer, so tubers mature during cooler months.
If you are unsure of your last frost date, your local agricultural extension office or any zip code-based frost date tool will give you a reliable answer.
Chitting (2 Weeks Before Planting)
Most gardeners skip this step and wonder why their plants emerge unevenly.
Chitting, also called green sprouting, is the process of waking your seed potatoes up before they ever touch the soil. It takes about two weeks and makes a real difference in how fast and evenly your crop establishes.
To chit, lay your seed potatoes in a single layer in an egg carton or shallow tray, eyes facing up.
Put them somewhere cool, bright, and frost-free. A windowsill or unheated room works well.
You’re aiming for temperatures around 50°F. The eyes will develop short, stubby green sprouts, usually half an inch to an inch long.
What you want: dark green, compact sprouts. Pale, leggy sprouts mean too little light, so move them closer to a window.
What to avoid: sprouts longer than an inch. Long sprouts break off easily and set the plant back.
Chitting isn’t mandatory, but it matters most in two situations: short-season climates where it buys you two to three extra weeks, and late varieties like Russet or Elba that need every day they can get before first frost.
Once sprouts are short and green, your seed potatoes are ready to go in the ground.
The 6 Potato Growing Stages
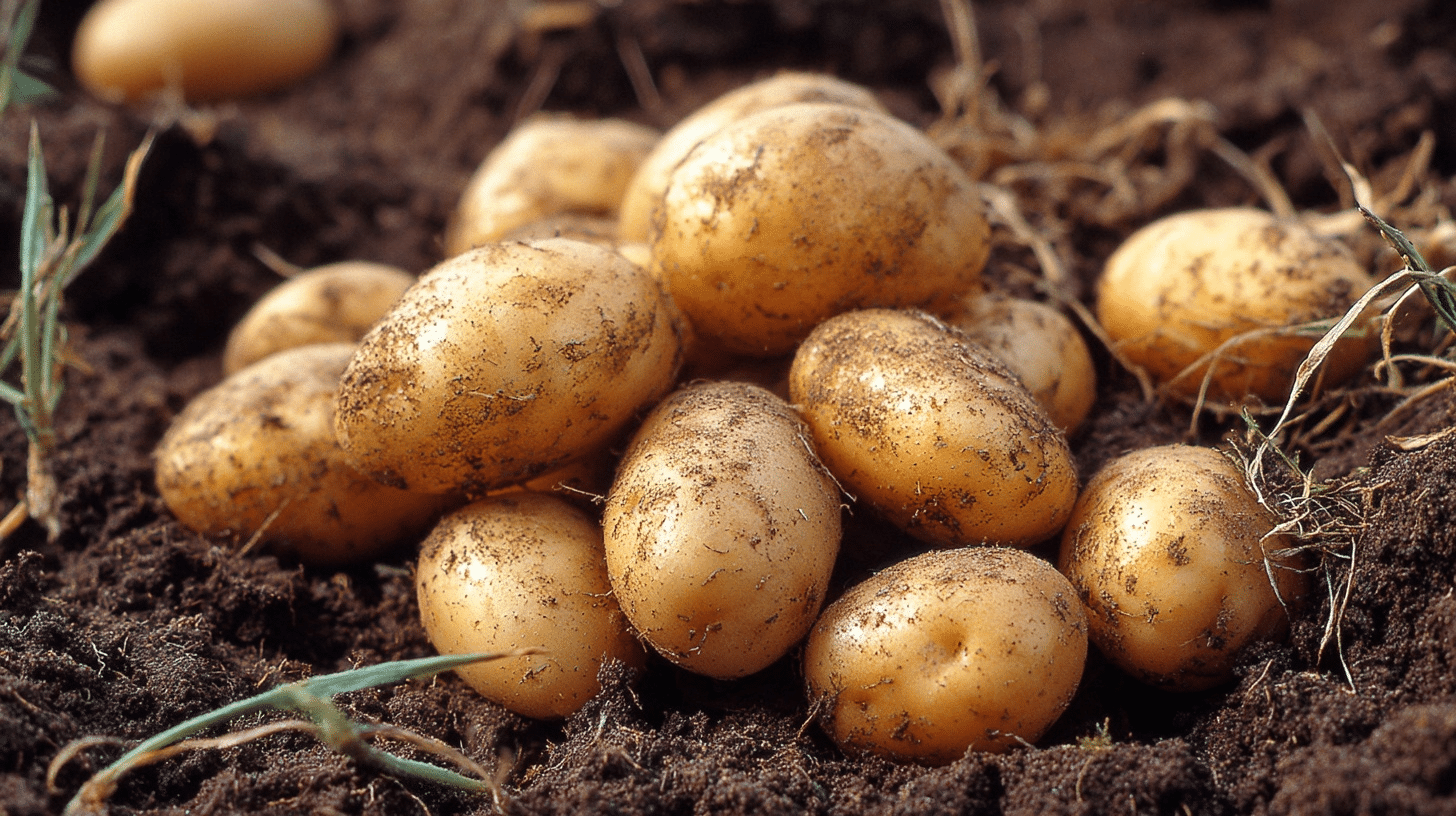
Your potato plant goes through six distinct potato-growing stages from planting to harvest. Each stage has different needs and timing.
Understanding these phases helps you grow better potatoes with bigger
Stage 1: Sprouting (Weeks 0 to 2)
Your potato pieces wake up first. Tiny white shoots push through the soil. Roots start growing downward while green stems reach for sunlight. This stage requires steady moisture, but not excessive water.
Cool temperatures help strong root development. You won’t see much above ground yet, but magic is happening below.
Stage 2: Vegetative Growth (Weeks 2 to 6)
Green leaves burst from the soil. The plant focuses on building a strong leaf system. More leaves mean more food production through sunlight. Stems get thicker and taller.
This is when I do my first hilling. Water and nutrients both matter here — this is active growth, not resting.
What to do: Start hilling once the stems reach about 6 inches tall. Pull loose soil up around the base of the plant. This protects developing tubers from sunlight and gives them more room to form.
What not to do: Skipping or delaying hilling is one of the most common mistakes. Exposed tubers turn green and become inedible.
Stage 3: Tuber Initiation (Weeks 6 to 8)
This is a quiet but critical stage. Small tubers begin forming along the underground stems, and the number that form now sets the ceiling for your entire harvest.
That number does not increase later, so what happens in these two weeks matters more than most people realize.
Water steadily and do not let the soil dry out.
Aim for about 1 to 1.5 inches of water per week at this point. If you are using drip irrigation, roughly 5 gallons per square yard is a good target when initiation begins. This is the one stage where under-watering has a permanent consequence.
You cannot recover tuber count later.
A dry spell here can cut your tuber count significantly.
Pull back on any high nitrogen fertilizer as well. Too much nitrogen at this point keeps the plant pushing leaf growth instead of switching its energy toward tuber production.
Small white flowers on the plant are a good sign that initiation has begun. Not every variety flowers heavily, so do not panic if you see very few blooms.
Stage 4: Tuber Bulking (Weeks 8 to 12)
This stage decides your harvest size. The tubers formed in Stage 3 are now filling out fast. The plant is pushing most of its energy underground.
What to do: Keep watering consistently. Keep to at least 1 inch of water per week through this entire stage. Continue that right up until about two weeks before harvest, then taper off. The tubers are actively sizing up and need steady supply to do it without cracking or going hollow.
Uneven watering at this stage causes knobby, misshapen, or cracked potatoes.
If the soil dries out and then gets flooded, the tubers split trying to absorb the sudden moisture.
What not to do: Swinging between dry and soaked soil is the main cause of cracked, misshapen potatoes. Consistency matters more here than anywhere else in the growing cycle.
Severely uneven watering at this stage can also cause hollow heart, where the center of the potato develops a cavity. It is harmless to eat but a sign the plant stressed during bulking.
Stage 5: Maturation (Weeks 12 to 16)
The plant is winding down. Leaves yellow fully, and the stems start to die back. This is exactly what is supposed to happen, and it means harvest is getting close.
Cut back watering significantly at this point. The plant needs very little moisture now, and wet soil during this stage can cause rot that only shows up weeks later in storage.
Do not rush to harvest just because the plant looks dead. The skins are still hardening underneath.
A simple test tells you when they are ready: rub the skin of a test potato with your thumb. If it peels off easily, give it another week.
Skin that holds firm under light pressure is ready to come out of the ground.
Stage 6: Harvest Time
The plant looks completely dead above ground, and the skins feel thick and set. I wait two to three weeks after full die-back before digging.
That extra time makes a real difference in how long the potatoes keep.
I pick a dry day and use a garden fork, working from the outside inward. Cool, dry weather is ideal for harvesting and curing. Anything with soft spots or green patches goes into a separate pile for immediate use.
I never put damaged potatoes into storage.
How Long Each Potato Variety Takes
Not all potatoes move through the stages at the same speed. If your plants look ahead of or behind schedule, variety timing is usually why.
| Variety | Season Type | Days to Harvest | Notes |
|---|---|---|---|
| Yukon Gold | Early | 60–80 days | Most popular early variety; thin skin, good for boiling |
| Red Norland | Early | 60–70 days | Ready fast; great for new potatoes |
| Kennebec | Mid | 80–100 days | High yield; stores well |
| Caribe | Mid | 70–90 days | Purple skin; handles heat better than most |
| Russet Burbank | Late | 100–120 days | The classic storage potato; needs the full season |
| Elba | Late | 100–120 days | Disease-resistant; excellent for long storage |
| Purple Majesty | Late | 90–110 days | Novelty variety; dense flesh |
Storage and Post-Harvest Handling
Get storage right and your harvest will last 4 to 6 months. After digging, let them cure in a cool, dark place for 7-10 days.
This helps harden the skin and heal minor cuts.
Storage Steps:
- Brush off dirt, but don’t wash them
- Remove damaged or green potatoes immediately
- Store in breathable containers like burlap sacks or cardboard boxes
- Keep the temperature between 35-40°F with good air flow
- Maintain 85-90% humidity to prevent shriveling
- Check stored potatoes monthly and remove any soft ones
Never store potatoes with apples or onions – they release gases that cause sprouting. Avoid plastic bags since they trap moisture and cause rot. A cool basement or root cellar works perfectly. Properly stored potatoes last 4-6 months. Early varieties don’t store as long as late-season types
Fertilization and Protection
Your potatoes need different nutrients at each stage. During early growth, they crave nitrogen for strong leaves and stems.
As tubers form, phosphorus becomes crucial for root development and energy transfer. Potassium helps with disease resistance and tuber quality throughout the season.
For pest control, watch for Colorado potato beetles and aphids. I use row covers early in the season. Crop rotation prevents soil diseases like scab and blight.
Plant marigolds nearby to deter harmful insects.
Check plants weekly. Healthy, well-draining soil naturally prevents most disease problems before they start.
Potato Pests and Diseases to Watch For
Pests and diseases can wipe out a potato crop fast. Knowing what to look for makes all the difference.
Colorado Potato Beetle
It is the most common pest. The adults are yellow with black stripes.
They lay orange egg clusters on the underside of leaves. Check plants twice a week. Pick off beetles and egg clusters by hand.
Remove them early before they spread.
Late Blight
This is the most destructive potato disease. It spreads fast in cool, wet weather. Look for dark brown patches on leaves with a pale border.
Remove and bag affected plants immediately. Do not compost them. Copper-based fungicide sprays help slow the spread when applied early.
Aphids
These cluster under leaves and weaken plants. A strong water spray knocks most of them off.
Ladybugs eat aphids naturally, so avoid broad-spectrum insecticides that kill them too.
Early Blight
Early blight shows up as small brown spots with yellow rings on older leaves. It spreads in warm, humid weather.
Remove affected leaves. Apply a fungicide approved for potatoes if more than 30% of foliage is affected.
Scab
Scab causes rough, corky patches on potato skin. It does not affect taste, but it lowers storage quality. Scab thrives in dry, alkaline soil. Keep soil pH between 5.0 and 5.2 to reduce the risk.
The best defense against all of these is crop rotation. Never plant potatoes in the same spot two years in a row.
Common Challenges in Potato Growing Stages
Growing potatoes presents several challenges that can frustrate even experienced gardeners. Knowing these common problems helps you avoid them and get better harvests.
- Green potatoes from poor hilling and sun exposure
- Colorado potato beetles and late blight are destroying plants quickly
- Poor germination from old seed potatoes or cold, wet soil
- Cracked potatoes from uneven watering patterns
- Storage rot from harvesting damaged or wet tubers
Most of these come down to timing and soil conditions — both things you can control once you know the stages.
Tips for Successful Potato Growing
Here are the key strategies that make the difference between a disappointing harvest and potato-growing success.
- Hill soil around plants every 2-3 weeks to prevent green potatoes and boost yields
- Buy certified seed potatoes and plant them when the soil reaches 45°F for the best germination
- Water consistently but avoid overwatering – soil should be moist, not soggy
- Check plants weekly for Colorado potato beetles and remove them by hand early
- Wait 2-3 weeks after plants die back before harvesting for better storage quality
- Cure potatoes in a cool, dark place for 7-10 days before long-term storage
Follow these basics, and you’ll avoid most common potato growing problems.
Conclusion
Growing potatoes successfully means understanding each stage from sprouting to harvest. When you time your planting right, choose quality seed potatoes, and care for each growth phase properly, bigger yields follow naturally.
Learning the potato growing stages helps you anticipate what your plants need at every step.
Your homegrown potatoes will taste better than anything you can buy at the store. Plus, you’ll have plenty for cooking those favorite dishes we mentioned.
What’s your next step? Get your seed potatoes ordered and start planning your garden space today.
Frequently Asked Questions (FAQs)
1. How do I Know Which Potato Growing Stage My Plant Is in?
Track weeks since planting and watch the plant. Flowering means tuber initiation. Full die-back means harvest is close.
2. Can I Speed Up the Potato Growing Stages by Watering More?
No. Each stage runs on its own timeline. Overwatering only causes rot and slows things down further.
3. What Happens if I Harvest too Early?
Skins stay thin, potatoes bruise easily, and they shrivel fast in storage. Always wait for the rub test.