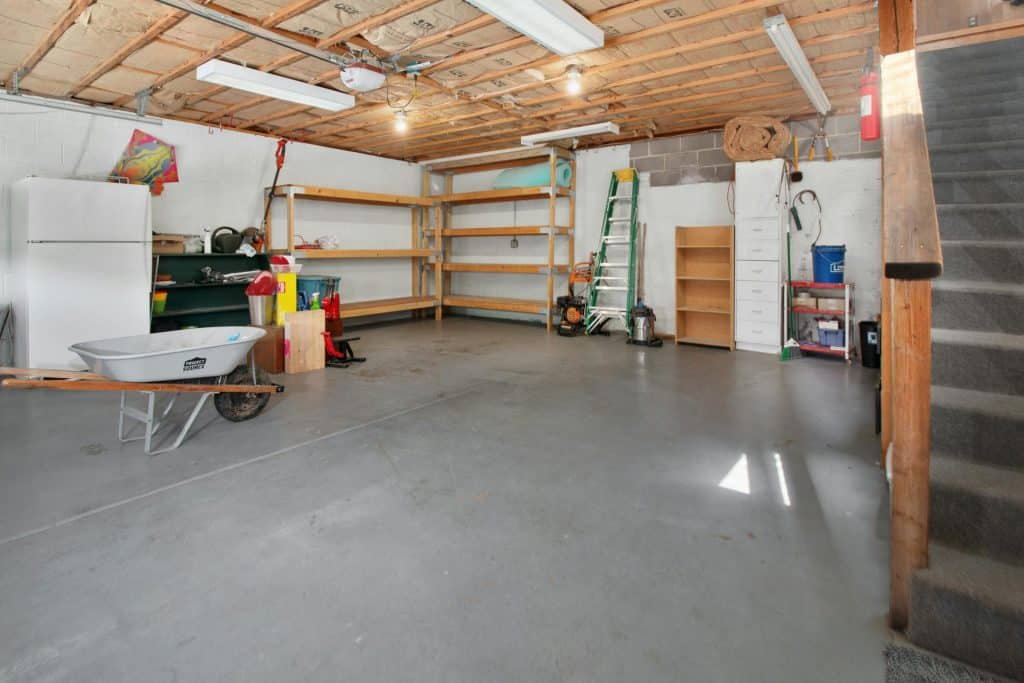
The garage is often one of the most underappreciated spaces in the house. It’s where we store tools, park the car, and sometimes, even take on DIY projects. But with a bit of creativity and the right materials, you can easily transform your garage into a functional and stylish space. One material that’s gaining popularity for garage renovations is aluminium checker plate. With its durability, safety features, and sleek appearance, it’s a fantastic choice for anyone looking to upgrade their garage.
Why Aluminium Checker Plate is Perfect for Garage Upgrades
Aluminium checker plate is known for its distinctive diamond pattern, which not only gives it an industrial aesthetic but also enhances its functionality. The raised surface of the plate provides increased traction, making it ideal for flooring or wall coverings in areas where moisture, oil, or dirt might be present. In garages, where spills and heavy foot or vehicle traffic are common, this non-slip feature becomes an essential safety aspect.
Another great advantage is its durability. Unlike wood or carpeting, aluminium checker plate won’t crack, warp, or stain. It stands up well to the demands of a busy garage, whether it’s constant car movement or the wear and tear from tools and equipment. Plus, it’s easy to clean, requiring just a quick wipe-down to maintain its shine and integrity.
Step 1: Plan Your Garage Transformation
Before you start any DIY project, planning is key. Think about how you want to use your garage after the transformation. Are you looking to create more storage space, improve the flooring, or simply add a more polished look? Perhaps a combination of all three?
Consider areas where aluminium checker plate would be most effective, such as:
- Garage Floors: If your garage sees heavy foot traffic or vehicle movement, checker plate flooring can add both style and safety. The non-slip texture will prevent accidents, and the durability will ensure it lasts for years.
- Garage Walls: You can use aluminium checker plate on walls to protect them from impacts, such as when you’re working with tools or moving heavy items.
- Workbenches: Adding checker plate to your workbench can create a rugged, industrial look and provide an easy-to-clean surface that can withstand heavy use.
Step 2: Gather Your Materials and Tools
Once you have a plan, it’s time to gather your materials. For this DIY project, you’ll need:
- Aluminium Checker Plate Sheets: These come in various thicknesses, so choose one that suits the areas you want to cover. For garage flooring, a thicker plate is recommended for added durability.
- Measuring Tape: Precision is important when cutting and placing your plates.
- Utility Knife or Metal Cutter: To cut your aluminium checker plate to the desired size.
- Drill with Metal Drill Bits: If you’re mounting the plates onto the walls or other surfaces, you’ll need to drill holes for screws.
- Screws or Adhesive: Depending on whether you plan to screw the plates in place or use adhesive for mounting.
Step 3: Prepare Your Garage Space
Before installing the aluminium checker plate, make sure the area you’re working with is clean and dry. If you’re laying it on the floor, sweep away any dirt or debris. For walls, make sure to remove any hooks, nails, or loose items that might be in the way.
If you’re upgrading an existing floor or wall, you may need to do some prep work, such as sanding down rough surfaces or applying a primer if you’re using adhesive to mount the plates. It’s also important to check that the surface is level to ensure a smooth and secure installation.
Step 4: Cut and Fit the Aluminium Checker Plate
Using your measuring tape, carefully measure the space you want to cover with aluminium checker plate. Be sure to account for any irregularities in the surface that may require custom cuts. Then, use a utility knife or metal cutter to trim the plates to size.
When it comes to cutting aluminium, a steady hand is crucial. If you’re not confident in cutting the plate yourself, you can have it pre-cut at a hardware store. However, if you choose to do it yourself, make sure to wear gloves and safety goggles to protect your hands and eyes from sharp edges and debris.
Step 5: Install the Aluminium Checker Plate
Now it’s time to install the aluminium checker plate. For flooring, you can use either adhesive or screws. If you’re opting for adhesive, choose a high-strength bonding glue designed for metal surfaces. Apply the adhesive to the back of the plate and press it firmly into place. Be sure to follow the instructions on the adhesive for drying times and ensure that the surface is secure.
For wall installations, it’s best to use screws and a drill to mount the aluminium checker plate. Mark the spots where you’ll need to drill, ensuring the screws are evenly spaced for a secure hold. If you’re placing it on the floor, the plates should be positioned to allow for easy movement of vehicles or equipment, ensuring that the plates don’t shift over time.
Step 6: Finish and Enjoy Your Transformed Garage
Once your aluminium checker plate is installed, you’re almost finished. Take a step back and admire the sleek, industrial look you’ve created. If you’ve installed it on the floor, give it a good clean to remove any dust or excess adhesive. For wall installations, check that all plates are securely mounted and that there are no sharp edges exposed.
Bonus Tips for Using Aluminium Checker Plate
- Use for Shelving: Aluminium checker plate can be a great material for creating heavy-duty shelving. The material is strong enough to hold a variety of tools or other items, and the industrial look will complement your garage’s aesthetic.
- Protect High-Traffic Zones: If your garage has areas where equipment or vehicles frequently pass through, consider adding additional sheets of aluminium checker plate to reinforce those spots for extra durability.
Final Thoughts on Transforming Your Garage with Aluminium Checker Plate
Transforming your garage with an aluminium checker plate is a simple yet impactful DIY project that can elevate both the safety and aesthetics of your space. With its durability, slip-resistant surface, and low maintenance, it’s a material that can withstand the rigors of garage life while providing a sleek, modern touch. Whether you’re upgrading the floor, walls, or workbenches, this versatile material has the potential to completely change the look and function of your garage. Happy renovating!