Your garden path became the first thing guests notice. Most yards are missing one simple thing: a walkway that looks good.
A well-placed stepping-stone path makes your outdoor space feel put together.
Keep reading to find your perfect stepping stone walkway ideas.
What Do You Put Under Stepping Stones?
It’s very important to get the base of the stepping stones walkway right, as the right base keeps the stones level, stable, and long-lasting.
Sand
Sand is the most popular base material for stepping stones.
It is easy to spread, simple to level, and holds each stone firmly in place without shifting over time.
Fine Gravel
Fine Gravel works really well as a base, too.
It drains rainwater quickly and stops stones from sinking into soft ground, making it useful in areas that receive heavy rainfall.
Crushed Limestone
It is a solid, reliable base option. It compacts over time, creating a very firm, stable surface that keeps your stones in place.
Landscape Fabric
Landscape Fabric is not a base material on its own; lay it down first before adding any base layer.
It blocks weeds from growing up between your stones and keeps everything looking clean.
Natural & Rustic Stepping Stone Walkway Ideas
Natural and rustic walkways use raw materials, earthy tones, and organic shapes.
And they work well in cottage gardens, wooded yards, and any space where you want things to feel relaxed and lived-in.
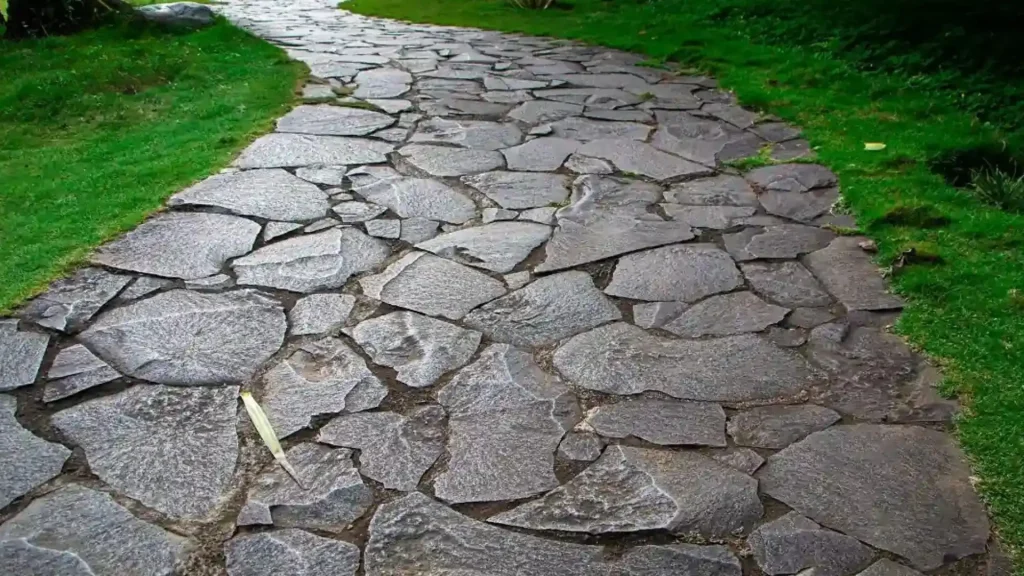
1. Flagstone Through Grass
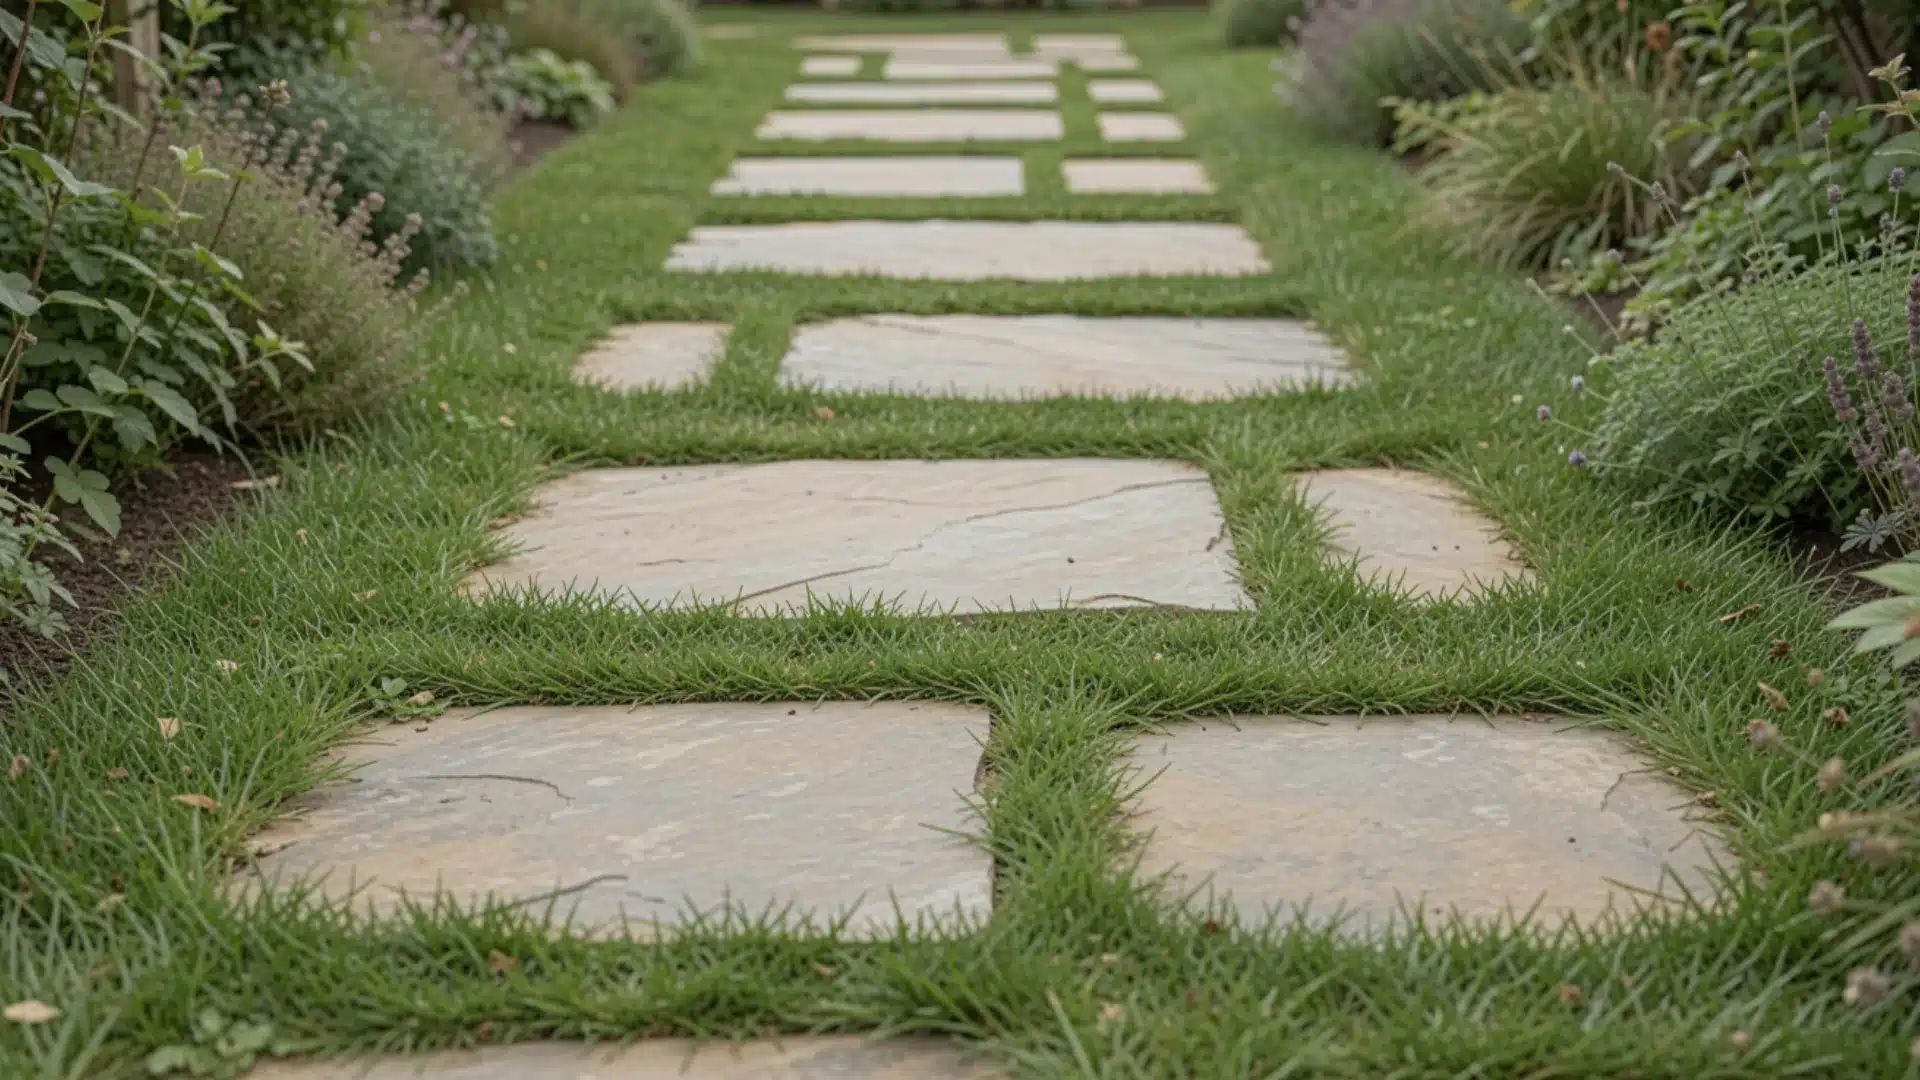
Lay large, flat flagstones directly into your lawn for a natural, earthy look.
Space them about one comfortable step apart. The rough edges and earthly tones blend well with green grass and garden beds.
Press each stone firmly into the soil so it sits level and stable underfoot.
Avoid placing flagstones too far apart. If the gap is wider than a comfortable step, people will walk around them instead.
2. Moss-Filled Stone Path
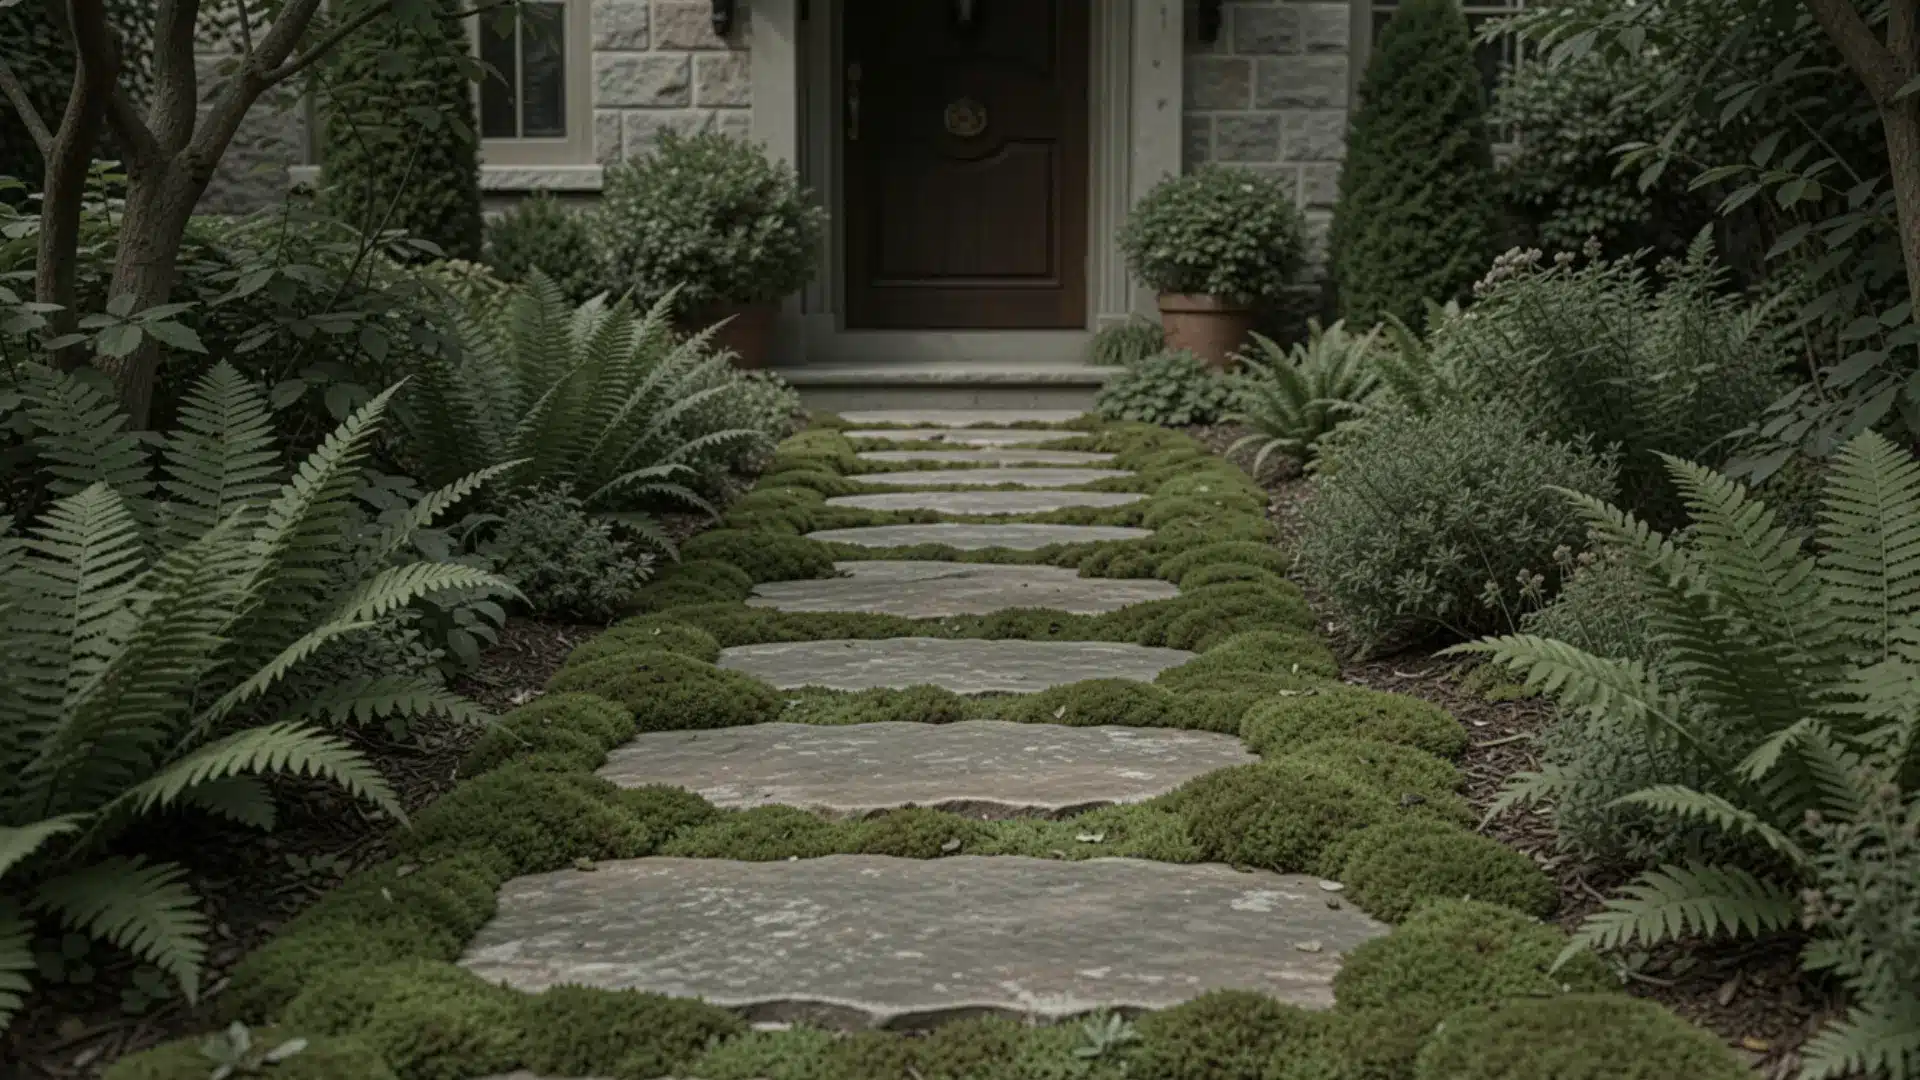
Place stones with small gaps between them and let moss fill in naturally over time.
It gives your path a soft, lush, old-world feel, which works best in shady, moist spots. And there’s one more advantage to this.
Over time, the moss spreads on its own, making the path look as if it has always been there.
3. Woodland-Inspired Trail
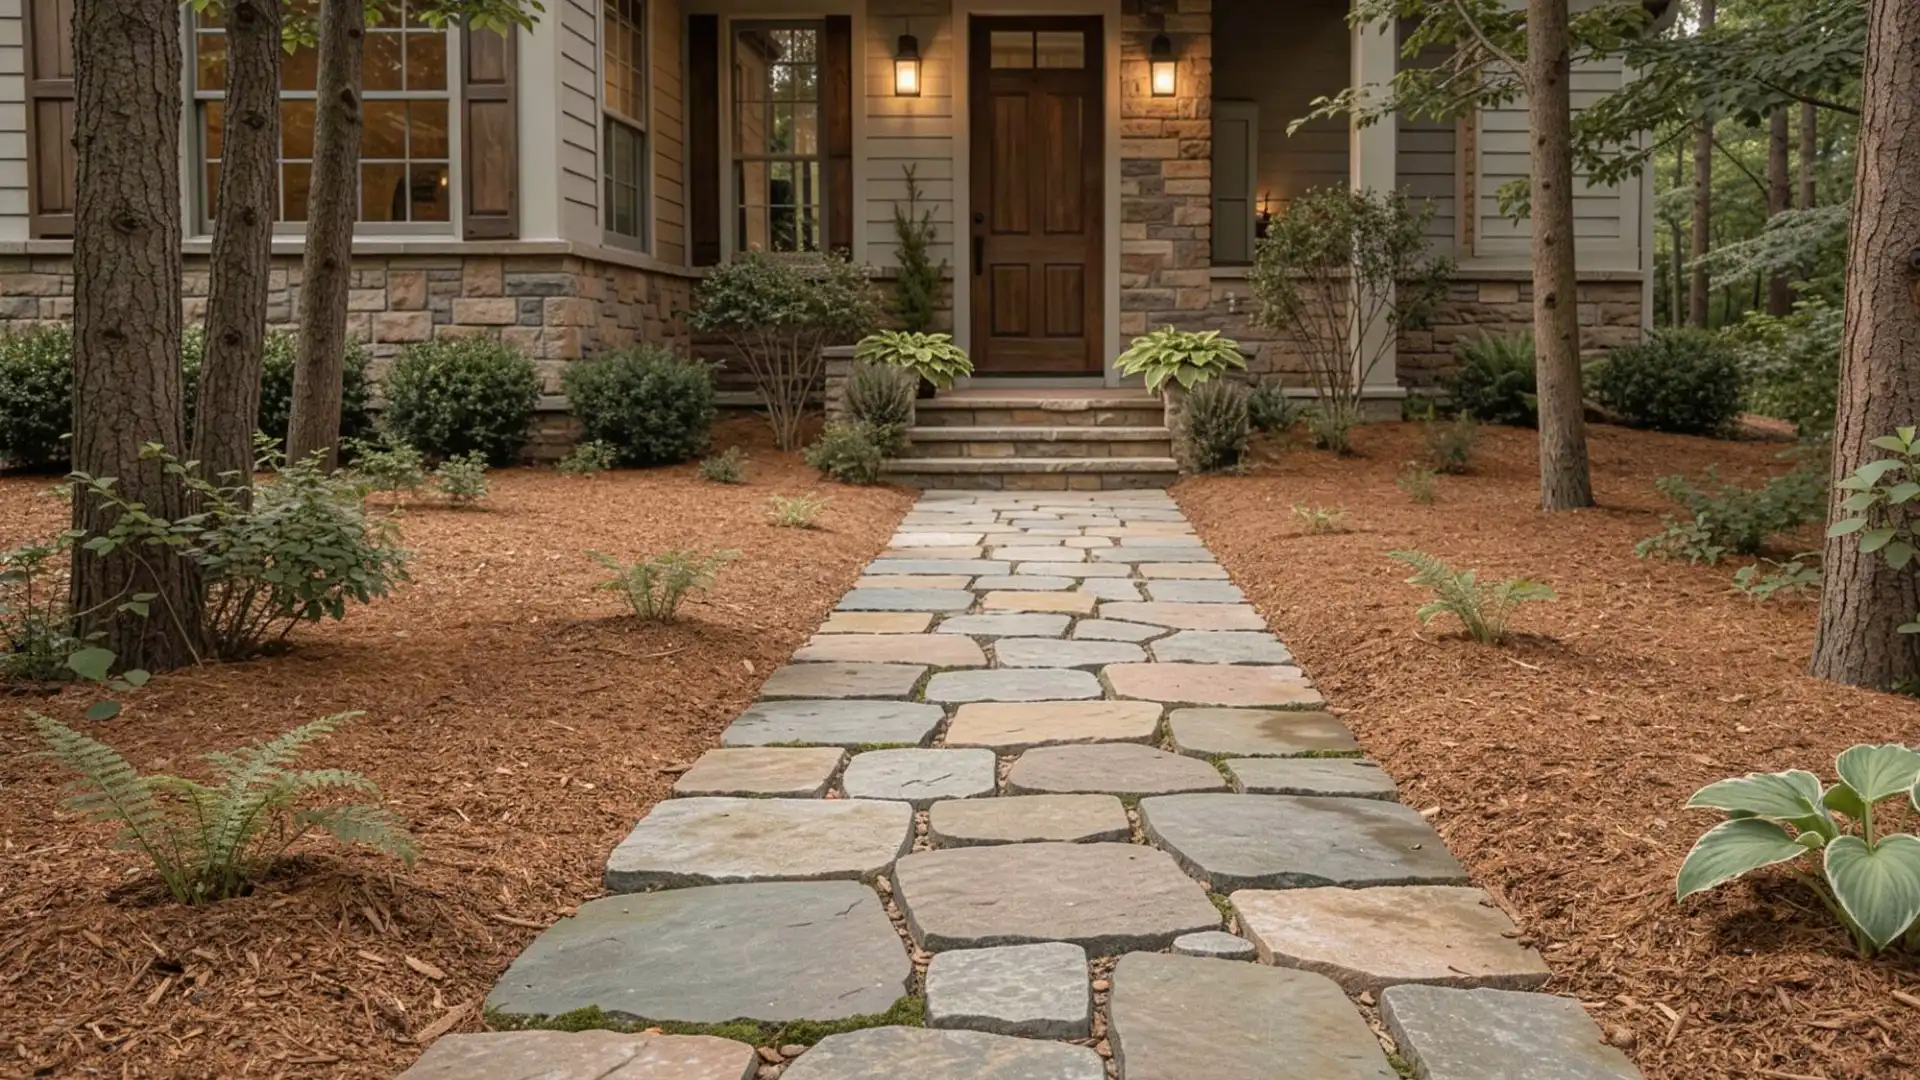
Use rough, uneven stones of different sizes to build a trail that feels like it belongs in a forest, and add ferns, hostas, or bark mulch along the sides.
The mix of irregular stones and lush green plants creates a calm, shaded path.
This idea is for the people who want to make a space that feels close to nature and feels truly inviting to walk through.
4. Narrow Stepping Stone Trail
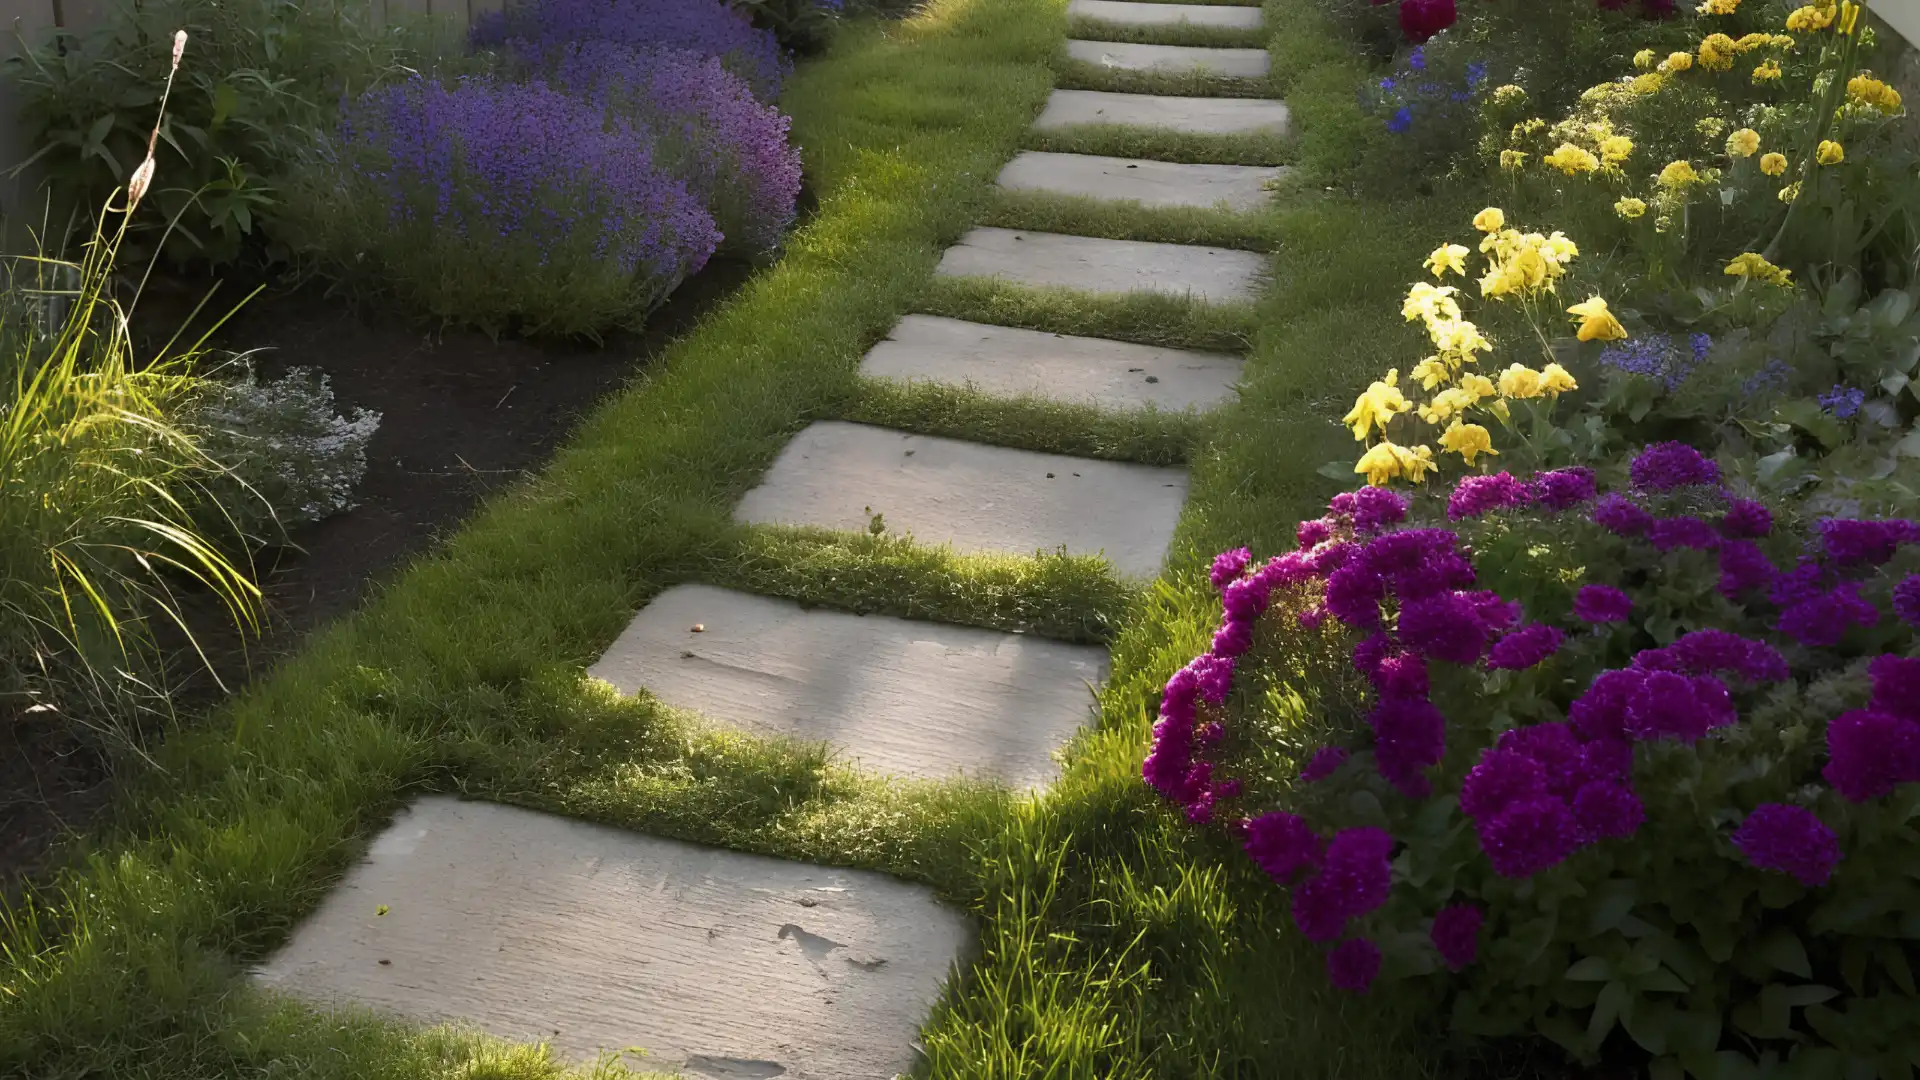
Place stones in a single-file line through a slim garden bed.
Keep the spacing tight and consistent from start to finish. This works well in narrow spaces between a fence and a flower bed.
In narrow paths, avoid oversized stones. They’ll overhang the edges and look out of place. Small stones under 18 inches wide work best here.
5. Corner Garden Walkway
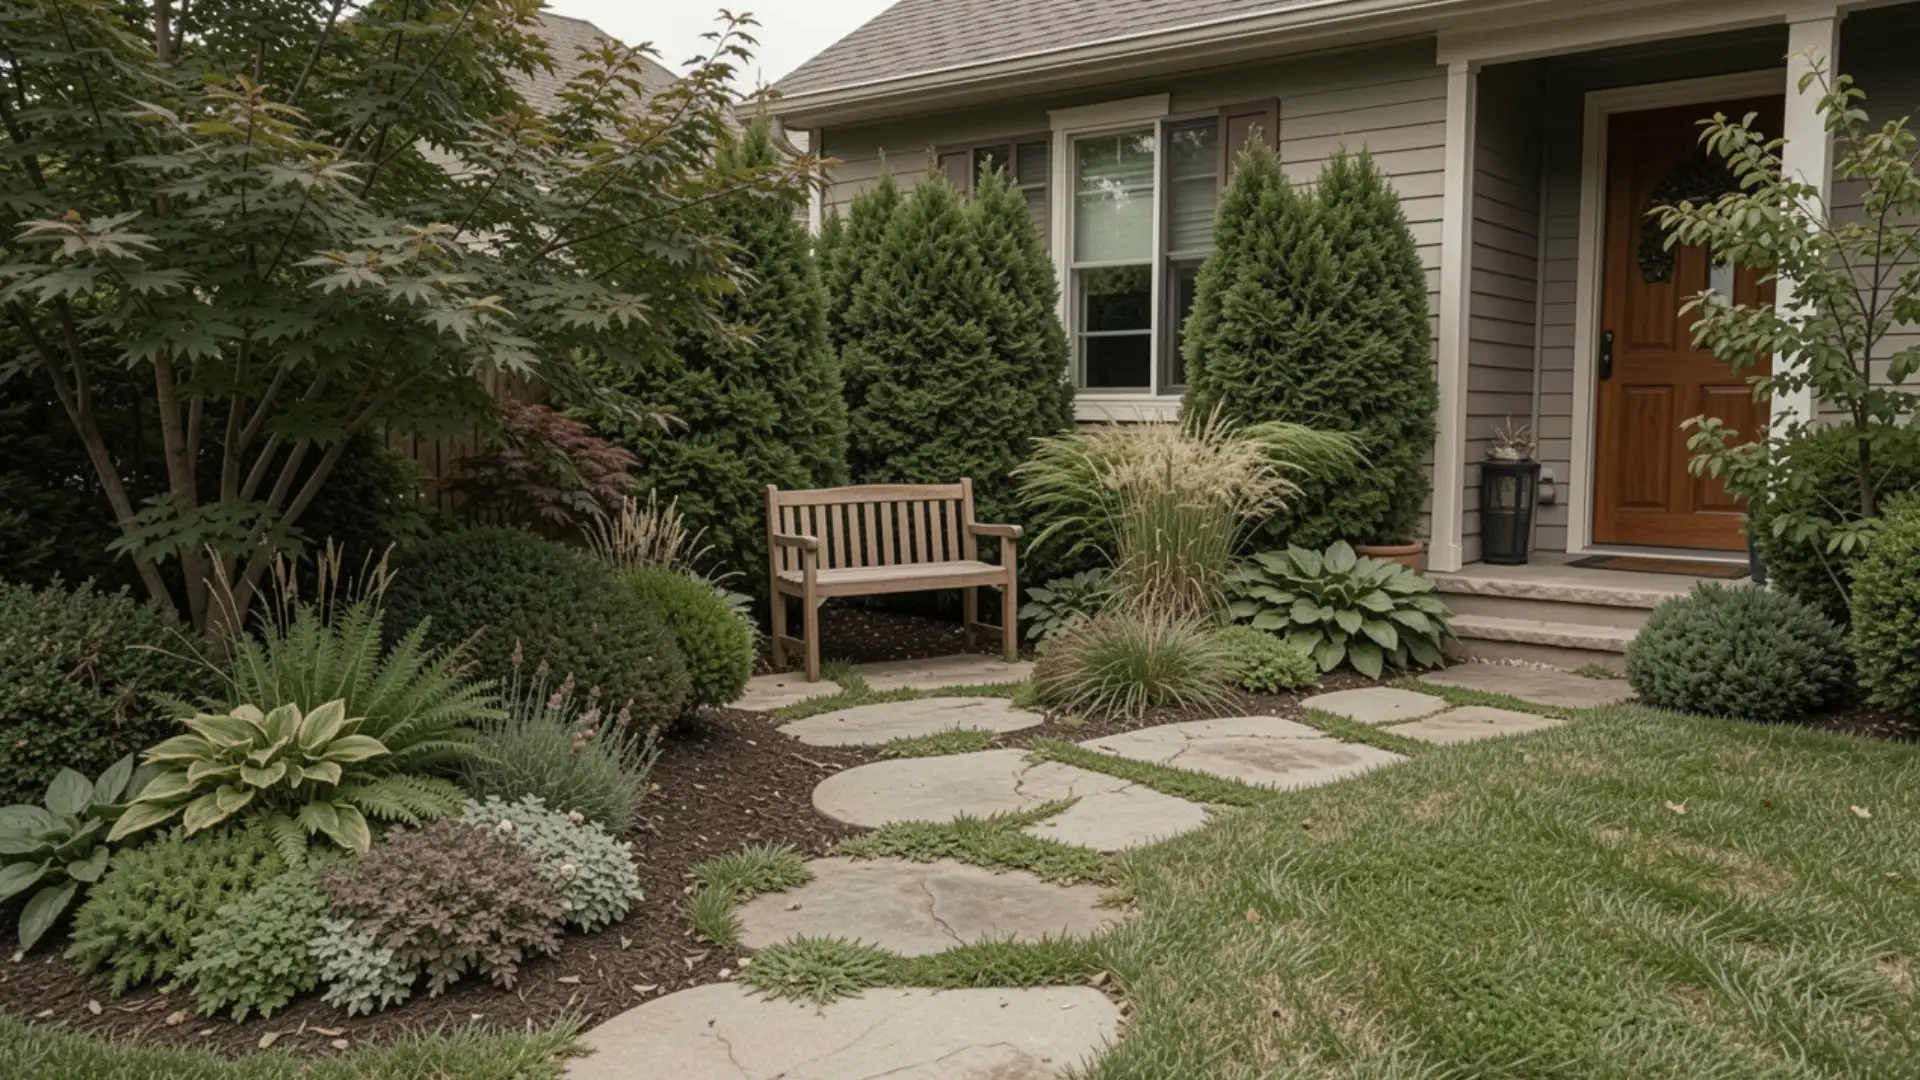
Use stepping stones to lead visitors toward a corner garden feature, such as a bench, a birdbath, or a plant display.
Even four or five well-placed stones create a clear, inviting path to that special spot.
This idea helps your garden to stand out, draw the eye, and give it a real sense of purpose, without compromising on the looks.
6. Geometric Stepping Stones
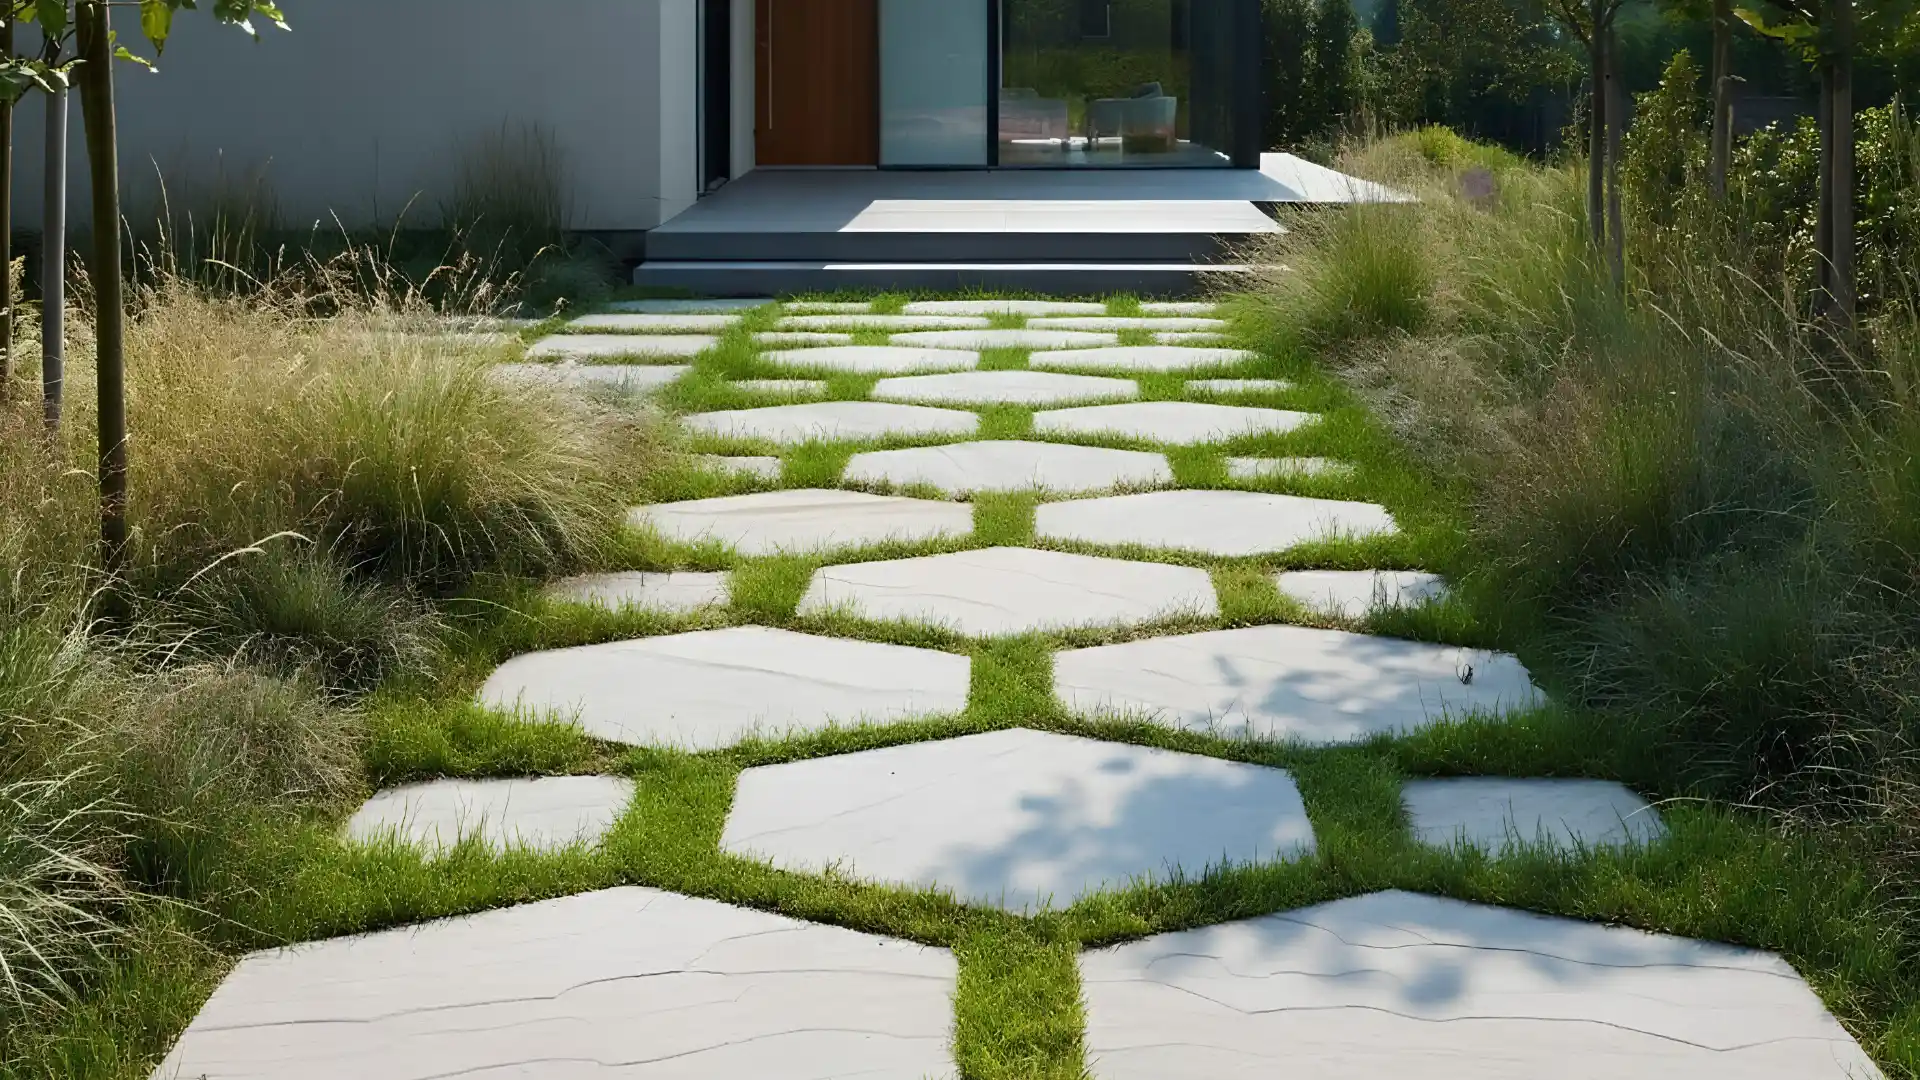
Use hexagonal, rectangular, or diamond-shaped stones to build a bold, graphic path.
Arrange them in a repeating pattern for a strong visual effect. This style suits contemporary outdoor spaces well.
The clean lines and sharp angles give your yard a polished, intentional look.
7. Floating Slab Effect
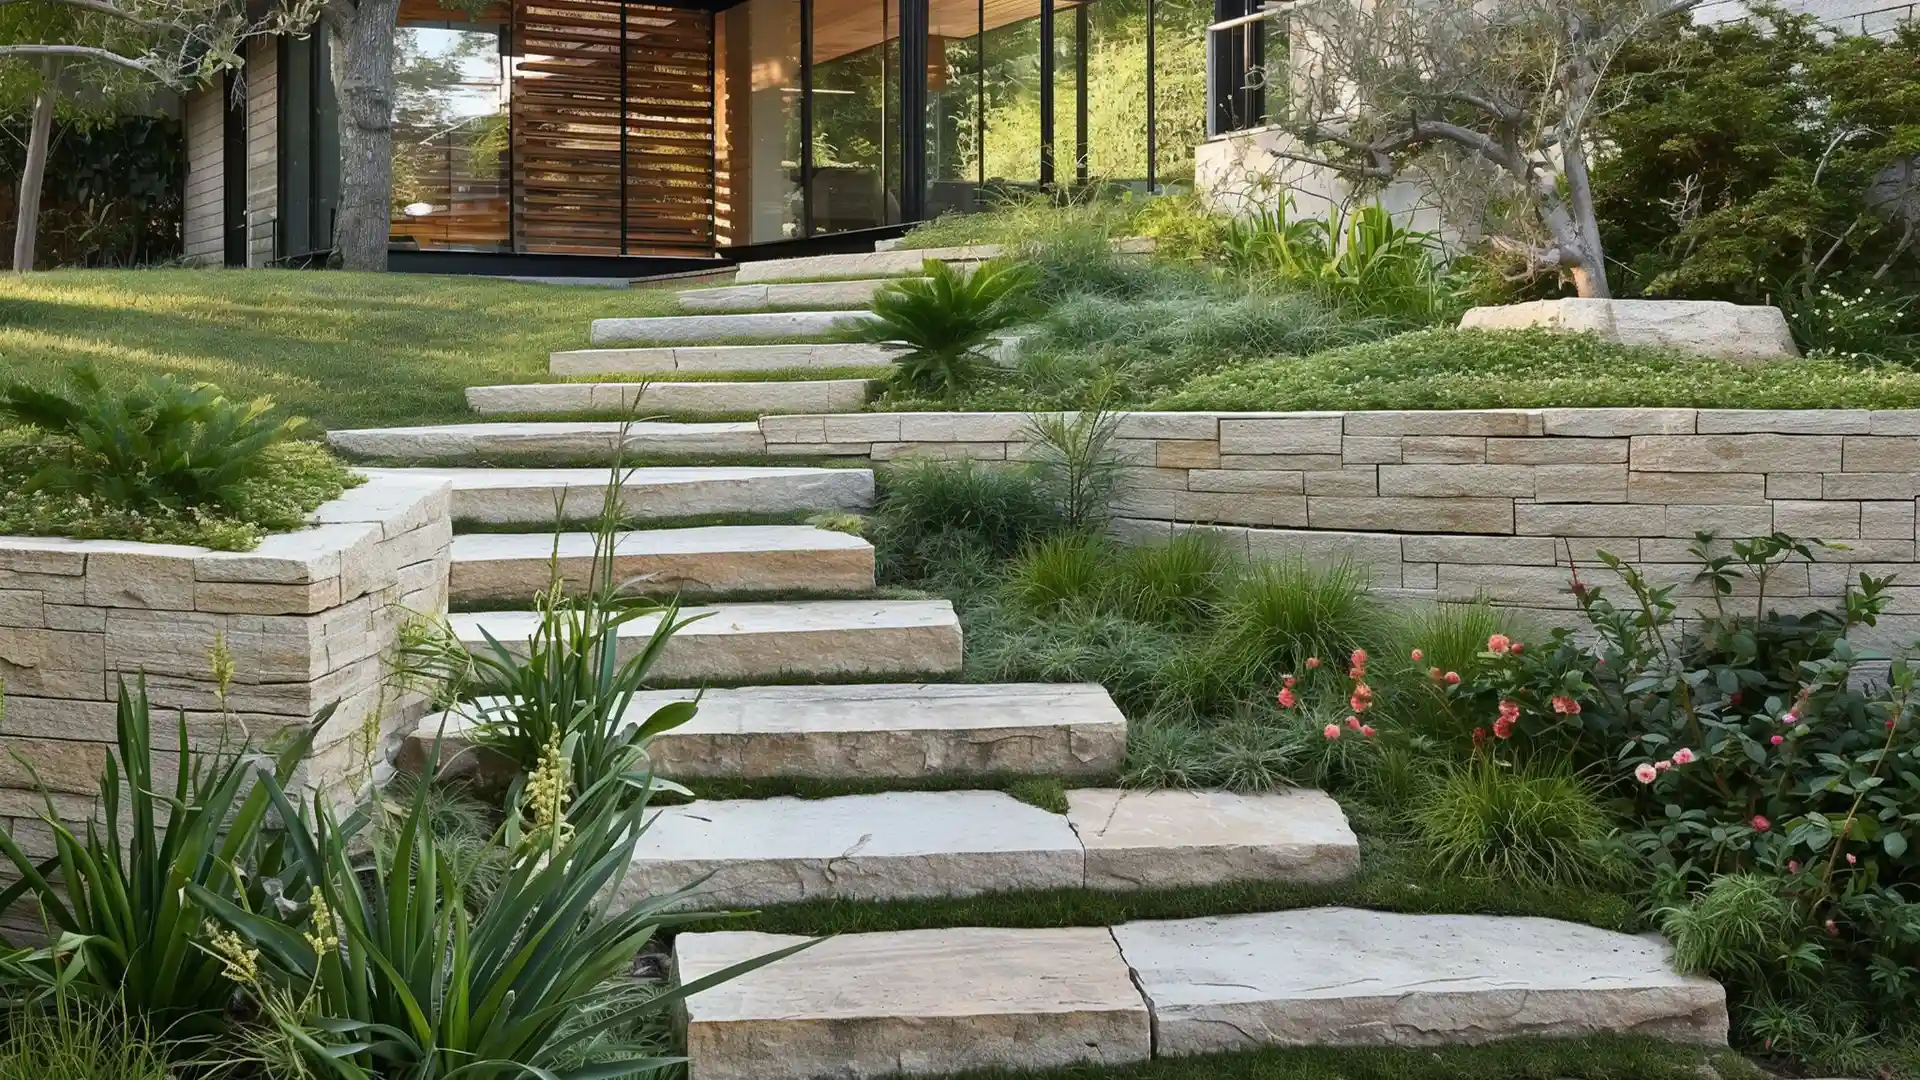
Set wide, flat stones flush with low ground cover, such as creeping thyme or artificial turf.
The stones appear to float above the greenery beneath them. This look is simple yet striking, and it works well in both front and back yards.
What makes it even better is that it’s surprisingly easy to pull off on a tight budget.
8. River Rock Borders
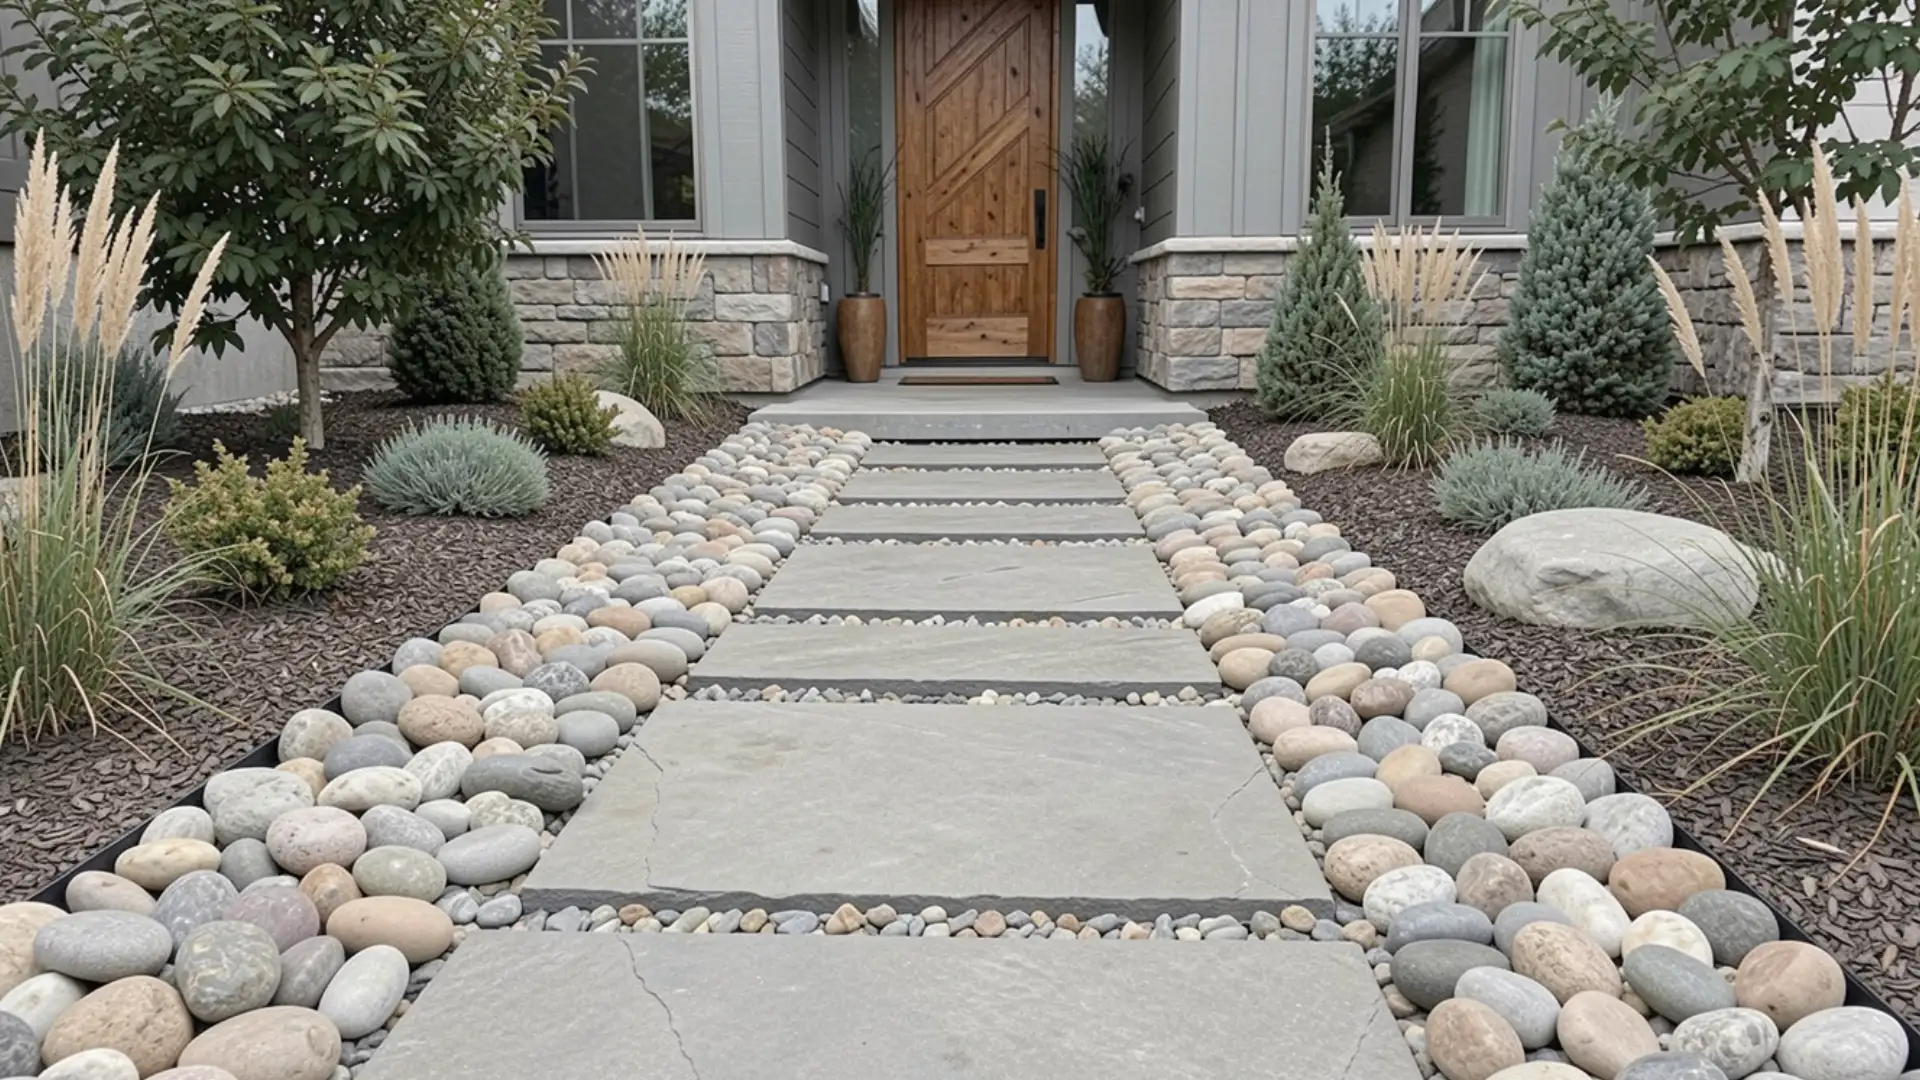
For this, lay flat stepping stones and line both sides with smooth river rocks.
The contrast between the solid stones and the rounded pebbles looks clean and natural at the same time.
This also keeps the soil and mulch from spilling onto your path after heavy rain.
9. Minimalist Monochrome Paths
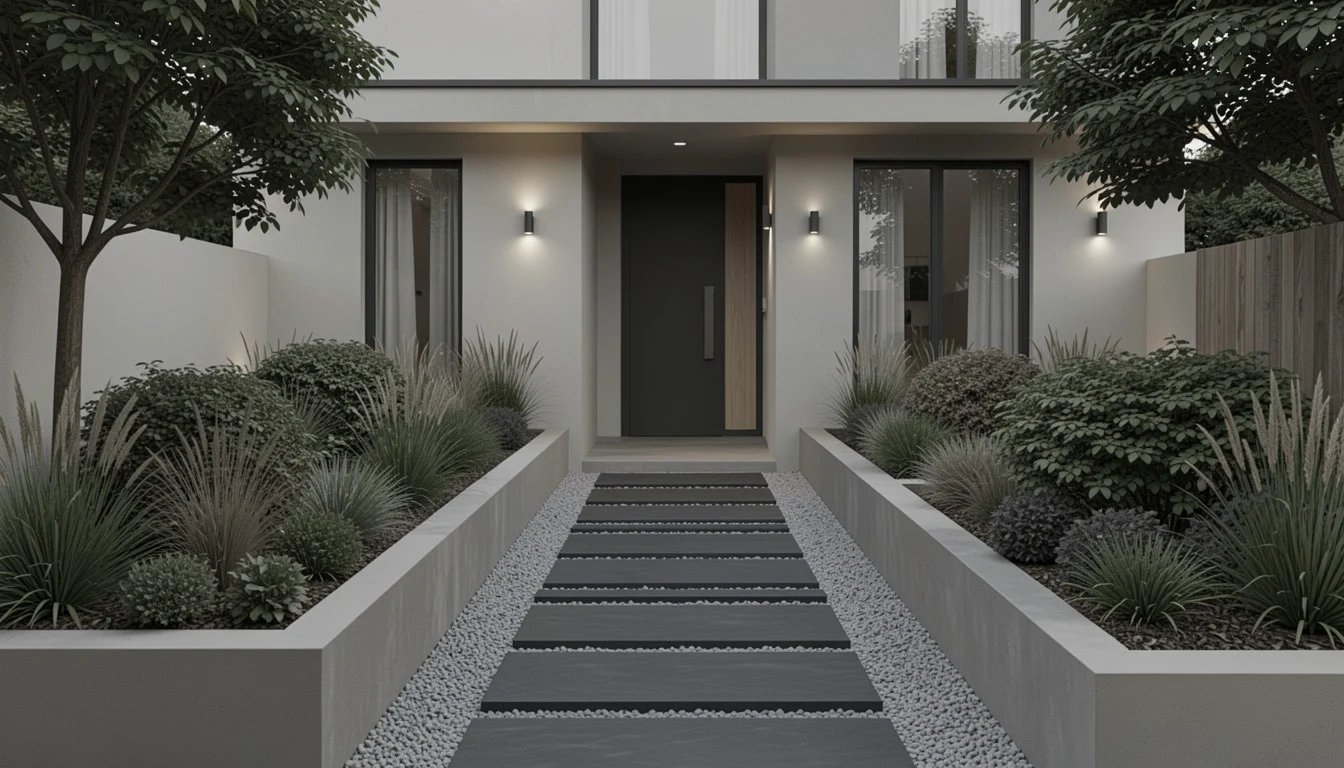
Stick to one color, such as white, grey, or charcoal, for a clean look.
Use matching stones of the same shape and size throughout. This style pairs well with modern landscaping and structured garden beds.
Light-colored stones show dirt and moss quickly. Seal them after installation to make cleaning easier and keep that fresh look longer.
DIY Friendly Stepping Stone Walkway Ideas
Some of the best-looking walkways are built on a very small budget, using smart material choices and a little creativity.
10. Gravel + Stepping Stones
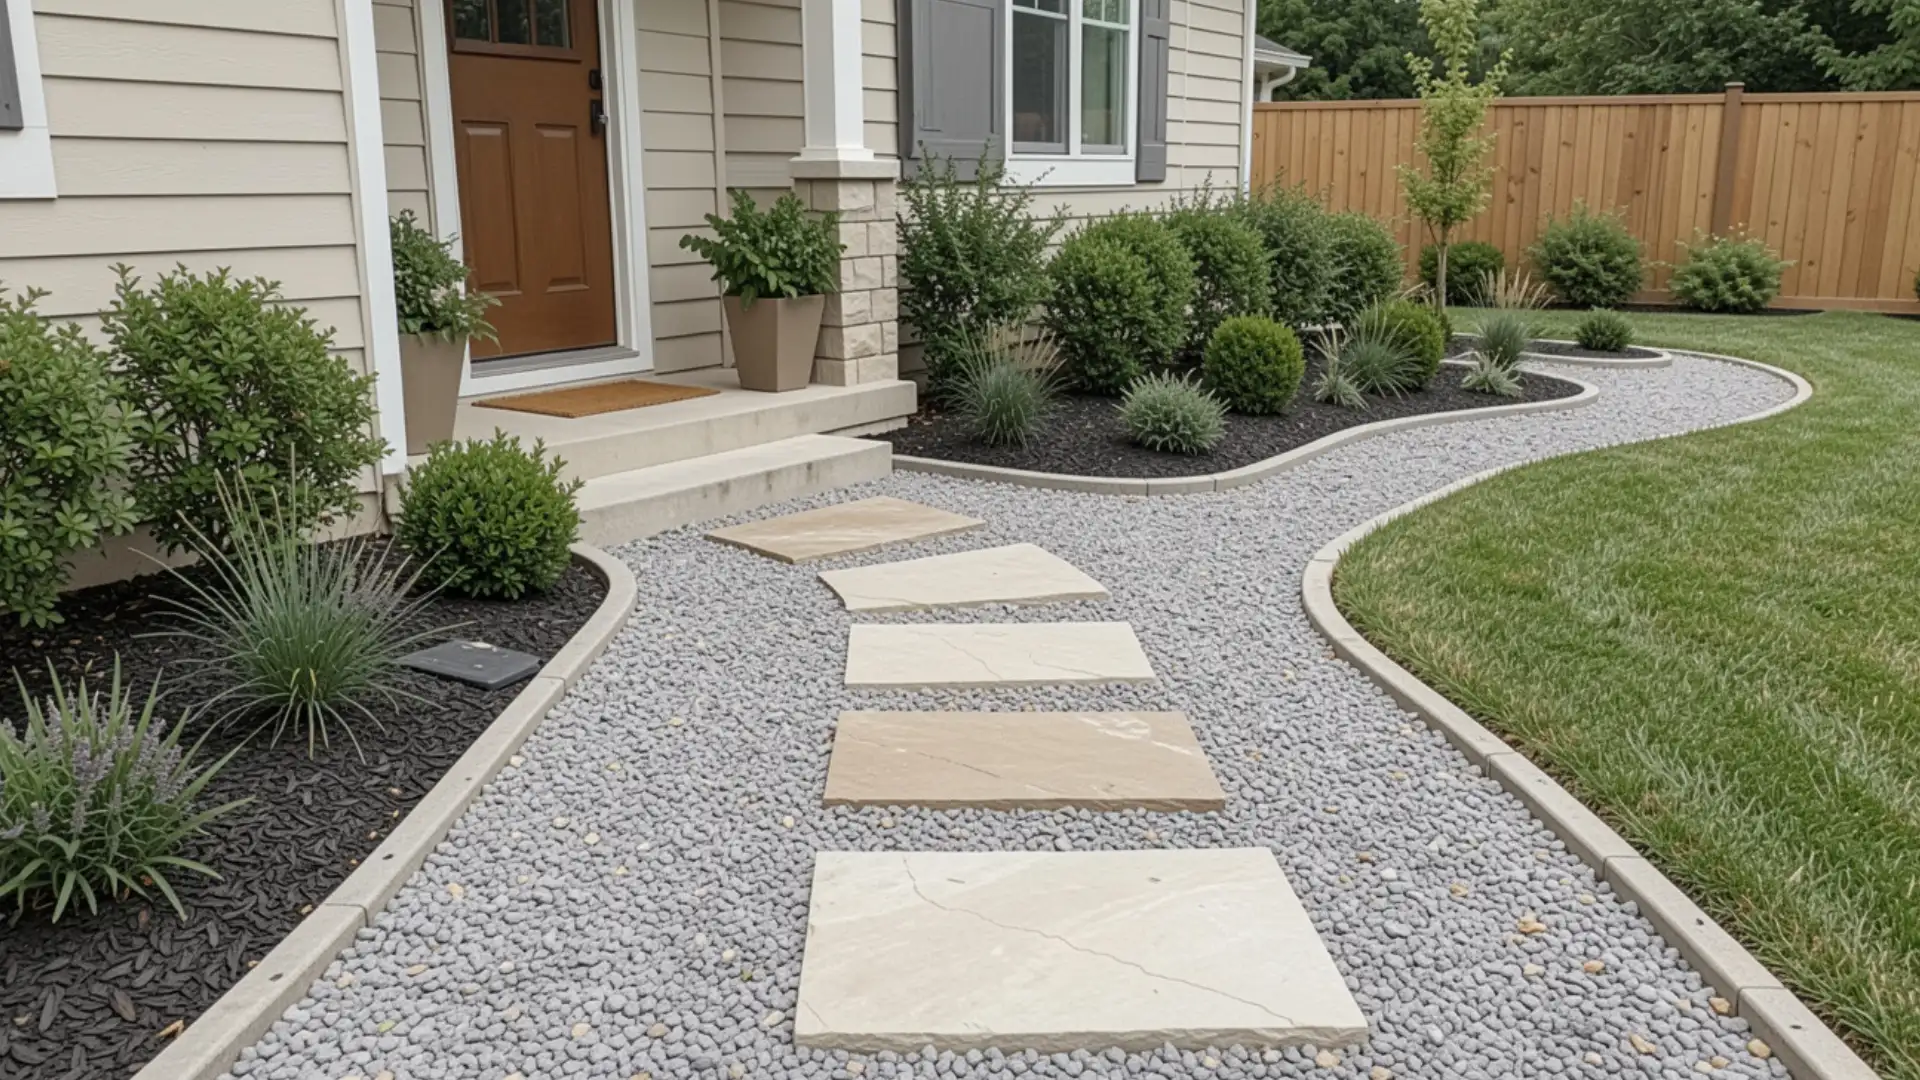
This is one of the most popular inexpensive stepping stone walkway ideas out there.
Lay stones over a gravel base for a budget-friendly path that still looks neat and intentional. Gravel fills the gaps naturally and drains rainwater well.
What makes it stand out is its cost compared to most other available path materials.
11. Reclaimed Brick Path
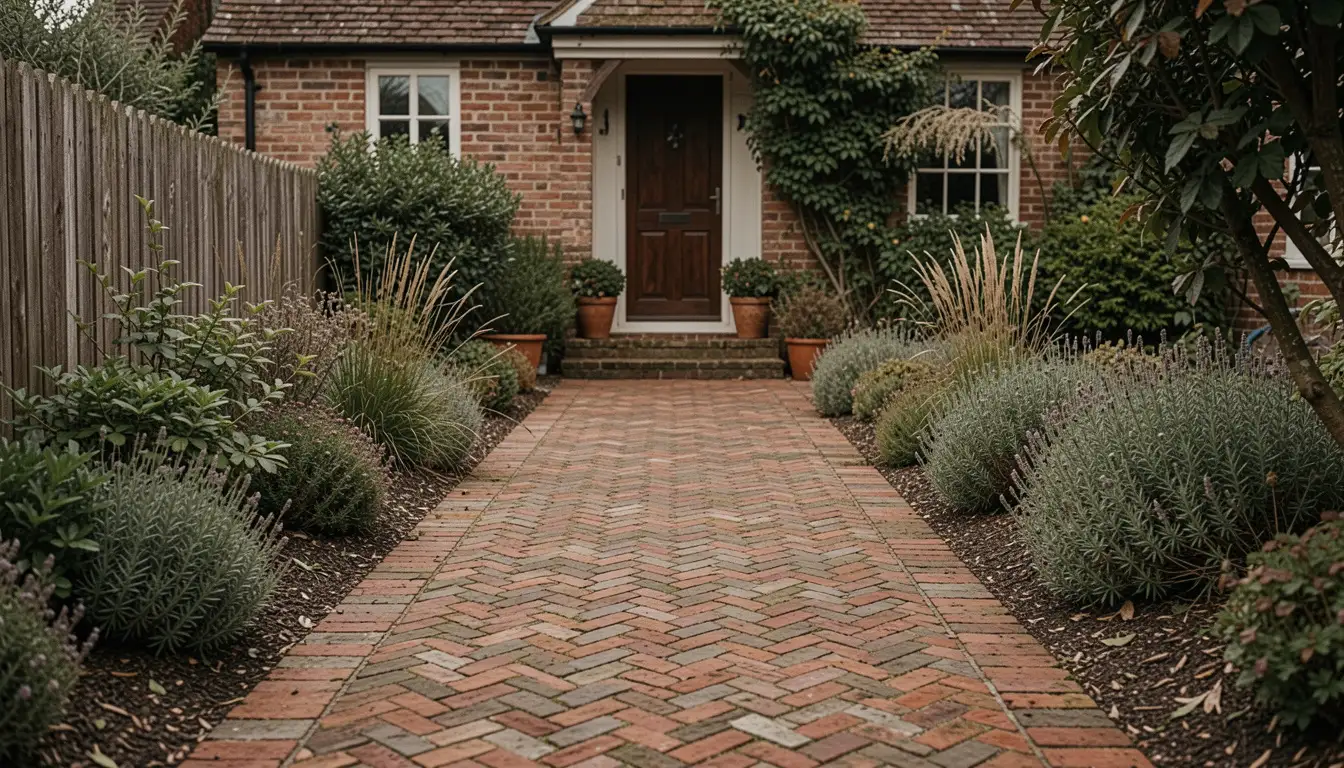
Use old bricks from a salvage yard, a demolished wall, or a free local listing.
Lay them flat in straight rows or a herringbone pattern, whichever suits you the best. This idea keeps your costs very low without sacrificing style or overall quality.
Check that reclaimed bricks are flat on top before using them. Rounded or uneven surfaces create tripping hazards on a walking path.
12. Mulch Garden Pathway
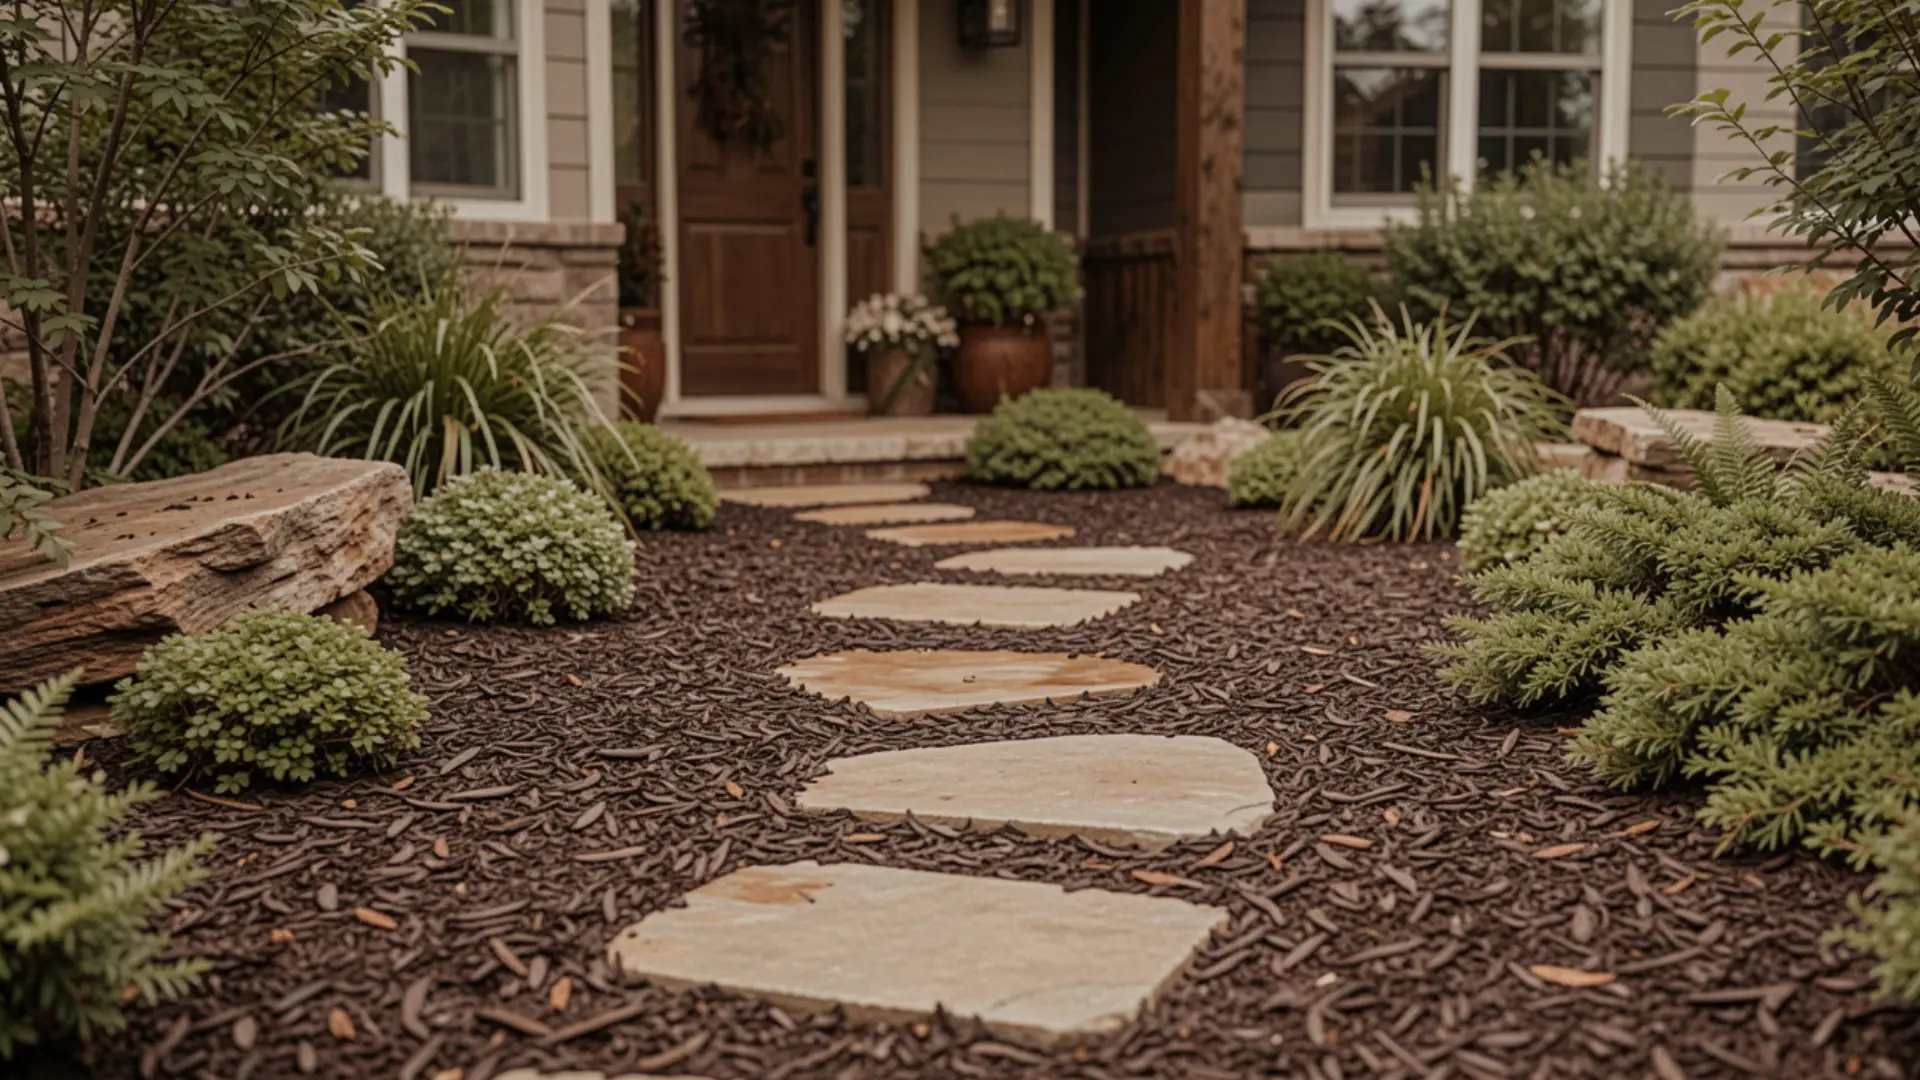
Lay stepping stones over a thick bed of wood chip mulch for a natural, low-cost path.
The mulch acts as a soft filler between stones, looks warm and earthy, and keeps weeds from growing through.
This is one of the easiest garden path ideas to install and refresh each season.
13. Curved Side-Yard Path
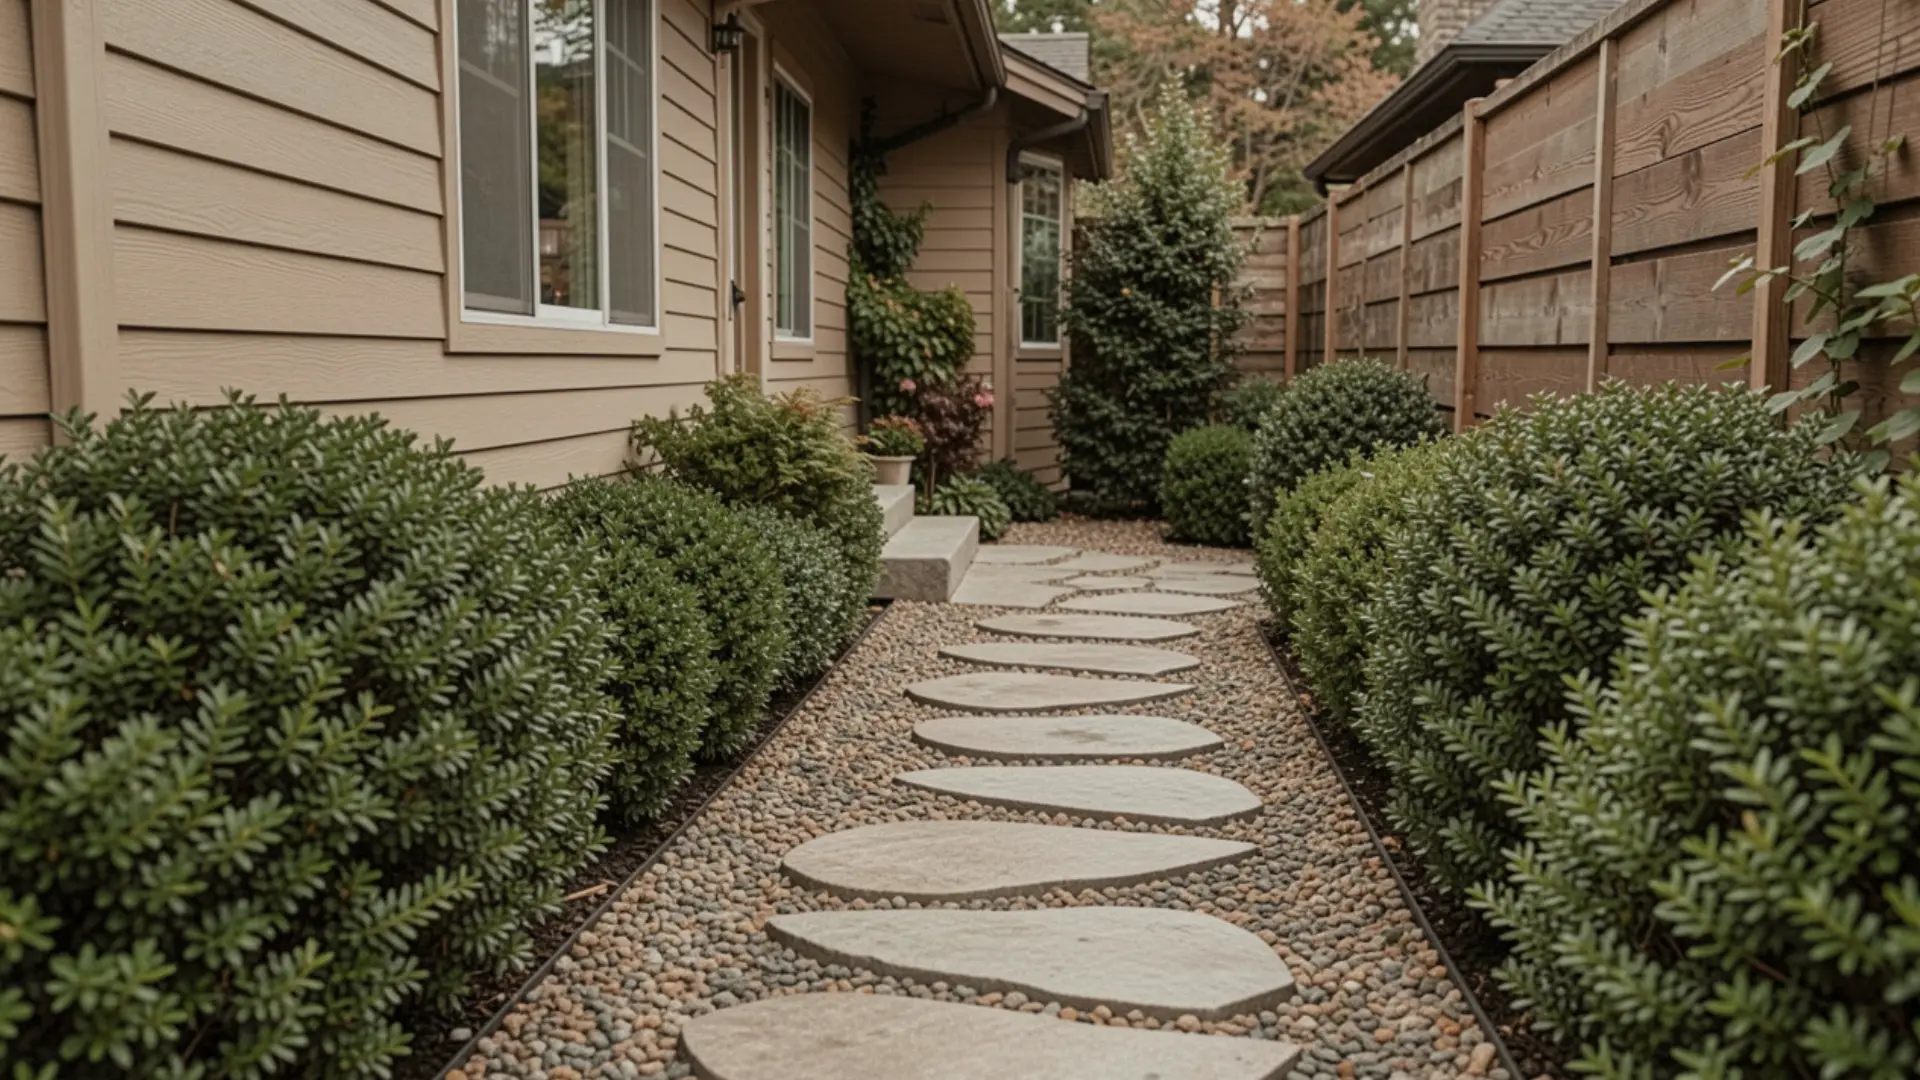
A gently curved path through a narrow side yard adds flow and makes the space feel much larger than it really is.
Use smaller stones and keep plantings low on either side.
Curves always feel more natural than straight lines, especially in tight spots where every single inch counts.
14. Mosaic Stepping Stones
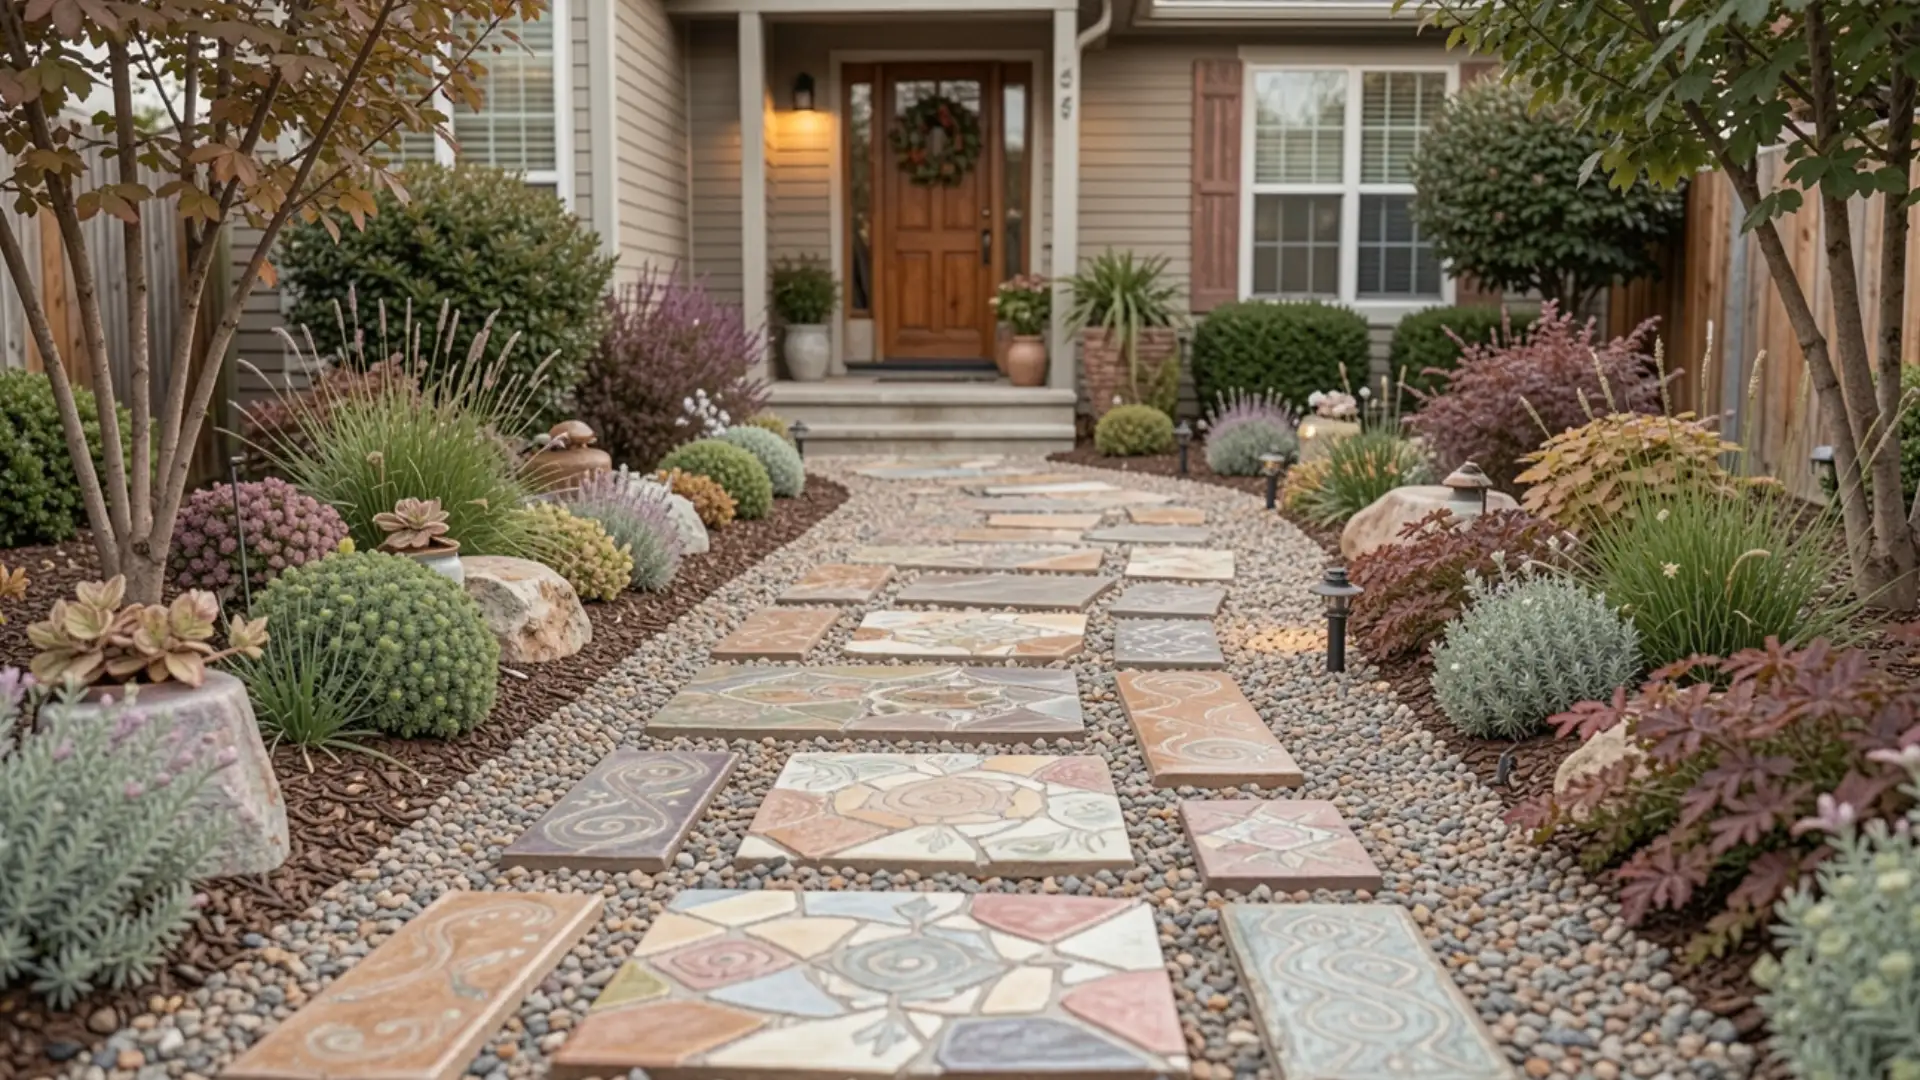
Press colorful tile pieces, glass beads, or broken crockery into wet concrete to create one-of-a-kind mosaic stones.
Each stone becomes a small piece of outdoor art.
This is a great weekend project for kids, as the results are personal, colorful, and far more special than anything you can buy.
15. Glow-in-the-Dark Stones
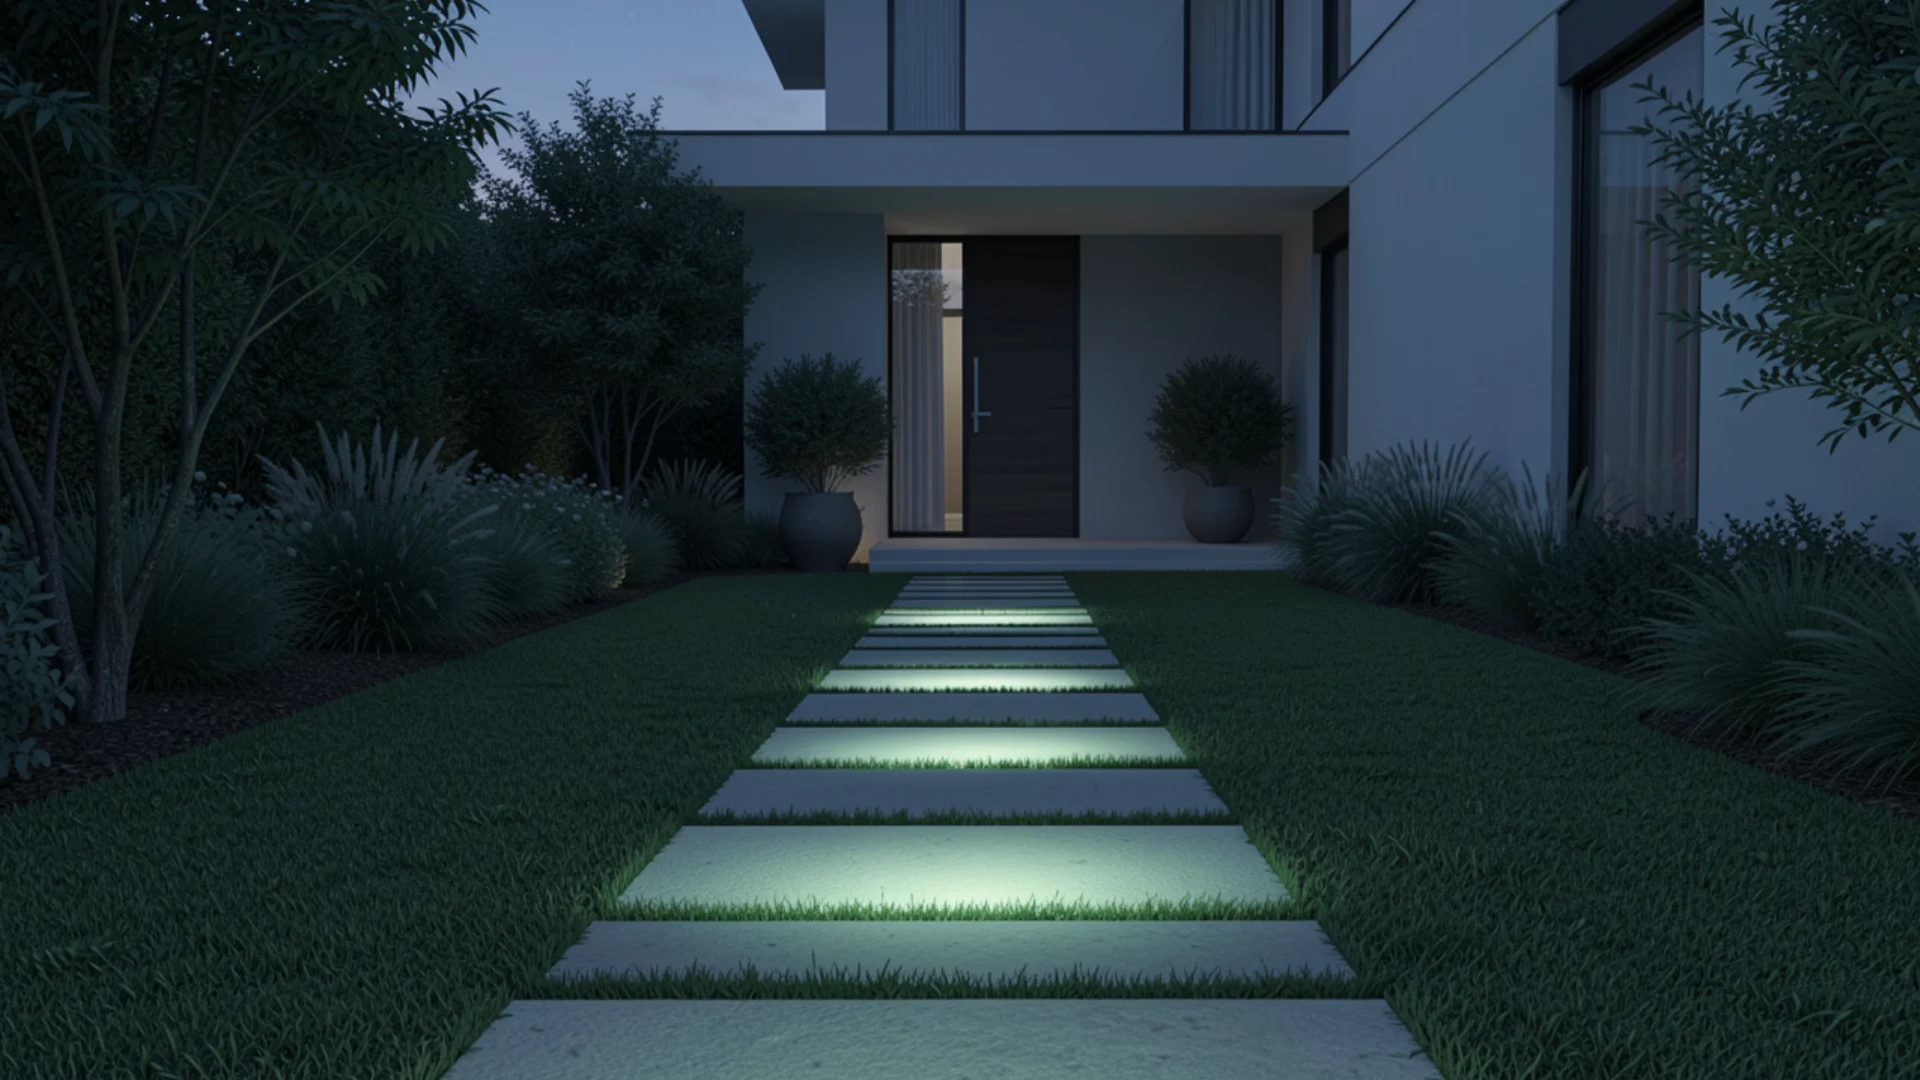
Mix glow-in-the-dark pigment into DIY concrete stones or paint finished stones with phosphorescent outdoor paint.
They charge up in daylight and glow softly at night.
It is a fun, low-cost idea that also makes your path safer and easier to see after the sun has completely set.
Use UV-resistant glow paint made for outdoor surfaces. Regular craft paint fades fast when exposed to sun and rain.
16. Wood Slice Stepping Path
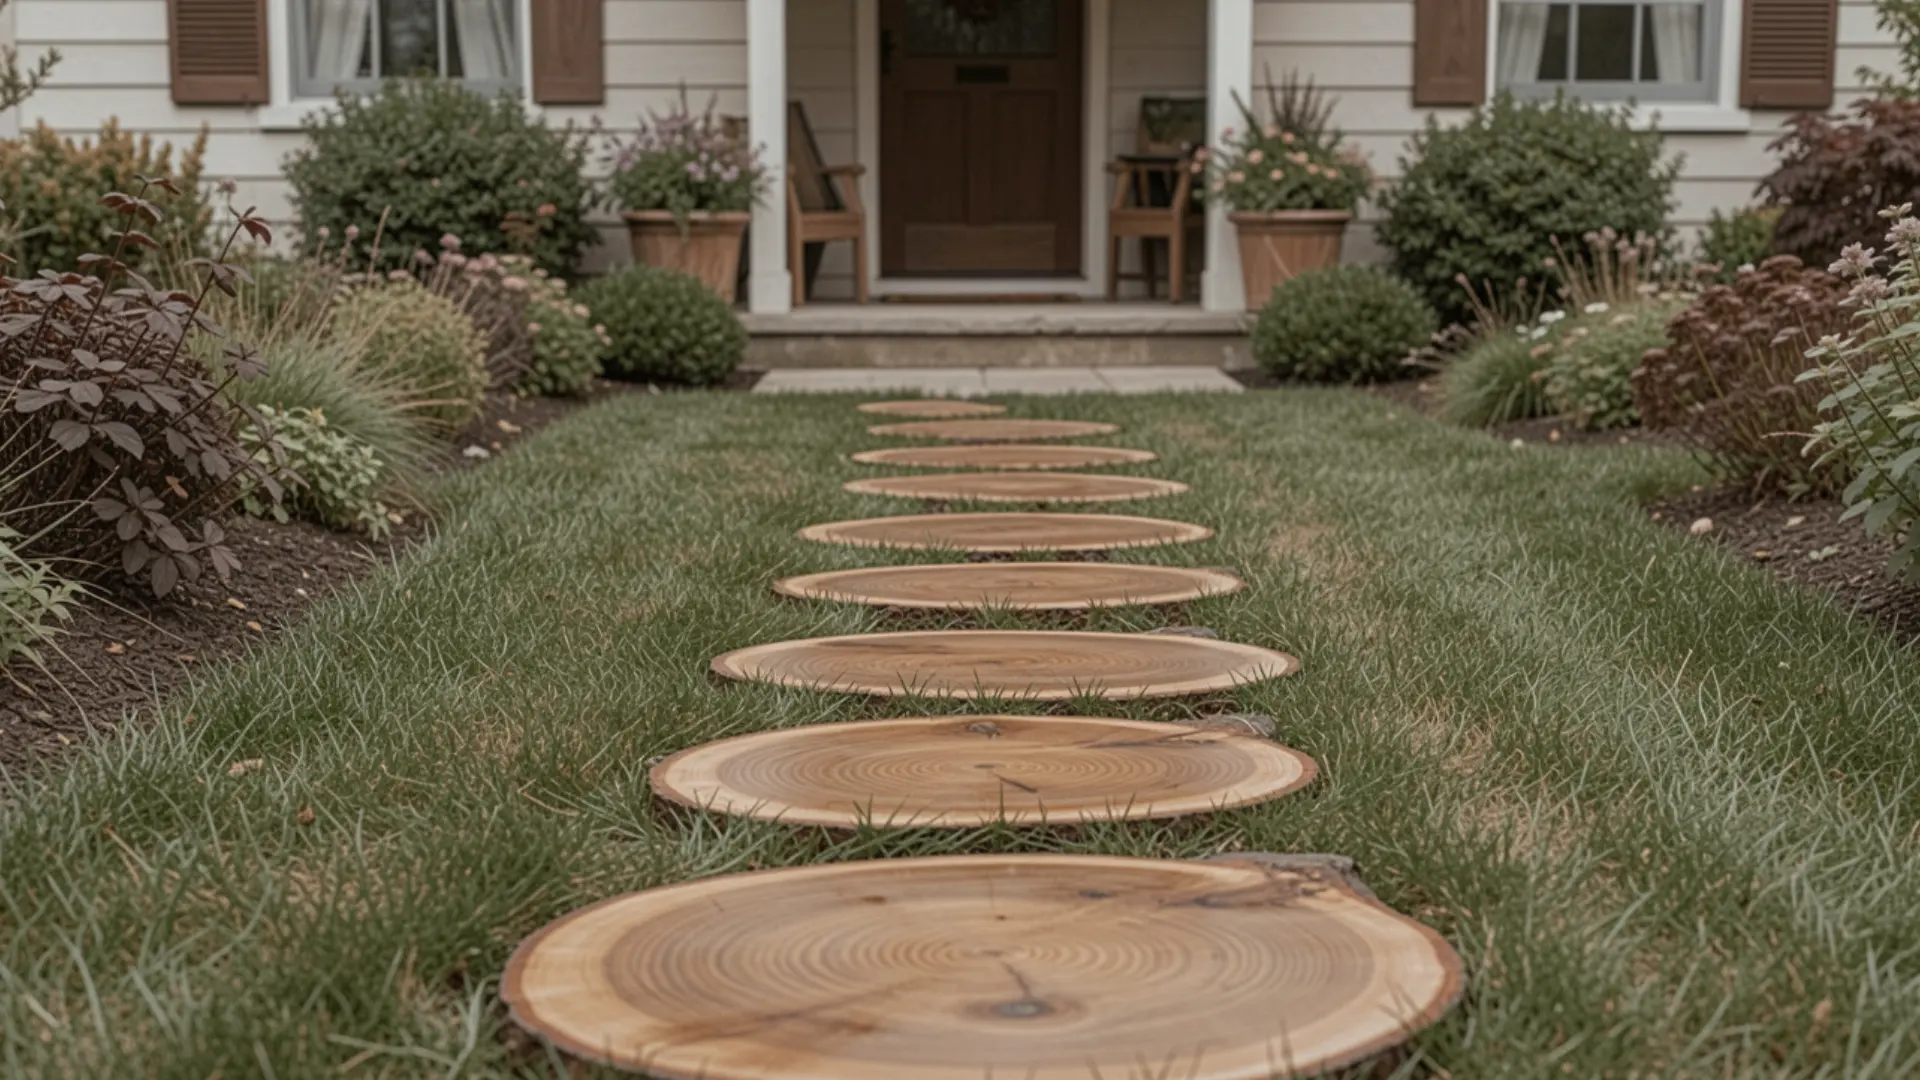
Cut thick cross-sections from a tree trunk and seal them well before placing them in the ground.
Lay them as stepping stones through a garden bed or across a lawn. The natural wood grain and round shape add a rustic charm that stone alone simply cannot match.
Always seal wood slices with outdoor-grade sealant. Unsealed wood rots quickly when it stays in contact with soil and moisture.
17. Colored Stone Path
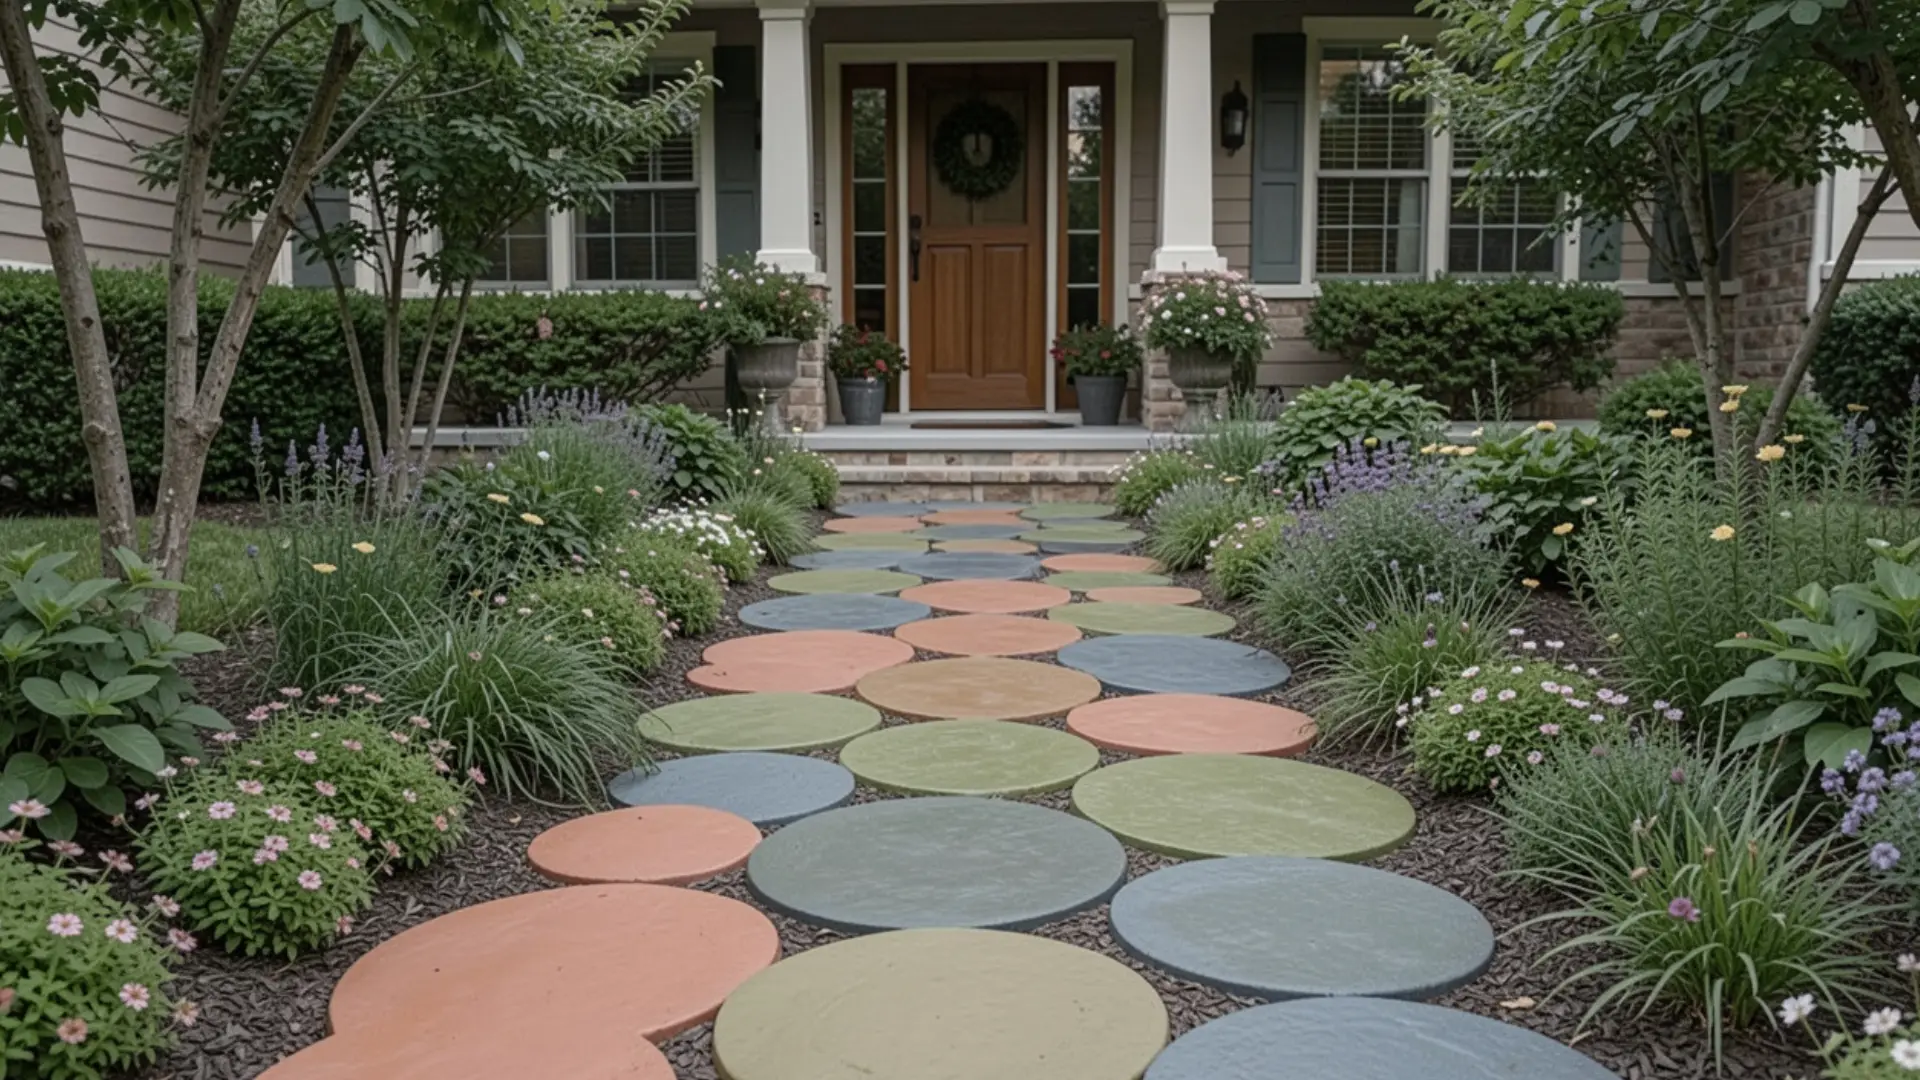
Choose stepping stones in standout colors, such as terracotta, slate blue, or mossy green, to give your path real personality.
Pull the color from nearby flowers or garden accessories to keep the look cohesive.
A few large, colorful, round discs go a long way toward giving both form and function to the stepping-stone walkway.
Steps to Make Your Own Walkway
Knowing how to build your own walkway opens up a whole world of creative possibilities.
You are no longer limited to what you can buy at a store. You can pick your own materials and build something that fits your yard perfectly.
But first, let’s get into the supplies that you’ll need for it.
- Shovel
- Rubber mallet
- Measuring tape
- Level
- Garden rake
- Landscape fabric
- Sand or gravel bag
If the idea of making a walkway sounds too overwhelming to you, then don’t worry. All it needs is patience and a few easy steps.
Plan Your Path
Start by deciding where your path will go. Use a garden hose or rope to mark the route on the ground.
Walk along it a few times to make sure the spacing and direction feel natural and comfortable for everyday use.
Dig and Prepare the Ground
Use a shovel to dig about 3 to 4 inches deep along your marked path. Remove all grass, roots, and loose soil as you go.
Lay Your Base Material
Pour a layer of sand or fine gravel into the dug-out area, and spread it evenly using a garden rake, and check that it is level across the whole path.
This base layer keeps your stones stable.
Place Your Stepping Stones
Set your stones one by one onto the base layer, spacing them about 18 to 24 inches apart, center to center.
Press each stone down firmly and use a level to avoid wobbling.
Fill the Gaps and Finish
Fill the spaces between your stones with gravel, mulch, moss, or sand, whichever suits your style best.
At last, press the filler material down firmly around each stone.
Final Thoughts
After reading all the way through, you must know that building a walkway is easier than most people think.
You don’t need a big budget or a professional to get started.
With a few simple tools and the right stepping stone walkway ideas, you can completely change how your yard looks and feels.
Don’t be afraid to mix materials, try bold colors, or go with an irregular layout.
Have fun, go with experimentation that suits your personality, grab a shovel, and give it a go.
Frequently Asked Questions (FAQs)
1. What Lasts Longer, Concrete or Pavers?
Pavers last longer. They handle freeze-thaw cycles better than concrete and are easier to replace if one cracks or shifts.
2. What Can I Use Instead of Stepping Stones?
You can use reclaimed bricks, wood slices, gravel, mulch, or old tiles. All work well as budget-friendly path materials.
3. Will Water Drain Through Gravel?
Yes. Gravel drains water quickly and naturally. That’s why it makes such a good base layer under stepping stones.