Making a charcuterie board looks harder than it is. All those neatly arranged meats, cheeses, and tiny jam jars look intimidating, no doubt.
But honestly, anyone can pull this off at home. No cooking. No special skills needed. Just good ingredients and a simple plan.
Plenty of boards have been put together for small dinners and big holiday parties, and the same basic approach works every time.
This blog covers exactly how to make it from scratch, what goes on it, how much to buy, how to arrange everything, and the small tricks that make it look like hours went into it. Let’s build something worth talking about
What is a Charcuterie Board?
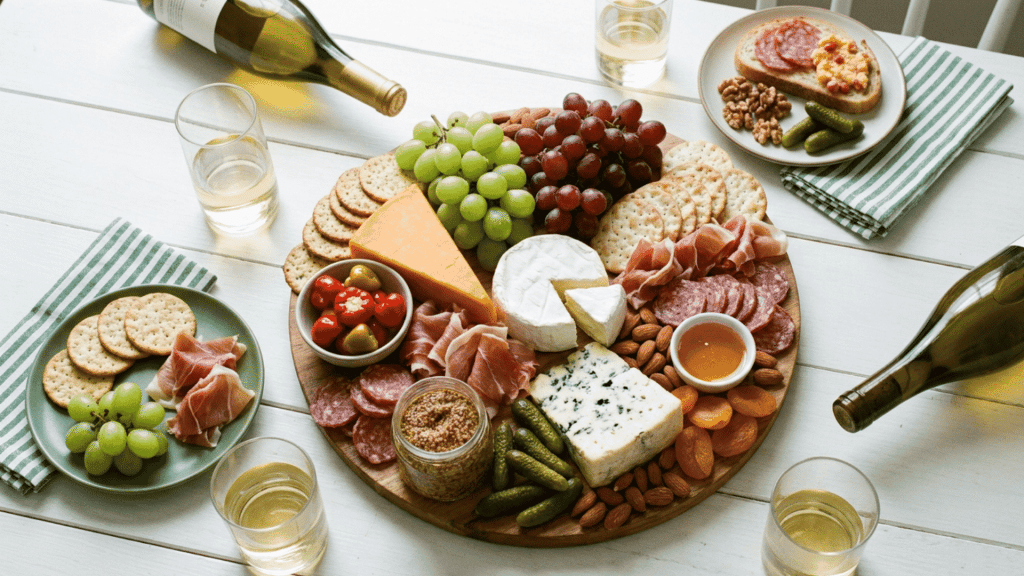
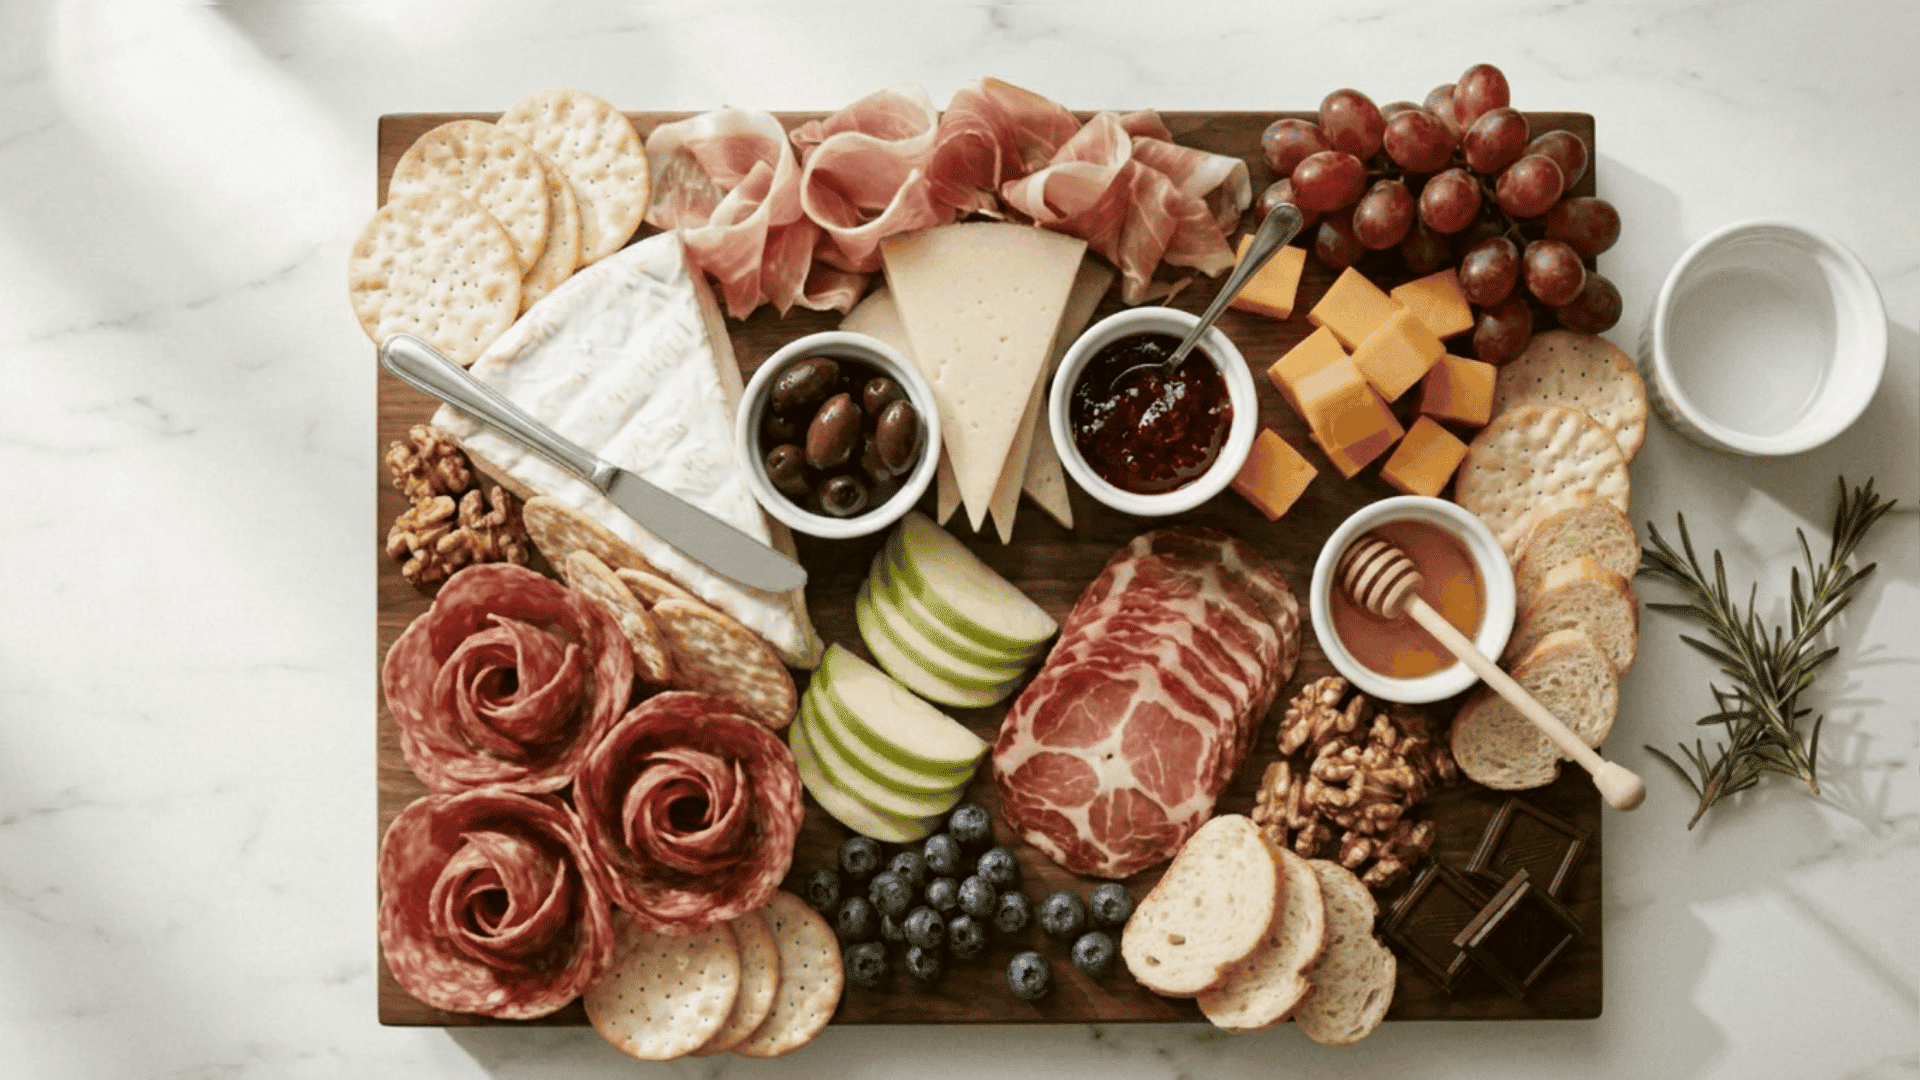
A charcuterie board is an arranged platter of cured meats, cheeses, and accompaniments like crackers, fruits, nuts, and spreads.
Pronounced “shar-koo-ter-ee,” it is built for grazing and works equally well as a party appetizer or a casual snack spread.
A well-rounded board balances flavors sweet, salty, savory, and textures crunchy, creamy, chewy across five core elements: meats, cheeses, carbs, produce, and accompaniments like honey, jams, and nuts.
They are low-stress for hosts. Everything goes on the board ahead of time, guests serve themselves, and the variety means there is always something for everyone.
There are no strict rules; either boards scale up or down depending on the crowd.
That combination of good food, easy prep, and crowd appeal is exactly why they show up at everything from casual game nights to holiday tables.
What Do You Need to Make a Charcuterie Board?
The perfect one balances rich, savory, and sweet flavors across five key categories:
1. Cheeses
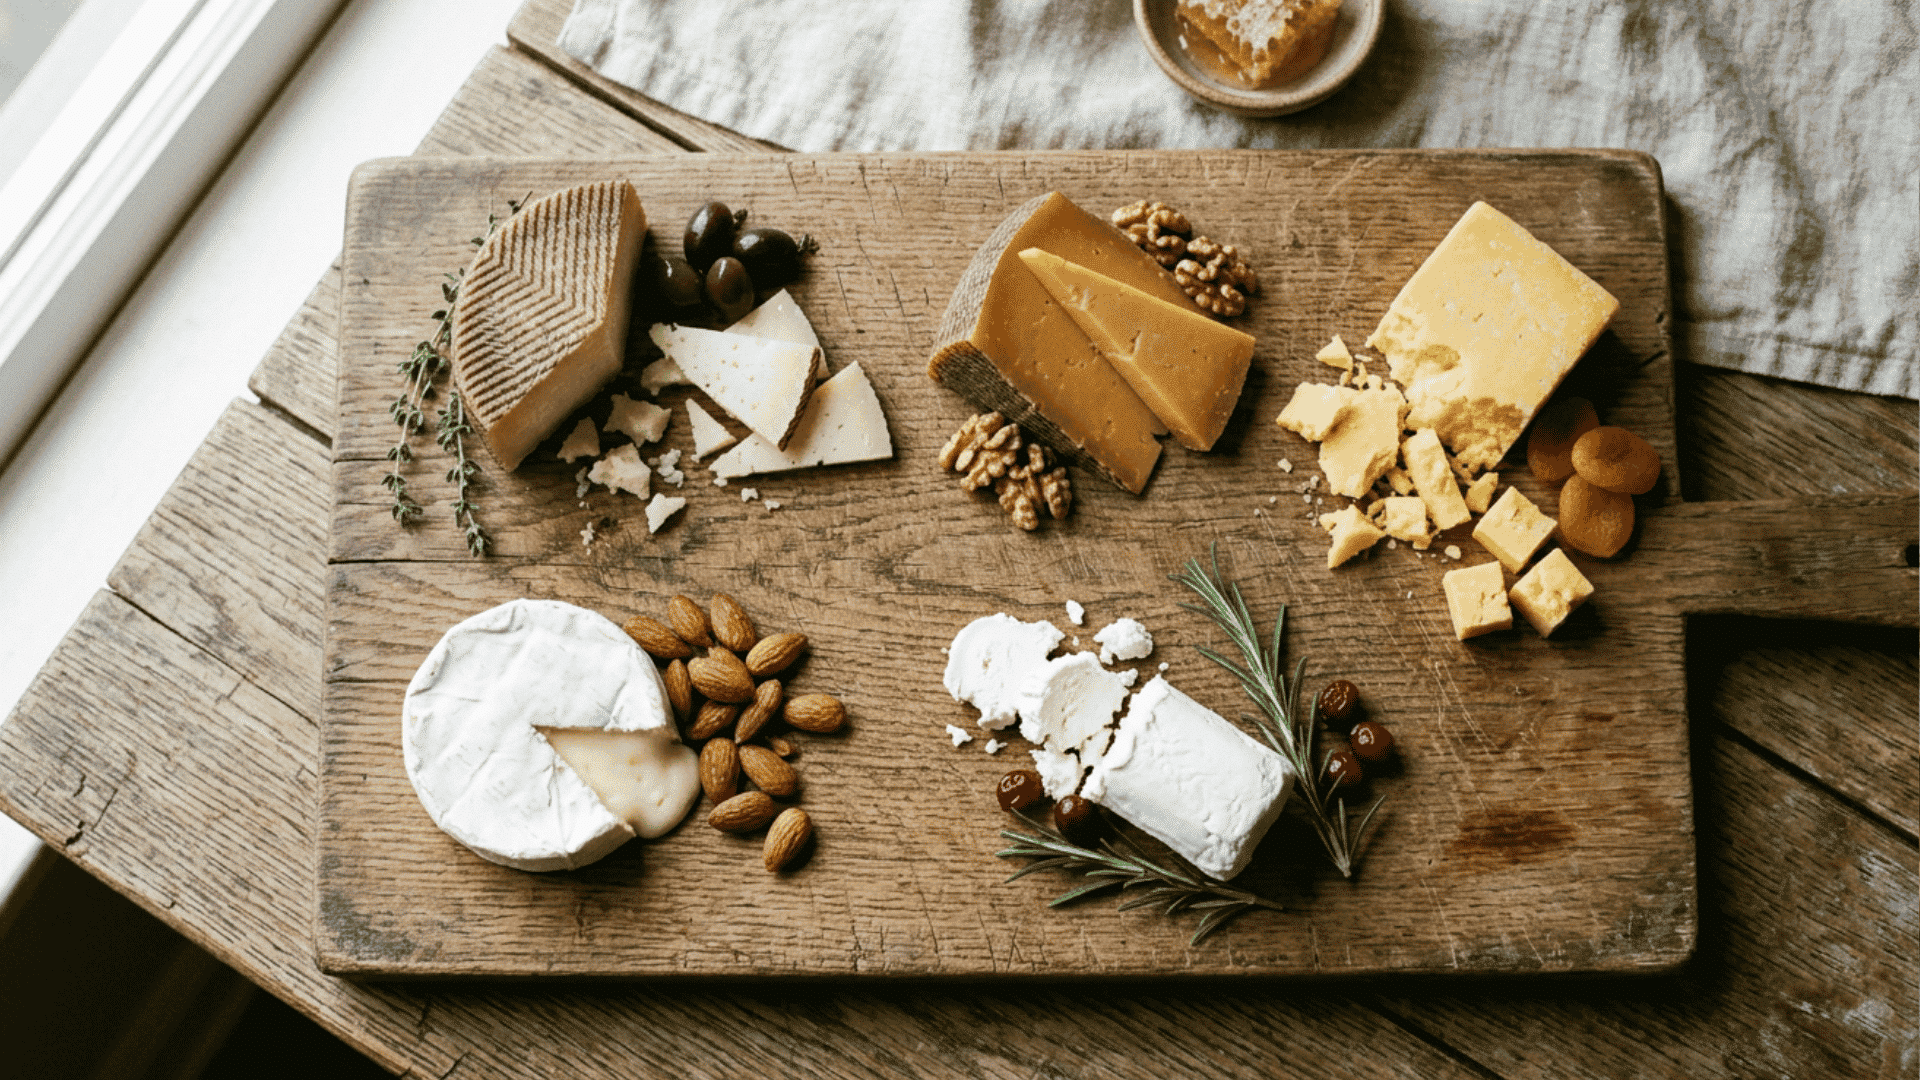
A good board needs at least two or three types of cheese. Mix soft and hard options for variety.
| Cheese | Best Paired With |
|---|---|
| Brie | Honey, sliced pears |
| Goat cheese | Fresh berries, walnuts |
| Cheddar | Apple slices, salami |
| Manchego | Almonds, fig jam |
| Gouda | Mustard, dried apricots |
| Swiss cheese dip | Pretzels, crackers, apple slices |
Pro Tip: Group cheeses in small clusters so the board looks full.
2. Meats
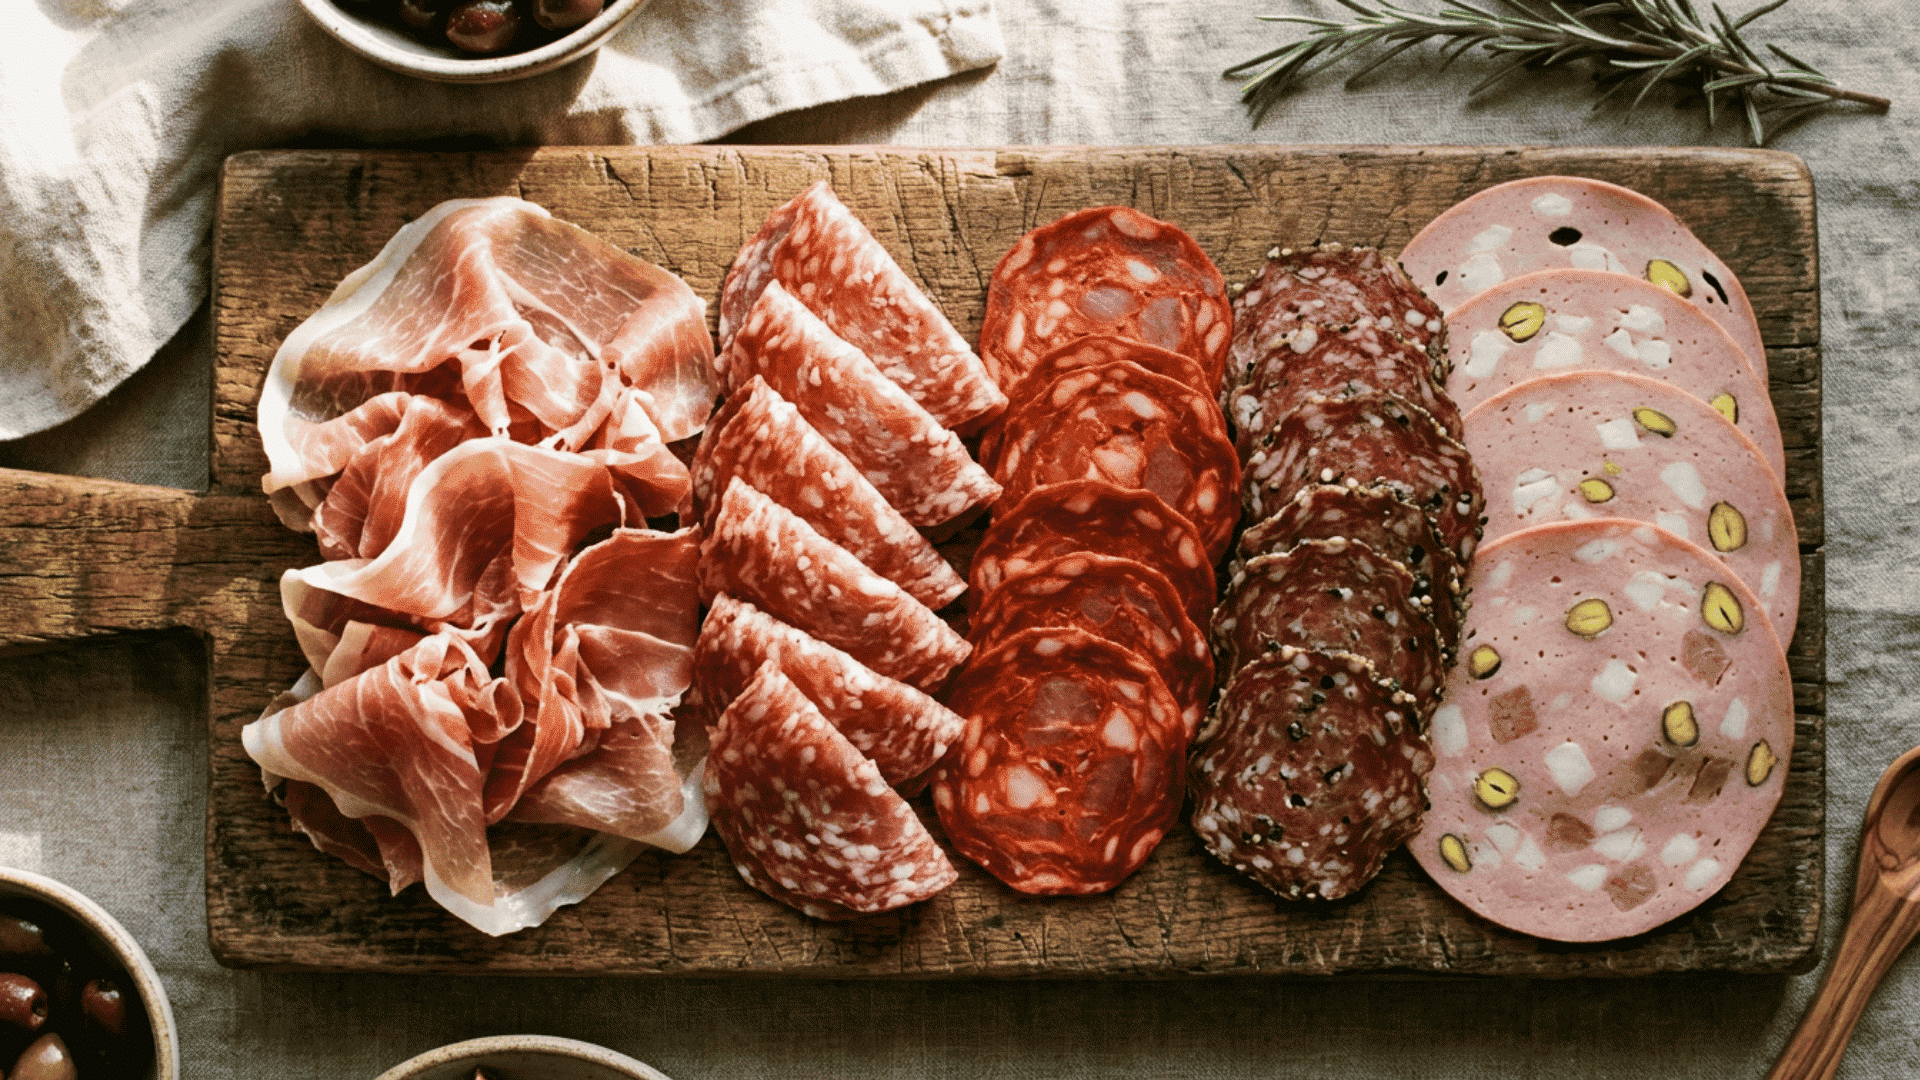
Choose a mix of mild and bold cured meats. Variety keeps every bite interesting. Fan or fold slices to make the board look full and generous.
- Prosciutto: Light and silky, pairs well with melon or brie
- Salami: Savory and firm, great with crackers and sharp cheese
- Chorizo: Smoky and spicy, balances well with mild spreads
- Mortadella: Soft and rich, pairs nicely with pistachios
3. Carbs
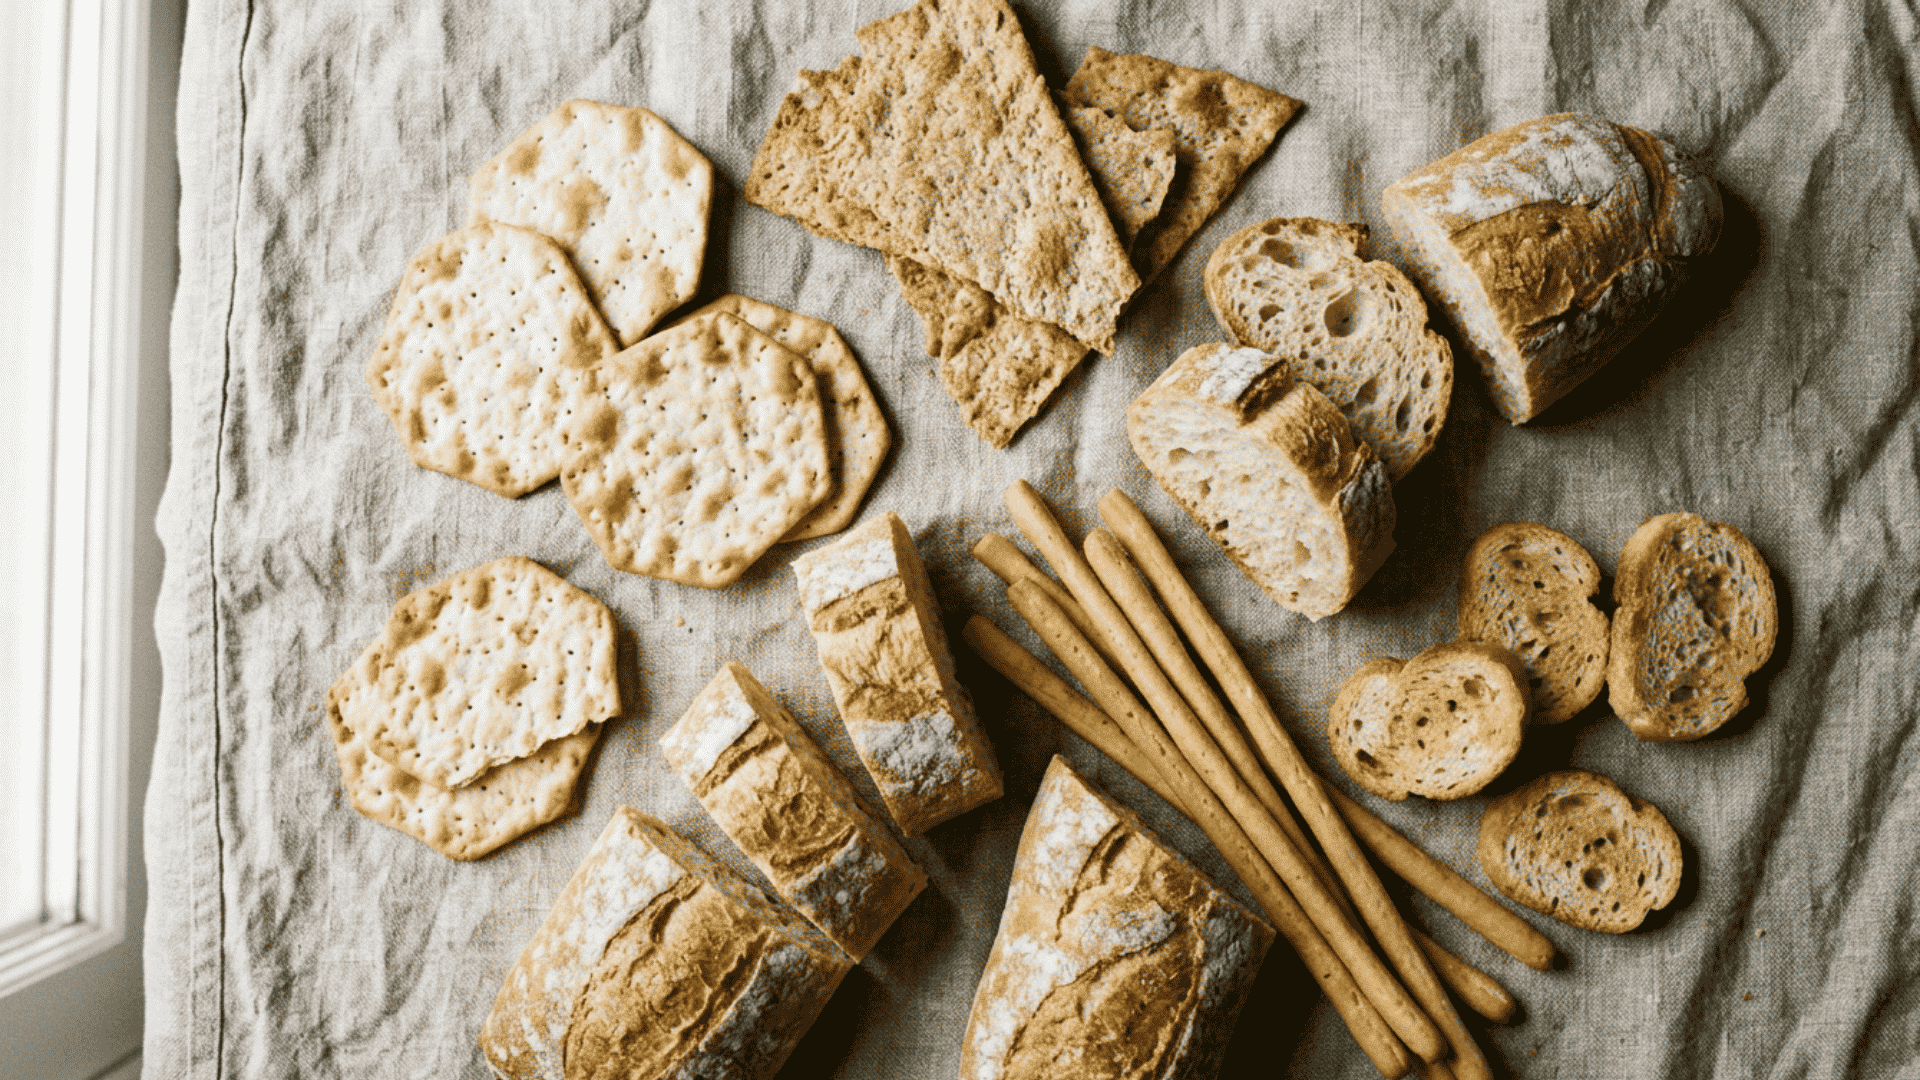
Carbs give guests a neutral base for building each bite. Mix shapes and sizes for visual appeal.
Water crackers, flatbreads, sliced baguettes, breadsticks, and crostini all work well. They hold soft cheeses and carry sliced meats without overpowering the flavor.
Adding two or three carb types keeps the board from looking flat and gives guests more options to pick from.
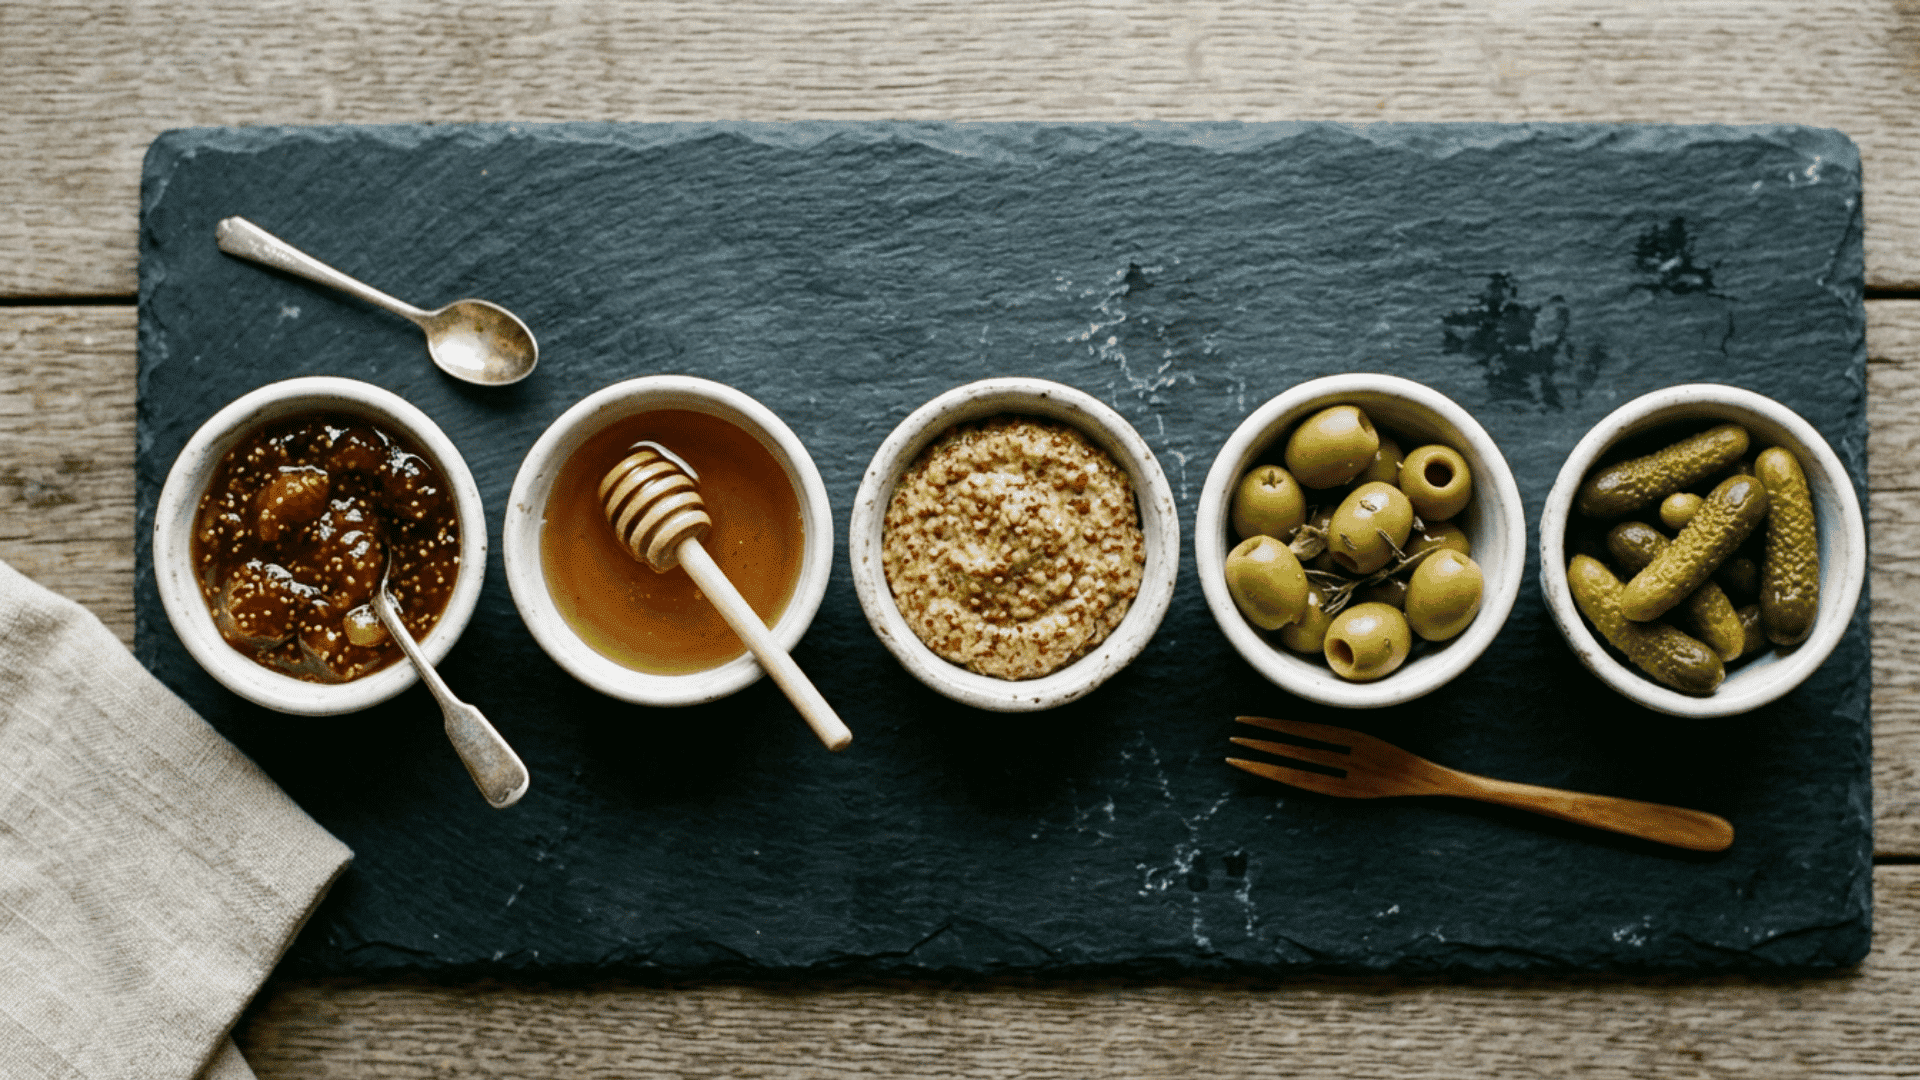
4. Spreads and Briny Bites
| Type | Examples | Why It Works |
|---|---|---|
| Sweet spreads | Fig jam, honey | Pairs with creamy cheeses |
| Savory spreads | Whole-grain mustard | Cuts through rich meats |
| Briny bites | Olives, cornichons | Adds contrast and tang |
Serve spreads in small ramekins to keep the board tidy. Briny items placed near meats tie the whole board together.
5. Fruits and Nuts
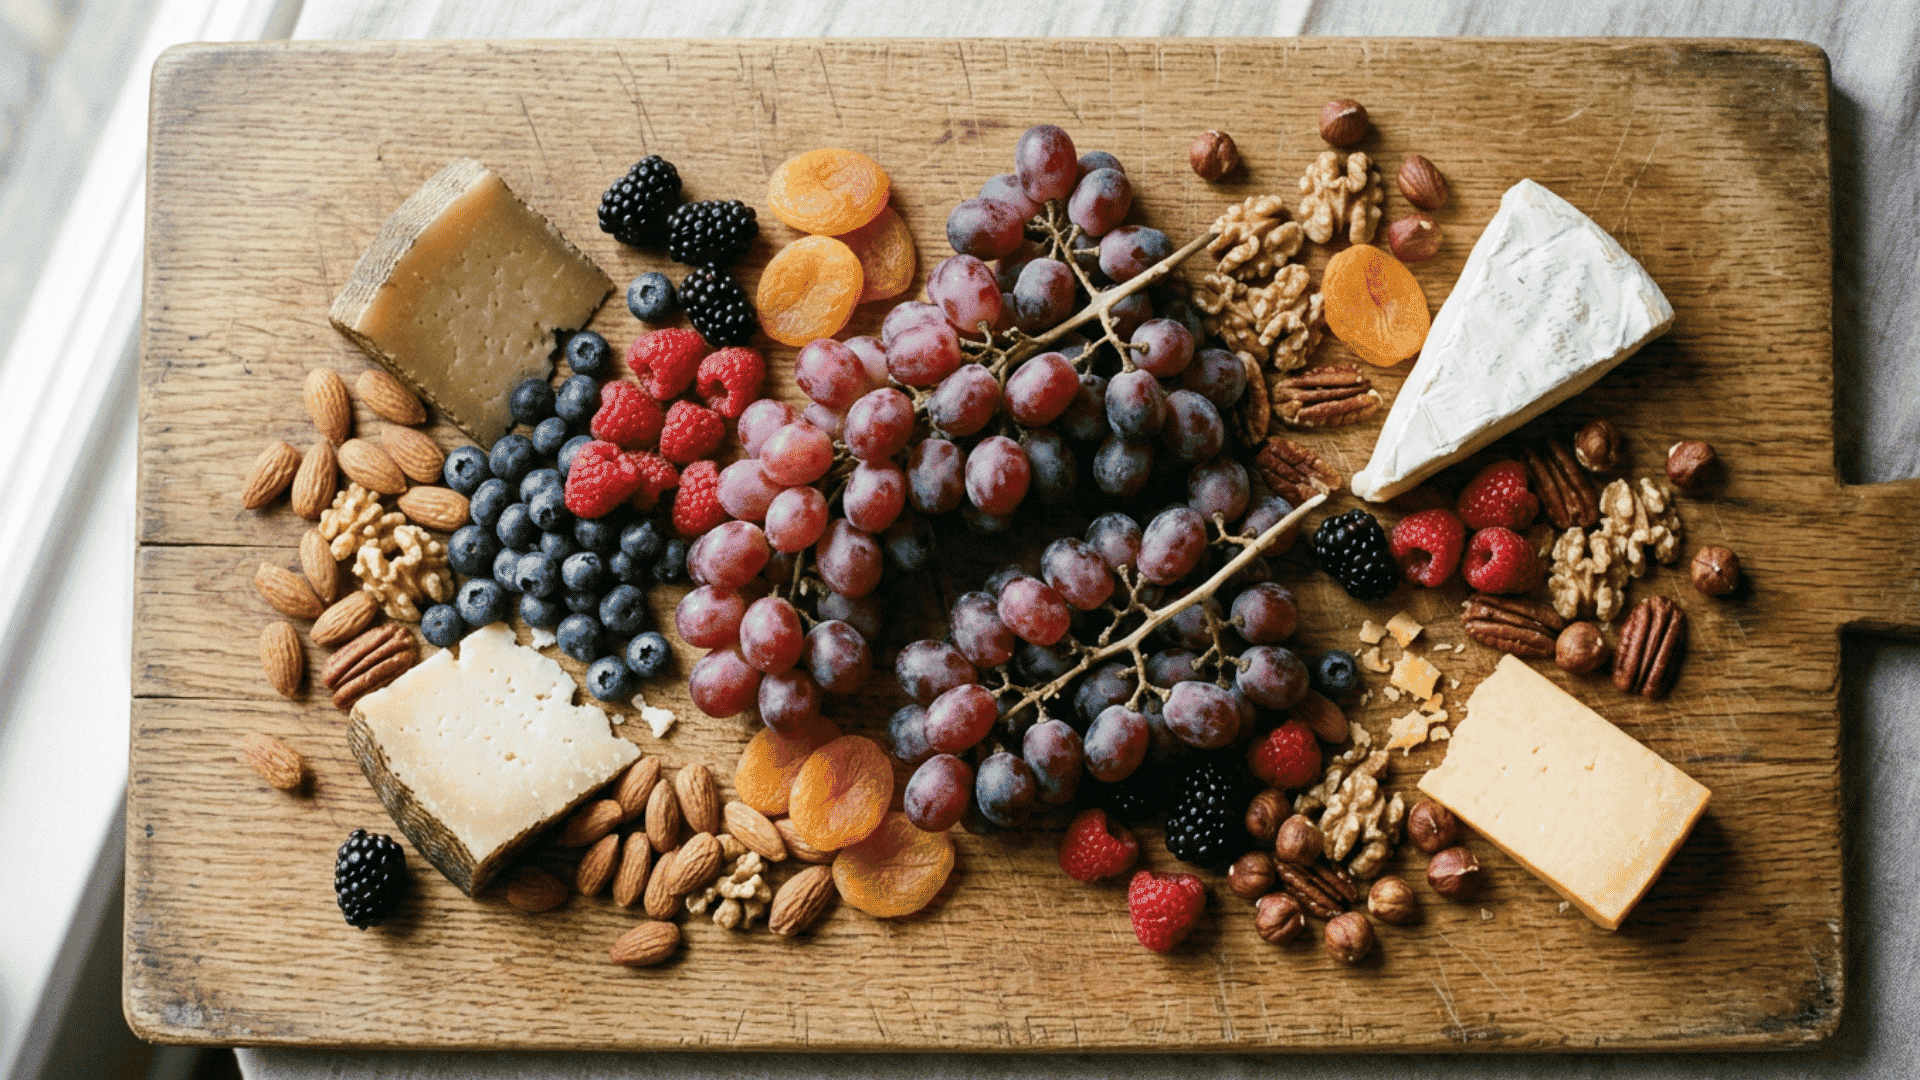
Fresh and dried options add color, crunch, and sweetness to open gaps on the board. Seasonal fruit keeps the board tasting fresh throughout the year.
- Fresh grapes: Easy to grab, pairs with most cheeses
- Berries: Add color and a tart bite
- Dried apricots: Sweet and chewy, great with aged cheese
- Mixed nuts: Add crunch and pair well with meats and spreads
How to Make a Charcuterie Board Step by Step
Making a charcuterie board is simpler than it looks and can impress any crowd with a beautiful, flavorful spread.
Step 1: Choose Your Base
Pick a flat surface: a wooden board, rimmed baking sheet, or serving platter.
A rimmed edge keeps items from rolling off. Lay it on a stable surface and make sure there is enough room for all the cheeses, meats, fruits, nuts, and crackers before adding anything.
Choose a size that fits your guest count; a small board works for four people, a larger one for eight or more.
Step 2: Add the Cheeses
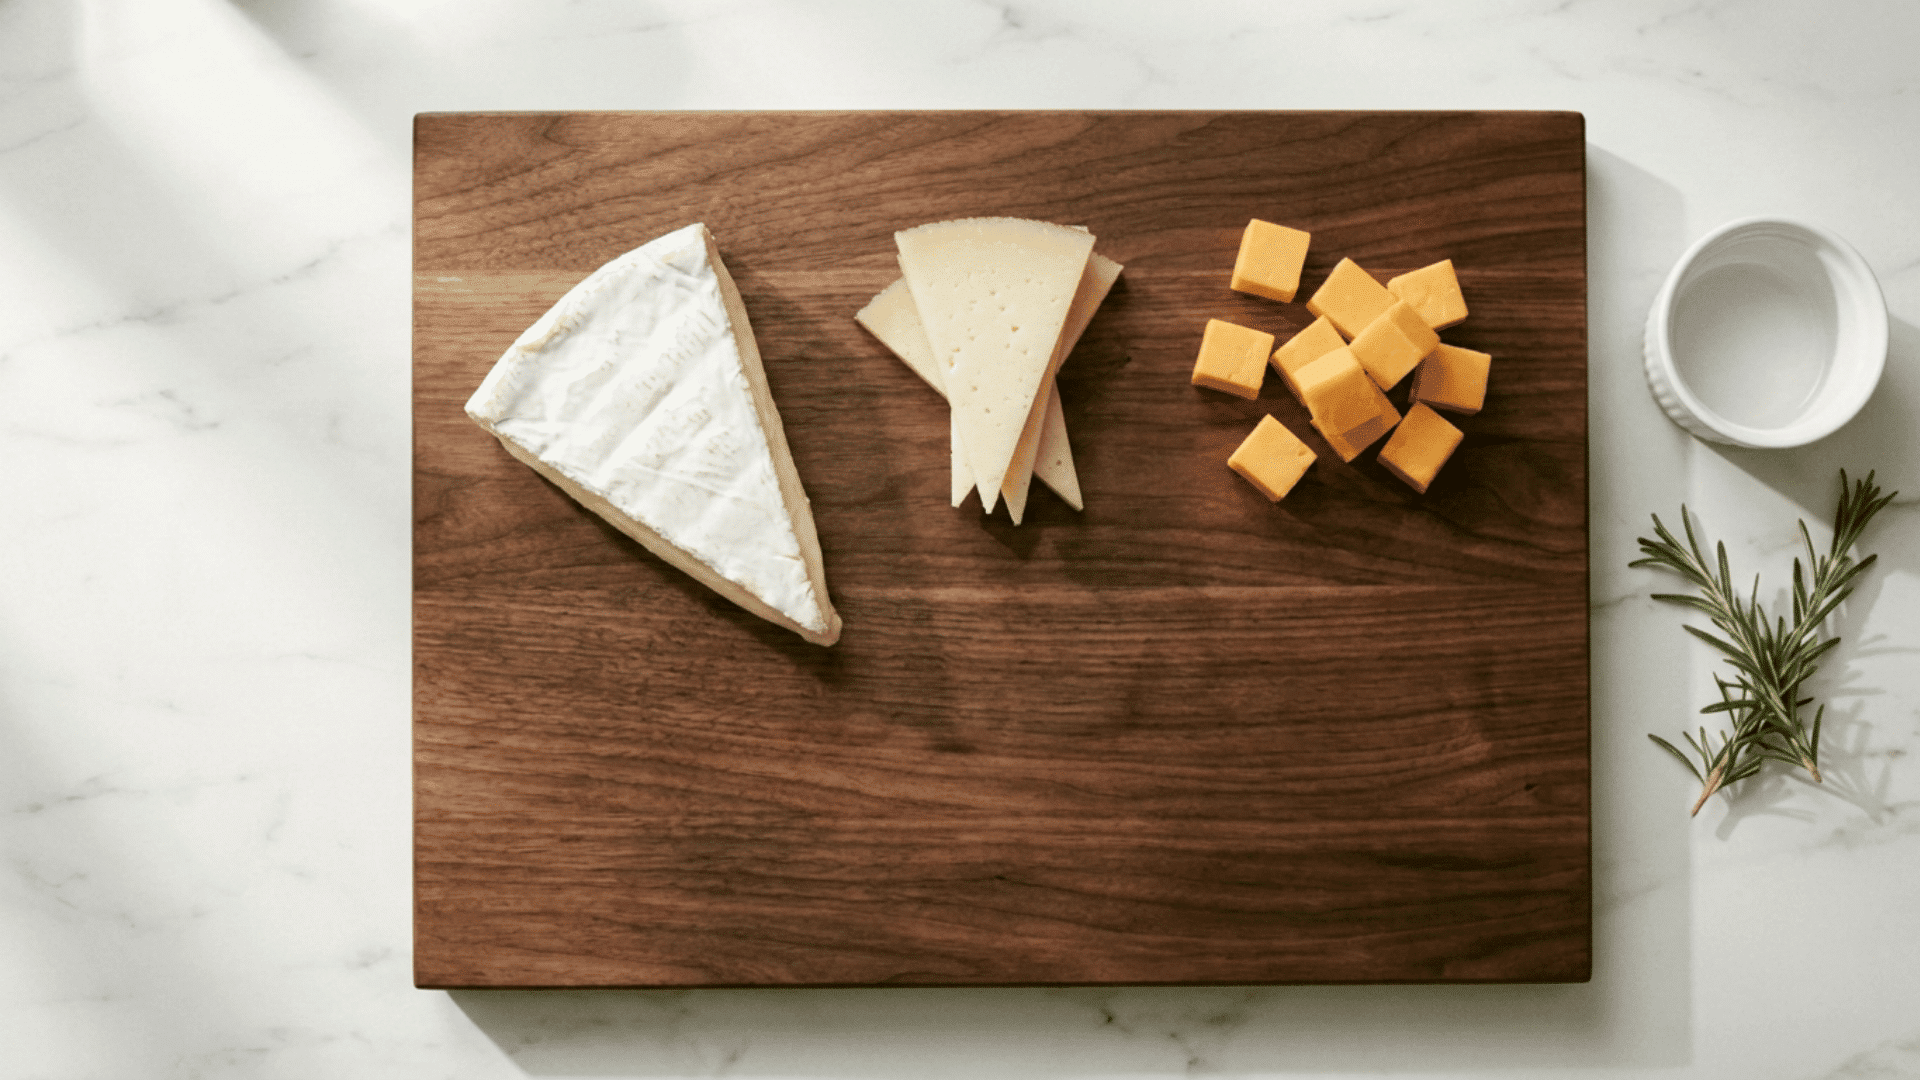
Start with cheeses before anything else. Mix hard varieties like Manchego and Cheddar with soft options like Brie and triple-cream.
Cut hard cheeses into triangles or cubes. Leave soft cheeses whole or slightly sliced for easy serving.
Arrange them in odd numbers; three or five pieces per variety tend to look the most natural and well-spaced on the board.
Step 3: Arrange the Meats
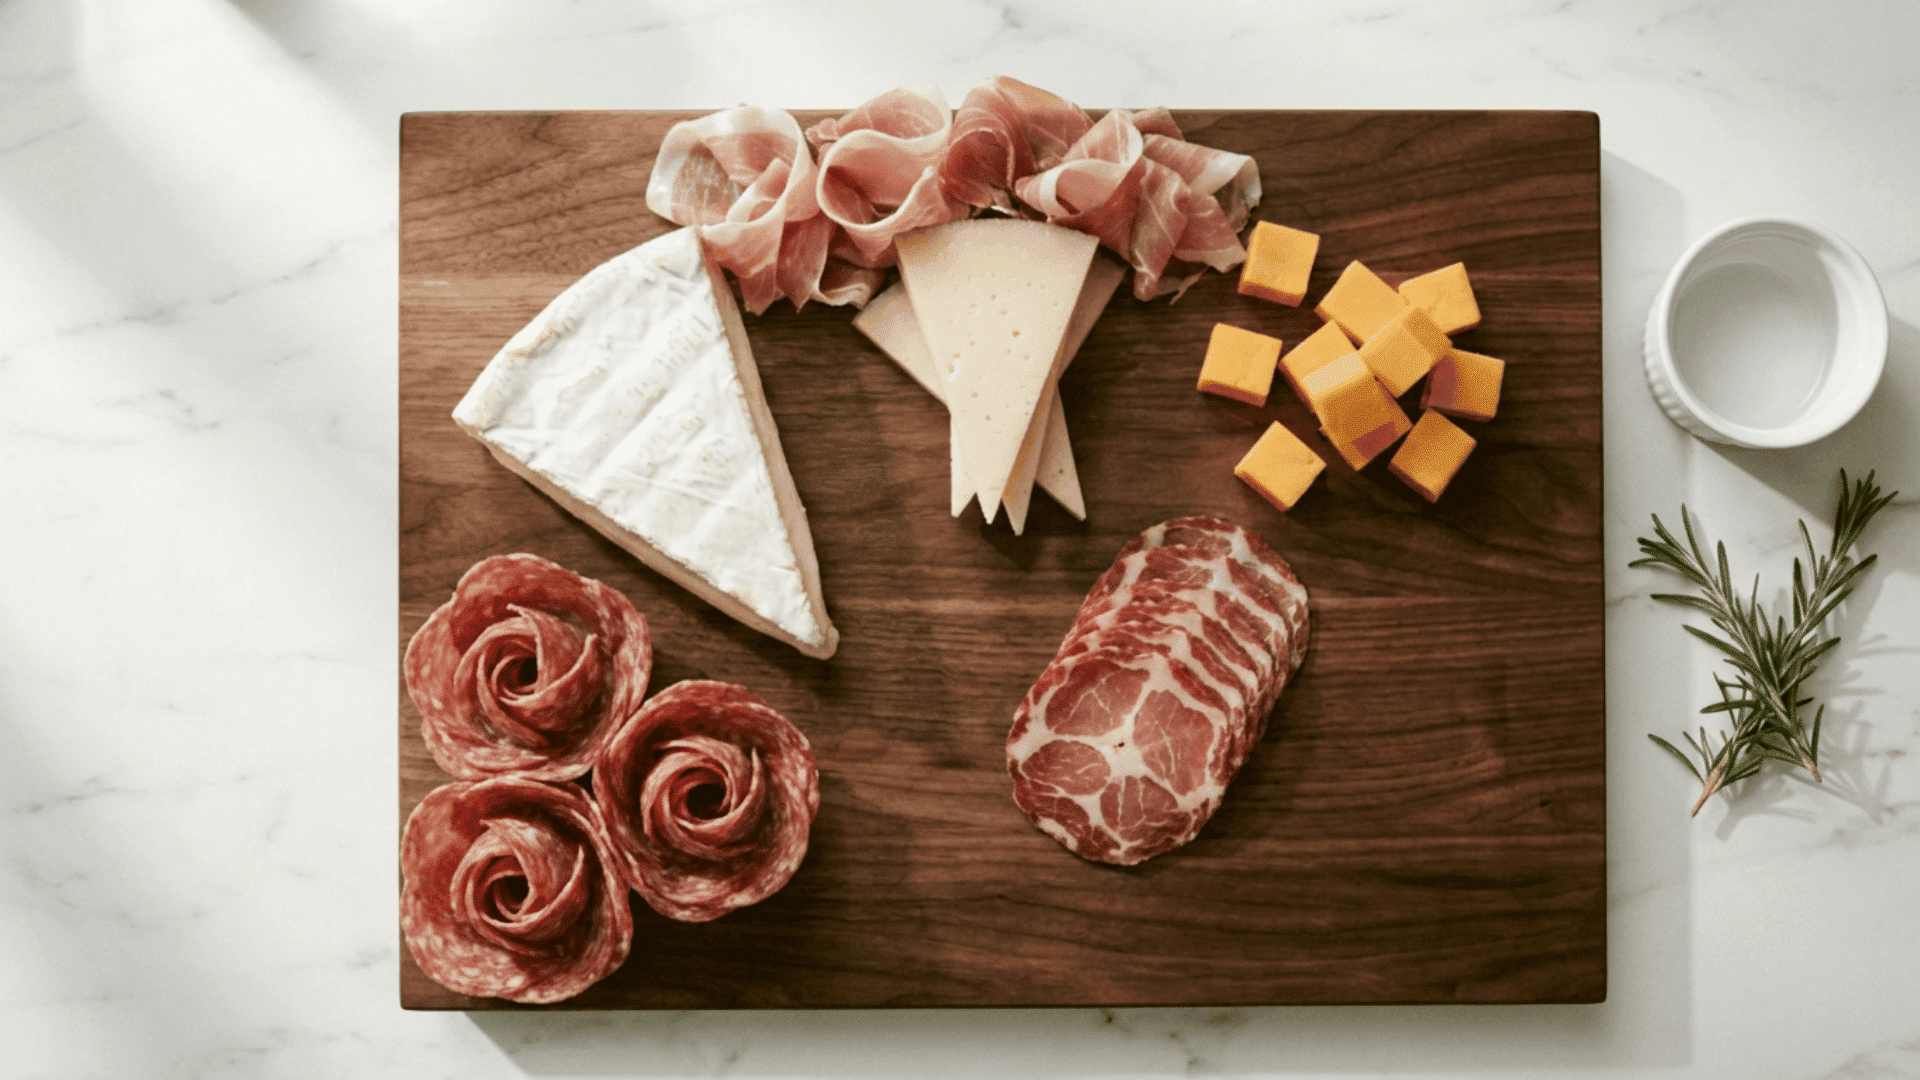
Pick three cured meats: salami, prosciutto, and coppa work well together.
Fold slices into ribbons, tulip shapes, or deck-of-cards stacks for visual interest. Place larger cuts near the edges and lighter, airy folds toward the center.
Spread each meat variety across two or three different spots so the board looks balanced rather than grouped by type.
Step 4: Add the Accouterments
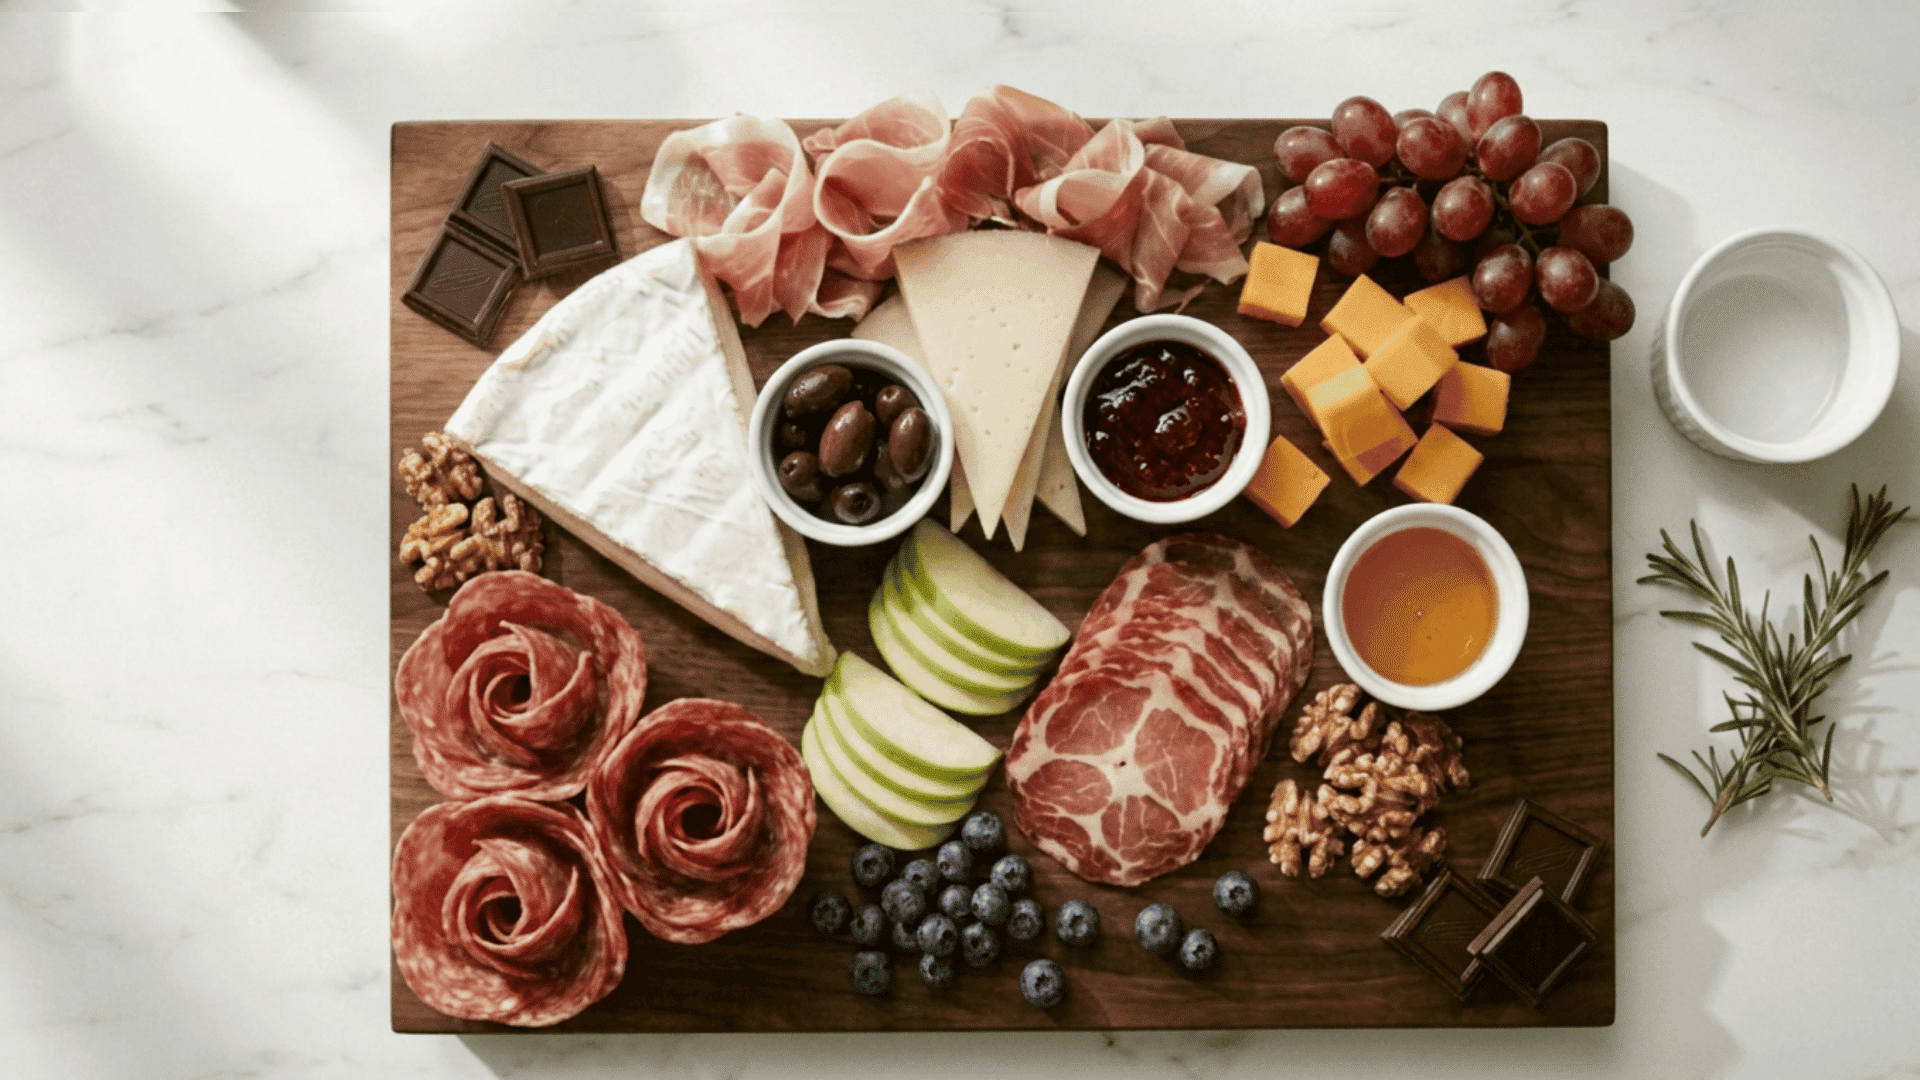
Place small ramekins of olives, jams, and honey between the meats and cheeses.
Pair flavors with purpose: honey pairs best with brie, fruit spreads with sharp cheese.
Scatter grapes, berries, and sliced apples for color. Finish with nuts and a few pieces of dark chocolate to fill remaining gaps and round out the flavors.
Step 5: Finish With Crackers and Serving Tools
Add crackers, toasted baguette slices, or gluten-free alternatives last so they stay crisp.
Place them within easy reach of the cheeses and meats. Set out cheese knives, small spoons, and mini forks before guests arrive.
Pre-slice soft cheeses slightly so guests can serve themselves without making a mess or waiting around for a knife.
Best Drinks to Pair with Your Charcuterie Board

The right drink cuts through rich meats and cheeses, keeping every bite tasting fresh. See what works well:
- Crisp whites and dry rosé: Sauvignon Blanc, Pinot Grigio, and dry rosé work well with light cheeses, pickles, and cured meats like prosciutto.
- Bold reds: Cabernet Sauvignon and Malbec hold up well against sharp aged cheddars and salty blue cheeses.
- Bubbly: Champagne or Prosecco cuts through the creaminess of cheeses like Brie and Camembert.
- Beer and cider: IPAs pair well with spicy meats and smoked Gouda. Dry cider works with nutty cheeses like Gruyère.
- Cocktails: A Negroni, Sangria or Old Fashioned mirrors the depth of aged cheeses and softens spicy meats.
- Non-alcoholic: Ginger beer, herbal mocktails, or cucumber-infused water all clean the palate without overpowering the board.
Tips for Making a Charcuterie Board Look Great
A great-looking charcuterie board comes down to three things: smart placement, color contrast, and the right finishing touches.
1. Start with anchor bowls and work outward: Place small ramekins for olives, jams, and dips at opposite corners first. Then the fan cheeses in different shapes, cubes, wedges, and triangles around the bowls.
2. Play with color and texture: Alternate light and dark ingredients, pale brie next to red strawberries, green grapes beside purple olives. Mix smooth spreads with crunchy crackers, aged cheese with soft, creamy brie.
3. Pack the board tight: The secret to a great-looking board is the spill effect. Ingredients should touch each other. Empty space makes a board look sparse and unfinished.
4. Finish with the small details: Fill gaps with Marcona almonds, dried apricots, or fresh rosemary sprigs. Keep dry crackers away from moist fruits and briny items. Lay out mall serving spoons before guests arrive.
Common Mistakes to Avoid
Even a well-stocked board can fall flat with a few easy-to-miss slip-ups.
- Leave breathing room between ingredients. Cramming every inch makes the board look chaotic and hard to pick from.
- Take cheese out 30 to 45 minutes before serving. Cold temperatures mute the flavor and make spreading harder.
- Place anchor bowls first. Skipping this step leaves the board with no clear layout or flow.
- Add at least one crunchy element beyond crackers. Toasted nuts or raw vegetables stop the board from feeling one-note.
- Give every dip its own spoon and every cheese its own knife. One shared utensil creates a mess fast.
Conclusion
Making it is simpler than most people think. Pick your meats, grab a couple of cheeses, add some crackers and a few extras, and the whole thing comes together in under 30 minutes.
A well-built board sets the mood for any gathering. It gives guests something to snack on, something to talk about, and a reason to linger a little longer.
Now you have everything you need to make one with confidence.
Start small, trust the process, and build from there. Check out our post on charcuterie board ideas for themed variations to try next!
Frequently Asked Questions
What is the 3-3-3 Rule for Charcuterie Boards?
The 3-3-3 rule states: choose 3 types of meat, 3 cheeses, 3 accompaniments, and sometimes 3 starches for balance and visual appeal.
Is It Cheaper to Buy or Make a Charcuterie Board?
Making your own board is usually 30–50% cheaper than buying pre-made, though premade options save time and prevent overspending on bulk ingredients.
What Cheese to Avoid for Weight Loss?
Avoid ultra-processed cheeses like American and cream cheese, as well as high-fat soft cheeses such as Brie or triple-cream, as they are calorie-dense with little protein or satiety.