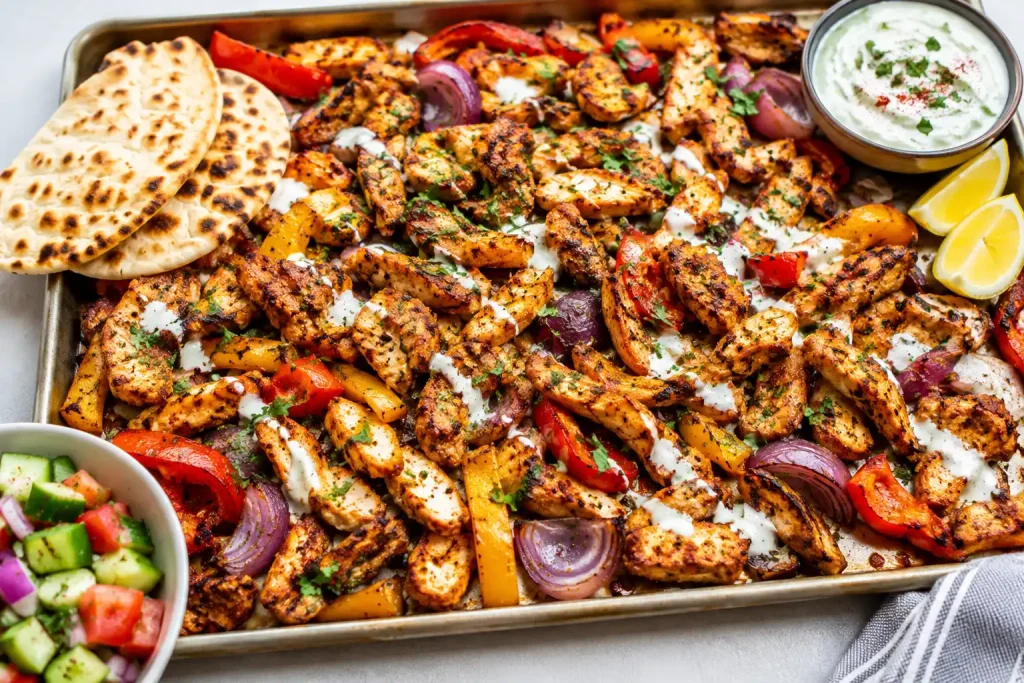
When there is little energy left for dinner, sheet pan chicken shawarma offers a practical solution. Marinated chicken, bell peppers, and onions roast together at high heat in just one pan.
Greek yogurt, lemon juice, garlic, cumin, coriander, and paprika create a deeply seasoned marinade.
The recipe requires some chopping, but once it hits the oven, your work is largely done. Serve with pita bread, rice, salad, or whatever you have handy.
The History of Shawarma
Shawarma grew out of a tradition among the Ottomans of shaving the meat from layered animal portions cooked on a vertical, rotating spit.
The dish began to gain popularity in the 19th century before reaching the Levant, where cooks further developed it with local seasonings, flatbread, pickled vegetables, tahini, and garlic sauce.
Shawarma itself is derived from a Turkish word that means “turning” or “rotation.”
It later expanded throughout the Middle East, where it was sold at street carts in Lebanon, Syria, Jordan, and Palestine, with versions being made with lamb, mutton, beef, veal, or chicken.
Lebanese immigrants also brought a similar rotisserie meat dish to Mexico, and a form of that dish was later adapted and influenced what became tacos al pastor.
Ingredients for Sheet Pan Chicken Shawarma
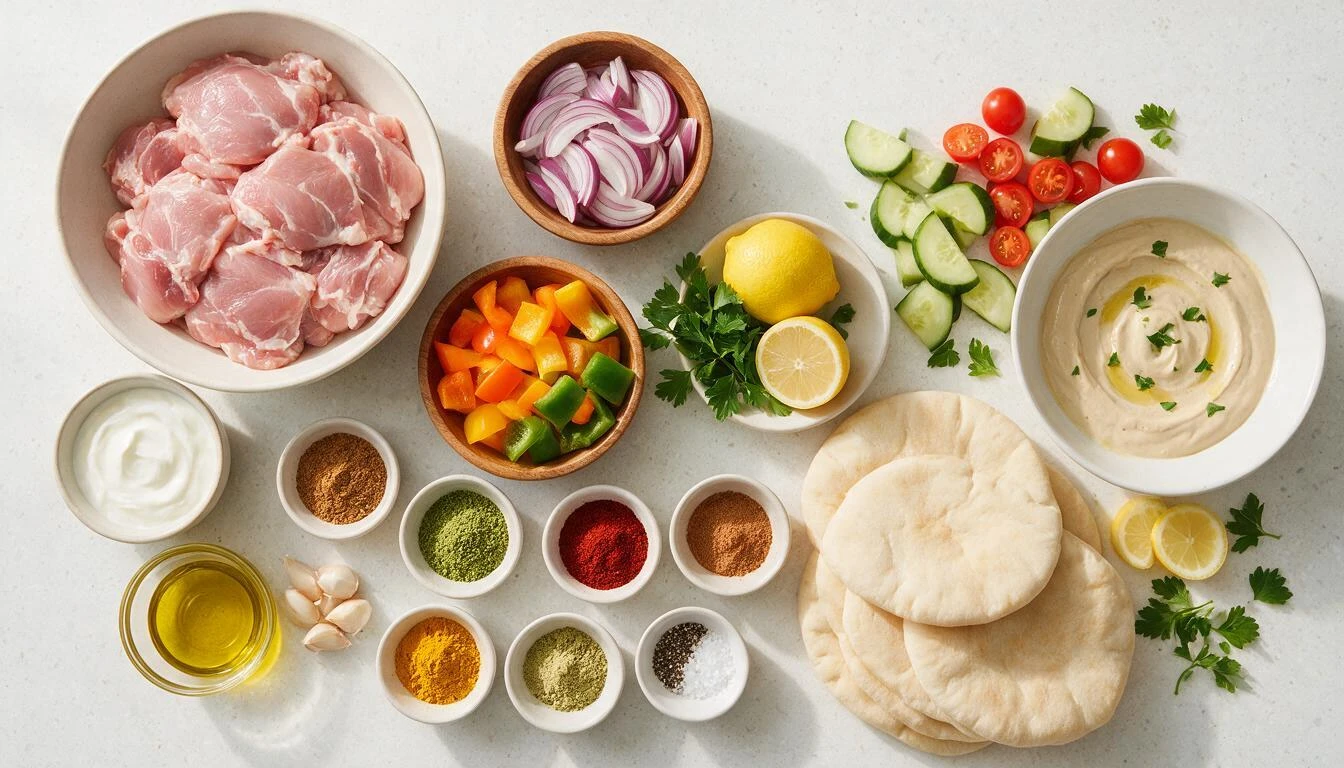
The following is everything needed for this dish, using familiar ingredients that are easy to find in most grocery stores and simple to prepare.
- Boneless, skinless chicken thighs (2 pounds)
- Extra virgin olive oil (4 tablespoons, divided, 3 tablespoons for the marinade, 1 tablespoon for the vegetables)
- Greek yogurt (¼ cup)
- Lemon juice (2 tablespoons)
- Garlic (4 cloves, minced)
- Ground cumin (2 teaspoons)
- Ground coriander (2 teaspoons)
- Smoked paprika (1½ teaspoons)
- Turmeric (½ teaspoon)
- Cinnamon (¼ teaspoon)
- Cardamom (¼ teaspoon)
- Black pepper ( ½ teaspoon)
- Salt (1 teaspoon)
- Red onion (1 large)
- Bell peppers (2)
- Chickpeas, optional (1 drained 15-ounce can)
For serving:
- Pita bread
- Chopped tomatoes and cucumbers.
- Tahini sauce or garlic sauce.
- Fresh parsley
How to Make Sheet Pan Chicken Shawarma
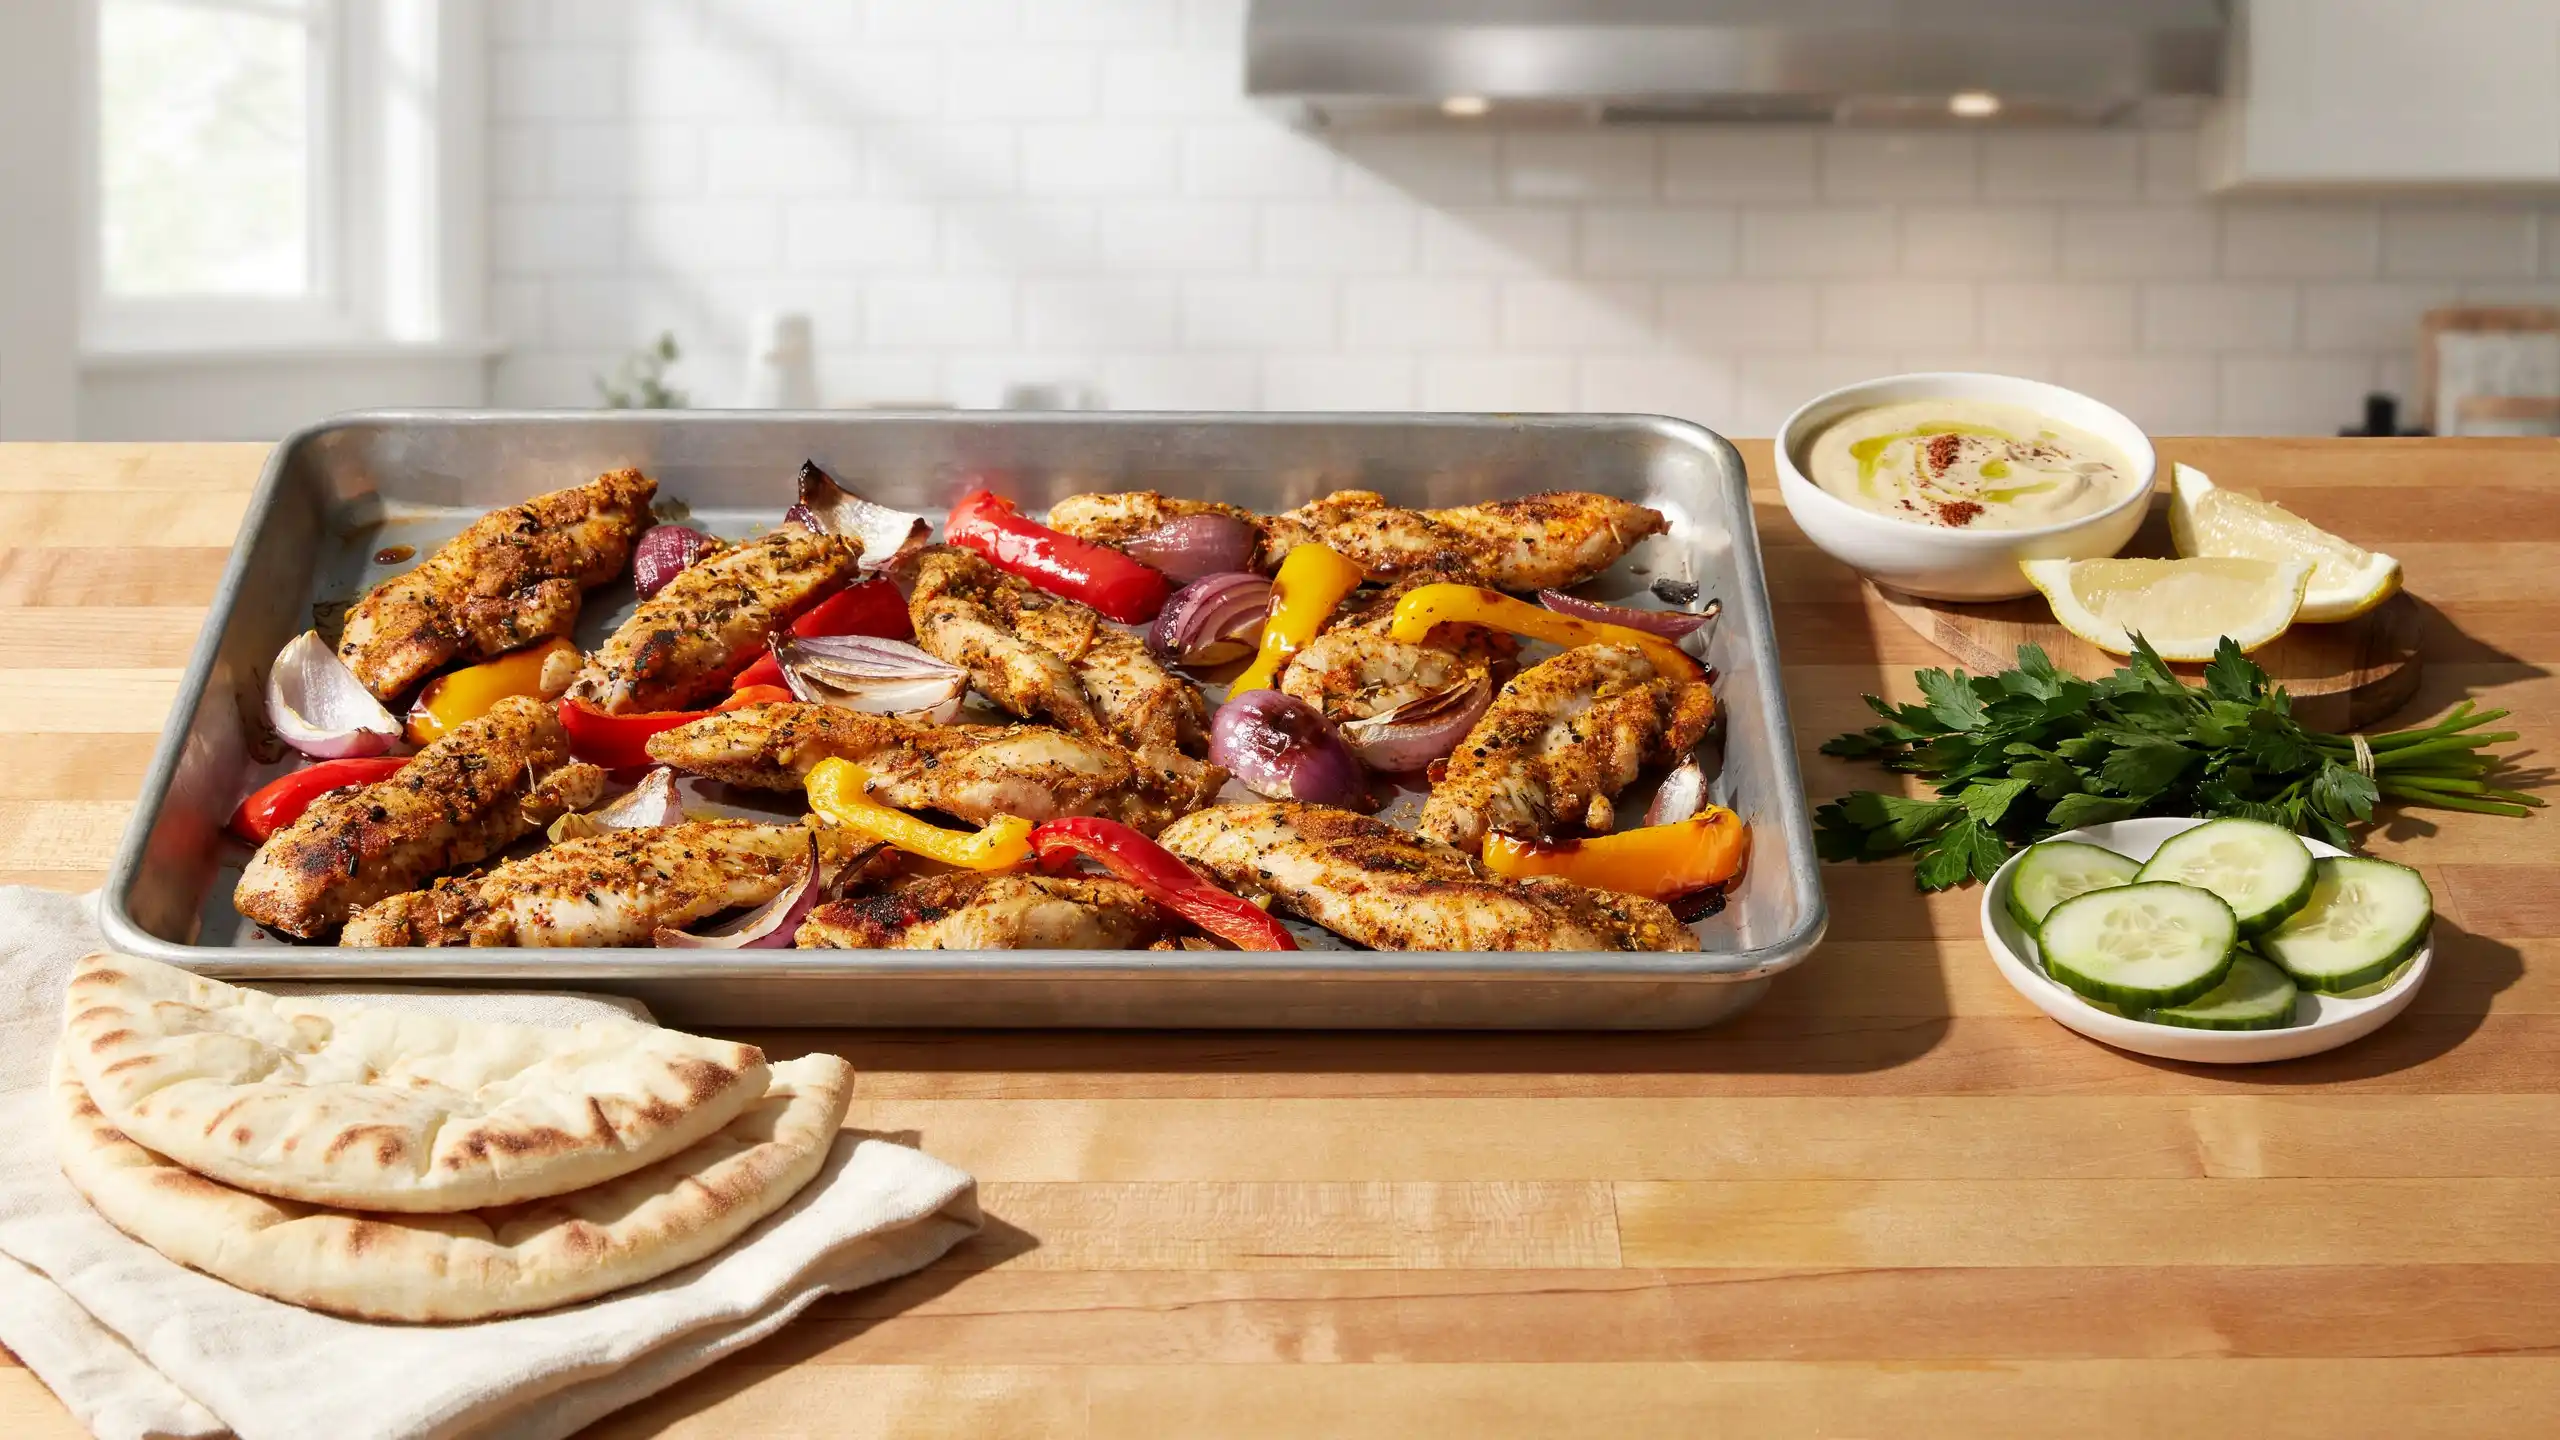
The following is how to whip up this quick and delicious chicken, then char your veggies for maximum flavor:
Step 1: Preheat and Prepare the Pan
Preheat the oven to 425°F and position a rack near the center.
Line a large rimmed sheet pan with aluminum foil or lightly grease the bare surface. Avoid parchment paper because the pan will later sit beneath the broiler, where exposed paper may scorch.
Step 2: Mix the Shawarma Marinade
Add Greek yogurt, olive oil, lemon juice, minced garlic, and shawarma spices to a large mixing bowl.
Whisk thoroughly until the ingredients form a smooth, evenly seasoned marinade. Scrape the sides and bottom of the bowl so no pockets of dry seasoning remain.
Step 3: Cut and Coat the Chicken
Slice the chicken into strips about one inch wide so the pieces cook at a similar rate.
Add them to the marinade and toss until every surface is coated. Keep raw marinated chicken sealed and separate from vegetables, sauces, and prepared foods to prevent cross-contamination.
When you marinate raw chicken, make sure you store it in a sealed container separate from other foods like other veggies, sauces, and cooked dishes.
Step 4: Refrigerate the Chicken
Cover the bowl or transfer the chicken to a sealed container, then refrigerate it for at least 30 minutes.
It may marinate for up to eight hours for deeper flavor. Avoid leaving it longer because the acidic lemon and yogurt can soften the outer texture excessively.
Step 5: Slice the Vegetables
Cut the bell peppers into even strips and slice the onion into wedges or thick pieces that will withstand roasting.
Store them separately in an airtight container for up to one day when preparing ahead. Serving sauces may also be mixed early and refrigerated until needed.
Step 6: Arrange Everything on the Pan
Spread the onions and bell peppers across the prepared sheet pan. Toss them with about one tablespoon of olive oil and a light sprinkle of salt.
Place the marinated chicken between the vegetables, adding watery ingredients such as zucchini or eggplant only immediately before roasting.
Wait until you are ready to put it in the oven to add the other veggies; a pan with lots of moisture from vegetables like zucchini or eggplant can’t mix with the chicken in the same container for an extended time.
Step 7: Leave Space Between Pieces
Arrange the chicken strips in a single layer with small gaps between them.
Proper spacing allows hot air to circulate, helping the edges brown instead of steam. When the ingredients appear crowded or overlap heavily, divide them between two sheet pans for more even cooking.
Step 8: Roast Until Fully Cooked
Roast the chicken and vegetables for 18 to 22 minutes, checking thinner pieces after about 15 minutes.
The chicken is ready when its thickest section reaches 165°F on an instant-read thermometer. Remove any smaller strips early, if necessary, to prevent them from becoming dry.
Step 9: Broil for a Charred Finish
Move the sheet pan to the upper oven rack and switch the oven to broil.
Cook for two to three minutes, watching constantly, until the chicken develops browned surfaces and lightly charred edges. Remove the pan promptly because the chicken and vegetables can burn quickly under direct heat.
Nutritional Value (Per Serving)
The Nutritional value is for the chicken and roasted vegetables alone. It does not include pita bread, rice, hummus, or any of the serving sauces.
| Nutrient | Amount |
|---|---|
| Calories | 370 kcal |
| Protein | 40 g |
| Carbohydrates | 24 g |
| Fat | 13 g |
| Fiber | 8 g |
| Sugar | 8 g |
| Sodium | 903 mg |
Numbers will shift slightly depending on which cut of chicken you use and how many veggies you add.
Ways to Serve Chicken Shawarma
Shawarma chicken is suitable for wraps, bowls, salads, and platters, and is well-suited to complement any dish.
1. Chicken Shawarma Rice Bowl
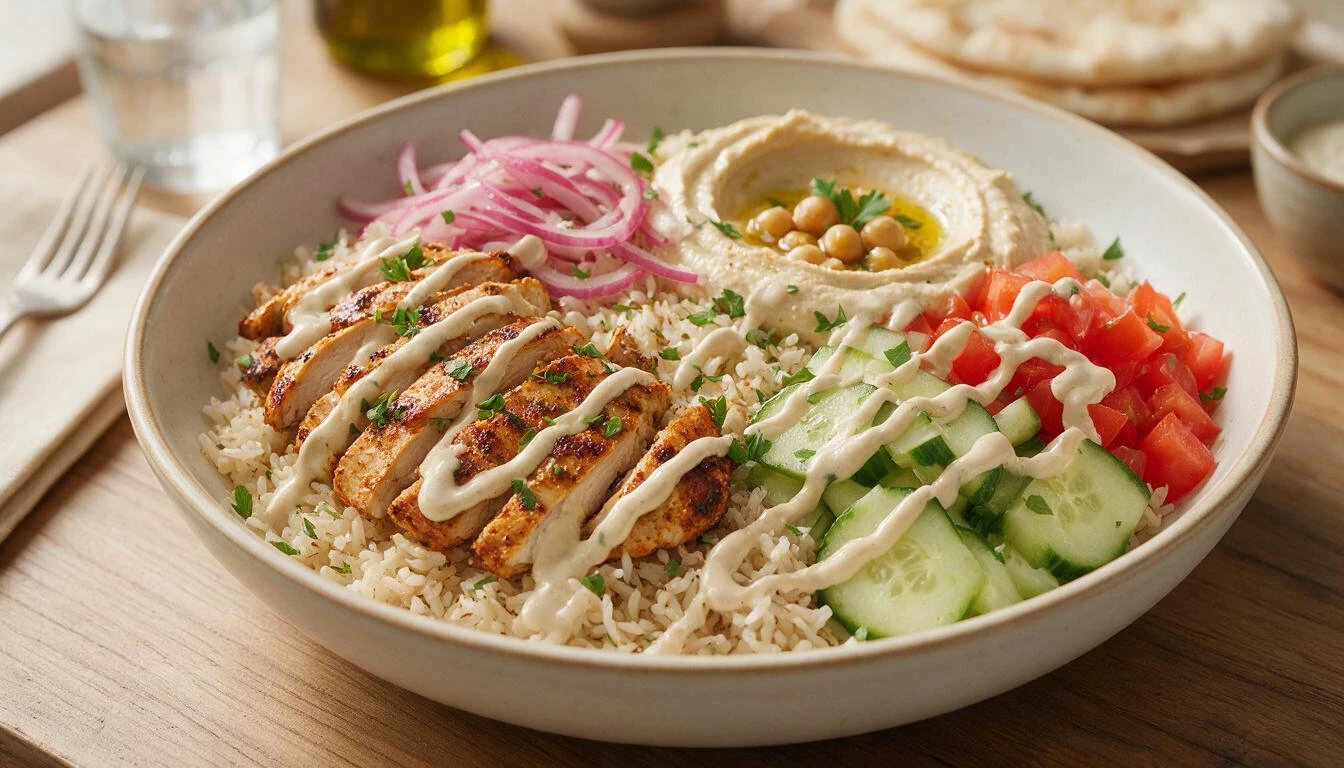
Layer the chicken over rice with cucumber, tomato, hummus, pickled onions, parsley, and tahini. Add a squeeze of lemon immediately before serving.
2. Low-Carb Chicken Shawarma Bowl
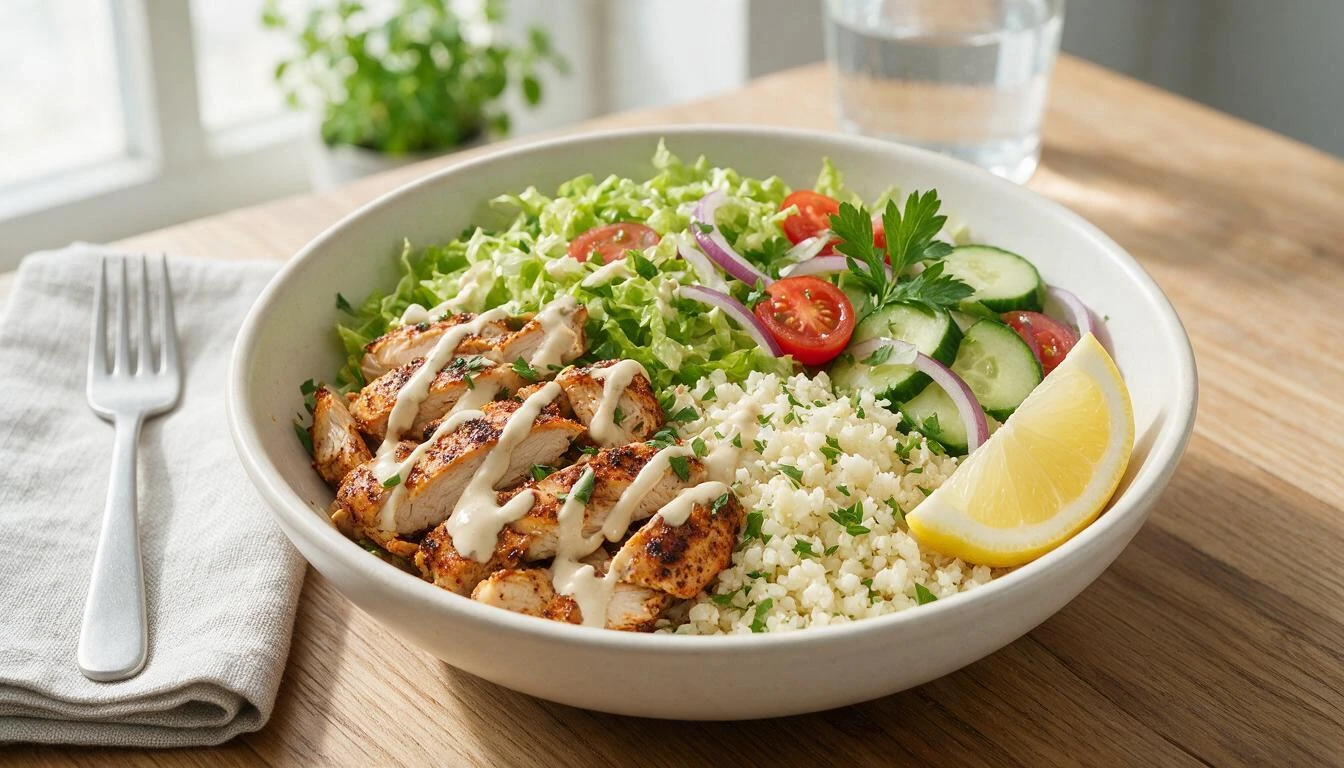
Use chopped romaine, cauliflower rice, cucumber, tomato, and herbs as the base. Add the chicken and a modest amount of tahini or unsweetened yogurt sauce.
3. Chicken Shawarma Pita Wrap
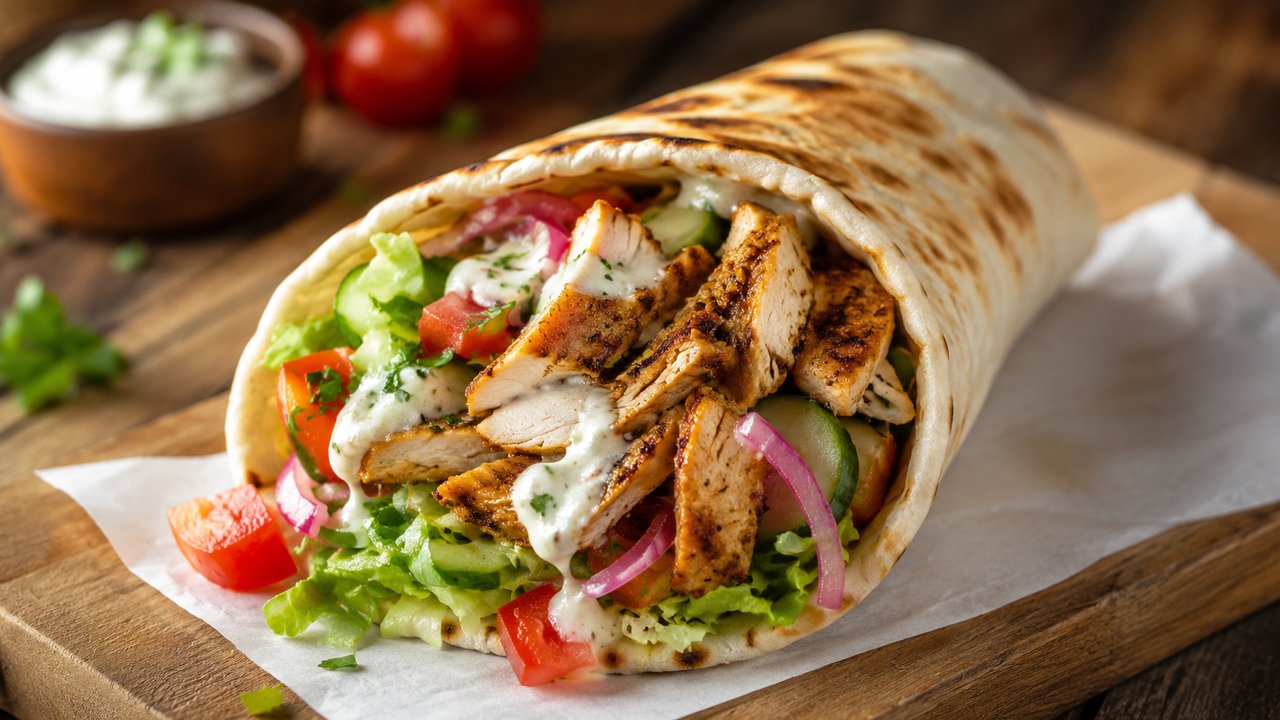
Warm the pita briefly before filling it. Add sauce in a thin layer and drain wet pickles or chopped vegetables so the bread does not become soggy.
4. Herb-Topped Chicken Shawarma Platter
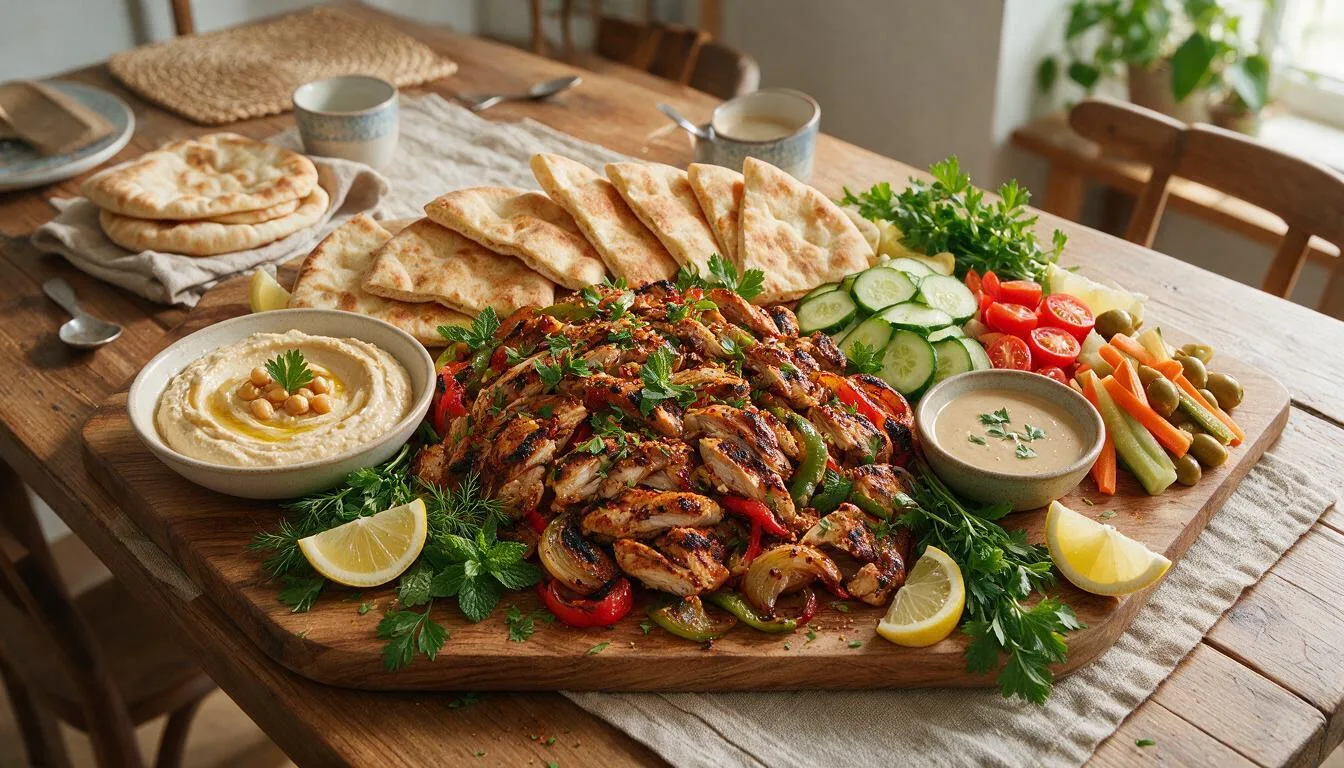
Finish the platter with parsley and mint, then serve it with warm pita, hummus, roasted vegetables, and lemon wedges.
Storage and Reheating
The following are the ways you can heat, freeze, and reheat your shawarma.
Storage
Once the cooked food has cooled a bit (give it 30 mins), stash it in the fridge within 2 hours.
The roasted chicken and veggies should keep for 3 to 4 days in an airtight container in the fridge. The pita, fresh veggies, and dips each have their own containers in the fridge.
Freezing
For longer storage, you can freeze the chicken. Wrap and seal in a freezer bag or container and pop into the freezer for up to 3 months.
Roasted vegetables can also be frozen well (some may be a bit soft once thawed), but keep them separate from the chicken when freezing. Defrost the night before in the fridge.
Reheating
Heat the chicken and roasted veggies up to 375 degrees Fahrenheit in an oven, air fryer, or skillet until hot through and the ends begin to crisp.
When reheating food, make sure that the internal temperature reaches 165 degrees Fahrenheit.
Be warned that microwaving food can turn the crispy bits a little limp, but for a quick reheat, it will work.
The Final Takeaway
Sheet pan chicken shawarma is basically a handy oven take on a street food shawarma’s spices and caramelized bits.
Chop your chicken into same-sized strips, place them on the pan loosely, and don’t worry about overcooking – rely on the temperature to let you know they’re done.
Feel free to boost the amount of citrus or spices, stir in chickpeas, or toss in seasonal vegetables – though don’t tweak too many of these details and still use this method as written.
You can either enjoy the shawarma right away or stash everything separately in the fridge for quick-assembly dinners.
Frequently Asked Questions (FAQs)
1. Can Frozen Chicken Be Used?
Yes, but thaw it completely in the refrigerator before marinating and roasting. Cooking from frozen may cause uneven cooking and excess moisture.
2. Can Raw Chicken Be Frozen in the Marinade?
Yes. Place the uncooked chicken and marinade in a freezer-safe container and freeze for up to three months. Thaw it overnight in the refrigerator, then cook it according to the recipe.
3. Can the Recipe Be Doubled?
Yes, but divide the ingredients between two sheet pans. Rotate the pans halfway through roasting and broil them separately so both batches brown evenly.
4. Can Bone-In Chicken Be Used?
Yes, but bone-in pieces require a longer roasting time. Check the thickest part with a thermometer and cook until it reaches 165°F.