Concrete floors have been hiding something. That flat, grey slab sitting in the garage, basement, or living room?
It has more potential than most people give it credit for. The right stain does not just change the color, it completely transforms the space.
And the best part? Staining concrete is something anyone can pull off with the right steps and a little patience.
This walks through exactly how to stain concrete, from prep to finish, so nothing gets missed along the way.
What is Concrete Staining?
Concrete stain is not a coating that sits on top of the surface.
It soaks into and bonds with the concrete, so it will not peel or chip as paint does.
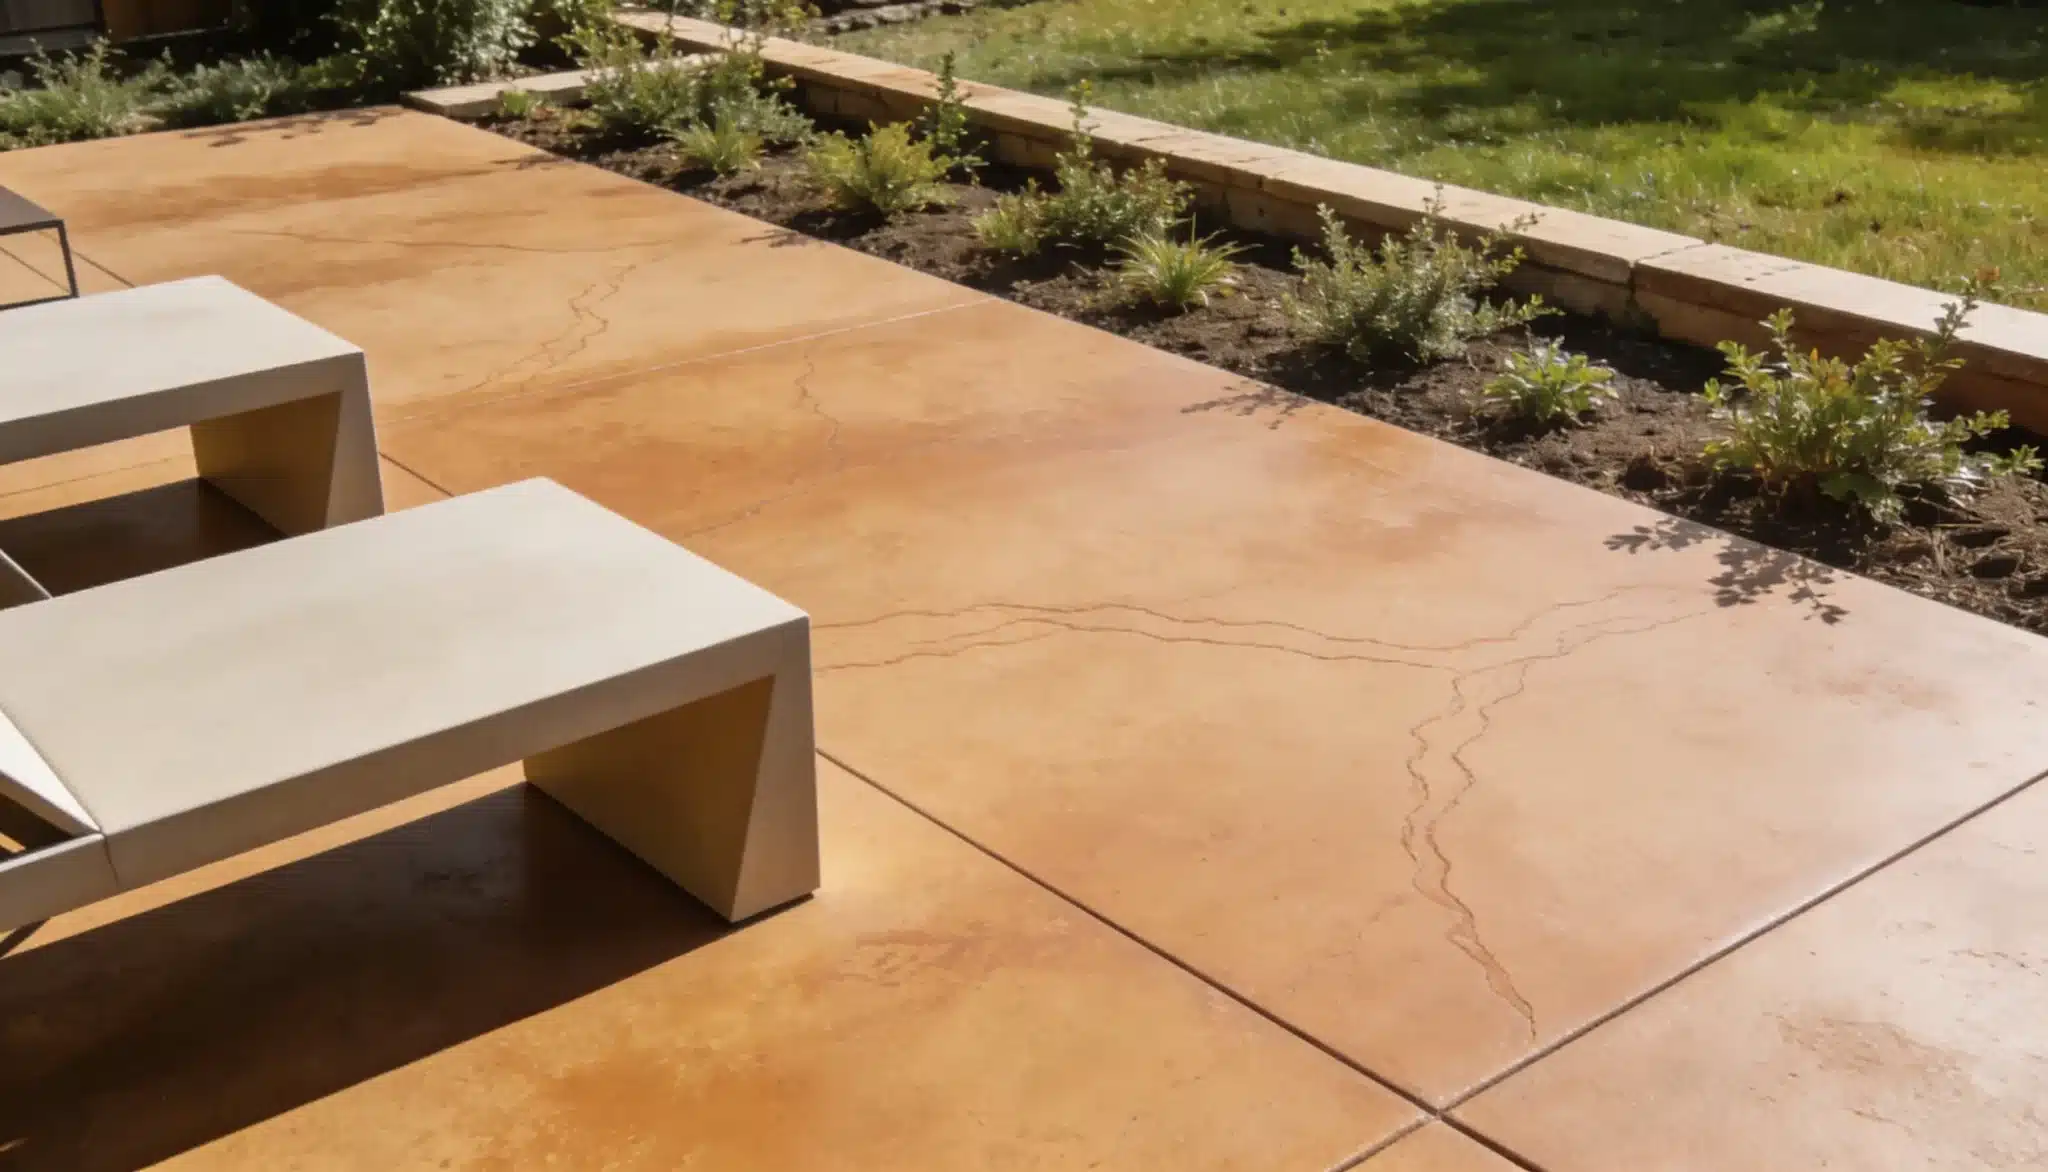
Paint covers, epoxy seals, but the stain becomes part of the floor itself. Stained concrete floor have grown popular because they look high-end without the high-end price tag.
The finish works indoors and outdoors, holds up well over time, requires minimal upkeep, and can completely transform a worn or dull stained concrete floor.
Types of Concrete Stains: Which One is Right for the Job?
Choosing the right stain is one of the most important decisions in the whole process.
The type of stain used directly affects the final look, the ease of application, and the finish’s longevity.
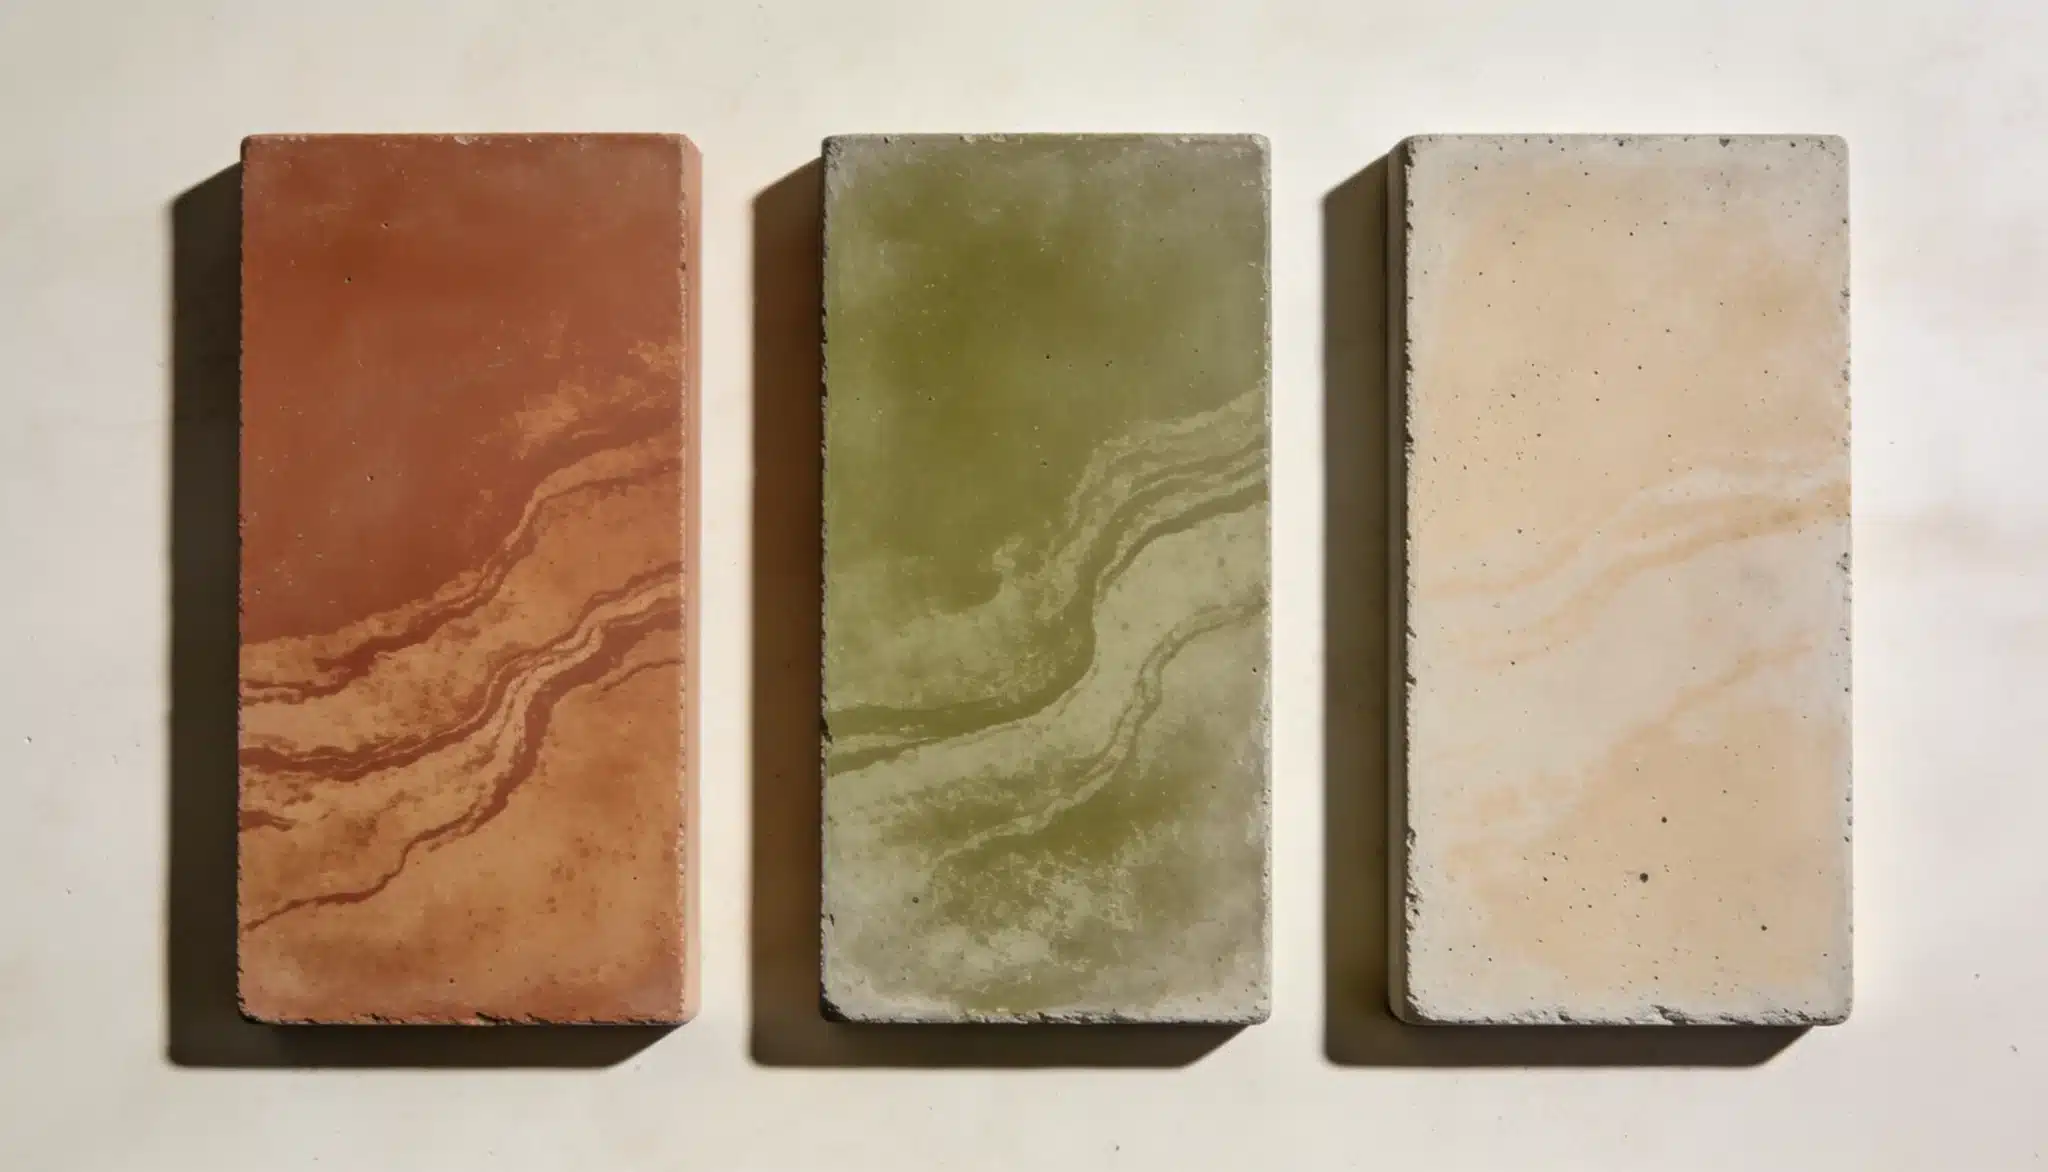
Acid-Based Stains: These react chemically with the concrete to produce earthy, mottled tones. No two floors ever turn out looking the same, which gives the finish a natural, one-of-a-kind character.
Water-Based Stains: These come in a much wider range of colors and are easier to apply. They work really well for indoor concrete floor and produce far less fumes during application.
Acetone Dye Stains: These absorb quickly and deliver rich, vibrant colors. They work on both indoor and outdoor surfaces and are best suited for those with some prior experience.
Tools and Materials Needed Before You Start
Getting the right tools together before starting saves a lot of back and forth. Pulling everything out before the first step means nothing stops mid-project because something got missed
Tools
- Concrete grinder or sander
- Stiff bristle brush
- Paint roller or sprayer
- Plastic sheeting and painter’s tape
- Safety goggles, gloves, and a respirator mask
Materials
- Concrete stain, acid, water-based, or acetone depending on the finish
- Concrete cleaner or degreaser
- Etching solution and neutralizer
- Concrete sealer and patching compound
- Water, mop, and plastic drop cloths
Safety Tip: Gloves go on first, the respirator gets fitted before opening any bottle, and windows stay open the whole time. A chemical burn halfway through a flooring project is not a situation anyone wants to deal with.
How to Stain Concrete Step by Step
Getting stained concrete floor right is all about following the steps in order.
Skipping ahead almost always shows up in the final result.
Step 1: Clean the Concrete Thoroughly
Before anything else, the floor needs a proper deep clean. Dirt, grease, and old residue sitting on the surface will block the stain from soaking in evenly.
A concrete degreaser handles oil buildup, and a stiff bristle brush takes care of stubborn spots.
The cleaner the surface, the more evenly the stain absorbs across the whole floor.
Tip: That floor has probably seen years of grease and grime. Give it a real scrub, not just a rinse, or the stain will show every spot that was missed.
Step 2: Repair Cracks and Surface Damage
Cracks and holes do not disappear under stain; they become more visible.
- Fill cracks with a patching compound and let it cure fully
- Sand down any raised or uneven spots until smooth
- Wipe away all dust before moving to the next step
After patching, run a hand slowly across the whole floor. If a rough patch gets missed, the stain will find it and make it obvious.
Step 3: Test the Stain on a Small Area
Concrete absorbs stains differently depending on its age and porosity. Testing in a small corner first saves a lot of regret later.
The color on the tin rarely matches what ends up on the floor, and that surprise is much easier to handle on a small patch than across the whole surface.
Tip: Pick a corner that stays hidden, like behind a door. Let it dry fully before deciding on the color because wet stain lies about how it will actually look.
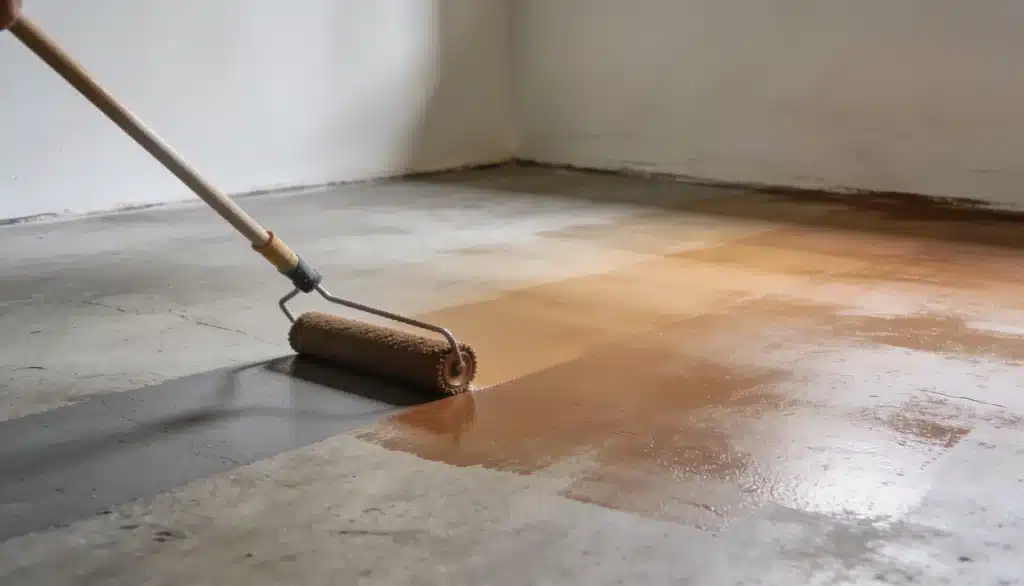
Step 4: Apply the Concrete Stain Evenly
This is where the real work happens.
The way the stain gets applied makes all the difference between a floor that looks professional and one that looks rushed.
- Use a sprayer for larger concrete floor and a roller for smaller spaces
- Apply in thin, overlapping layers rather than one heavy coat
- Maintain a wet edge while working to avoid visible lines
- Work in sections and keep a steady, consistent pace.
Step 5: Let the Surface Dry Properly
Patience is everything at this stage. An indoor stained concrete floor needs 24 to 48 hours to fully dry.
Outdoor surfaces take longer, depending on humidity and temperature. Good airflow helps speed things up indoors.
Walking on the floor too soon will leave marks that are difficult to fix without starting over.
Step 6: Neutralize and Clean the Surface
Acid-based stains continue to react with the concrete until they are neutralized. Mix baking soda with water, scrub it across the surface, and rinse thoroughly.
The floor should feel completely clean before sealing.
Skipping this step can affect how well the sealer bonds, potentially leaving the finish looking cloudy or uneven over time.
Once the floor is clean and neutralized, it is worth thinking about the other surfaces in the space. If you have tiled areas nearby, a quick refrence on how to clean floor tile grout without scrubbing covers the fastest way to get grout looking fresh without the hard work.
Step 7: Seal the Stained Concrete Floors
Sealing protects the color and the surface from everyday wear and moisture.
A matte sealer keeps things looking natural, while a glossy finish adds a polished look. Apply in thin, even coats and allow 24 to 72 hours of curing time before bringing in foot traffic or furniture.
Roll that first coat of sealer thin and even. Going heavy right away traps bubbles, and the finish ends up looking cloudy.
Best Concrete Stain Colors and Design Ideas
Stained concrete floor’s are not a one-size-fits-all situation.
The right color and technique can make a space feel completely different, and there are far more options than most people realize.
1. Best Concrete Stain Colors for Indoor Floors
Each style works differently depending on what the room already has going for it.
The key is matching the stain to the space, not forcing a trend that does not fit.
- Modern Gray Finishes: Clean and minimal, pairs well with almost any interior style
- Marble-Inspired Effects: Achieved by layering stains to mimic natural stone veining
- Rustic Brown Tones: Warm and earthy, works beautifully in living rooms and kitchens
2. How to Choose Concrete Stain Colors for Outdoor Surfaces
Outdoor concrete takes a beating from the sun, rain, and constant foot traffic. But the right stain makes it look sharp and intentional.
Patios respond well to warm, earthy tones that blend with outdoor surroundings. Pool decks benefit from lighter shades that stay cooler underfoot.
Picked a color that looked perfect indoors? It will look at least two shades lighter outside under direct sunlight. Always account for that before buying.
3. Decorative Concrete Staining Techniques
These techniques take an ordinary concrete floor and turn it into something that looks genuinely planned and considered rather than just sealed and forgotten.
- Layered Staining: Apply two or more colors on top of each other to build depth
- Faux Stone Appearance: Blend acid and water-based stains in controlled patterns
- Patterned Finishes: Use stencils to add geometric or floral designs onto the surface
4. Staining a Concrete Walkway
Walkways absorb stains quickly due to constant use and weather exposure. Clean the surface well, etch it lightly, and apply thin coats moving in the direction of the path.
Thin layers absorb far more evenly on high-traffic surfaces than heavy ones.
A durable sealer at the end keeps the color protected through daily foot traffic and changing seasons.
Doing the middle before the edges almost always ends in uneven color lines running the full length of the walkway. Edges come first, always.
5. How to Stain a Concrete Wall
Staining a vertical concrete surface needs more control than a floor. A sprayer provides the most even coverage and maintains consistent application across the entire wall.
Working from top to bottom in sections prevents drips from landing on already finished areas.
Keep a wet edge throughout the process to stop overlap lines from appearing once the stain fully dries.
6. How to Stain a Concrete Patio
Acid stains suit patios particularly well because the natural mottled effect blends with outdoor settings in a way that feels organic.
Clean the surface, fill any cracks, and let everything dry completely. Work in sections at a steady pace and always seal with a UV-resistant product.
Sun exposure breaks down unprotected stain faster than anything else outdoors.
Starting the project without checking the forecast first is a gamble. A light shower on fresh stain leaves water marks that are very hard to fix without redoing entire sections.
7. Staining Basement Concrete Floor
Basement concrete floor have serious potential, but moisture is the biggest challenge down there.
Test for it before starting, and sort it out first, or the stain simply will not hold.
- Test moisture by taping plastic sheeting to the floor for 24 hours
- Use a water-based stain for lower fumes in enclosed spaces
- Keep fans running and windows open throughout
- Go a shade lighter since basements naturally read darker.
DIY vs Hiring a Professional for Concrete Staining
Staining concrete personally can save a good amount of money, but it is not always the right call.
The size of the space, the condition of the floor, and the complexity of the finish all play a role in deciding which direction makes more sense.
| Factor | DIY | Professional |
|---|---|---|
| Cost | $100 – $300 | $500 – $3,000+ |
| Time | 2 – 4 days | 1 – 2 days |
| Skill Needed | Basic to intermediate | Advanced |
| Best For | Small patios, basements | Large spaces, decorative finishes |
| Mistake Risk | Higher | Significantly lower |
| Floor Repairs | Minor cracks only | Handles severe damage |
Most people run the real numbers before deciding. DIY makes sense on smaller floors but the gap narrows fast once tools, materials, and time all get factored in honestly.
Final Thoughts
Stained concrete floors get better with age, the color deepens, the surface hardens, and the maintenance stays low.
Get the prep right, seal it properly, and it holds up for years with little effort.
The prep is where most people want to rush. The cleaning, the crack filling, and the testing are exactly where the result gets decided. Everything after that is just following through.
Start with one space, get comfortable, then scale up. The learning curve is short.
Frequently Asked Questions
1. Can Concrete be Stained if it Has Already Been Painted?
Yes, but the paint must be completely removed first since the stain cannot penetrate through existing coatings.
2. How Long Does Stained Concrete Last?
With proper sealing and basic maintenance, a stained concrete floor can easily hold its finish for 5 to 10 years.
3. Can Concrete Stain be Applied in Cold Weather?
Cold temperatures significantly slow absorption and drying, so staining at temperatures below 50°F is best avoided.