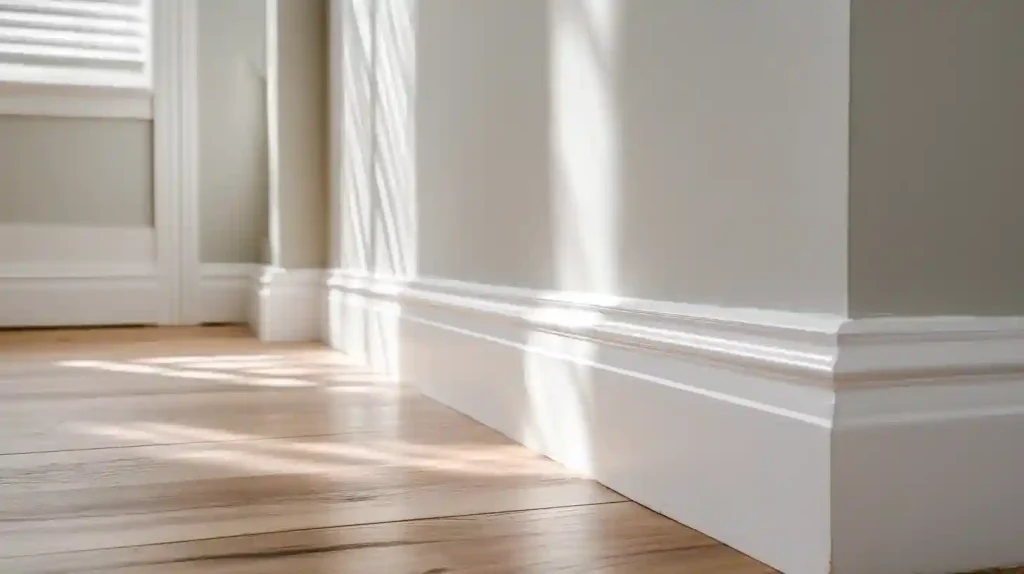
Look around your room, the walls are freshly painted, the floors are clean, but those baseboards are scuffed and yellow.
Fresh baseboard paint can make an entire room look newly renovated without the full repaint; you just need the right steps in the right order.
Let’s learn how to paint baseboards without making a mess.
So read more to fix those baseboards.
The Best Baseboard Paint
Not all paints are the same, and for baseboards, the finish you pick is very important.
Semi-gloss and gloss finishes are the top choices for paint because they are tough, easy to clean, and resistant to scuffs and bumps.
Flat or matte paint looks great on walls but chips too easily on baseboards.
For color, white and off-white are classic choices. They keep the room looking clean and bright.
Also, go for a paint that includes a primer. It saves you time and gives better coverage. Oil-based paints last longer, but water-based paints dry faster and are easier to work with.
Tools and Supplies You’ll Need
The right tools make the whole job faster and cleaner. You don’t need fancy equipment; just the right basics, and you’re good to go.
- Painter’s tape: This protects your walls and carpet from stray paint.
- Angled paintbrush (2-inch): Gives you control on narrow surfaces.
- Sandpaper (120-grit): Smooths out rough spots before painting.
- Tack cloth or damp rag: Wipes away dust after sanding.
- Baseboard paint: A semi-gloss or gloss finish works best.
- Putty knife: Helps tuck tape under carpet edges.
- Drop cloth: Keeps your floors protected.
How to Paint Baseboards: Step-by-Step
Step 1: Clean the Baseboards
If you skip cleaning, your paint will struggle to stick and start peeling within months, as dirt, grease, and grime on the surface prevent it from bonding properly.
Wipe down every inch of your baseboards using a damp cloth or sugar soap solution.
Make sure you get into the corners and edges too, and always let them dry completely before moving forward.
Step 2: Sand the Surface
Start with 120-grit sandpaper to rough up the old paint and remove any flaking bits.
Then switch to 220-grit for a silky smooth finish.
Sanding gives the new paint something solid to grip onto, so always wipe away every bit of dust with a tack cloth before moving on.
Step 3: Fill Gaps and Cracks
Take a close look at your baseboards before you paint because gaps and cracks will show through even the best paint job.
Use wood filler for dents and holes, and run a bead of caulk along any gaps between the baseboard and the wall.
Smooth everything out with a putty knife and give it enough time to dry completely before you touch anything else.
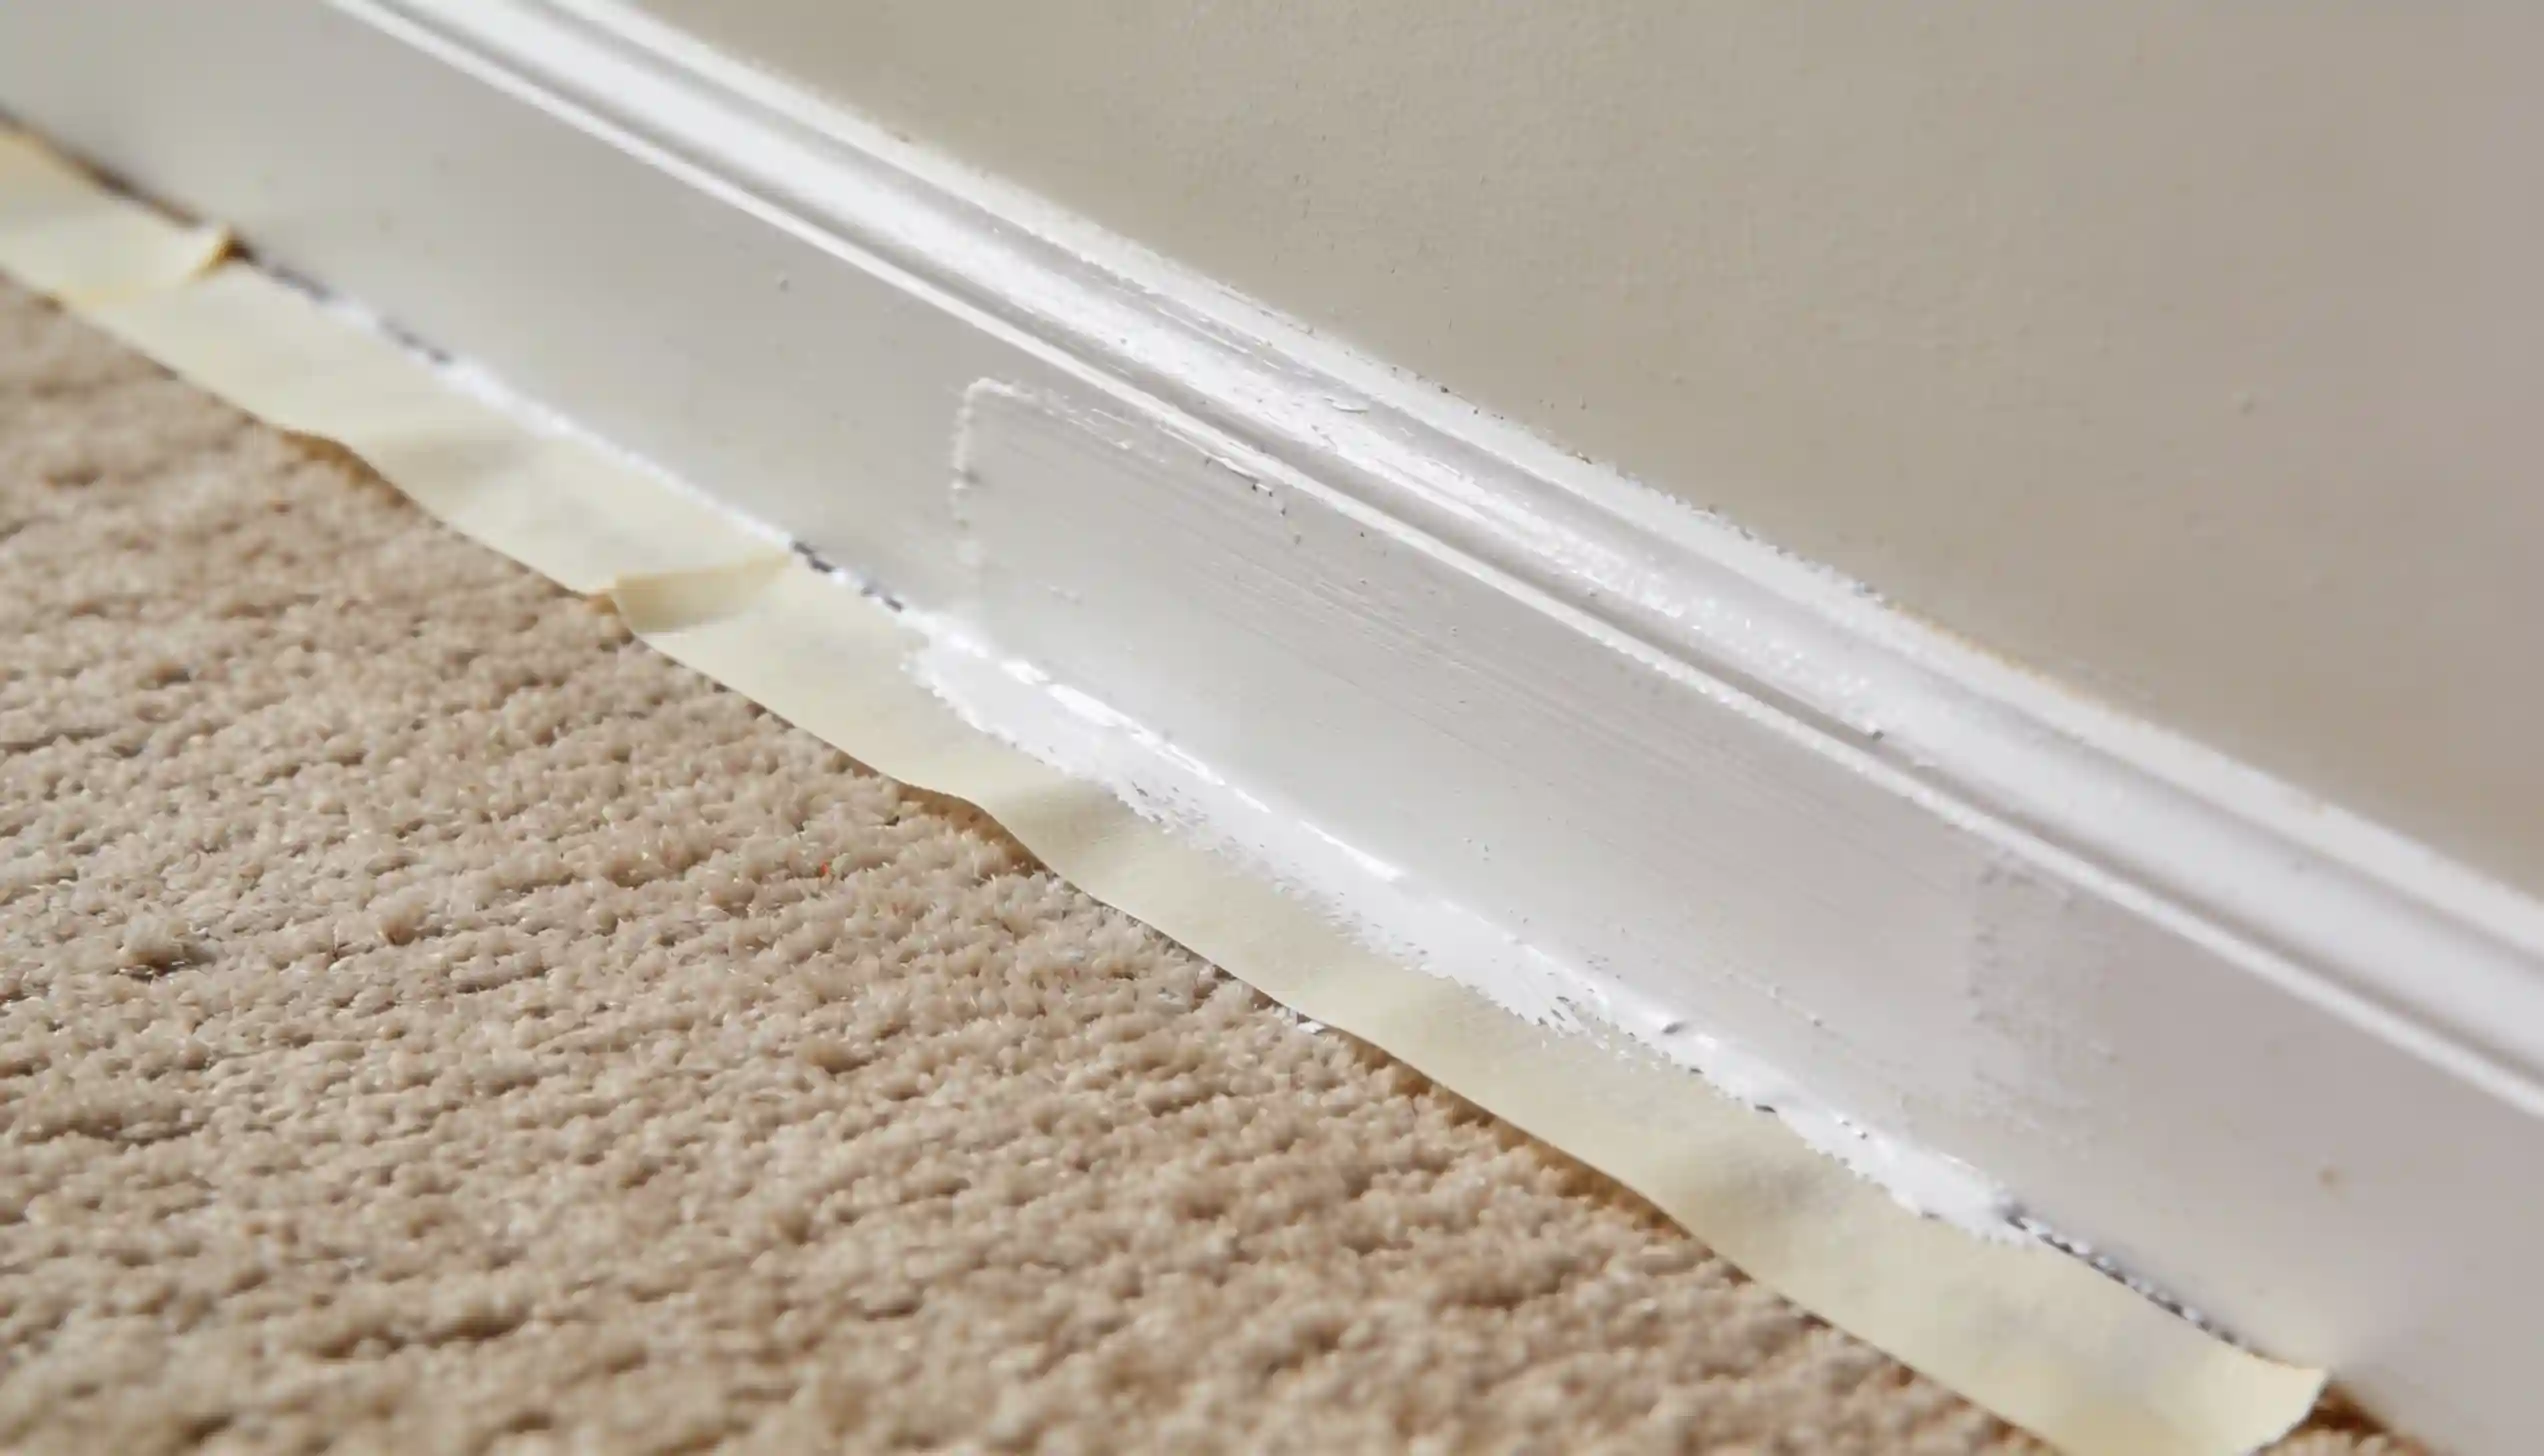
Step 4: Tape Everything Off
Taping is one of the most important steps in getting clean, sharp edges on your baseboards.
Carefully run painter’s tape along the wall edge above the baseboard and along the floor below it.
Press the tape down firmly using your finger or a putty knife so no paint can bleed underneath.
Step 5: Apply the First Coat
Load your angled sash brush with a moderate amount of baseboard paint and start painting in long, smooth strokes along the length of the baseboard.
Always work in one direction and avoid overloading the brush because too much paint leads to drips and uneven coverage.
A thin, well-applied first coat sets the foundation for a great final finish.
Step 6: Let It Dry and Sand Lightly
Let the first coat dry for at least one to two hours before you touch it.
Once it’s fully dry, take your 220-grit sandpaper and lightly sand the surface to knock down any bumps or bristle marks.
Wipe the dust away with a clean tack cloth before applying the next coat.
Step 7: Apply the Second Coat
Use the same angled brush and apply the paint using long, steady strokes just like you did with the first coat.
This layer fills in any thin spots and gives you that smooth, even finish that makes baseboards look freshly done.
Let the paint dry fully before you even think about touching the tape.
Step 8: Remove the Tape
Removing the tape the correctly is as important as applying it correctly in the first place.
Pull the tape back slowly at a 45-degree angle to avoid tearing the paint edge or lifting any dried paint off the baseboard.
If the paint has already dried and feels stiff, use a sharp utility knife to score lightly along the edge of the tape before peeling it back carefully.
Should You Paint Trim or Walls First?
In case you are painting your walls for the first time, paint your trim first, then your walls.
Trim paint takes longer to dry and needs a harder, glossier finish; getting it done first means you don’t have to stress about being perfectly neat.
Once the trim is dry, you tape it off and paint your walls right up to the edge.
It’s a much cleaner process this way; you get sharper lines and fewer touch-ups, and it saves you a lot of time.
How to Paint Baseboards With Carpet?
Painting baseboards with carpet is tricky. But with the right approach, you can achieve a clean finish without a single drop of paint on your carpet.
Use a Carpet Shield or Plastic Scraper
Slide a plastic carpet shield or an old credit card along the carpet edge as you paint. This keeps the brush away from the fibers.
Tape the Carpet Down Firmly
Press painter’s tape along the top edge of the carpet. Use a putty knife to push the tape right into the gap between the baseboard and carpet.
Use a Dry Brush Technique
Load your brush lightly; too much paint on the bristles means drips, which are very hard to fix. Use slow, controlled strokes close to the carpet line.
Work in Small Sections
Work in small sections of two to three feet at a time; this gives you full control and helps you spot any drips before they dry.
Keep a Damp Cloth Nearby
Accidents happen. Keep a damp cloth close by at all times. If paint gets on the carpet, blot it immediately.
How Long Does it Take for Baseboard Paint to Cure?
Drying and curing are two different things.
Paint may feel dry in one to two hours, but it hasn’t fully hardened yet.
Water-based paints fully cure in about two to four weeks. Oil-based paints can take up to four weeks or longer to dry.
During this time, be gentle, avoid scrubbing or placing anything against the baseboards. Let the paint harden fully, and it will last much longer.
How Often Should Baseboards Be Repainted?
Most baseboards need a fresh coat every three to five years, but it really depends on the traffic in your home.
High-traffic areas like hallways and living rooms may need repainting sooner.
Bedrooms and low-traffic spaces can go longer between coats.
If the paint looks dull, chipped, or yellowed, it’s time. Don’t wait for it to get worse.
Conclusion
Painting baseboards is one of those small jobs that makes a big difference.
You don’t need to repaint your walls or buy new furniture. Just fresh baseboard paint and a little patience, and the whole space feels brand new.
So grab your brush, tape up those edges, and get started. Yes, even if you’ve never done it before. The steps are simple, and the results are totally worth it.
Got questions or want to share how yours turned out? Drop a comment below. I’d love to hear from you!
Frequently Asked Questions(FAQs)
1. Can I Use Wall Paint on Baseboards?
Wall paint is not ideal. Baseboards need semi-gloss or gloss paint because it holds up better against scuffs and cleaning.
2. How do I Fix Brush Marks on Dried Baseboard Paint?
Lightly sand the area with fine-grit sandpaper, wipe clean, and apply a thin coat of paint again.
3. What is the 7 Rule for Baseboards?
The 7 rule suggests baseboards should be 7 times thicker than your door casings. This keeps your room’s trim proportions visually balanced.