Plain paper can become a favorite bookmark in just a few minutes.
Anyone can make one at home, and most designs need only scissors, glue, and a scrap of paper, so there’s rarely a need to shop for anything.
This manual walks through easy, step-by-step methods for DIY bookmarks for kids and grown-ups alike.
From quick paper strips to cute corner folds, the choices are easy and fun. Kids can keep it simple, and grown-ups can try something fancier
Materials Required
The best part about making bookmarks is the short list of supplies. Here are the basic materials you need to keep on hand:
- Paper or cardstock
- Scissors
- Glue or tape
- A hole punch
- Ribbon, yarn, or string
Fun Extras for Decorating:
- Markers, crayons, or fun color pencils
- Stickers and washi tape
- Old magazine pages or scrap paper
- Googly eyes and foam shapes
- Stamps or shaped craft punches
You don’t need all of this at once. A strip of paper and a pen can make a perfectly good bookmark.
Step-by-Step Guide to Making DIY Bookmarks
Below is an easy way to make a bookmark at home:
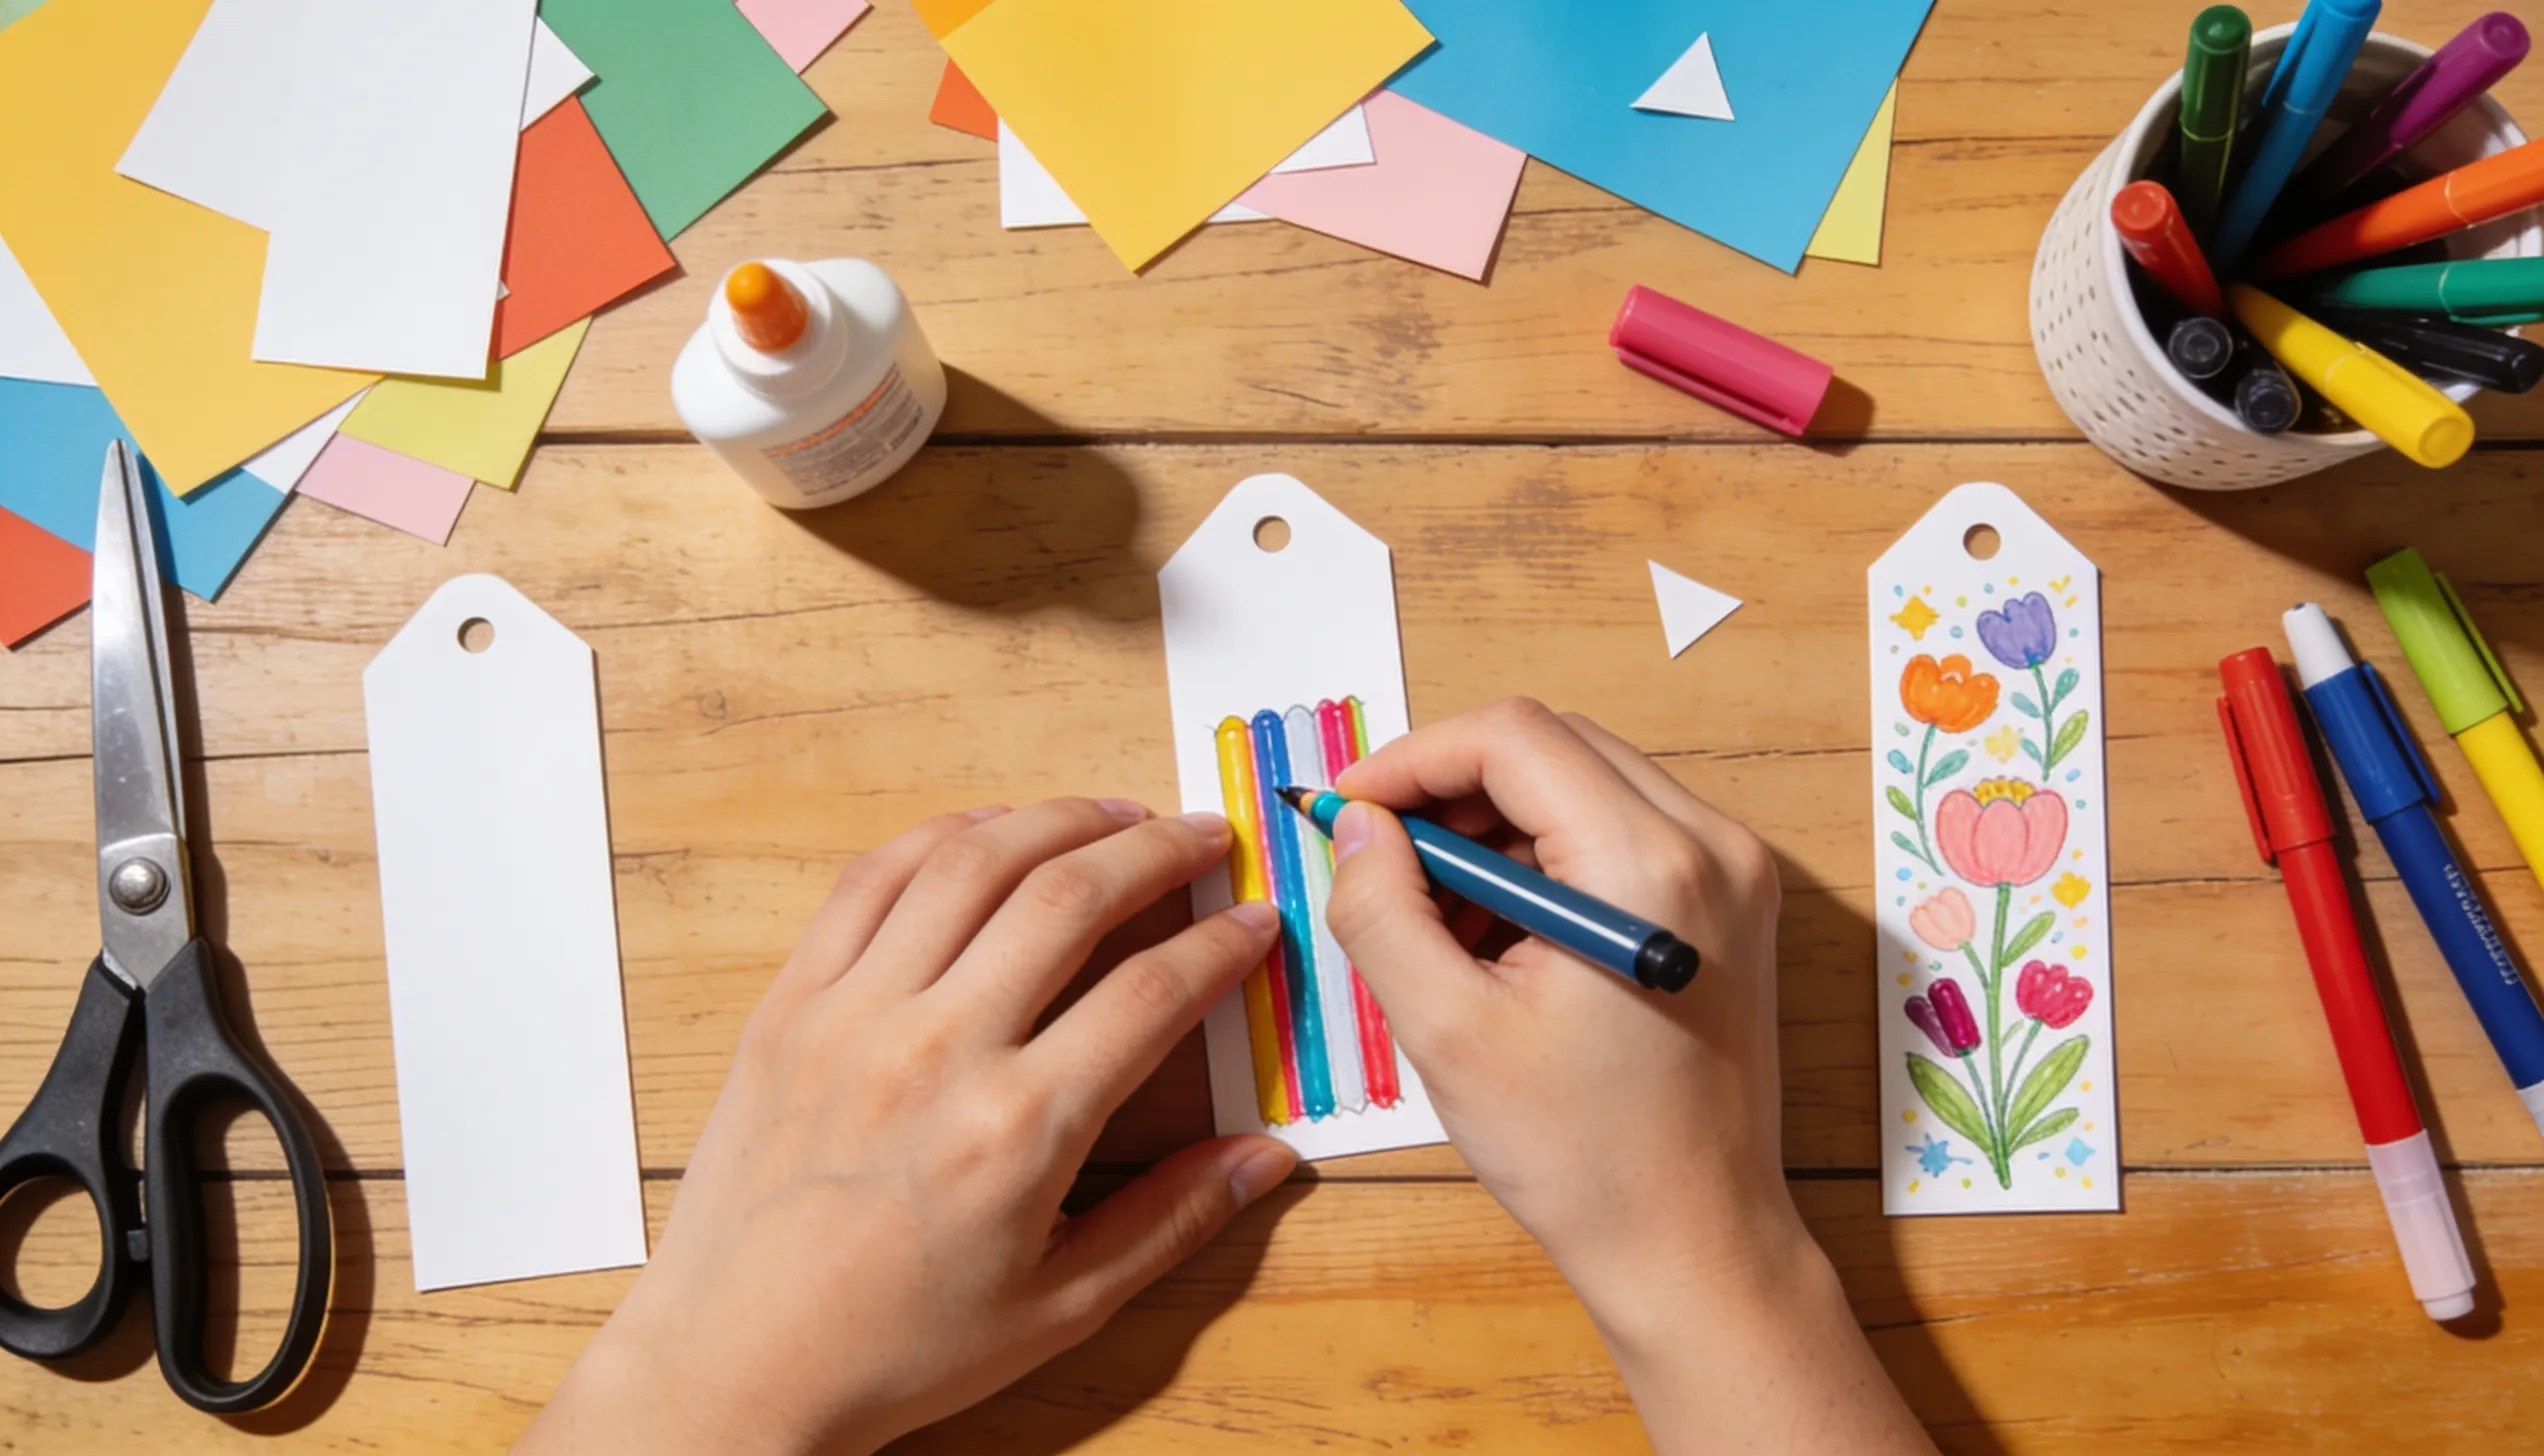
Step 1: Cut The Paper
I start with a sheet of cardstock, since it’s thicker than regular plain paper and won’t go floppy. Measure out a strip about 2 inches wide and 6 inches long.
A ruler makes this easy, and a light pencil line gives a clear path to cut along.
Freehand cuts often come out crooked, so following that line keeps the edges clean and straight. Kids can use safety scissors for this part.
Step 2: Decorate The Front
Color it with markers or crayons, add a few stickers, or glue on shapes punched from scrap paper.
Washi tape is a quick win, since a couple of strips lay down an instant pattern.
Kids often like drawing their own little scenes or writing their names. I always leave a small border around the edge so the design stays neat.
If glue is involved, let each piece dry fully before moving on.
Step 3: Strengthen It (Optional)
This step is worth it for a bookmark that gets daily use. Without protection, a well-used marker will smudge and bend over time.
Cover both sides with clear tape or run it through a laminating sheet, and it’ll stay clean and sturdy for a long time.
You can skip this step if the bookmark is just for a quick gift or a single book.
Step 4: Punch a Hole
Make a small hole near the top, about half an inch down from the edge. Center it so the ribbon hangs straight.
A standard hole punch does the job in one press, and one hole is all it needs. If the cardstock is thick or laminated, press a little harder or punch slowly.
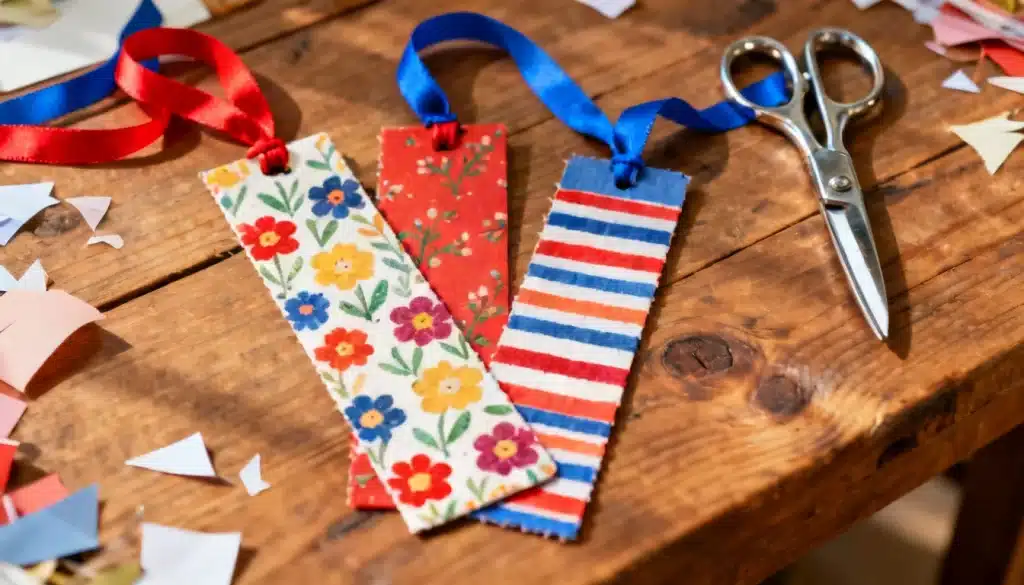
Step 5: Add a Ribbon or Tassel
Cut a piece of ribbon, string, or yarn a few inches long. Fold it in half, push the looped end through the hole, then pull the loose ends down through that loop and tug gently.
This little knot holds tight and looks tidy. And now the bookmark is ready to slide into a favorite book.
Fun DIY Bookmark Ideas For Kids
If you have kids at home and want to reduce their screen time, the following are some fun diy bookmarks for kids as well as grown-ups.
Animal-Shaped Bookmarks
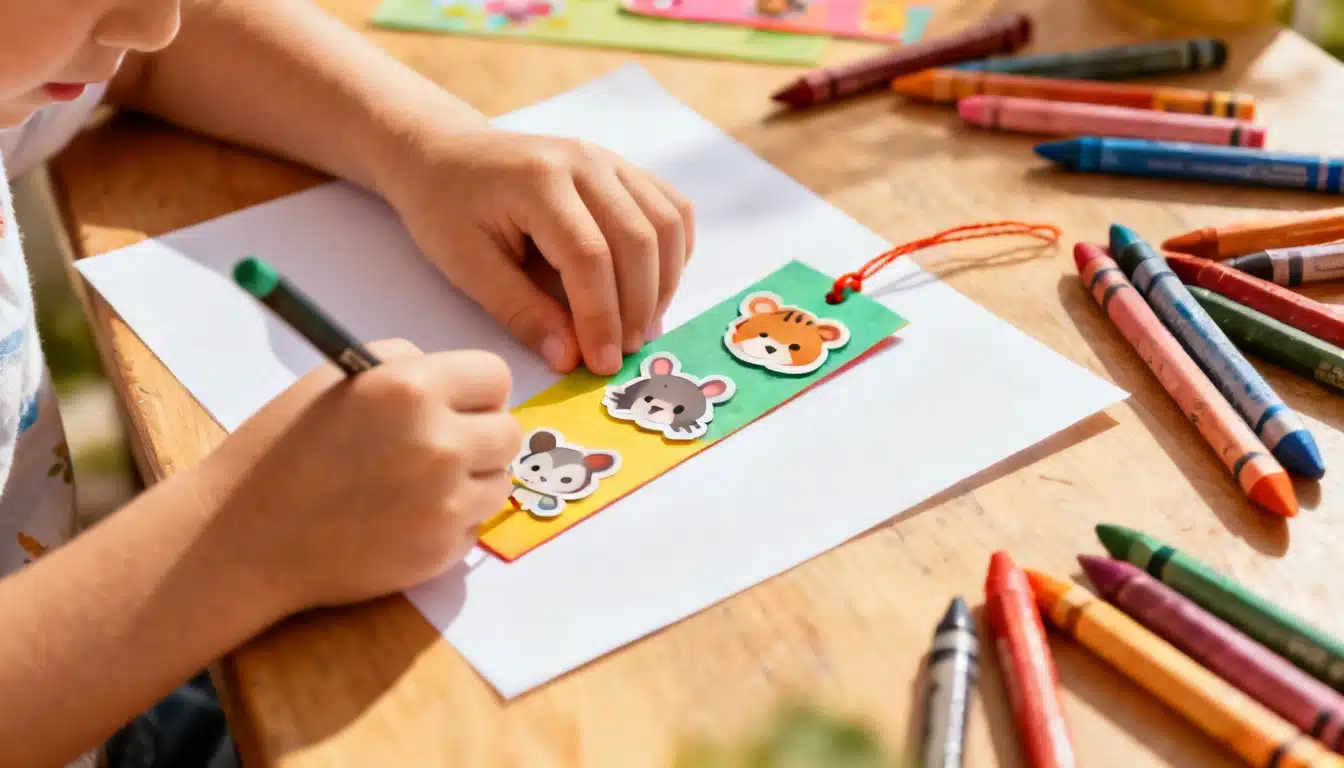
These start with a simple cut-and-paste face. Kids snip out ears, eyes, and a nose from scrap paper, then glue them onto a strip.
A fox, cat, or bear comes together in minutes.
Color-It-Yourself Templates

Printable outlines take the guesswork out of crafting. An adult prints a blank shape, and the child fills it in with crayons or markers.
I love this one since it’s calm, no-mess, and makes a sweet little gift as well.
Fingerprint Art Bookmarks
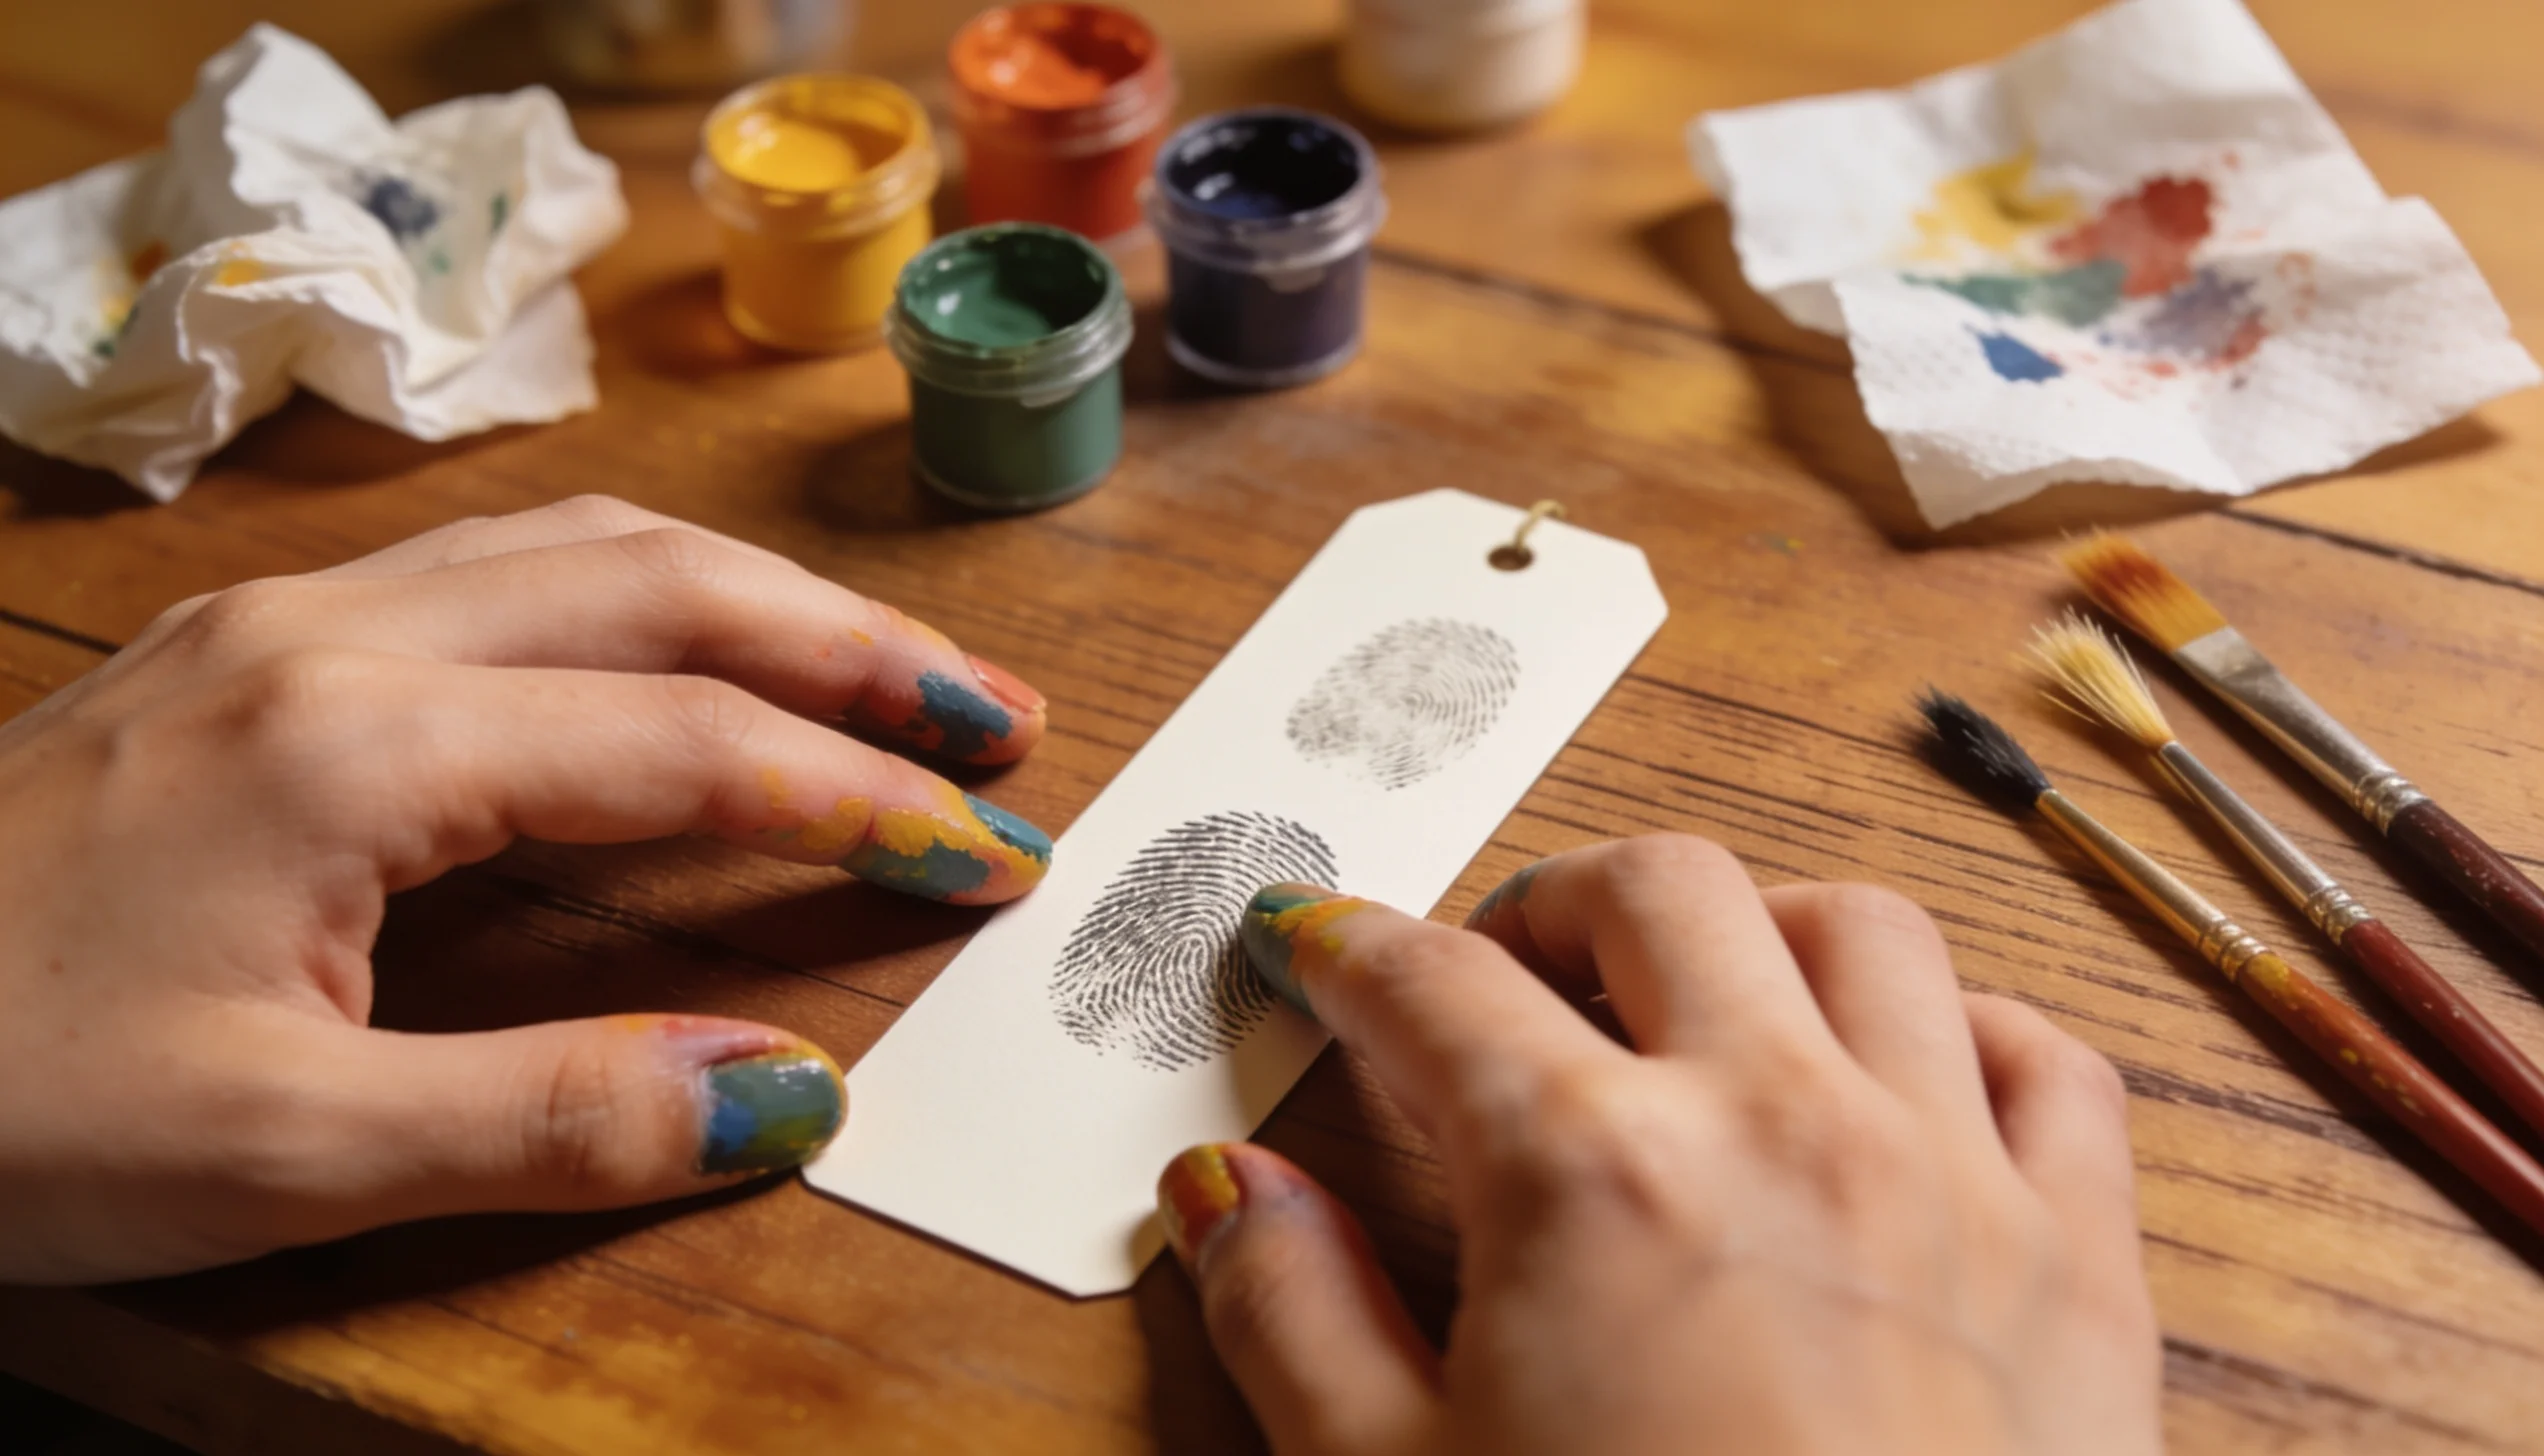
Kids can press a fingertip into washable paint and dab it onto a paper strip. Those little prints turn into bugs, flowers, or balloons with a few added pen lines.
Emoji And Cartoon Bookmarks
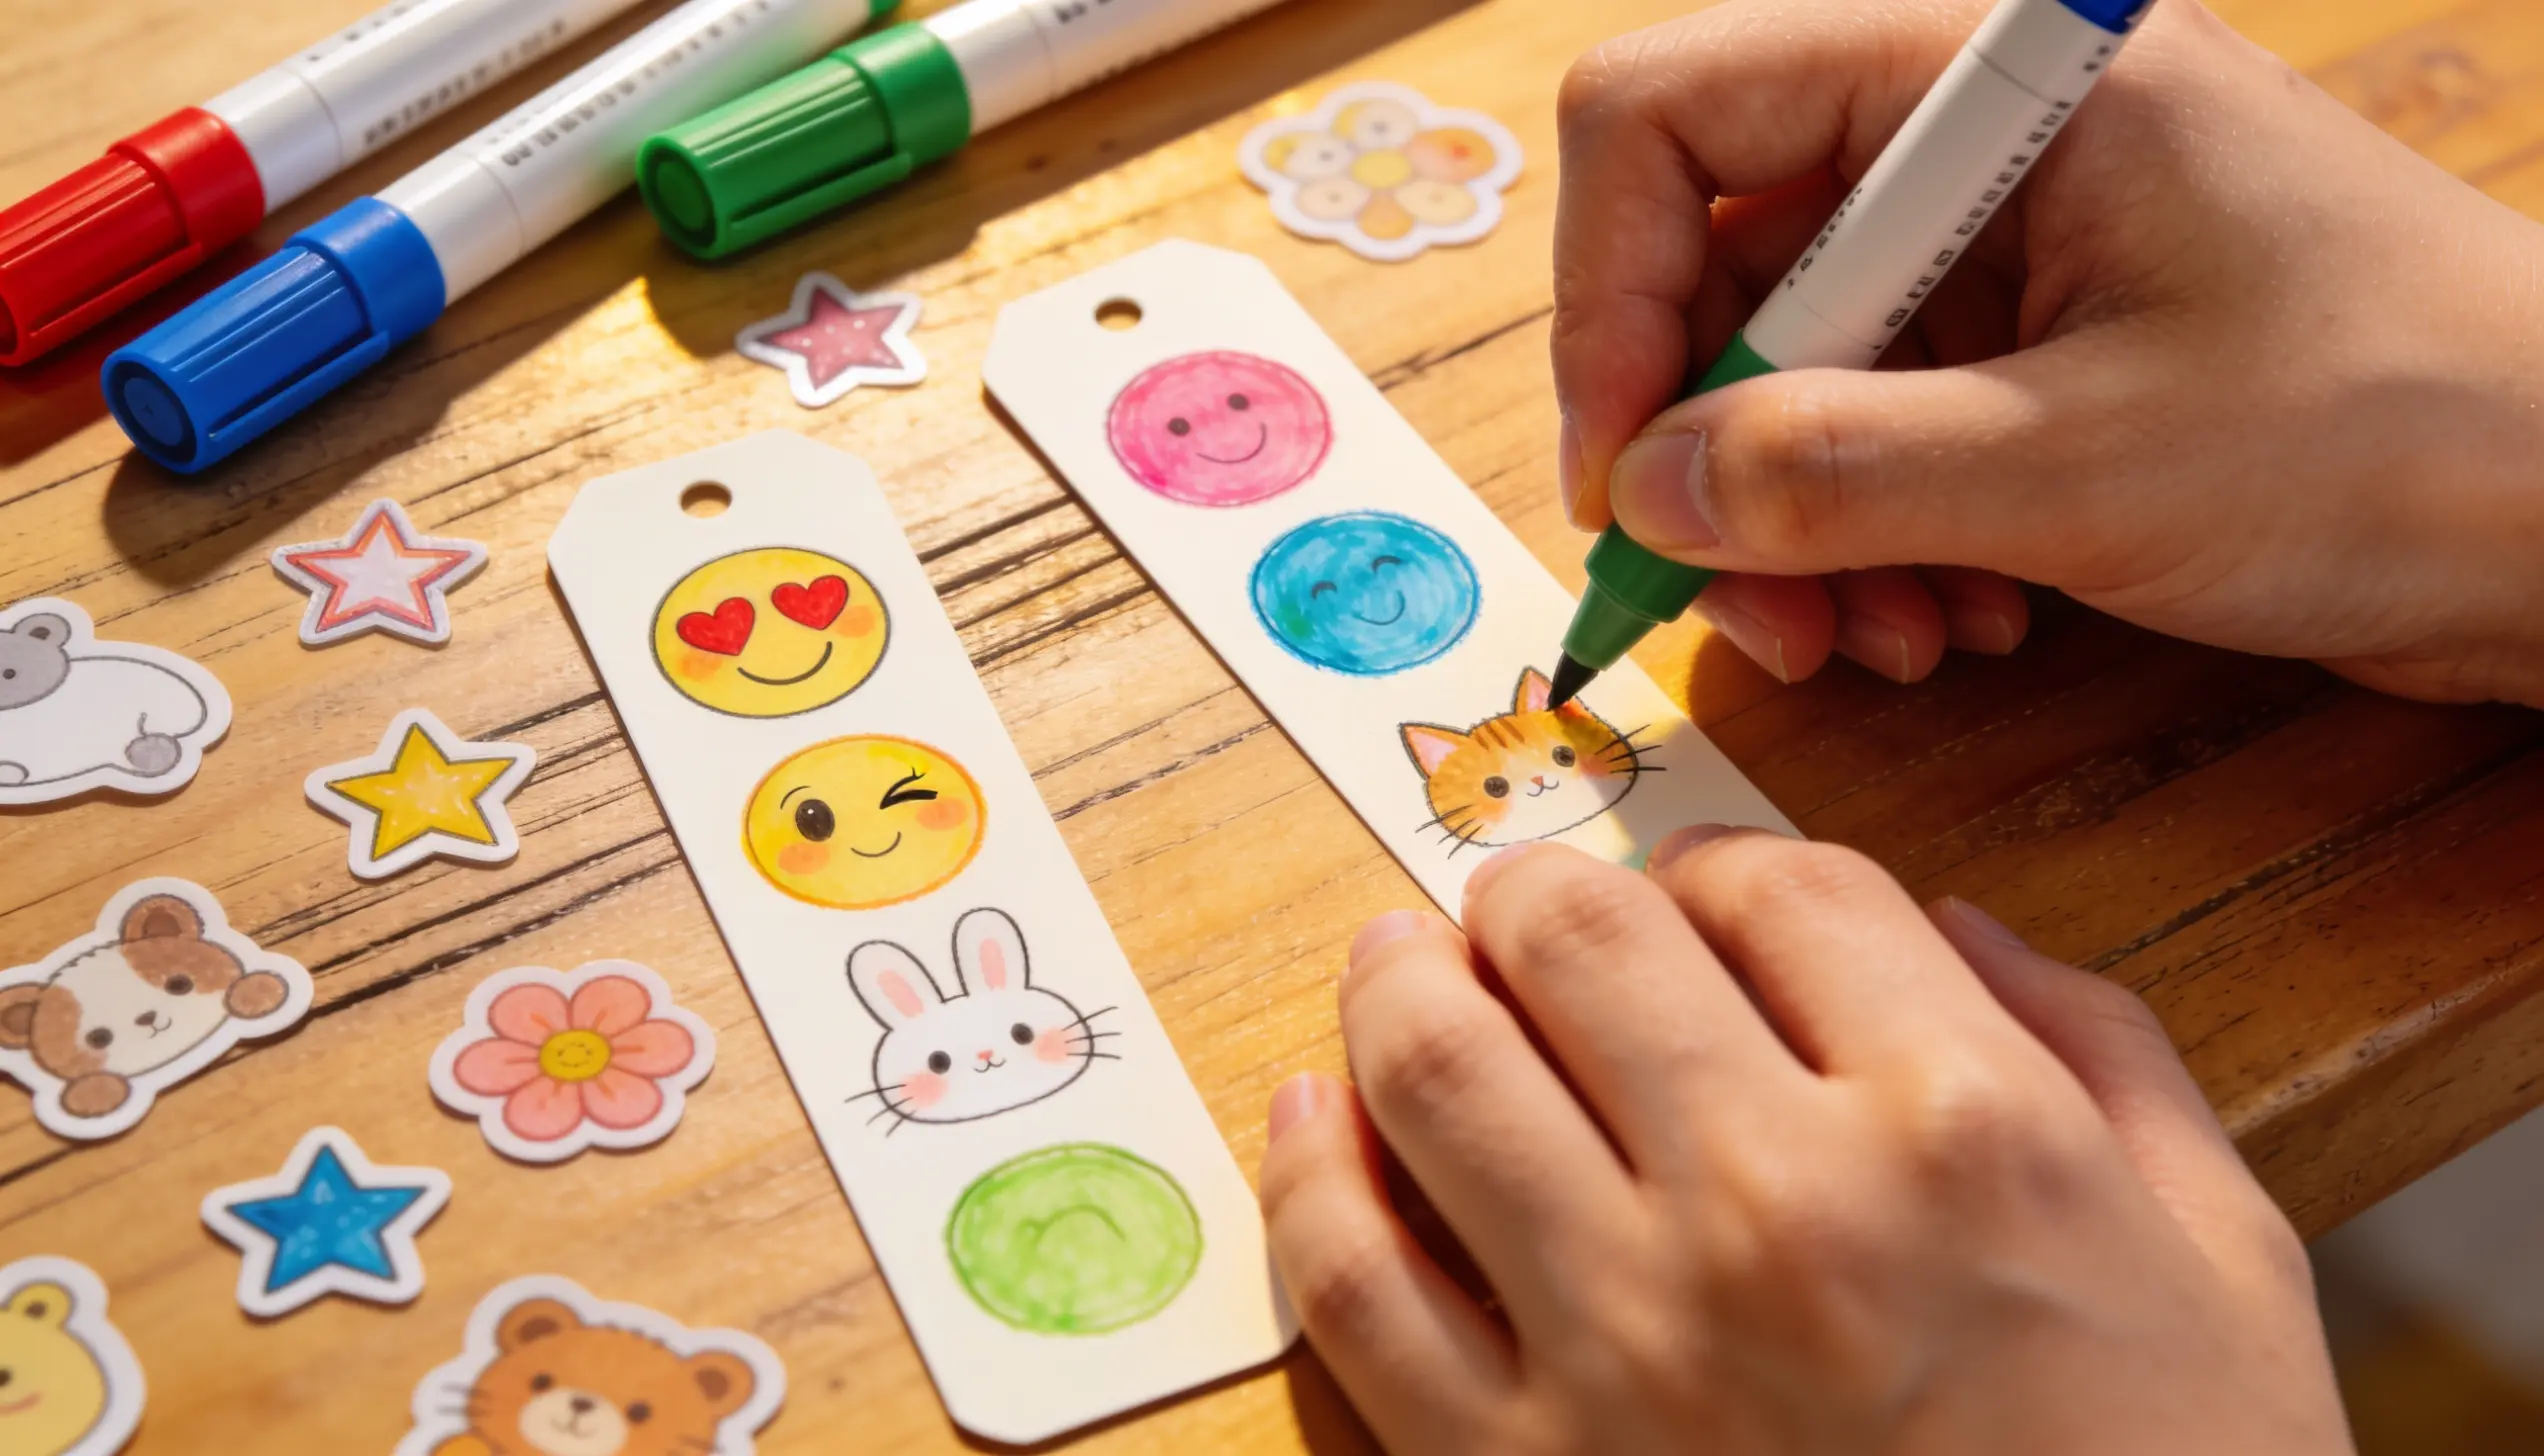
Familiar faces always win kids over. Smiley emojis, hearts, and simple cartoon characters are easy to draw or print and stick on.
Round-corner folds work great as faces, since the fold becomes a cheeky grin across the page.
Popsicle Stick Bookmarks
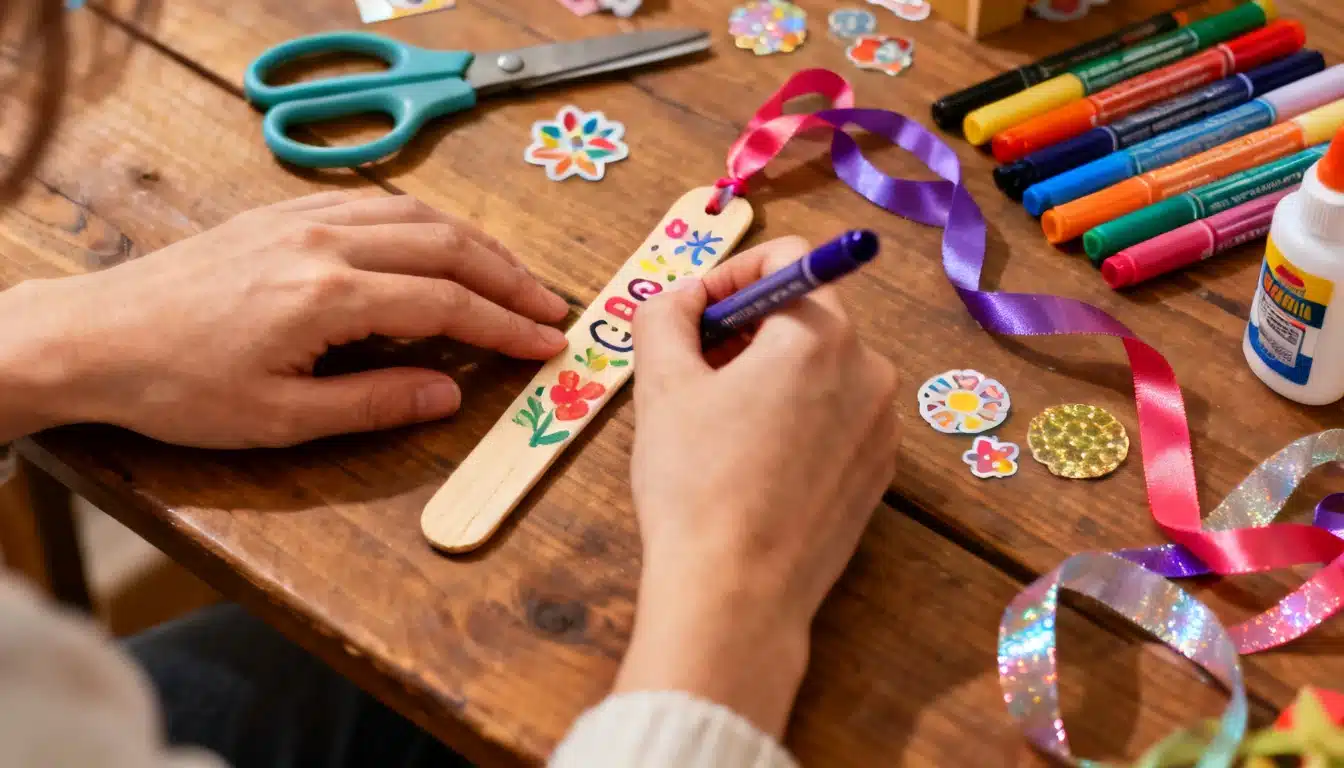
These are sturdy, safe, and very hard to mess up, which is why I keep a pack of sticks on hand.
Kids paint a clean popsicle stick, let it dry, then add stickers, googly eyes, or a small pom-pom on top. No cutting is needed, so even my youngest crafters can join in.
Conclusion
DIY bookmarks are one of the easiest crafts to pick up. A strip of paper, a little glue, and a few minutes are really all it takes.
A handmade bookmark does more than hold a page. It gives kids a reason to reach for a book, and it turns reading into something they helped create.
So grab the craft drawer and pick one design to start with today. Happy crafting and happy reading.
Frequently Asked Questions (FAQs)
1. What Materials Are Best For DIY Bookmarks?
Cardstock is the top pick since it’s sturdy, but scrap paper, fabric, and popsicle sticks all work well too.
2. How Can I Make Bookmarks Waterproof?
Cover both sides with clear tape or a laminating sheet to keep water and smudges from ruining the paper.
3. Can I Use Fabric to Make Diy Bookmarks?
Yes, fabric scraps make soft, sturdy bookmarks, and a simple paper clip turns them into a quick page marker.