
Stainless steel sinks are supposed to look sleek. Instead, most of them end up covered in water spots, grease streaks, and that weird brownish ring that forms around the drain no matter how often you rinse.
The sink gets used a dozen times a day, but actual cleaning? That gets pushed off.
If yours is looking rough right now, you’re not alone, and it’s a faster fix than you’d expect. No special products, no scrubbing for an hour.
Just a few things you probably already have under the sink and about ten minutes. This post walks through exactly what works, what to skip, and how to keep it looking clean without much thought.
What You’ll Need Before You Start
Before starting the cleaning process, it’s smart to gather all your supplies. Running back and forth mid-clean can slow you down and make the task more frustrating than it needs to be. Here’s what you’ll want on hand:
- Dish soap: For everyday cleaning and grease removal
- Baking soda: Gentle scrubbing without scratching
- White vinegar: Tackles mineral deposits and adds shine
- Soft microfiber cloth: Perfect for wiping and polishing
- Non-scratch scrubbing pad: Safe for scrubbing stubborn spots
- Olive oil or mineral oil: Optional, but great for a polished finish
- Bar Keepers Friend: Only if there are rust spots or hard water stains
Avoid steel wool or rough scrubbers; they can leave tiny scratches that trap dirt and dull the finish over time.
How to Clean a Stainless Steel Sink: Step by Step
Most sinks don’t need a miracle product. They need the right order of steps. Work through these from top to bottom, and the whole process takes under 15 minutes.
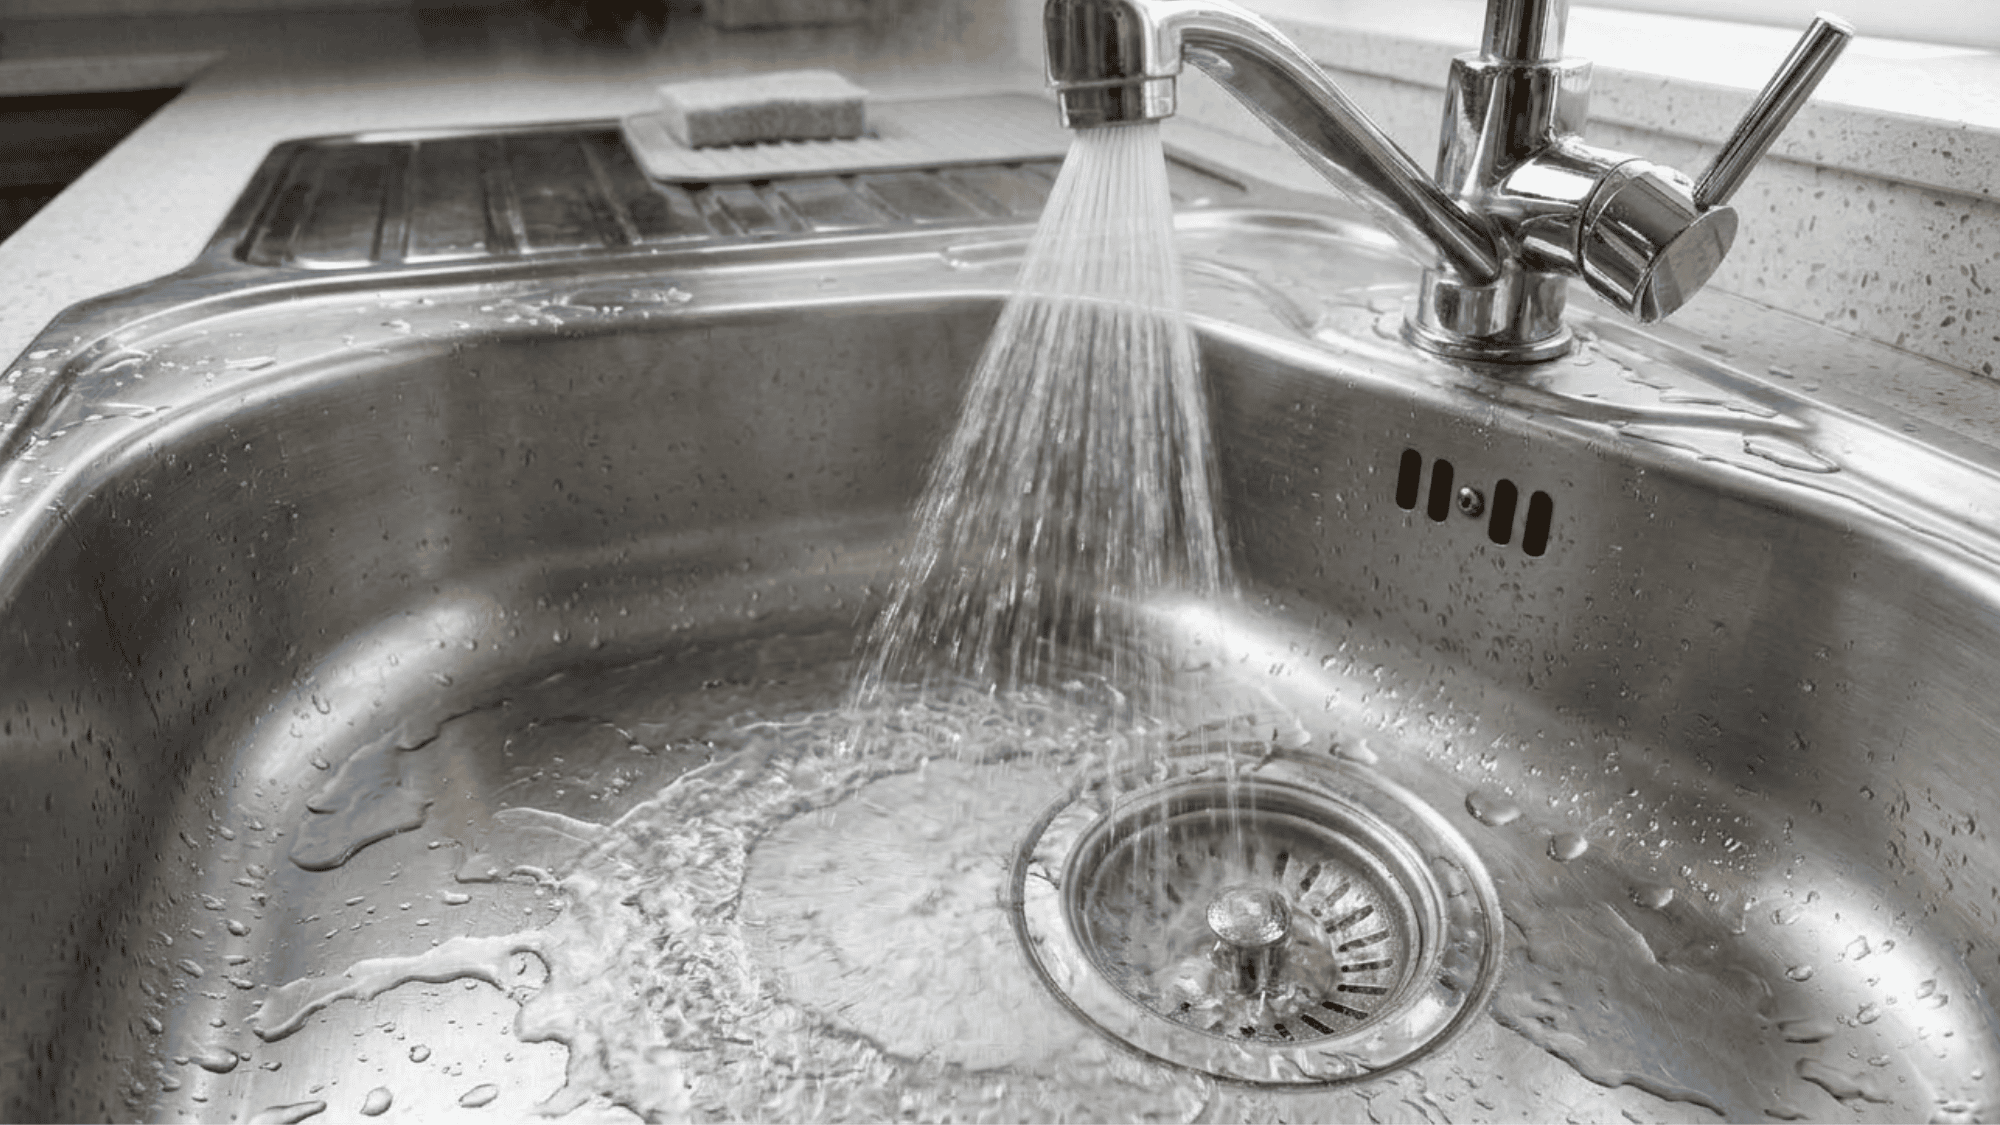
Step 1: Clear and Rinse the Sink
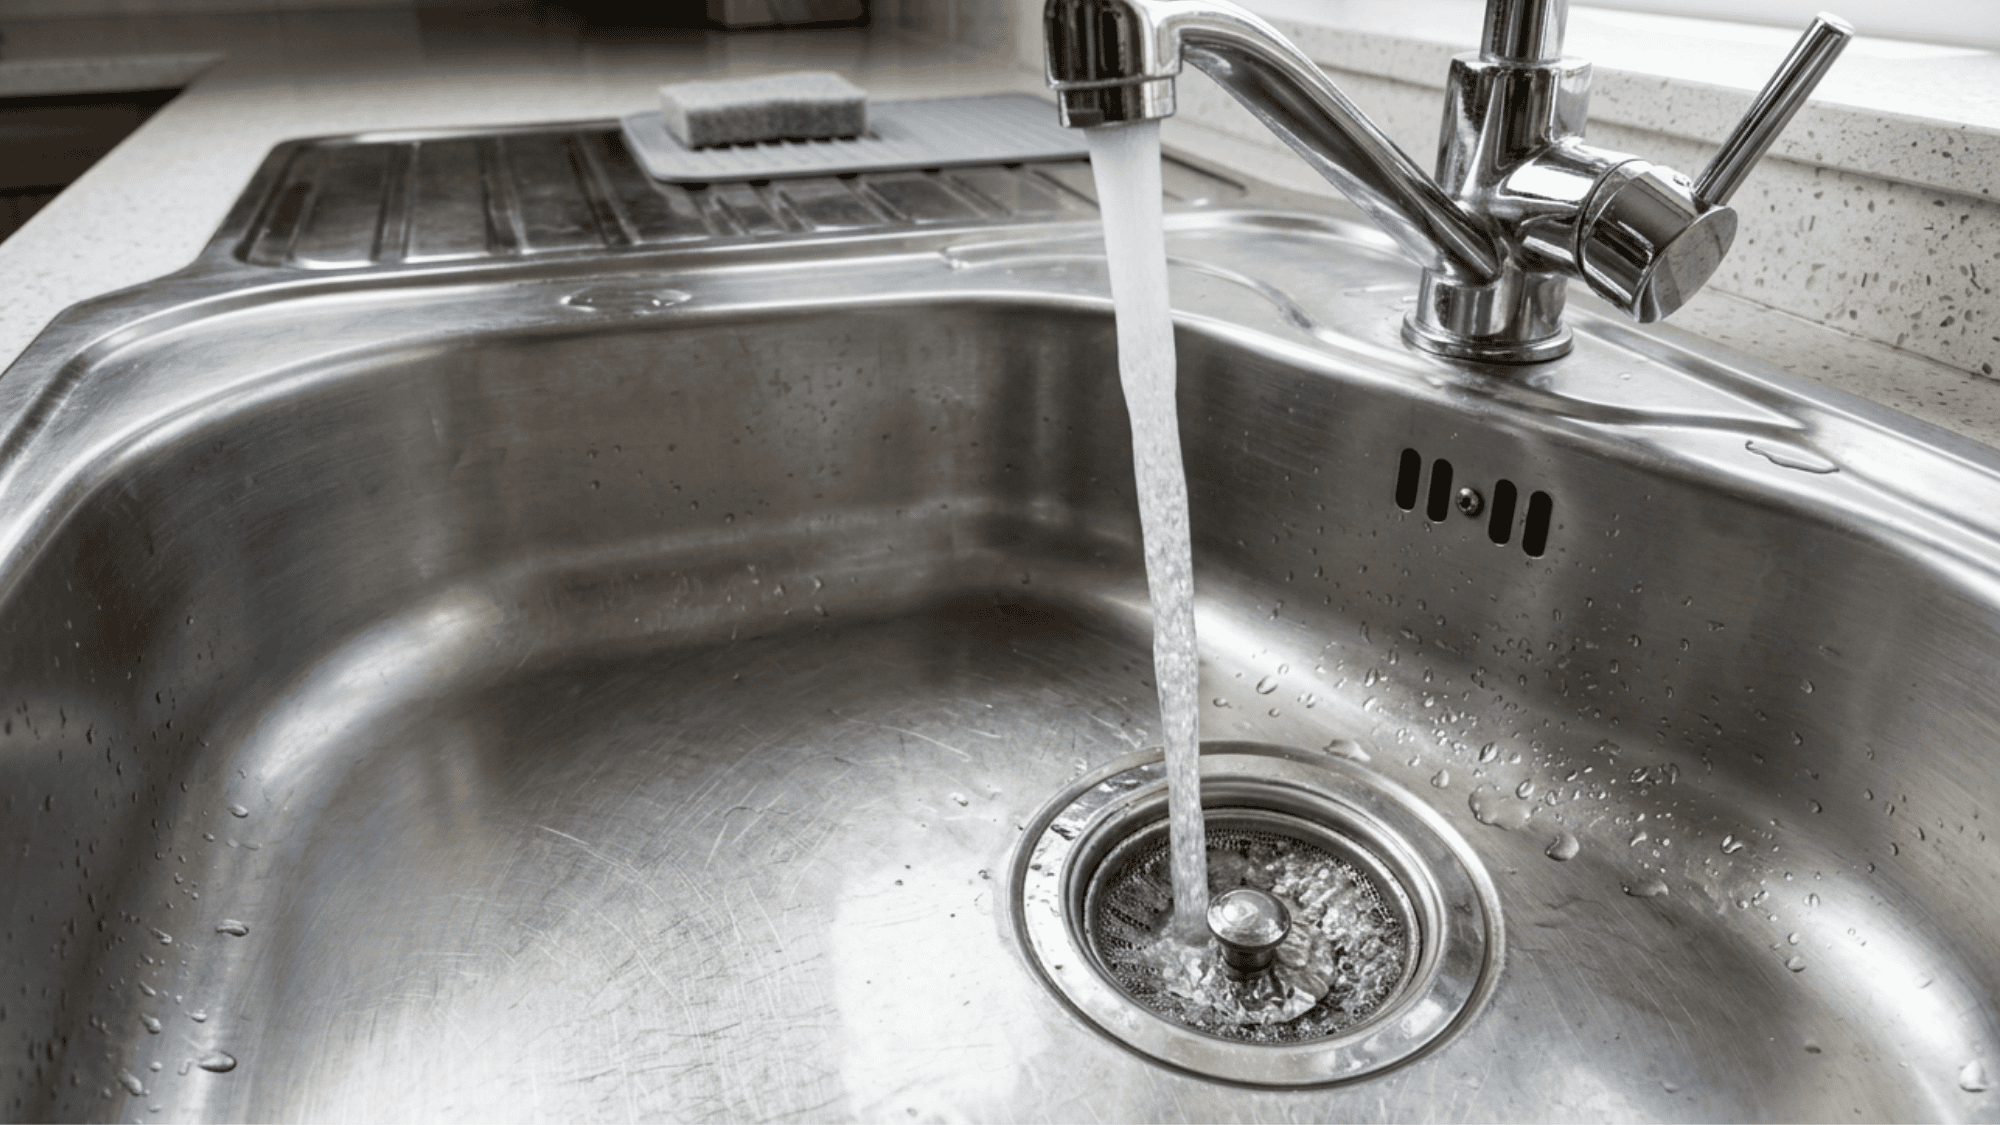
Remove everything from the sink, including dishes, sponges, and drain covers. Rinse the entire surface with warm water to loosen food debris and soap residue.
This quick 30-second rinse makes the following steps much easier.
Pro Tip: If there’s standing water or food in the drain, clear that first. Starting with a blocked drain makes rinsing messier than it needs to be.
Step 2: Apply Baking Soda
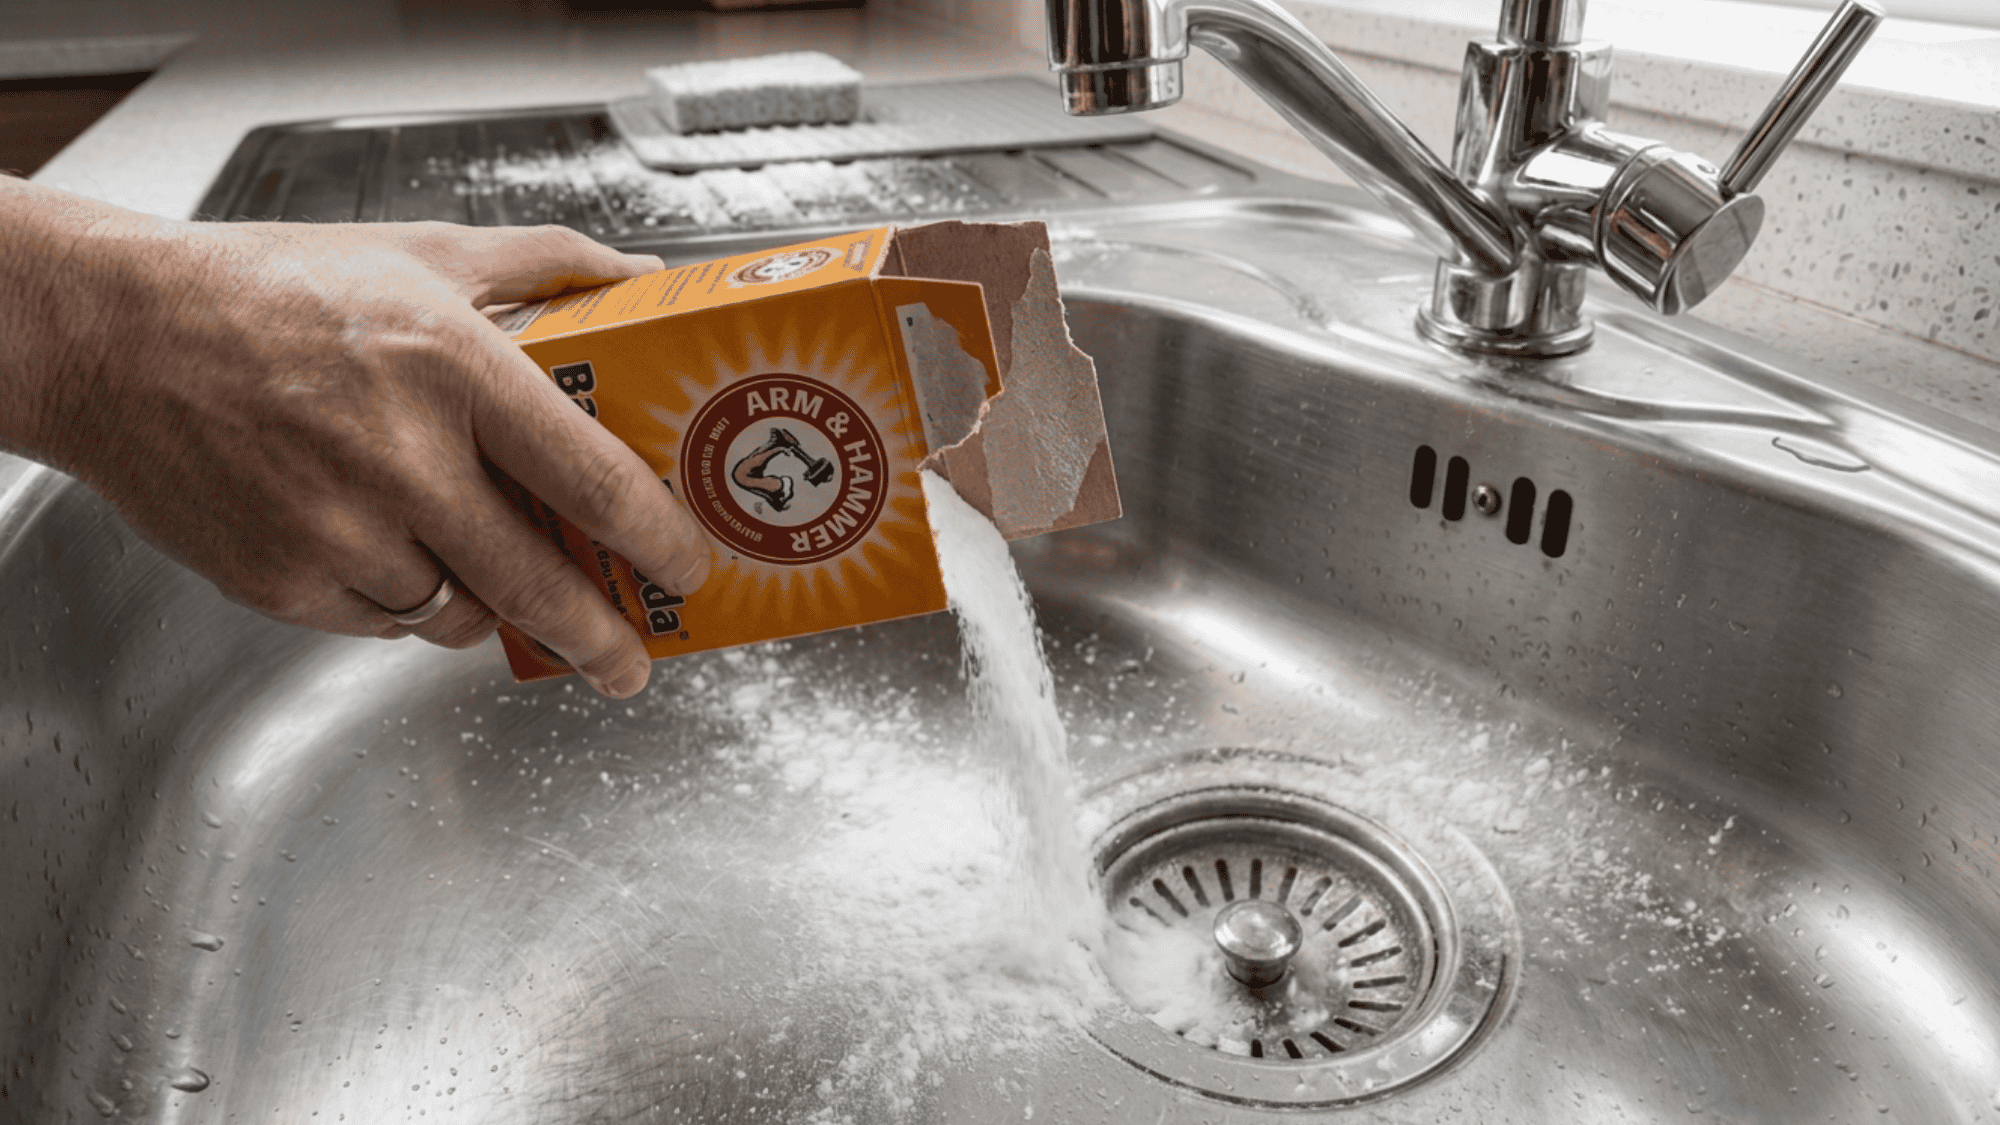
Sprinkle a generous layer of baking soda across the bottom and sides.
You want enough to coat the surface, not just a light dusting. Baking soda is mildly abrasive, scrubbing effectively without scratching, and it lifts grease and residue better than dish soap alone.
Pro Tip: Wet the sink lightly before sprinkling the baking soda. It sticks better and starts working on grime immediately.
Step 3: Scrub in the Direction of the Grain
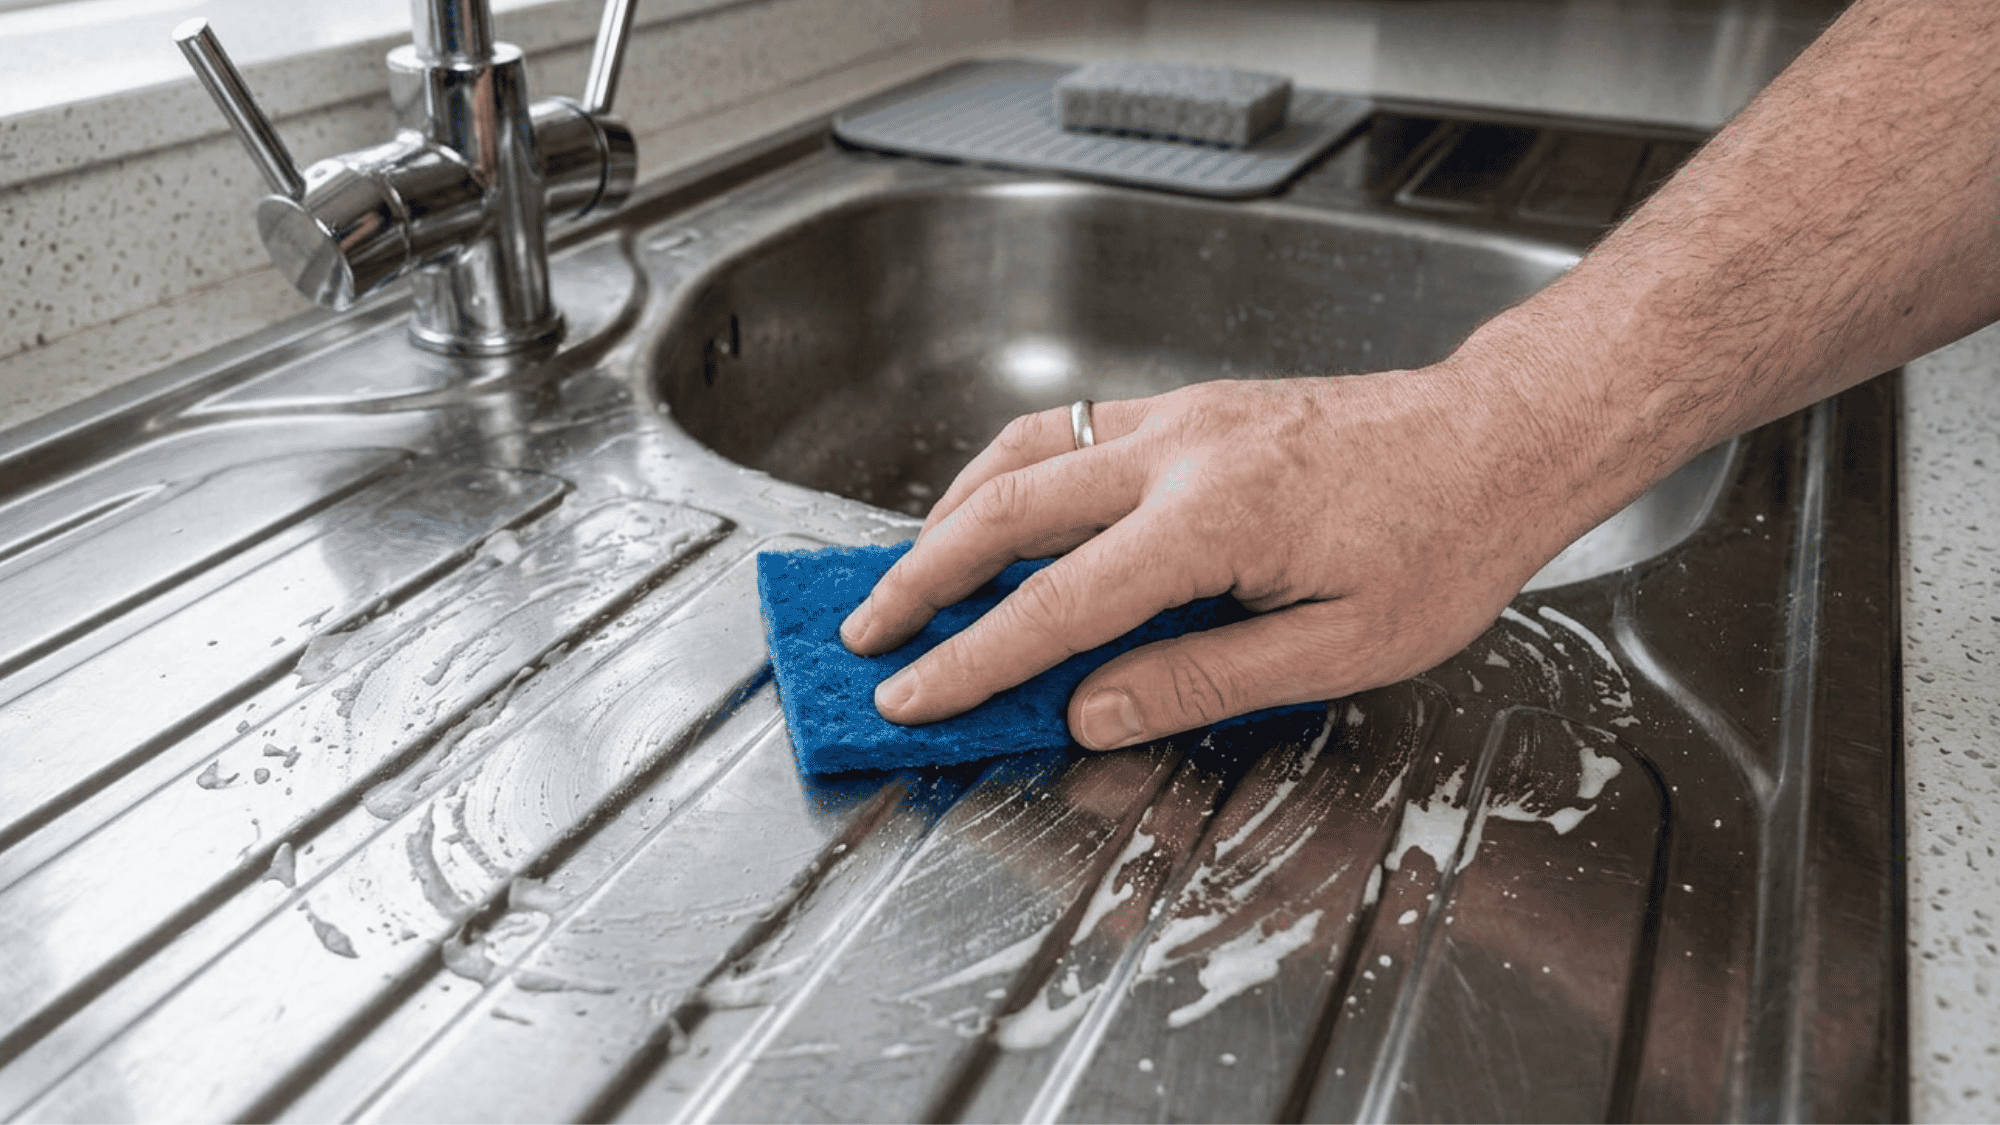
Use a damp non-scratch pad or soft cloth to scrub the baking soda in. Always follow the grain, the faint lines running along the metal. Scrubbing against the grain leaves micro-scratches that dull the finish over time.
Pro Tip: Unsure which way the grain runs? Tilt the sink under natural light. The lines will appear clearly, showing the correct direction to scrub.
Step 4: Treat Water Spots With White Vinegar
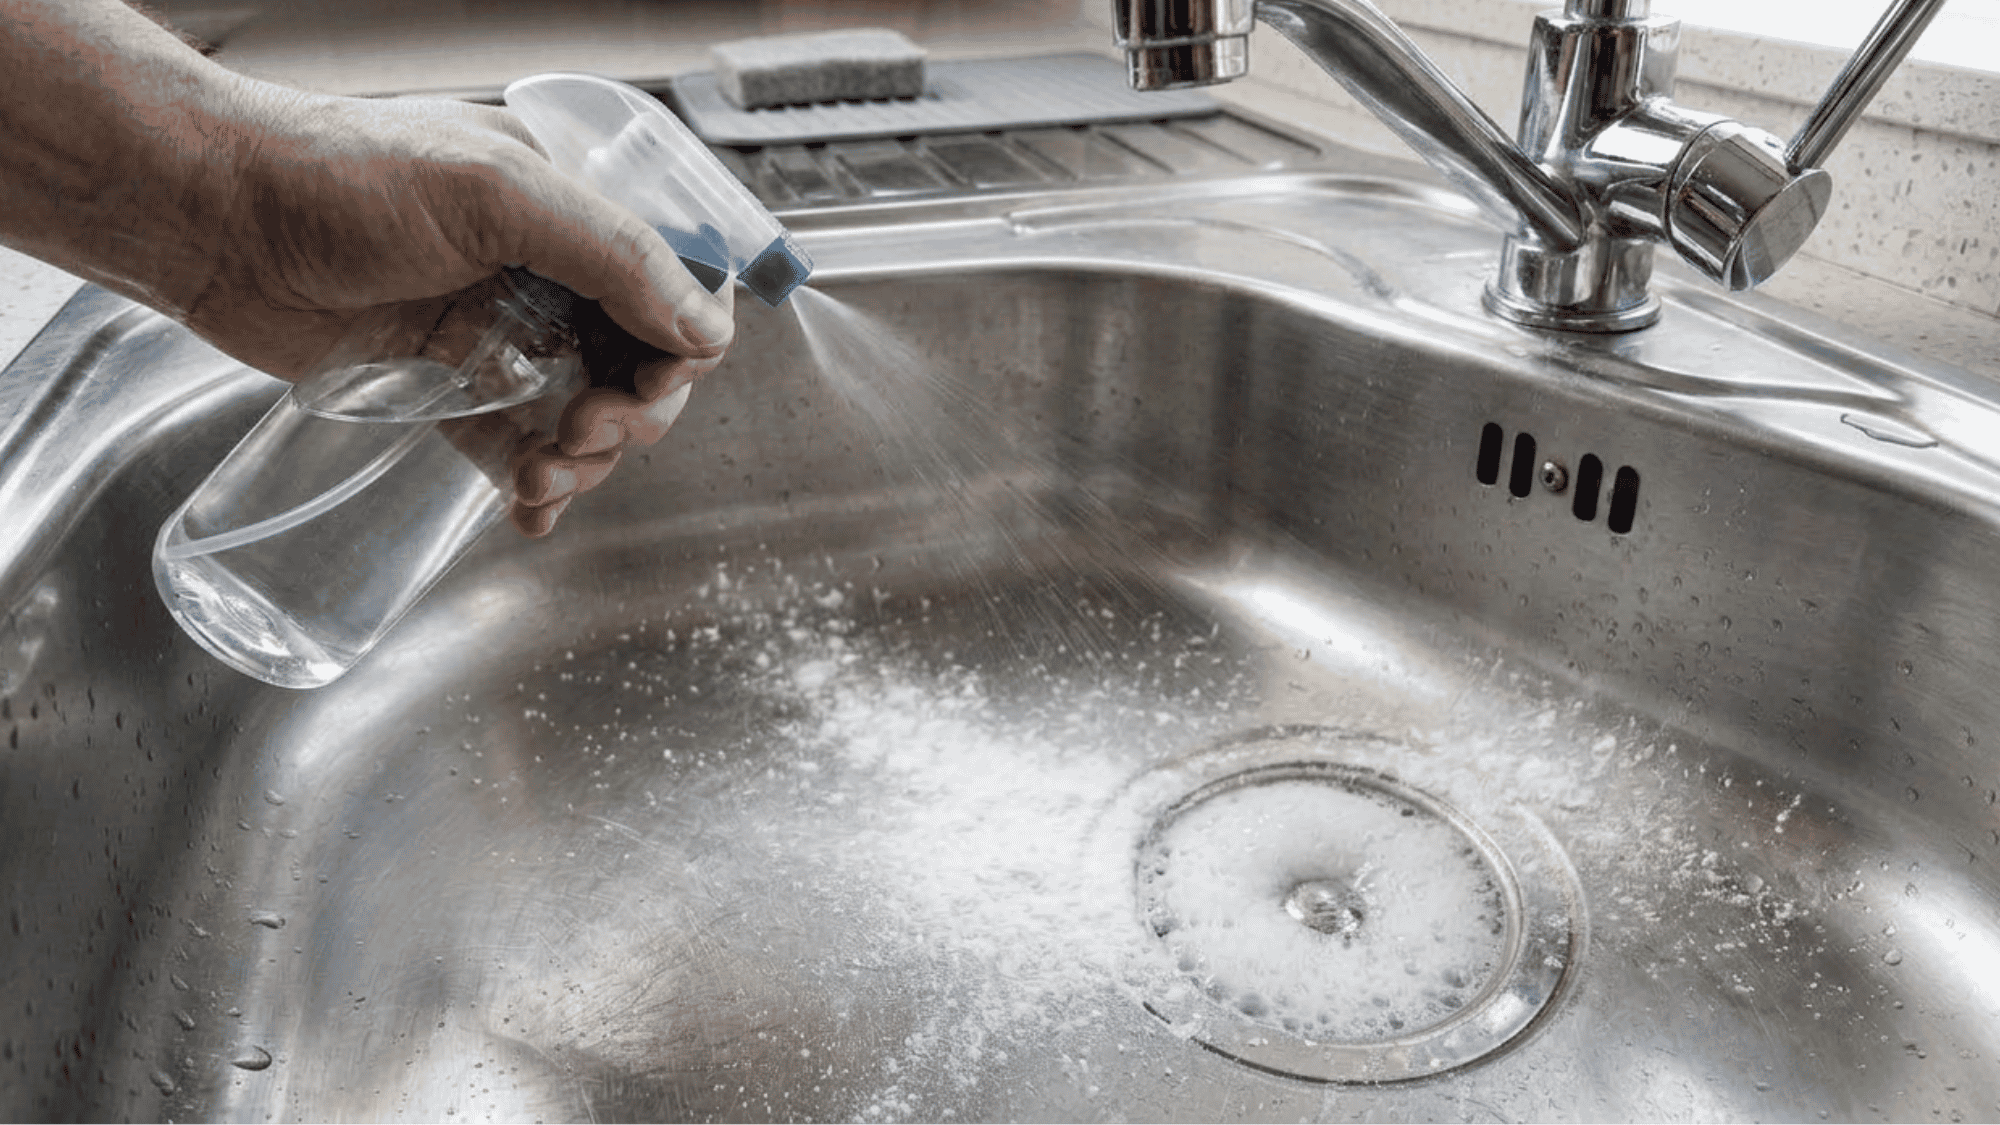
Spray undiluted white vinegar over the sink, especially on water spots and mineral deposits. The fizzing with baking soda is normal. Let it sit for 3 to 5 minutes. The acidity dissolves hard water minerals that scrubbing alone cannot remove.
Pro Tip: For stubborn spots, soak a paper towel in vinegar, press it directly onto the spot, and leave it for 10 minutes before scrubbing.
Step 5: Rinse Thoroughly
Rinse the sink with warm water until all baking soda and vinegar residue is gone. Run your hand across the surface; if it still feels gritty, rinse again. Residue left to dry can leave a dull film.
Pro Tip: Rinse from the top down toward the drain to avoid pushing residue back onto cleaned areas.
Step 6: Dry Completely
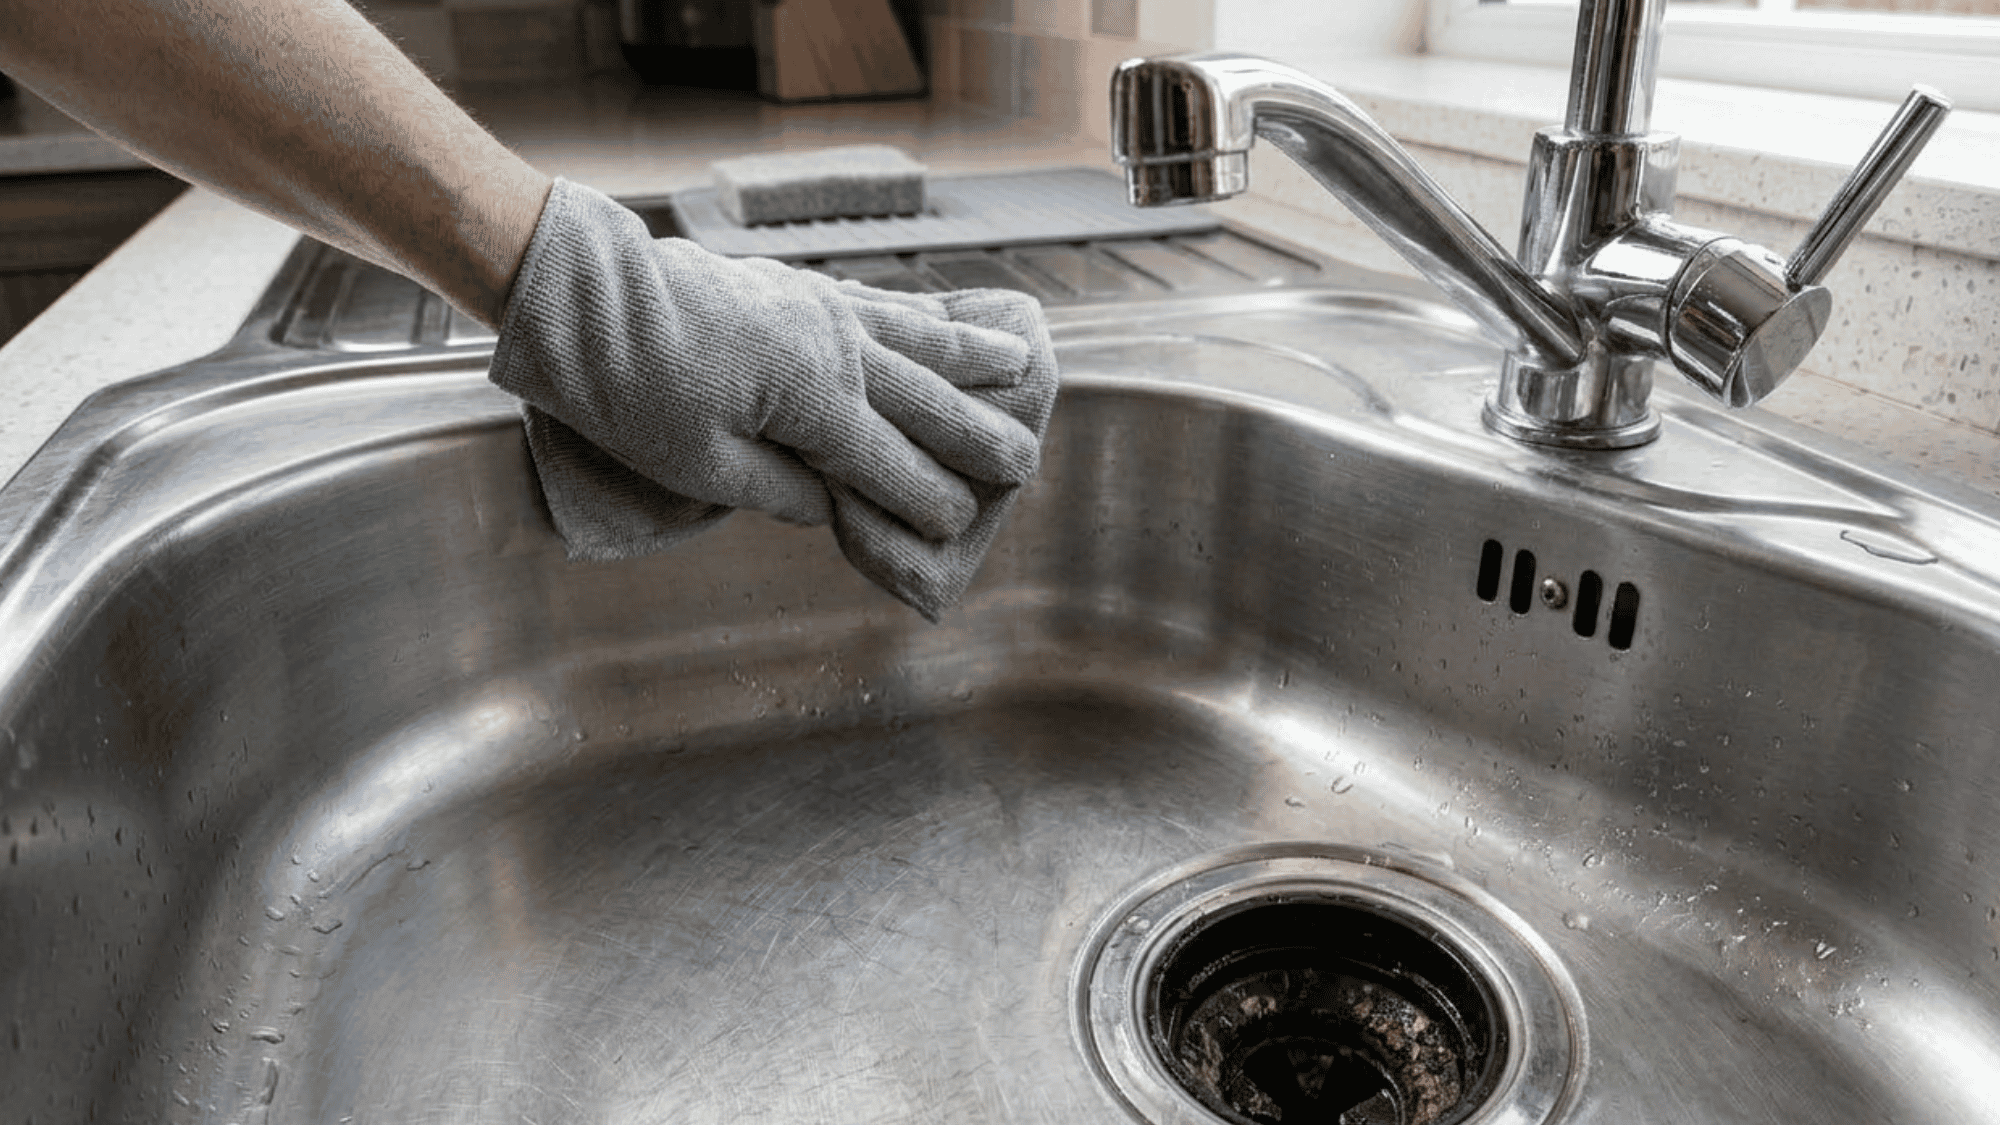
Use a clean microfiber cloth to dry the sink fully. Air-drying causes mineral deposits and water spots to return quickly. Drying after every use is the single habit that makes the biggest long-term difference.
Pro Tip: Keep a dedicated microfiber cloth next to the sink so drying is effortless and becomes routine.
Step 7: Buff With Mineral Oil
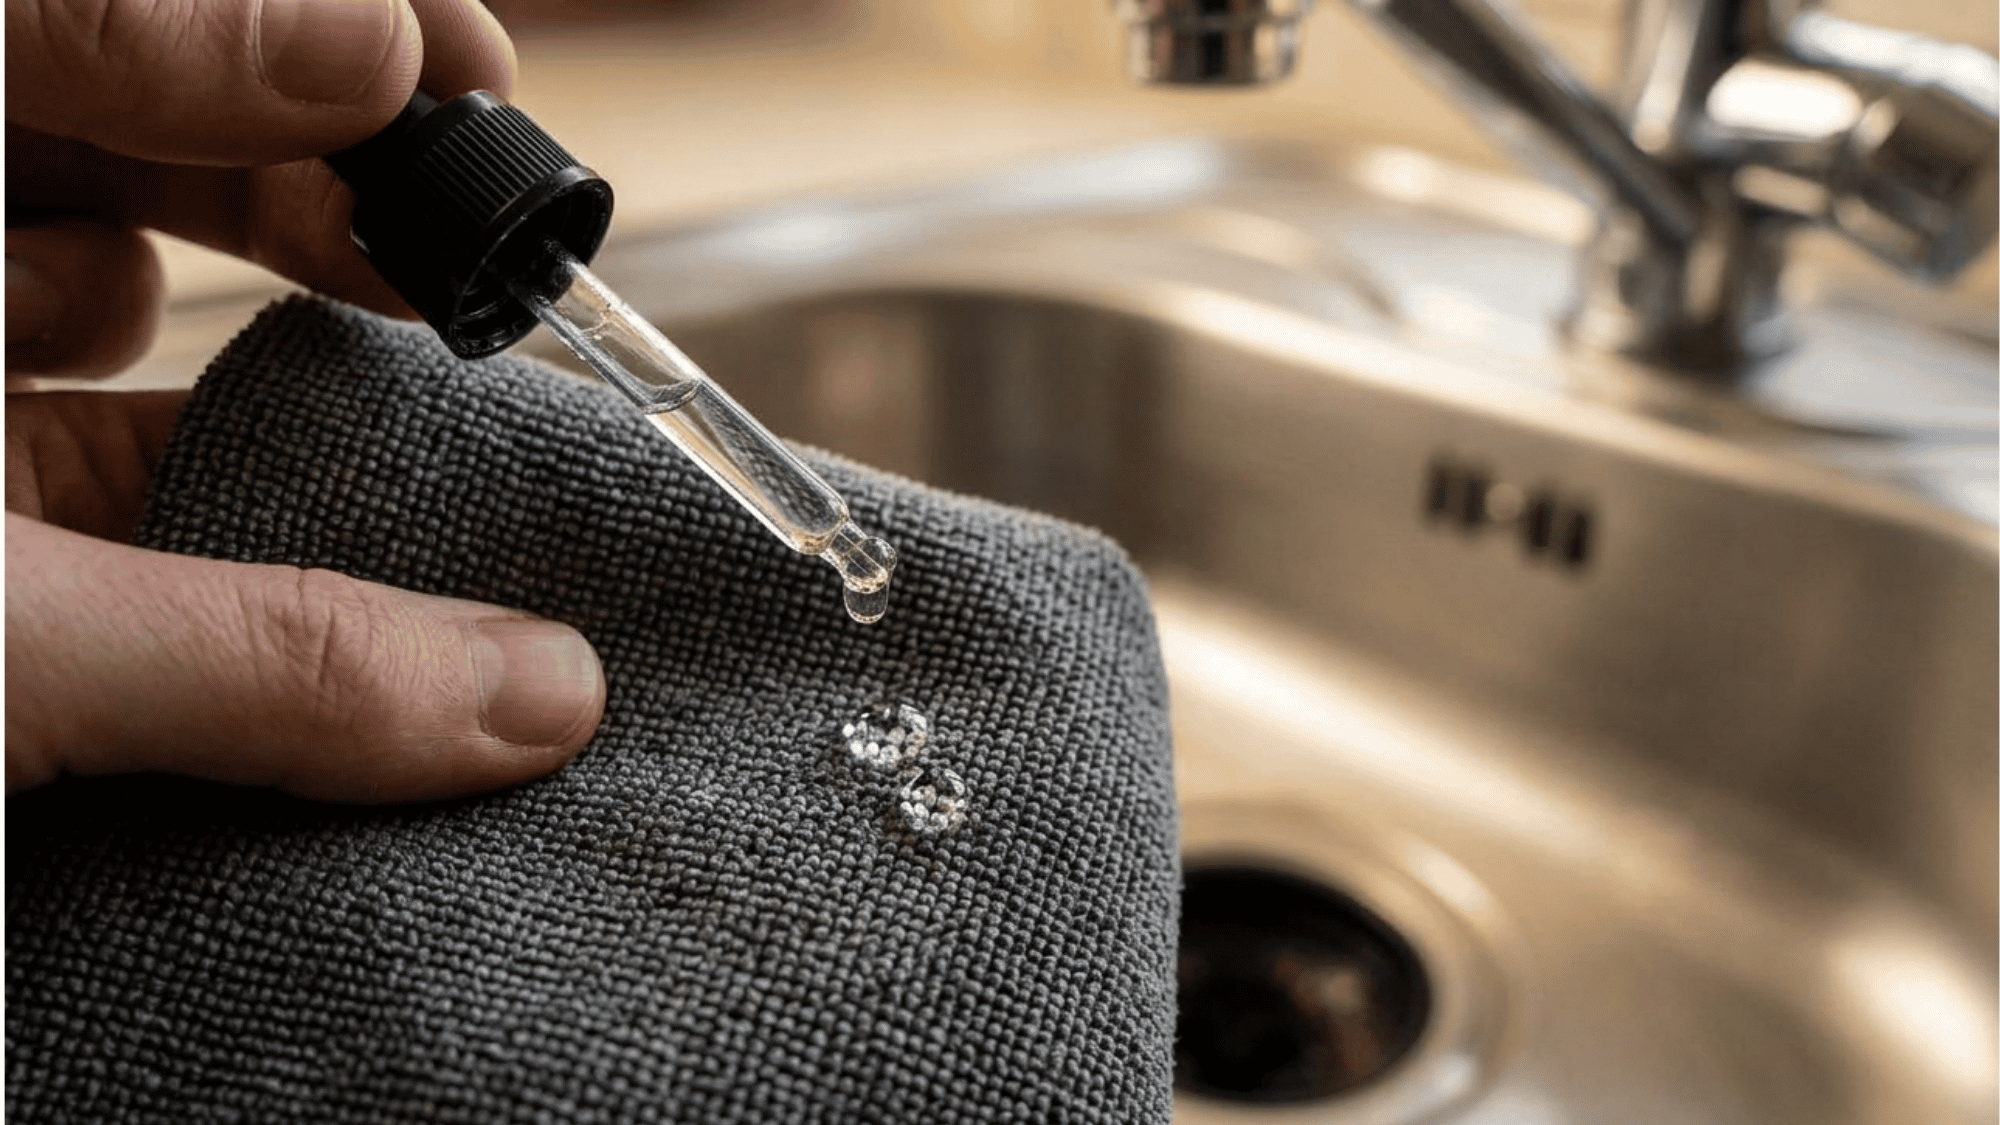
Put 2 to 3 drops of mineral or olive oil on a soft cloth and buff the dry sink. This restores shine, hides fine marks, and creates a light barrier against water and fingerprints.
Doing this once a week helps the sink stay clean longer between washes.
Pro Tip: Less is more. Too much oil leaves a greasy film that attracts dust and fingerprints.
Common Mistakes to Avoid When Cleaning a Stainless Steel Sink
Most stainless steel sinks aren’t damaged from lack of cleaning; they get damaged from cleaning the wrong way. Avoid these mistakes to keep your sink looking shiny and lasting longer:
- Using steel wool or rough scrubbers: They might feel effective, but they leave tiny scratches that trap grime and can lead to rust over time.
- Using bleach-based cleaners: Repeated use can break down the protective layer on stainless steel, causing discoloration.
- Leaving the sink wet after cleaning: Air-drying brings water spots and mineral deposits back almost immediately.
- Scrubbing against the grain: This gradually dulls the finish and makes future cleaning harder.
- Leaving cast iron pots sitting in the sink: Prolonged contact can cause surface rust that is difficult to remove.
- Using too much oil when buffing: A greasy film attracts dust and fingerprints instead of keeping the sink clean.
Wrapping Up
A clean stainless steel sink instantly lifts the look of your kitchen and makes daily chores more enjoyable.
By using simple, accessible ingredients and the right techniques, anyone can maintain a gleaming, hygienic surface without stress. Paying attention to small habits, like keeping cleaning supplies handy and buffing lightly with oil, makes the process faster and more effective.
Take a few minutes to care for your sink regularly, and you’ll save time and effort in the long run. Start today, follow the steps, and enjoy a sink that looks polished and fresh every time you step into the kitchen.
Frequently asked questions
Does the Sink Finish (matte vs. Polished) Change how I Clean It?
Matte or Brushed Finishes May Show Scratches More Easily than Polished Sinks. Always Scrub Lightly with The Grain and Avoid Abrasive Pads to Maintain the Original Look.
How Can I Prevent Odors from Developing in The Sink?
Regularly rinse and wipe the sink, clean the drain, and occasionally sprinkle baking soda in the basin or drain to neutralize lingering odors.
Can I Use Stainless Steel Cleaners or Polishes Instead of Natural Ingredients?
Yes, commercial stainless steel cleaners can be used occasionally, especially for tough stains or discoloration, but follow the instructions carefully and avoid overuse.


