A well-placed curtain rod can quietly change an entire window’s ambiance, while a crooked or unstable one quickly becomes difficult to ignore.
Learning how to install curtain rods takes the uncertainty out of choosing hardware, positioning brackets, drilling safely, and creating a polished finish.
The process does not need to feel overly technical. With careful preparation and a steady approach, each stage becomes easier to manage, from opening the rod kit to hanging the finished curtains.
Where to Hang Curtain Rods?
Knowing where to hang curtain rods comes down to two measurements: how high above the frame, and how far past it on each side.
Most designers mount curtain rods 4 to 6 inches above the window frame, or roughly two-thirds of the way to the ceiling in rooms with high ceilings.
On the sides, extend the rod 4 to 8 inches beyond the frame on each side so opened panels clear the glass instead of blocking it.
Ceiling-mounted or floor-length curtains follow the same width rule but hang from just below the ceiling line to make the window look taller than it is.
Essential Tools for Curtain Rod Installation
Having suitable tools within reach prevents delays, inaccurate markings, damaged walls, and hardware problems during installation.
| Items | Main Purpose |
|---|---|
| Curtain rod kit | Provides rod, brackets, and finials |
| Measuring tape | Sets height and spacing |
| Pencil | Creates removable marks |
| Level | Aligns both brackets |
| Stud finder | Locates solid framing |
| Drill and bits | Creates mounting holes |
| Screwdriver | Controls screw tension |
| Wall anchors | Supports hollow-wall mounting |
| Step ladder | Provides stable access |
| Safety glasses | Protects eyes while drilling |
Step-by-Step Curtain Rod Installation
Careful marking and controlled drilling produce a straighter, stronger installation while reducing unnecessary holes, damaged finishes, and later adjustments.
Step 1: Mark the Bracket Height
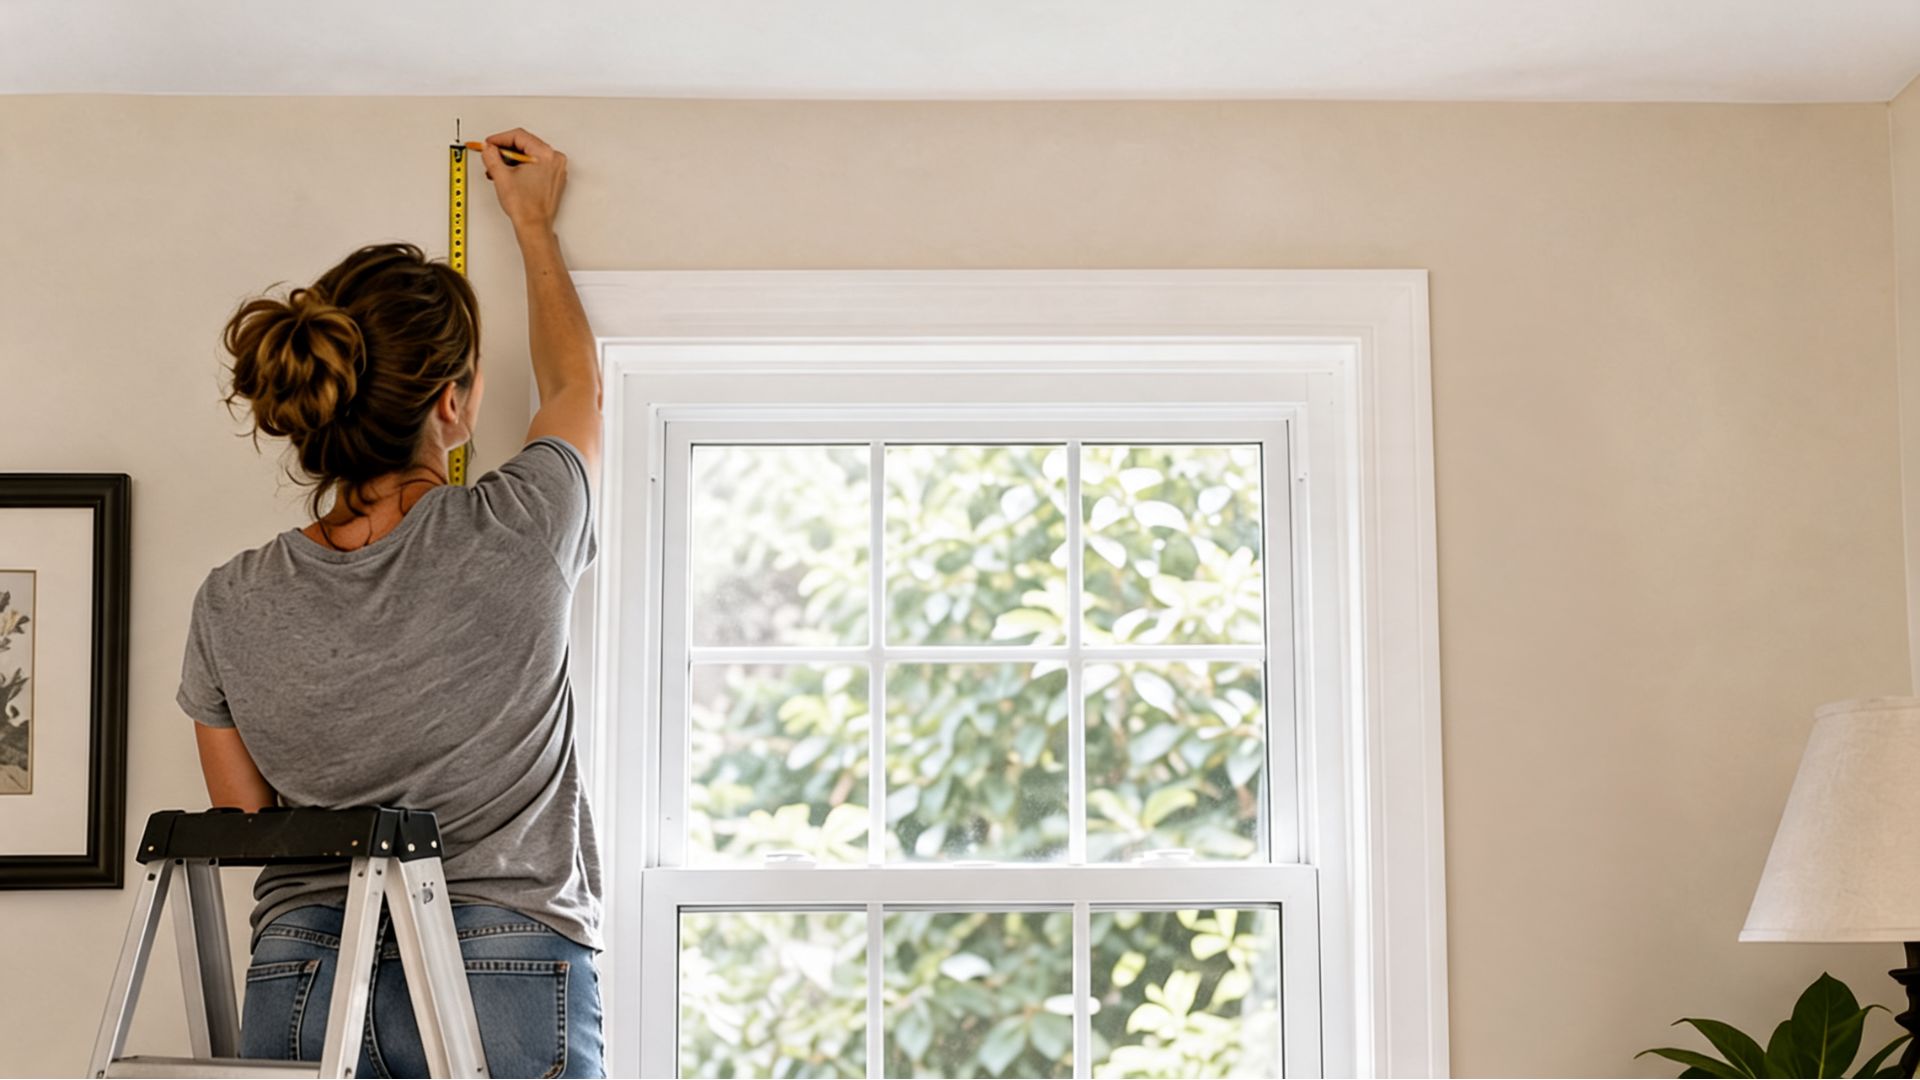
Choose the intended height based on the ceiling, window frame, curtain length, and heading style. As a starting point, measure 4 to 6 inches above the top of the frame.
Measure upward from the same reference point on both sides. Place small pencil marks rather than long lines that may remain visible.
Temporarily hold a curtain panel at the proposed height to check whether the hem reaches the floor, sill, or chosen finishing point.
Step 2: Mark the Bracket Width
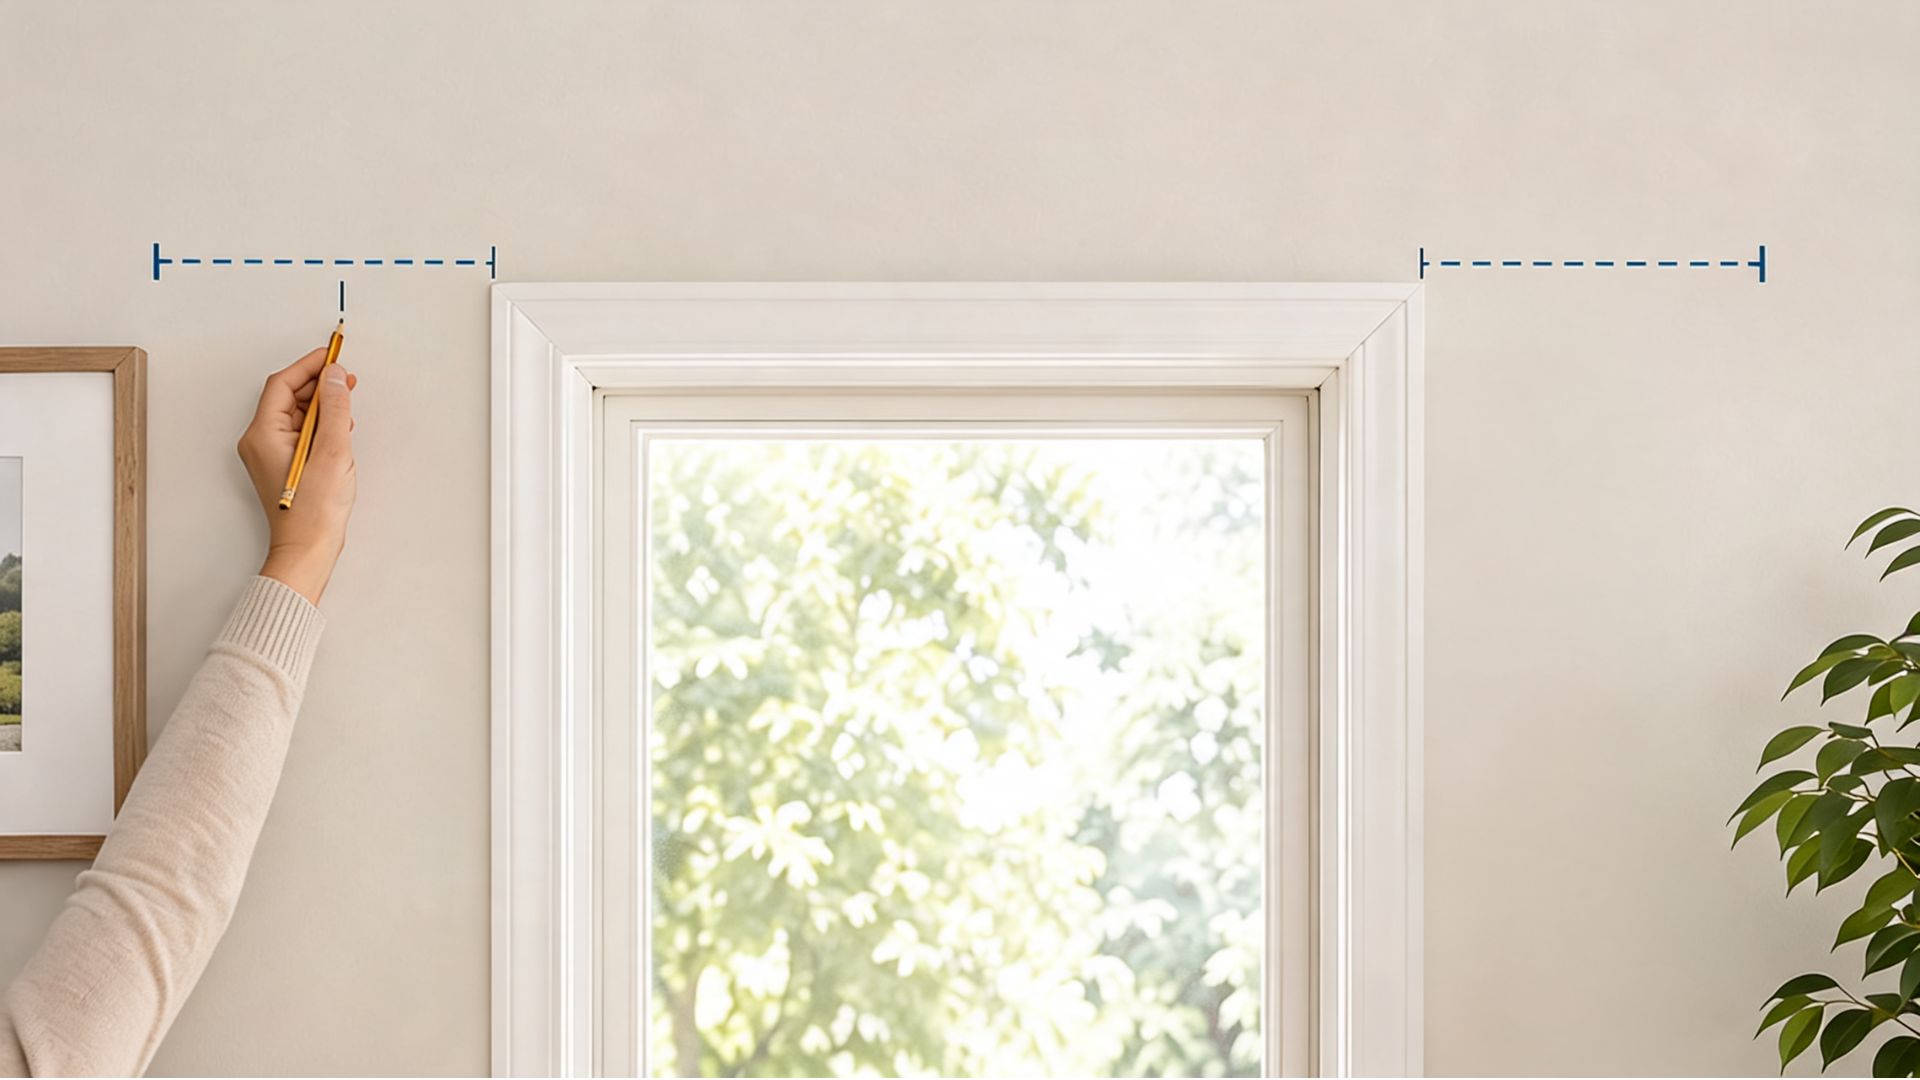
Measure outward from the outer edge of the window trim and mark each bracket position, typically 4 to 8 inches out on each side.
Allow enough room for opened panels to gather beside the glass instead of covering it. Also check nearby walls, cabinets, light switches, and decorative molding.
Where space is restricted on one side, adjust the overall arrangement while keeping the rod visually centered over the window.
Step 3: Check the Marks With a Level
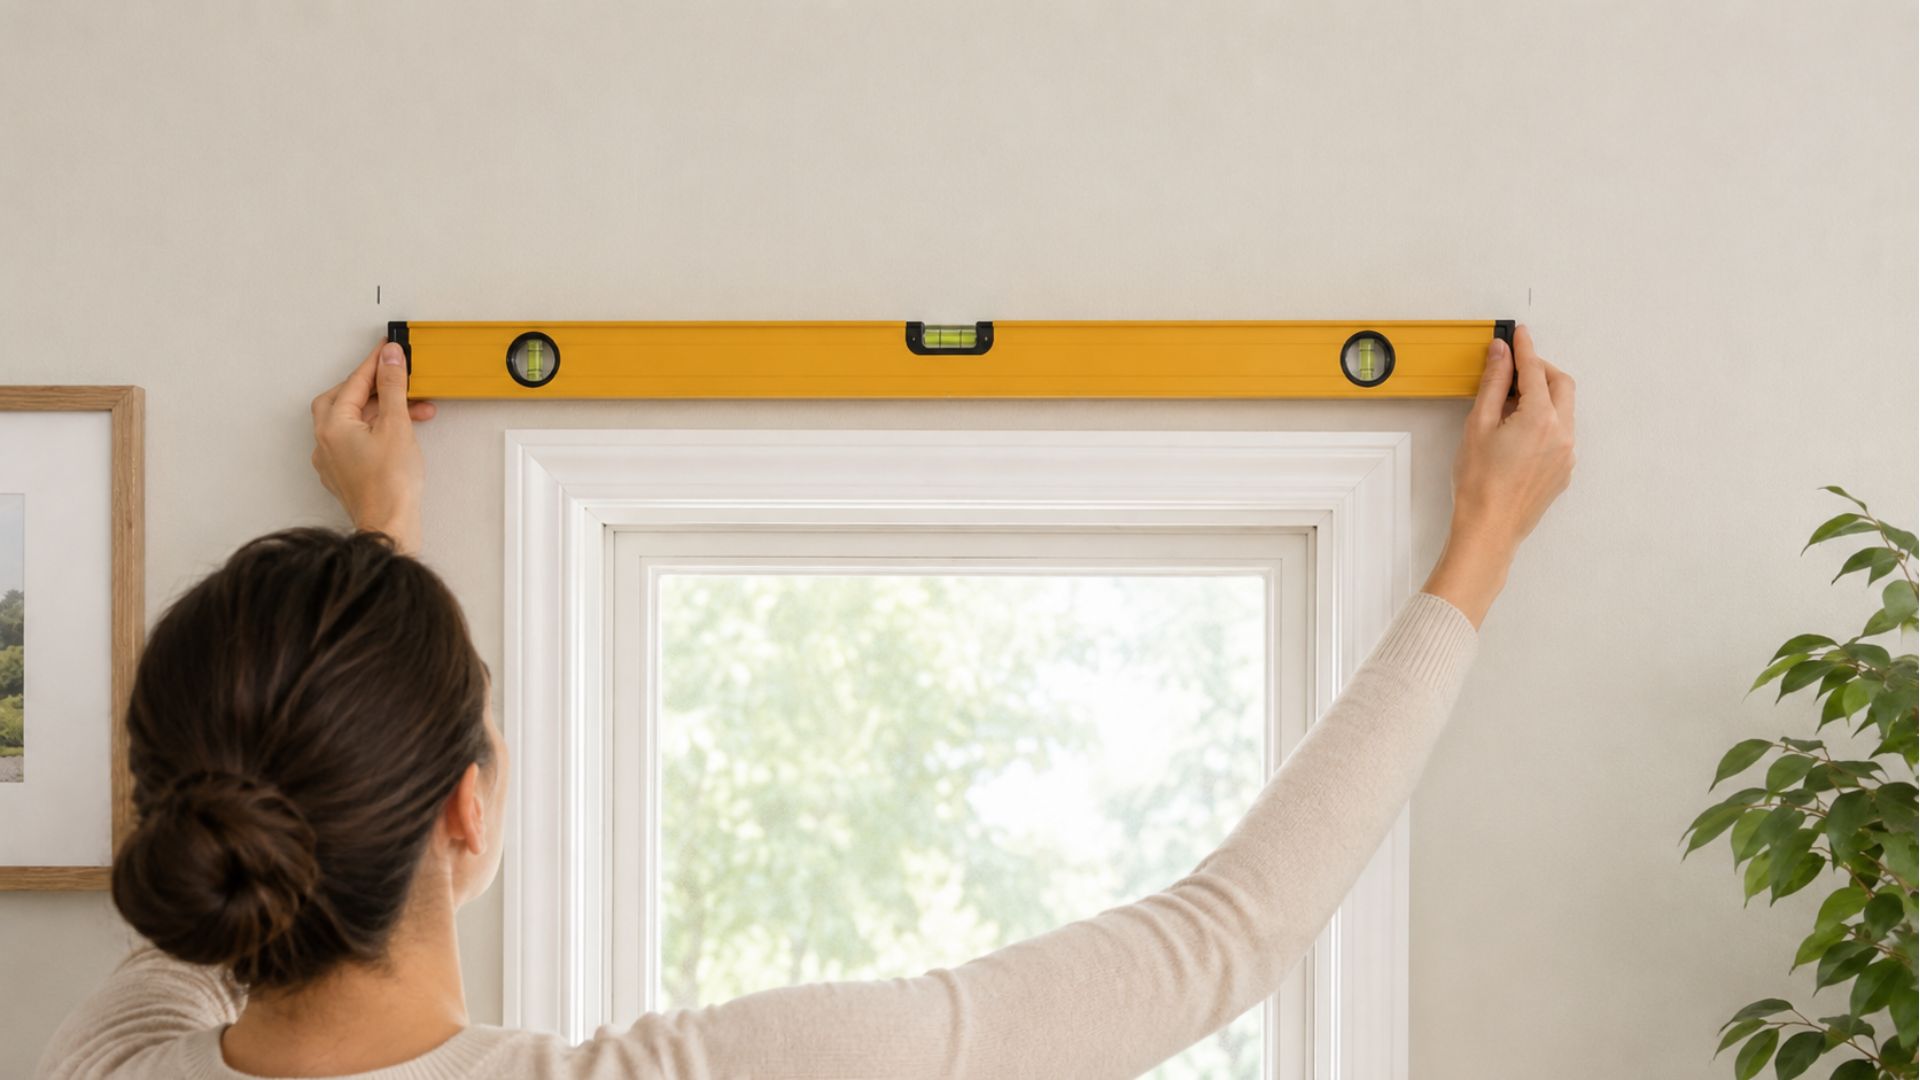
Position a level between the bracket marks and examine the bubble carefully.
Do not rely on the ceiling, trim, or window frame as a visual guide; most homes have at least a slight lean somewhere in the frame or ceiling line.
Adjust one mark when necessary, then check the alignment again from a normal viewing distance. This prevents the finished installation from appearing tilted once fabric adds clear vertical lines.
Step 4: Mark the Screw Holes
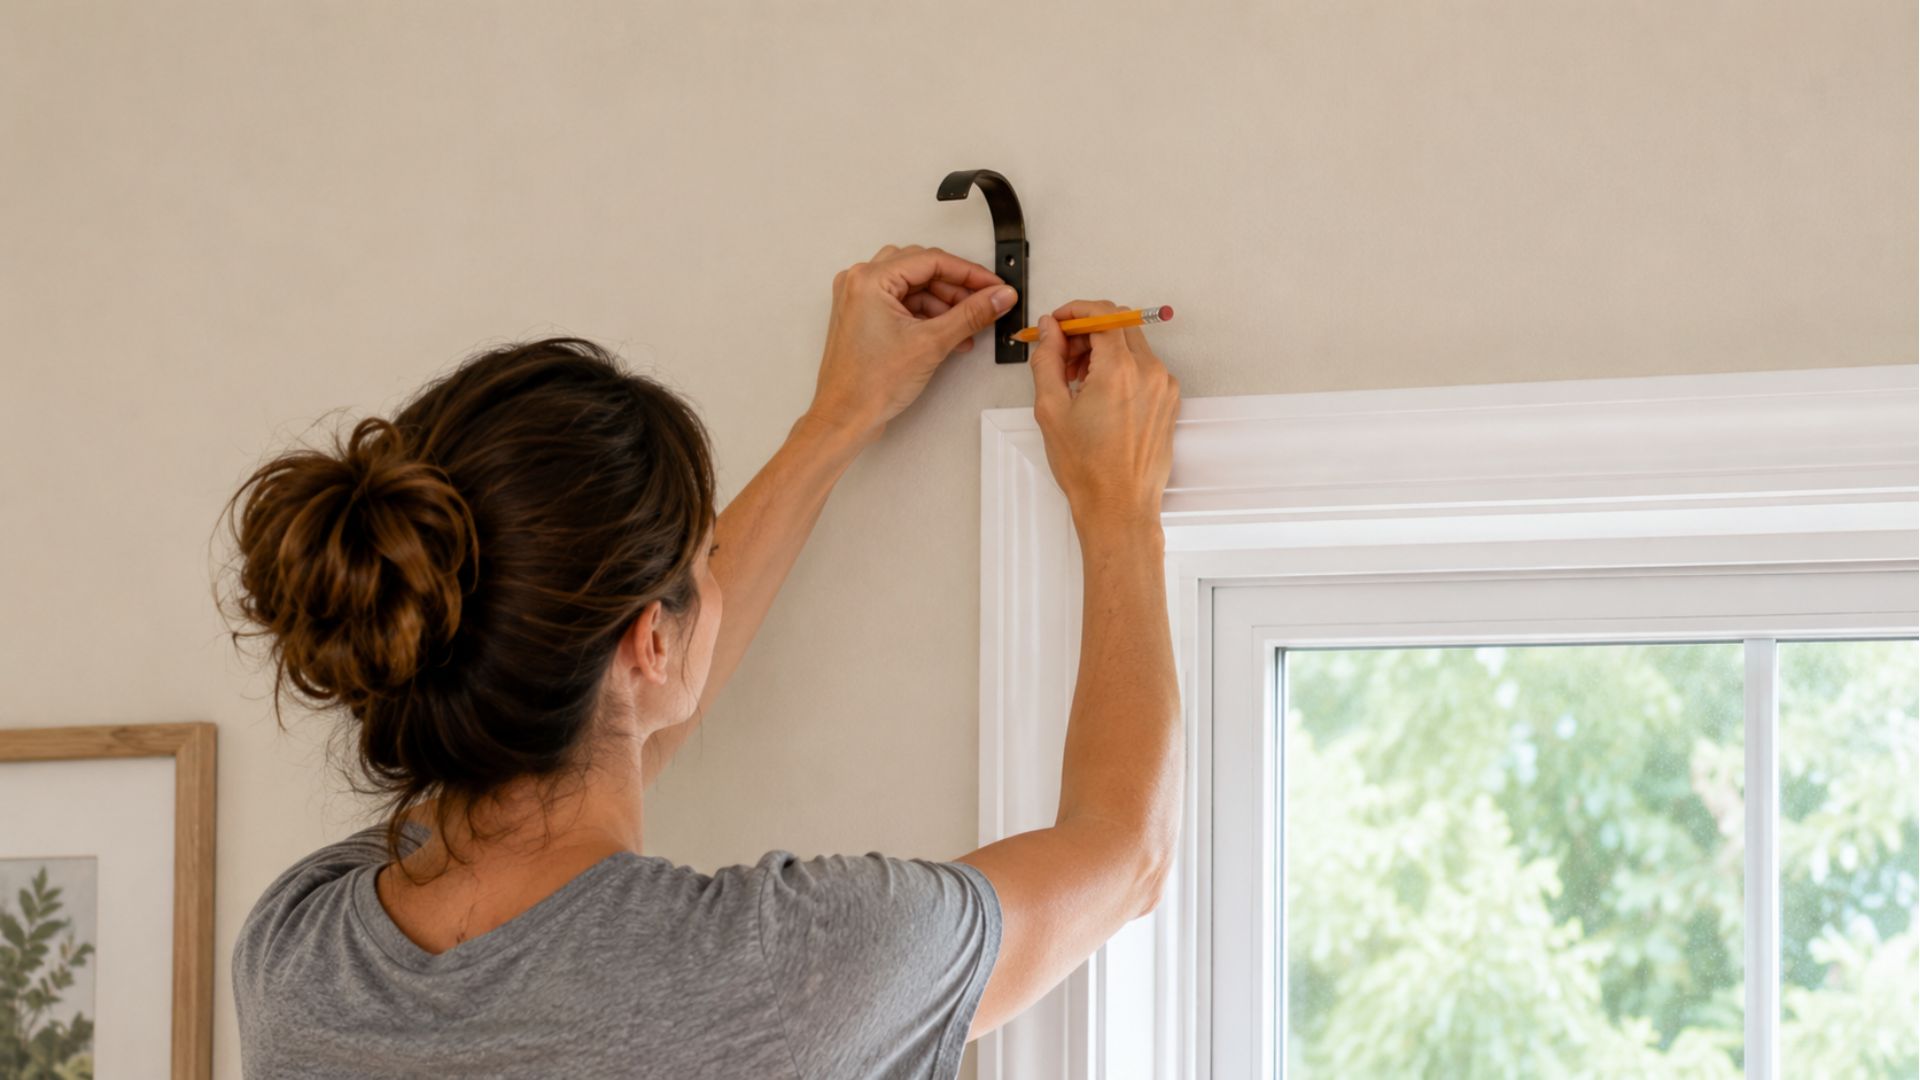
Place each bracket over its positioning mark with the mounting plate sitting flat against the wall.
Mark the center of every screw opening without allowing the bracket to shift. Check the bracket orientation before repeating the process on the opposite side.
Step 5: Drill Pilot Holes
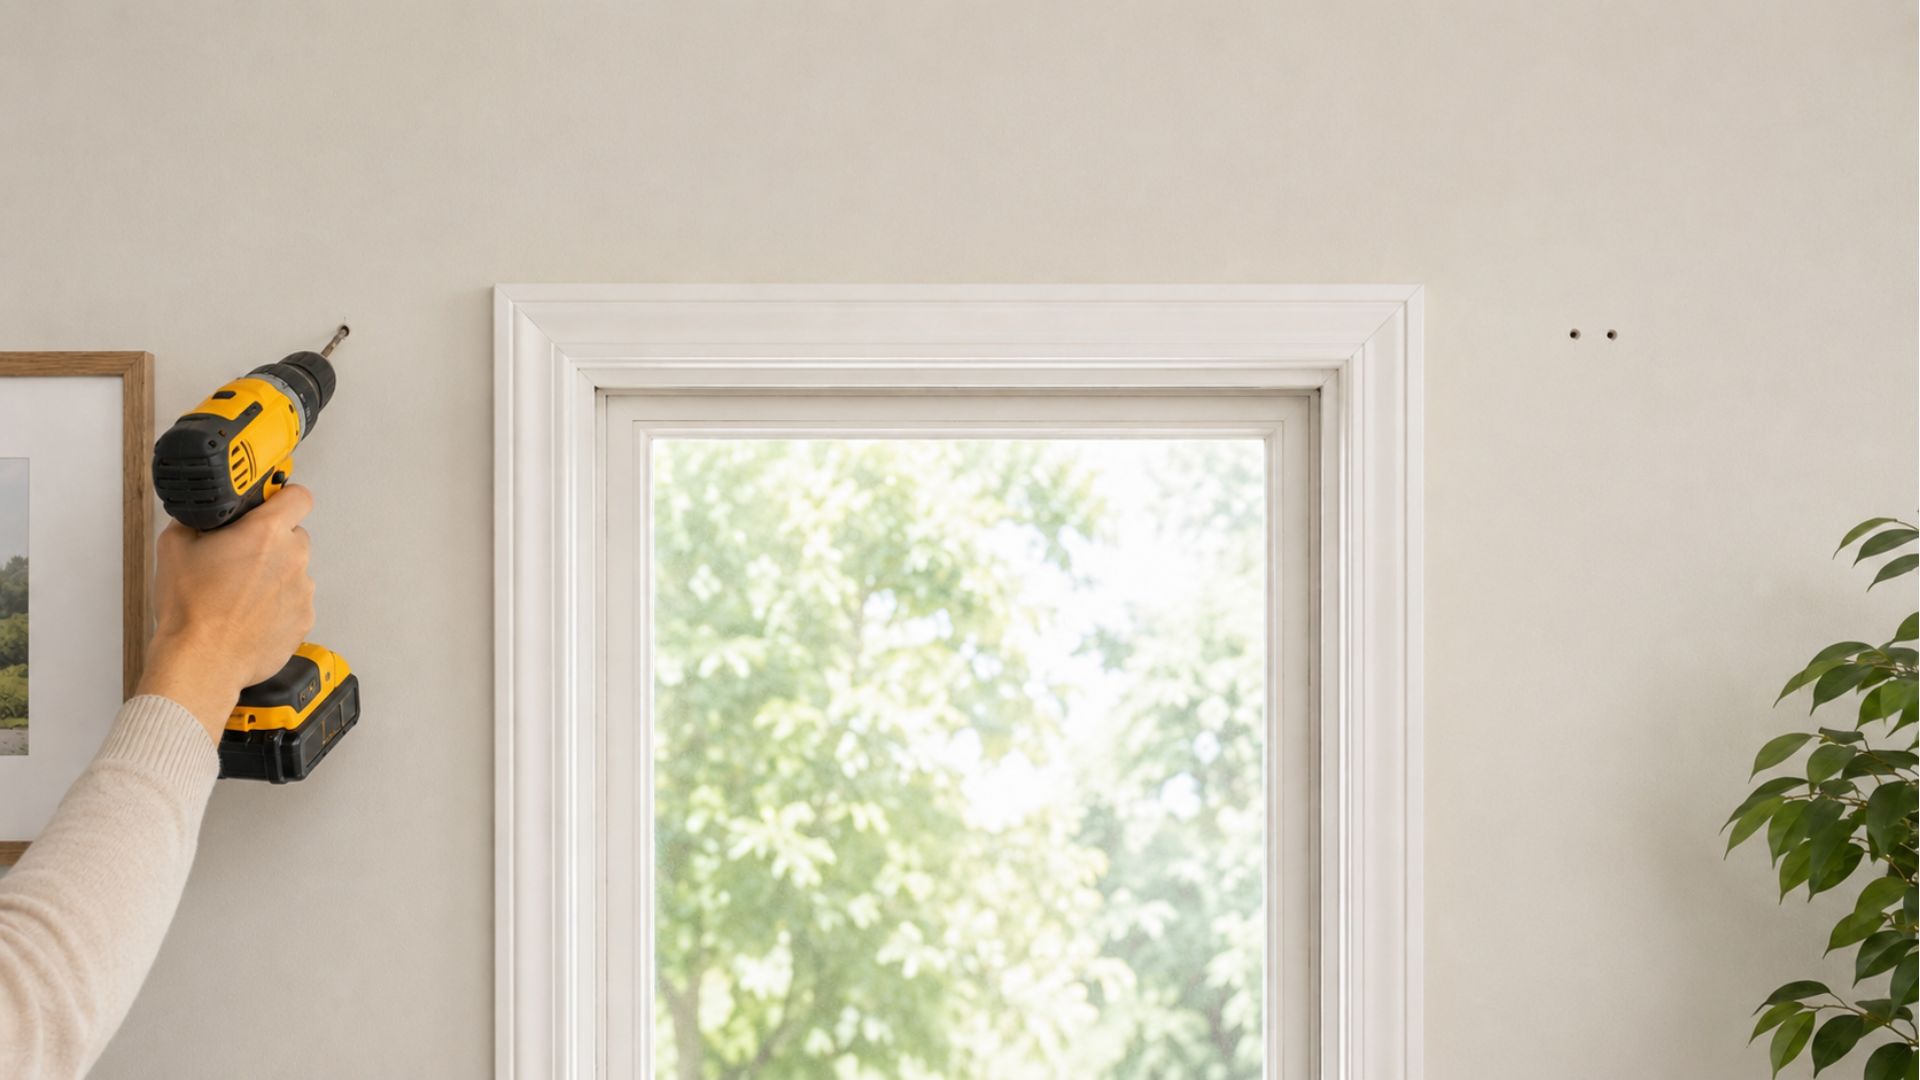
Before drilling, check the area for possible electrical cables, plumbing lines, switches, outlets, or wall-mounted fixtures.
Choose a bit suited to the wall material and create straight pilot holes at the marked points.
Use controlled pressure around timber trim, plaster, tile, and brittle finishes to reduce splitting, chipping, or surface damage.
Step 6: Add Wall Anchors if Needed and Screw the Brackets Into Place
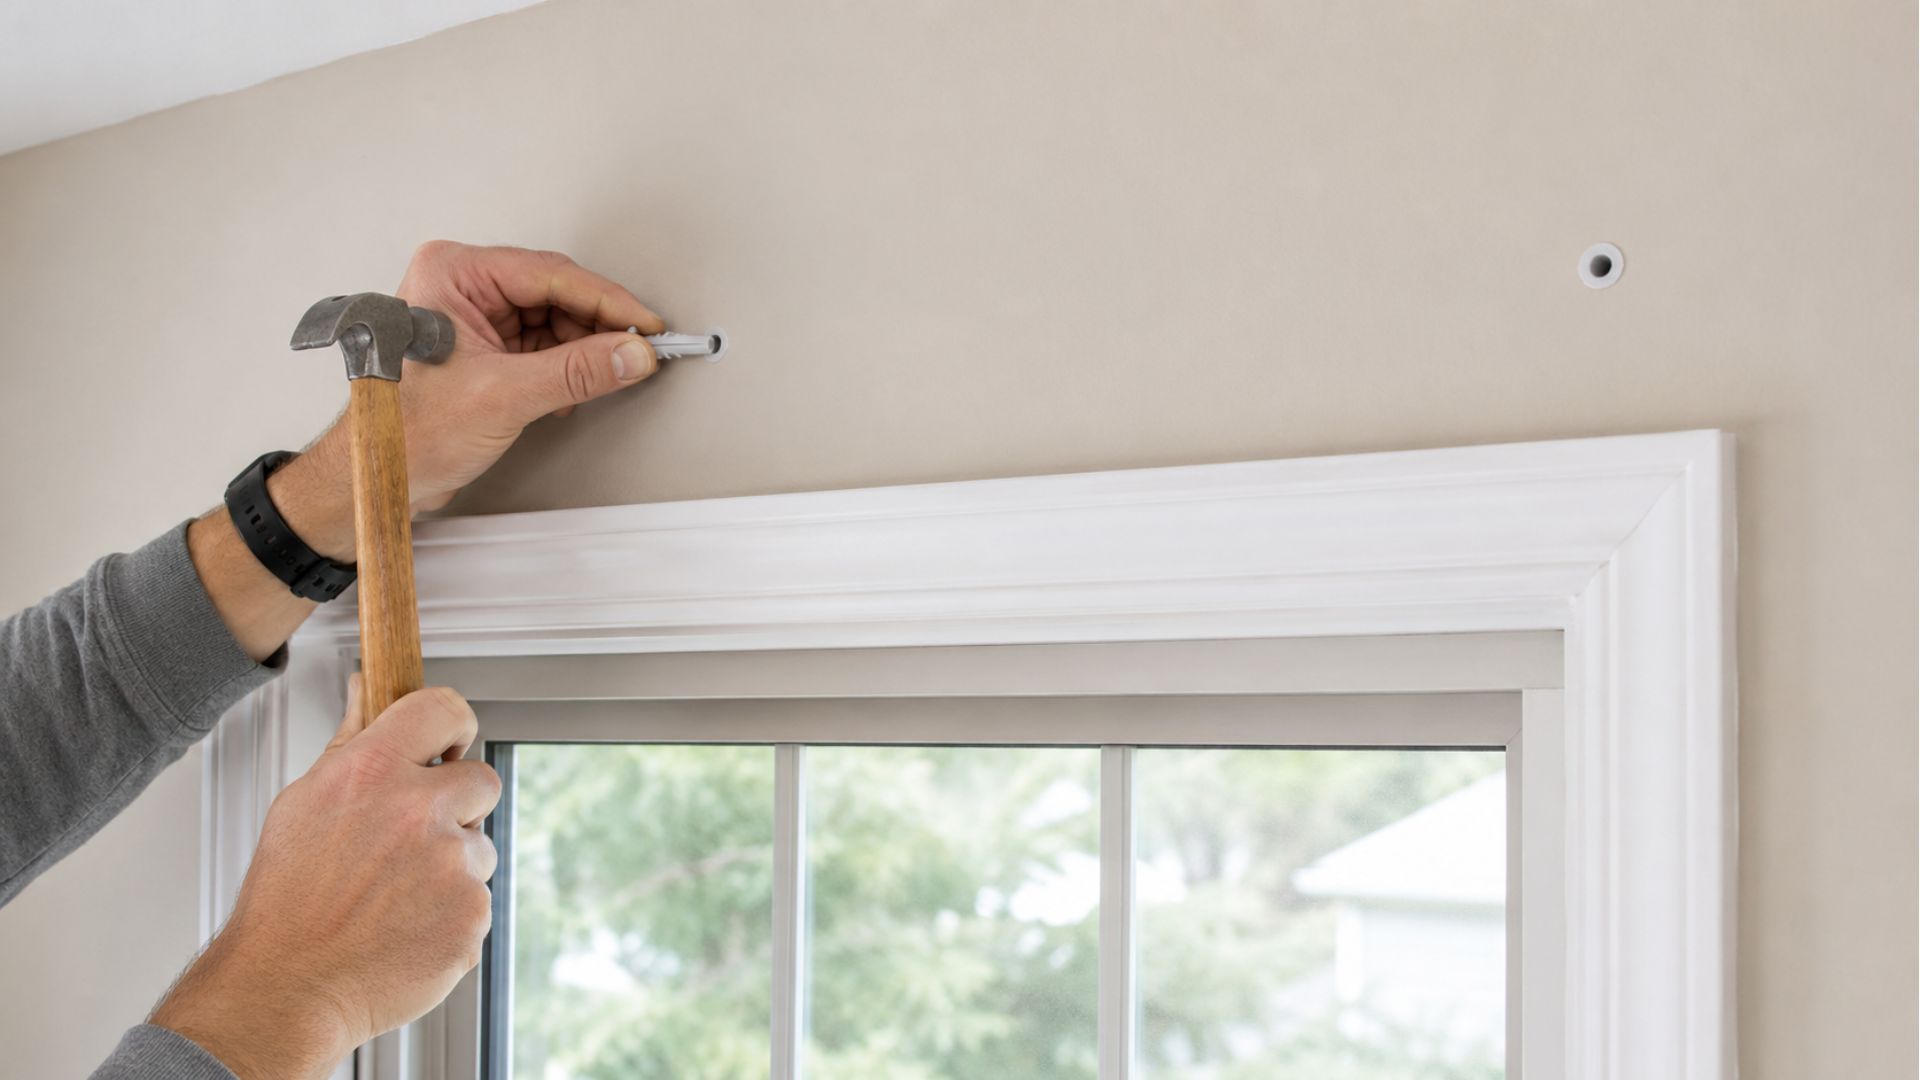
Use anchors when the mounting points fall between studs or when the wall material cannot hold screws independently.
Match the anchor style and rating to the wall construction and expected load. Push or tap each anchor into its prepared hole until it sits flush without crushing the surrounding surface.
Toggle or expansion anchors may be more appropriate for demanding installations than basic plastic plugs.
Step 7: Add Curtains to the Rod
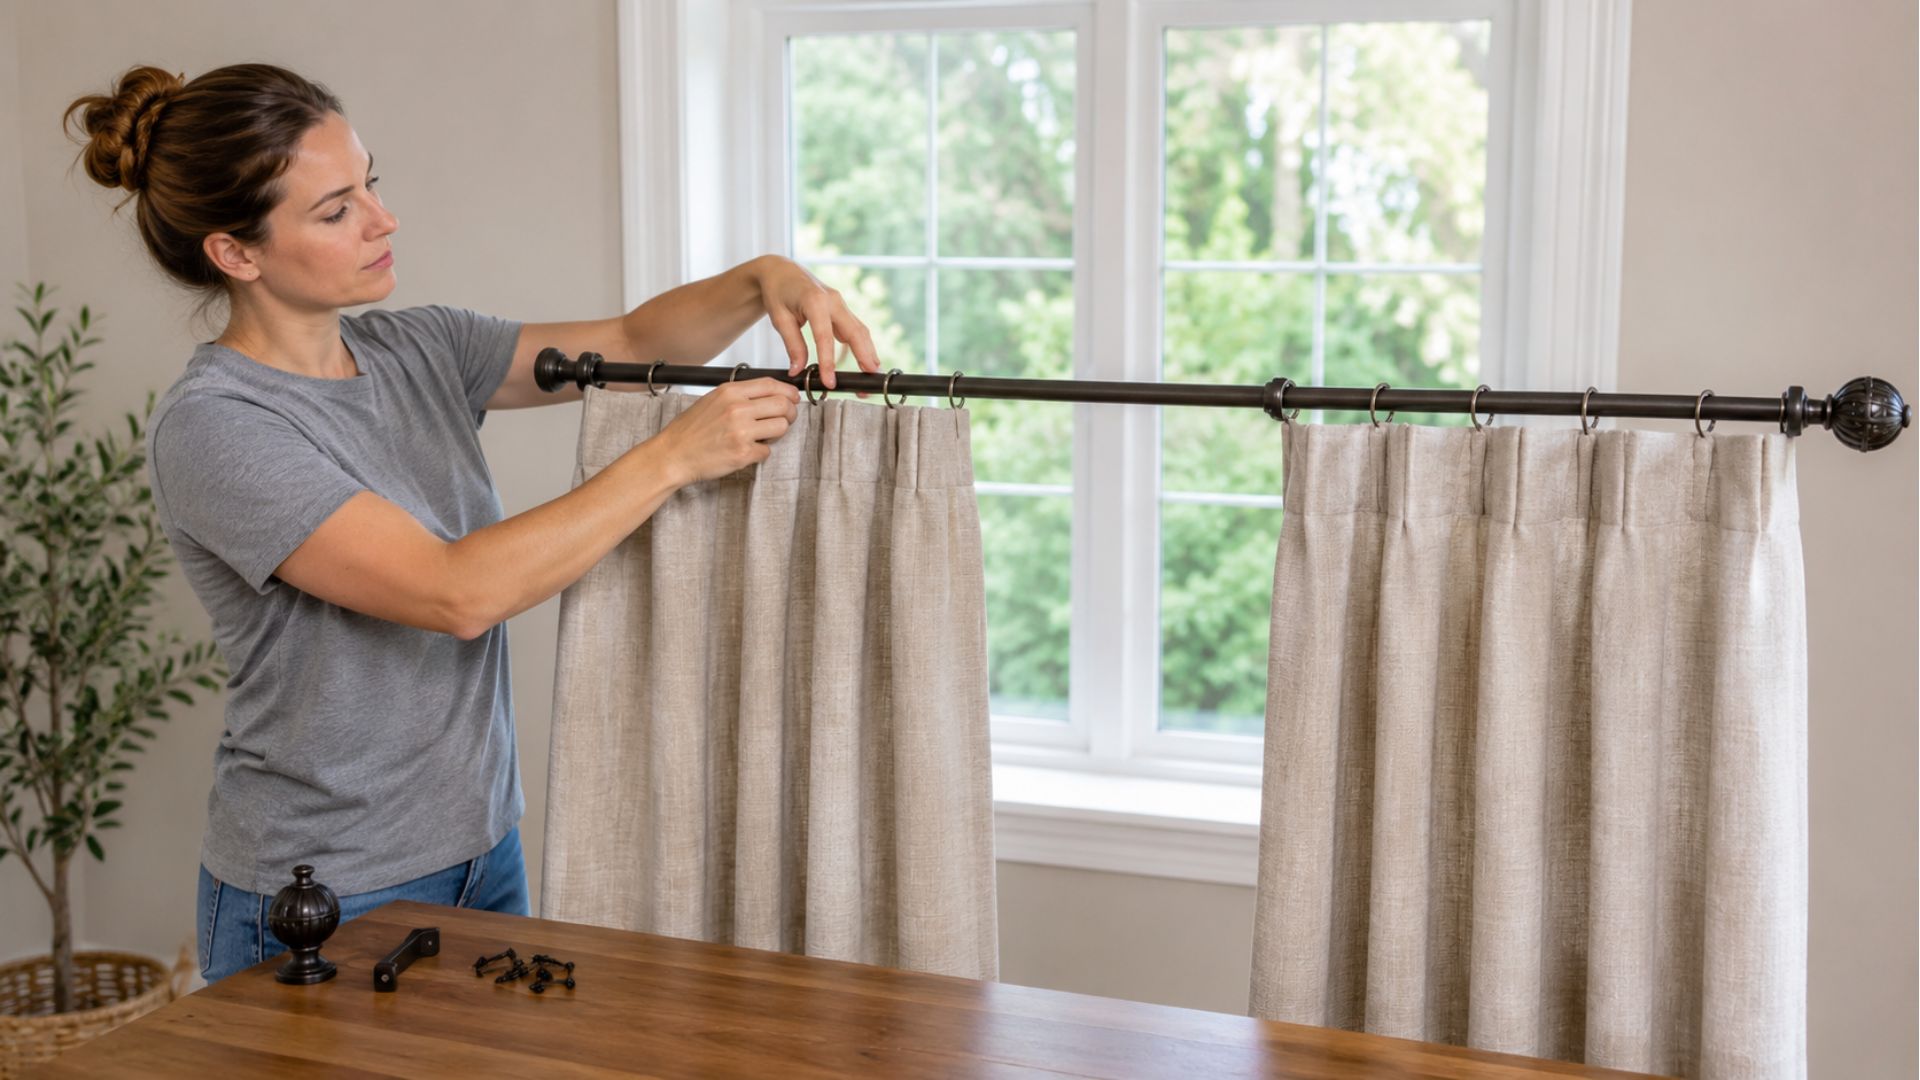
Arrange the panels on a clean surface and identify the front, lining, pattern direction, and outer edges.
Remove one finial, then thread the rod through grommets, tabs, rings, clips, or the sewn pocket. Distribute the fabric loosely rather than bunching it tightly at one end.
Step 8: Set the Rod on the Brackets
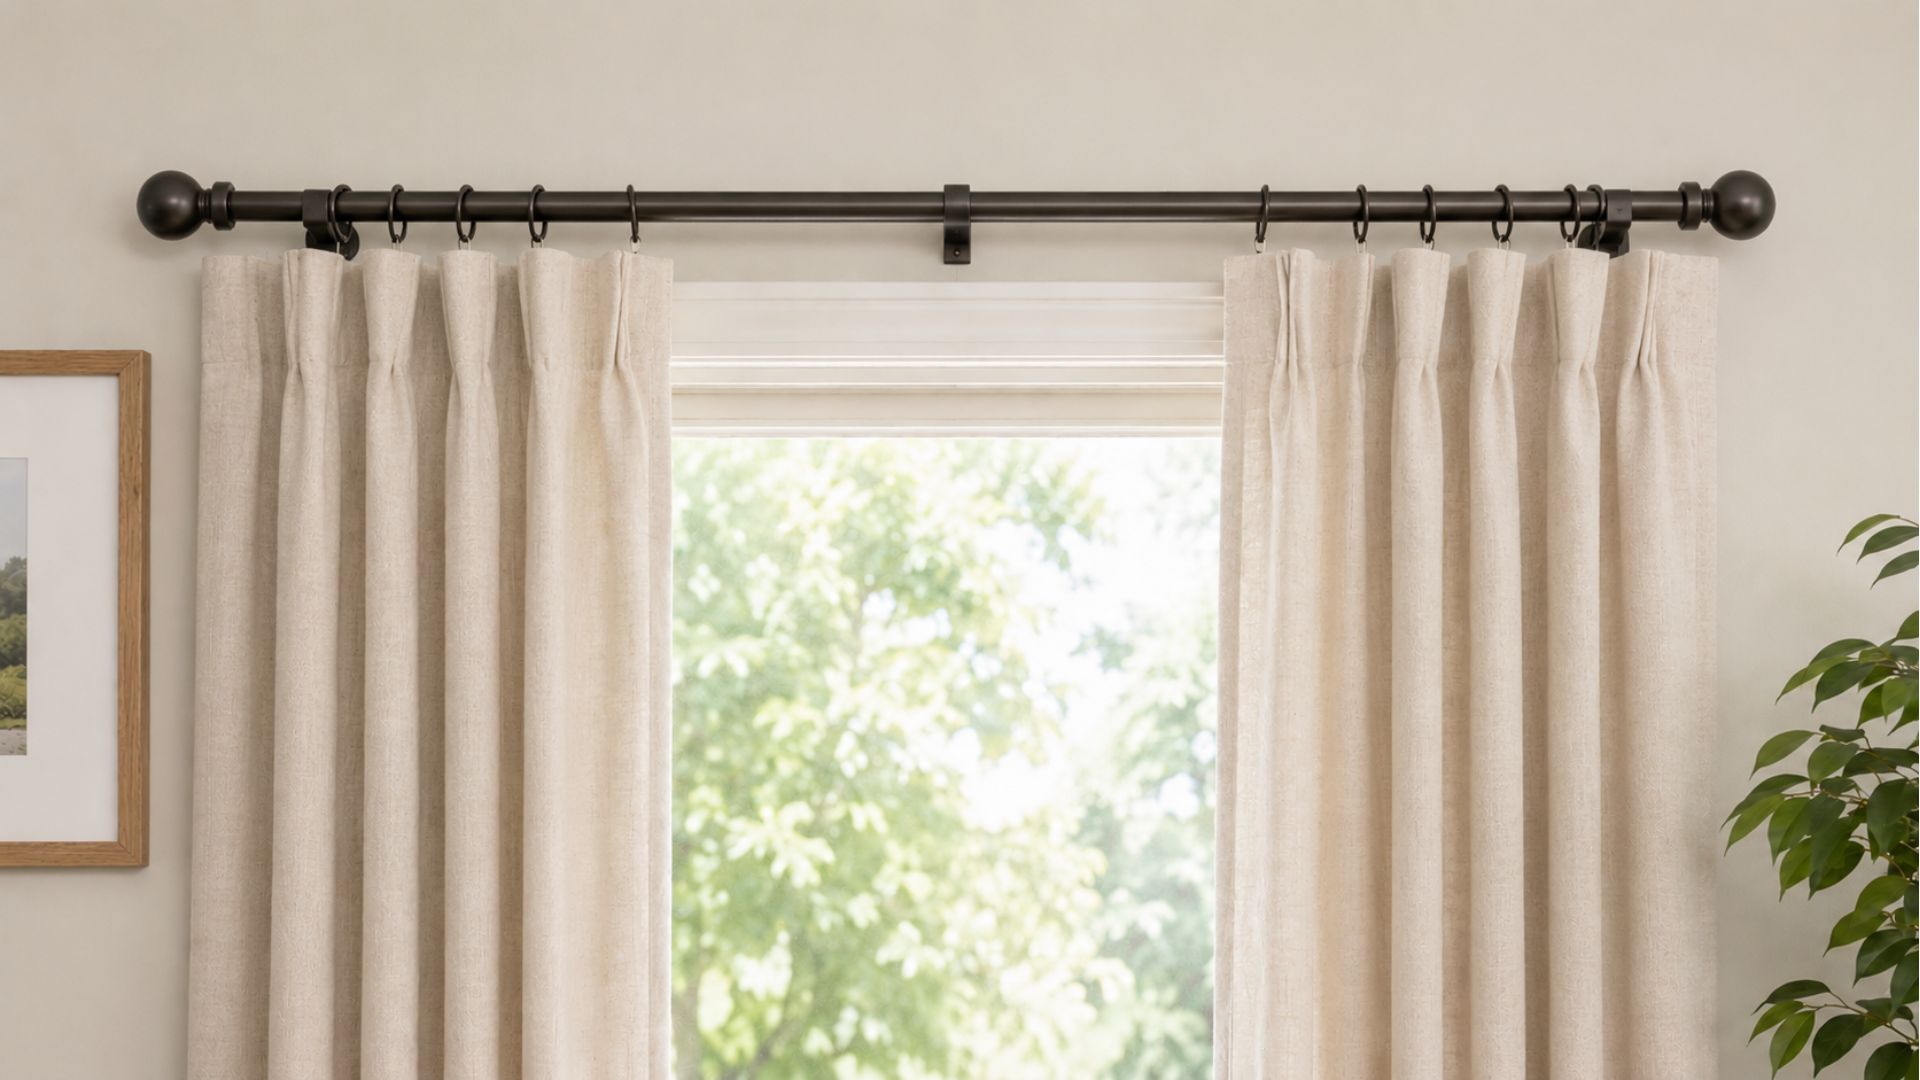
Lift the assembled rod carefully and lower it into the bracket cradles.
Center it by comparing the distance between each finial and outer bracket. Secure any retaining clips or underside set screws supplied with the kit. Confirm that any middle support makes full contact.
|
Test the Curtains Spread the panels evenly and move them across the complete usable length. Observe whether rings catch, telescoping sections rotate, brackets flex, or fabric presses against handles and furniture. Leave the curtains closed briefly to reveal differences in panel length or fullness. Correct any problem before regular use. |
Drywall requires hardware that transfers the load beyond its thin surface. Stud-mounted screws provide the strongest option, particularly for wide windows, layered treatments, or frequently handled curtains.
Where framing is unavailable, use anchors with ratings comfortably above the combined weight of the rod and fabric.
How to Install Curtain Rods Without Drilling?
No-drill curtain rod systems provide a quick, damage-free way to hang light curtains using tension, adhesive, or trim-mounted options while considering surface type and environmental factors.
- Use No-Drill Systems: Best for light curtains and temporary setups without damaging walls or frames.
- Tension Rods: Press against the window frame to hold curtains without screws.
- Adhesive Brackets: Stick to smooth, clean surfaces; follow prep and curing instructions.
- Trim-Mounted Designs: Grip window trim directly, supporting light curtains without drilling.
- Check Environment: Humidity, uneven surfaces, or textured paint can weaken adhesion.
- Maintain Regularly: Inspect brackets every few months; heat and movement can soften bonds.
Common Mistakes to Avoid When Hanging Curtain Rods
Small planning errors can affect appearance, curtain movement, wall condition, and hardware strength even when the basic installation appears complete.
| Common Mistakes | Effect / Issue | How to Fix |
|---|---|---|
| Brackets too close | Fabric covers part of the glass | Space brackets according to curtain width |
| Ignoring bracket projection | Curtains press on blinds, handles, trim, or deep sills | Measure projection and choose brackets that clear obstacles |
| Assuming window is level | Transfers frame angle to hardware | Use a spirit level to align brackets properly |
| Choosing hardware by appearance | Decorative rods may bend under heavy fabrics | Select rods rated for fabric weight |
| Drilling without checking wall | Risk of hitting cables, pipes, or unsuitable surfaces | Check for hidden utilities with a detector before drilling |
Final Thoughts
Curtain hardware should suit the wall, fabric, window proportions, and way the room is used rather than following one universal placement rule.
A bedroom with blackout drapes needs different support from a kitchen with a lightweight café curtain.
Choosing components as one complete system creates a cleaner result and fewer maintenance problems.
Good installation is ultimately less about speed and more about making each decision before the wall is altered.
Frequently Asked Questions
Should Curtain Rods Be Removed Before Painting?
Removing the rod and brackets produces cleaner edges and protects the finish. Marking bracket positions beforehand can make accurate reinstallation easier after the paint cures.
Can Two Curtain Rods Be Installed Over One Window?
Yes, Double brackets can support sheer panels behind heavier curtains, provided the wall fixings, rod projection, and combined hardware capacity suit the arrangement.
How Much Curtain Fullness Is Usually Needed?
Curtain fabric commonly measures about 1.5 to 2.5 times the rod width. Fuller arrangements create deeper folds, while lower ratios produce a flatter appearance.