Every homeowner picking up a paint roller eventually hits the same question: trim first, or walls first? Get it wrong, and a Saturday goes toward scrubbing wall paint off a doorframe with a Q-tip.
Get it right, and the lines stay crisp without much fuss.
So, paint trim or walls first? There’s a clear answer among professional painters, and it comes down to how paint, tape, and different finishes behave as they dry.
This blog breaks down the correct order, the reasoning behind it, and when it’s fine to break the rule.
Should You Paint Trim or Walls First?
Paint the trim first, then the walls. It’s the standard practice on almost every paint job.
Trim demands precision; baseboards, door frames, and window casings are narrow, with tight corners. Doing this detail work before the walls means there’s no fresh wall color at risk.
Once trim is fully cured, tape goes on clean. It sits flat against the hardened, semi-gloss surface, giving you a sharp edge when the wall color goes on.
The payoff shows up later too. Wall paint that strays onto finished trim wipes off in seconds, since the surface is hard and dry. Reverse the order, and that same mistake means repainting.
Essential Tools for a Precise Cutting-In Line
The right tools do more for line quality than patience alone. A few essentials separate a shaky, uneven edge from a sharp, professional-looking one.
| Tool / Item | Purpose |
|---|---|
| Angled sash brush | Allows precise control along trim edges |
| Paint edger/shield | Guides a steady hand along baseboards and ceilings |
| High-quality painter’s tape | Seals tightly to prevent paint bleed |
| Putty knife/credit card | Presses tape edges for crisp lines |
| Small foam roller | Covers tight trim panels without thick brush marks |
| Drop cloth/rosin paper | Protects floors and surfaces from spills and drips |
Cutting-In Technique for a Clean Line: Step-by-Step Process
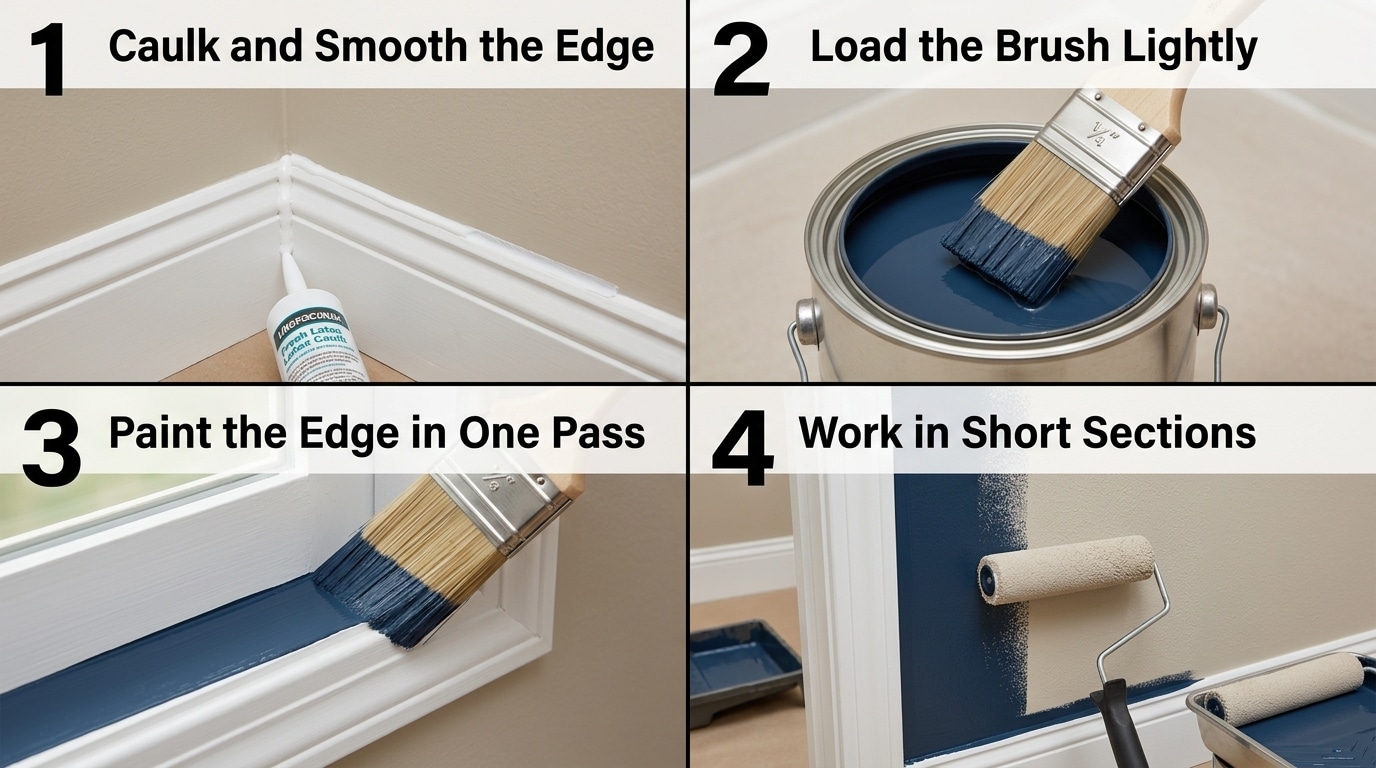
A steady hand and the right sequence matter as much as the tools themselves. Following a consistent order at each step keeps edges sharp and paint from bleeding past the line.
1. Caulk and Smooth the Edge
Seal the trim-to-wall line with a thin bead of caulk before any paint goes on. This closes small gaps that would otherwise show as shadows once the wall color is applied.
Run a damp finger over the bead immediately after applying it. This removes excess caulk and leaves a smooth, sealed edge instead of a raised ridge.
2. Load the Brush Lightly
Dip the brush about a third of the way into the paint, never further. Overloading it is one of the most common causes of drips and uneven lines during cutting in.
Tap the excess off gently on the rim of the can. This keeps just enough paint on the bristles for a controlled, even stroke.
3. Paint the Edge in One Pass
Apply paint to the edge in a single, deliberate stroke rather than going back over it repeatedly. Repeated passes disturb paint that has already started to set.
Scrubbing back over a wet edge causes pooling, which then bleeds past the intended line. One clean pass holds the edge far better than several corrective ones.
4. Work in Short Sections
Cut in only a few feet of wall at a time, rather than tackling the whole room at once. This keeps the paint wet long enough to blend smoothly.
Wet edges blend into roller strokes without leaving visible lap marks. Sections left too long begin to dry before the roller catches up, creating a visible seam.
How Much Time to Leave Between Trim and Walls
If you’re mapping out how long a full repaint actually takes, plan on two work sessions instead of one.
Paint the ceiling and trim on day one, then let both cure overnight, since a full cure takes about 24 hours even though trim can feel dry to the touch within a few hours.
This is really just the same drying science behind waiting between coats, applied to two different surfaces meeting at a line rather than to two coats on the same surface.
Tape and roll the walls on day two, once the trim has fully hardened. Rushing this gap is the most common cause of ragged lines, since the tape pulls fresh paint away from a surface that hasn’t fully cured.
Choosing the Right Type of Finish for Trim and Walls
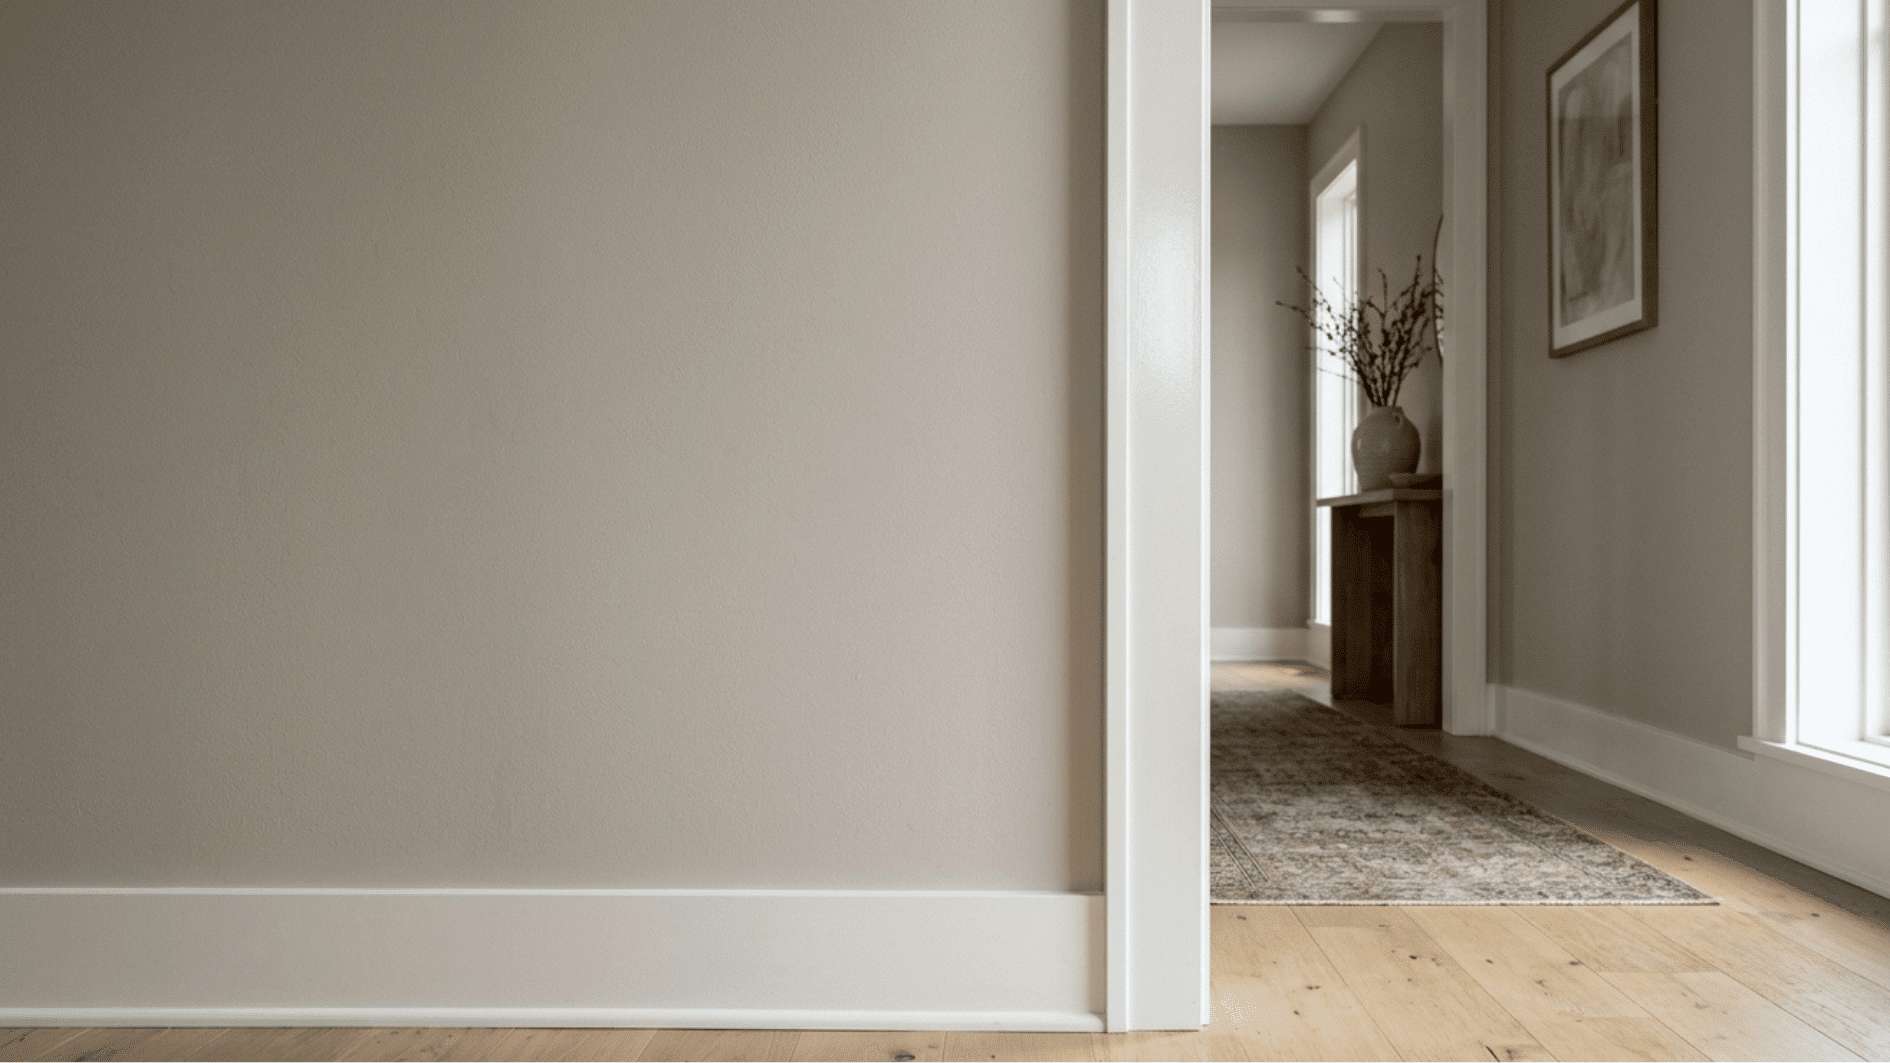
Sheen determines durability and cutting-in visibility as much as appearance. Trim and walls, along with ceilings and moisture-prone rooms, each require a specific finish suited to daily wear and use.
| Surface | Best Finish | Why |
|---|---|---|
| Trim, doors, baseboards |
Semi-gloss or gloss |
Wipes clean easily and resists scuffs and knocks |
| Walls |
Matte or eggshell |
Hides small imperfections and looks softer in daily light |
| Ceilings |
Flat or low-luster |
Minimizes glare and hides roller marks overhead |
| High-traffic walls (hallways, kids’ rooms) | Satin | Handles more washing than a flat without much extra shine |
| Bathrooms and kitchens |
Satin or semi-gloss |
Resists moisture and mildew better than flat or matte |
Exceptions for Painting Walls Before Trim
Trim-first is the general rule, but it isn’t the only workable order. If your walls need major repairs, a texture change, or a big color shift, tackle the walls first.
That way you’re not risking drips onto trim you just finished, and any dust from patching or sanding won’t ruin a fresh coat.
Same-color rooms are another exception.
If your trim and walls will be the exact same paint color, the order barely matters, since the sheen difference is what defines the line rather than the color.
Painting Mistakes that Ruin a Clean Line
A few small missteps account for most of the “why doesn’t my line look clean” complaints. Most of them come down to rushing a step that actually needed more patience.
- Taping Trim Before It’s Cured: Tears the finish and leaves a ragged edge.
- Skipping the Burnish Step: Lets the wall paint seep under the tape.
- Pulling Tape Too Late: Waiting until the paint fully dries risks flaking or tearing the line.
- Using the Same Brush for Both Surfaces: Leaves glossy streaks in matte walls.
- Rolling Walls Before the Trim Is Dry: Smudges the edge you just painted.
- Skipping Primer on Patched Spots: Leaves dull, blotchy patches under the topcoat.
The Bottom Line
Trim first, walls second is the sequence that holds up across most projects, with major repairs or matching colors as the main exceptions worth remembering.
Beyond order, what actually separates a clean line from a messy one is patience:e: giving trim its full cure time and preparing surfaces properly before the next coat goes on.
Expect more touch-ups than usual. Any trim paint that lands on the wall needs to be caught quickly with a damp cloth or corrected later, since it won’t get covered automatically the way it would in the standard order.
Frequently Asked Questions
Do I Need to Paint the Ceiling Before Trim or Walls?
Yes. Paint the ceiling first, then trim, then walls. This order lets any ceiling drips get covered later instead of ruining a finished surface.
How Long Should Trim Paint Dry Before Taping Over it?
Wait a full 24 hours before taping. Cured, semi-gloss trim paint holds tape far better than paint that’s only surface-dry.
Can I Use the Same Paint Color on Trim and Walls?
Yes, using different sheens to define the lines. Pair a matte wall color with satin or semi-gloss trim in the same shade for subtle contrast.
How Many Coats of Paint Does Trim Usually Need?
Most trim needs 2 coats for solid, even coverage. A third coat helps if you’re covering a much darker color underneath.