Acrylic paint is one of the most practical ways to paint on wood. That said, skip the prep work, and it’ll peel within days.
Let’s get into the step-by-step instructions. First, let’s start by knowing how.
Can You Use Acrylic Paint on Wood – Quick Answer
Yes! You can.
Acrylic paint bonds well to wood, dries fast, and holds up nicely once sealed. It is water-based, budget-friendly, and works on raw, primed, and sealed wood surfaces.
You can even DIY it easily and get the best results!
Sealed correctly, an acrylic finish on indoor wood holds up for years without cracking or fading.
For outdoor projects, you’ll need exterior-grade paint and a weather-resistant topcoat, but it absolutely works.
The result depends a lot on how well you prepare the surface before painting and how well you care for it afterward.
You don’t have to make the “Prep work” complicated; sanding, cleaning, and the right primer can be enough.
What Happened the First Time I Painted Wood With Acrylics!
The first time I painted wood with acrylics, I didn’t bother sanding, skipped primer because I was impatient, and put on one thick coat, thinking that was more efficient than two thin ones.
Within a week, the paint was lifting at the edges and peeling around any area that got touched.
And I definitely learned from my mistakes, and I’ll tell you what they are.
The four mistakes I see most often are painting over unsanded or dusty wood, skipping primer on raw wood, applying one thick coat instead of two or three thin ones, and recoating before the previous layer has fully dried.
Any one of these will cost you the finish.
And if you get all the four together, then you’re stripping it back and starting over.
Which Wood Type is the Best for Acrylic Paint Projects?
Softwoods like pine are easy to work with and affordable.
But they are highly porous, and without primer, they drink paint unevenly, and you’ll need far more coats than you planned.
Hardwoods like oak or maple have a tighter grain structure, which means they absorb paint more evenly.
These are some popular wood types:
- Raw wood: Highly porous, so it soaks up paint unevenly without a primer coat.
- Pre-treated wood: Easier to coat evenly. Paint goes on evenly, and you can get away with fewer coats.
- MDF: Gives the smoothest, flattest finish. Great for signs and painted furniture. The edges are more porous than the face, so seal those separately before priming.
- Plywood: Works well on the flat face. The edges are rough and layered. Sand them properly, or they’ll drink paint.
- Reclaimed wood: Full of character but needs extra prep work. Old paint, oils, or stains can block adhesion entirely. Clean it thoroughly, and let it dry completely.
For the cleanest, smoothest results, MDF and well-sanded hardwood are the best.
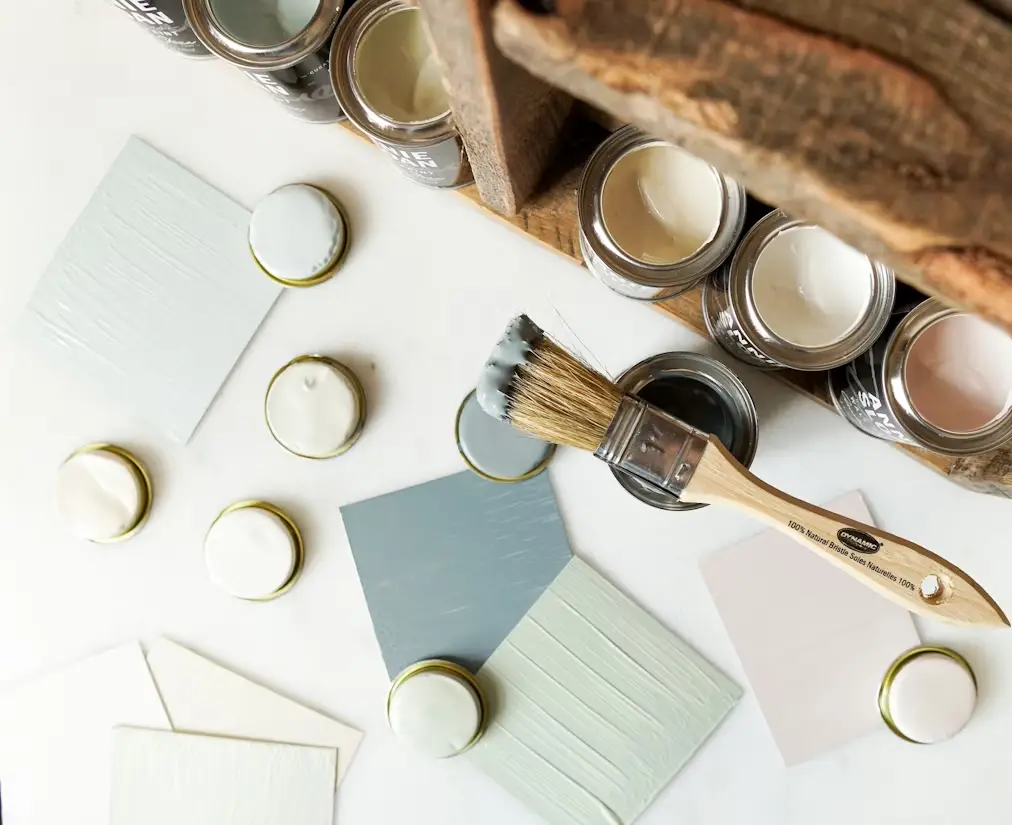
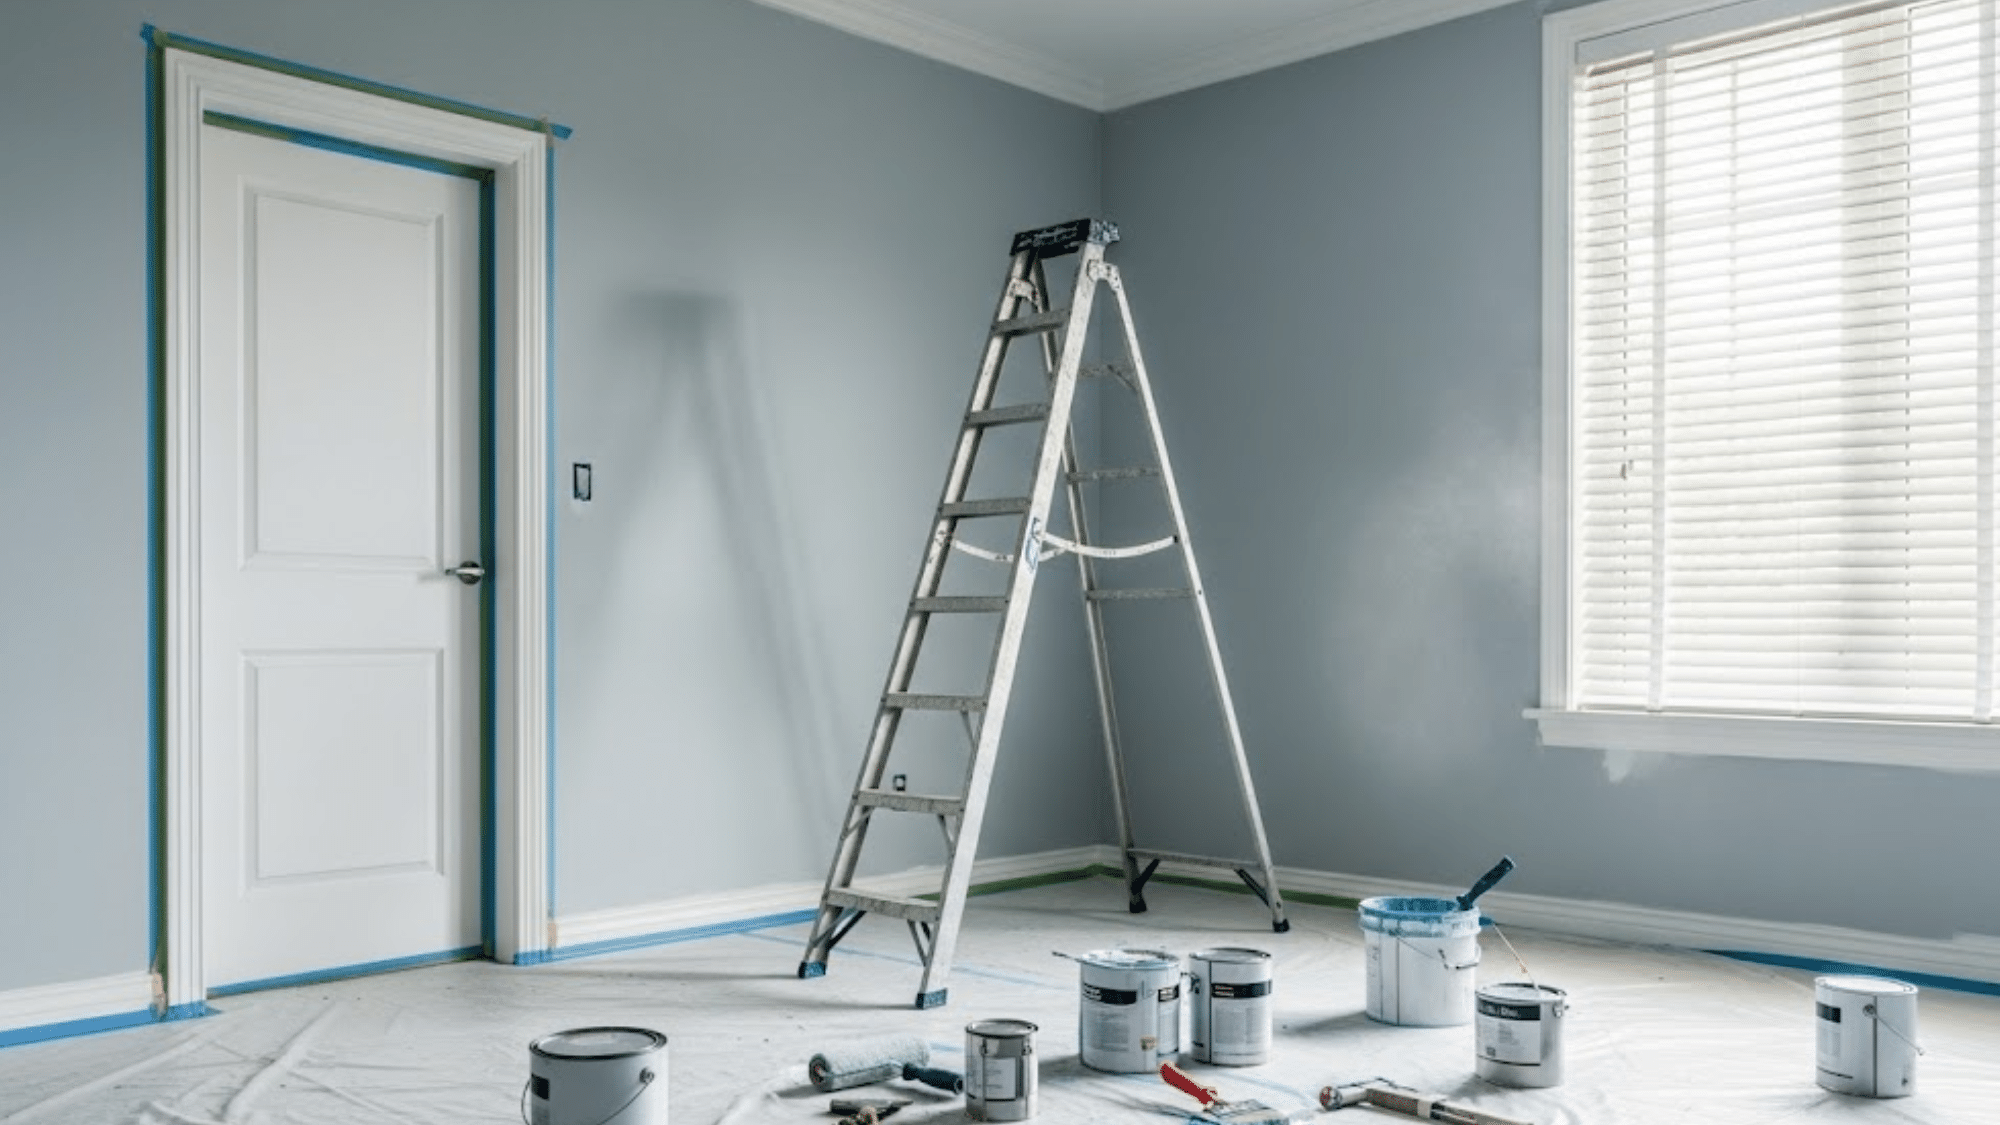
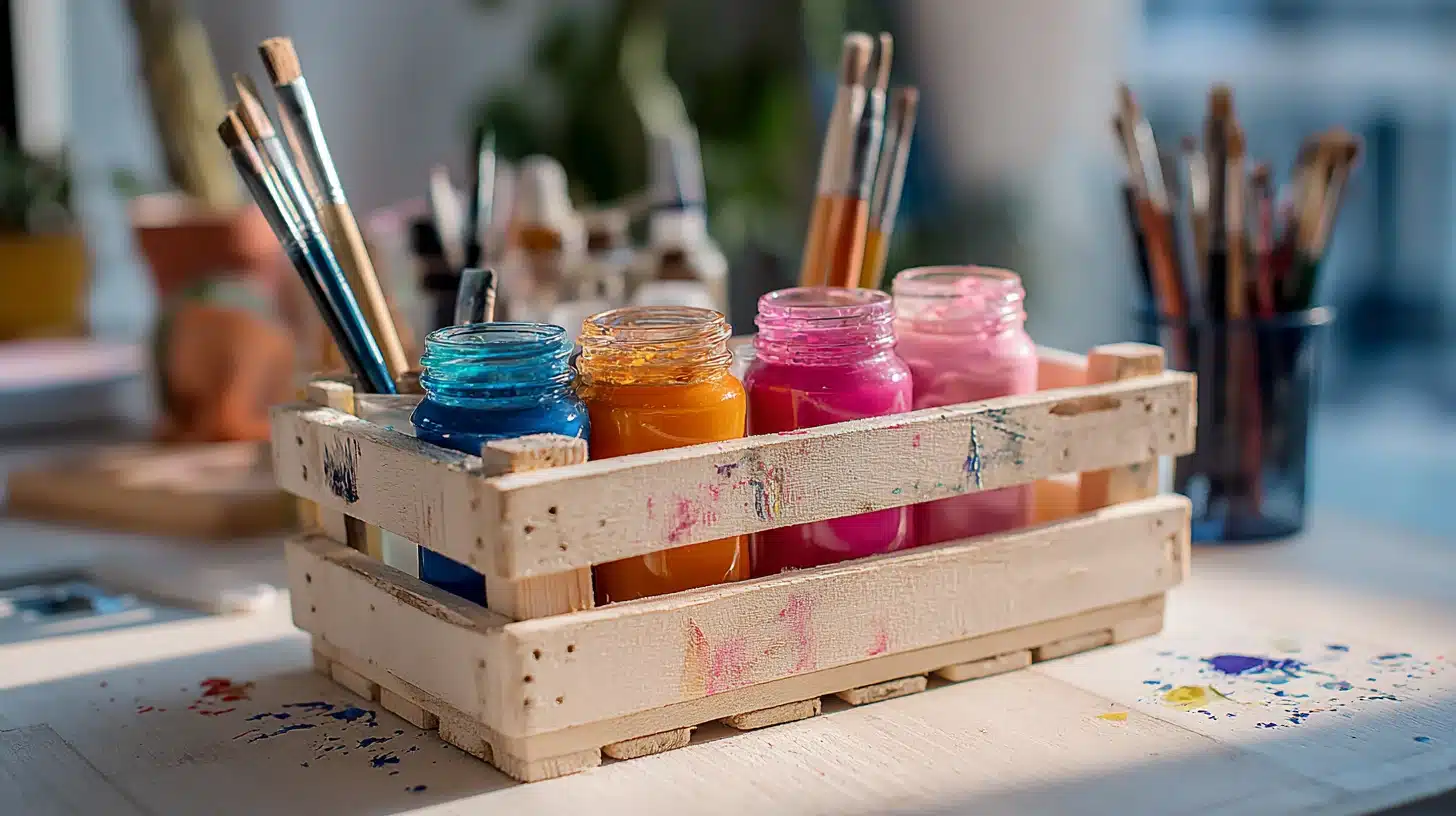
Supplies Needed for Painting Wood Surfaces
Having the right supplies makes the whole process so much smoother.
Always reach out for flat brushes when covering large areas and switch to angled brushes when you need more control on edges and corners.
For flat surfaces, a foam roller is a go-to. It gives the most even coat with the least effort.
| Supply | Budget-Friendly Option | Professional-Grade Option |
|---|---|---|
| Acrylic Paint | Student-grade acrylics | Artist-grade acrylics |
| Brushes | Basic synthetic brushes | Quality synthetic or natural brushes |
| Primer | General wood primer | Specialty adhesion primer |
| Sealer | Mod Podge or craft varnish | Polycrylic or polyurethane varnish |
| Sandpaper | Hardware store pack | Precision grit assortment |
Step-by-Step Guide to Painting Wood With Acrylic Paint
Now comes the part where you need to be creative, and pace yourselves your hands are about to get dirty.
Let’s go through it step by step, and start with prepping the surface.
Step 1: Prep the Surface
Sand the wood with 120-grit sandpaper first.
Then finish with 220 grit for a smoother surface. Wipe off all the dust with a clean, damp cloth and let it dry completely before moving on.
Always sand in the direction of the wood grain. Going against it leaves scratches that show right through the paint.
Step 2: Apply Primer
One coat of wood primer is enough for most projects. Use a flat brush and apply it in long, even strokes.
Let it dry fully before painting.
Tint the primer close to the paint color. It cuts down the number of coats needed later.
Step 3: Paint in Thin Layers
Thin coats always beat one thick coat.
Apply the first layer of acrylic paint on wood and let it dry for 20 to 30 minutes. Two to three thin layers give a much cleaner finish than one heavy one.
Step 4: Drying Time
This part is easy to rush, but really shouldn’t be. Recoating too soon leads to streaks and bubbles.
Touch dry doesn’t mean ready for the next coat.
Paint in a well-ventilated room at room temperature. Cold and humidity slow drying down more than most people expect.
Step 5: Seal the Final Coat
A clear sealer protects everything underneath.
Apply polycrylic or varnish in smooth, even strokes for a clean and lasting finish.
Matte stays flat, satin adds a soft sheen, and gloss gives a shiny finish, so choose accordingly.
Do I Need to Seal Acrylic Paint on Wood?
Yes! Always seal it because sealing locks in your paint and protects the surface from scratches, moisture, and general wear.
You can choose matte for a flat finish, satin for a soft sheen, or gloss for a shiny look.
And apply one or two thin, even coats, letting each dry fully before the next.
For indoor projects, polycrylic is the go-to. Apply two thin coats, lightly sanding between them with 400-grit for the cleanest result.
And for outdoor use, furniture, garden signs, anything in direct weather, try using polyurethane instead.
Polycrylic breaks down faster in UV and won’t hold up through a full season outside.
Can You Paint Acrylic on Wood without Primer?
Technically, yes, but it is not recommended.
Try skipping the primer once, and you’ll regret it sooner than expected.
Without primer, paint soaks into raw wood unevenly, coverage is patchy, and you’ll end up applying twice as many coats to get a finish you could have achieved with two coats and primer underneath.
Primer seals the wood grain and gives the paint a smooth, even surface to grip onto, saving you time, paint, and a lot of frustration in the long run.
So, DO NOT skip the primer.
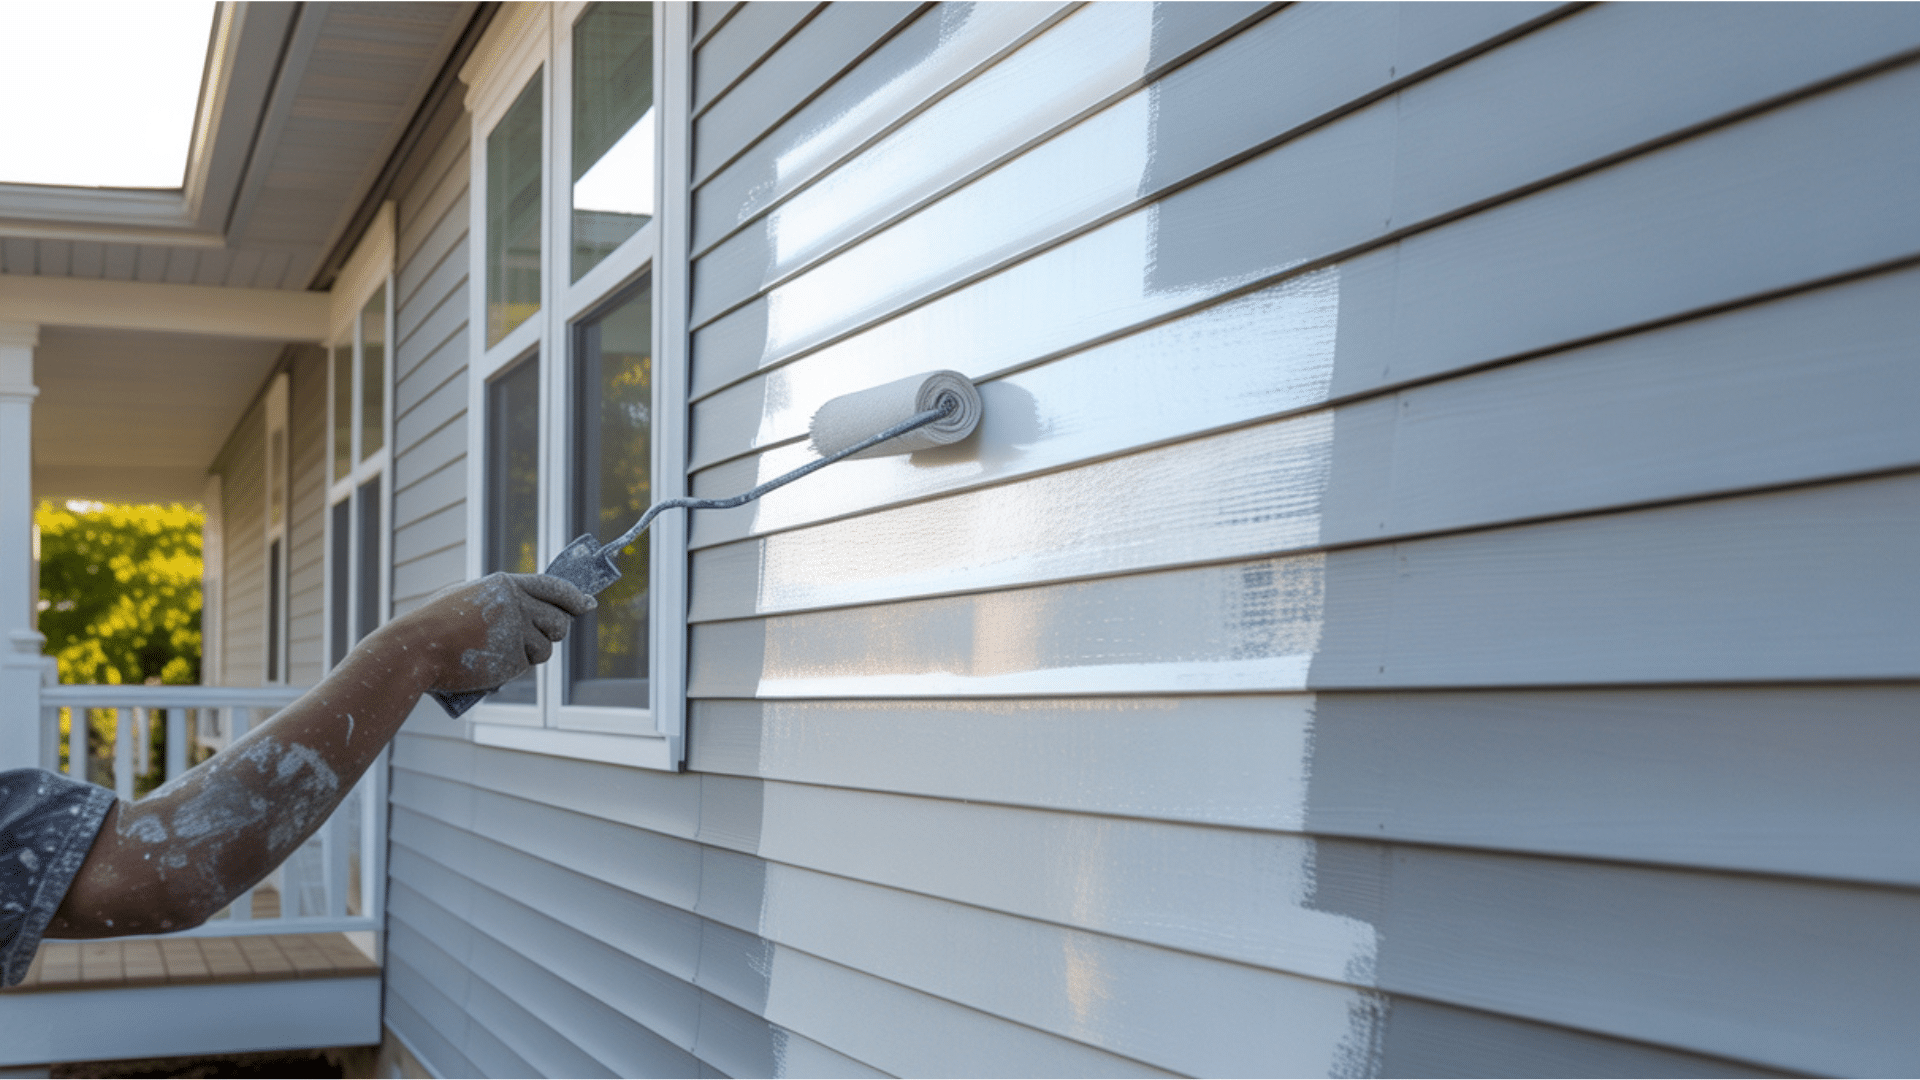
Acrylic Paint on Wood – Exterior Use
Acrylic paint works outdoors, but it needs extra protection. Rain, UV, and temperature swings wear paint down fast.
Without the right topcoat, you’ll see fading and peeling within a season. Use exterior-grade acrylic paint for outdoor projects.
Seal with weather-resistant polyurethane or outdoor varnish.
Recoat every season or two to keep it looking clean.
But Why is it Different for Outdoors?
- Rain, sunlight, and temperature changes wear paint down fast.
- Without protection, paint fades, cracks, and peels sooner than expected.
So, What to do?
- Use exterior-grade acrylic paint for outdoor projects.
- Seal it with weather-resistant polyurethane or outdoor varnish.
- Perfect for garden décor, signs, and outdoor crafts.
Recoat every season or two, to keep your paint looking fresh longer.
Is Acrylic Paint on Wood Waterproof?
Acrylic paint is water-resistant on wood, not waterproof.
It handles light moisture just fine, but prolonged exposure to rain or standing water will eventually get underneath the film.
For anything that’ll face real weather, a waterproof sealer on top is non-negotiable.
That one extra layer is what gives the wood real, lasting protection against the elements.
Best Acrylic Paint Brands for Wood
Not all acrylics perform the same on wood. After testing a few options, these brands can make it easier, and honestly, the best acrylic paint.
1. Winsor & Newton: This is a reliable mid-range brand. Performs well on both raw and primed wood, and the color range is extensive.
2. DecoArt Americana: It is the most widely available craft acrylic and is perfect for wood projects. Gives good coverage, mixes well, doesn’t need thinning for brushwork.
3. Sennelier: It is a soft-body formula that blends well on wood. You can try it out for decorative or illustrative work.
4. Liquitex Basics: It provides a higher pigment load, so fewer coats achieve full coverage. Good for detailed or layered work.
5. Golden Heavy Body: It is the professional standard. Expensive, but the color stays, and the consistency is unmatched.
Conclusion
Acrylic paint on wood is cheap, dries fast, and if something goes wrong, you can sand it back and try again.
Every project gets better than the last one.
So grab a piece of wood, pick a color that excites you, and start without thinking much. Drop the comments below about your experience. We would love to hear them.
Frequently Asked Questions (FAQs)
1. Why do Artists Choose Not to Use Acrylic Paint?
Some artists avoid acrylics because they dry too fast, making blending tricky. Others prefer the richer texture and slower drying time of oil paints.
2. What is the Best Finish for Acrylic Paint on Wood?
Polycrylic works best for indoor projects, while polyurethane is best for outdoor or heavy-use surfaces. Both come in matte, satin, and gloss finishes.
3. What Happens if I Add Baking Soda to Acrylic Paint?
It gives the paint a thick, textured finish. Great for adding a chalky or rough effect to wood surfaces.