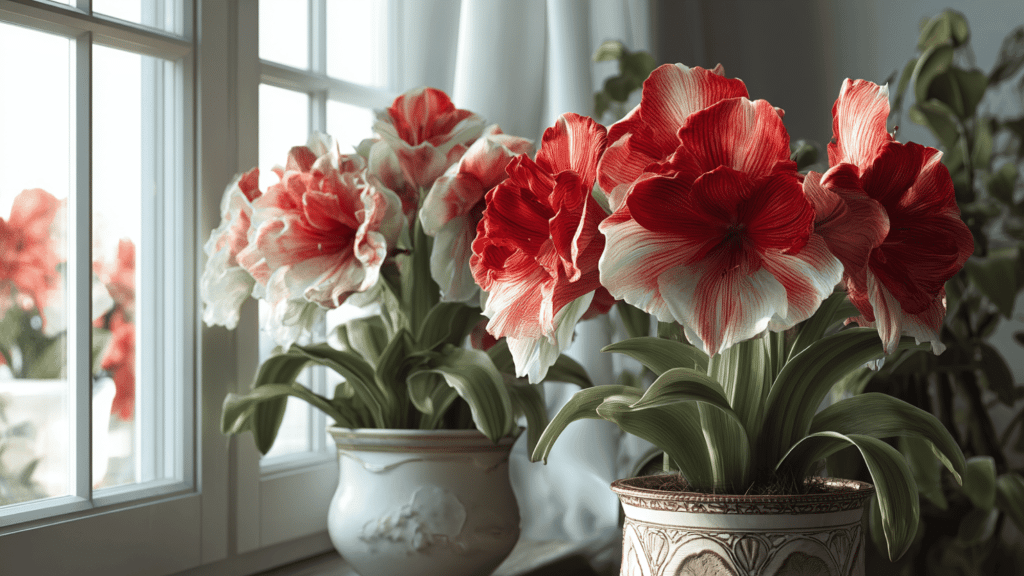
Amaryllis bulbs are easy to grow; getting them to rebloom, year after year, takes a bit more intention.
The difference almost always comes down to three things: watering at the right time, giving the bulb enough light, and not skipping the dormancy period.
This guide breaks down every stage of amaryllis care so the plant stays healthy and blooms reliably, season after season.
Best Environmental Conditions for Amaryllis Care
Amaryllis plants grow best in warm climates and survive in growing zones 8 to 11 outdoors. They are usually grown indoors as houseplants.
These flowering plants prefer indoor temperatures between 65°F and 75°F, making them perfect for homes and apartments.
Amaryllis needs bright, indirect sunlight and good airflow to grow healthy blooms.
Outdoors, they can grow well in sunny or partially shaded areas with well-draining soil. While amaryllis enjoys warmth, it cannot tolerate frost or freezing temperatures for long periods.
If temperatures drop below 50°F, it is best to move the plant indoors to protect the bulbs and encourage healthy future blooming.
How to Plant Amaryllis Bulbs Correctly
Proper planting helps amaryllis bulbs grow strong and produce beautiful blooms. Follow these simple steps to plant your amaryllis bulbs properly.
Step 1: Choosing Healthy Amaryllis Bulbs
When choosing an amaryllis bulb, always look for one that is large, firm, and healthy. Bigger bulbs often grow stronger stems and produce more flowers during the blooming season.
The bulb should feel solid and dry without soft spots, cracks, mold, or damage. Avoid unhealthy bulbs because they may not grow properly and can develop rot or other problems after planting.
Step 2: Pick the Right Pot
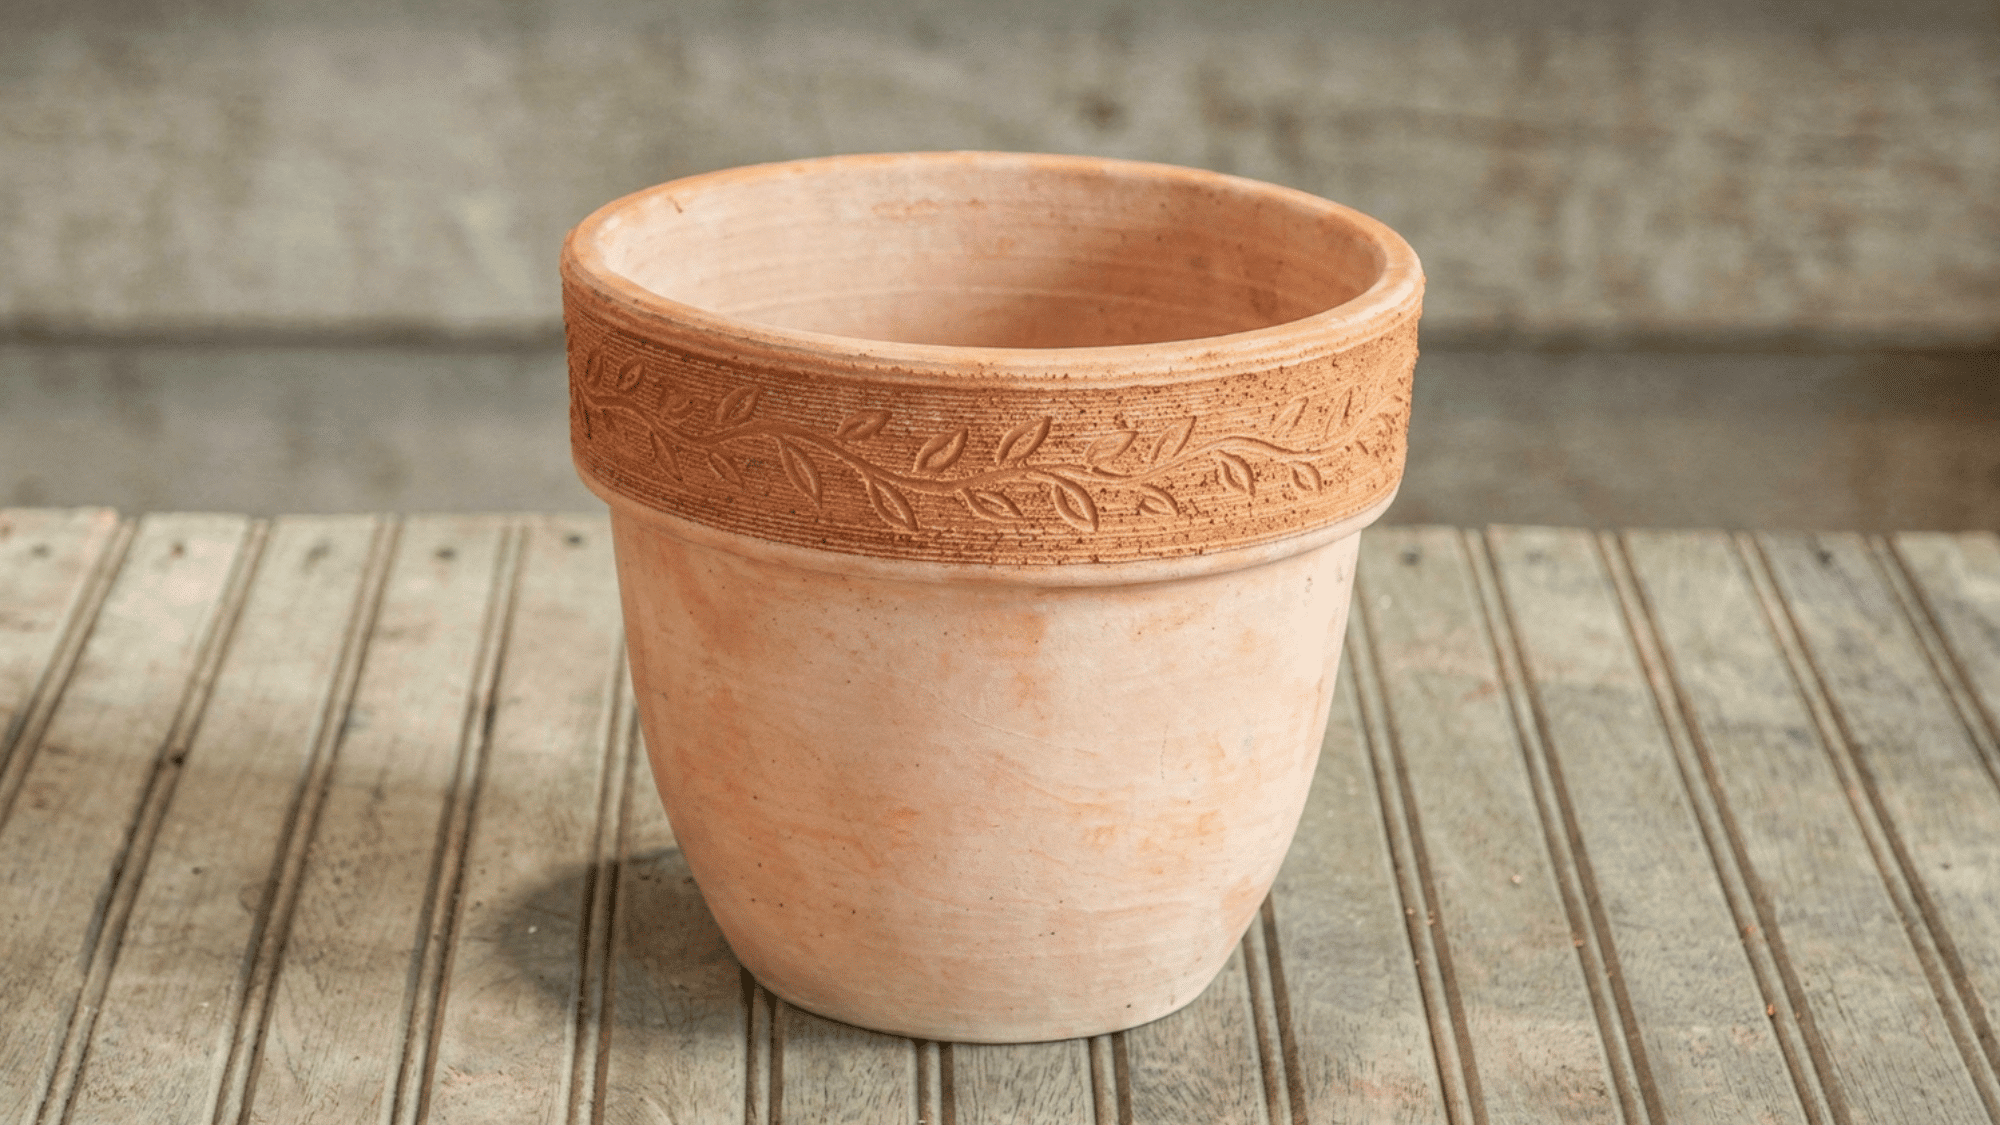
Choose a pot with drainage holes that is slightly larger than the amaryllis bulb. A container that is 1–2 inches wider works best for healthy root growth.
Amaryllis bulbs prefer snug pots because they help support stronger blooming. Good drainage is also important, as it prevents excess water from building up and causing bulb rot or root damage.
Step 3: Add Well-Draining Soil
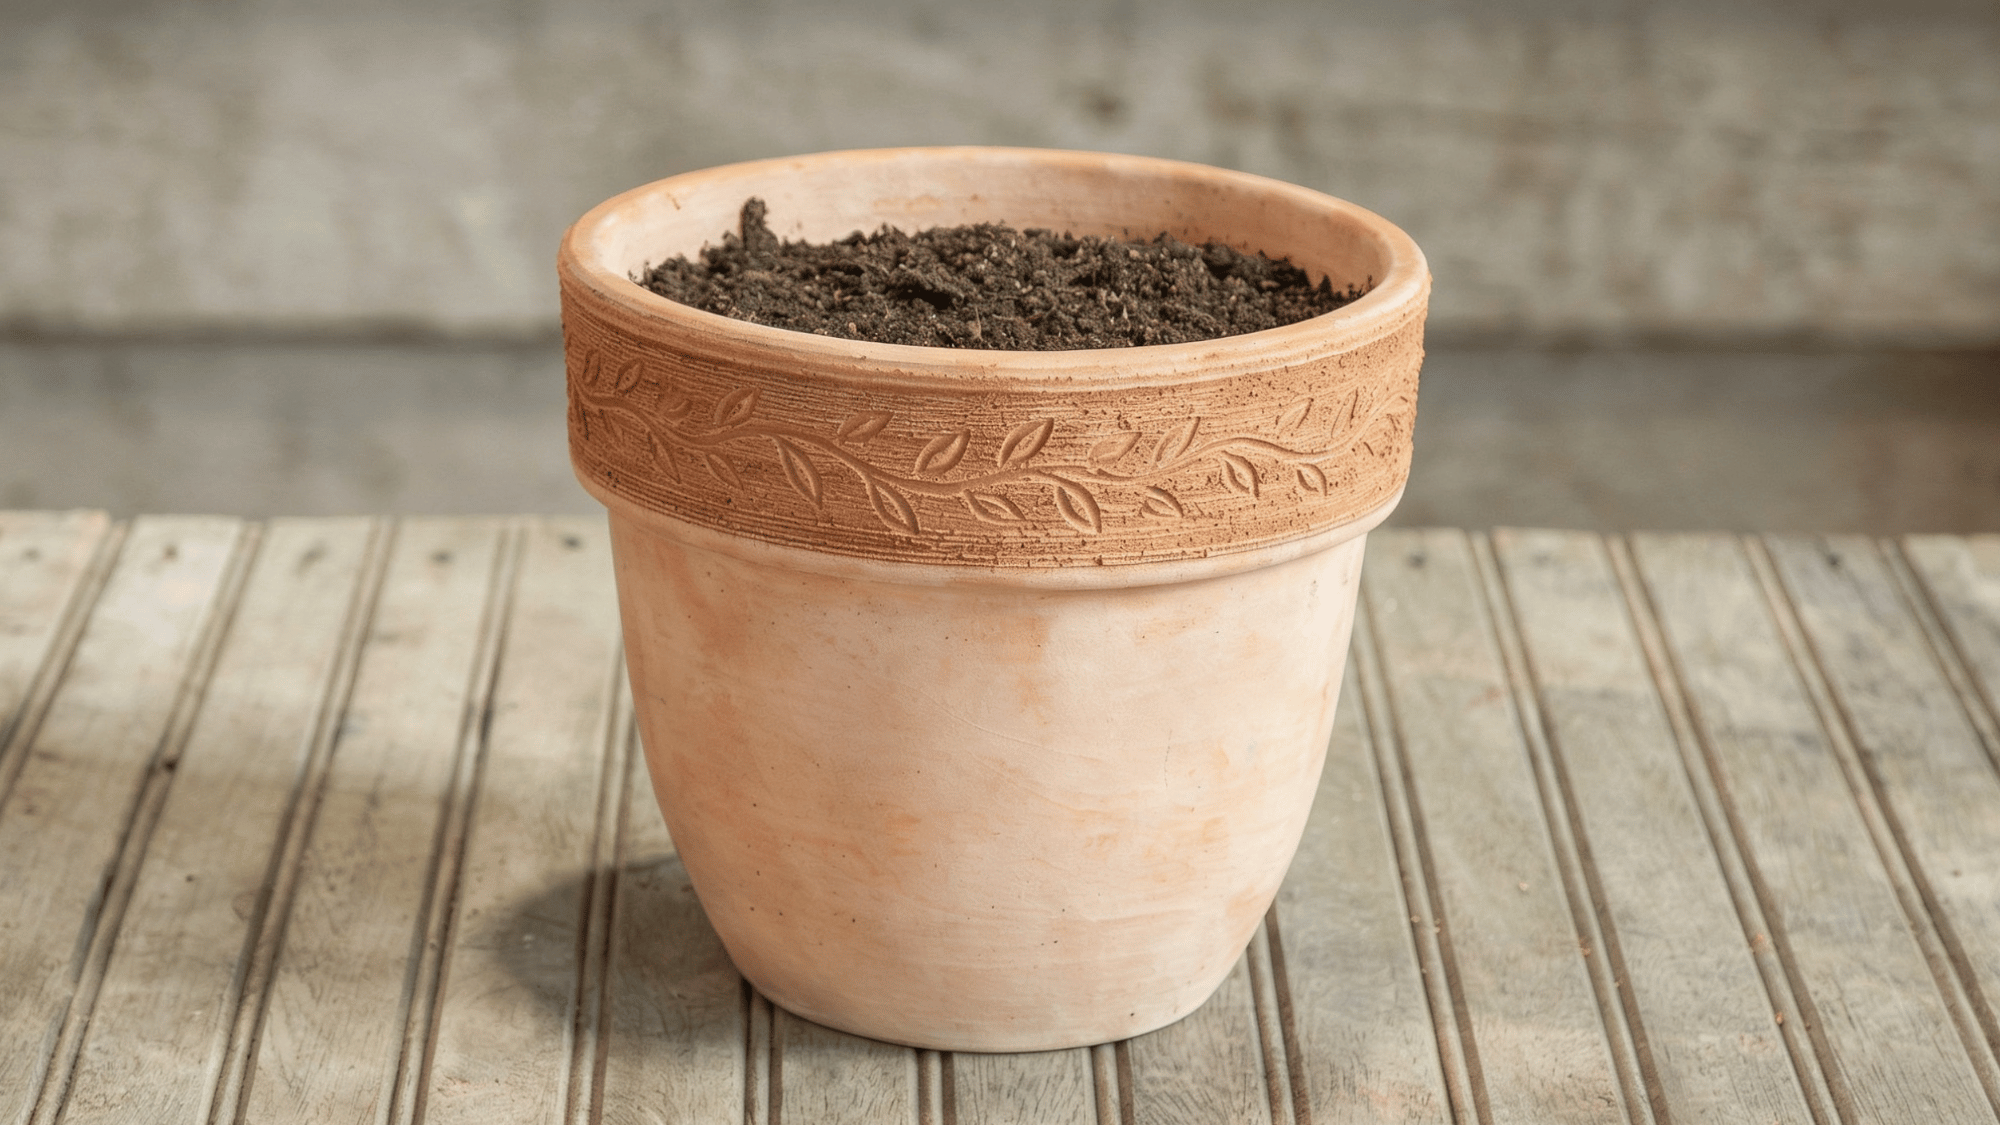
Use nutrient-rich, well-draining potting soil when planting amaryllis bulbs. Good soil helps the roots grow properly and prevents excess water from staying around the bulb.
Avoid using heavy garden soil, as it retains too much moisture, which can lead to bulb rot and poor growth.
A light potting mix with good drainage keeps the bulb healthy and supports better blooming during the growing season.
Step 4: Plant the Bulb Properly

Place the amaryllis bulb in the pot with the pointed end facing upward. Make sure the top one-third of the bulb stays above the soil surface instead of being fully buried.
This planting method helps prevent excess moisture around the bulb and supports healthy stem growth. Proper placement also allows the plant to bloom more successfully during the growing season.
Step 5: Water and Place in Bright Light
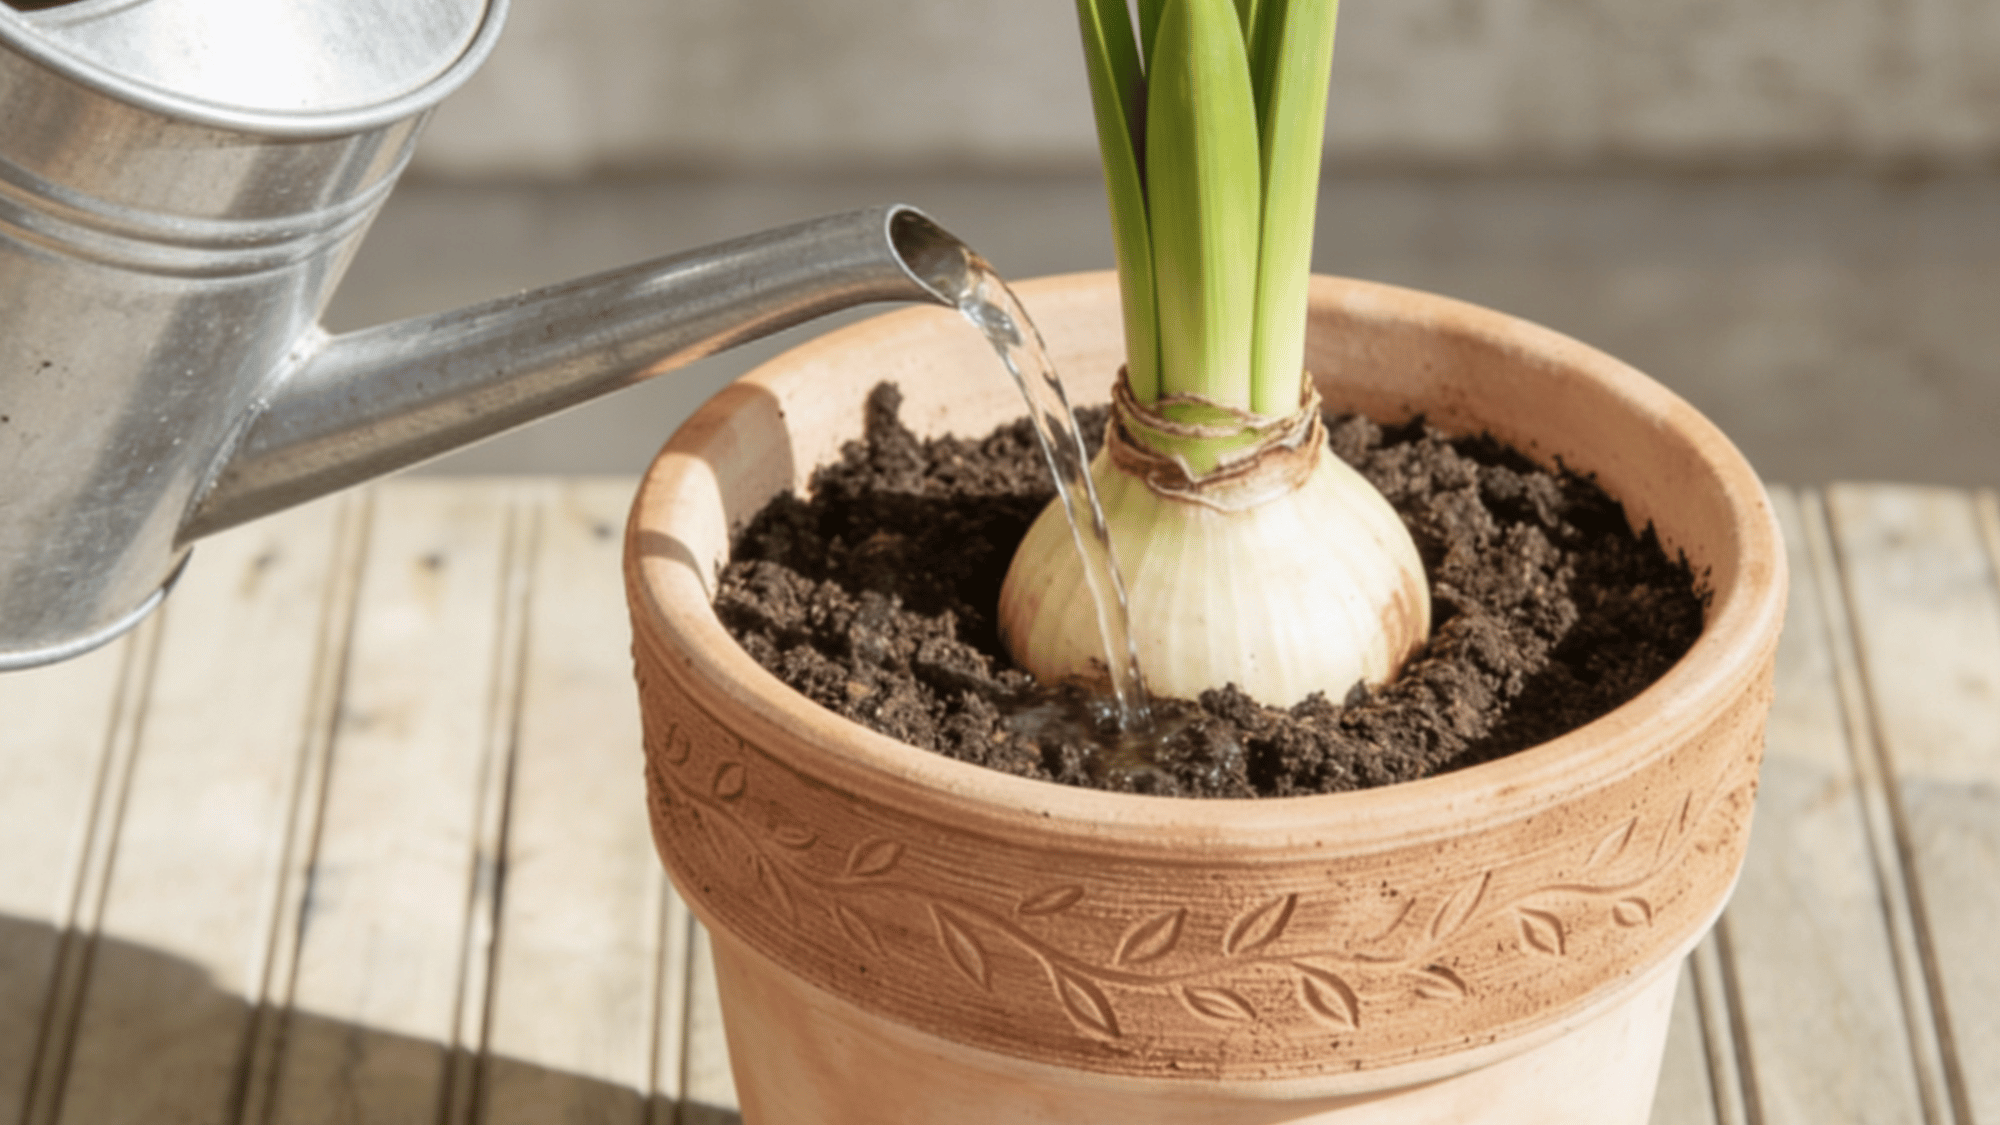
After planting, water the amaryllis bulb lightly to help the roots settle into the soil. Place the pot in a warm spot with bright indirect sunlight for healthy growth.
Keep the soil slightly moist but not soggy until new leaves or stems appear. Too much water at this stage can cause bulb rot, so proper watering is very important for successful growth.
Signs Your Amaryllis Plant Needs Attention
Identifying these problems early helps prevent serious damage and keeps the plant healthy and blooming.
| Problem | Main Causes | Quick Solution |
|---|---|---|
| Yellow Leaves | Overwatering, nutrient deficiency | Reduce watering and use balanced fertilizer |
| Bulb Rot | Poor drainage, excess moisture | Use well-draining soil and avoid soggy soil |
| No Flowers | Low light, small bulbs, lack of dormancy | Provide bright light and a proper dormancy period |
| Spider Mites | Dry indoor conditions | Increase humidity and wipe leaves regularly |
| Mealybugs | Pest infestation on leaves and stems | Remove pests with neem oil or insecticidal soap |
| Red Blotch Disease | Fungal infection on bulbs and leaves | Remove infected parts and avoid excess watering |
How to Care for Amaryllis Plants
Amaryllis bulb care is easy with the right light, water, and temperature. Proper care helps the plant produce healthy leaves and long-lasting blooms throughout the growing season.
- Water Accurately: Water the plant only when the top inch of soil feels dry, and avoid overwatering to prevent bulb rot.
- Use Well-Draining Soil: Plant amaryllis bulbs in nutrient-rich, well-draining soil to prevent excess moisture and root problems.
- Ensure Good Airflow: Keep the plant in a space with proper air circulation to reduce humidity-related diseases and fungal issues.
- Fertilize During Growth: Feed the plant with a balanced liquid fertilizer during active growth and stop fertilizing during dormancy.
The Bottom Line
Amaryllis care really comes down to paying attention at the right moments, watering consistently, giving bulbs enough light, and respecting the dormancy period instead of fighting it.
Skip those steps, and the blooms suffer; else follow them, and the plant practically rewards you for it. Amaryllis bulb care doesn’t have to feel overwhelming.
Once the routine clicks, it becomes second nature, and watching those tall stems push up and flower again is genuinely satisfying every single time.
Frequently Asked Questions
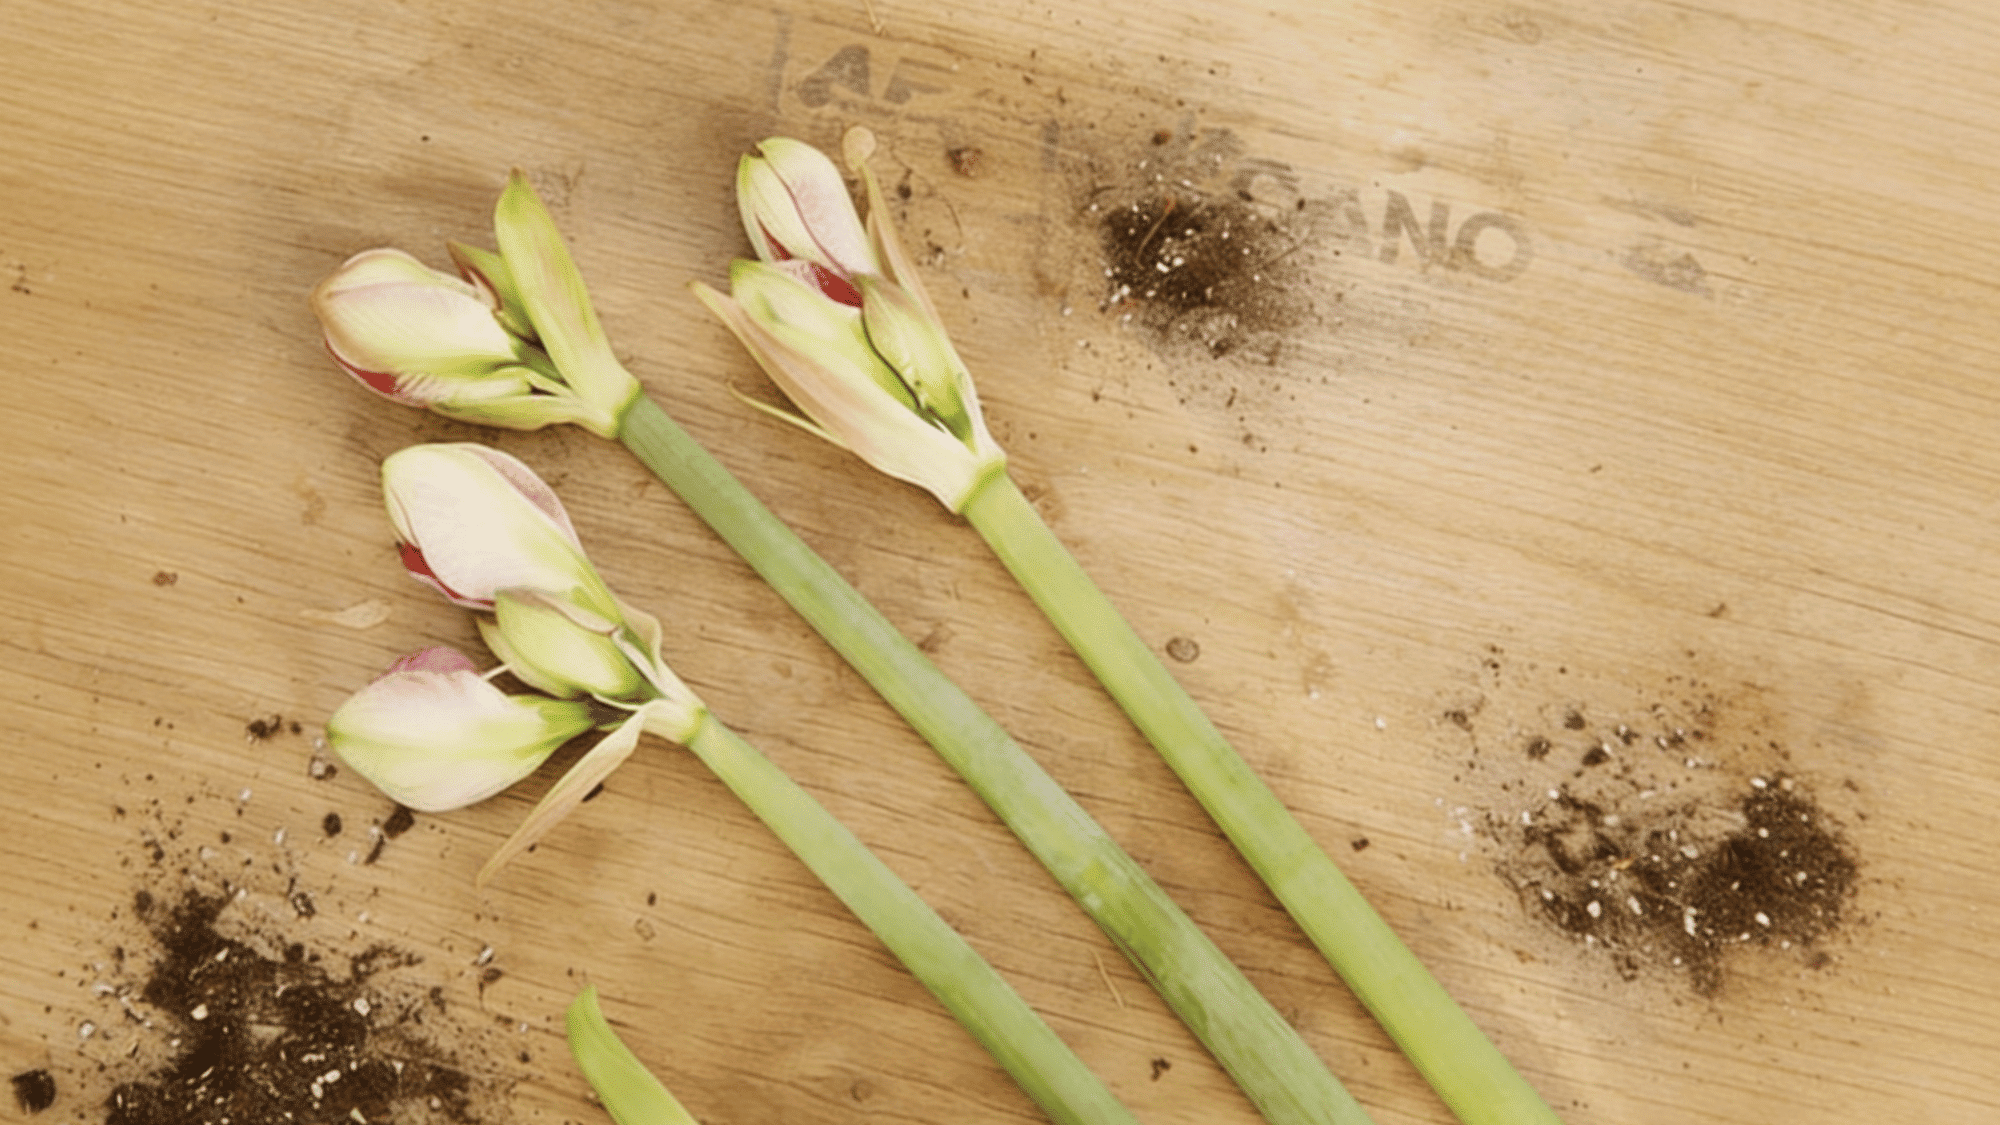
What Do You Do with Amaryllis Bulbs After They Bloom?
Cut off faded flowers, keep the leaves, and continue watering and fertilizing to help the bulb regain strength.
How Long Does an Amaryllis Last Indoors?
Amaryllis blooms usually last 2–3 weeks indoors with proper care.
Should I Put My Amaryllis Bulb in The Refrigerator?
Yes, you can store the bulb in a cool, dark refrigerator for at least 6 weeks, away from apples.
How Many Amaryllis Bulbs Should You Plant Together?
You can plant up to three amaryllis bulbs together in one container for a fuller, more colorful display.