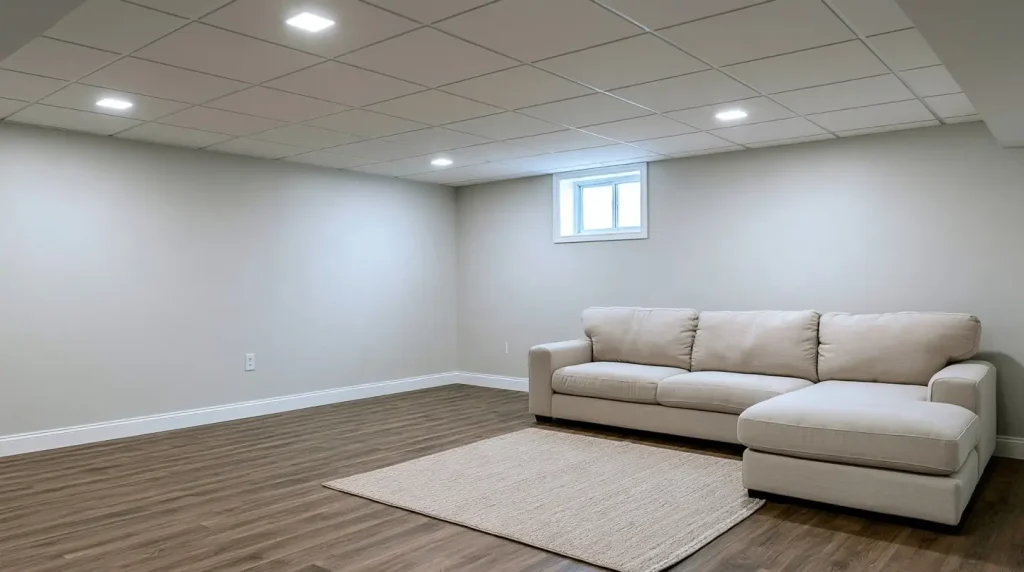
The basement is finally dry. The drainage works, the sump pump has done its job through a couple of heavy rains, and the corner that used to darken after every storm stays pale.
It’s tempting to jump straight to flooring samples and paint swatches, but the first finishing decision belongs overhead.
Before picking flooring or paint colors, it pays to settle the ceiling, and in a basement that has just been through waterproofing, a suspended system set by an experienced drop ceiling installer keeps pipes, valves and wiring within reach while still giving the room a finished look.
That access matters more in a basement than anywhere else in the house, because the ceiling is where most of the home’s plumbing and wiring lives.
If you’ve followed a step-by-step waterproofing guide like the one recently published here, this is the natural next chapter. Below, we’ll look at why the ceiling shapes everything else, what a basement needs from it, how a drop ceiling compares with drywall, which tiles and lighting work best, and the order that keeps the project on track.
Why the Ceiling Is the First Finishing Decision
In most rooms, the ceiling is an afterthought. In a basement, it sets the terms for everything else.
The ceiling decides how much headroom you’ll have, which in turn affects which furniture fits and whether tall guests duck under the ductwork. It decides where light fixtures go, which shapes how the room is laid out.
It decides whether the plumbing and wiring above stay reachable, or disappear behind a surface you’d have to cut open to service.
It also comes before the finishes you’ll see most. Walls get trimmed to meet it, lighting gets wired into it, and flooring goes down after the overhead work is done, so nobody drips joint compound or drops a tile on new boards. Getting the ceiling wrong means undoing the work stacked on top of it.
What a Waterproofed Basement Asks of Its Ceiling
A basement that has just been waterproofed is still a utility space at heart. The ceiling has to respect that while turning the room into somewhere you actually want to spend time.
Access to Pipes, Valves and Wiring
Look up in an unfinished basement and you’ll usually see a crowded map: water supply lines, drain pipes, heating runs, ductwork, electrical cables and shutoff valves. All of it needs occasional attention, whether that’s a plumber tracing a slow drain or an electrician adding a circuit.
A drop ceiling hides all of that behind a metal grid with removable tiles. When someone needs to reach a valve, they lift a tile and slide it aside. Nothing gets cut, patched or repainted.
Room for the Occasional Leak
Waterproofing keeps groundwater out, but it doesn’t stop leaks from above. A washing machine hose, a bathroom drain or a radiator valve on the floor above can still drip into the basement ceiling.
With a drop ceiling, the damage is usually limited to a few tiles. Once the leak is fixed, the stained tiles come out and new ones go in, and if a section of grid has sagged, it can be re-leveled. With drywall, the same leak means cutting out a wet section, letting the cavity dry, patching, sanding and repainting.
Headroom
Height is the tightest constraint in most basements. A suspended grid needs a few inches of clearance below the joists, while low-profile systems need less.
Ducts and beams that hang lower than the rest of the ceiling can be boxed in with soffits, so the main part of the room keeps as much height as possible. A good installer measures this before recommending a system, since the available clearance can rule some options in or out.
Drop Ceiling vs. Drywall in a Basement
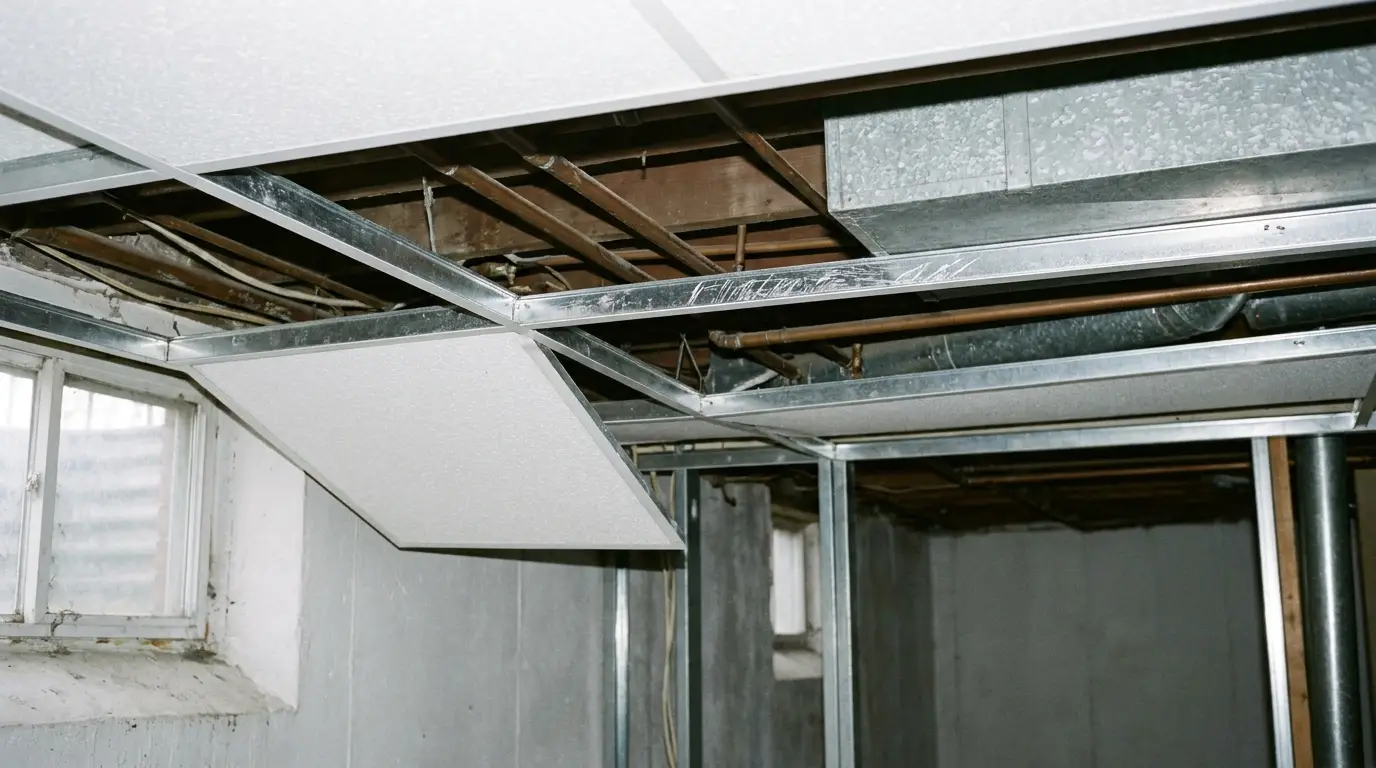
Drywall has its place. In a room where nothing above will ever need attention, it gives a clean, seamless surface that reads like any other room in the house. The question is how much you value that look against everyday practicality.
| Drop ceiling | Drywall | |
| Access to plumbing and wiring | Lift a tile | Cut and patch |
| Repair after a leak | Replace individual tiles | Cut out, dry, patch, repaint |
| Appearance | Visible grid, many tile styles | Smooth, seamless finish |
| Headroom | Needs a few inches below the joists | Fastened directly to the joists |
| Adding lighting later | Swap a tile for a fixture | Cut new openings |
In a basement where the ceiling carries plumbing, valves and junction boxes, the drop ceiling usually wins. Drywall makes more sense where little runs overhead, or in a section such as a stairwell where the look matters most.
Choosing Tiles for a Basement
Tiles are where function meets style. The right choice depends on how damp the space can get, how you plan to use the room and the look you want overhead.
Moisture-Resistant Options
Even a well-waterproofed basement can run more humid than the rest of the house, especially in summer. Standard tiles in a damp room can sag or stain over time. Moisture-resistant tiles hold their shape in higher humidity and suit basements that rely on a dehumidifier or see the occasional damp spell. They’re a sensible default for laundry areas and utility corners.
Tiles for a Quieter Family Room
Basements often become family rooms, playrooms or home offices, and bare concrete makes them echo. Sound-absorbing ceiling tiles soften that echo and make conversation and television easier on the ears. One honest caveat: tiles do very little about footsteps from the floor above, since that noise travels through the structure itself and needs a different kind of ceiling work.
Looks That Don’t Say “Office”
The basement drop ceiling doesn’t have to look like a break room. Tiles with recessed edges sit slightly below the grid and add shadow and depth. A black or painted grid gives a modern, intentional look, while wood-look and textured tiles warm up the room. Concealed grid systems hide the metal almost entirely.
Coordinate the ceiling with the wall color the same way you would trim: a crisp white ceiling brightens a low room, while a darker grid can frame a moody media space.
Planning Lighting Before the Grid Goes Up
Lighting and the ceiling should be planned together, on paper, before any grid is hung. Flat LED panels sized to fit a grid opening give even, bright light and drop straight into the system.
Recessed fixtures and pendants work too, but heavier fixtures need their own support from the structure above rather than resting on the grid alone.
Lay out the light positions alongside the grid plan, checking where joists, pipes and ducts sit overhead. A fixture that lands right under a drain line causes problems on installation day, while a plan made in advance keeps the light where the room needs it.
Getting the Order Right
Basement finishing goes smoothest when each trade works in sequence:
- Confirm the waterproofing is doing its job and the space is fully dry.
- Complete rough plumbing, electrical and ductwork, and get any required inspections.
- Add insulation and finish the walls.
- Install the ceiling grid, lighting and tiles.
- Lay the flooring and paint.
Skipping ahead, such as hanging the grid before an electrician has finished running new circuits, means lifting tiles and moving fixtures later.
DIY or Hire an Installer
A drop ceiling looks simple, and plenty of homeowners take it on. The difficulties show up in the details. The grid has to be perfectly level across the whole room, or the tiles will show it. Border tiles need to be cut evenly on opposite walls, which means laying the grid out from the center of the room rather than starting in a corner.
Pipes, ducts and sprinkler heads have to be worked around while keeping the minimum clearance.
For a small, uncluttered room, DIY can work. For a basement full of mechanical runs, with low headroom or lighting built into the grid, a professional installer tends to save time and rework. In the New York City area, including Westchester and Long Island, firms such as New York Soundproofing install and repair suspended ceilings in basements and start with an on-site check of ceiling height and obstructions before any grid goes up.
A basement that has already survived water deserves a ceiling you won’t have to tear down the first time a pipe drips.