A basement can look perfectly dry during a house tour and develop a wet corner after the next downpour. A crawl space can have no puddles at all yet still need moisture control. Successful waterproofing starts by understanding those differences before choosing a product or booking an installation.
For homeowners, the most useful approach is to treat waterproofing as a project with a clear sequence: investigate, plan, prepare, install, and verify.
This guide focuses on basements, crawl spaces, and foundations, where decisions about drainage and moisture protection have lasting consequences for the house above.
Step 1: Identify Where the Moisture Comes From
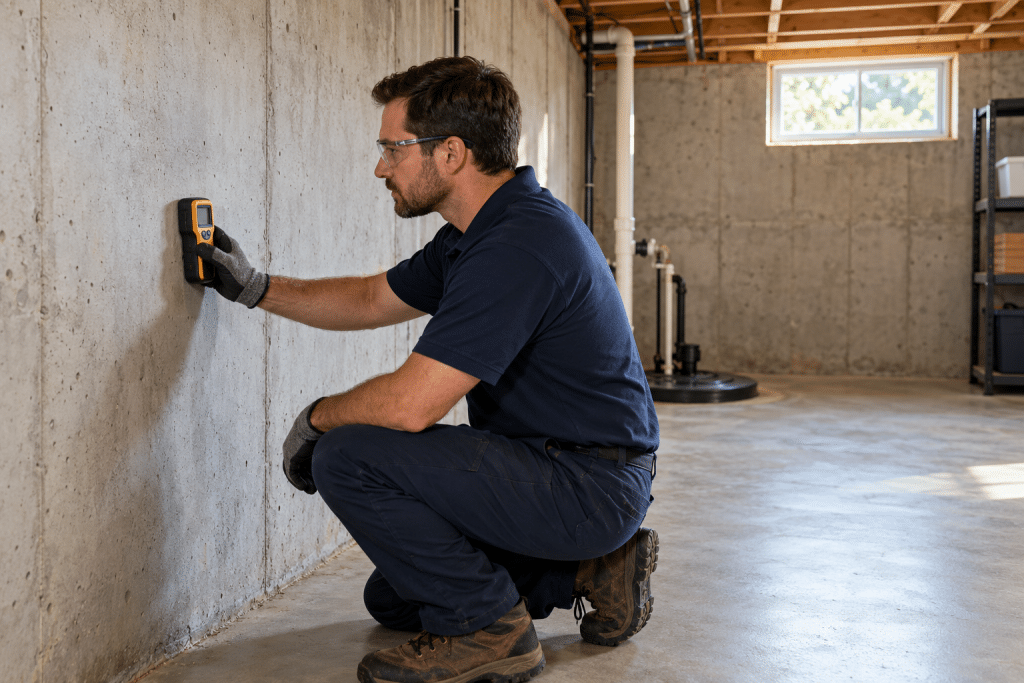
Start with the timing. Does the problem appear during rain, several hours afterward, or even in dry weather? Photograph the affected area and note nearby pipes, windows, and wall-to-floor joints. Repeat the observations when conditions change.
The University of Minnesota Extension’s guide to basement moisture explains that rainwater, groundwater, indoor moisture, and humid outdoor air can all contribute. Water can also travel through porous materials, so the place where a stain appears may not identify its original entry point.
Create a simple inspection record with four details:
- The location and size of each affected area.
- The weather when moisture becomes visible.
- Whether the surface is wet, stained, or showing condensation.
- Any previous repair and when the problem returned.
Give this record to your contractor. It provides a more useful starting point than asking for a particular sealant based on appearance alone.
Step 2: Arrange an Assessment and Define the Scope
Persistent seepage deserves an assessment before you cover the walls or replace flooring. Ask the inspector to explain the suspected source, the evidence supporting that diagnosis, and any further investigation needed.
Homeowners in the Charlotte and Concord area can discuss basement, foundation, and crawl-space concerns with a Waterproofing Expert at Sedona Waterproofing Solutions. Bring photographs and a short history of the problem so the conversation centers on your property’s conditions.
A useful proposal should distinguish necessary repairs from optional improvements. Ask for separate descriptions of drainage work, moisture barriers, equipment, cleanup, and restoration.
If movement or structural damage is suspected, establish whether an engineer needs to assess it before waterproofing begins.
Agree on the intended result, too. Keeping a storage basement dry and preparing a room for finished living space may require different project scopes.
Step 3: Correct Roof Runoff and Surface Drainage
Examine the route rainwater takes from the roof to its final discharge point. Look for overflowing gutters, disconnected downspouts, and water collecting beside foundation walls.
The Department of Energy-supported Building America Solution Center’s guidance on gutters and downspouts describes surface discharge at least five feet from foundations as one option. The outlet must also lead water away; distance alone is not enough if the ground sends it back.
Walk the perimeter with your contractor and mark the proposed outlets. Consider footpaths, mowing access, neighboring property, and places where discharged water could create a nuisance. Confirm that the proposed arrangement is suitable for the site and permitted locally.
Where the ground slopes toward the house, ask about grading or a designed drainage alternative. Complete these decisions before treating the basement wall as the only part of the problem.
Step 4: Choose a System That Matches the Diagnosis
Ask the contractor to describe what each proposed component actually does. The term “waterproofing” can cover several different types of work.
Exterior Protection and Foundation Drainage
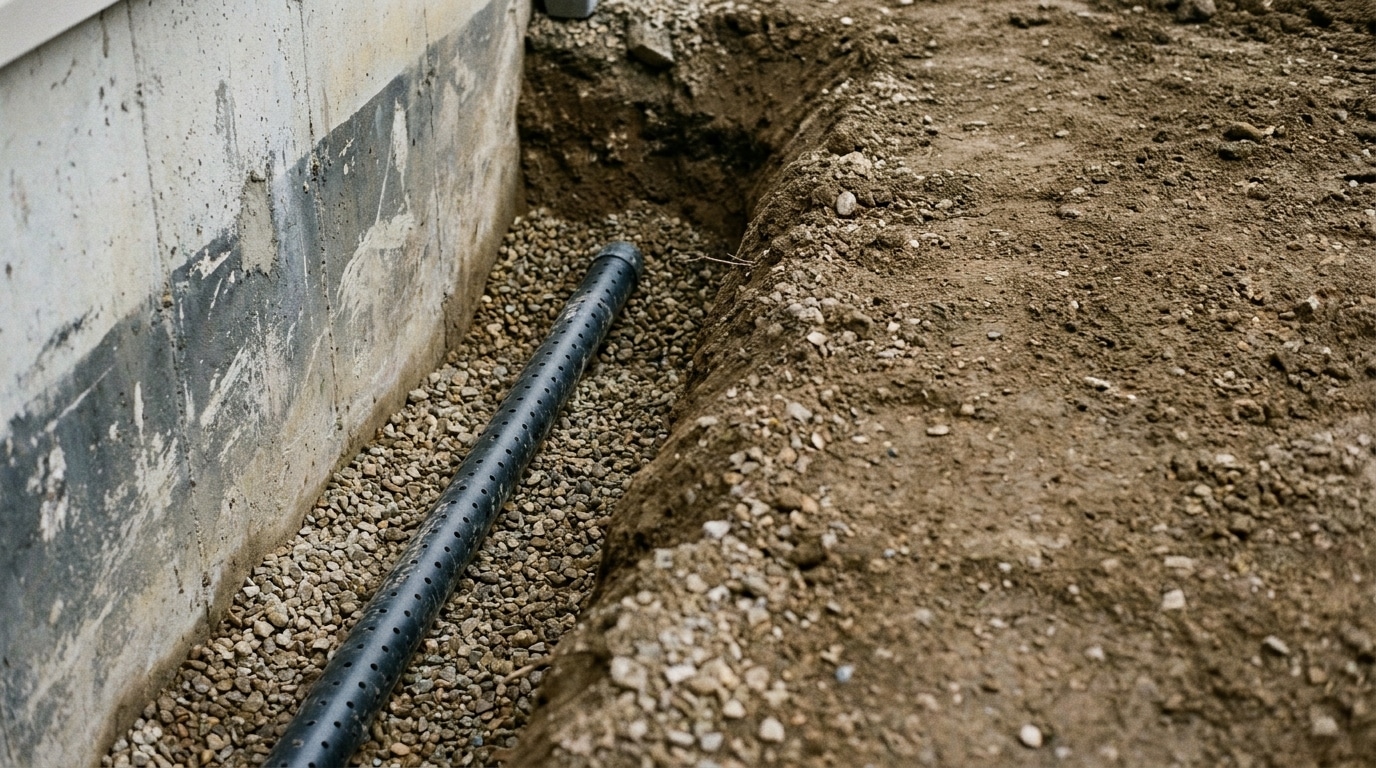
An exterior project may involve exposing the foundation, repairing the surface, installing a specified waterproofing system, and improving drainage. Ask how the work will affect landscaping, access, and the restoration budget.
The Building America Solution Center’s footing drain guidance explains how foundation drains collect water and convey it toward a suitable outlet or sump. A proposal should therefore identify both the collection system and where the collected water goes.
Interior Water Management
An interior drainage system manages water from inside the foundation perimeter. Ask which areas it serves, how it connects to the discharge system, and how it can be inspected or serviced later. A wall coating and a drainage installation should not be treated as interchangeable items on a quotation.
Crawl-Space Moisture Control
Crawl-space projects may combine drainage, a ground vapor barrier, air sealing, and humidity control. Ask which problem each component addresses and what conditions must be corrected before the enclosure is completed.
Step 5: Prepare the Work Area and Repair the Substrate
Before installation day, remove stored belongings from the agreed work area and confirm how workers will enter the property. Discuss dust control, waste removal, and protection of adjoining rooms.
For any coating or membrane, request the manufacturer’s installation instructions. Preparation requirements vary, so avoid assuming that every product can be applied to a damp, painted, or uneven wall. The installer should confirm surface preparation, compatible repair materials, application conditions, and required curing periods for the selected system.
Ask to see photographs of repaired areas before they are concealed. Keep the product names and technical sheets with the project paperwork. These records will be valuable if another contractor later needs to work on the same wall.
Foundation excavation and structural repairs require appropriate expertise; they are not extensions of a routine interior painting project.
Step 6: Check Connections, Seams, and Discharge Routes
Schedule a progress review while the important details are still accessible. Ask the installer to show how the system continues around corners, pipes, access openings, and changes in material.
For crawl spaces, the Department of Energy’s guidance on ground moisture barriers emphasizes a continuous barrier with sealed seams and treatment around penetrations. It also identifies grading and drainage as separate measures for controlling incoming liquid water.
If a sump pump is part of the installation, request a demonstration of normal operation and any alarm or backup equipment. Identify the discharge outlet together. Record equipment model numbers, service contacts, and instructions for responding to a fault.
Do not accept a handover that leaves you unsure where water is being collected or discharged.
Step 7: Dry the Space Before Rebuilding
Allow time between water-control work and installing new finishes. Ask who will assess whether affected materials are sufficiently dry and which checks are appropriate for the planned flooring, insulation, or wall system.
The EPA’s guide to mold and moisture recommends drying wet materials within 24–48 hours after a leak or spill to help prevent mold growth. It also advises against painting or caulking over moldy surfaces. Existing damage needs attention before it disappears behind a new finish.
If the project includes basement insulation, discuss drying paths as well as insulation value. The Department of Energy’s explanation of basement vapor retarders cautions that an unsuitable vapor-control layer can trap moisture within a wall assembly.
Have the waterproofing and finishing contractors agree on these details before either closes the wall.
Step 8: Verify Performance and Plan Maintenance
At handover, compare the completed work with the written scope. Collect photographs, warranties, equipment manuals, and a maintenance schedule. Ask which items require homeowner attention and which need a service visit.
After subsequent rainfall, revisit the locations recorded during your first inspection. Photograph any change and report recurring moisture promptly. One dry afternoon is useful information, but observations under the conditions that previously caused trouble are more meaningful.
Keep a short maintenance checklist:
- Inspect accessible drainage outlets for obstruction.
- Follow the pump and dehumidifier manufacturers’ service instructions.
- Check accessible liners and seals for accidental damage.
- Record new stains, odors, or changes in equipment operation.
A successful project should leave you with both an appropriate installation and a clear understanding of how it works. That knowledge makes future maintenance easier and helps you recognize a small change before it becomes another repair project.