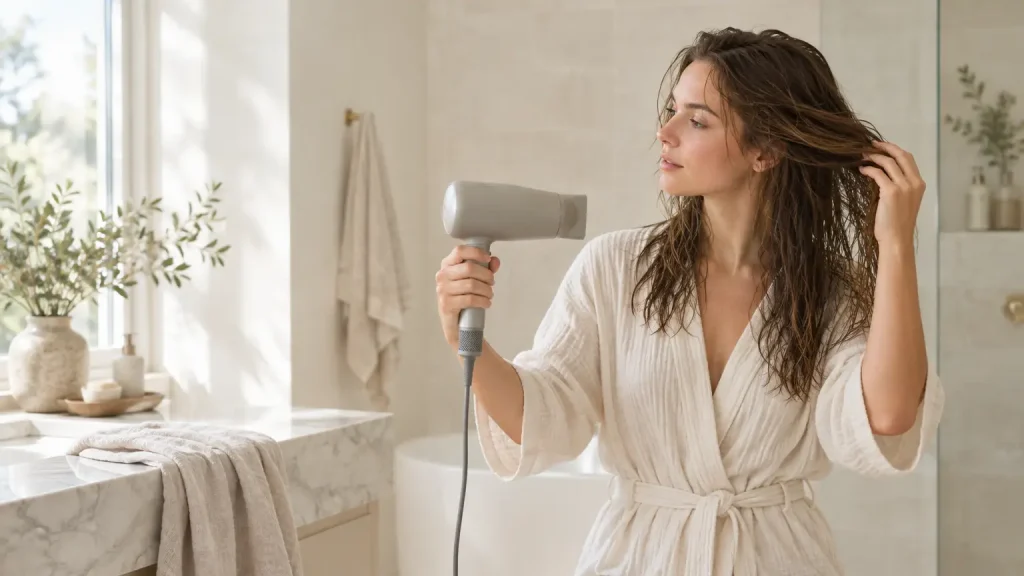
Wet hair is more fragile than most people realize, and too much heat can quietly turn that vulnerability into frizz, breakage, and a dull, rough-feeling surface over time. Healthy-looking hair depends on more than just the tool in your hand—moisture removal, heat level, drying distance, airflow movement, and even how you brush all factor in. Choosing and using a hair dryer thoughtfully is only one piece of a lower-damage routine; the habits around it matter just as much. This article lays out a practical, evidence-informed approach to drying different hair types while avoiding unnecessary harm along the way.
How Hair Becomes Vulnerable During and After Washing
The structure of the hair fiber
Each strand is made up of an outer cuticle layer, an inner cortex, and, in some hair types, a central medulla. The visible part of your hair is nonliving tissue, which means it can’t biologically repair itself once it’s been significantly damaged. Conditioners and styling products can temporarily smooth the cuticle and make hair look healthier, but they don’t reverse structural breaks—those need to be grown out or trimmed away.
Why wet hair requires gentler handling
Wet strands stretch more easily than dry ones and tend to be more susceptible to mechanical stress. Rubbing hair briskly with a towel, forcing a brush through knots, or tying it up tightly while it’s still damp can all contribute to breakage. How vulnerable your hair actually is depends on texture, density, porosity, chemical history, and any existing damage, so what works well for one person may not work the same way for another.
Preparing Hair Before Applying Heat
Start by removing excess water gently—squeezing or blotting with a soft towel or a T-shirt-style fabric is generally much less abrasive than rubbing vigorously, and it can shorten how much heat exposure you need afterward. Detangle carefully, working from the ends upward rather than forcing a brush through from root to tip; a wide-tooth comb often works well here, especially for textured hair.
Where it’s practical, letting hair partially air-dry before reaching for the dryer can cut down total heat exposure. That said, this isn’t a universal fix—extra time spent damp or extra manipulation may not suit everyone’s schedule or hair type, so there’s no single best approach that works for every reader.
Choosing Safer Heat and Airflow Settings
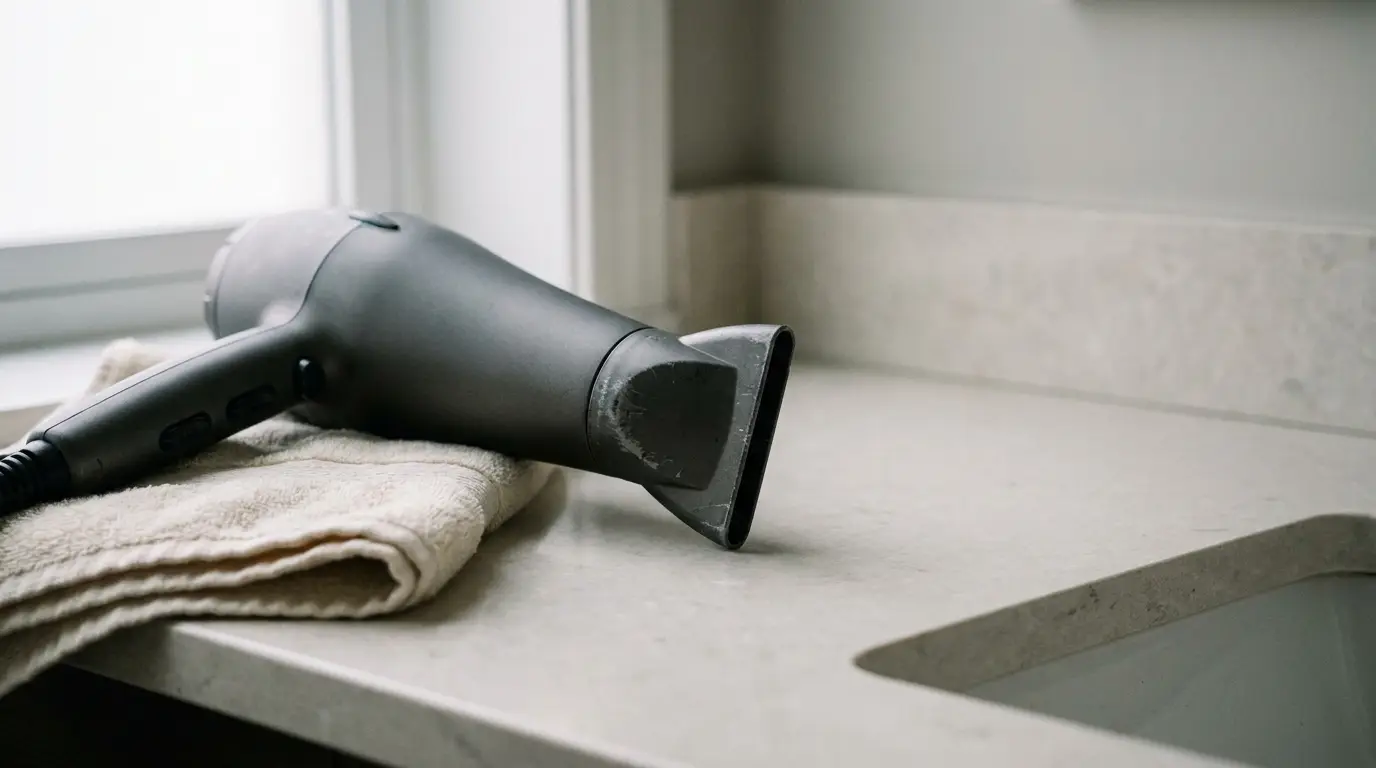
Using the lowest effective heat is one of the most consistently recommended practices in dermatology guidance on hair care. Starting on a cool or low setting and increasing it only as needed helps avoid putting unnecessary stress on the hair’s surface. Heat, airflow strength, and drying time each affect hair differently, so dialing up one doesn’t automatically make up for dialing down another.
Keeping a reasonable distance between the dryer and your hair, paired with continuous airflow movement, helps avoid concentrating heat on any one section for too long. Research on heat styling suggests that holding a device too close, or lingering too long on one spot, raises the risk of surface damage—though no single distance guarantees safety across every hair type.
Hair that’s chemically treated, bleached, fine, or already brittle generally benefits from more conservative heat use, while thicker or denser hair may need sectioning and controlled airflow rather than simply cranking up the temperature.
A Step-by-Step Lower-Damage Drying Routine
Start with gently blotted hair, then apply a conditioner or leave-in product suited to your hair and scalp if you’d like. Detangle from the ends, divide dense hair into sections, and begin with low or moderate heat. Keep the airflow moving instead of holding it in one place, hold the dryer a short distance away, and work through roots and lengths methodically—without going back over strands that are already dry. Finishing with a blast of cooler air can make hair more manageable, and it’s worth stopping as soon as it’s dry enough for whatever style you’re going for.
Low-Damage Checklist
- Blot, don’t rub
- Detangle gently, starting at the ends
- Use the lowest effective heat
- Keep airflow moving
- Limit repeated passes over dry sections
- Adjust for damaged or chemically treated hair
Adapting the Routine to Different Hair Types
Fine or fragile hair usually dries fast but can also show signs of heat-related dryness sooner, so lower heat and shorter exposure times help. Thick or dense hair does better with sectioning and thorough water removal beforehand, rather than relying on higher temperatures to speed things along. Curly or coily hair often responds well to minimal handling and controlled airflow attachments, since rough treatment can disrupt curl pattern and ramp up frizz. Chemically treated or color-treated hair tends to be more vulnerable across the board, so conservative heat and careful handling are a reasonable default; heat-protective products may lower some risk, but they shouldn’t be treated as a guarantee against damage.
Common Mistakes That Increase Damage
- Starting at the highest heat setting
- Holding hot air on one section too long
- Drying hair aggressively with a rough towel
- Brushing forcefully through wet tangles
- Continuing to dry hair that’s already dry
- Using the wrong tool on soaking-wet hair
- Ignoring signs like increased breakage or persistent dryness
- Assuming conditioners can undo structural damage
When Hair or Scalp Concerns Need Professional Advice
Ordinary post-styling dryness is different from symptoms that actually warrant a closer look. It’s worth consulting a dermatologist or healthcare professional if you notice sudden or persistent shedding, visible thinning, scalp pain or scaling, or recurring breakage with no obvious styling cause behind it. This article can’t diagnose hair loss or scalp conditions, and getting a professional opinion is the right next step if symptoms stick around.
Practical Examples: Applying the Principles in Daily Life
On a busy morning, blotting hair right away, letting it partially air-dry while you get ready, and finishing with controlled low-to-moderate heat can save time without skipping the gentler steps. For thick hair, sectioning it off and briefly drying each part tends to work better than blasting the whole head with maximum heat. Fragile or processed hair may do better with fewer heat-styling sessions and more conservative settings, while curly hair often thrives with minimal touching and steady, controlled airflow.
A Simple Maintenance Approach for Healthier-Looking Hair
Treat heat styling as something purposeful rather than automatic, and consider the occasional reduced-heat day when your schedule allows it. Trim visibly split ends as needed, keeping in mind that trimming addresses damage that’s already there rather than preventing new damage from forming. Keep your tools clean according to manufacturer guidance so airflow isn’t obstructed, and reassess your routine if hair starts becoming more brittle or harder to manage.
Final Takeaways
Safer hair-drying really comes down to gentle moisture removal, less mechanical friction, lower effective heat, continuous movement, reasonable distance, and fewer unnecessary passes. The goal isn’t eliminating every bit of heat exposure—it’s reducing the cumulative stress that builds up over time. A good place to start is changing just one factor, whether that’s towel technique, heat level, or distance, and seeing how your hair responds before adjusting further.