Many people love the idea of picking fresh pumpkins straight from their garden, especially during the fall and Halloween season.
Learning how to grow pumpkins may sound difficult at first, but it’s actually not. From day 1, seed planting to day 100, the trip of orange pumpkins is actually very exciting to watch.
If you want pumpkins for cooking, decorating, or carving, growing them yourself makes the experience even more special. Read till the end, and you’ll know how you can grow your pumpkins by yourself that are healthy and fresh.
What Makes Pumpkins Easy to Grow?
Growing pumpkins is easier than you can think because they grow well with basic care, which makes them a great choice for first-time gardeners.
Growing them is also fun for families and kids, especially in the fall. As they are widely used during halloween for carving and decorations, growing them even more exciting.
You can also use pumpkins for cooking, baking, and home decoration. There are many types of pumpkins that are perfect for beginners.
Small pumpkins grow well in containers or small gardens, while medium pumpkins are great for carving. Pie pumpkins are best for cooking because they taste sweeter.
How to Grow Pumpkins from Scratch
Growing pumpkins from scratch is easier when you follow the right steps. With good sunlight, healthy soil, and regular care, even beginners can grow strong pumpkin plants at home.
Step 1: Choose the Right Spot for Growing Pumpkins
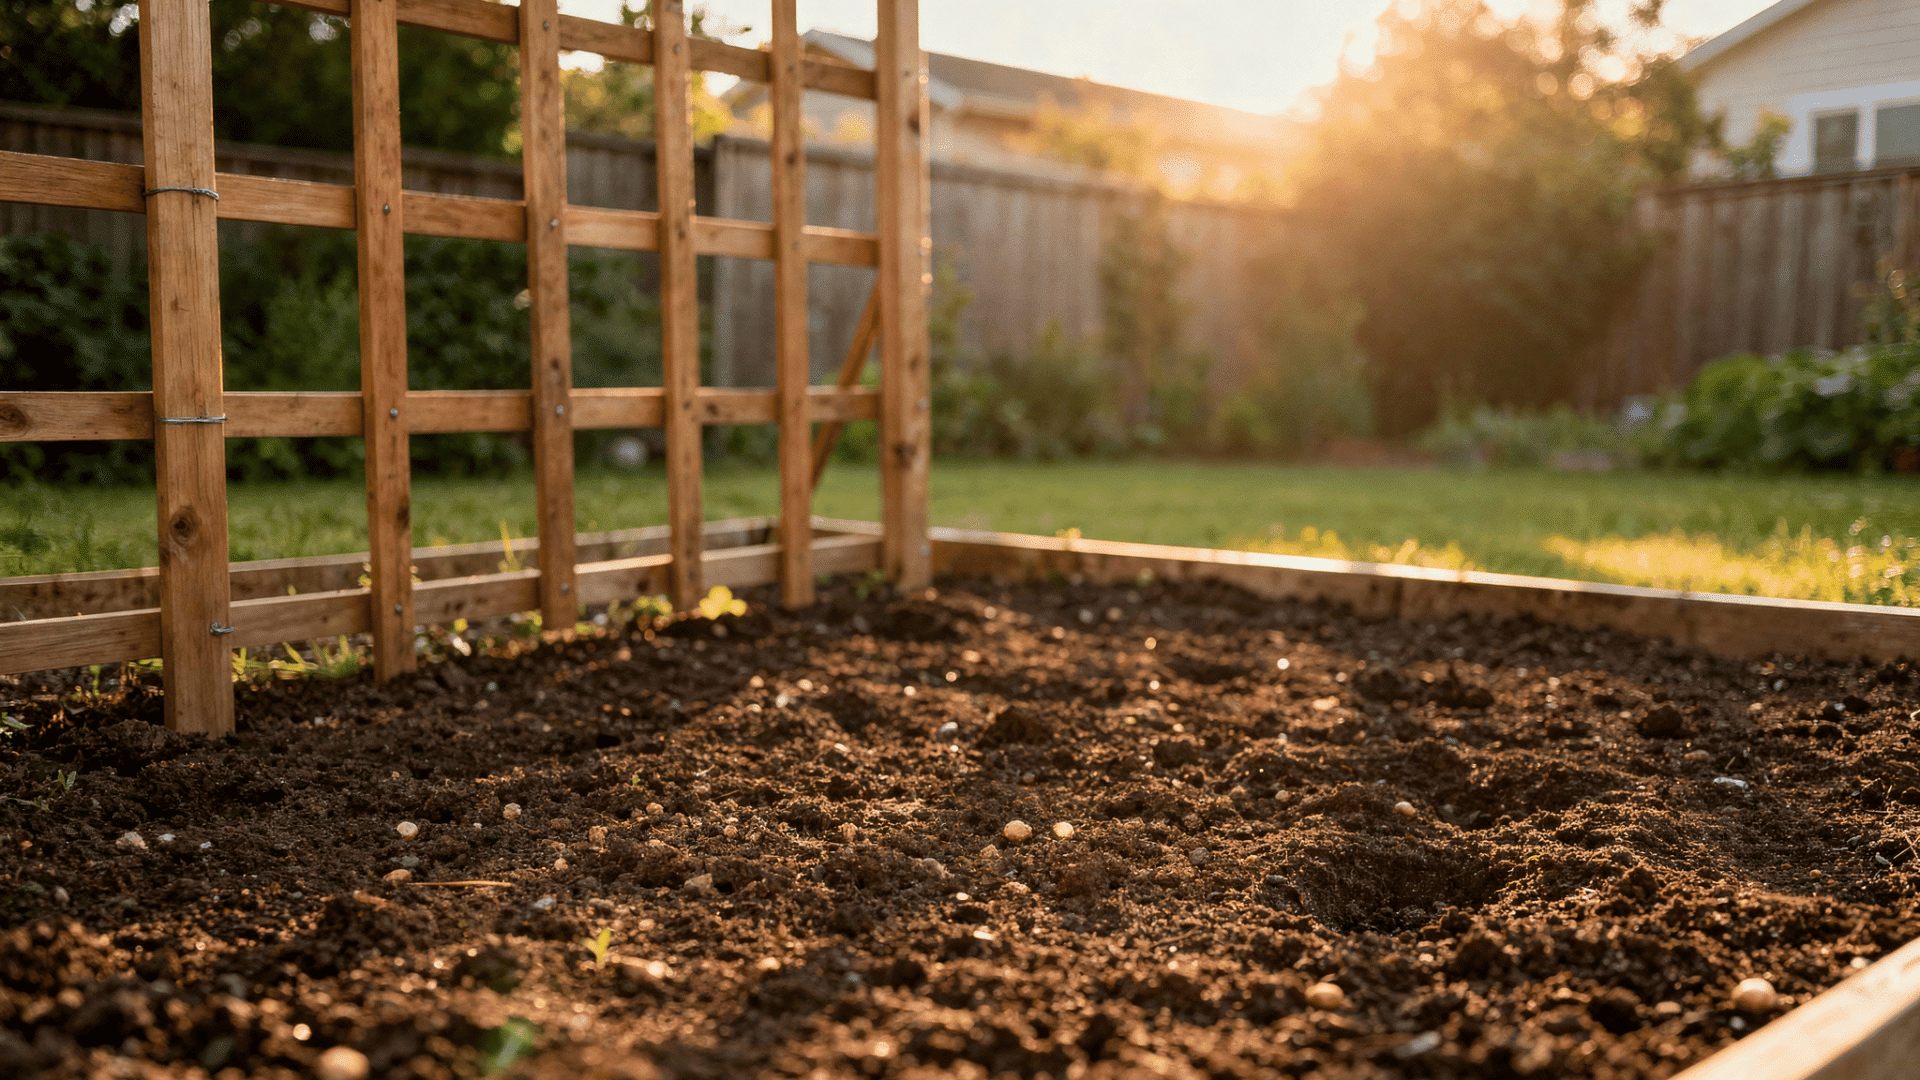
The first step in growing healthy pumpkins is choosing the right location. Pumpkin plants need plenty of sunlight to grow properly, so pick a spot that gets at least 6 to 8 hours of direct sunlight every day.
If you have a small garden, using a trellis for pumpkins can help save your space and keep the vines off the ground.
It is also important to choose a place with good airflow because this helps reduce moisture on the leaves and lowers the risk of plant diseases.
Step 2: Prepare Nutrient-Rich Soil
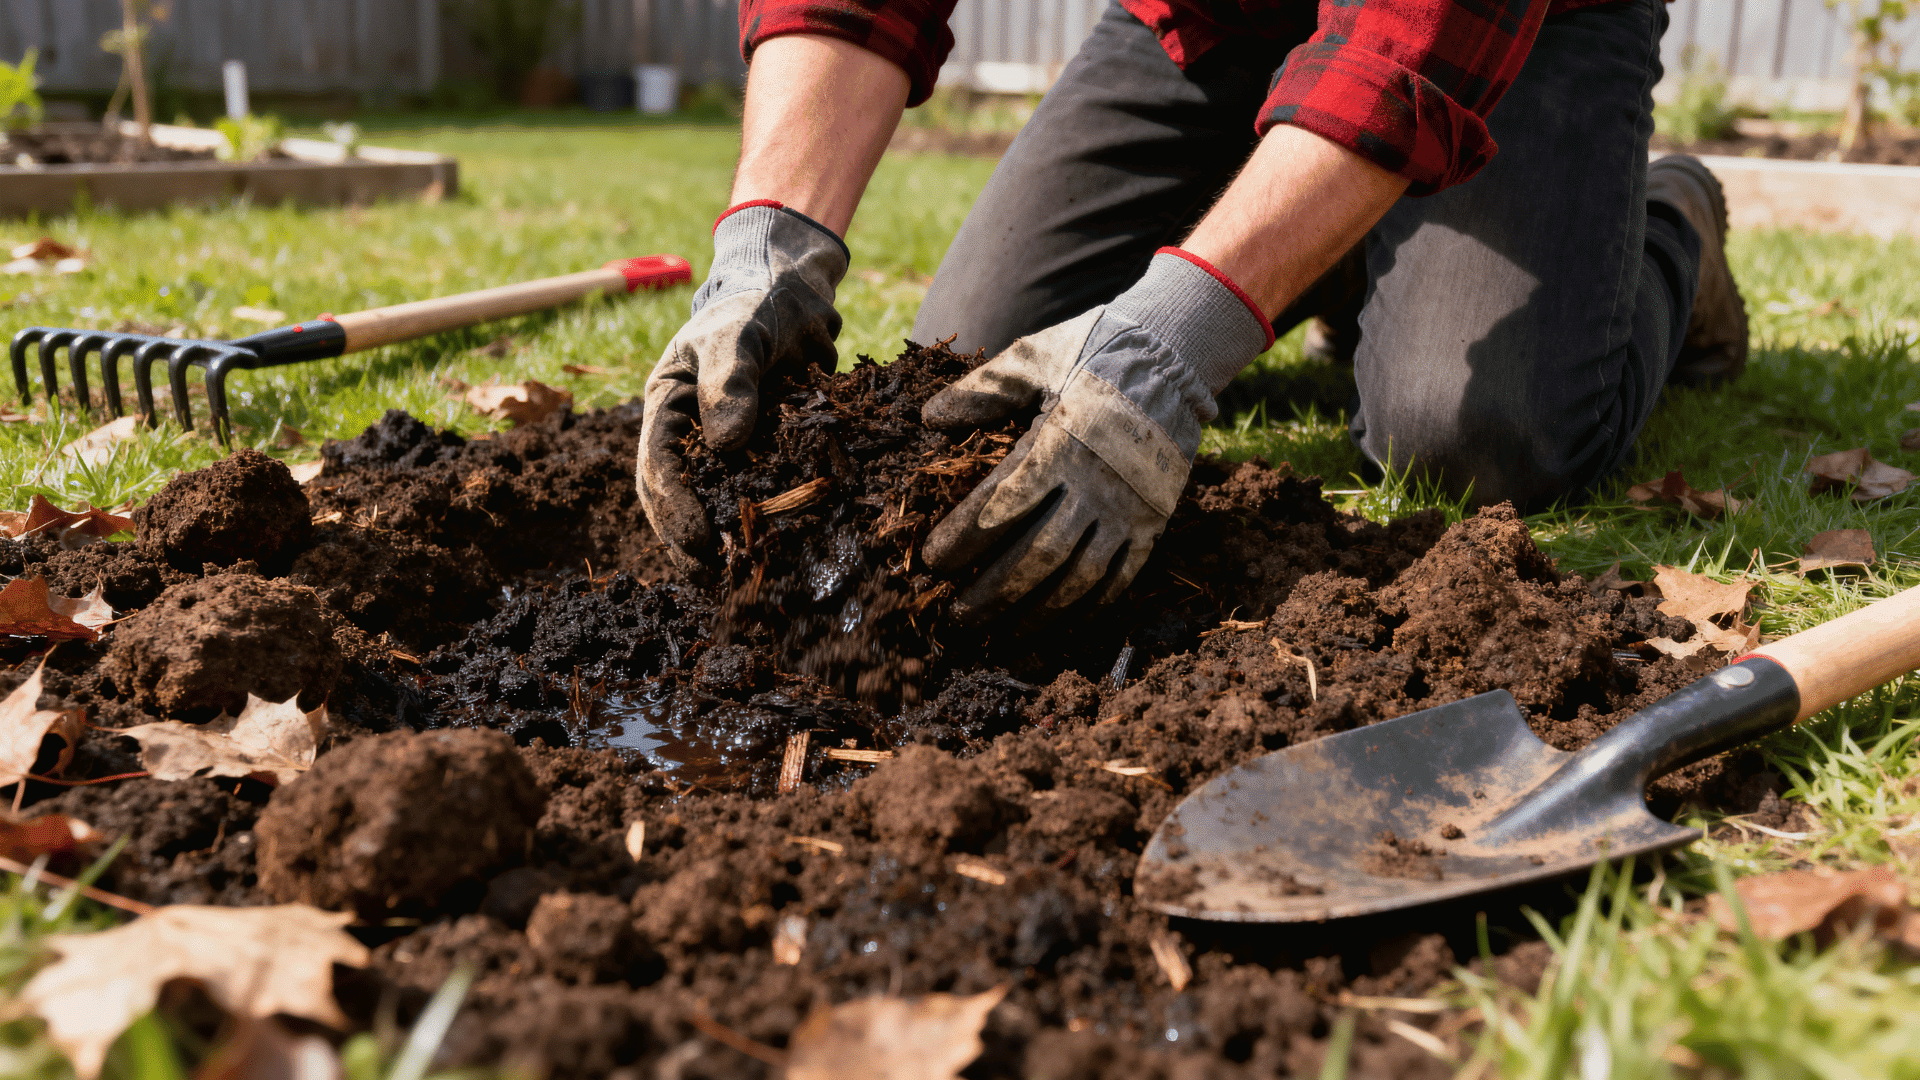
Good soil is one of the most important parts of growing pumpkins successfully. Pumpkin plants grow best in loose, rich, and well-draining soil that can hold moisture without becoming too wet.
Before planting, mix compost or aged manure into the soil to add nutrients such as nitrogen, phosphorus, and potassium, which help the plants grow healthier. If the soil is hard or dry, the roots may struggle to spread properly.
Pumpkins also prefer slightly acidic to neutral soil, which helps them absorb nutrients better.
Step 3: Plant Pumpkin Seeds Correctly
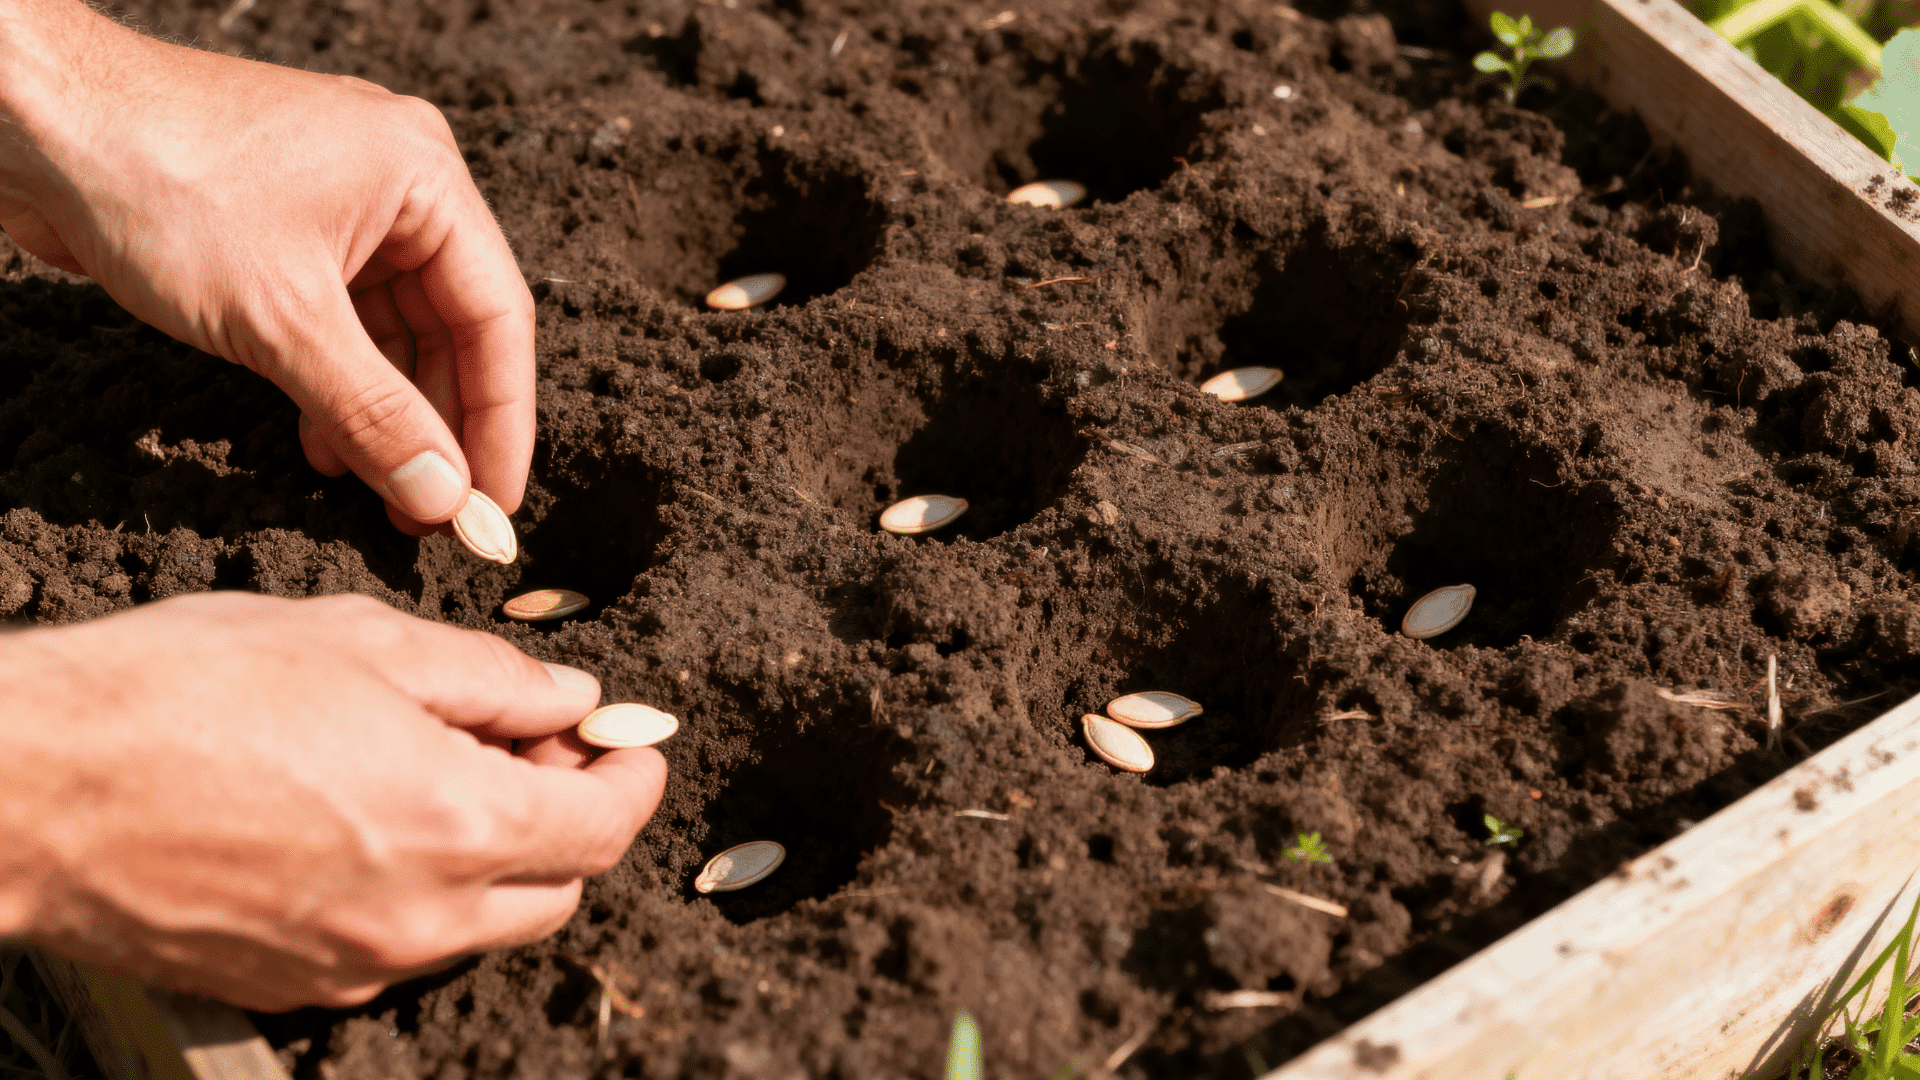
Once the soil is ready, it’s time to plant the pumpkin seeds properly. Place the seeds 1 to 2 inches deep in the soil and ensure there is enough spacing between each planting spot.
After planting the seeds, water the soil lightly to keep it moist. Avoid overwatering, as excessive moisture can damage the seeds before they germinate. In warm conditions, pumpkin seeds usually begin to sprout within a week or two.
Step 4: Water Pumpkin Plants the Right Way
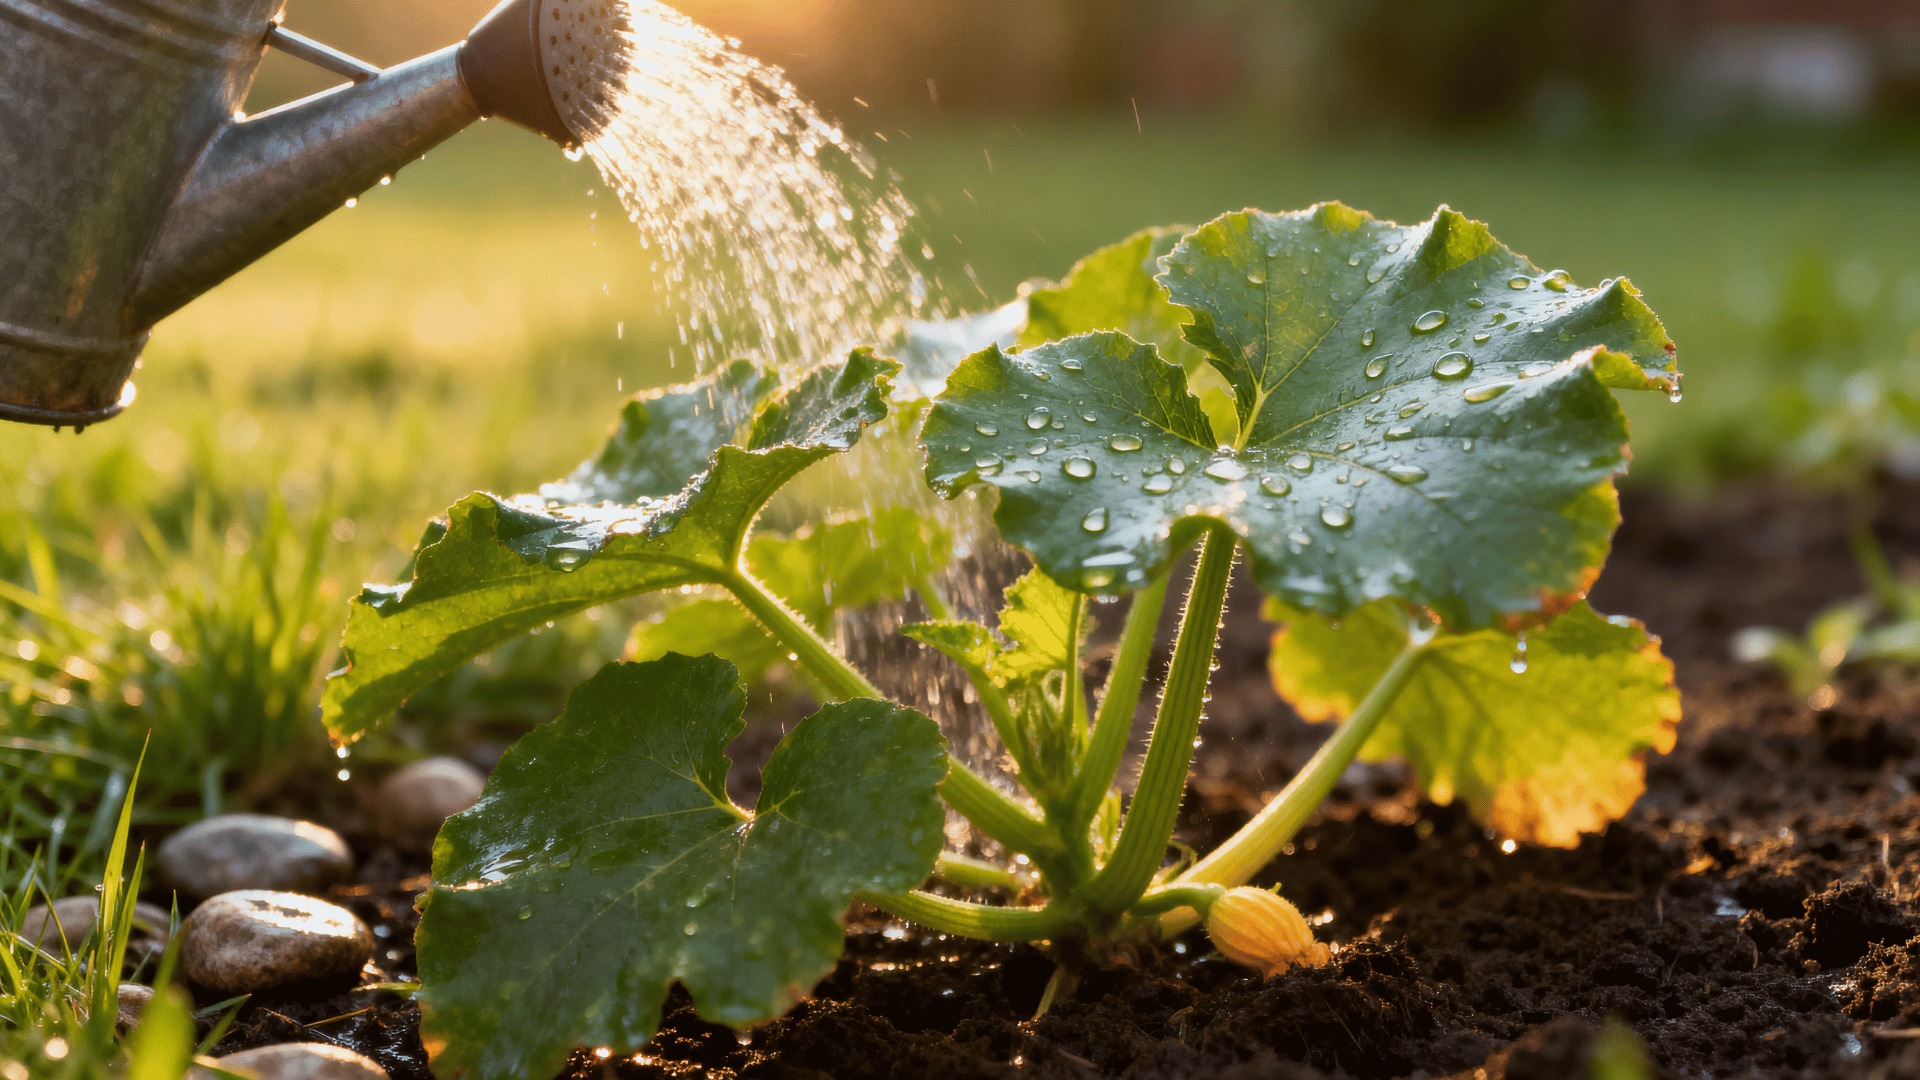
Pumpkin plants need regular watering to produce healthy vines and large pumpkins. The soil should stay moist, but never soggy or muddy. Deep watering helps the roots grow stronger and reach deeper into the soil.
It is better to water the plants slowly and less often than to give small amounts every day. Morning is the best time to water because it allows the leaves to dry during the day, which helps prevent fungal diseases.
During very hot weather, pumpkin plants may need extra water to stay healthy.
Step 5: Feed and Protect Your Pumpkin Plants
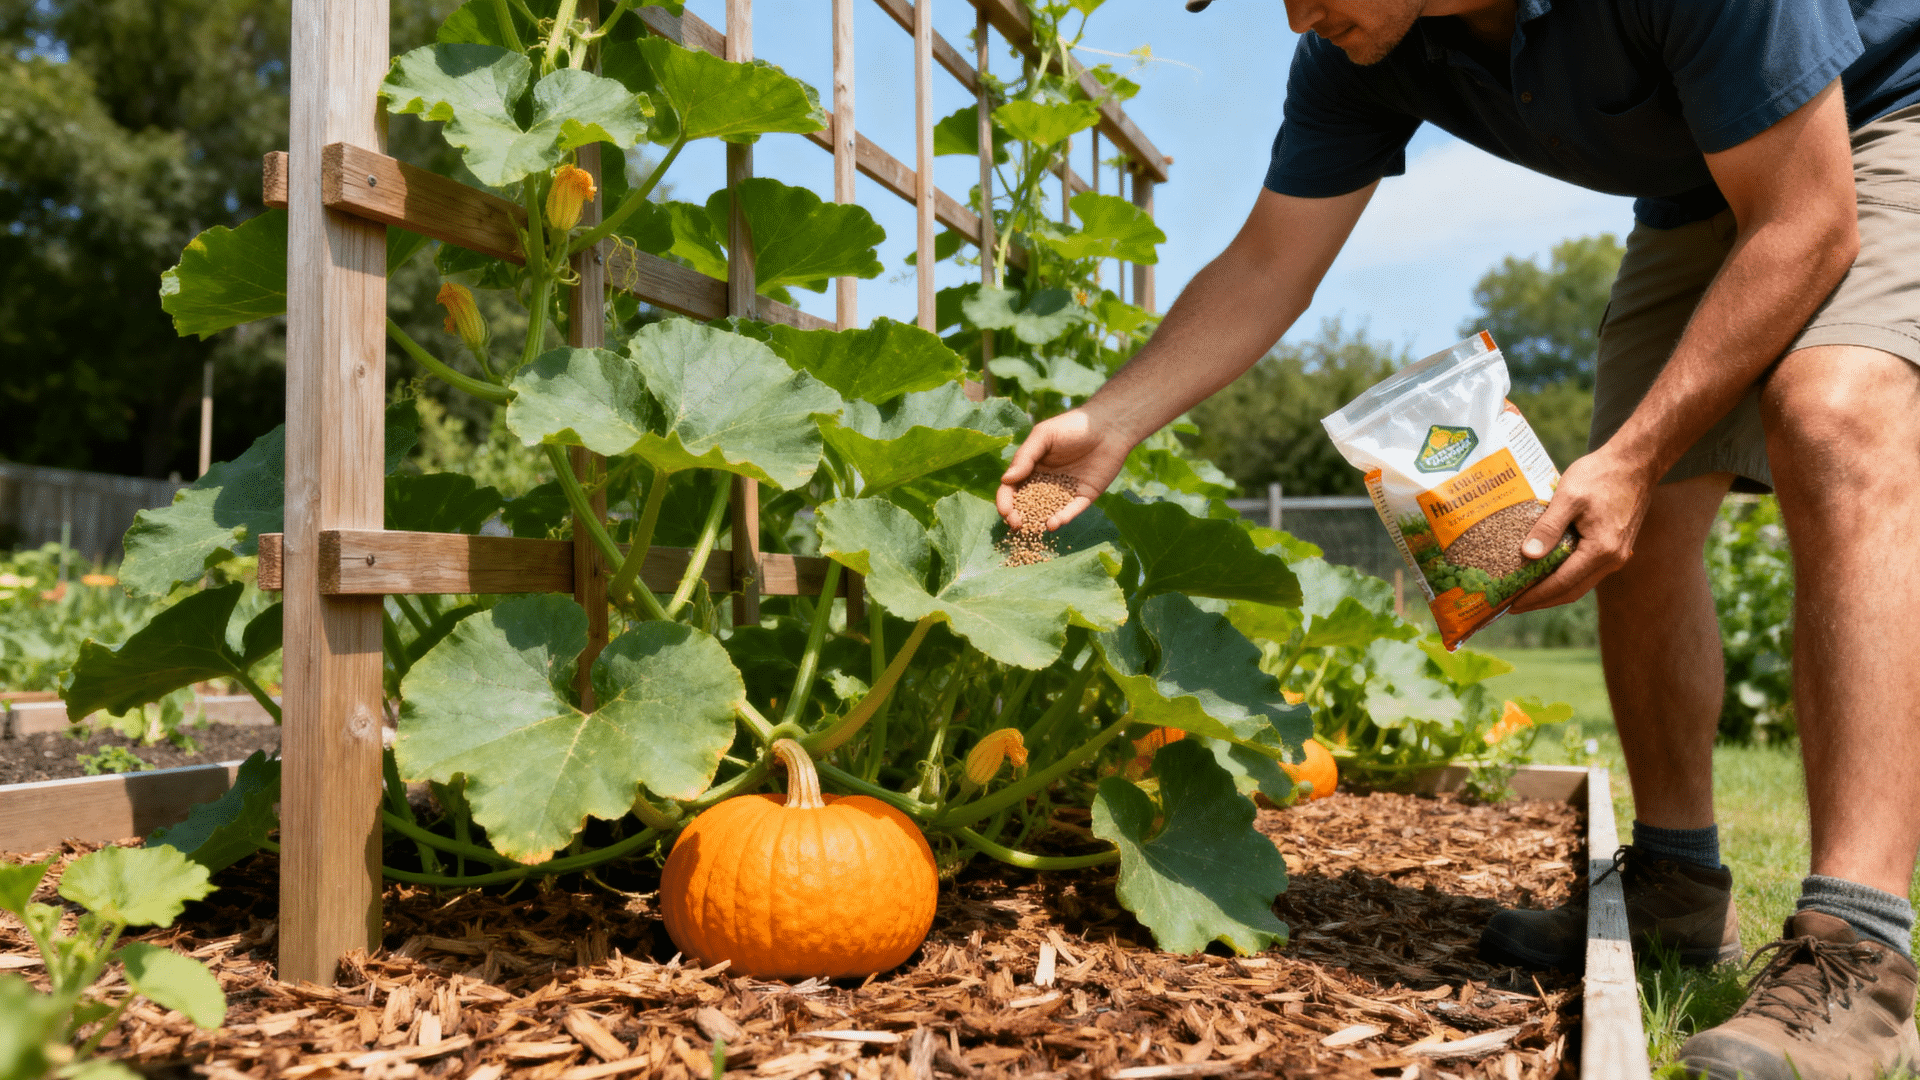
Pumpkin plants need nutrients throughout the growing season to produce healthy, large fruits. Using fertilizer regularly can help the plants stay strong.
Many gardeners use well-rottedcompost or balanced fertilizers,such as 10-10-10 (NPK), to provide important nutrients. Some gardeners also use a trellis for pumpkins to improve airflow around the plants.
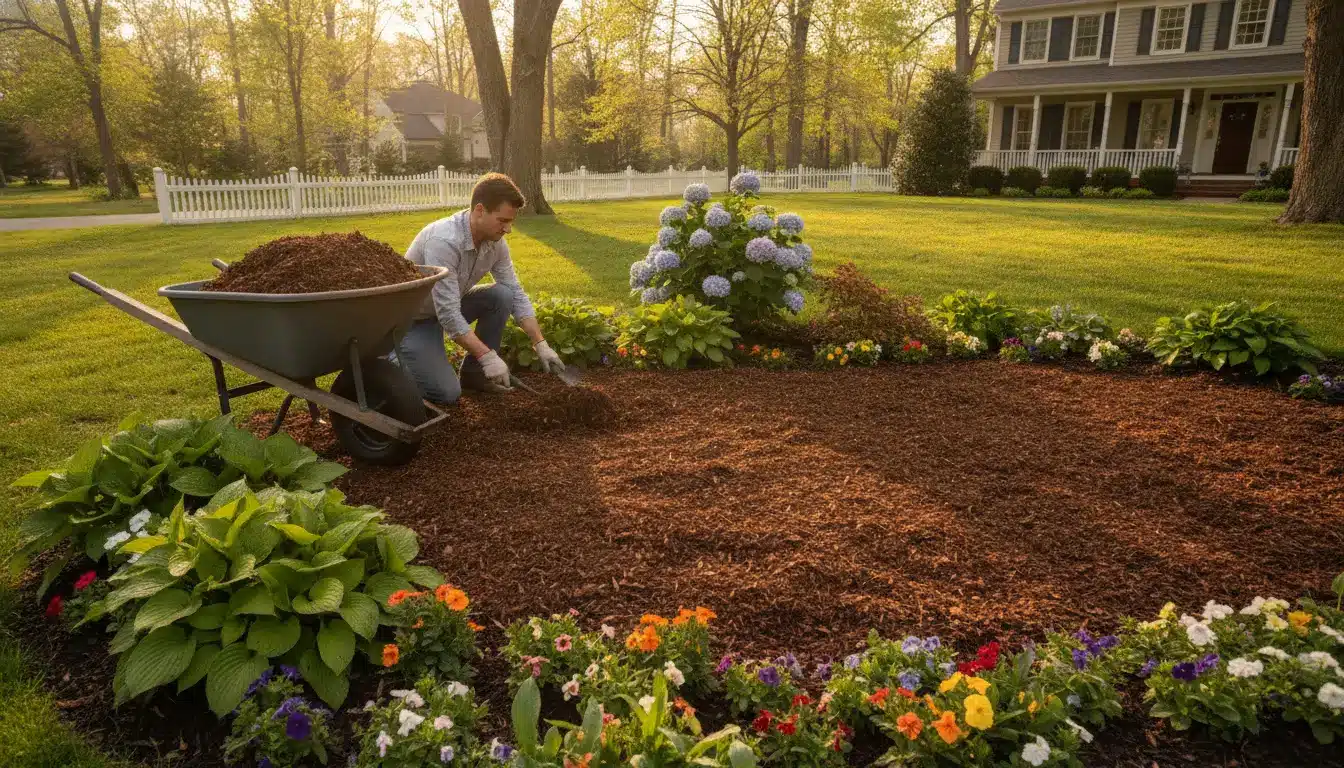
Adding mulch around the base of the plants is also helpful because it keeps the soil moist and reduces weed growth. Weeds should be carefully removed to prevent them from competing for nutrients with the pumpkin plants.
Step 7: Harvest Pumpkins at The Right Time
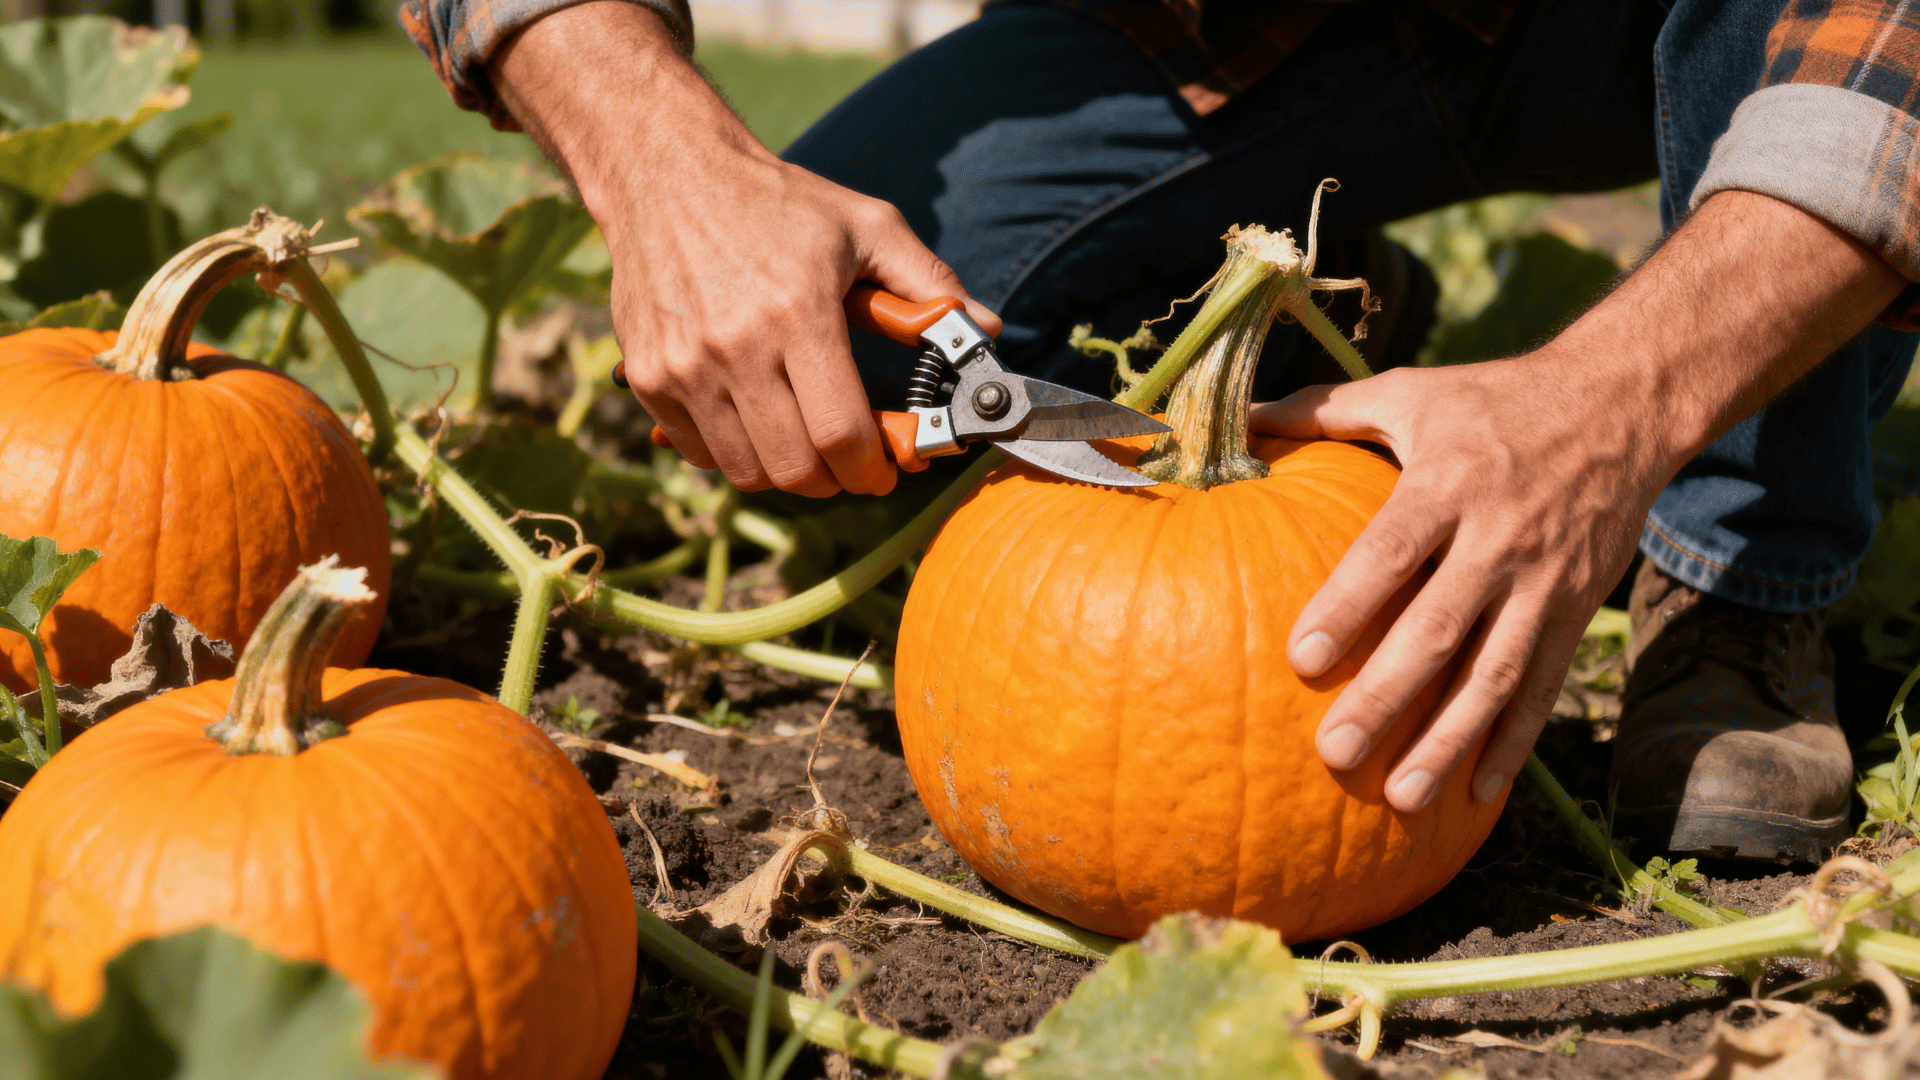
Knowing when to harvest pumpkins is important because picking them too early can affect their quality and storage life. Pumpkins are usually ready when they develop a deep, even color and the outer skin becomes hard.
After harvesting, keep the pumpkins in a cool, dry place to cure and store. Proper harvesting and storage help pumpkins last for weeks or even months.
Best Tips for Harvesting
Proper harvesting helps keep pumpkins healthy, damage-free, and ready for longer use after picking. Follow these simple tips to avoid bruising, cracks, and early rotting.
- Use clean, sharp pruning shears to safely cut pumpkins from the vine.
- Leave a few inches of stem attached because pumpkins without stems spoil faster.
- Never pull or twist pumpkins off the vine by hand to avoid stem damage.
- Harvest pumpkins on a dry day to reduce the risk of mold and rot.
- Avoid dropping, dragging, or rolling pumpkins across rough ground.
- Handle pumpkins gently to prevent bruises and hidden cracks.
- Wear gloves while harvesting to improve grip and avoid accidental damage.
It’s a Wrap
Now that you know how to grow pumpkins, it’s time to give it a try in your own garden. You do not need to be an expert to grow healthy pumpkins. Just keep all these tips in your mind and get started.
You’ll be shocked to see how easy it is to grow pumpkins on your own when you know all the right steps in the right amount. You can use them to cook your favorite pumpkin pie or especially for Halloween carving.
Growing your own pumpkins feels really special. So pick your seeds, get your hands in the soil, and start growing because there’s nothing more fun than harvesting pumpkins that you grew yourself.