That old dresser sitting in the corner does not need a trip to the curb.
A can of paint and the right prep work can make it look like a completely different piece. Learning how to paint furniture the right way is one of the smartest low-cost moves in home improvement.
Furniture prices have gone up. Taste changes. Sometimes a piece has good bones but a terrible finish.
That is exactly where painting furniture steps in.
The result depends almost entirely on how well you prepare, not how expensive your paint is.
Tools and Materials You’ll Need
Having the right tools before starting makes the whole process smoother.
| Tool / Material | Purpose |
|---|---|
| Sandpaper (120 and 220 grit) | Helps paint stick to the surface |
| Tack cloth | Clears dust before painting |
| Degreaser or TSP cleaner | Removes grease and residue |
| Primer | Seals surface and boosts adhesion |
| Brush and foam roller | Covers edges and flat areas |
| Painter’s tape | Protects hardware and clean lines |
| Topcoat or sealer | Protects finished surface |
For a more refined result, a paint sprayer cuts brush marks entirely. Wood filler handles dents and scratches before priming.
A liquid deglosser works well on glossy surfaces when heavy sanding is not practical.
Keep the area ventilated and between 50°F and 85°F. Too cold and the paint won’t dry. Too hot and it dries too fast, locking in brush marks. Good lighting catches uneven coats before they set.
How to Paint Furniture for Beginners
Most bad paint jobs come down to skipped steps, not bad paint.
1. Cleaning and Degreasing the Surface
Paint does not stick to dirt, grease, or residue. Wipe the entire piece down with a degreaser or TSP cleaner before doing anything else.
Pay extra attention to drawer fronts, armrests, and any surfaces that are often touched.
Let it dry completely before moving on.
2. Sanding for Better Paint Adhesion
Sanding is not about stripping the furniture. It is about giving the paint something to grip.
Start with 120 grit to scuff the surface, then follow with 220 grit to smooth it out. Always sand in the direction of the wood grain.
After sanding, wipe everything down with a tack cloth. Even a thin layer of dust left behind will show up in the final coat.
Skipping surface prep is the number one reason paint peels. No amount of good paint fixes a surface that was not properly cleaned and sanded.
Note: If the piece is pre-1978, test for lead paint before sanding. Lead test kits cost under $10 at most hardware stores and take two minutes.
3. Repairing Scratches, Dents, and Imperfections
Fill any dents or deep scratches with wood filler.
Apply it with a putty knife, let it dry fully, then sand it flush with the surrounding surface. Paint does not hide imperfections. It highlights them.
Fixing them now saves a lot of frustration later.
4. Priming for a Strong Base
Primer is what makes paint last.
It seals the surface, blocks stains, and provides the topcoat with a solid surface to bond to. Use a shellac-based primer for pieces with stains or knots.
For most standard furniture, a water-based primer works well. Apply one thin, even coat and let it dry completely before painting.
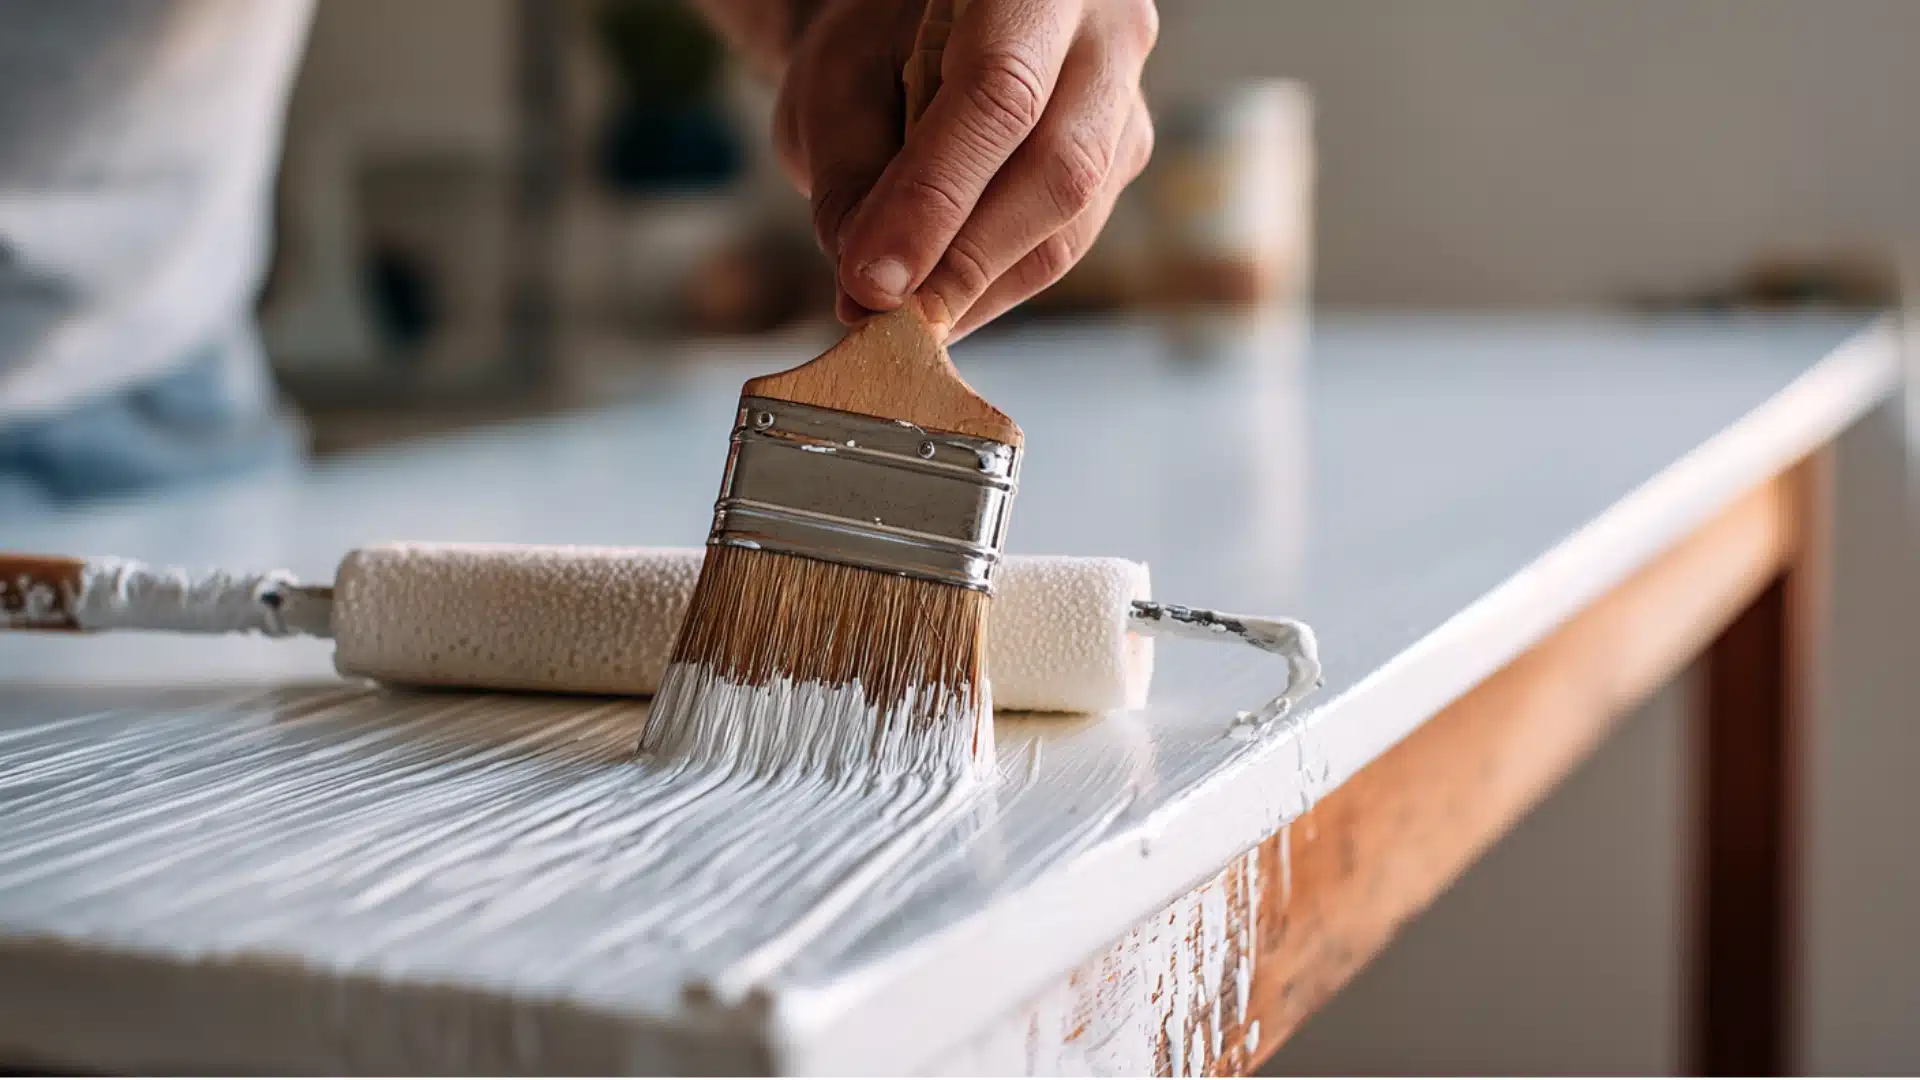
5. Applying Paint Evenly
Thin coats always beat thick ones. A thick coat looks uneven, takes longer to dry, and is more likely to crack.
Apply the first coat with a brush for edges and a foam roller for flat surfaces. Let it dry, then lightly sand with 220 grit before the second coat.
Two thin coats will always look better than one heavy one.
Caution: Applying uneven coats or loading too much paint on the brush creates drips and texture that are hard to fix once dry.
6. Drying and Recoating Properly
Drying time on the label is the minimum, not the target.
Humidity, temperature, and paint thickness all affect how long it actually takes. Recoating too early traps moisture beneath the coating and can lead to bubbling or peeling down the line.
Wait until the surface is fully dry to the touch and firm before adding another coat.
7. Sealing for Long Lasting Results
A sealer or topcoat is what protects everything underneath.
For high-use pieces like tables and dressers, polycrylic is a strong choice. It dries clear, does not yellow over time, and adds real durability.
Apply two thin coats, sanding lightly between them. For chalk paint, a finishing wax works well but needs to be reapplied every year or so.
Skip the sealer, and even a great paint job will show wear fast.
Paint feels dry to the touch in hours, but it doesn’t fully cure – meaning harden to its final hardness for 21 to 30 days. Avoid stacking items on a freshly painted dresser or scrubbing it within that window.
How do I Make Painted Furniture Look Expensive as a Beginner?
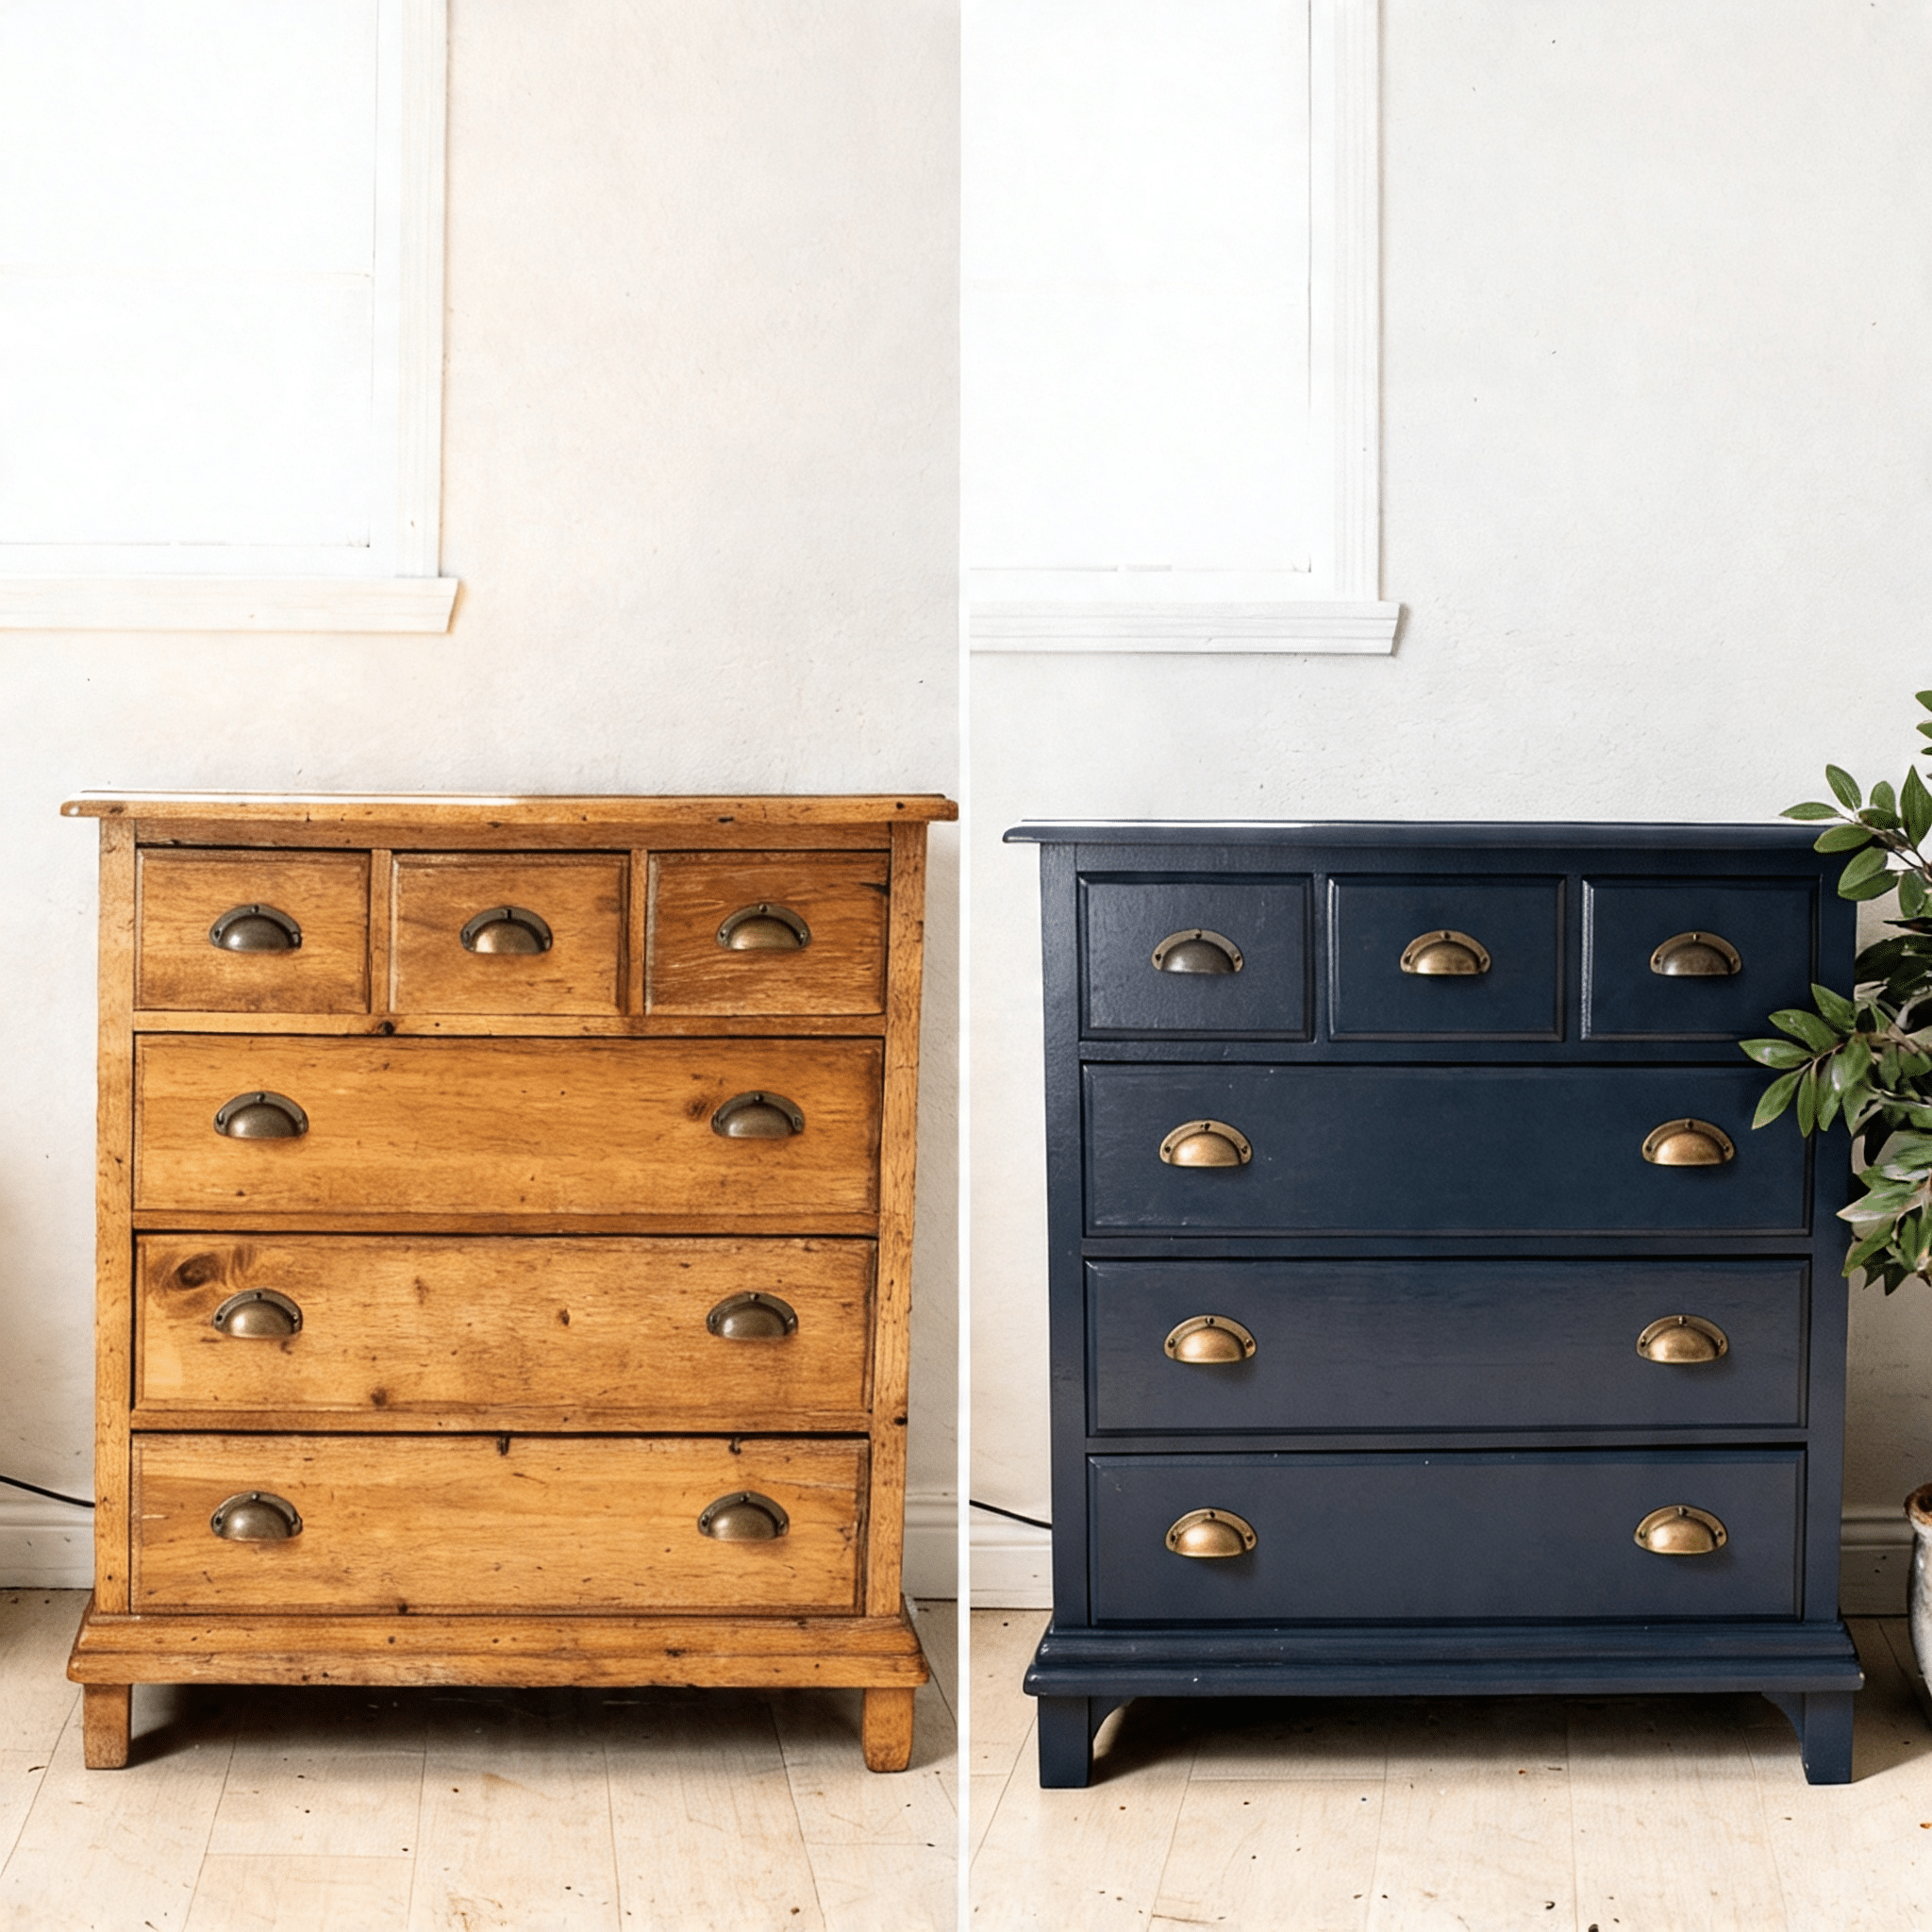
Stood in the paint aisle once, holding two shades of white. Picked the wrong one.
The side table looked flat, cold, and out of place. That mistake led to years of testing on real wood, laminate, and thrift store finds.
Deeper tones changed everything. Farrow and Ball Hague Blue on an old cabinet was the turning point.
What actually made the difference:
- Finish: Eggshell on wood, satin on metal, and high-use pieces. Flat finish always looks cheaper.
- Application: Foam roller on flat panels, brush on edges only.
- Drying time: Each coat needs at least two to four hours before recoating.
- Hardware: Brushed brass or matte black pulls give the piece a purposeful look.
- Durability: With priming and a polycrylic topcoat, this finish holds up for three to five years.
Safety Tip: Keep windows open and wear a respirator mask when working with primers or degreasers indoors.
When NOT to Paint Your Furniture
Not every furniture piece deserves a coat of paint. If the veneer is actively lifting at the edges, painting over it traps moisture underneath and speeds up the bubbling.
Same goes for furniture with deep structural cracks or joints that are coming apart. Paint hides the problem without fixing it.
Glue and clamp loose joints first. Re-adhere lifting veneer before priming. Once the structure is sound, paint away.
A good paint job rewards solid bones. It cannot substitute for them.
Best Paint Brands for Furniture Painting That Actually Last
Not every paint holds up on furniture the way it does on walls.
These three brands consistently deliver on adhesion, finish quality, and durability across wood, laminate, and metal surfaces.
Benjamin Moore Advance
Benjamin Moore Advancelevels out smoothly, resists brush marks, and maintains color depth over time.
A strong choice for wood furniture, such as dressers, cabinets, and tables.
Sherwin-Williams Emerald or Extreme Bond Primer
Sherwin-Williams Emerald or Extreme Bond Primer covers both standard and slick surfaces.
The Extreme Bond Primer is especially reliable on laminate and veneer, where most paints fail fast.
Rust-Oleum
Rust-Oleum is the go-to base for metal furniture.
Prevents rust, locks in adhesion, and pairs well with any quality topcoat for outdoor or indoor metal pieces.
Final Thoughts
Painting furniture does not require a big budget or a professional. It requires the right steps in the right order.
Prep the surface. Use the right paint. Give each coat enough time to dry.
That is genuinely all it takes to get a finish that holds up.
The piece sitting in the corner right now is not a lost cause. It just needs the right coat of paint.
Frequently Asked Questions
1. How Long Does it Take to Paint a Piece of Furniture?
Most furniture projects take one to two days, including drying time between coats.
2. Can You Paint Furniture Without Taking it Apart?
Yes, but removing drawers and hardware gives cleaner lines and easier access to all surfaces.
3. How Many Coats of Paint Does Furniture Need?
Two thin coats are the standard, with a light sand between each one.
4. What Happens if You Skip the Topcoat on Painted Furniture?
The paint wears down faster, especially on high-use pieces like tables and chairs.
5. Can You Paint Over Already Painted Furniture?
Yes, as long as the existing paint is not peeling or flaking, a light sand and a fresh coat bond well.