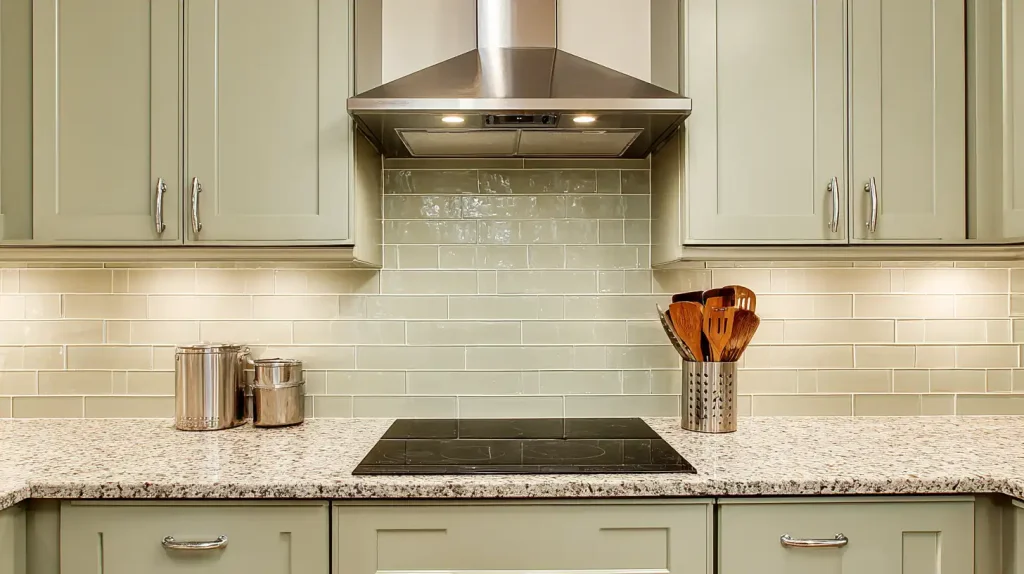
Sanding cabinets before painting isn’t optional, it’s the step that decides whether your paint lasts two years or ten or even less.
Bad DIY paint trace back to one big mistake, and that’s skipping or rushing the prep.
And that’s exactly what I’m about to tell you – how to prep cabinets for painting!
But What Happens if You Skip Sanding?
Paint starts peeling within weeks, especially around handles and edges where hands frequently come into contact. The original surface texture bleeds through.
So, it shows through the new paint and makes the whole thing look painted-over rather than finished.
On a laminate cabinet especially, paint without a bonding primer and sanding will peel really soon!
Do You have to Sand Cabinets Before Painting?
Yes, you should sand your cabinets before painting.
Paint needs something to grip. Sanding creates tiny scratches on the surface, which gives it that grip. Skipping it makes everything go bad in weeks.
It will look fine at first, but then it chips, peels, and wears out fast.
There are exceptions, though.
If your cabinets are in good condition and you use a good bonding primer, minimal sanding is enough.
Some chalk paints, like Annie Sloan or Rust-Oleum Chalked, are formulated to ignore the heavy sand. But even then, a light scuff with 220-grit will really be helpful.
Before Everything, Know Your Cabinet Material..
Wood cabinets take 120-grit.
MDF is soft, so if you press too hard, you’ll create divots that shows through the paint. Laminate needs a bonding primer whether you sand or not.
Thermofoil is the complex, if the edges are already raising, I suggest replacing those doors first.
How to Identify What You Have:
- MDF is heavy and dense with no grain.
- Laminate has a slightly plastic feel and a printed wood pattern.
- Thermofoil shows its age at the door edges.
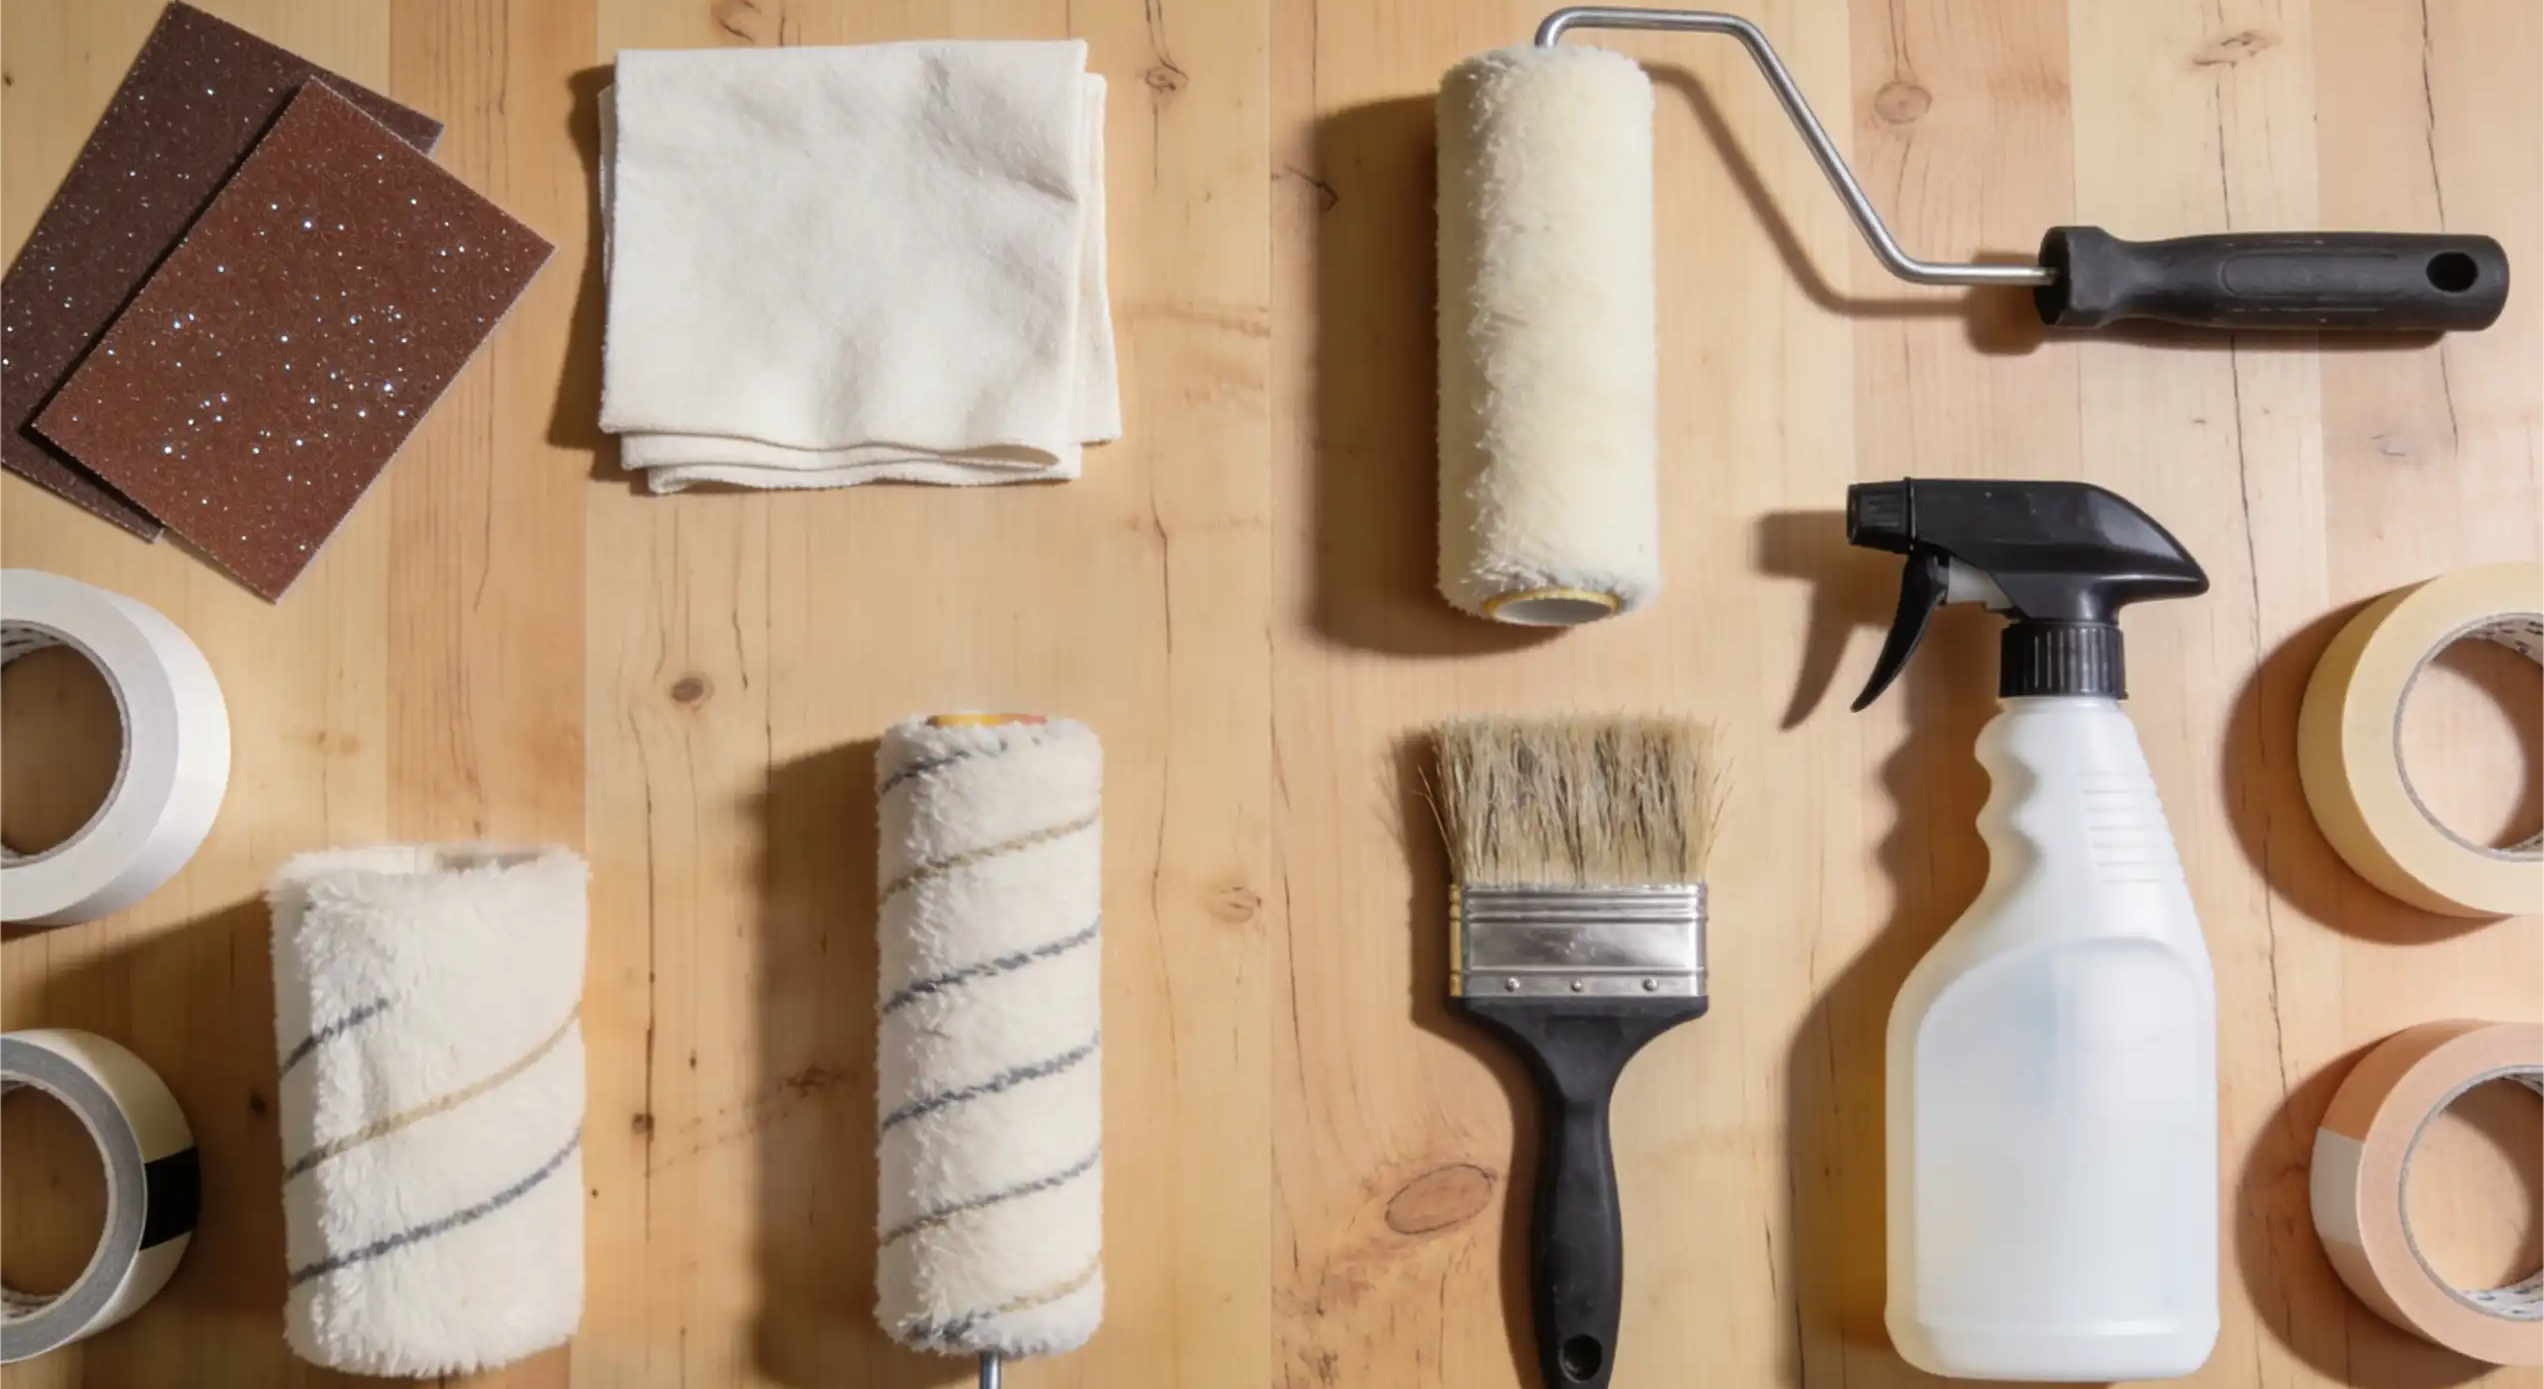
What Supplies You Need:
- TSP substitute or degreaser
- 120-grit for prep
- 220-grit for smoothing between coats.
- Bonding primer
- Cabinet-grade paint
- Angled brush
- Foam roller, or sprayer
- Gloves
- Mask
- Safety glasses
And What About Deep Cleaning?
Grease removes paint adhesion fast. So, clean every surface with a good degreaser.
And do not forget the tops, sides, and inside edges. Let the cabinets dry completely for at least 24 hours before proceeding.
Prepping Kitchen Cabinets Before Painting
Good prep work is what makes paint stick and stay, and people rush this part, only to regret it later.
Follow these steps in order, and you will get a finish that looks clean and holds up for years. It is not complicated, but it needs to be done right.
Step 1: Remove Doors, Drawers, and Hardware
Painting cabinets while assembled is a mistake because you will miss spots and end up with uneven coverage.
Take everything apart first and number each door and its matching cabinet with masking tape.
Take photos before removal to avoid confusion during reassembly.
Step 2: Clean Every Surface Thoroughly
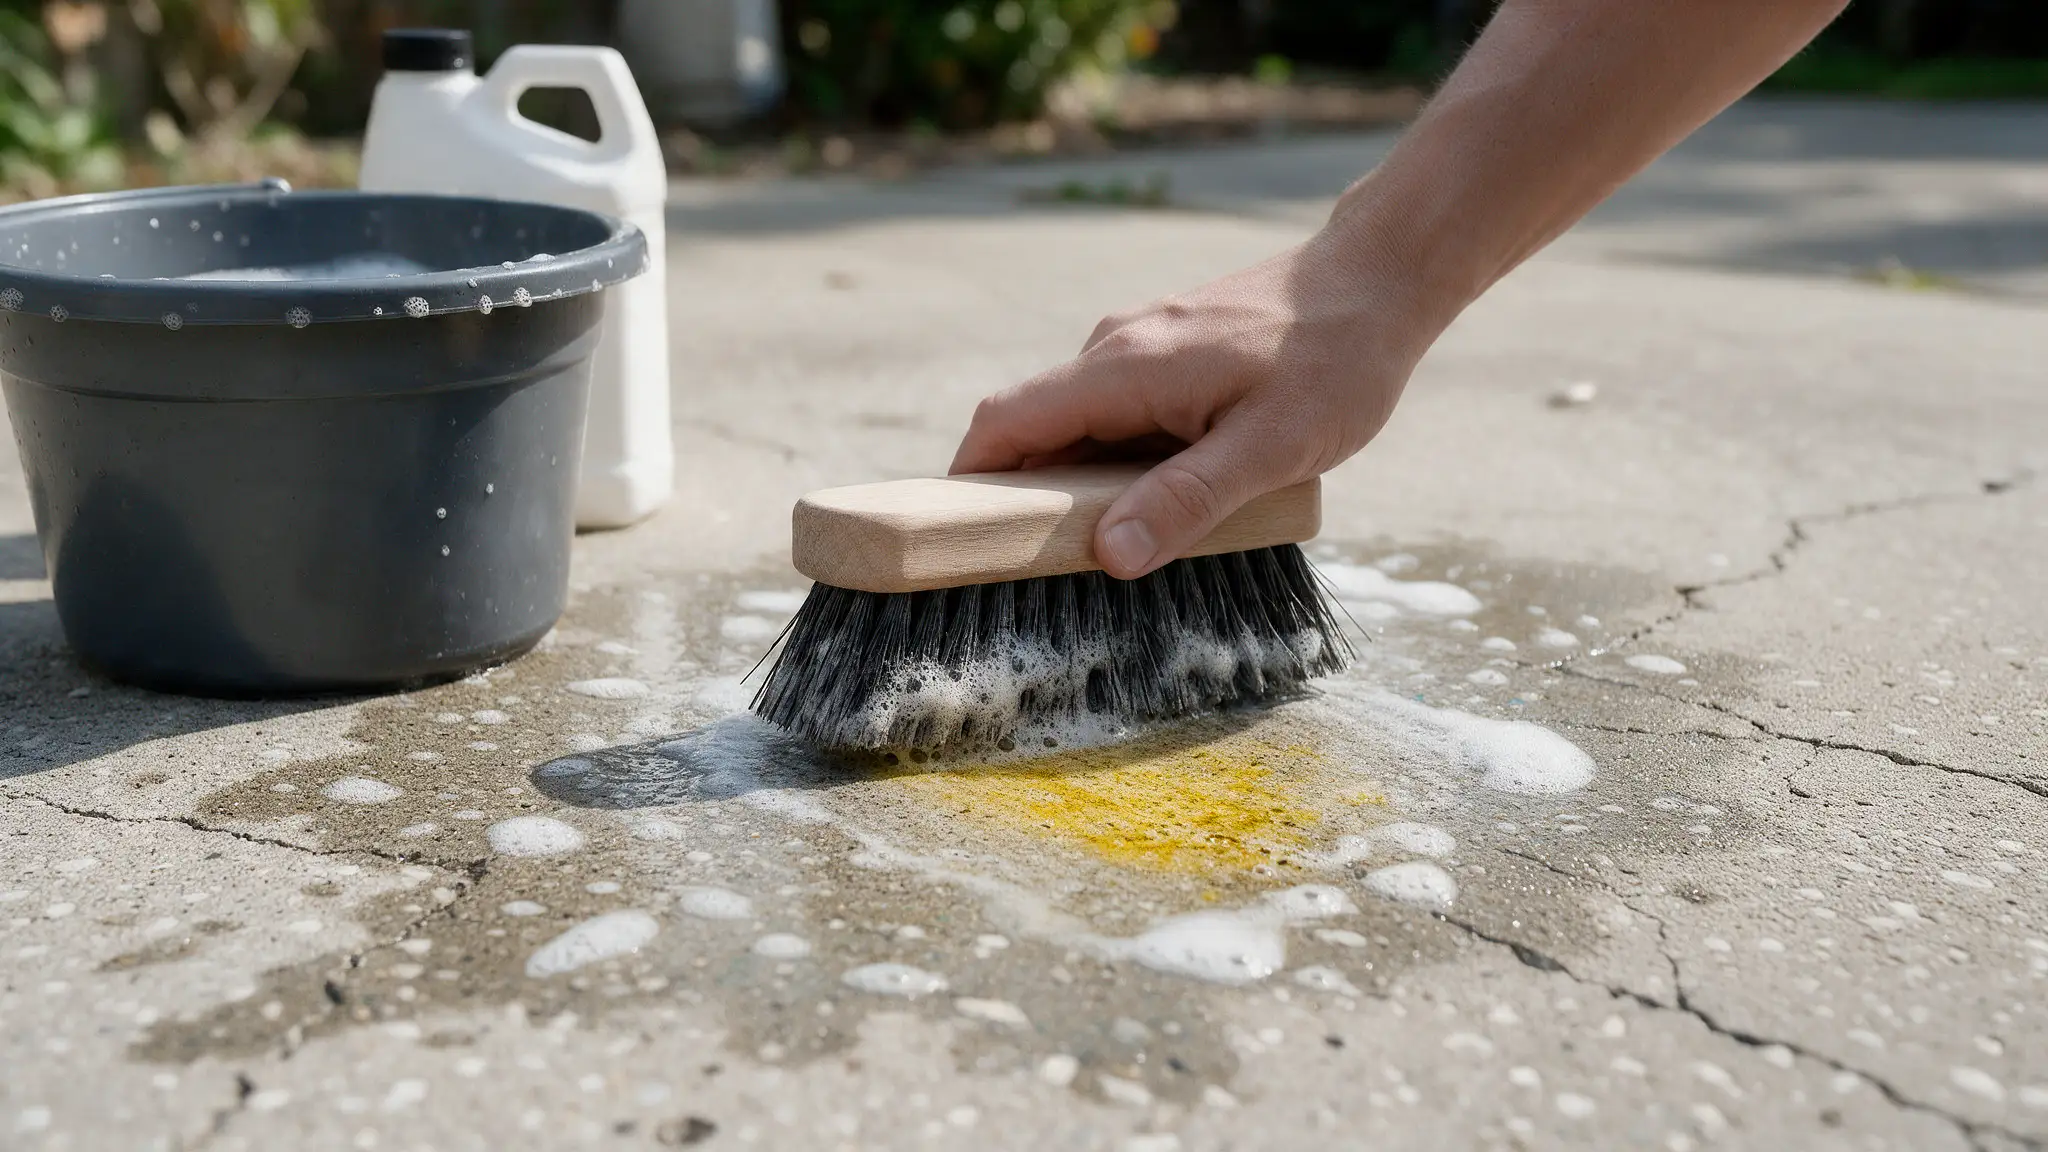
Use a TSP substitute or a strong degreaser. Wipe every surface, inside and out.
- Scrub sticky residue with a degreaser and a stiff cloth.
- For cooking oil buildup, apply cleaner and let it sit for 5 minutes.
- Rinse with clean water and let everything dry fully.
Step 3: Repair Dents, Holes, and Cracks
Fill dents and holes with wood filler and let it dry completely before touching it.
Once dry, sand it smooth so the surface feels even all around, and for edges where cabinet frames meet walls, run a thin line of caulk along the gap.
Caulk seals those small spaces and gives you a clean, sharp finish line that paint can sit on nicely.
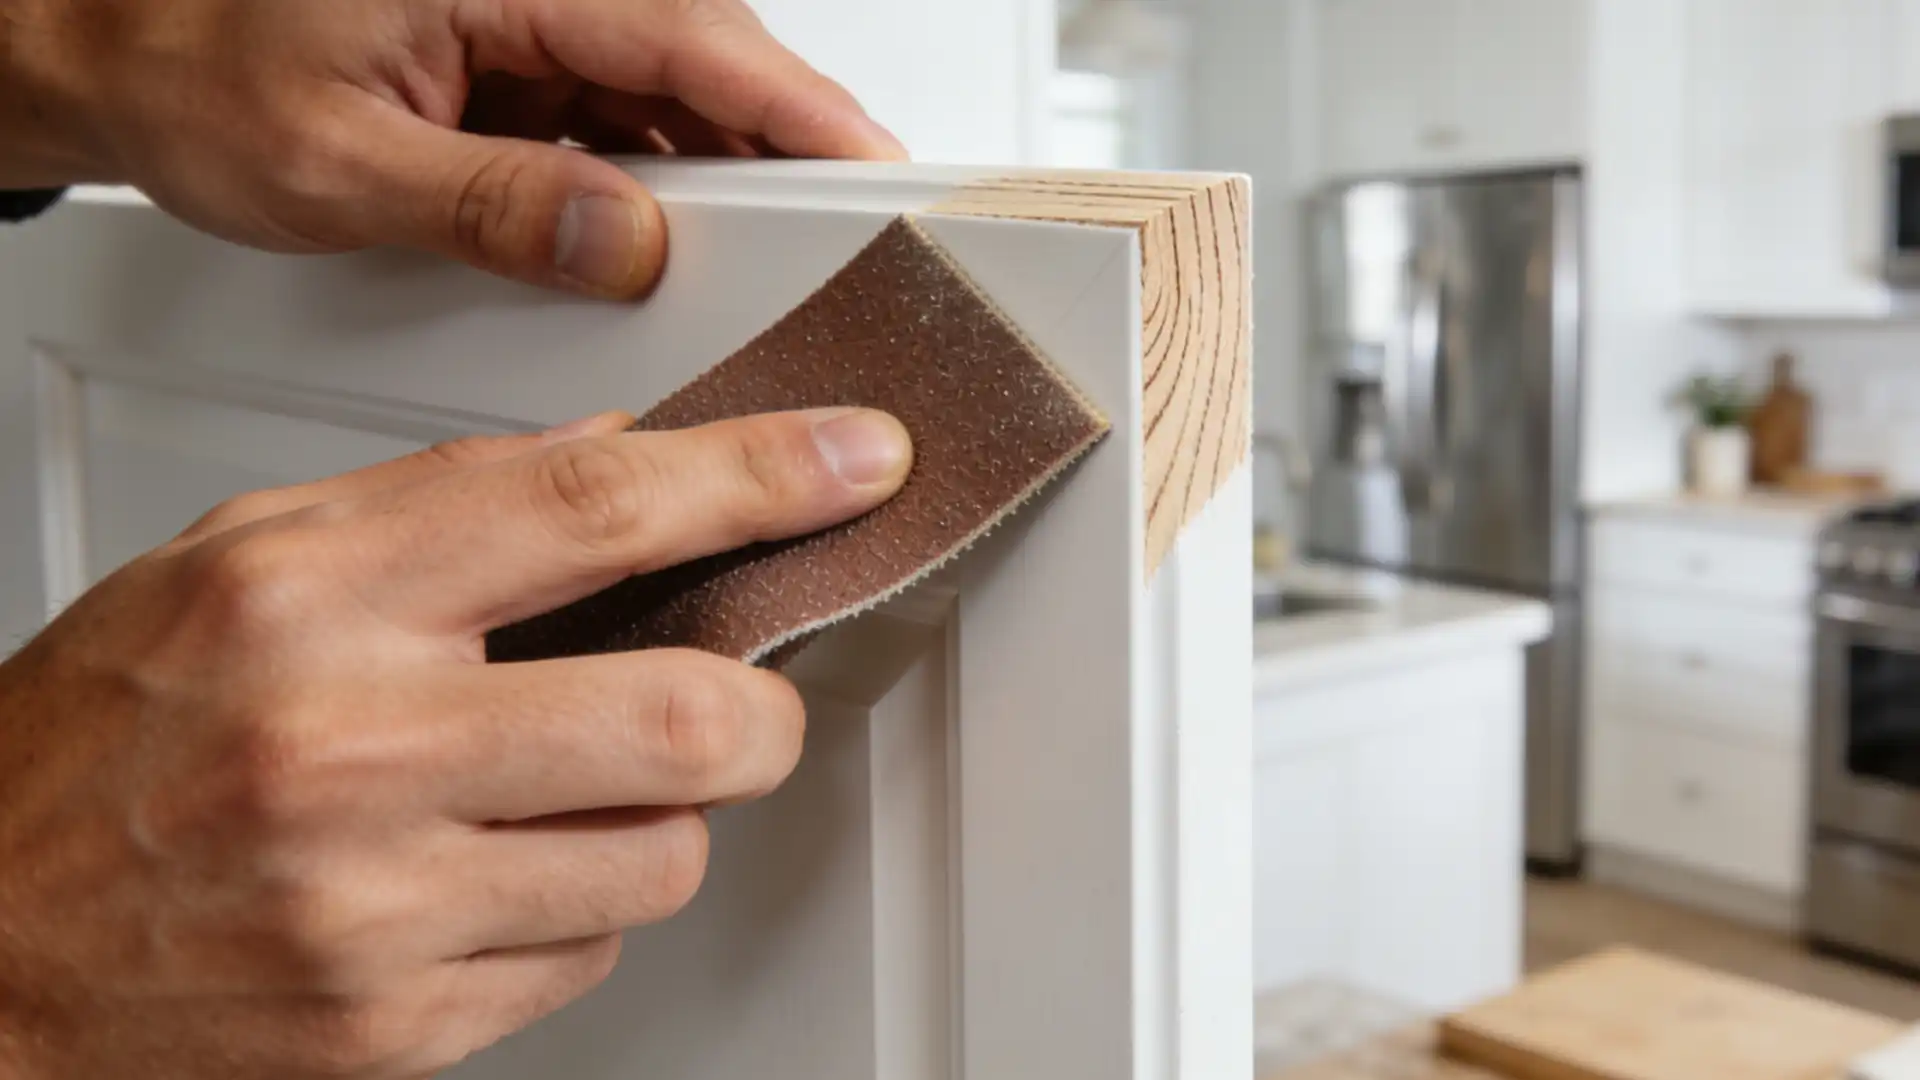
Step 4: Sand the Cabinets Correctly
Start with 120-grit sandpaper to rough up the surface and remove the shine, then switch to 220-grit to smooth everything out before priming.
- For flat panels, hand sanding gives you more control and helps you feel the surface better.
- On larger surfaces, an orbital sander saves a lot of time without sacrificing results.
If you are not sure how much sanding is enough. Run your hand over the surface. If it feels dull and slightly rough with no shine left, you are good to go.
Step 5: Remove Dust Completely
Dust left on surfaces can cause a bumpy, rough finish.
Start with a vacuum to pull off all the loose dust, then go over everything with a tack cloth to pick up what the vacuum missed.
Skip the regular dry cloth. All it does is push dust from one spot to another, rather than removing it.
Step 6: Prime for Better Paint Adhesion
Use an oil-based or shellac primer as both bond well and block stains. And always use a bonding primer since a regular primer will not stick well.
If your cabinets have water stains or grease marks, use a stain-blocking primer, it’ll help!
For wood ones, go for Zinsser BIN (shellac-based), it blocks tannin bleed and grease stains that oil-based primers sometimes let through.
And for laminate, try STIX bonding primer by Benjamin Moore.
One coat is enough, but put two coats on stained or raw wood surfaces.
Sanding vs Deglossing
Both options prep your cabinet surface for paint, but they work differently and suit different situations.
Sanding uses abrasive paper to physically scratch the surface and remove the shiny top layer, while deglossing uses a liquid chemical solution to dull the surface without any sanding or scrubbing.
| Sanding | Deglossing | |
|---|---|---|
| Method | Physical abrasion | Chemical solution |
| Time | Takes longer | Much faster |
| Mess | Creates dust | No dust |
| Best For | Heavy gloss, thick paint | Light sheen, good condition cabinets |
| Reliability | Very high | Moderate |
| Suits | All cabinet materials | Mostly wood and painted surfaces |
| Cost | Low | Low to moderate |
If your cabinets have a heavy factory gloss or you can feel the old paint is thick, sand. If they’re already painted or in decent shape with just a light sheen, deglossing it is. And when you’re not sure, do both.
How to Paint Kitchen Cabinets: Step-by-Step
Now that the prep is done, let’s paint the cabinets.
Step 1: Choose the Right Cabinet Paint
Skip wall paint as it is too soft for cabinets and scratches easily.
Use cabinet-grade paint instead; a satin finish hides flaws well, and a semi-gloss finish handles moisture better and is much easier to clean.
Step 2: Paint the Cabinet Frames First
Always start with frames before doors and use an angled brush for corners and tight spots.
Follow up with a foam roller on flat areas for a smoother coat.
To avoid brush marks, use a foam roller on flat areas and always paint in long, smooth strokes.
Step 3: Paint Cabinet Doors Separately
Lay doors flat to avoid drips; paint edges first, then roll the flat panels and let one side dry completely before flipping.
Step 4: Apply Multiple Thin Coats
Thin coats level better and build a stronger finish, so apply 2 to 3 coats, waiting 2 to 4 hours between each coat.
Lightly sand with 220-grit between coats for extra smoothness.
Step 5: Let Cabinets Cure Properly
Paint dries in hours but takes 7 to 30 days to fully cure. Avoid heavy use or scrubbing for at least a week.
Ending Note!
Prepping cabinets isn’t really scary. It just takes a weekend, and your kitchen will look so finished, and smooth instantly and stay like for life.
So put on some good music, and get started.
Now stop reading and go paint those cabinets – you have got everything you need.
Frequently Asked Questions (FAQs)
1. Can I Use a Spray Can Instead of a Brush or Roller?
Spray cans work for small touch-ups but are hard to control on full cabinets. A sprayer gun gives far better results.
2. What is the Best Temperature to Paint Cabinets?
Paint performs best between 50 and 85 degrees Fahrenheit. Very cold or humid conditions affect how paint dries and bonds to the surface.
3. Can I Paint Over Laminate Cabinets?
Yes, but laminate needs a bonding primer first. Without it, paint will peel off quickly regardless of how many coats you apply.