A roof doesn’t have to leak to fail. Some of the most damaging roofing mistakes show up long before water gets in, quietly undermining how a home looks and how long the roof lasts.
Mismatched shingles, crooked lines, and poorly executed repairs can make even a well-maintained home exterior look unfinished or neglected. These aren’t just cosmetic complaints. Visible flaws in shingle alignment or color blending often point to installation shortcuts that compromise the roof decking and the layers beneath it.
Homeowners in the Greater Toronto Area weighing everything from choosing a roof that enhances curb appeal to managing long-term maintenance costs will benefit from knowing which mistakes carry the highest risk. Whether working with a roofing contractor or reviewing work after the fact, recognizing these ten errors early is what separates a roof that holds up from one that quietly deteriorates.
The 10 Mistakes That Hurt Looks and Lifespan
Roofing mistakes rarely stay cosmetic for long. What starts as a visible flaw at the surface almost always reflects a deeper installation problem underneath. When evaluating workmanship standards and finish quality, visible defects are often easiest to catch during the contractor-selection stage, and that’s also where resources like learn more about Seam Roofing can help homeowners understand what quality installation actually looks like. The three mistakes below are the ones most likely to catch your eye first, and for good reason.
1. Mismatched Shingles or Patchy Color Blending
Shingles from different production batches can vary slightly in color, and those differences become obvious once they’re installed side by side on a roof plane. Patchy color blending is one of the most immediate ways a roof undermines an otherwise polished home exterior. Beyond the visual problem, mismatched shingles often signal that a roofing contractor sourced materials inconsistently or made repairs without accounting for choosing a roof that enhances curb appeal.
2. Layering New Shingles Over Old Shingles
Adding a second layer of shingles over an existing one is a common cost-cutting shortcut. It saves on tear-off labor, but it traps moisture between layers, adds unnecessary weight to the roof decking, and makes it harder to detect deterioration underneath. The result is a roof that looks acceptable at first glance but ages faster and hides problems that compound over time.
3. Crooked Shingle Lines and Uneven Exposure
Shingle exposure refers to how much of each shingle is visible once the row above it is installed. When that measurement drifts even slightly from course to course, the lines across the roof become visibly wavy. This is one of the clearest indicators of rushed or careless installation, and it’s noticeable from the street on almost any roof pitch.
Where Installation Errors Start Causing Leaks
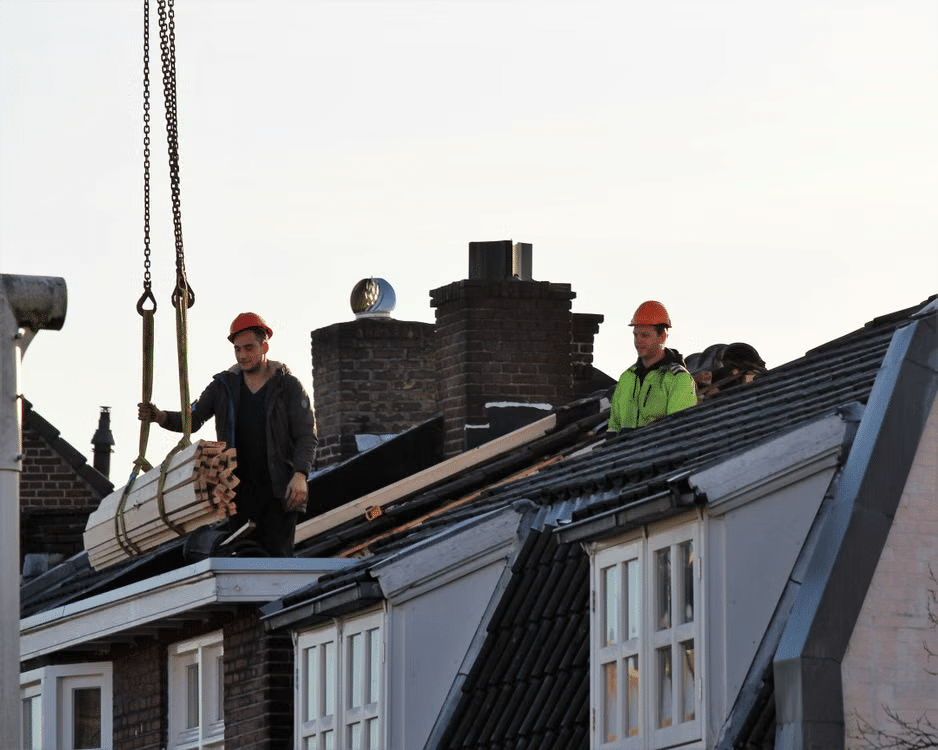
A roof can look clean and well-finished from the ground while still failing at the details that keep water out. The mistakes in this section are less visible than misaligned shingles, but they’re responsible for the majority of roof leak complaints homeowners encounter after installation.
4. Incorrect Flashing Around Joints and Walls
Flashing is the thin metal material installed at every point where the roof meets something else, including walls, valleys, skylights, and vent pipes. These intersections are where water naturally pools and channels during rain, making them the most common starting points for a roof leak.
When flashing is improperly overlapped, nailed through instead of tucked, or sealed with caulk alone rather than properly bedded, water finds its way into the gap underneath. The problem rarely surfaces immediately, which is why flashing failures often go undetected until interior water damage is already present.
5. Missing Chimney Flashing or No Cricket
A chimney is one of the most demanding transitions on any roof because it interrupts the slope and creates a flat surface where water collects. Proper chimney flashing involves step flashing along the sides and counter flashing embedded into the masonry.
On wider chimneys, a chimney cricket, a small peaked structure built behind the chimney to divert water around it, is essential for preventing pooling. Without one, debris accumulates and moisture sits against the masonry, accelerating deterioration at one of the roof’s most vulnerable points.
6. Skipping Drip Edge or Underlayment
Drip edge is a metal strip installed along eaves and rakes that guides water off the roof and away from the fascia board below. Without it, water wicks back under the shingles and rots the decking edge over time.
Underlayment serves a different but equally important function, acting as a secondary moisture barrier between the shingles and the roof deck. When either layer is omitted during installation, the roof loses its backup protection at the exact edges where wind-driven rain causes the most damage.
Mistakes That Shorten a Roof from Below
Not every roofing mistake is visible from the street. Some of the most consequential errors happen out of sight, inside the attic or at the fastening level, and they show up gradually as accelerated wear, staining, and shingle distortion.
7. Poor Attic Ventilation and Trapped Moisture
What happens inside the attic has a direct effect on what shingles look like from the street. Without adequate attic ventilation, heat and moisture accumulate beneath the roof deck, creating conditions that accelerate shingle deterioration long before any storm damage occurs.
Trapped heat causes shingles to curl and blister from underneath, while excess moisture softens the roof decking and encourages mold growth along the wood substrate. In colder climates like the Greater Toronto Area, poor ventilation also drives ice dam formation, where heat escaping through the roof melts snow unevenly and refreezing water forces its way under the shingles. Peer-reviewed research has documented the relationship between attic thermal conditions and premature roofing material failure.
8. Bad Nail Placement and Weak Fastening
Roofing nails that are driven too high, too low, or at an angle seem like a minor detail during installation, but the consequences show up visibly over time. Shingles that are not fastened through the correct nailing zone sit less securely and shift more easily under wind pressure.
This movement creates irregular gaps and wavy lines across the roof surface, a pattern failure that is particularly noticeable on darker shingles in direct sunlight. Overdriven nails that punch through the shingle face rather than sitting flush beneath it leave the material weakened at each fastening point.
The Details Installers Often Rush or Skip
The final two mistakes on this list are easy to overlook during a quick site visit, but they have an outsized effect on how a roof performs at its edges and over its full lifespan. As with the ventilation and fastening issues covered above, these problems tend to compound when the local climate adds pressure.
9. A Starter Course Installed the Wrong Way
The starter course is the first row of shingles installed along the eaves, and its job is more functional than it looks. It seals the gaps between the first field course, controls how cleanly that bottom edge reads from the ground, and anchors the shingles against wind uplift.
When a roofing contractor skips the proper starter strip or installs it without adequate adhesive along the eave edge, the result is a roof that looks slightly uneven at the base and lifts more easily in high winds. This single step has an outsized effect on both appearance and edge durability.
10. Ignoring Local Code and Cold-Weather Needs
Permit and building code compliance is a mistake that homeowners rarely think about until a home is listed for sale or an insurance claim is denied. In the Greater Toronto Area, roofing work that bypasses local code requirements can also leave the manufacturer’s warranty void.
The climate here adds another layer of complexity. Freeze-thaw cycles, snow load, and ice dams place specific demands on how shingles are selected and installed. These aren’t minor considerations, and they connect directly to the small exterior changes that transform a home in lasting, practical ways.
How to Avoid These Mistakes Before Work Begins
The best time to catch these issues is before a single shingle is laid. Reviewing the installation plan with a roofing contractor should include confirming shingle match across all roof planes, how flashing will be handled at every transition, the approach to attic ventilation, and whether drip edge is included at both eaves and rakes.
Permits and code compliance are worth raising directly, particularly in regions like the Greater Toronto Area where cold-climate detailing affects material selection and installation method.
A written scope of work is the most practical safeguard available. When visual goals, technical standards, and material specifications are documented before installation starts, there is a clear reference point if something looks wrong or a detail gets missed. Verbal agreements leave too much room for misalignment between what a homeowner expects and what an installer assumes is standard practice.
Final Takeaway
A home can have exceptional landscaping, fresh paint, and well-maintained siding, and still look unfinished if the roof undermines it. The mistakes covered here share a common thread: what appears as a visual flaw on the surface almost always reflects a deeper installation problem underneath.
Misaligned shingles and poorly finished edges rarely exist without questionable flashing, skipped underlayment, or weak fastening nearby. When one shortcut appears, others tend to follow.
The goal isn’t to approach every roof with suspicion, but with a sharper eye. Knowing what a roof leak looks like before it starts, and what installation quality actually looks like, makes that possible.