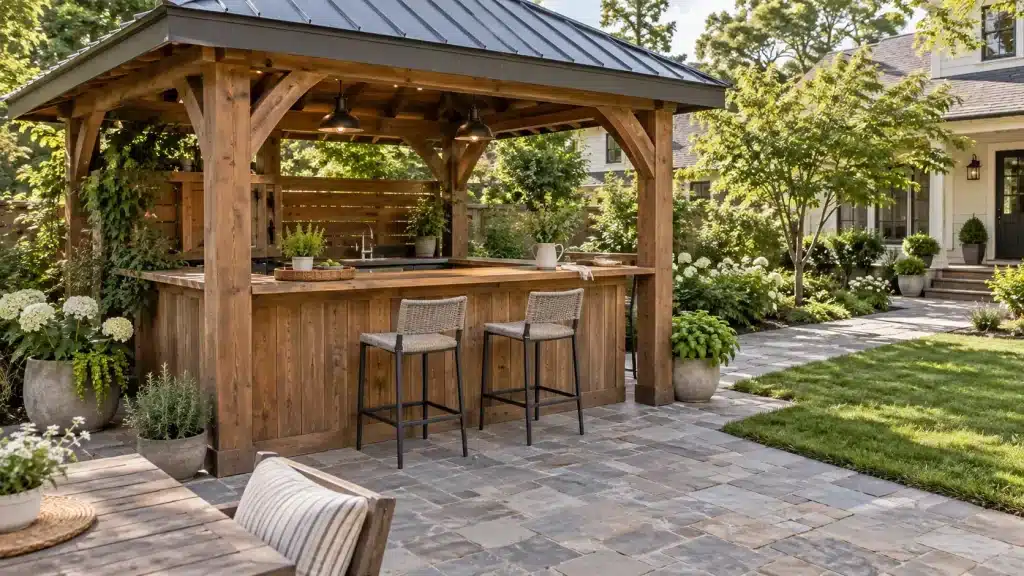
A practical backyard layout guide for hosts who want useful counter space without crowding the people beneath the roof
A good bar gazebo begins with movement, not decoration. The counter should shorten the trip between the house and the serving area, give guests somewhere natural to gather, and leave enough room for anyone carrying a tray to pass behind the seats. If those three things work, the finishes can be simple and the space will still feel considered.
That is the useful way to approach bar gazebo ideas. Start with what you plan to serve, how many people normally use the yard, and what must be carried back inside at the end of the night. Then choose the structure, counter arrangement, storage, and lighting around that routine.
Decide What the Bar Needs to Do
The word bar can describe very different setups. One household may need a narrow ledge for lemonade and snacks. Another may want stools, a preparation surface, storage, power, and room near a grill. A larger wish list is not automatically better. Every extra function takes floor space and creates another item to clean or protect.
Write down the two or three tasks the area must handle most often. A useful brief might be serving drinks, setting out food, and giving two guests a place to sit. That brief is specific enough to guide the layout without turning the gazebo into a second kitchen.
Choose the Location Before the Counter
A bar at the far edge of the yard may look inviting in a photograph, but repeated trips across wet grass become tiresome. Walk the proposed route from the kitchen while carrying an empty tray. Check for steps, narrow gates, uneven paving, and doors that swing into the path.
Also watch the site at the time you are most likely to use it. Afternoon sun can make one side uncomfortable. A low area may collect water after rain. Smoke or cooking heat may drift toward seating, doors, or neighboring properties. These observations are more useful than choosing a position from a plan alone.
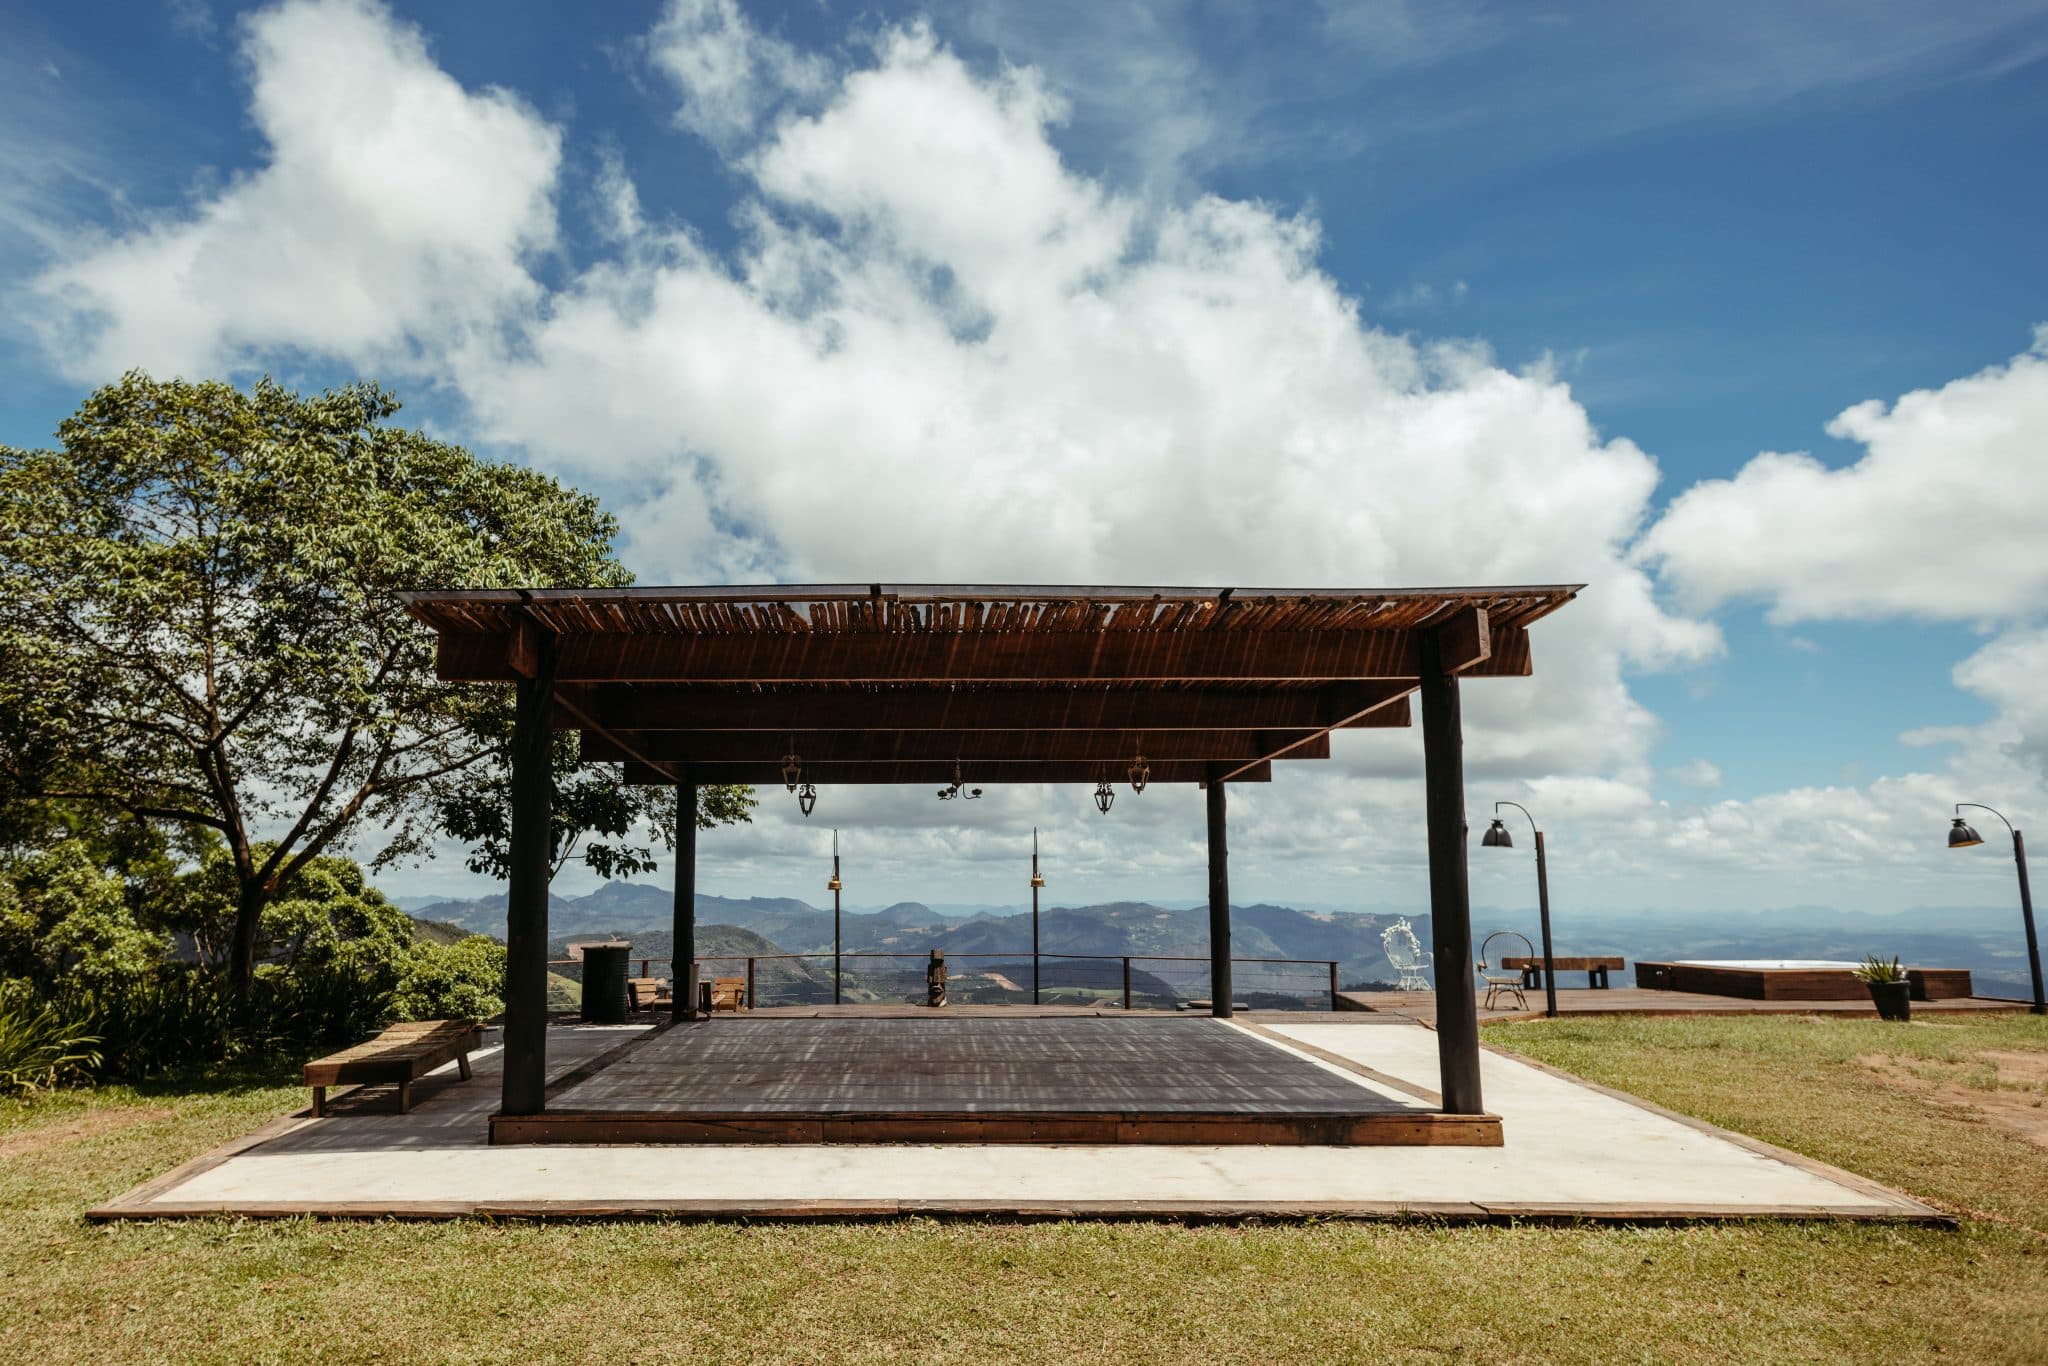
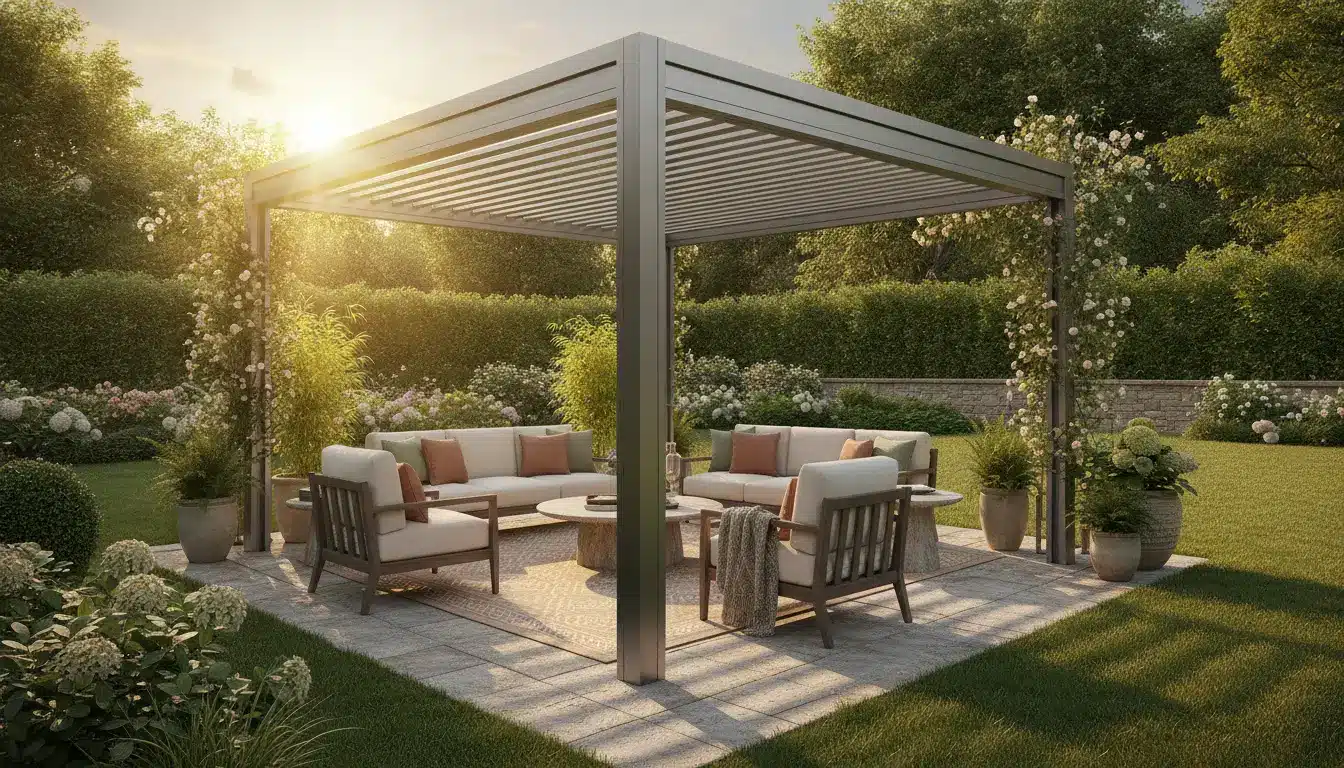
Before buying, compare the footprint and opening positions of several gazebo designs against the usable surface in your yard. The roof dimensions do not tell you exactly where the posts, shelves, and entrances will land, so use the model-specific base and interior measurements.
Measure the Working Space Inside
Mark the posts, counter, stools, and main furniture on the ground with painter’s tape, chalk, or removable stakes. Place your actual chairs inside the outline if possible. Pull them out as someone would during a gathering, then walk behind them with a tray.
This quick mockup exposes problems that a product photo cannot. A stool may fit under a ledge but block the main entrance when occupied. A refrigerator door may open into the serving route. A generous-looking lounge chair may remove the only clear path across the gazebo.
Measure from the edges people and furniture will actually occupy, not only from post to post. If the plan feels tight while the area is empty, it will feel smaller after guests, coolers, and serving pieces arrive.
Pick a Counter Layout That Matches the Yard
Most backyard bar layouts fall into three useful patterns.
- A single serving ledge uses the least space. It works well when people will stand or when the bar supports a nearby dining table rather than providing its own seating.
- A pass-through counter places the host on one side and guests on the other. It separates preparation from conversation, but both sides need clear access.
- An L-shaped arrangement creates more surface area and a defined corner for stools. It also consumes more floor space and can create a bottleneck at the open end.
Choose one primary route through the structure and keep it open. A bar is easier to use when guests do not have to cross the host’s working area to reach a seat, the garden, or the house.
Plan Serving Space Before Adding Stools
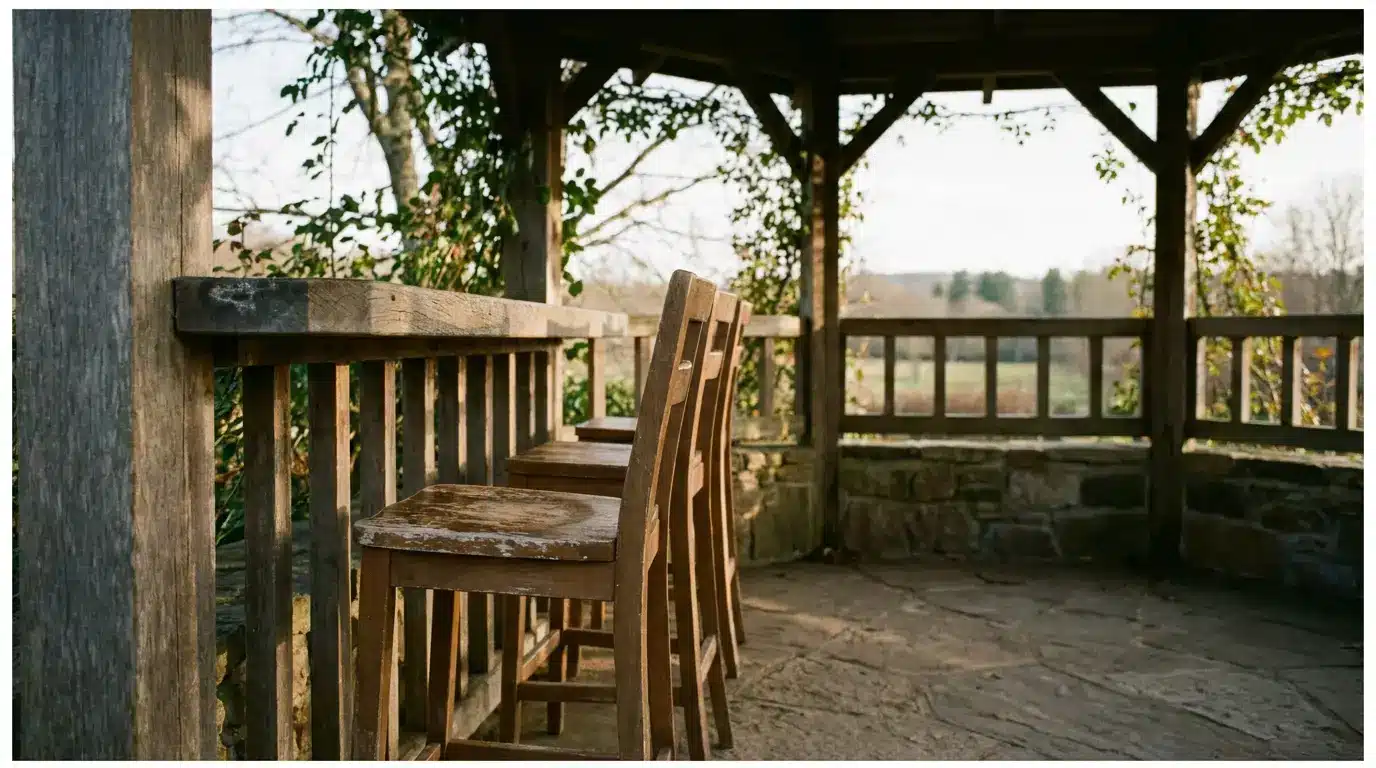
Stools make an outdoor bar look complete, but they can turn a useful counter into a traffic problem. Decide where knees, chair backs, and pulled-out seats will sit. Make sure a seated guest does not occupy the only entrance or force other people to squeeze past a post.
For a smaller gazebo, a standing ledge or two movable stools may work better than a full row. Flexible seating can be moved to the dining table, fire pit, or lawn when the bar is being used for food service.
Use Built in Features Only When They Solve a Real Problem
A freestanding cart is easy to rearrange, while integrated shelves keep the serving zone in one place. Neither option is universally better. The right choice depends on whether you value flexibility or a fixed setup that is ready each time you entertain.
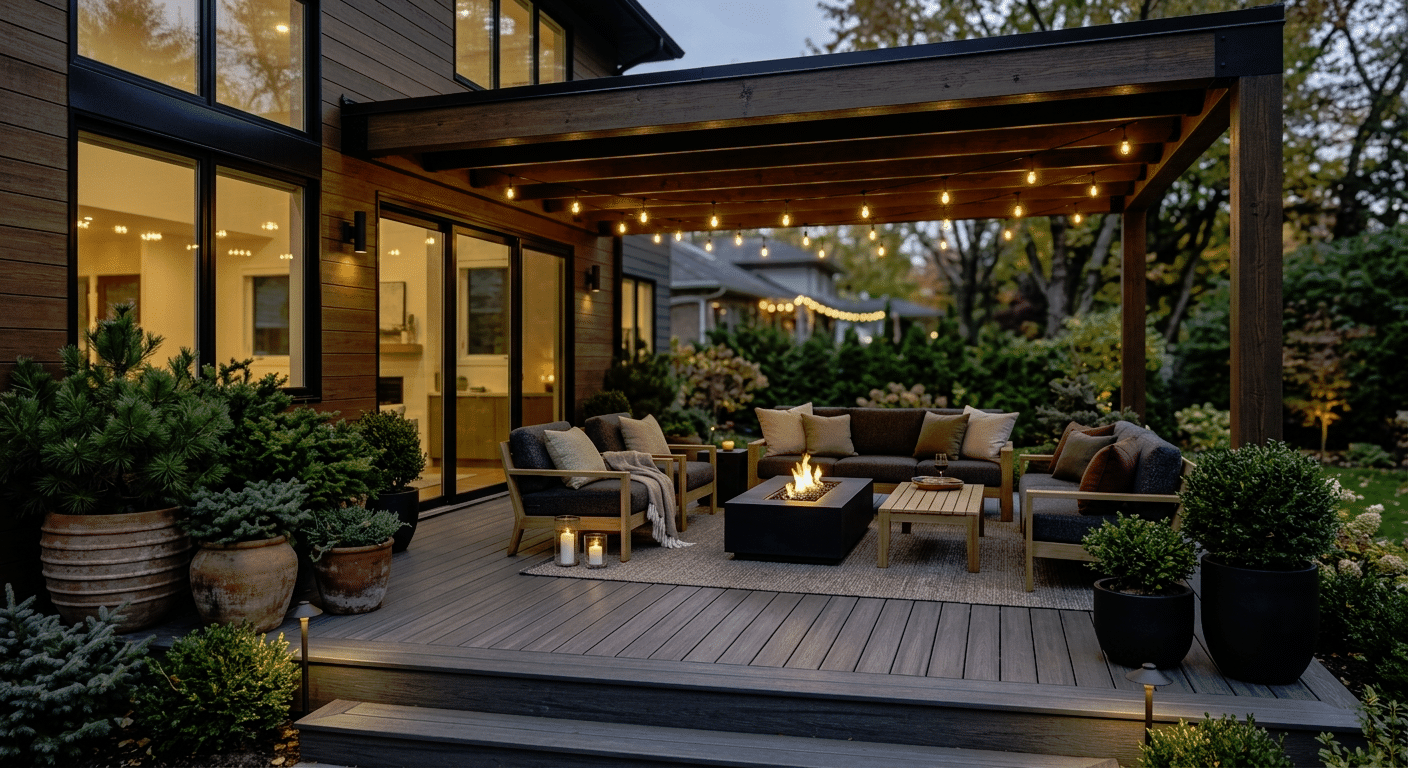
For example, an outdoor bar pergola with built-in shelves can combine cover and serving space in one footprint. Check the exact interior dimensions, shelf height, power details, assembly instructions, anchoring requirements, and maintenance guidance for the model rather than assuming every structure works the same way.
Keep Storage Realistic
Outdoor storage is useful only if it suits the items placed inside it. Everyday drinkware, linens, ingredients, and electrical devices often belong indoors between gatherings. Even a covered structure can be exposed to wind-driven rain, dust, insects, humidity, and temperature changes.
Use the bar for the items that make setup easier, such as washable trays, sealed serving bins, or tools approved for outdoor storage. Keep the collection small enough that every surface can be cleared and wiped without moving a display of rarely used accessories.
Make Cleanup Part of the Layout
The easiest bar to maintain has a clear route for dirty dishes, one obvious place for waste, and surfaces that are not crowded with permanent decor. Put a removable bin where the host can reach it without stepping around guests. Use trays to carry groups of glasses and condiments back to the kitchen in fewer trips.
If the bar does not have plumbing, do not design the routine as though it does. A covered container for used items and a washable serving tray may be more practical than trying to add a sink. If you are considering water, drainage, or permanent electrical work, confirm local requirements and use qualified professionals where required.
Treat Cooking and Electricity as Separate Safety Decisions
Do not assume that a roofed serving area is automatically suitable for every grill, heater, refrigerator, or lighting installation. Read the instructions for both the structure and the appliance. Follow required clearances, ventilation guidance, anchoring instructions, and local rules. Keep cords away from walking routes and use equipment intended for its location and exposure.
This review may change the layout. A grill may need its own zone outside the main seating area, while the covered counter handles plating and drinks. That separation can also keep smoke, heat, and cooking traffic away from guests.
Give the Space a Farmhouse Character Without Filling It
The Painted Hinge audience does not need a showroom bar. A few practical materials can establish a relaxed farmhouse look: warm wood, dark metal, simple outdoor stools, a washable runner, and herbs in sturdy pots. Repeated materials matter more than a large number of decorations.
Choose one or two items that can change with the season, such as a small wreath, a tray, or potted flowers. Keep the counter mostly open so it still works when drinks and food arrive. Outdoor lighting should help people see the serving surface and walking route without shining directly into their eyes.
Run One Final Hosting Test
Before treating the layout as finished, rehearse a small gathering. Carry a tray from the kitchen, set out drinks, pull out every stool, open each cabinet or appliance door, and walk the route guests will use. Notice where people would pause and whether that pause blocks someone else.
A bar gazebo is ready when serving feels shorter, seating does not interrupt circulation, and cleanup has an obvious path back inside. If the test reveals a bottleneck, move the smallest element first. A stool, cart, bin, or decorative piece is much easier to adjust than the structure itself.