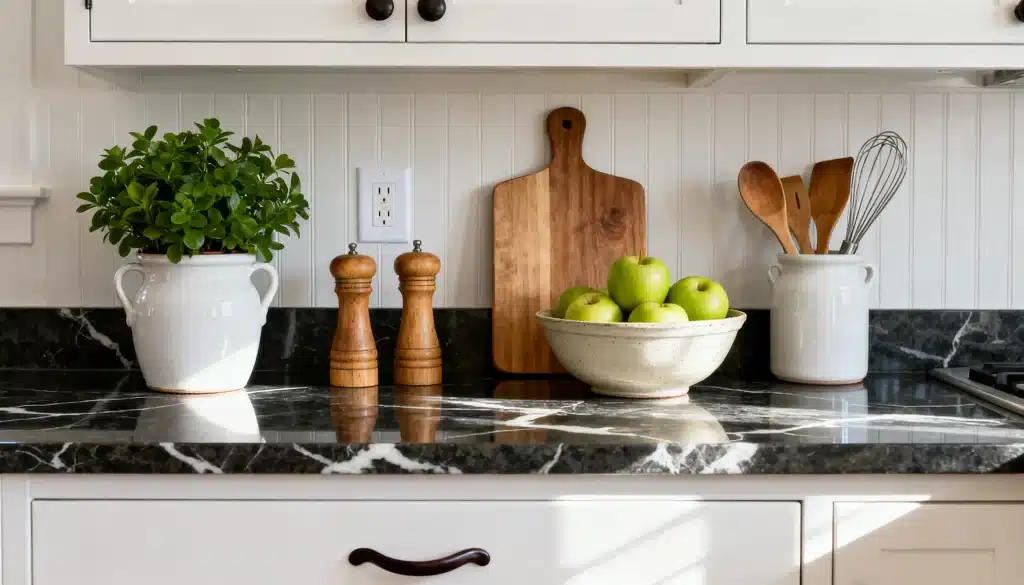
Replacing a countertop is expensive and disruptive. Between the material, fabrication, and installation, a full swap climbs into four figures.
If the counter is still solid underneath and you just can’t stand the color, painting it is a good option.
Preparation, matching the products, sealing well, and giving the finish enough time to cure are what decide if the counter looks sharp two years from now or flakes off by spring.
Countertop Painting Supplies
Buy everything before you start. Stopping mid-project to run to the store causes surfaces to dry unevenly between coats.
Cleaning and preparation
- Degreasing cleaner
- Scrub sponge
- Clean cloths
- Sandpaper
- Vacuum
- Tack cloth
- Surface filler
- Caulk
- Painter’s tape
- Drop cloths
Painting and finishing
- Bonding primer
- Countertop-compatible paint
- Foam roller
- Detail brush
- Paint tray
- Clear protective sealer
Safety
- Gloves
- Eye protection
- Dust mask or respirator
- Fan, plus open windows
How to Choose Primer, Paint, and Sealer?
Choosing a primer, a paint like acrylic or latex, and a sealer is quite a difficult task. Before settling on a certain color, the base needs to be chosen.
People grab random products only to find that their money went to waste.
Match all three to your surface and test them before settling on one combo.
Bonding Primer
Match the primer to the material: laminate, tile, or wood; each has primers built for it. A good bonding primer is the whole reason the finish sticks.
Countertop Refinishing Kits
Beyond kits, acrylic coatings, urethane enamel, and epoxy systems all work, as do paints approved specifically for laminate or tile.
Countertop Sealer
Countertop clear coats, polycrylic, polyurethane, and epoxy topcoats each have their strengths. Watch for yellowing risk on lighter colors and check the cure time before you commit.
The single most important rule: confirm the primer, paint, and sealer are compatible. The safest move is to buy them as a single tested system rather than mixing brands and hoping.
How to Paint Countertops Step-by-Step
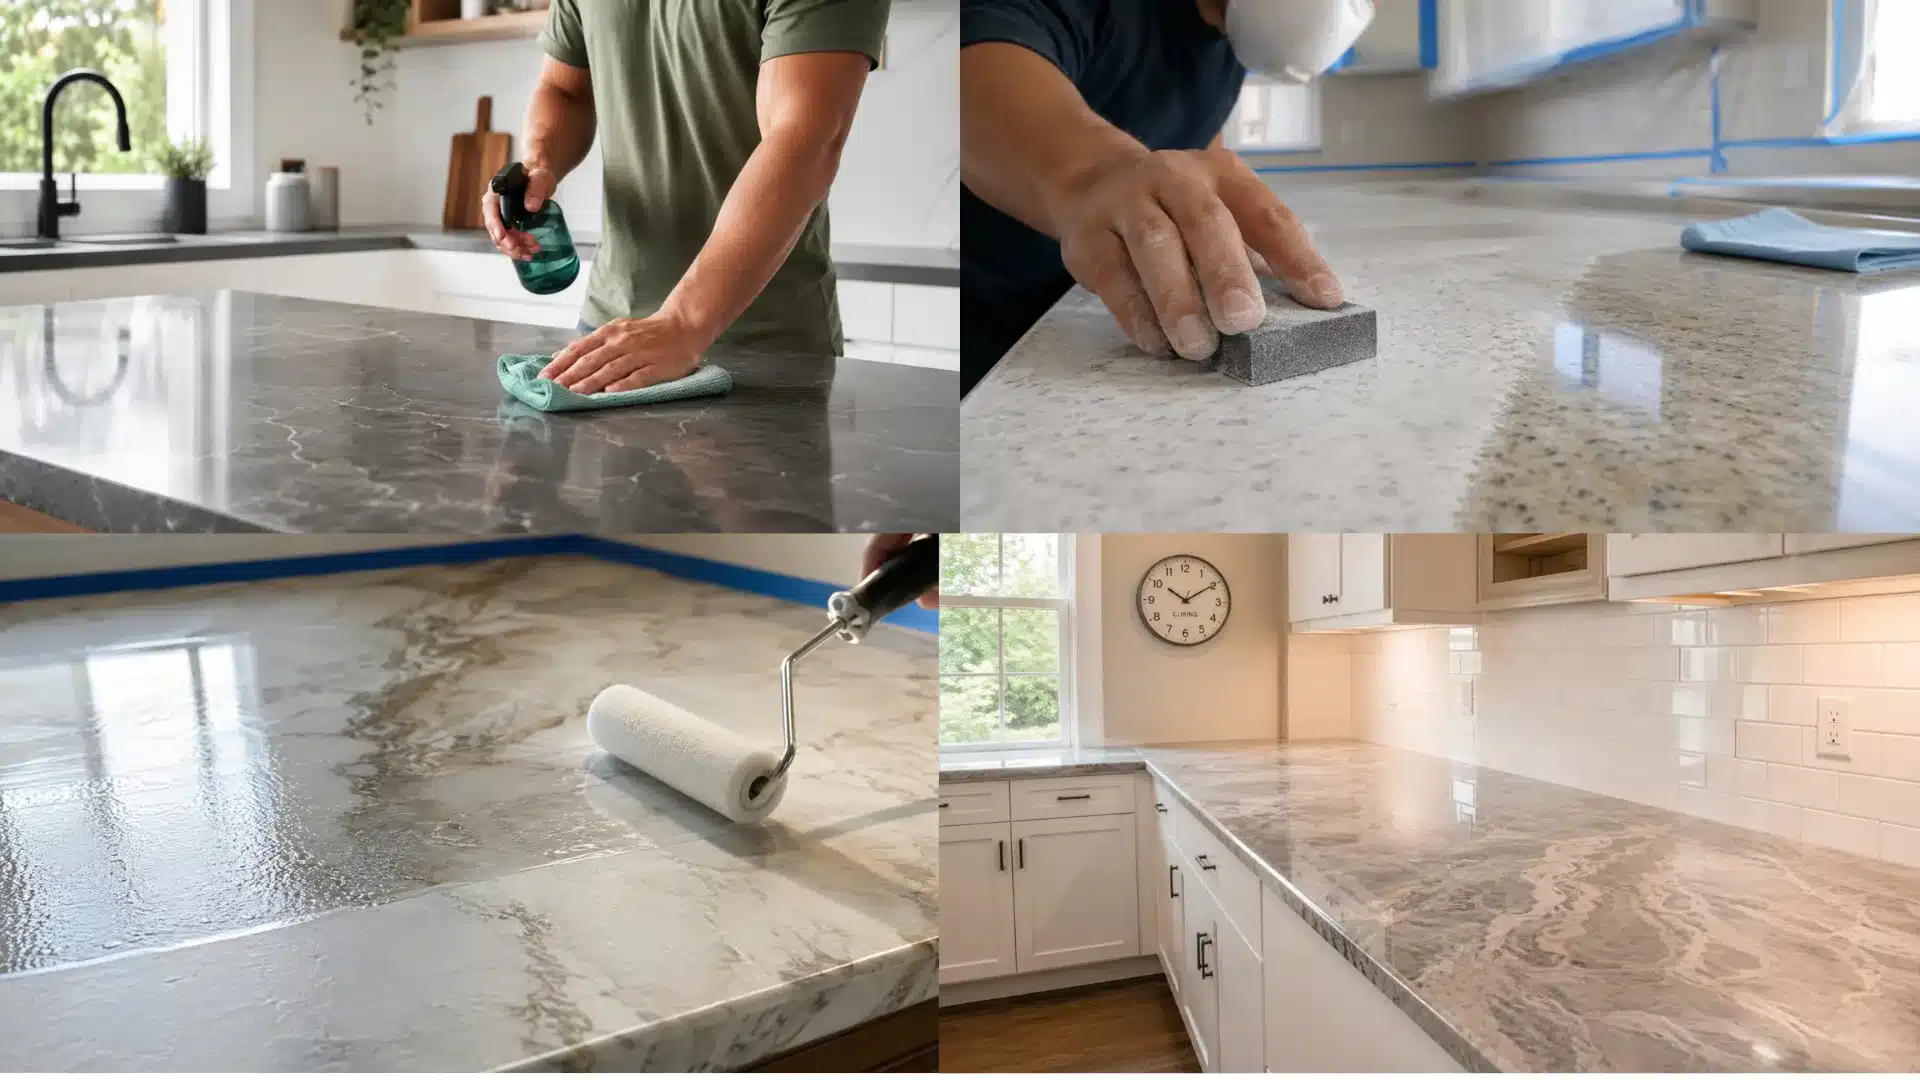
This is the important part that makes everything aligned.
Work through these in order, and don’t rush the drying windows between them. Learning how to paint countertops properly is mostly about patience, not skill.
Step 1: Inspect and Repair the Surface
Before any cleaning or sanding, go over the whole counter for a quick check. Check the seams, edges, grout, cracks, and the area around the sink.
Fill small chips, remove any failing caulk, and replace sections that feel soft or swollen.
Step 2: Clear and Protect the Work Area
Empty the entire counter; remove appliances, soap dispensers, and anything on the counter.
Cover cabinets, flooring, sinks, walls, and the backsplash with tape and drop cloths. Open windows for ventilation due to the strong smell of sealer and primer.
Step 3: Clean and Degrease
Kitchen counters carry more grease and soap film than you’d think, and paint won’t bond over any of it.
Scrub every inch, working into corners, seams, grout lines, and sink edges. Then let the surface dry completely before moving on.
Step 4: Sand and Remove Dust
Lightly dull the glossy finish so the primer has texture to grab. Go easy on laminate; it’s thin, and sanding through it creates a bigger problem than the one you started with.
Vacuum the dust, then wipe with a tack cloth until the surface is spotless.
Step 5: Tape the Edges and Apply Primer
Tape cleanly around sinks, walls, cabinets, and backsplashes. Brush the bonding primer into the corners first, then roll thin, even coats across the open areas.
Puddled primer dries soft and ruins everything on top of it. Follow the label’s drying time exactly.
Step 6: Apply the Base Paint
Use a foam roller for the smoothest result and work in small sections.
Keep a wet edge to avoid lap marks, and apply several thin coats rather than one thick one. After each coat dries, check for lint, ridges, or roller marks and smooth them out before the next pass.
Step 7: Seal the Painted Countertop
The countertop sealer is what makes this project last, so don’t skimp.
Apply a compatible sealer in thin, even coats, paying extra attention to seams and sink edges where water tries to get in.
Once it’s dried as directed, run fresh caulk along the gaps between the sink and backsplash.
Step 8: Let the Surface Cure
Touch-dry, recoat, light-use, and full cure. A surface can feel dry to the touch yet remain soft underneath for days.
Full cure can take a couple of weeks.
Which Countertop Materials Can Be Painted?
Sort out material suitability before you spend a dollar. This step saves people from painting a surface that will never hold the finish.
Laminate and Formica
The catch is the surface itself: it’s slick and non-porous, so paint has nothing to grip.
Painting laminate countertops works well only after you clean off every trace of grease, dull the shine with a light sanding, and lock down a bonding primer.
Tile
Scrub out any mildew, repair cracked grout or loose tiles first, then use a tile-compatible primer.
Wood and Butcher Block
Fill any cracks, sand the surface smooth, and let it dry fully.
Skip this, and you’ll trap moisture under the finish, which is a slow way to ruin the whole job.
Granite, Quartz, and Marble
These surfaces resist adhesion, and painting over real stone means covering a finish that’s worth more than the paint on top of it.
If a quality stone counter looks tired, professional repair or refinishing usually makes more sense than hiding it under a coating.
Conclusion
Painting works best on a solid, well-prepared surface, not a damaged one you’re hoping to rescue.
Match the products, apply thin coats, seal thoroughly, and allow the finish to fully cure. Those four things carry the whole project.
Before you start, do two things: identify exactly what the countertop is made of, and check it honestly for water damage.
Then build the full supply list, so you’re not caught mid-project. Get those right, and the paint does the easy part.
Frequently Asked Questions (FAQs)
1. Can Countertops be Painted Without Sanding?
Sometimes. A few bonding primers and de-glossers are made to skip heavy sanding on approved surfaces.
2. What Kind of Paint Should be Used on Countertops?
Use a countertop refinishing kit or a matched system of bonding primer, a durable coating, and a protective topcoat approved for the specific material.
3. How Long do Painted Countertops Last?
It depends on prep, product quality, curing, how hard you use the kitchen, and how well you maintain the surface.