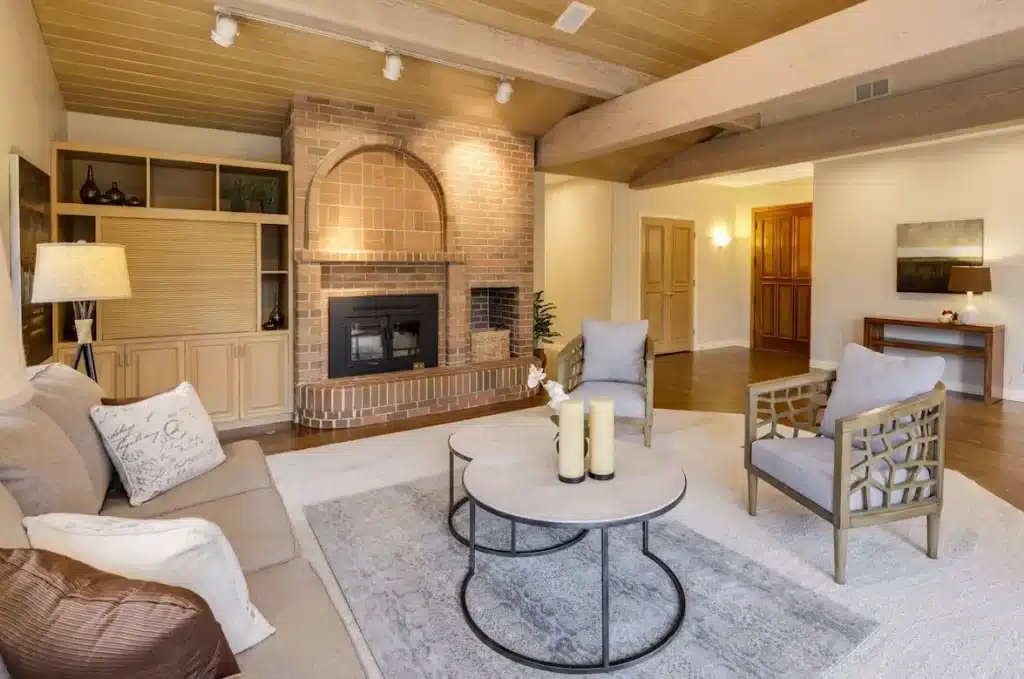
There’s something special about making beautiful things for your home with your own hands. Bringing the warmth of natural wood into your space adds a personal touch you can’t buy. The trend of rustic interior decor is all about celebrating raw materials, textures, and organic beauty. If you’re new to this, where do you begin? Turning a raw piece of wood into a stunning decoration might seem daunting, but it’s a wonderfully rewarding process. This guide will walk you through everything, from finding the right wood to the final polish.
Finding the Perfect Wood for Your Project
The first step for any custom wood project is getting your materials. The wood you pick shapes how your finished piece looks and feels. You have a few choices, each with its own charm. Knowing the best places for project wood makes a huge difference in your final results.
- Reclaimed Wood: Wood saved from old barns, fences, or pallets has its own story, with nail holes and a rich, aged look. Find local sellers on social media or at architectural salvage yards. Always check carefully for hidden nails or staples that could damage your tools.
- Fallen Trees: After a storm, you might find fallen branches or trees perfect for DIY projects. Check local rules for collecting wood from public land or ask a neighbor if they have a tree come down. Oak, maple, and walnut are great hardwoods for furniture and shelves.
- Lumberyards and Sawmills: For a more controlled approach, visit a local lumberyard or sawmill. You can find various wood species cut into slabs or boards. This is a good choice for specific projects, such as a “live edge” coffee table, where the natural edge of the wood is preserved.
Essential Tools for Processing Raw Wood
Once you have your wood, you’ll need the right tools to cut it into shape. You don’t need a professional workshop, but a few key pieces of equipment make the job safer and easier. For smaller pieces, a hand saw or circular saw can cut boards to length. For bigger logs or thick slabs, a powerful chain saw is essential for making rough cuts and breaking the wood into manageable sizes.
Always put safety first when using power tools by wearing safety glasses, gloves, and hearing protection. A sturdy workbench or sawhorses are also important for holding your wood still. As you get to finishing, an orbital sander will save you hours of work. Start with these basics and add more specialized tools as you take on bigger projects.
The Art of Drying and Curing Wood
This is a crucial and often overlooked step for preparing wood for indoor use. Freshly cut “green” wood contains a lot of moisture. If you use it immediately for a shelf or table, it will warp, crack, and split as it dries. To prevent this, you must cure it properly.
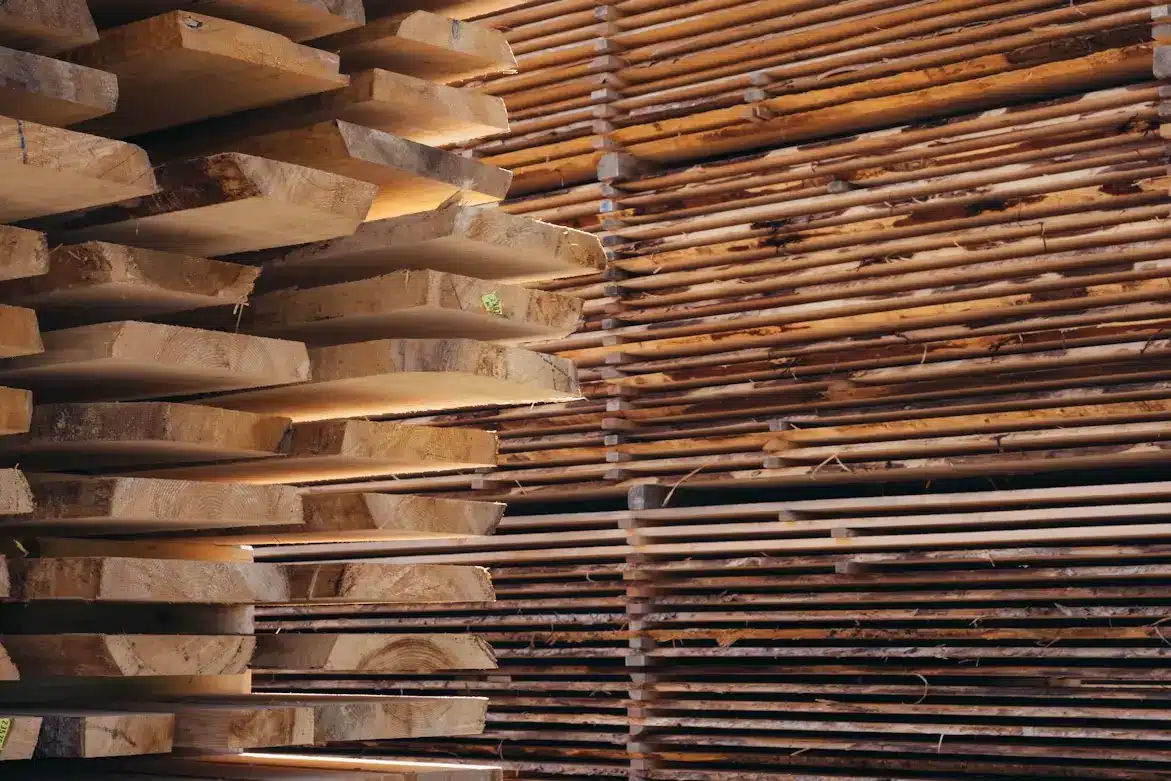
Air-drying is the most common method for DIYers. Stack the wood with small spacers (“stickers”) between each layer to allow even airflow. Keep the stack in a covered, well-ventilated area, such as a shed or garage, away from direct sunlight. The rule of thumb is to air-dry for one year per inch of wood thickness. A two-inch-thick slab could take two years to cure fully. You can check progress with a moisture meter, aiming for 6-8% moisture content for indoor wood. It takes patience, but it’s the secret to stable, long-lasting wood décor.
Sanding and Finishing for a Polished Look
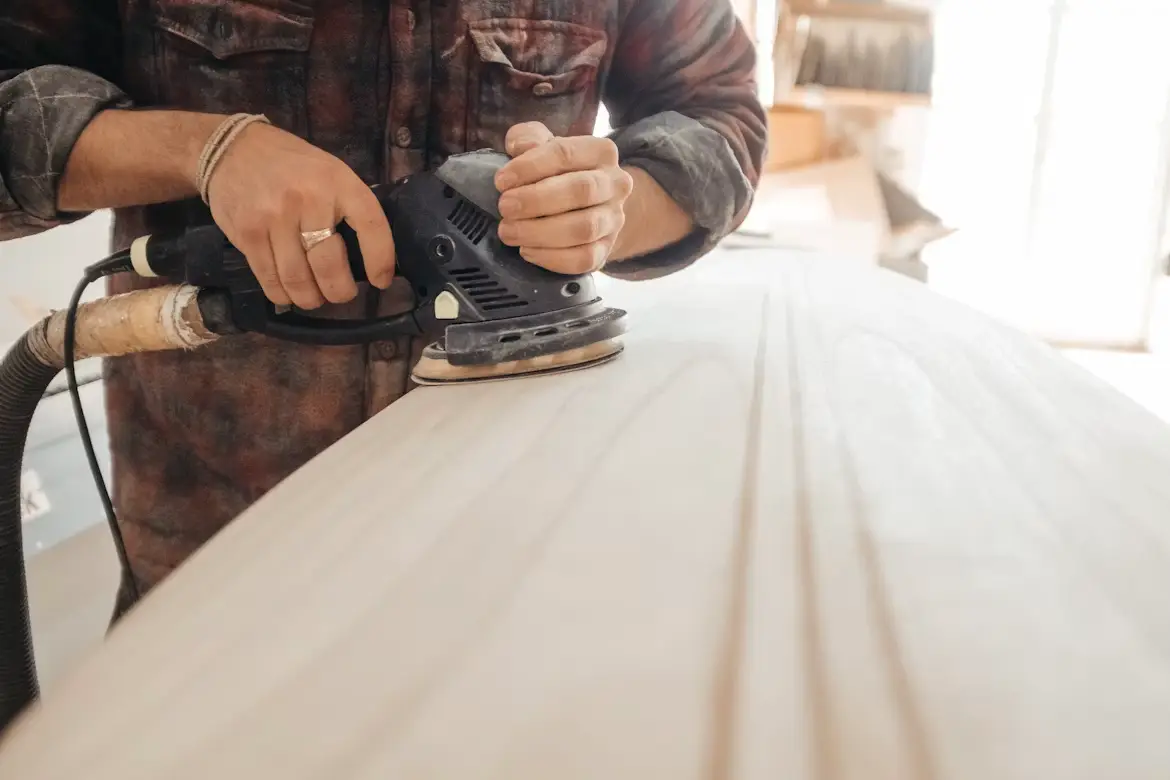
After your wood is dry, it’s time to make its natural beauty shine through sanding and sealing. Start with coarse-grit sandpaper (around 80-grit) to smooth imperfections and saw marks. An orbital sander is very helpful here. Gradually move to finer grits like 120, 180, and finally 220-grit. Wipe the surface with a clean cloth to remove dust after each sanding. This process closes the wood’s pores and creates a very smooth surface.
Once it’s smooth, pick a finish.
- Stain: To change the wood’s color while letting the grain show, use a wood stain.
- Oil Finishes: Tung oil or boiled linseed oil soak into the wood for protection, giving it a natural, matte look.
- Polyurethane: For high-use surfaces like tabletops, polyurethane or varnish creates a tough, protective film.
Apply your chosen finish according to the manufacturer’s directions, usually with a clean rag or natural-bristle brush. Several thin coats are better than one thick coat.
Simple DIY Wood Décor Ideas to Get You Started
Inspired but not sure where to begin? Many home wood decor ideas are perfect for beginners. Start with a small project to build your confidence.
- Coasters: Sand small cross-sections of a branch smooth and seal them for rustic coasters.
- Floating Shelves: A simple slab of reclaimed wood mounted with hidden brackets makes a stunning floating shelf for photos, plants, or books.
- Candle Holders: Drill holes into a thick block of wood to fit tea lights or taper candles. The mix of candlelight and natural wood is always lovely.
- Picture Frames: Create a simple frame from four pieces of weathered barn wood for a beautiful contrast with a modern photo.
These projects don’t require complicated joinery and let the wood’s natural beauty shine.
Embracing the Imperfections
The beauty of DIY wood décor is learning to love a rustic-style home and its perfect imperfections. Unlike factory-made items, your handmade piece will have unique character. Knots, swirling grain patterns, and the unevenness of a live edge aren’t mistakes. They’re details that tell a story. Don’t aim for a factory-perfect look. Instead, celebrate the material’s natural qualities. Each piece you create adds warmth and style to your home and is a proud reminder of the care you put into it.
So, the next time you see a fallen branch or old barn wood, see its potential. With a few tools and some patience, you can turn it into something special for your home.