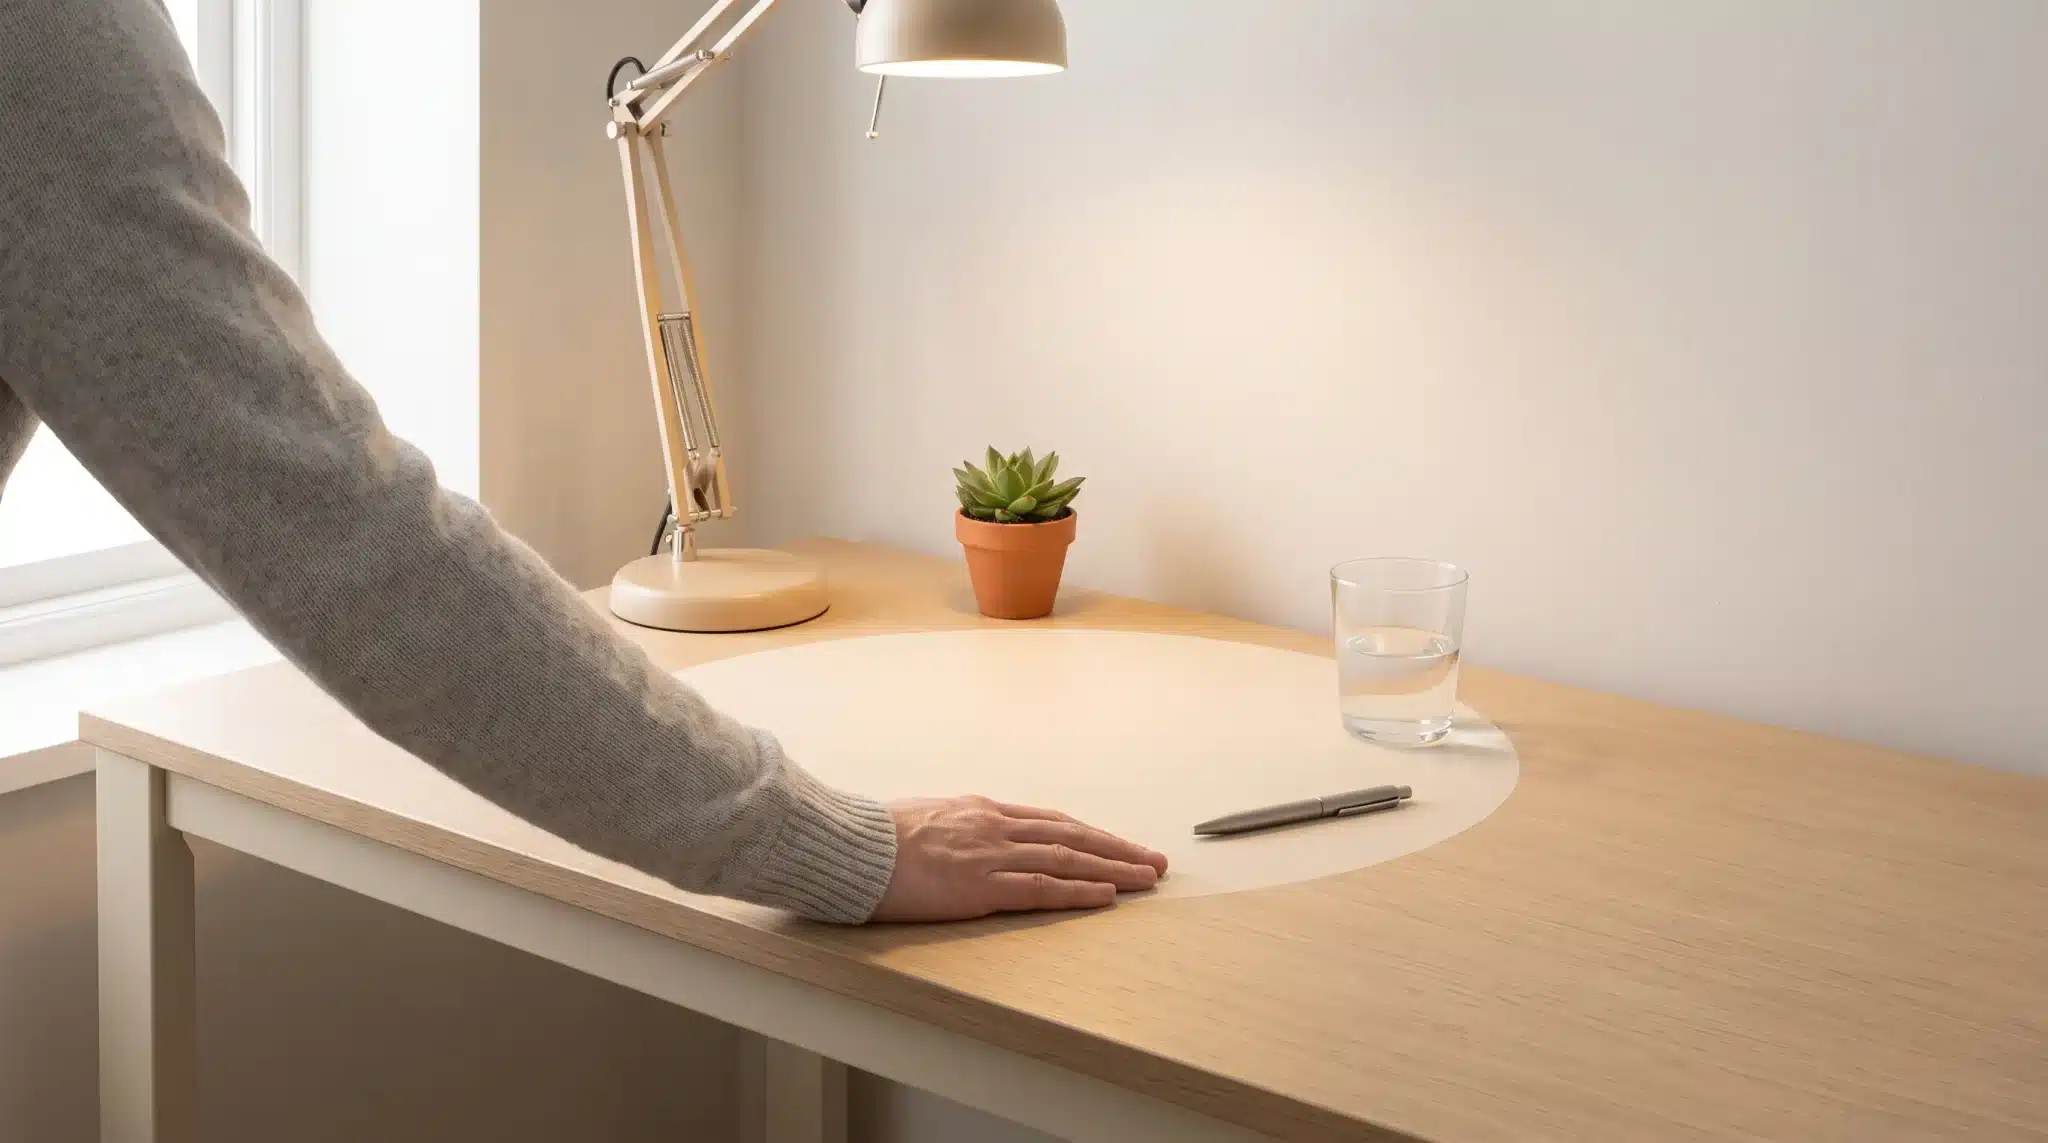
A clear acrylic shelf can make even a basic room look twice as expensive. Everything on it looks like it’s floating against the wall, and because the shelf is practically invisible, your eye goes straight to whatever’s on display. Interior designers have been doing this for years, and honestly, it works in almost any room you can think of.
The best part? You won’t need to spend much. Acrylic shelving is cheap compared to glass or solid wood, it’s easy enough to put up yourself, and it’ll hold a surprising amount of weight. Let’s discover the best rooms to use them in, what thickness you’ll actually need, and a few installation tips so you don’t end up with holes in the wrong place.
Pick the Right Thickness Before You Pick a Style
This is where most people stumble. They grab a thin sheet of acrylic because it’s the cheapest option, stick it on the wall, and then wonder why it’s bowing under a few paperbacks. Acrylic comes in different thicknesses, and what you need depends on two things: how wide the shelf is and what you’re loading onto it.
If you’re putting up a short shelf (under 400mm) for something light like small plants or photo frames, 6mm will do the job. Once you go longer or heavier though, you’ll want something thicker. Going with clear cast acrylic sheets at 10mm and above will give you much better rigidity and a clearer finish, which matters when the whole point is for the shelf to disappear. Cast acrylic also won’t yellow over time, so you’ll avoid that cloudy look that cheaper options tend to develop after a couple of years.
If your shelf spans 600mm or more, aim for 12mm to 15mm. And for a long display shelf in a living room, 15mm to 20mm will keep things stiff with no visible sag.
Bathroom Shelving for Perfume and Toiletries
Bathrooms and acrylic shelves go well together. They won’t rust, steam won’t warp them, and a quick wipe is all they need. Pop one above the basin or beside the mirror for perfume bottles, skincare bits, or a small plant and you’ve got yourself a tidy setup that looks more put-together than a cluttered countertop.
Keep bathroom shelves short, around 300mm to 400mm, and go with 8mm to 10mm thick. That’s plenty for toiletries. If you’re mounting above the toilet or inside a shower niche, pay attention to what’s behind the tiles. Bathroom walls are often just plasterboard with tiles stuck on, so you’ll need proper anchors or, ideally, to find the studs behind.
Living Room Display for Plants and Ceramics
This is where acrylic shelves really come into their own. A few staggered clear shelves on a feature wall will make ceramics, small sculptures, or trailing plants look like they’re hanging in mid-air. It gives off a minimalist vibe that suits modern interiors, but it also works well in more traditional rooms because the shelf doesn’t clash with anything around it.
Go 12mm or thicker for living room shelves, particularly if you’re putting heavier things on them like stoneware pots or hardback books. If you’re mounting a group of shelves together, keep the gaps consistent, somewhere between 250mm and 350mm apart, so the whole thing looks intentional instead of random.
Nursery Shelving for Children’s Books
Acrylic shelves in a nursery do two things at once. They let you display book covers facing outward so little ones can actually see what’s there and pick for themselves, and they keep the room looking tidy at the same time. Because the shelf is clear, the colourful covers become the decoration.
You’ll want a shelf with a small lip on the front, around 30mm to 50mm high, so books don’t slide off. A 10mm thick shelf will handle a row of picture books without any issues at all. Mount them low enough for small hands to reach, typically around 400mm to 600mm off the floor for toddlers.
How to Fix Acrylic Shelves to the Wall
What you do here depends on your wall type. Timber studs? Standard wood screws with acrylic-compatible brackets will work fine. Plasterboard without studs behind it? Use heavy-duty plasterboard anchors, and go for the toggle bolt type if you’re hanging anything with a bit of weight to it.
Drill the acrylic slowly with a sharp bit and leave the protective film on while you work. If you rush the drilling or use a blunt bit, the acrylic can crack on you. Pre-drill your holes slightly larger than the fixings too, because acrylic expands and contracts with temperature changes and you’ll want to give it that room.
How to Clean Acrylic Without Scratching It
Don’t reach for paper towels or a dry cloth. They’ll leave fine scratches that build up over time and eventually turn the surface hazy. A soft microfibre cloth with warm water and a tiny drop of washing-up liquid is all you need. Rinse the cloth often and dry with a second clean microfibre cloth afterwards.
Stay away from anything with ammonia or alcohol in it. Those can cause the acrylic to craze, meaning tiny cracks will spread across the surface. If dust keeps settling on the shelves between cleans, an anti-static spray made for plastics will sort that out.