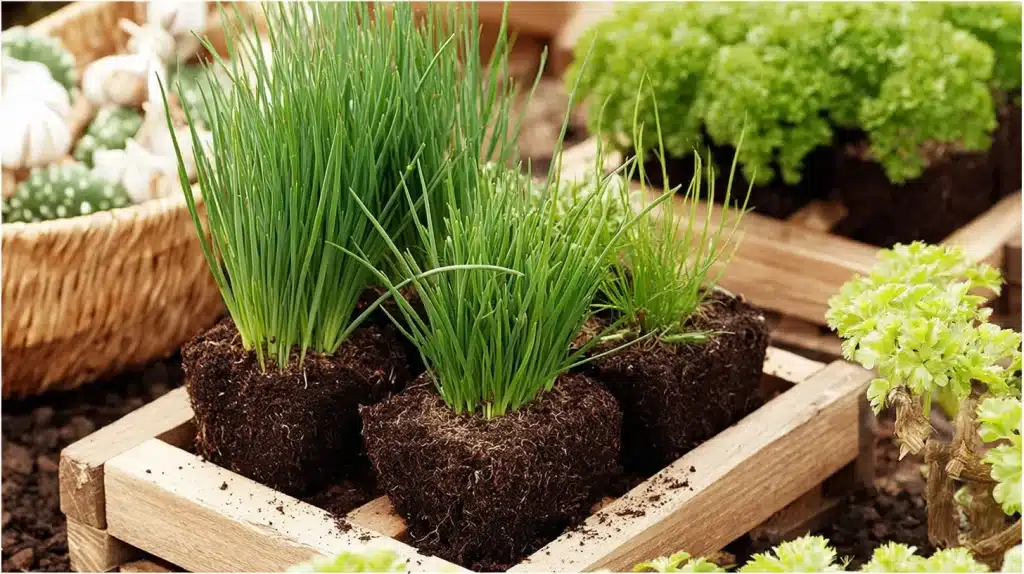
Chives are one of the easiest herbs you can grow, but they do have a few specific needs.
Get those wrong and the leaves yellow, the clumps thin out, and the whole pot looks sad by midsummer. Get them right, and a single planting will keep producing for years.
Just stick till the end of this blog, and we’ll walk you through the whole process of growing chives.
What are Chives? Types and Health Benefits
Chives are small, green herbs in the onion family.
Their flavor is milder than a spring onion but sharp enough to notice and subtle enough that you can pile them onto a baked potato without regretting it
Chives are good for your health in many ways as well. They are rich in Vitamin C and Vitamin K, which help keep your bones and immune system strong.
They are also good for your heart.
Eating chives regularly can help lower blood pressure. On top of that, they also support healthy digestion.
There are also four main varieties worth knowing.
| Type | Key Feature |
|---|---|
| Common Chives | Thin green stalks, mild onion flavor. |
| Garlic Chives | Flat leaves, light garlic taste. |
| Siberian Chives | Cold-hardy, purple flowers. |
| Giant Siberian Chives | Larger leaves, stronger flavor. |
For most, Common Chives are the best; they’re widely available, reliable, and the most versatile in the kitchen. Garlic chives are worth a try if you like a slightly different flavor profile.
When and Where to Plant Chives?
Before you get into the process of growing chives, knowing when and where to plant chives makes the process easier.
The best time to plant chives is in early spring, just after the last frost.
Chives grow best in a spot that gets at least 6 hours of sunlight each day, so for best growth, a south-facing window or a sunny garden bed works perfectly.
Apart from the sunlight, make sure the spot has good air flow, too.
If you’re growing chives indoors, then avoid dark spots as they slow down growth.
Let’s Grow Chives Step by Step
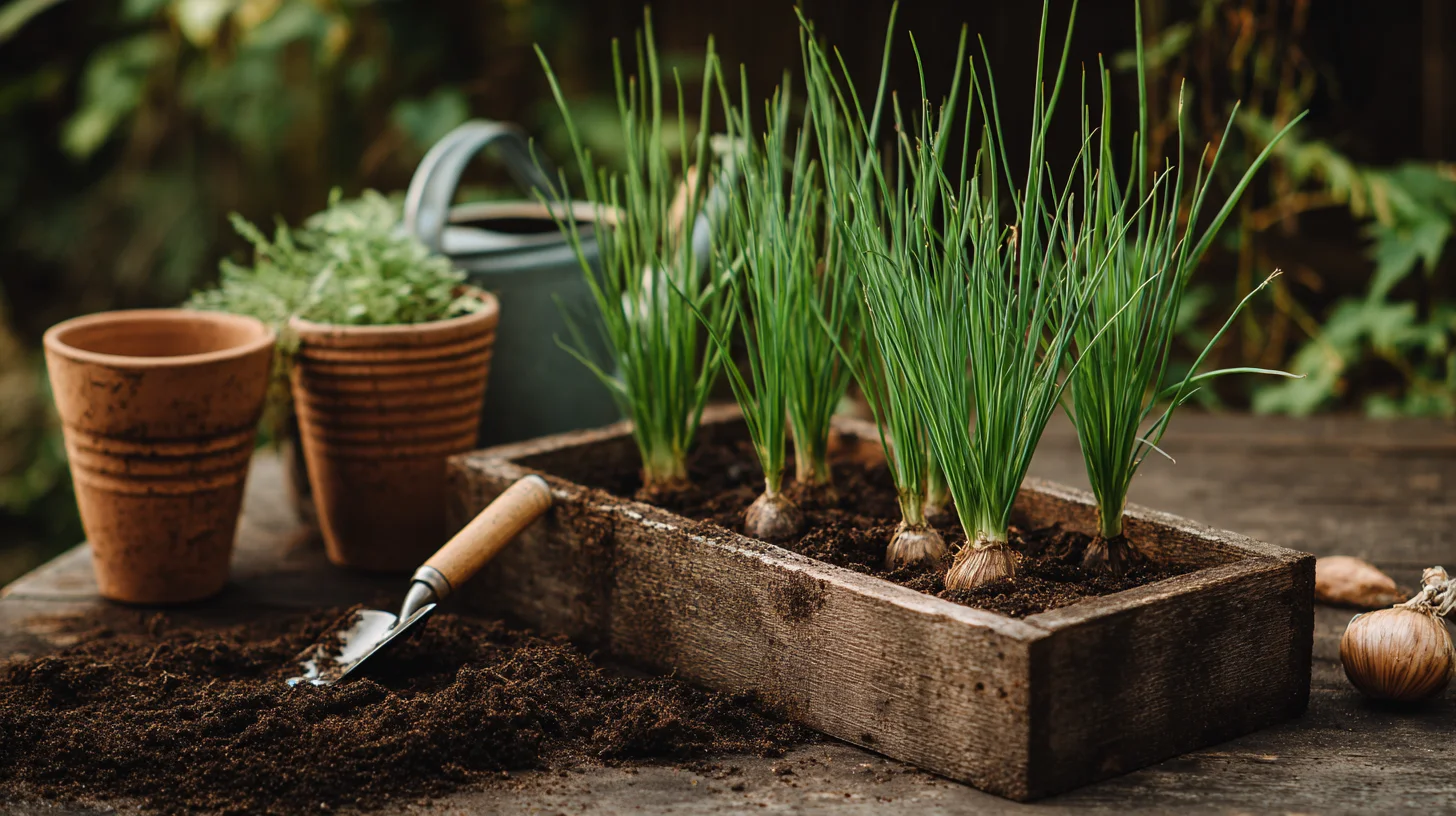
Chives are perennials; plant them once, and they come back every year.
Planting Chives
Planting the chives is simple and takes very little time.
Start by choosing your seeds or seedlings. Both work well, but seedlings give you a faster start.
Seeds take 2–3 weeks to germinate and around 60 days to be ready for harvest; seedlings cut that timeline significantly.
Next, sow your seeds about ¼ inch deep in the soil.
Keep a gap of 4 to 6 inches between each plant so they have enough room to grow, and give them a light watering right after planting.
Take Care of Chives While They are Growing
Just as planting, growing, and taking care of chives every day is not hard at all.
You just need to give it a little attention, which goes a long way in keeping them healthy and fresh.
- Watering: Water your chives 2 to 3 times a week. And remember not to overwater.
- Fertilizing: Feed your chives with a light liquid fertilizer once a month. Do not overdo it.
- Trimming: Cut the leaves regularly. This keeps the plant full and encourages new growth.
- Removing flowers: Pinch off the flowers as they appear. This helps the plant focus on leaf growth.
- Weeding: Keep the area around your chives free of weeds. Weeds compete for nutrients and water.
- Repotting: If growing in pots, repot your chives every 1 to 2 years. This gives the roots fresh space to grow.
In summer, water your chives more often as the soil dries out faster. In winter, cut back on watering. And make sure to use well-drained, slightly rich soil, as chives do not like sitting in wet or soggy soil.
When and How to Harvest Chives?
After all the hard work of planting and growing chives, it’s time to harvest them.
Harvesting chives at the right time is impactful in taste and plant health. Just by following a few easy tips, your chives will be ready to harvest fairly quickly.
- Wait for the right height: Harvest chives when they are at least 6 inches tall.(60 days)
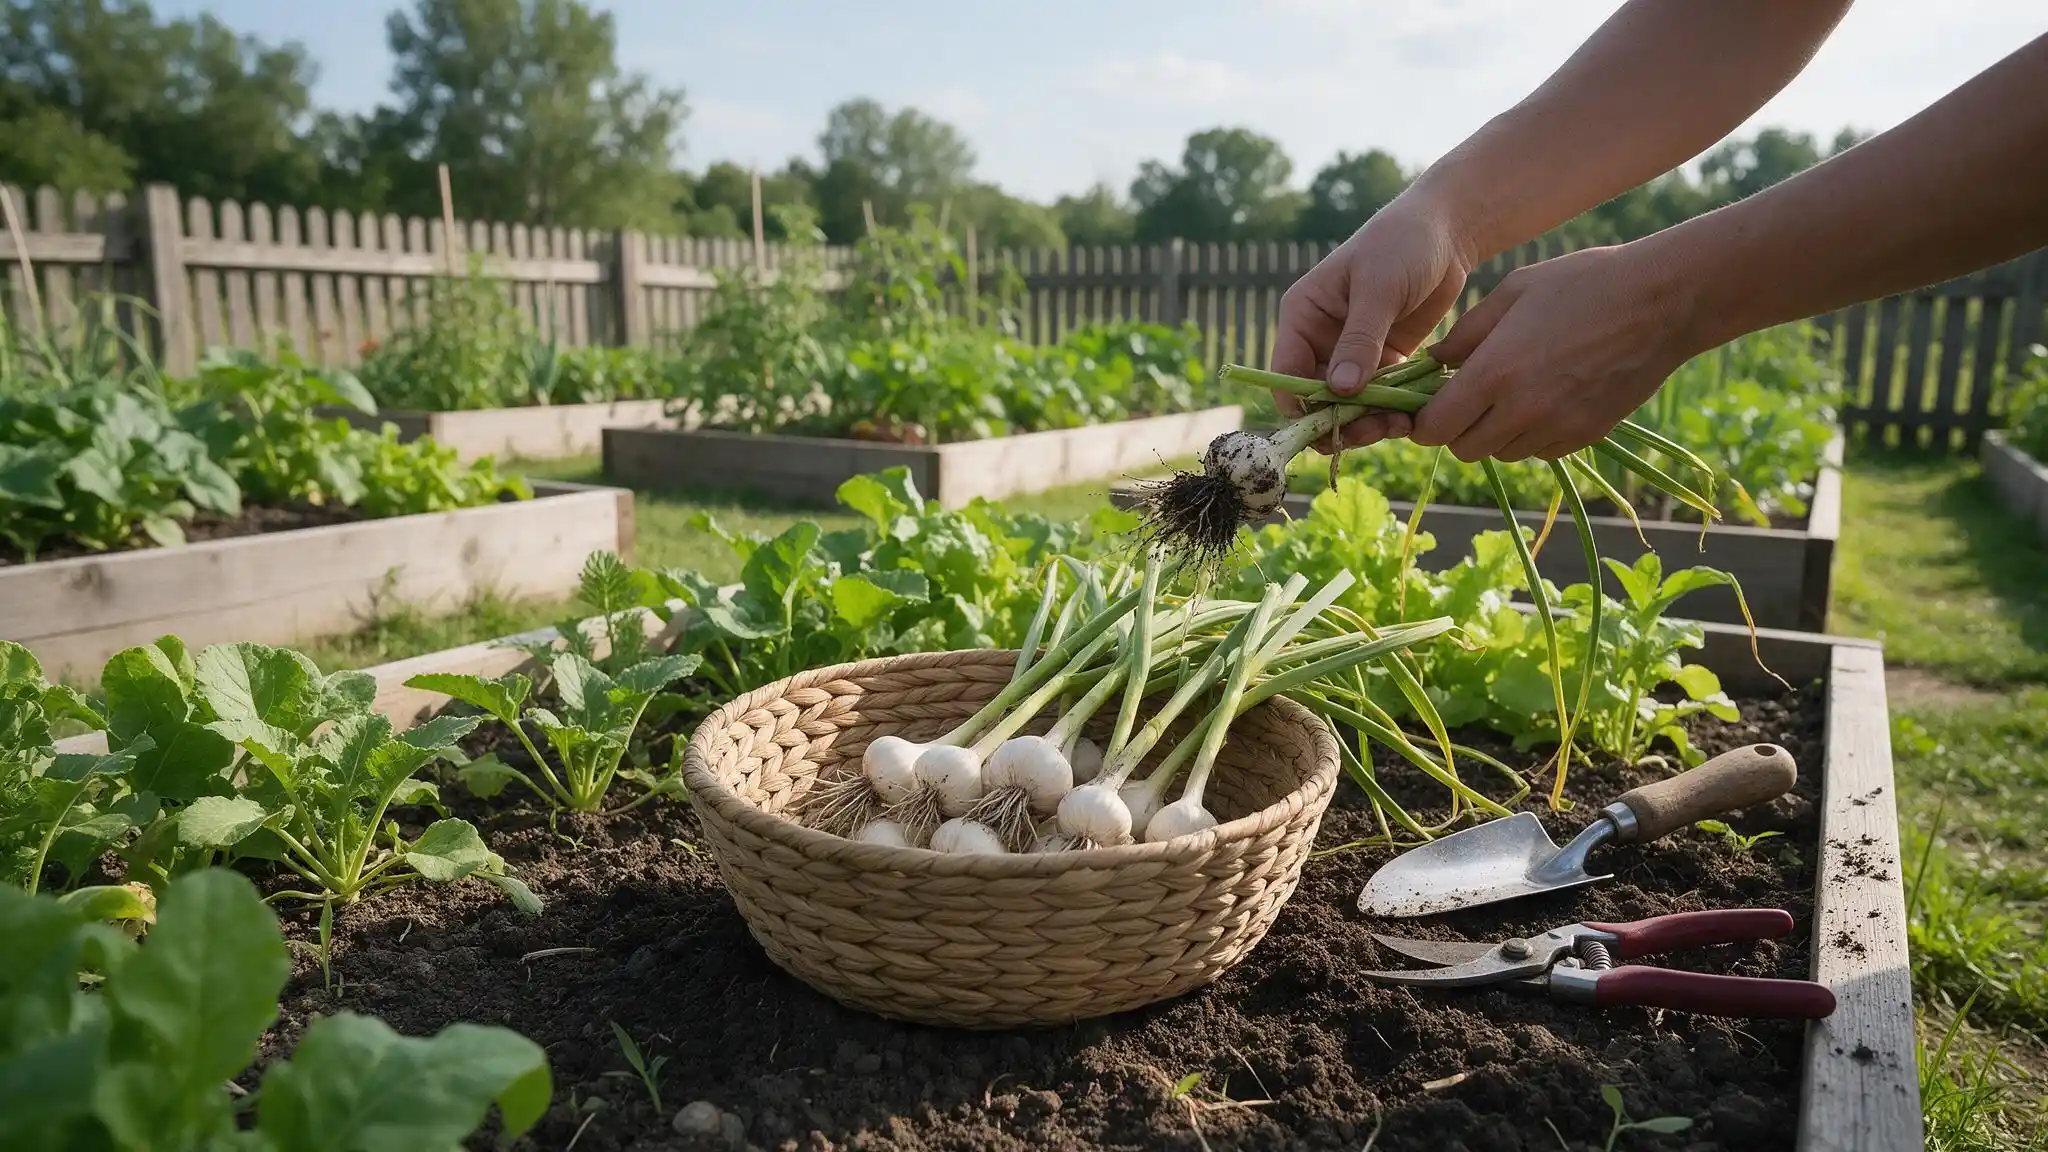
- Use clean scissors: Always use sharp, clean scissors or garden shears to cut the leaves.
- Cut from the base: Snip the leaves about 1 to 2 inches above the soil. Do not pull them out.
- Do not over-harvest: Never cut more than one-third of the plant at one time. This lets the plant recover well.
- Harvest regularly: The more you cut, the more they grow. Regular harvesting keeps the plant productive.
Never cut chives all the way down to the soil. This weakens the plant and slows regrowth. Always leave at least 1 to 2 inches of the stem above the soil when you harvest.
How to Store Chives?
Storing chives the right way keeps them fresh and full of flavor for longer. Once you harvest them, a smart storage choice keeps them fresh.
Wrap fresh chives in a damp paper towel and place them in a zip-lock bag.
Store them in the refrigerator. They stay fresh for up to two weeks this way. You can also freeze chives for longer storage.
Simply chop and spread them on a tray. Freeze and then transfer them to a sealed bag.
In summer, fresh chives dry out faster in the fridge. Wrap them in a slightly more damp paper towel to keep them fresh longer.
Pests and Diseases to Watch For
Even though chives are tough plants, they can still run into a few problems.
Catching these issues early makes them much easier to fix. And avoiding them will ruin all your hard work, and the result will be a dead plant.
1. Aphids
Aphids are tiny green or black bugs that cluster on the leaves.
They suck out the sap and make the leaves curl. Remove them by spraying water directly on the plant.
To treat it, you can use Neem Oil Spray to get rid of them. A 500ml bottle costs around $8 to $12.
2. Thrips
Thrips are very small insects that leave silver streaks on the leaves.
The leaves may also look dried out. Keep the area clean and remove dead leaves around the plant.
Use Spinosad Spray to effectively control thrips. A standard bottle costs around $12 to $18.
3. Mildew
Mildew appears as a white, powdery coating on the leaves.
It grows in humid conditions with poor air flow. Space your plants well apart and avoid watering the leaves directly.
For treatment, use Copper Fungicide Spray, which costs $10-$15 per bottle.
4. Root Rot
Root rot happens when the soil stays too wet for too long.
The roots turn brown and mushy. That’s why it’s always better to use well-drained soil and avoid overwatering.
Use Hydrogen Peroxide Solution mixed with water. A bottle costs around $3 to $6.
5. Yellowing Leaves
Yellow leaves are usually a sign of too much water or poor soil nutrition.
Cut back on watering, as too much water to the chives is recorded as the most common cause of yellowing leaves.
To treat it, use a Balanced Liquid Fertilizer to restore its nutrients. A standard pack costs around $10-$20.
Easy Ways to Use Fresh Chives in Everyday Meals
Now that you have your chives up and ready, add them to your daily meal to make them more delicious.
Fresh chives add a mild, onion-like flavor to almost any dish, making it easy to use them widely.
You can try stirring a handful of chopped chives into your soup just before serving. They add a fresh kick to any broth or cream-based soup.
Foromelets, mix chives into your beaten eggs before cooking. It adds a lovely mild flavor.
Making adip? Blend chives into sour cream or Greek yogurt, then add a pinch of salt. It tastes great with chips or vegetables.
And the most “in demand” of them all, toss fresh chives into your salad for a light, tangy bite.
Final Thoughts
Growing chives is truly one of the easiest and most satisfying things you can do as a gardener.
Whether you grow them in a pot on your kitchen counter or in your garden bed, they reward you with fresh flavor all year long.
With just a little attention to detail in planting, growing, or harvesting them, it goes a long way.
And once you have them ready, don’t be afraid to experiment. Add them to your meals, the way you want them.
Frequently Asked Questions (FAQs)
1. What Should You Not Plant Next to Chives?
Avoid planting chives next to beans and peas. Chives can slow their growth. Most other vegetables and herbs grow well alongside chives.
2. Are Chives Better in Pots or the Ground?
Both work well. Pots are great for small spaces and indoor growing. Garden beds give roots more room and often produce a bigger harvest.
3. Do Chives Take Over a Garden?
Chives can spread if you let them flower and drop seeds. Deadhead the flowers regularly to keep them from spreading too much.