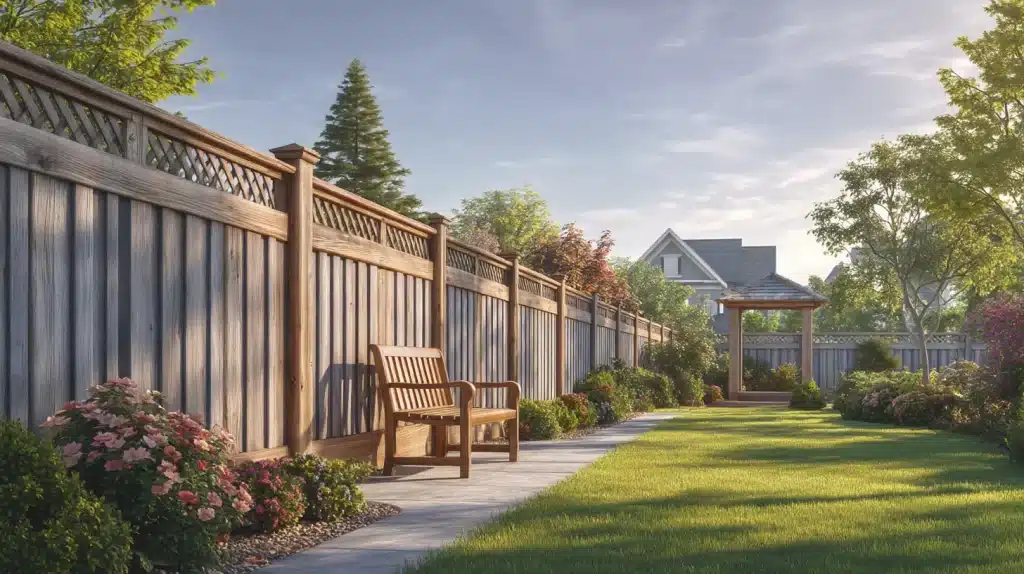
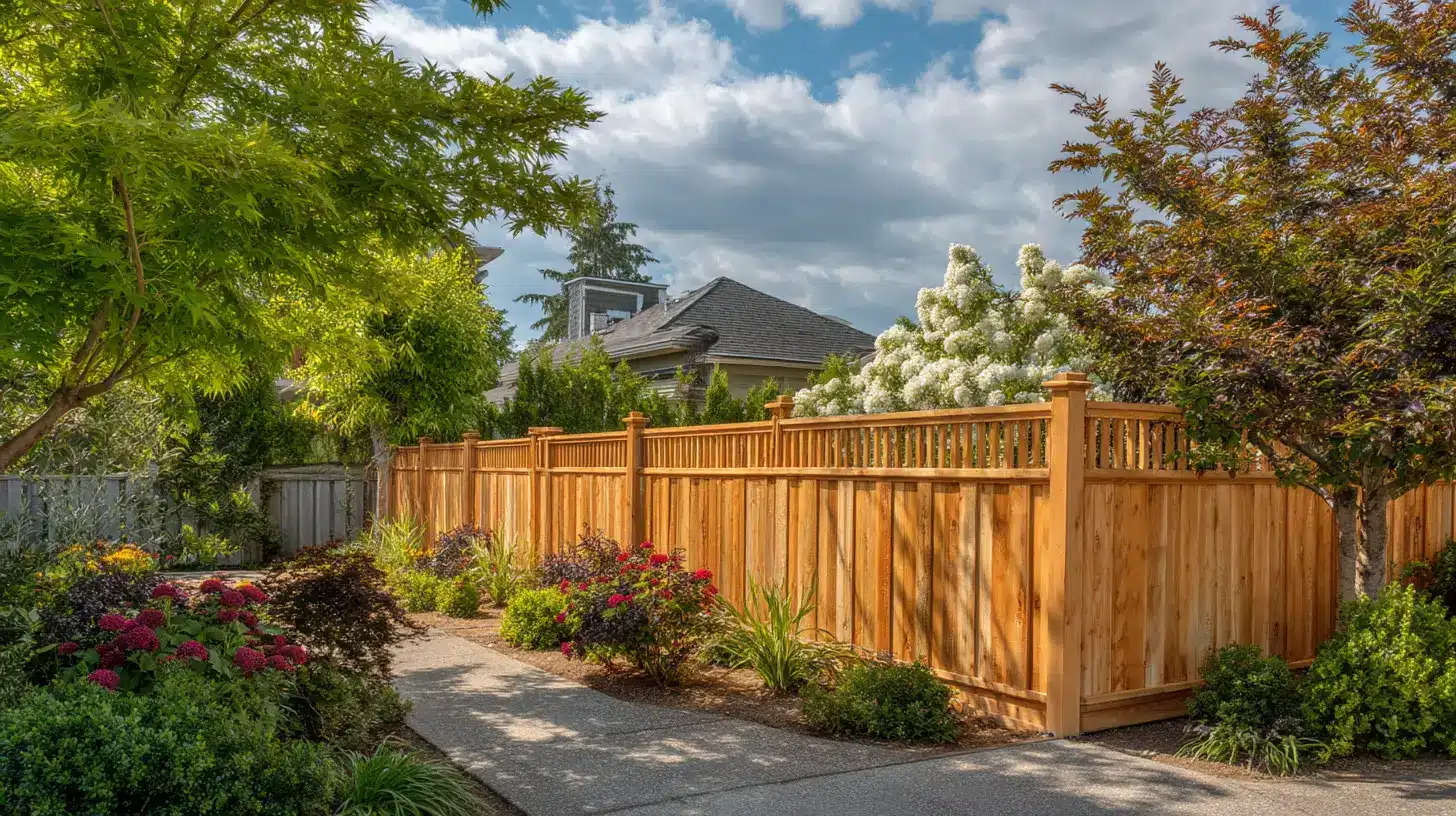
Building a privacy fence is one of the most effective ways to enhance security, protect your outdoor space, and increase the aesthetic appeal of your property. Whether you’re aiming to block neighbors’ views, create a safe play area for children, or add a decorative boundary, a well-constructed privacy fence can make a lasting impact. This guide walks homeowners through the planning, material selection, step-by-step construction, and finishing touches needed to build a durable privacy fence in 2026.
Planning Your Privacy Fence
Check Local Regulations and HOA Requirements
Before breaking ground, check local building codes and homeowners association rules. Regulations may dictate fence height, setbacks, and permit requirements. Ensuring compliance prevents fines, disputes, and the need to redo work later.
Determine Your Fence Line and Layout
Measure and mark your fence line using stakes and string, accounting for corners, gates, and any slopes in your yard. Clear planning avoids misalignment, uneven spacing, and material waste during construction.
Choosing the Right Materials
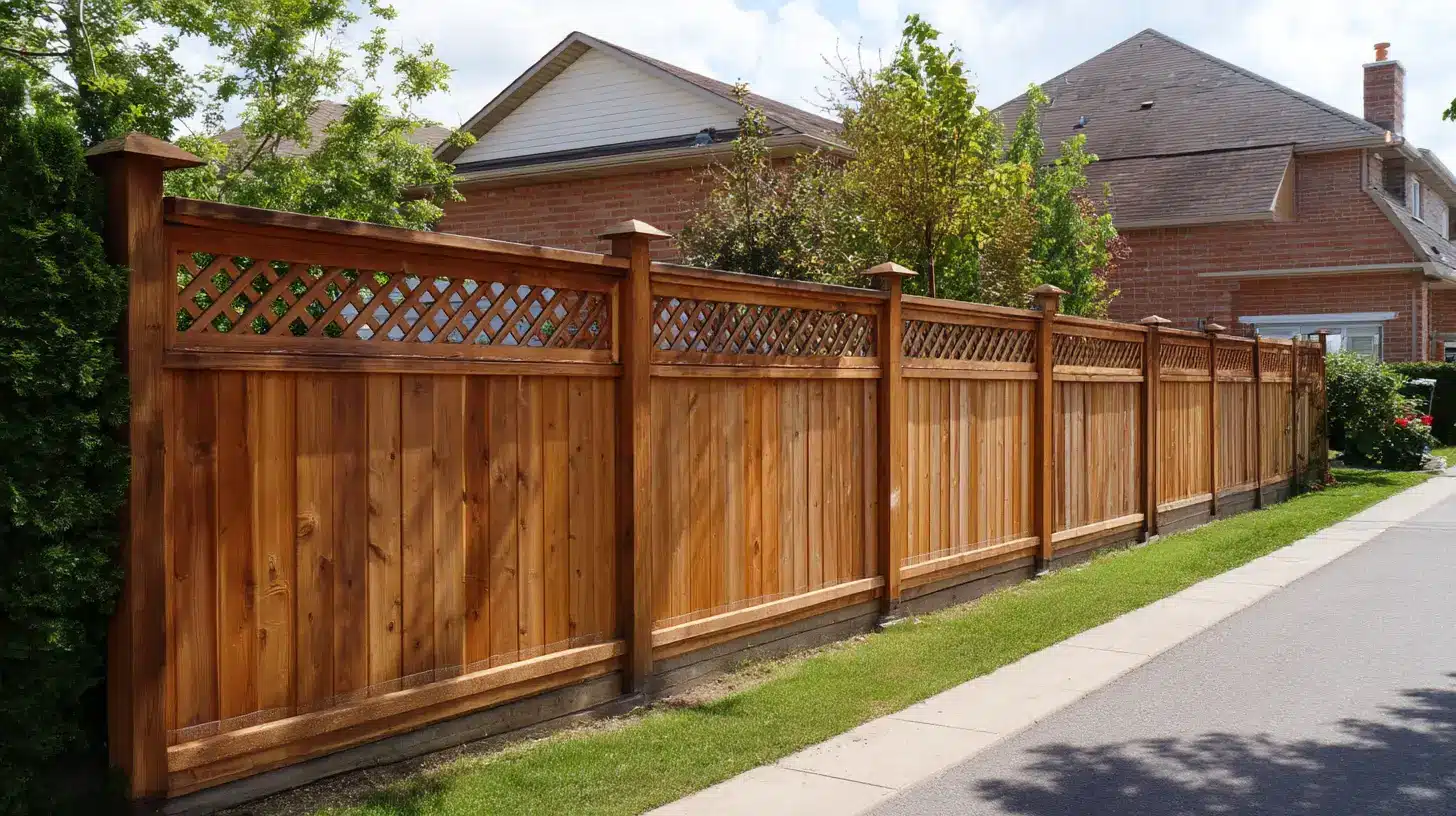
Selecting the appropriate materials is essential for durability and appearance. Common options include cedar, pressure-treated wood, vinyl, and composite panels. Each material has pros and cons regarding longevity, maintenance, and cost. Choosing the right combination ensures a fence that meets both functional and aesthetic goals.
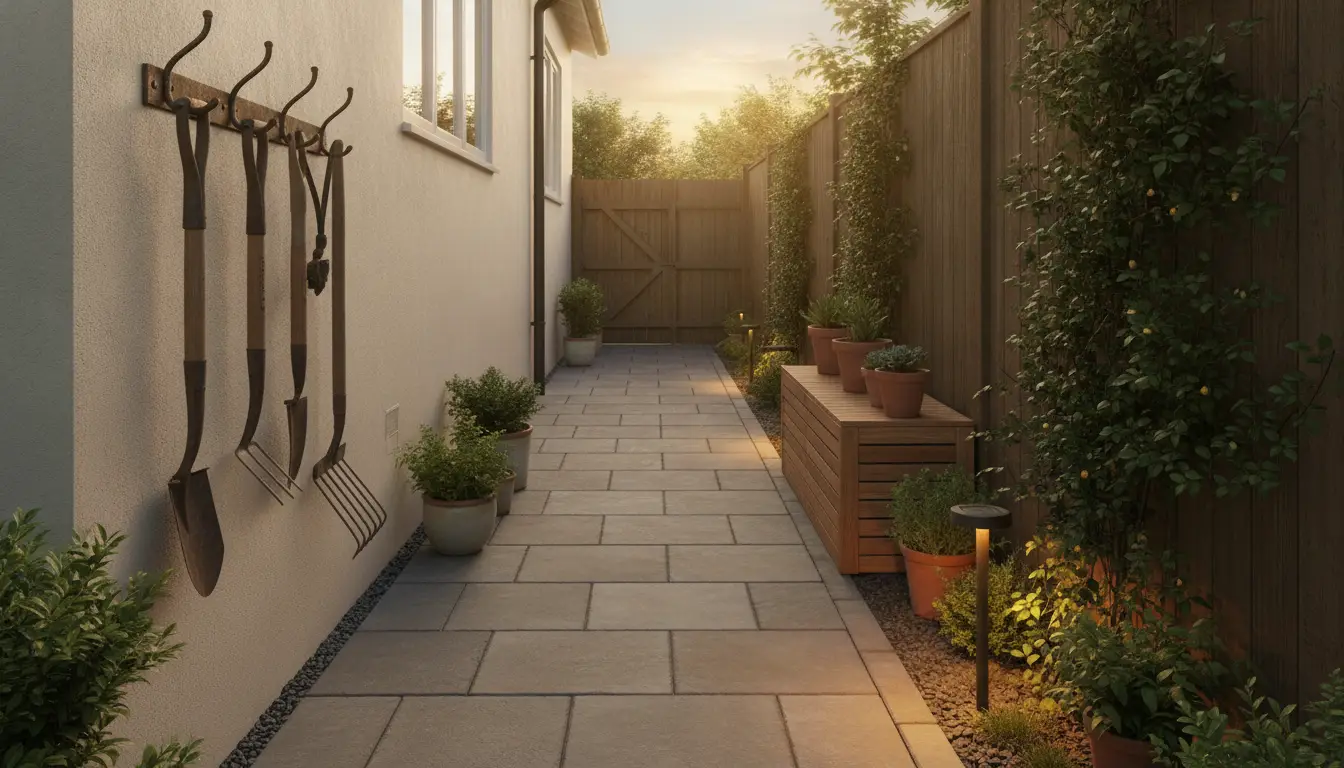
Tools and Materials Needed
To build a privacy fence, gather essential tools: tape measure, post hole digger, level, hammer, screws or nails, saw, braces, and concrete. Materials include fence posts, rails, panels, concrete, stain or sealant, and gate hardware. Don’t forget safety gear such as gloves, goggles, and sturdy footwear. Having everything ready before starting the project streamlines the process and reduces errors.
Step-by-Step Guide to Building Your Privacy Fence
Setting the Posts
Dig holes to the correct depth, considering local frost lines. Place a few inches of gravel at the bottom for drainage. Position the post in the center and pour concrete around it, bracing the post until the concrete sets. Proper post alignment ensures long-term stability for your fence.
Installing Rails and Panels
Attach horizontal rails to the posts, ensuring they are level. Then, secure fence panels, adjusting for slopes as needed. Maintaining consistent spacing and level alignment guarantees a professional-looking and functional fence.
Installing Gates
Reinforce gate posts to handle additional weight and stress. Hang gates and adjust alignment so they open and close smoothly. Proper gate installation is crucial for functionality and prevents sagging over time.
Tips for a Durable Privacy Fence
- Ensure all posts are plumb before the concrete fully cures.
- Use treated lumber or weather-resistant materials to resist decay.
- Perform regular maintenance, including sealing, staining, or painting, to prolong the fence’s lifespan.
- For homeowners seeking professional privacy fence construction, Fantastic Fence provides expert installation, quality materials, and long-lasting results tailored to your property.
Common Mistakes to Avoid
Avoid these common errors:
- Posts not properly plumbed or braced.
- Insufficient concrete for post stability.
- Neglecting site preparation or drainage.
- Misaligned panels or gates.
Following best practices prevents these issues and ensures your fence remains functional and attractive for years.
DIY vs. Professional Installation
While smaller or straightforward privacy fence projects may be manageable for experienced DIYers, professional installation is often preferable for large properties, uneven terrain, or custom designs. Professionals ensure proper post spacing, secure concrete settings, precise panel alignment, and code compliance.
Companies like Inline Security Fence offer professional guidance, precision installation, and materials expertise for homeowners who prefer a hands-off approach to fence construction.
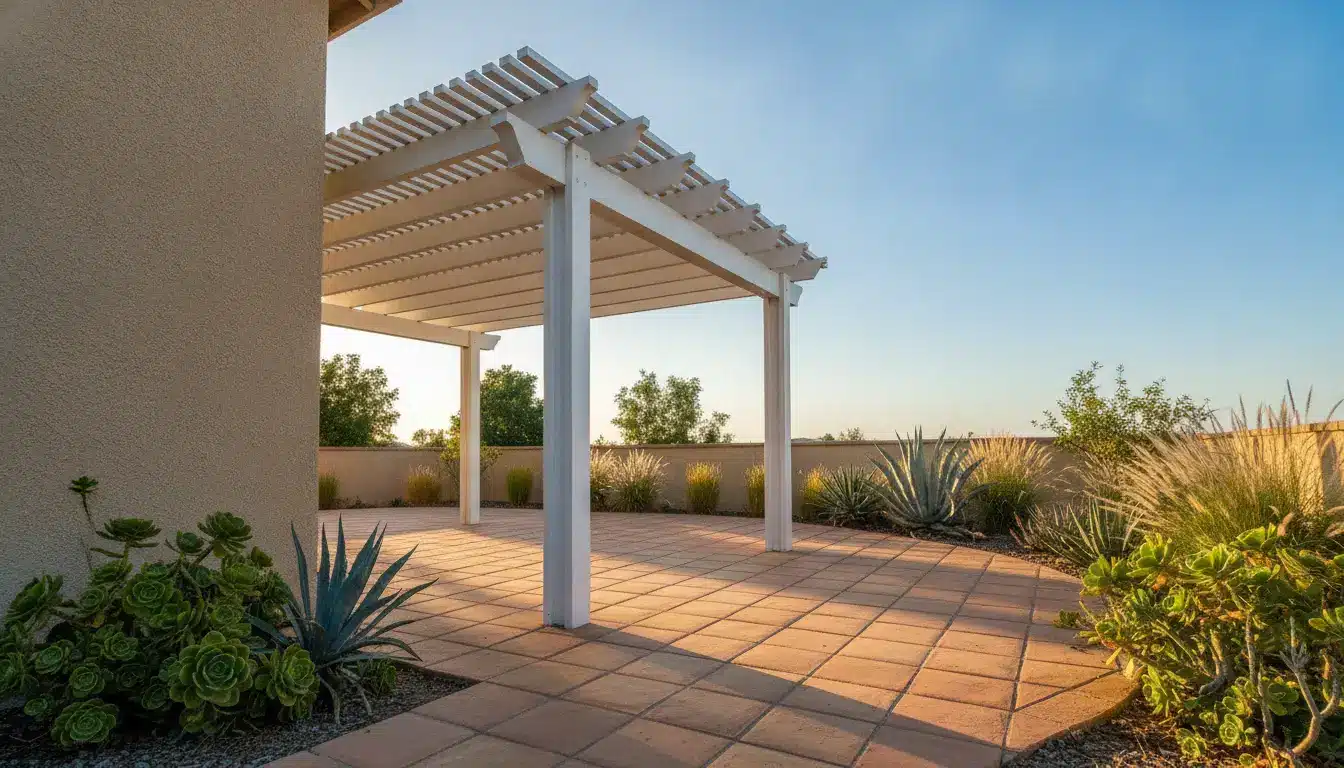
Finishing Touches
Once installed, consider staining, painting, or sealing the fence to protect it from weather and wear. Installing post caps adds longevity and a polished appearance. Inspect and adjust hardware, gates, and panels to confirm proper operation. These finishing touches enhance both durability and curb appeal.
Conclusion
Building a privacy fence involves careful planning, proper material selection, precise installation, and finishing for durability. Whether opting for a DIY approach or hiring professionals, following these steps ensures a fence that provides security, privacy, and long-lasting beauty. By preparing thoroughly and understanding the process, homeowners can confidently build a privacy fence that enhances their property for years to come.