Growing carrots sounds simple, but if you’ve ever pulled up a batch of stubby, forked, or tasteless roots, you know it’s way more tricky than it looks.
Getting the soil right, choosing the correct variety, and planting at the right time all make a huge difference. But once you ace the basics of how to grow carrots, it’s genuinely very simple.
From preparing your beds and sowing seeds to thinning, watering, and knowing exactly when to pull them up, every step matters.
Things You Need to Know Before Growing Healthy Carrots
Healthy carrots needloose, well-drained soil, enough sunlight, and regular care to grow properly. Hard soil can cause twisted or small roots, so soft soil is important.
Choose a sunny spot with at least six hours of sunlight daily. Water the plants regularly to keep the soil moist, but avoid overwatering.
Proper spacing between seedlings helps carrots grow larger and straighter.
With the right growing conditions, carrots can grow sweet, healthy, and full-sized throughout the season.
Tools and Supplies Needed to Grow Carrots
The right tools and supplies help carrots grow healthy and strong. These are the basic items needed for successful carrot growing.
| Tools | Materials |
|---|---|
| Garden Fork | Quality Carrot Seeds |
| Hand Trowel | Loose and Well-Drained Soil |
| Watering Can or Hose | Compost or Organic Matter |
| Gardening Gloves | Raised Bed or Deep Container |
How to Grow Carrots (Step-By-Step Process)
Growing carrots becomes easier when you follow the right steps from planting to harvest. Proper soil preparation, watering, and care help produce healthy, sweet, and straight roots.
Step 1: Choose the Right Carrot Variety
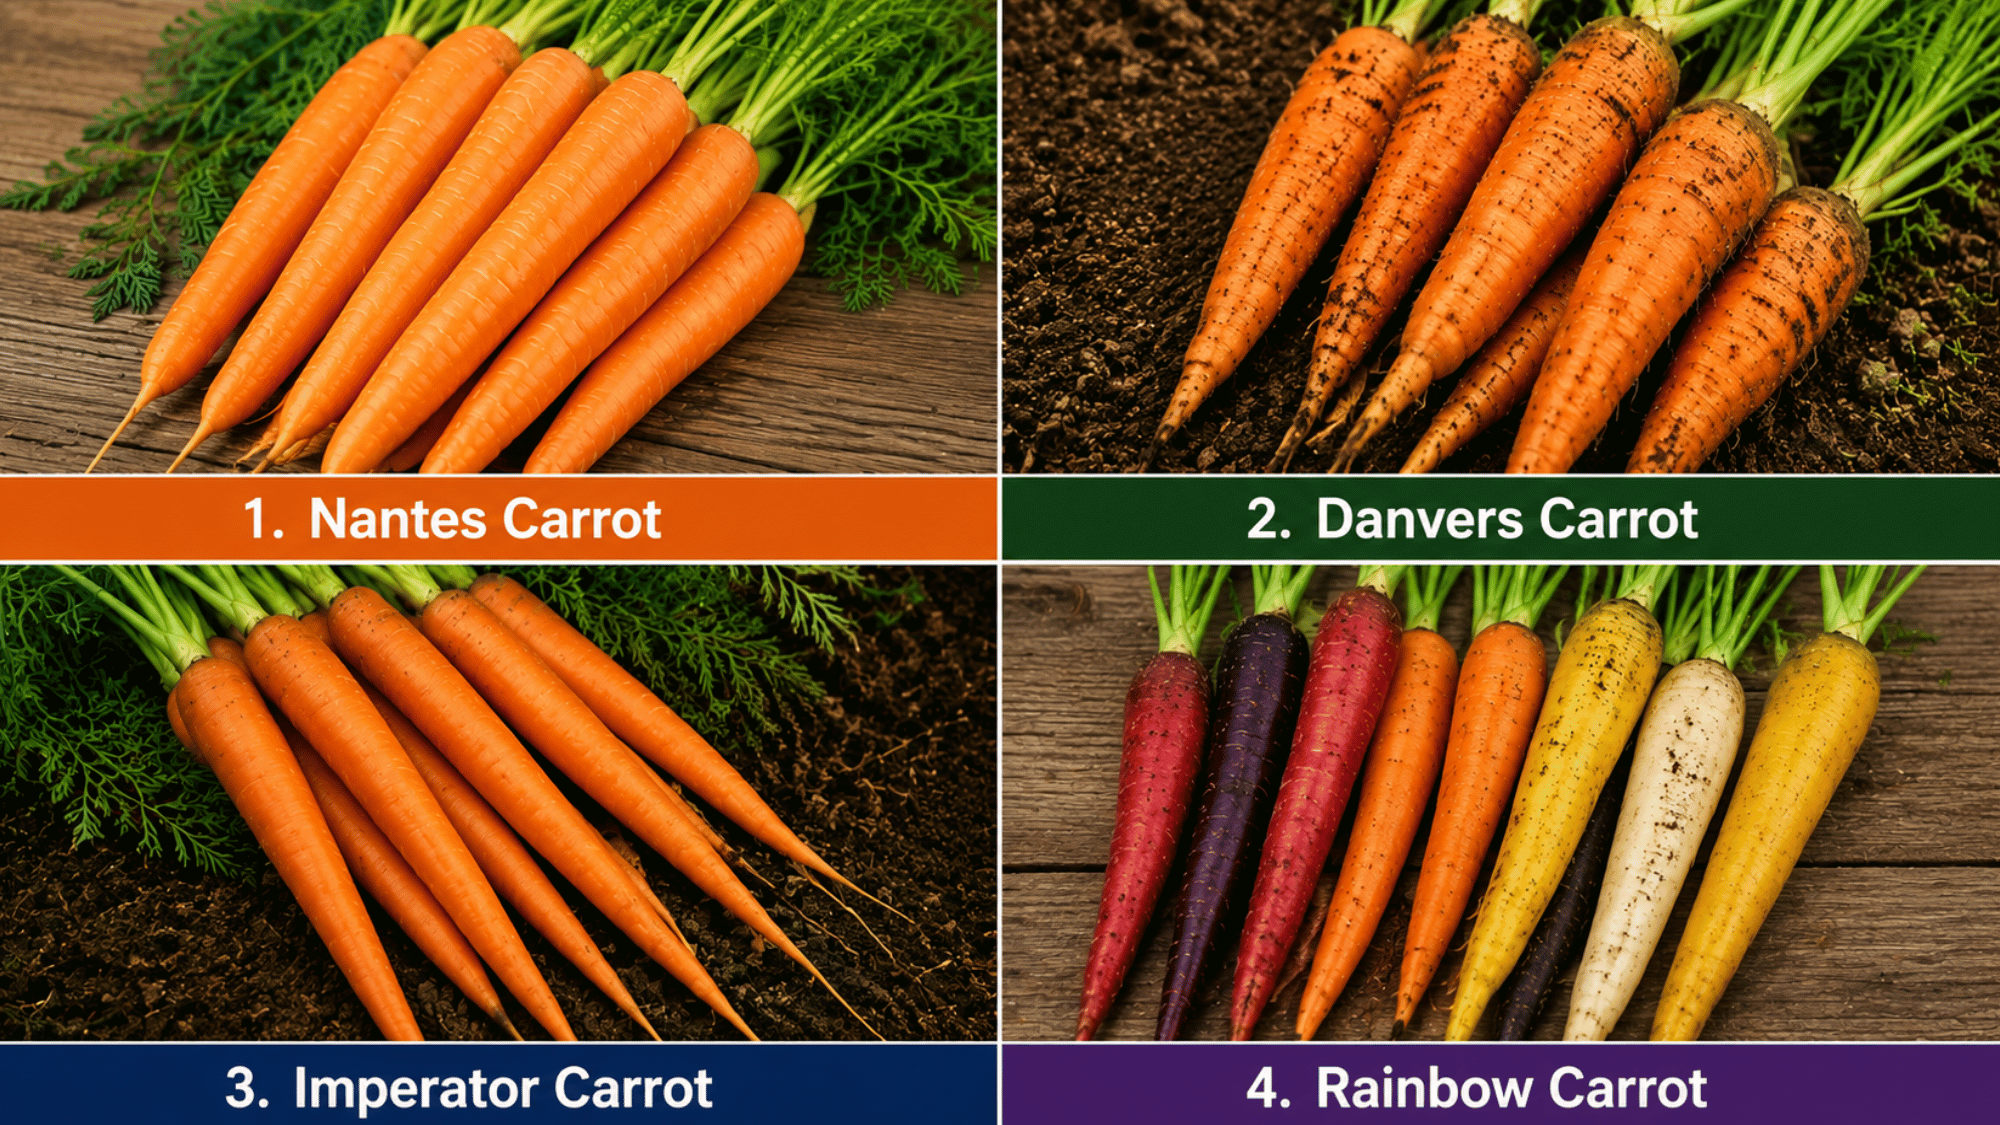
Start by selecting a carrot variety suitable for your growing conditions. Varieties like Nantes, Danvers, and Imperator are popular choices for home gardens.
Short-root carrots are ideal for containers or shallow soil, while longer varieties need deep, loose ground for proper root development.
Caring Tip: Choose disease-resistant varieties if you live in humid regions, as they are less likely to develop fungal infections and root damage.
Step 2: Prepare the Soil Properly
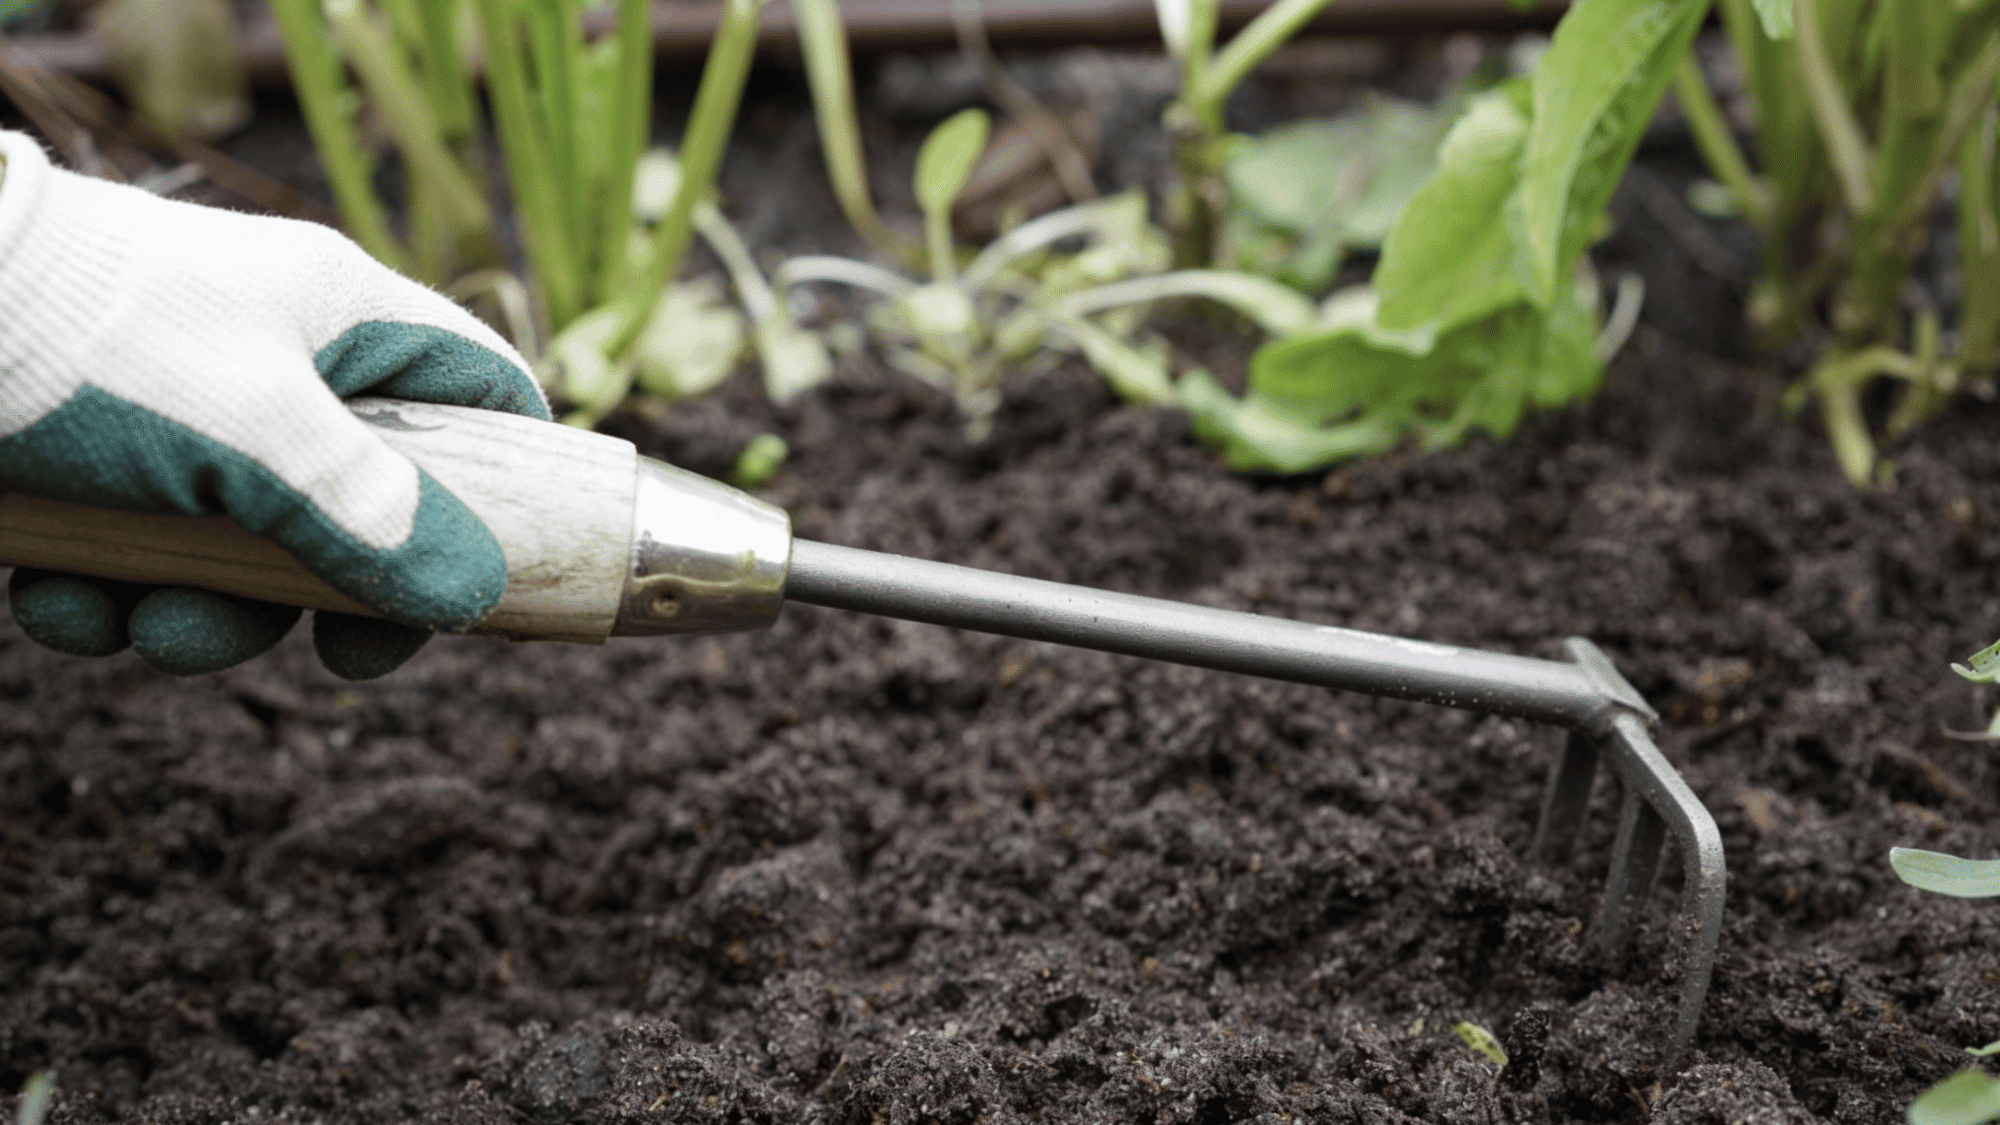
Carrots grow best in soft, sandy, and well-drained soil with a pH level between 6.0 and 6.8. Remove stones, sticks, and hard clumps because obstacles can cause forked or misshapen carrots.
Mix organic compost or well-rotted manure into the soil, then loosen it to a depth of 10–12 inches using a garden fork or tiller.
Suggested: To improve growth, add a balanced fertilizer such as 10-10-10 NPK fertilizer before planting. Avoid using fresh manure because excess nitrogen can lead to hairy roots and poor carrot formation.
Step 3: Sow the Seeds Carefully
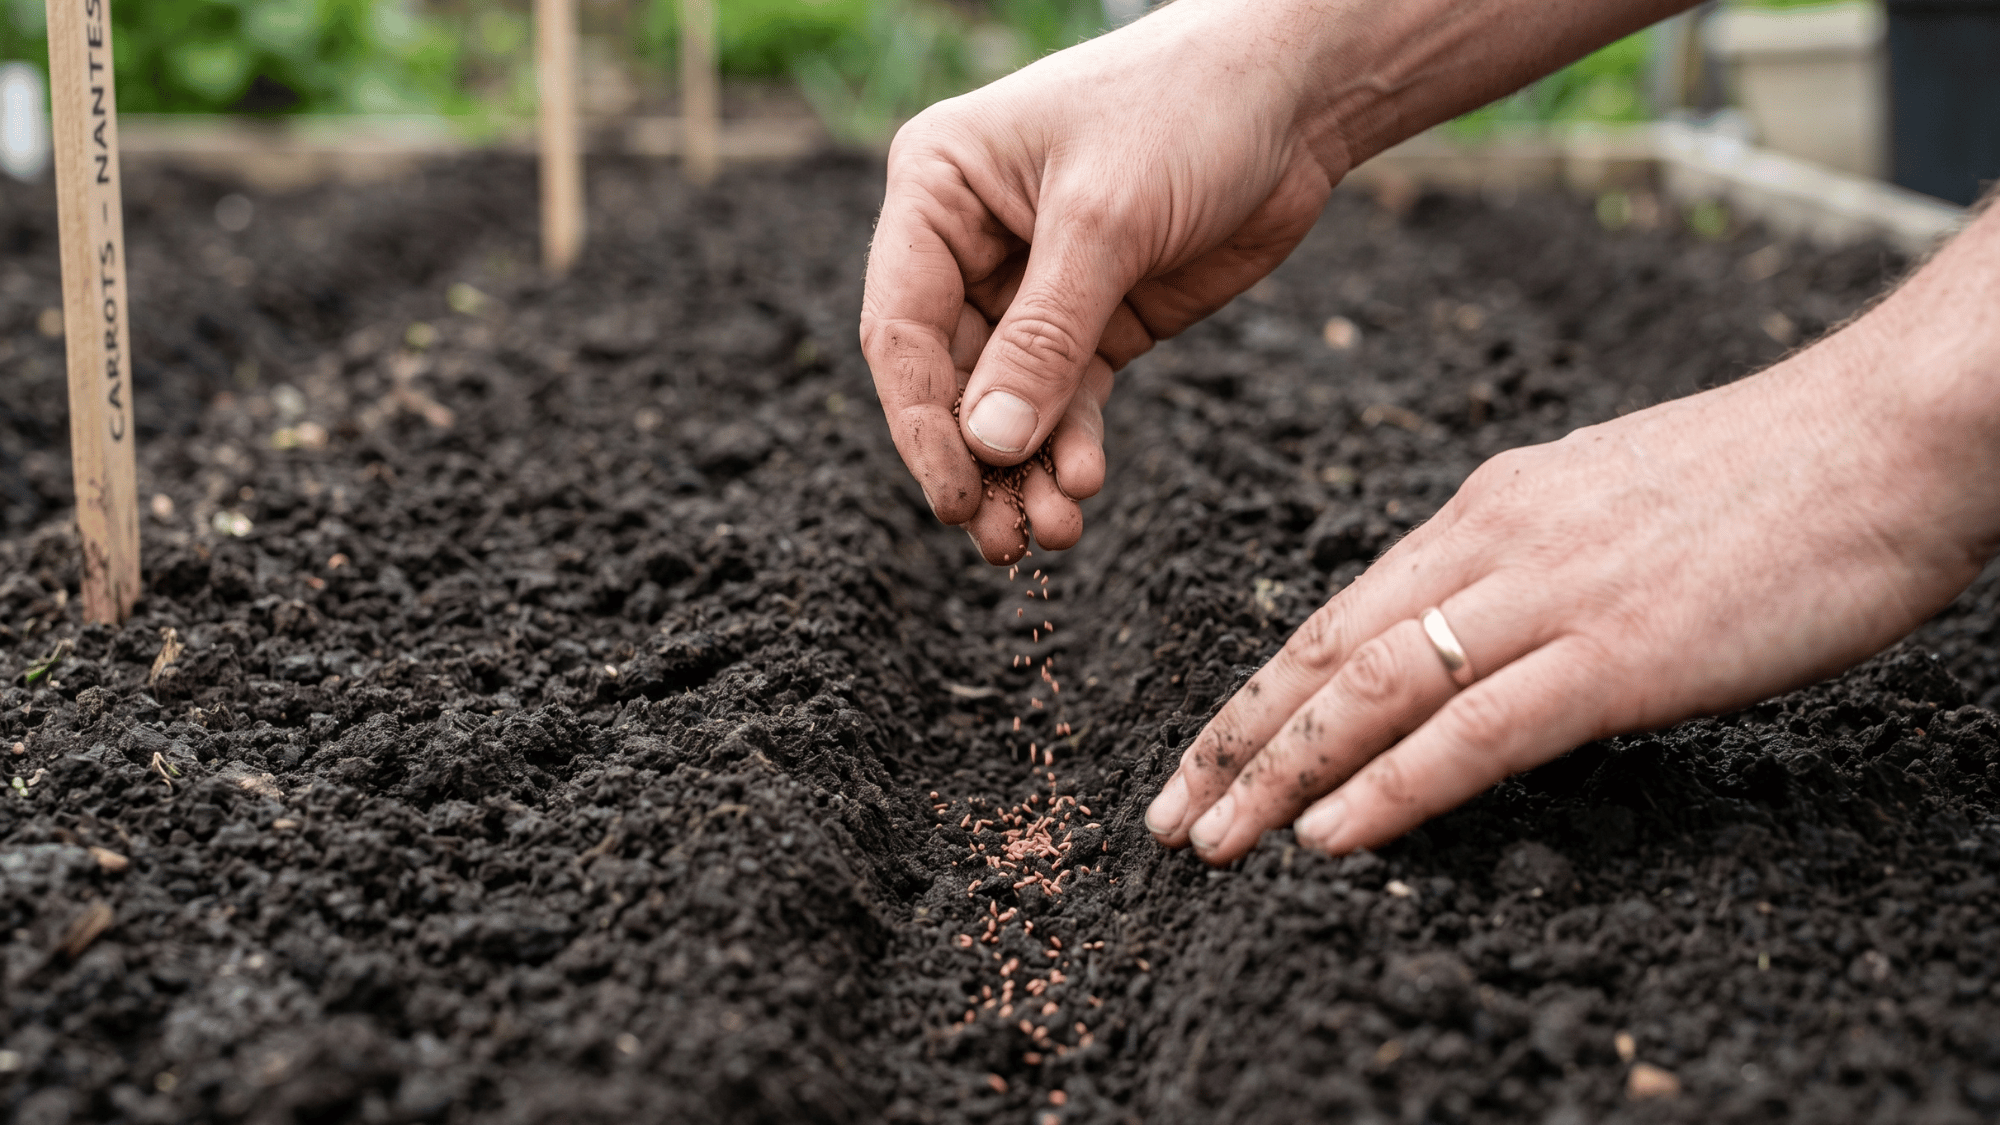
Carrot seeds are tiny, so sow them directly into the garden in shallow rows about ¼ inch deep. Space the rows around 12 inches apart to allow enough room for growth and air circulation.
After sowing, water the area gently with a watering can or a fine-spray nozzle to avoid washing the seeds away.
Germination usually takes 7–21 days, depending on temperature and moisture levels.
Mixing carrot seeds with a little sand before sowing helps distribute them more evenly and prevents overcrowding.
Step 4: Water Consistently for Healthy Roots
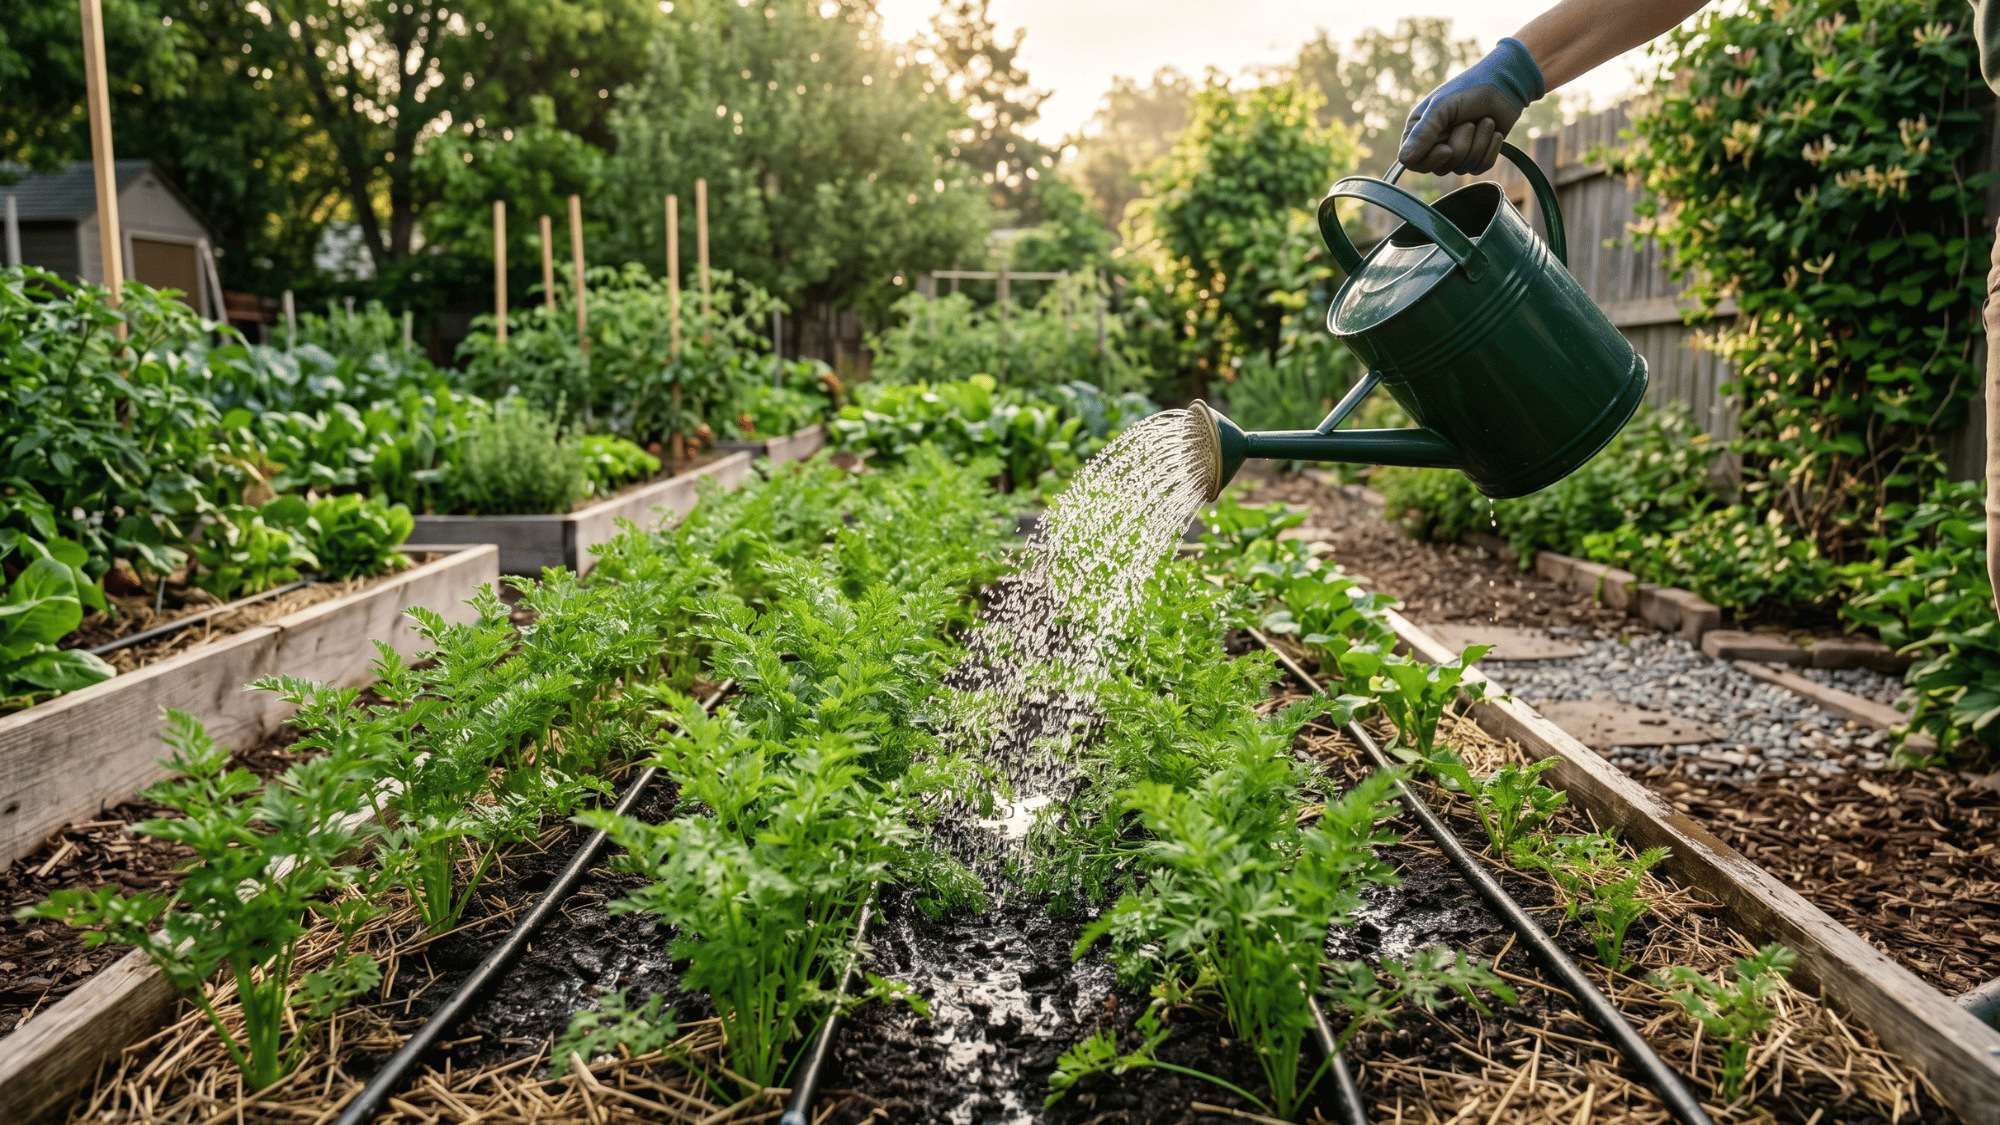
Carrots need steady moisture to develop smooth and sweet roots. Water deeply about 1 inch per week, especially during dry weather.
Using a drip irrigation system or soaker hose is recommended because it keeps the soil evenly moist without overwatering.
Adding mulch such as straw or dry grass around the plants helps retain moisture and reduce weeds.
Suggested: Water early in the morning so the leaves dry quickly during the day, reducing the chances of fungal diseases.
Step 5: Thin the Seedlings
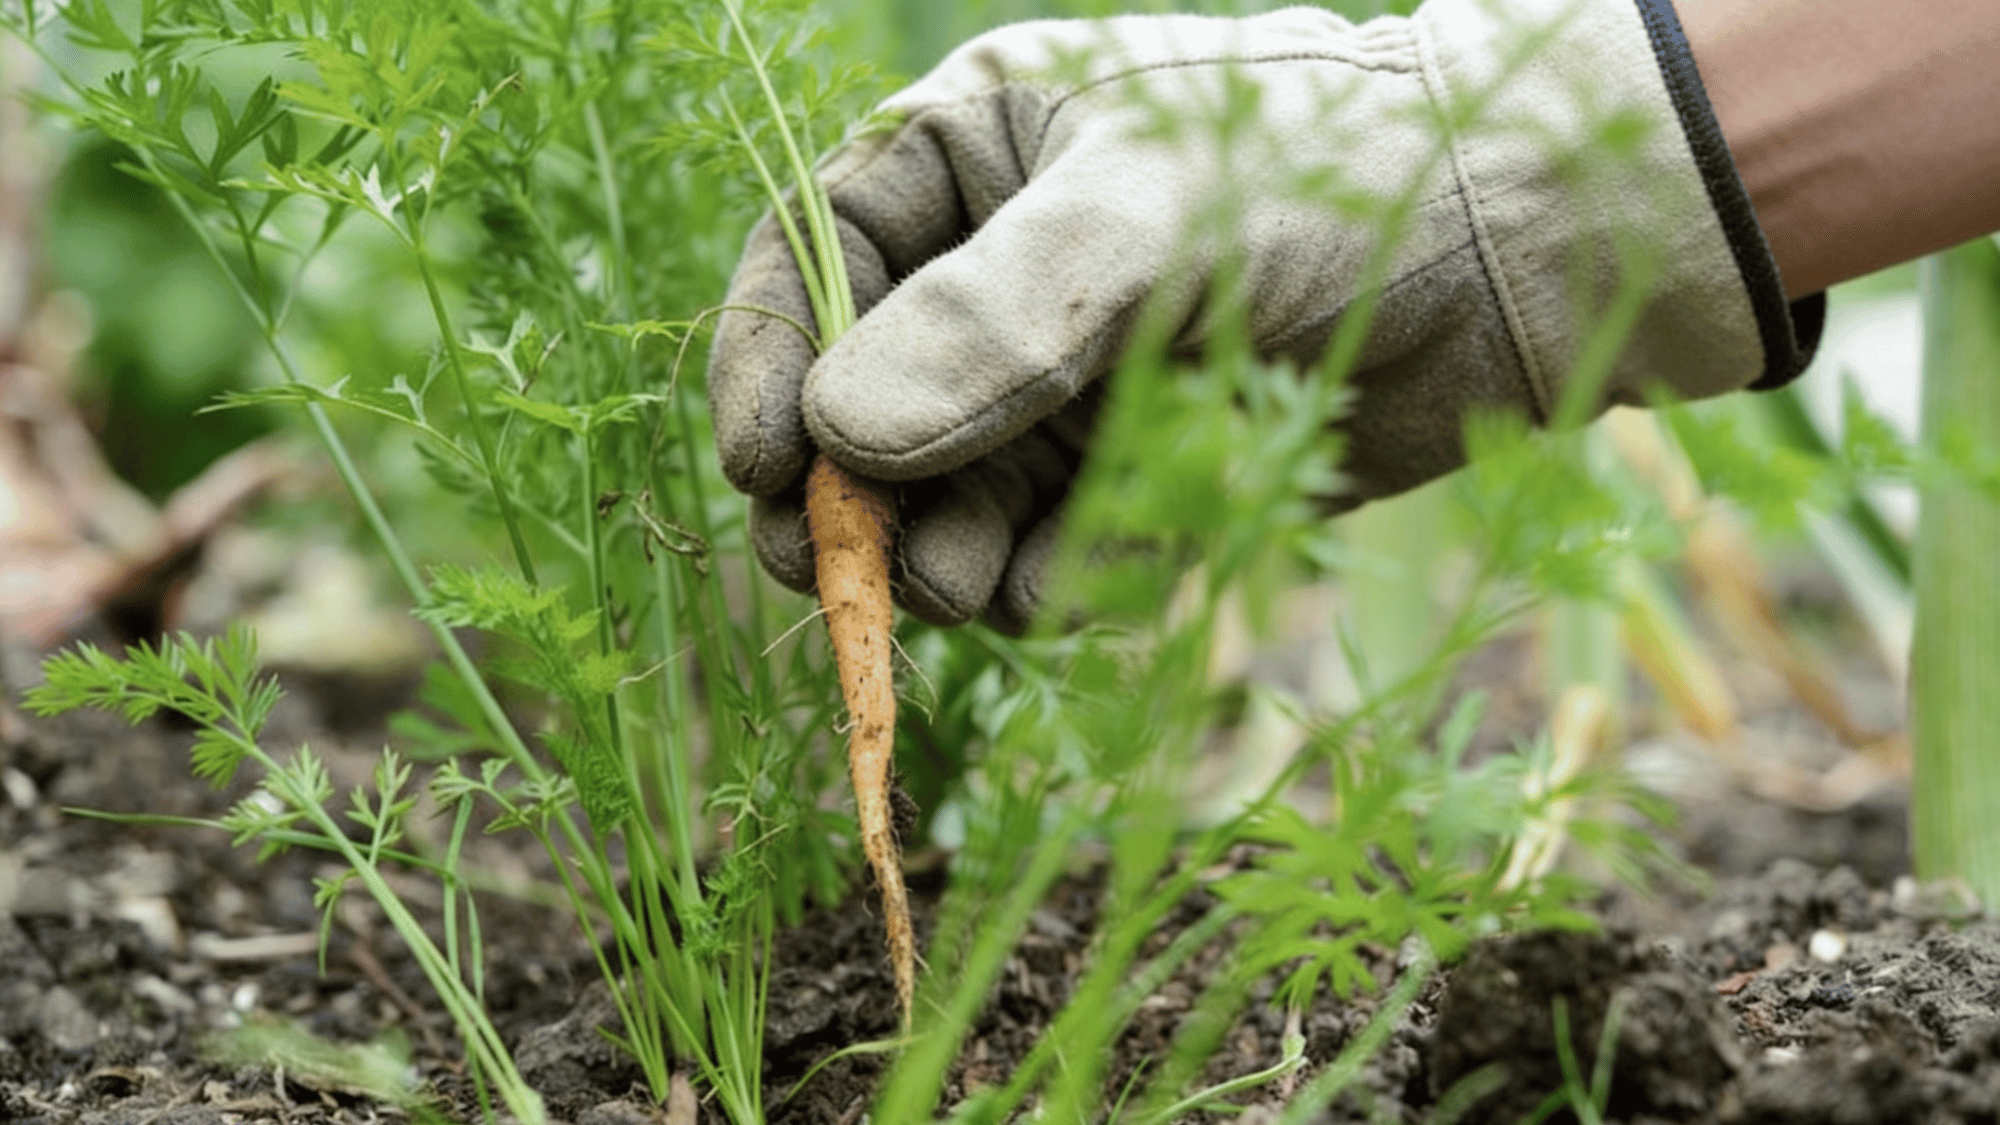
When the seedlings reach about 2–3 inches tall, thin them carefully so each plant is spaced around 2 inches apart. Crowded plants compete for nutrients and produce small, twisted carrots.
Use small scissors to cut off extra seedlings at the soil line rather than pulling them out, which may disturb nearby roots. Proper spacing allows carrots to grow straighter and larger.
Thin seedlings in the evening to reduce the scent from crushed leaves, which can attract carrot flies.
Step 6: Fertilize During Growth
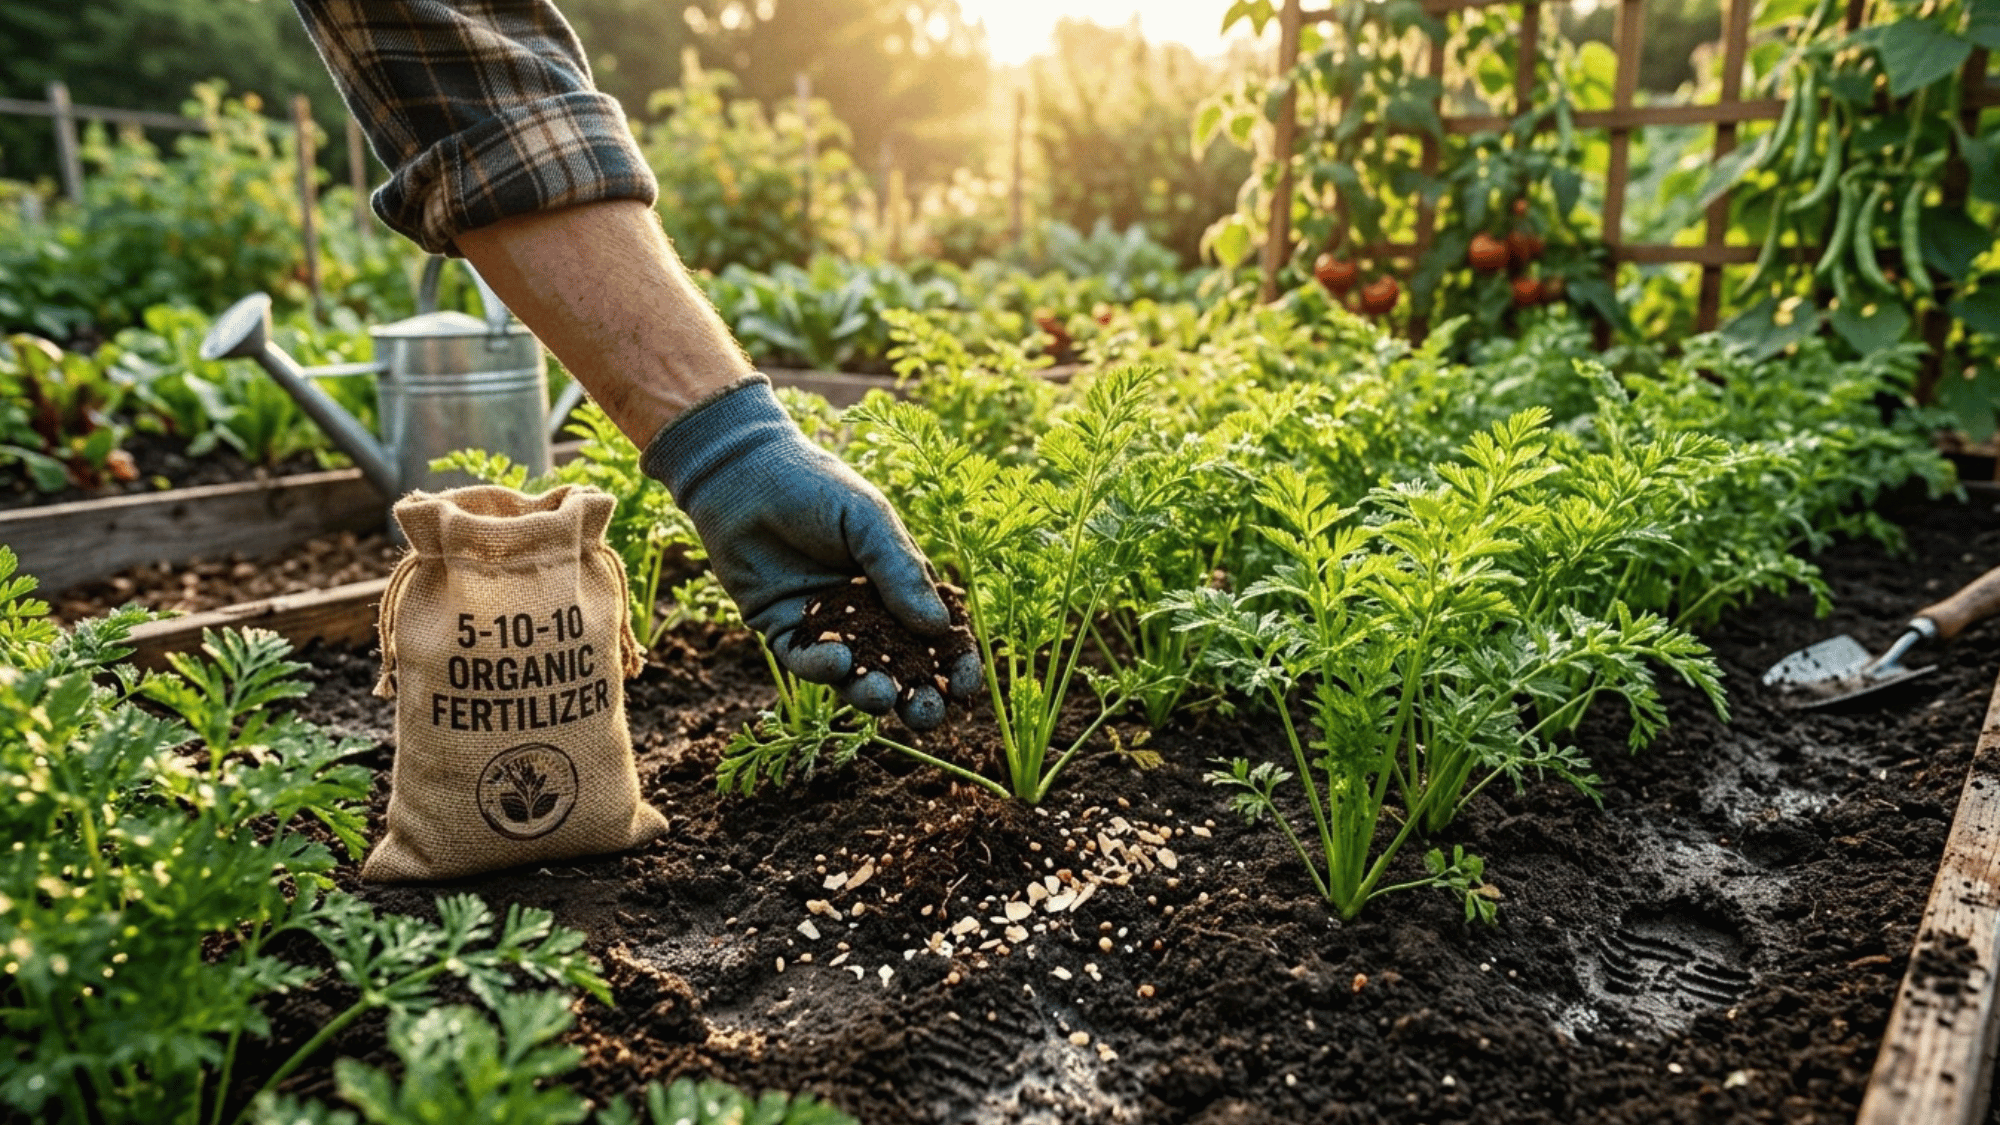
Feed carrot plants lightly during the growing season with a low-nitrogen fertilizer, such as 5-10-10. Too much nitrogen encourages leafy tops instead of healthy roots.
Apply fertilizer every 4–6 weeks, then water afterward to ensure nutrients reach the roots effectively.
You can also use organic options such as seaweed extract, bone meal, or vermicompost to naturally improve root development.
Step 7: Harvest the Carrots
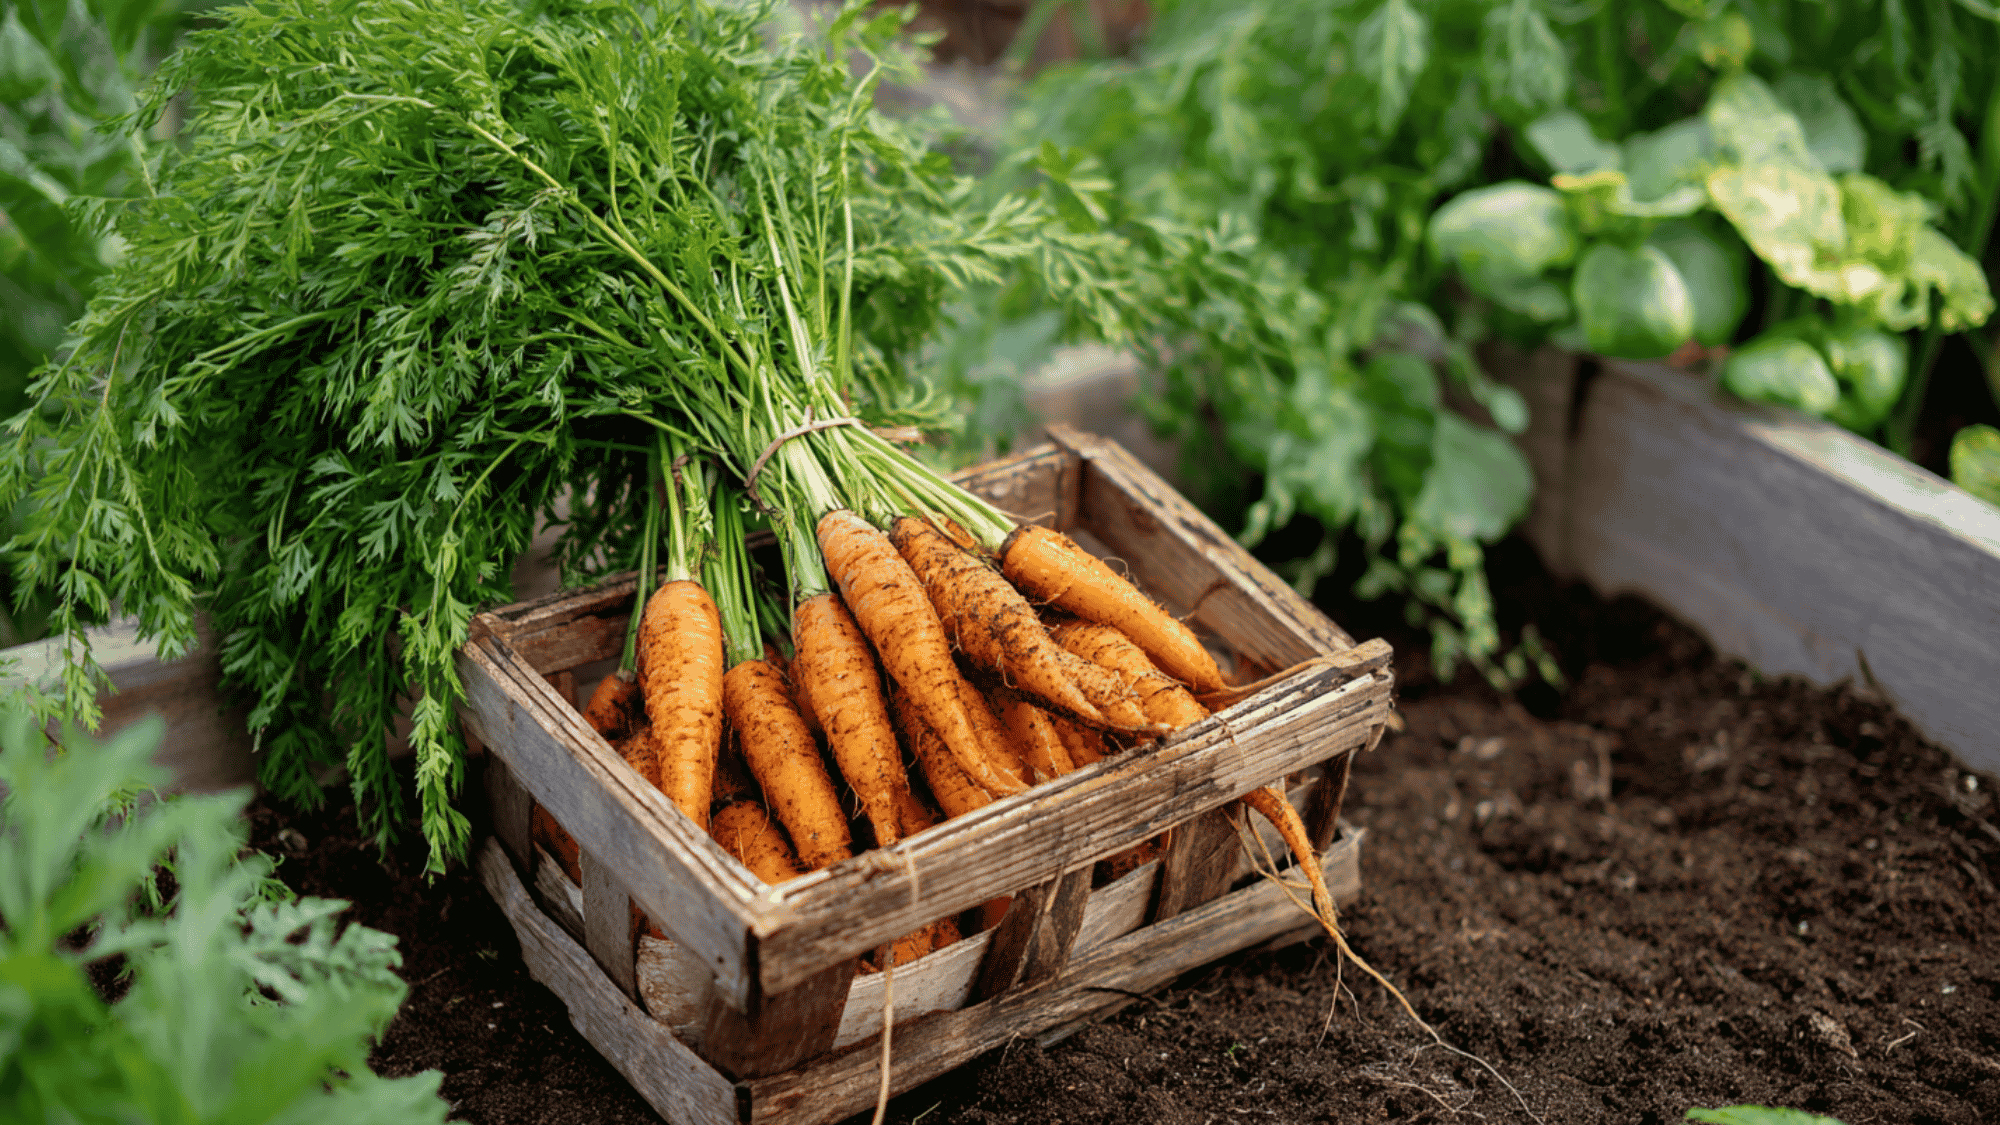
Most carrot varieties are ready for harvest within 60–80 days after planting. Check the top of the root near the soil surface. Carrots are usually ready when they reach about 1 inch in diameter.
Loosen the soil gently with a fork before pulling them out to avoid breaking the roots.
Harvesting after a light frost can improve sweetness, as cold temperatures encourage sugar development in the roots.
Final Thoughts
Growing carrots comes down to a few things: loose soil, correct spacing, and steady moisture. That’s all!
Most people overcomplicate it. But how to grow carrots successfully really isn’t about perfection.
It’s about knowing what the plant actually needs at each stage from the moment the seed goes in to the day you pull a firm, full-sized root out of the ground.
Rushing any step usually shows up in the harvest. Take the time to prep the soil well, thin at the right moment, and water without overdoing it.