Cast iron skillets can last a lifetime. Some are still cooking strong after 100 years. But only if they’re seasoned right.
Most people do not realize that one mistake can completely ruin the seasoned surface of their cast iron.
Using too much oil, skipping the drying step, or choosing the wrong fat will strip the seasoning. A stripped skillet rusts quickly.
This blog covers what seasoning actually is, how to do it properly, how to re-season a damaged pan, and exactly what mistakes to avoid. Read on, your skillet deserves better!
What Does it Mean to Season a Cast Iron Skillet?
Seasoning a cast iron skillet means baking thin layers of oil onto the metal surface. Heat turns that oil into a hard, plastic-like coating through a process called polymerization.
This coating bonds directly to the iron and builds a natural, non-stick surface.
It also blocks moisture and oxygen, which stops rust from forming. Without seasoning, bare iron rusts fast and leaves a metallic taste in food.
A properly seasoned skillet lets eggs and light foods slide off cleanly every single time.
Take good care of it, and the same pan can serve a family for generations, no replacement needed. That is the real value of seasoning cast iron.
How to Season a Cast Iron Skillet Step by Step
With these 5 simple steps, you can keep your pan seasoned, non-stick, and long-lasting.
Step 1: Remove Rust
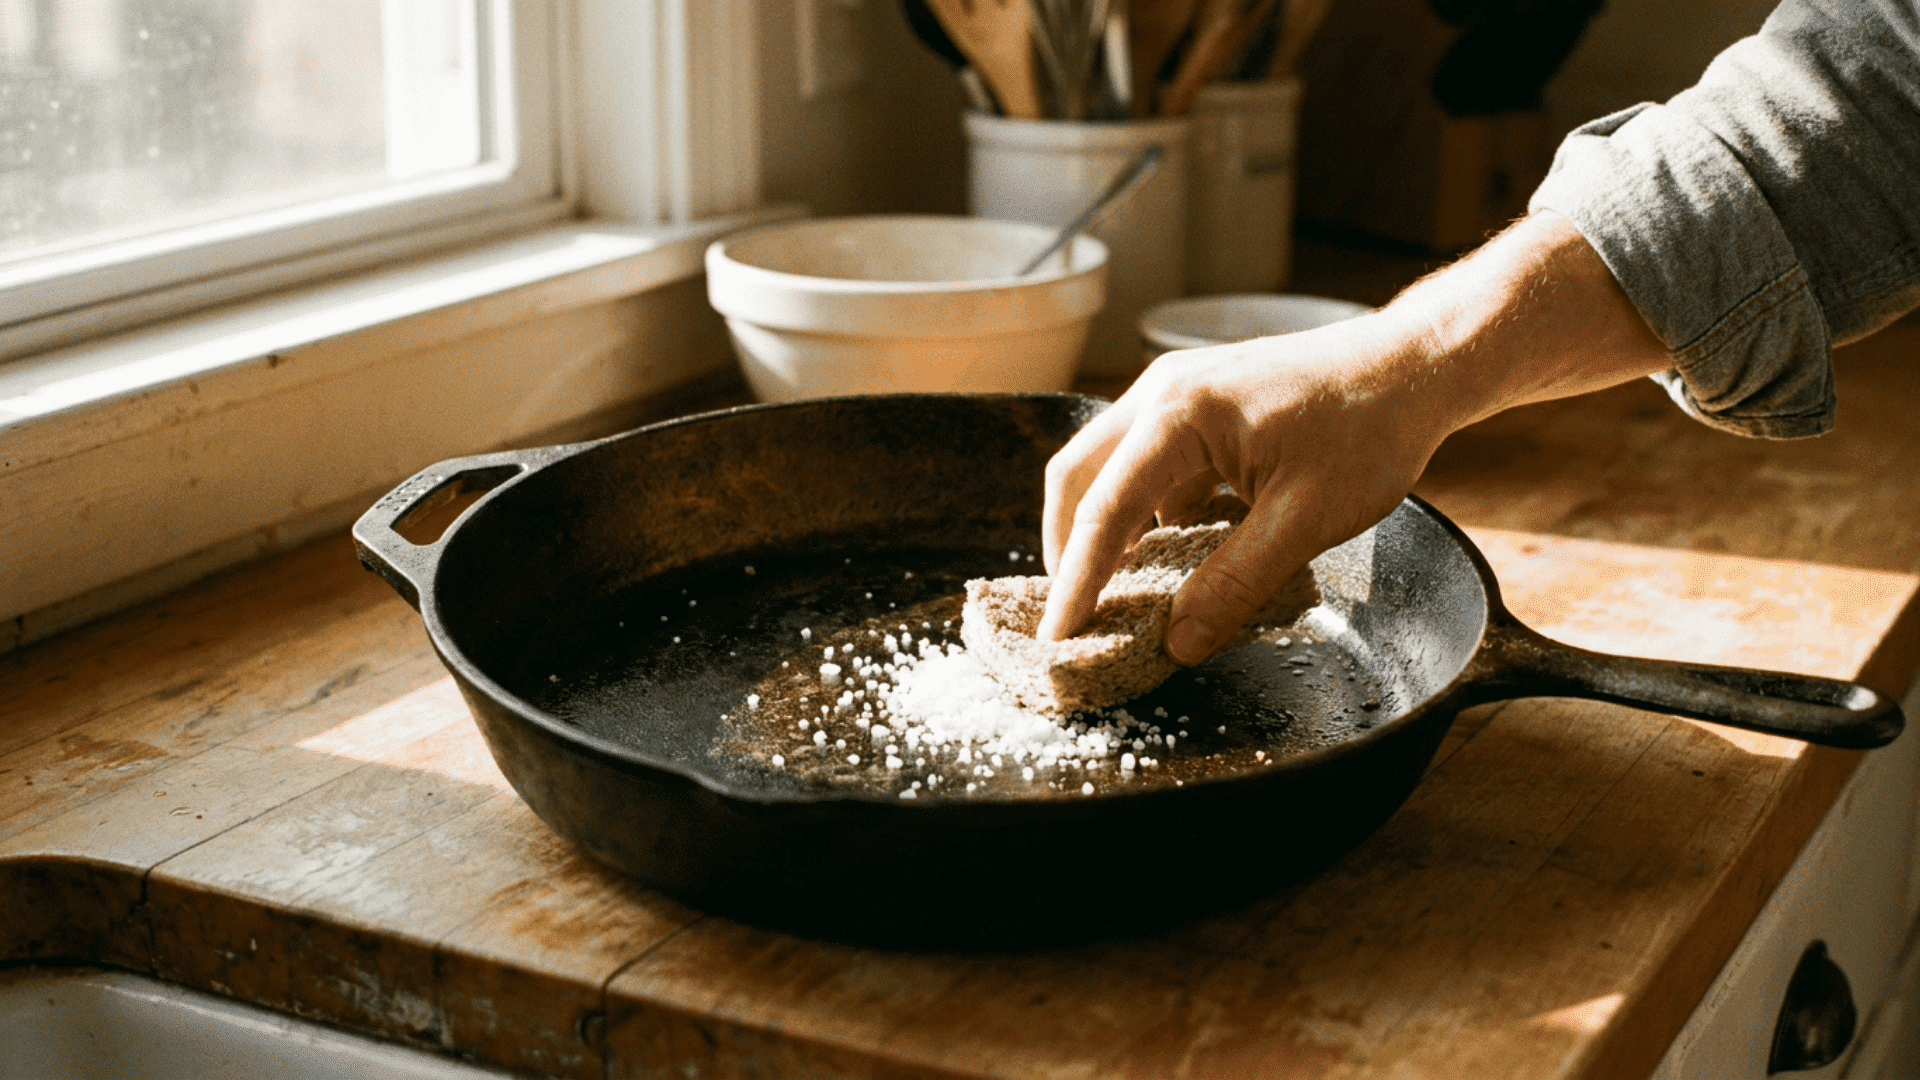
If your cast iron pan has rust, start by scrubbing it with kosher salt or a chain mail scrubber. Work in circular motions until all rust is removed, exposing the raw metal.
Rinse thoroughly with water and dry completely with a towel or paper towels. This prepares the pan for proper seasoning and ensures a smooth, non-sticky cooking surface.
Step 2: Initial Seasoning
Rub a generous layer of oil or solid shortening like Crisco all over the pan, including the inside, outside, and handle. Place the pan upside down in a preheated oven at 350°F for one hour.
This baking process polymerizes the oil, forming a protective non-stick coating that seals the pan against moisture, prevents rust, and makes cooking easier in the future.
Step 3: Cool and Absorb
After baking, let the pan cool naturally on a counter or oven rack. During this cooling phase, the oil absorbs into the pan’s pores and hardens slightly, creating a smooth, shiny, non-stick surface.
Wipe off any excess oil with a paper towel if needed. This step ensures the seasoning is evenly distributed and provides a durable layer for long-term use.
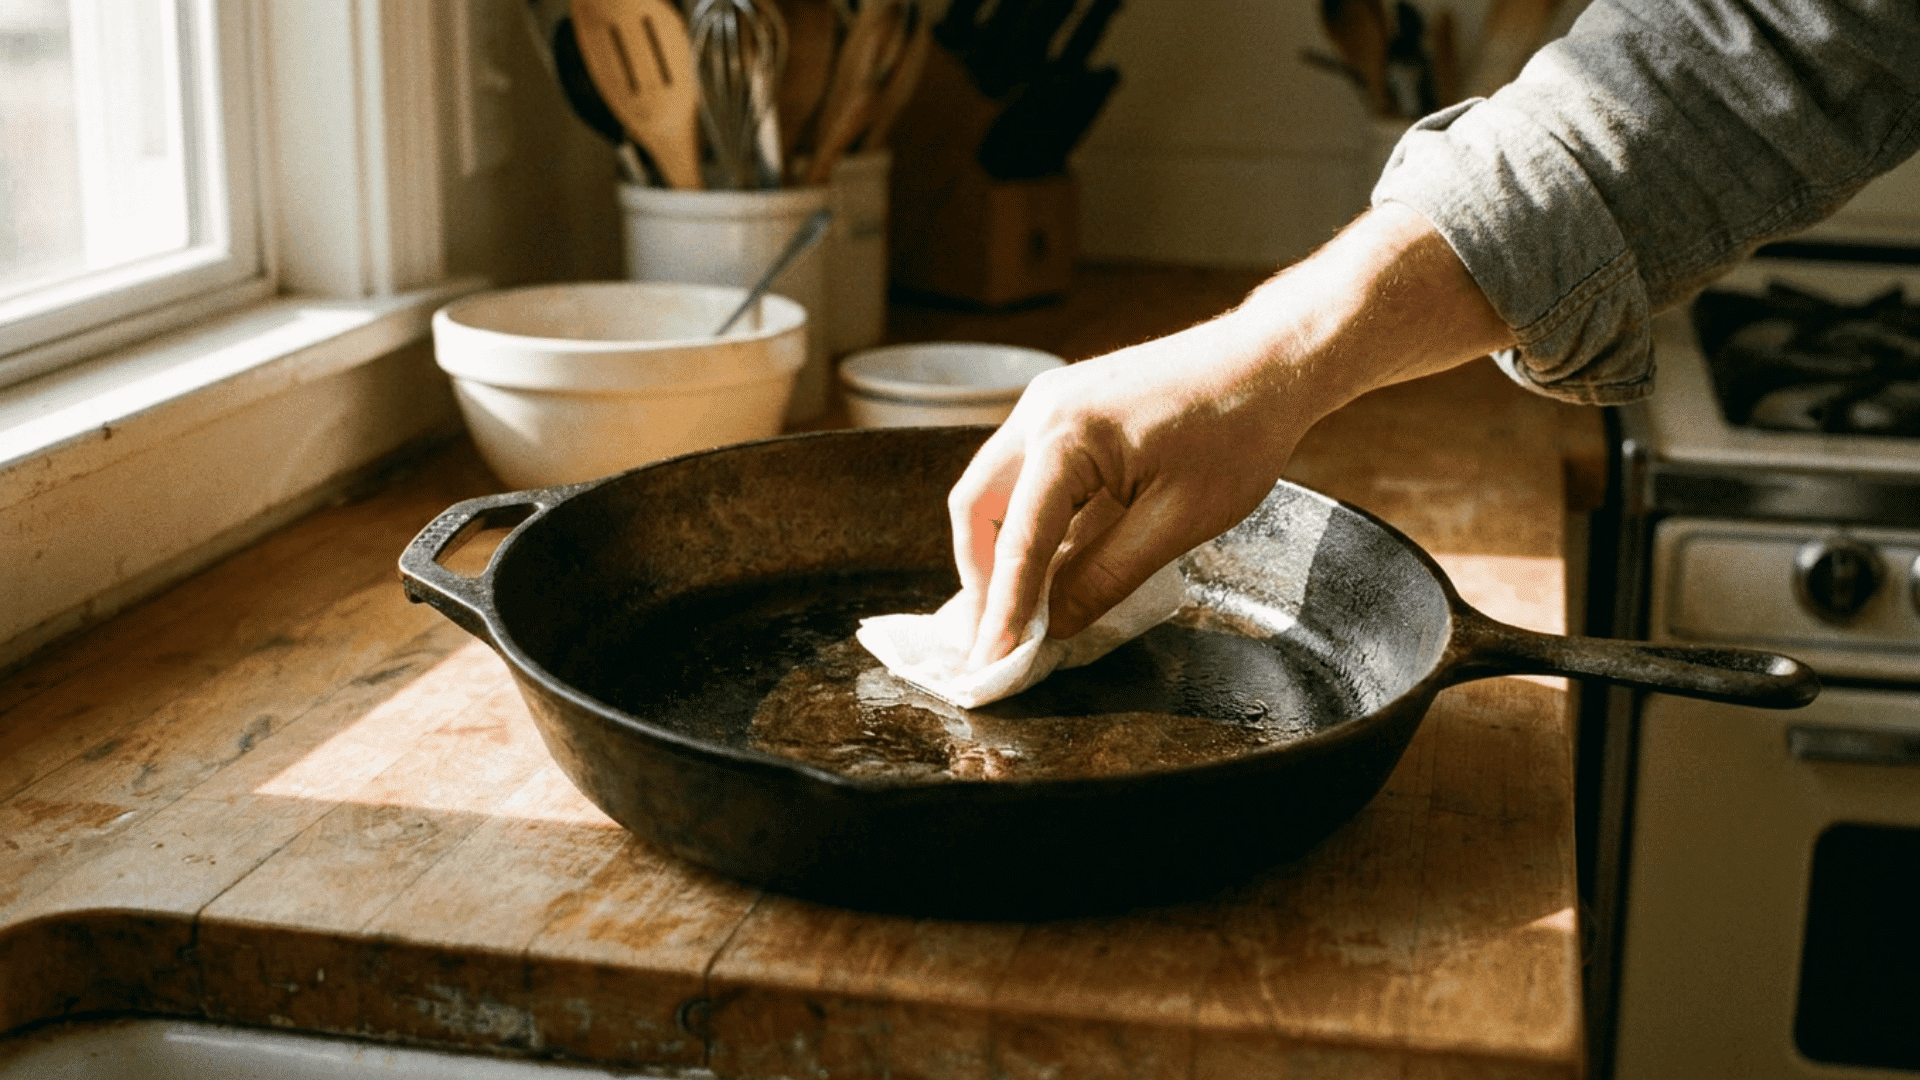
Step 4: Clean After Use
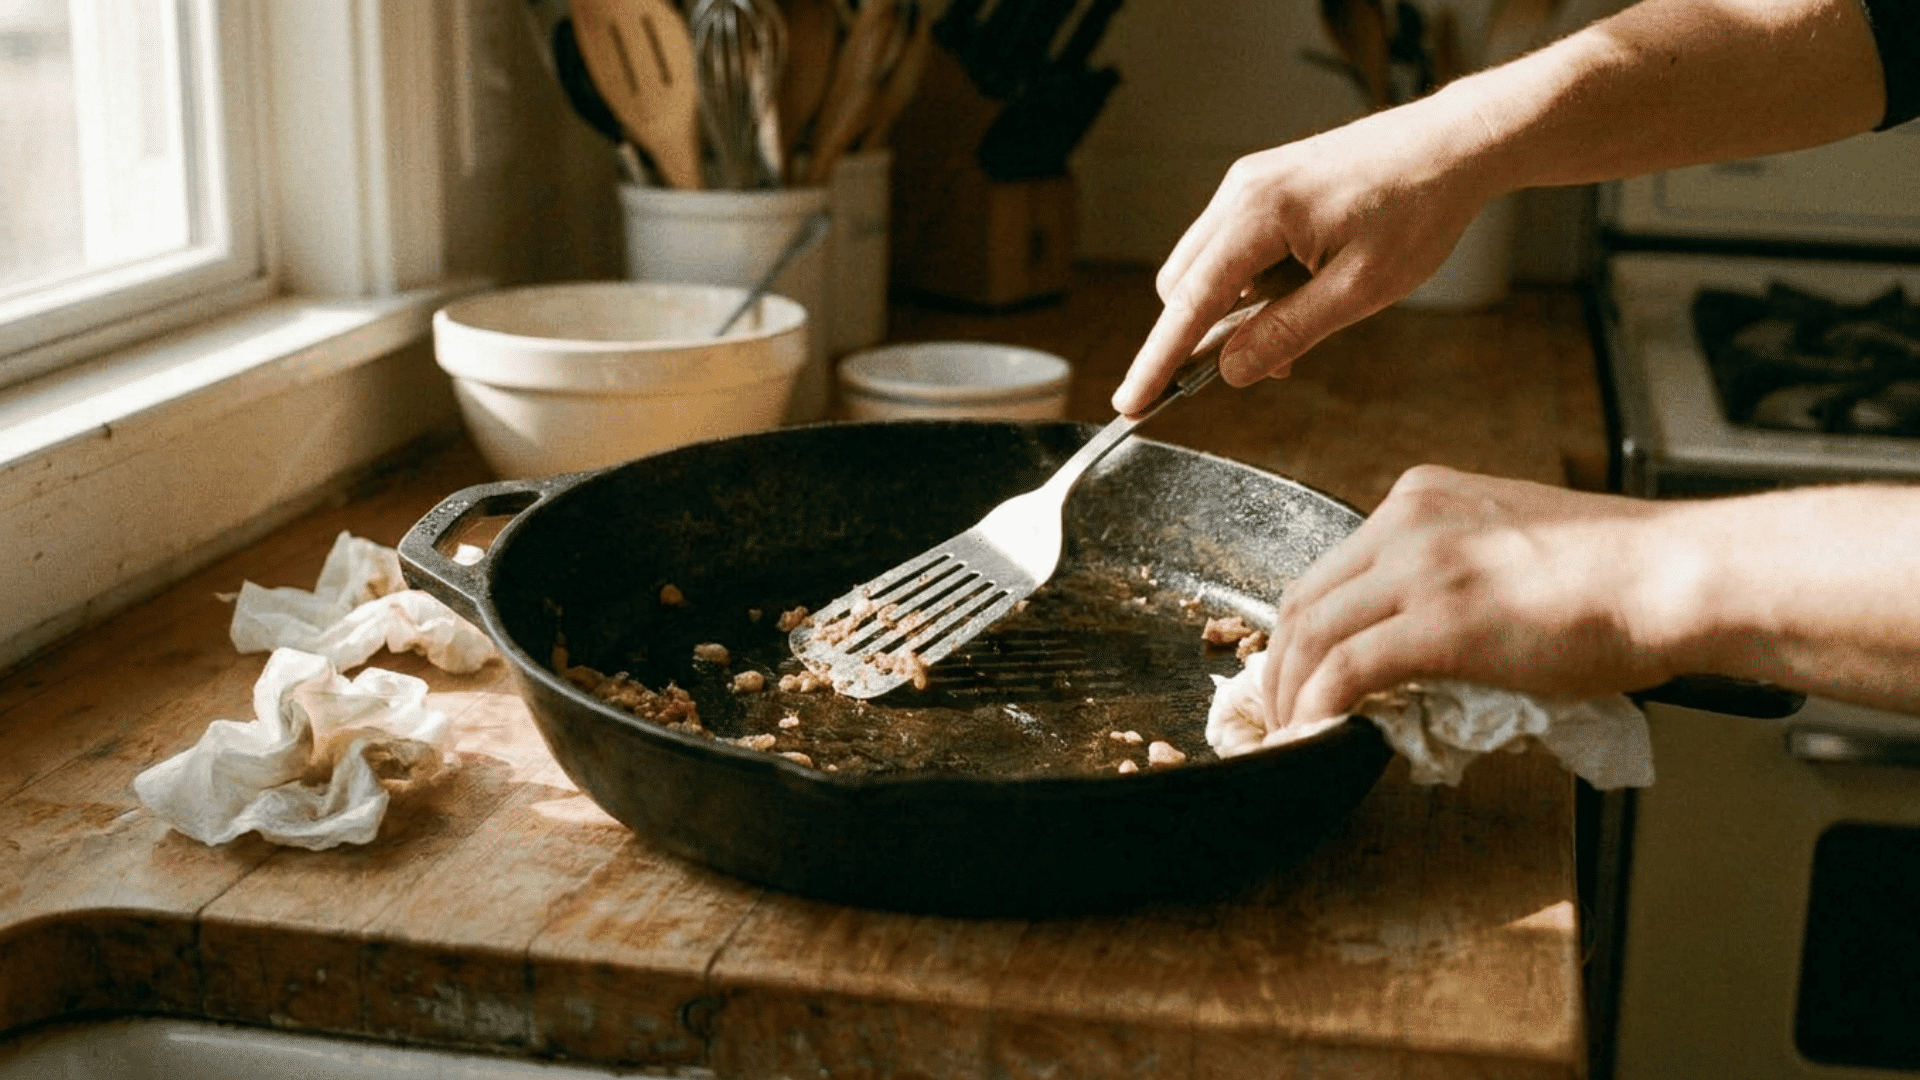
Once the pan has been used, remove food particles immediately with a spatula or paper towel. Mild soap can be used occasionally, but most cleaning only needs warm water.
Rinse lightly with warm water, wiping the surface clean, and dry thoroughly.
Keeping the pan clean prevents stuck-on residue, preserves the seasoning layer, and prevents rust. Regular gentle cleaning keeps the pan ready for future cooking.
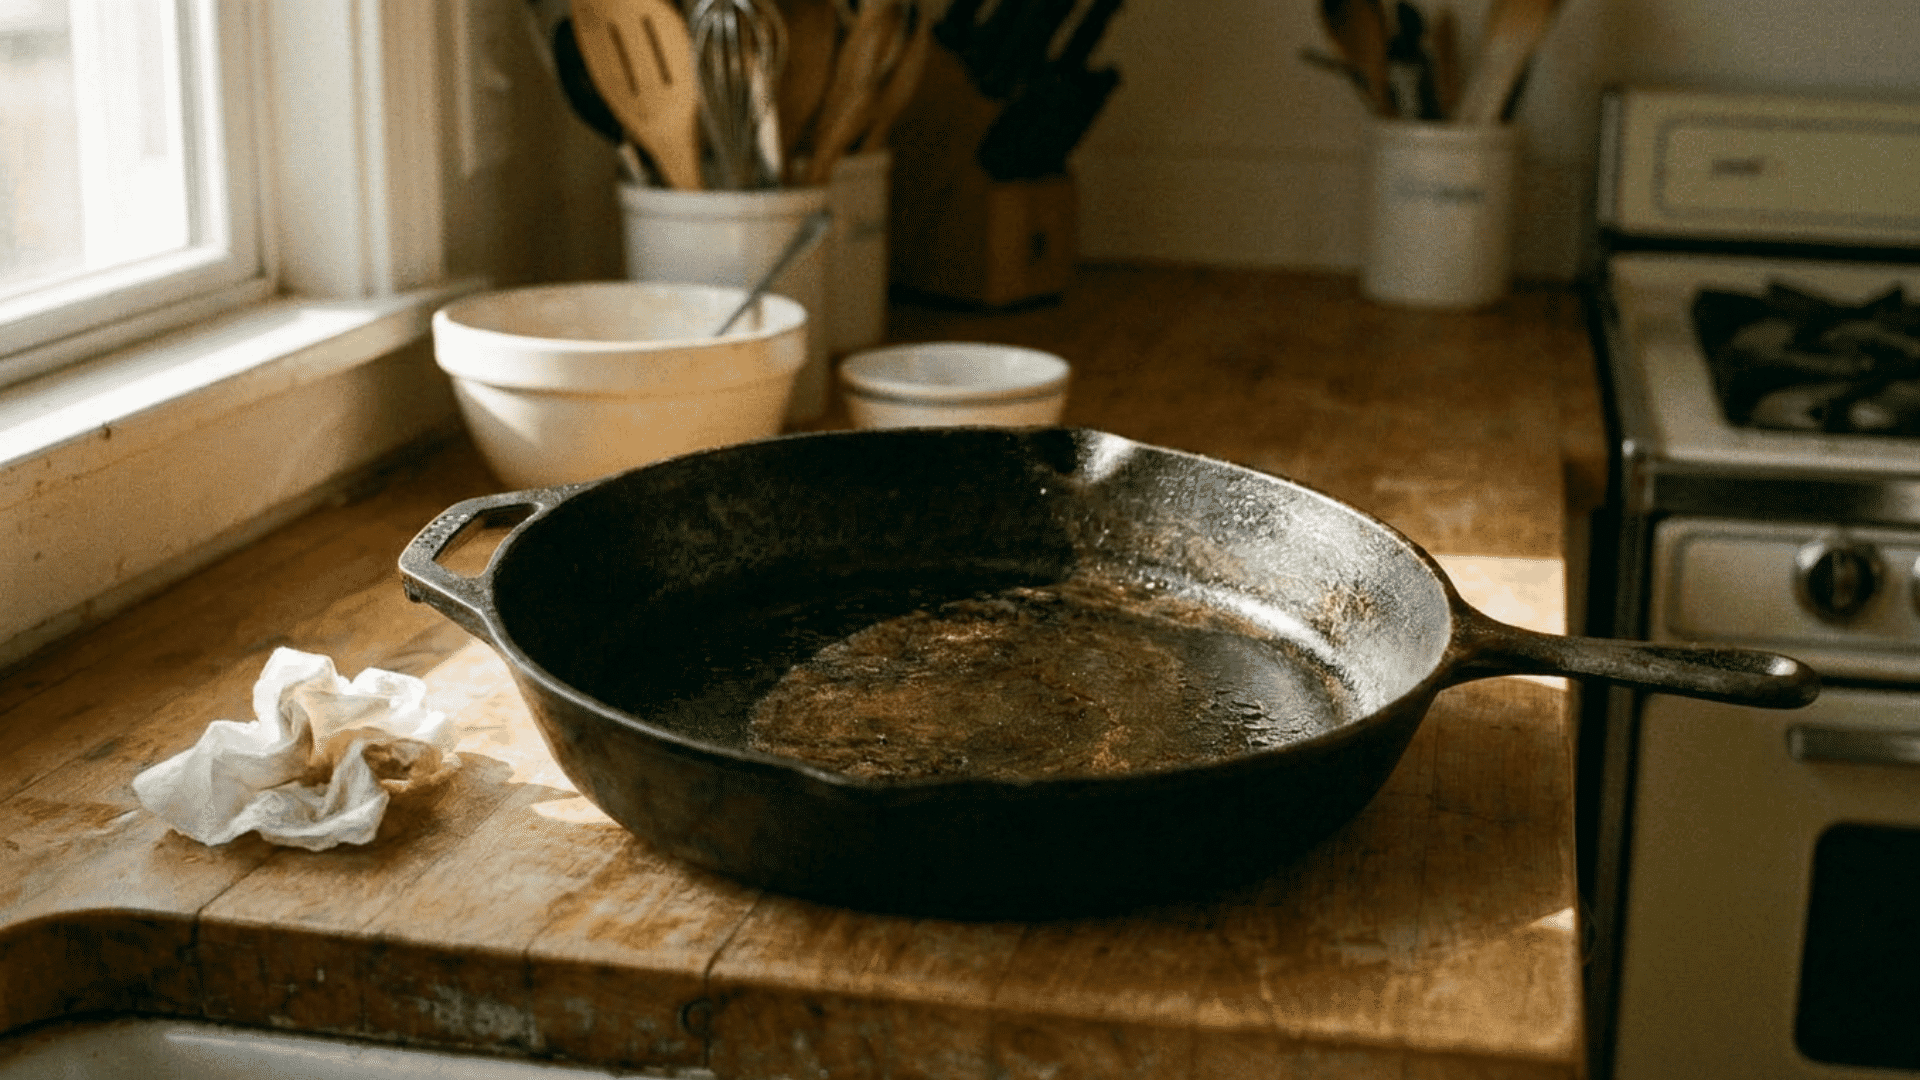
Step 5: Store and Maintain
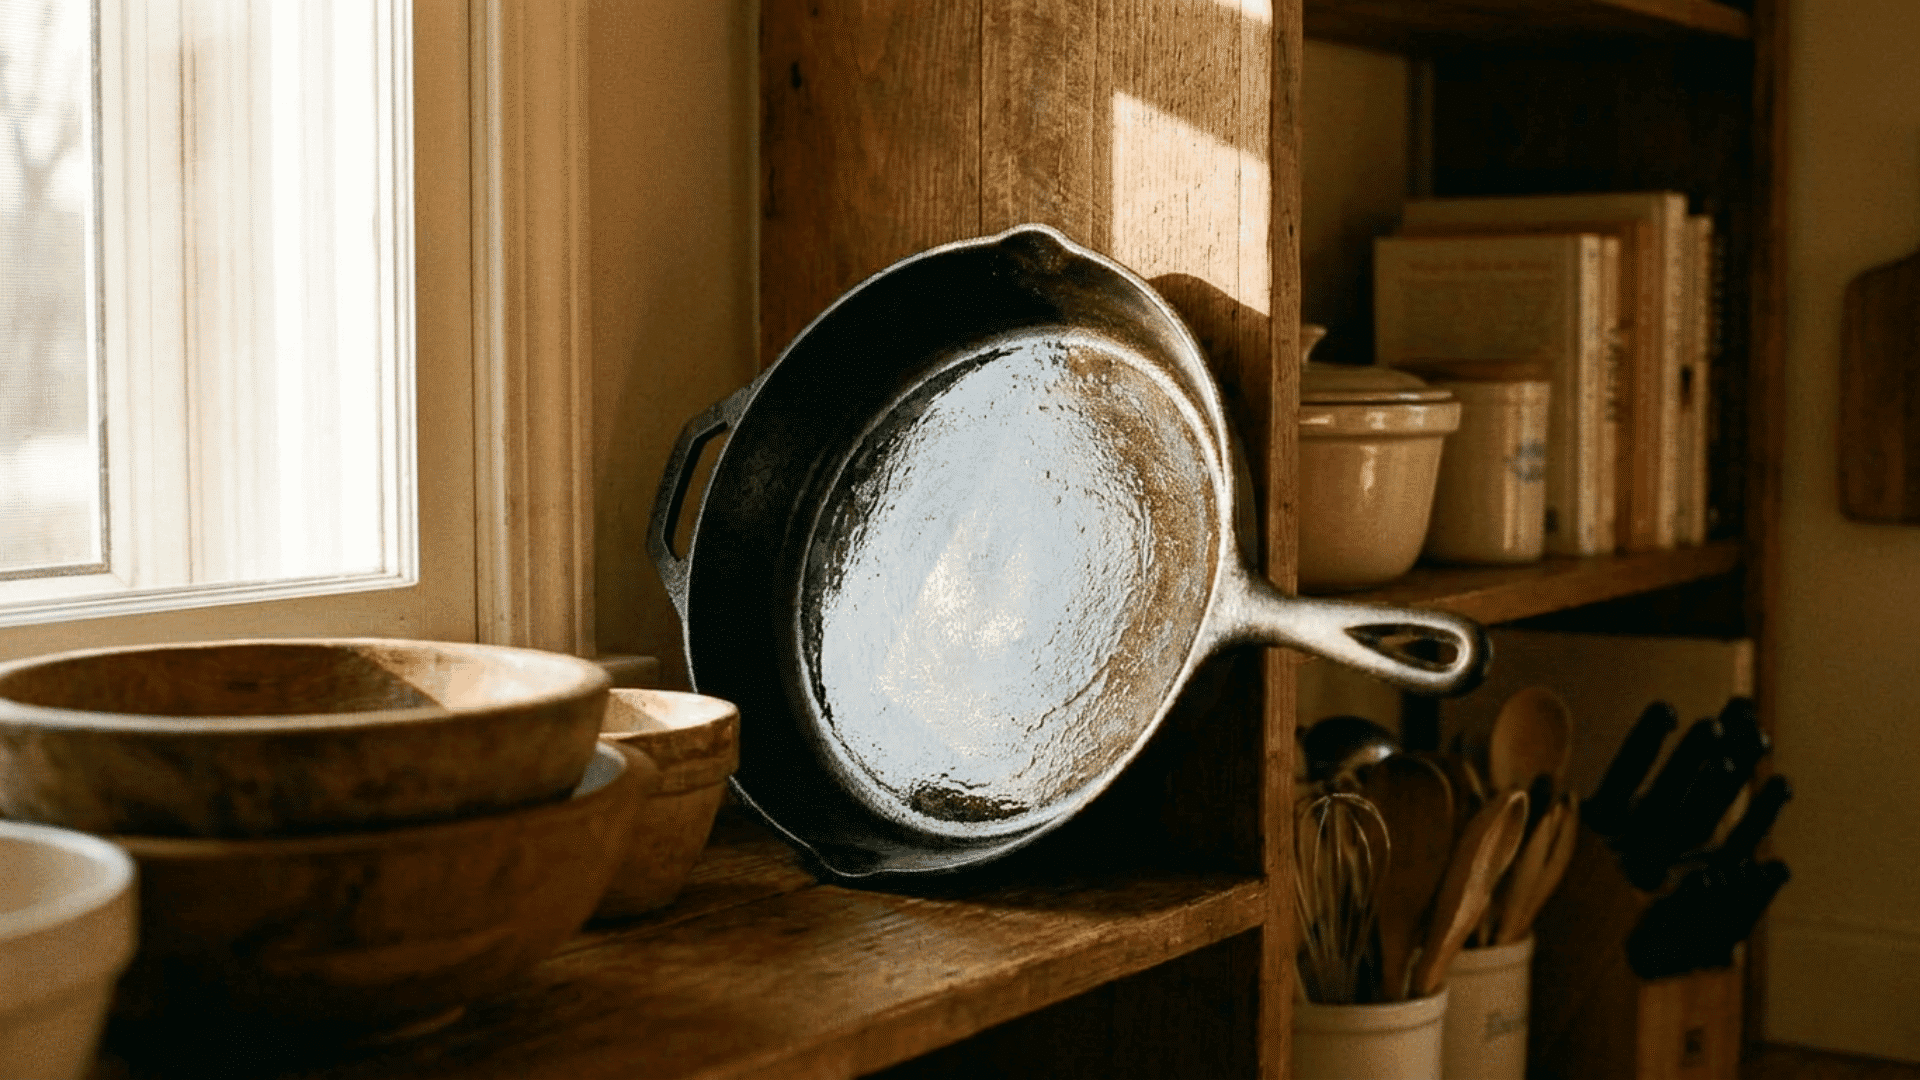
Before putting the pan away, rub a thin coat of oil over the surface. This protects it from moisture while it sits in storage. Keep it in a dry cabinet or on a shelf, away from steam or humidity.
Re-season the pan any time the surface looks dull or food starts to stick again. Handle the pan with care. Silicone or wooden tools work best for keeping the coating intact.
How to Re-Season a Cast Iron Skillet
A rusted or dull cast-iron skillet can always be brought back to life.
- Soak and scrub: Mix white vinegar and water in equal parts, soak the pan for up to one hour, then scrub with steel wool or a nylon brush to expose the raw metal underneath.
- Dry and oil: Wash with mild dish soap, rinse, dry on a stove burner for five minutes, then rub a thin coat of high-smoke-point oil grapeseed, avocado, or vegetable until the pan looks almost dry.
- Bake and repeat: Place the pan upside down in an oven at 400–500°F for one hour, let it cool completely inside the oven, and repeat two to three times for a dark, smooth patina.
Cast Iron vs. Non-Stick Pan
Compare the essentials to choose the right pan for your cooking style!
| Factor | Cast Iron | Non-Stick |
|---|---|---|
| Lifespan | Generations | 3–5 years |
| Heat | Very high | Up to 500°F |
| Non-stick | Builds with use | Ready out of the box |
| Health | Safe, no chemicals | Older coatings may release fumes |
| Maintenance | Dry & oil | Easy clean |
| Best for | Searing, baking | Eggs, pancakes |
| Weight | Heavy | Light |
| Cost | One-time | Replaced often |
| Oven safe | Yes | Some models |
| Verdict | Long-term, high-heat | Quick, easy cleanup |
Cast Iron Seasoning Mistakes to Avoid
A few simple habits keep the seasoning intact and the pan in good shape.
- Too much oil leaves a sticky surface. Buff the pan until it looks dry before baking.
- Butter, olive oil, and bacon grease burn before bonding; use grapeseed, canola, or vegetable oil.
- Water in the pan causes rust to heat on the stovetop for two minutes after washing.
- Oil pooling can lead to uneven seasoning layers
- Acidic foods strip new seasoning. Avoid long simmers until solid layers have built up
Conclusion
Seasoning a cast iron skillet is one of the simplest things to do in the kitchen and one of the most rewarding.
A thin coat of oil, a hot oven, and a little patience build a surface that no non-stick pan can match over time. That’s really all it takes.
A well-kept cast iron skillet pays for itself for decades. It handles high heat, improves with every cook, and never needs replacing.
Now pick the oil, heat the oven, and put that skillet to work. If the pan needs a full re-seasoning first, start with the step-by-step section above; everything you need is already right there!
Frequently Asked Questions
How Many Times to Season?
Season your cast iron three times before first use. Repeat the oiling and baking cycles; adding more layers improves the non-stick coating, if desired.
What Not to Cook in Cast Iron?
Avoid highly acidic foods, soft fish, eggs in a new pan, and sticky sweets, as they can damage seasoning or stick badly.
Is Dawn Dish Soap Safe?
Yes, Dawn is safe for cast iron. Modern mild soaps don’t strip the polymerized seasoning like old lye-based soap.