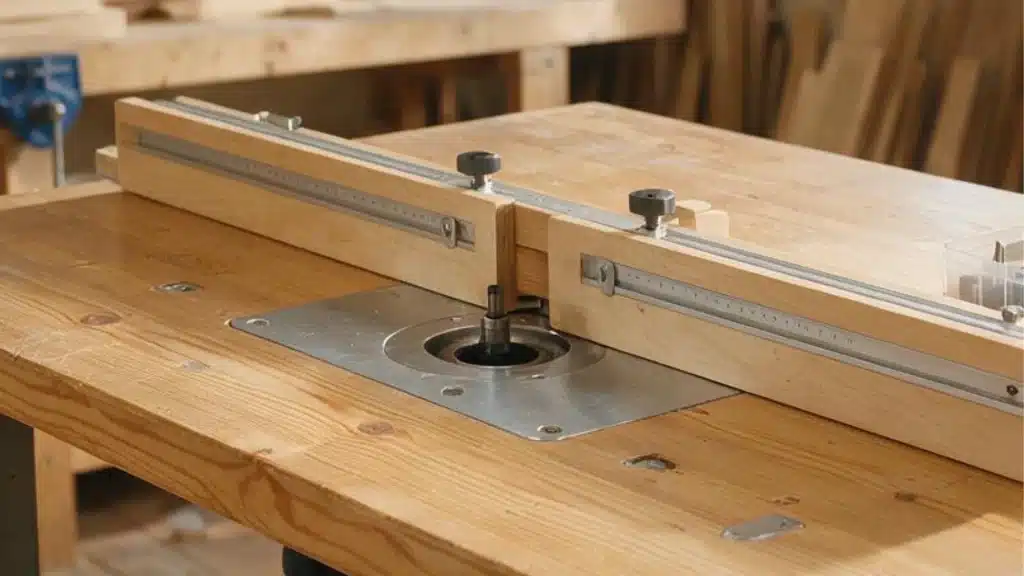
A router table is a small work table with a router fixed under it.
The router bit sticks up through a hole in the top. Instead of moving the router by hand, you slide your wood across the table and push it through the bit.
A router bit is a spinning metal tool that cuts, shapes, or carves wood as you push it through a router table.
And a metal or wood fence is placed on the table to direct your wood in a straight line, giving even cuts every time.
But how to use a router table?
Start by mounting the router, setting the bit height, and setting the fence. Then you put your wood against the bit’s spin, and it’s done.
When Should You Use a Router Table?
A router table is best when you need control and steady cuts.
It works well for small or narrow pieces of wood that are hard to hold by hand.
If a project needs the same cut repeated many times, like the edges on cabinet doors, a router table keeps every piece consistent.
It also helps with large or heavy bits that are not safe to use in a handheld router.
Jobs like raised panel doors or locking miter joints need this.
A router table also gives better dust control, since the dust port is just under the cut.
What are the Parts of a Router Table?
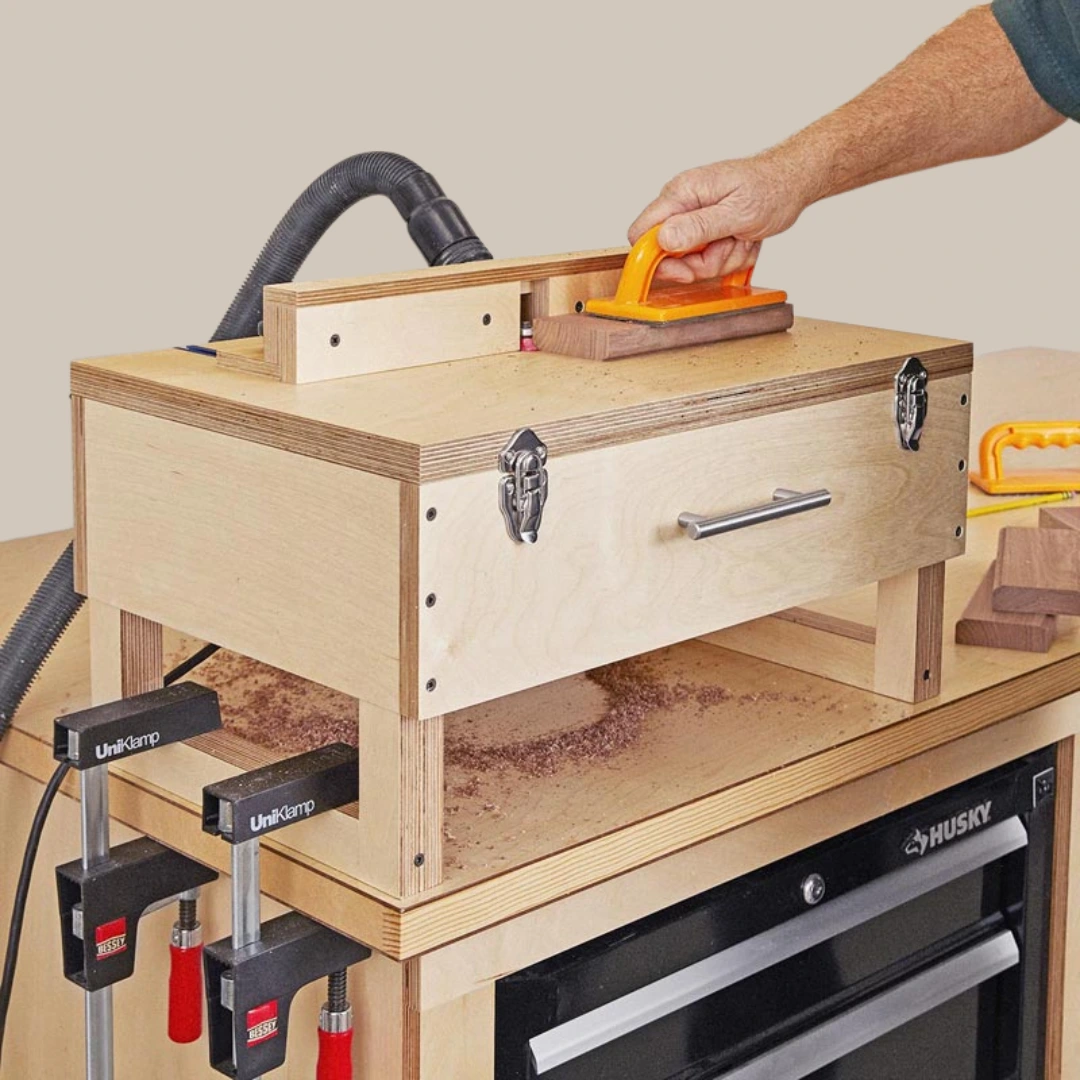
A router table has several parts that work together to keep your cuts safe and steady. Here, we’ll learn what they are and what they do.
- The Tabletop: It is the flat surface where your wood slides during a cut.
- The Router: This is under the table with its bit poking up through a hole, letting you feed wood past the spinning blade.
- The Fence: This directs your wood in a straight line as you push it toward the bit. Many fences have a dust port and a T-track for extra tools.
- The Insert Plate: It is a small removable piece around the bit hole.
- The Miter Gauge Slot: It holds a miter gauge or other jigs like featherboards, helping you make angled cuts or hold your wood steady.
- The Bit Guard: It covers the spinning bit to protect your hands.
- A Starter Pin: It gives you a fixed point to direct freehand cuts, helping when the fence cannot be used for a certain shape.
How to Use a Router Table with Step-by-Step Instructions
Setting up a router table is easier than it looks. Follow these steps in order, and you will get clean, safe cuts every time.
Step 1: Pick the Right Router Bit
First, choose a bit that matches your project.
A straight bit is suitable for grooves, while a round-over bit softens edges. Always pick a 1/2-inch shank bit when you can.
These bits stay steadier and cut more smoothly.
Before starting always check the bit for chips or dull edges before you use it.
Step 2: Mount the Router Under the Table
Attach your fixed-base router to the bottom of the table.
The bit should point up through the center hole, and then tighten every screw so the router does not shift during use.
A loose router can cause an uneven cut or a small accident; be careful.
Step 3: Set the Bit Height
Now that you’ve attached the router, turn the router height knob to raise or lower the bit.
Cuts need only a small amount of bit showing above the table.
Measure the height with a ruler or a bit gauge for accuracy. You need to start by testing the height on a scrap piece of wood first.
Then adjust again if the cut looks too deep or too shallow.
Step 4: Set the Fence
Slide the fence into place and lock it at the right distance from the bit.
The fence keeps your wood moving in a straight line.
A split fence works well since it wraps closer around the bit, lowering the gap where your fingers could slip. Double-check the fence is tight before you start cutting.
Step 5: Choose the Correct Feed Direction
Always push your wood against the spin of the bit, never with it.
This is called feeding against the rotation.
It gives you full control over the wood, and feeding the wrong way can pull the wood from your hands fast. This one habit keeps a router table safe to use.
Step 6: Make a Test Cut
Run a scrap piece of wood through the table first. Check the edge for smoothness and the right depth, as it’ll help prevent mistakes.
Adjust the fence or bit height if the test cut looks weird.
Step 7: Cut in Multiple Passes for Deep Cuts
Avoid removing too much wood in a single pass.
Cuts deeper than 3/8 inch often chip the wood or strain the router. Make the first pass slow and shallow to clear half the material.
Then adjust the bit or fence and finish with a second pass.
Slow down near the very start and end of each cut to avoid rough edges and chip-outs.
Which Direction Should You Feed Wood Into a Router Table?
Feed direction is one of the most important things to get right on a router table.
The bit spins counterclockwise when you look down at it from above. Because of this, you should always push your wood from right to left along the front of the table.
This way, you are feeding against the bit’s rotation, not with it.
Feeding against the rotation gives you steady control.
The spinning bit actually pulls your wood into the fence, which keeps the cut smooth and even. This is the safe and correct way to feed almost every cut.
Feeding the other way is called climb cutting, which means you push the wood with the spin instead of against it.
Climb cutting can pull the wood right out of your hands fast.
If a cut feels like it’s speeding up on its own or pulling away from you, stop right away; it’s the wrong direction.
Some Basic Router Table Techniques
Once you get comfortable with the setup, these techniques cover most beginner projects. Practice each one on scrap wood first.
Edge Profiling *Best for Beginners*
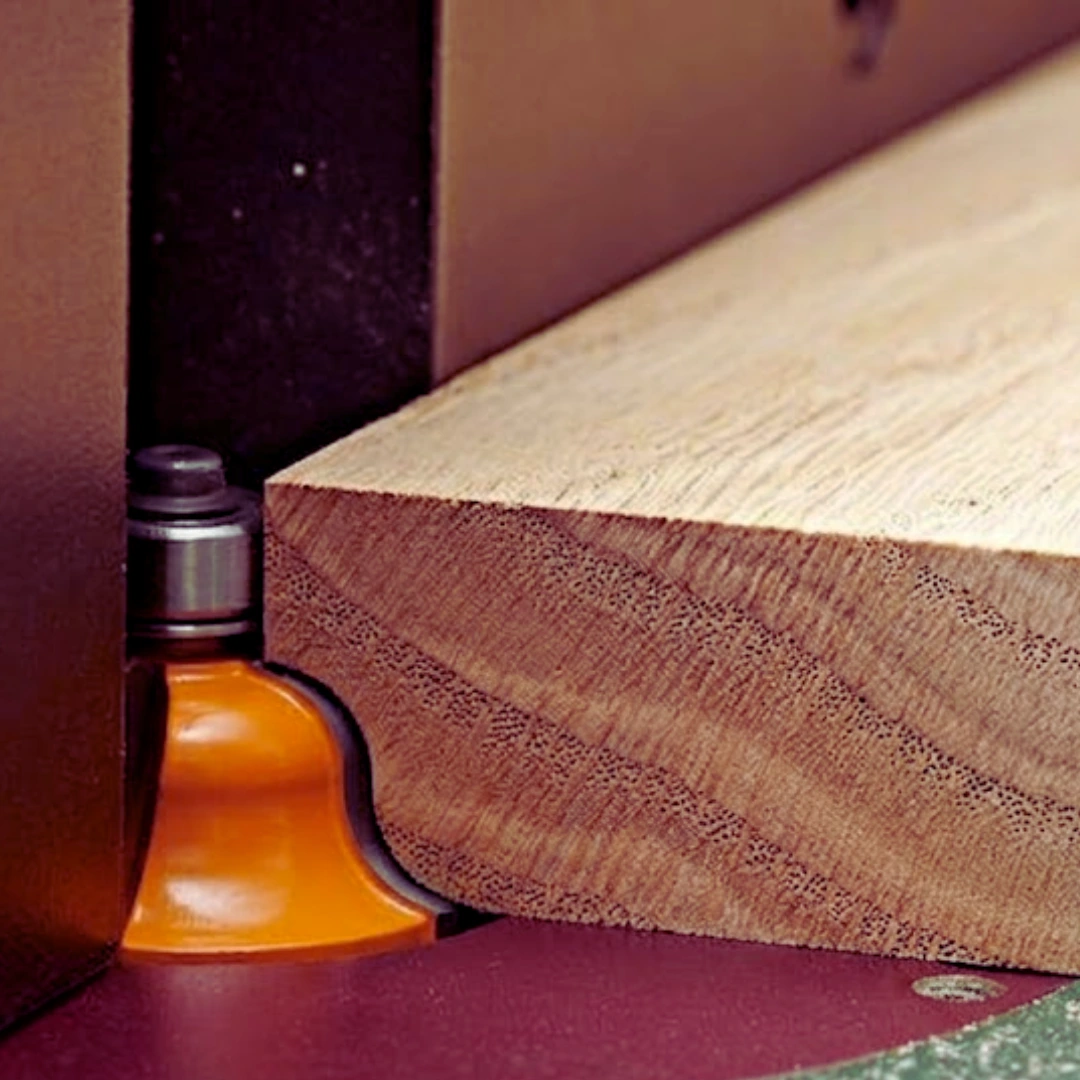
Edge profiling shapes the edge of your wood into a decorative curve or design.
A round-over bit gives a soft, rounded edge, while an ogee bit adds a fancy wave pattern. Set the fence so only the profile part of the bit shows above the table.
Cutting Grooves and Dados
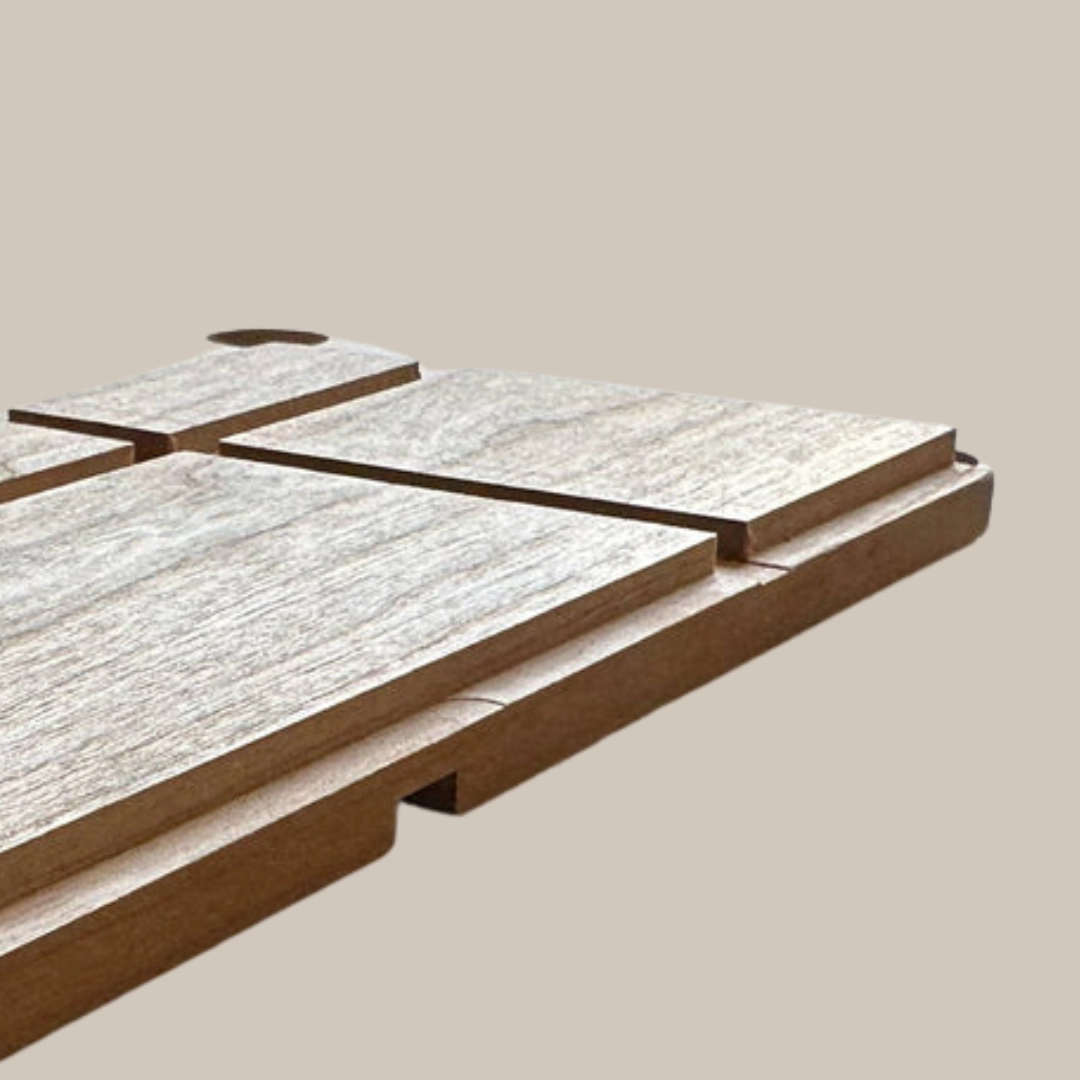
A groove is a cut that runs with the wood grain, while a dado runs across it.
Both use a straight bit set to the width and depth you need. Set your fence to control how far in the groove sits from the edge.
Run the wood through slowly to keep the groove even the whole way.
These cuts are used commonly for shelves and drawer bottoms.
Making Rabbets
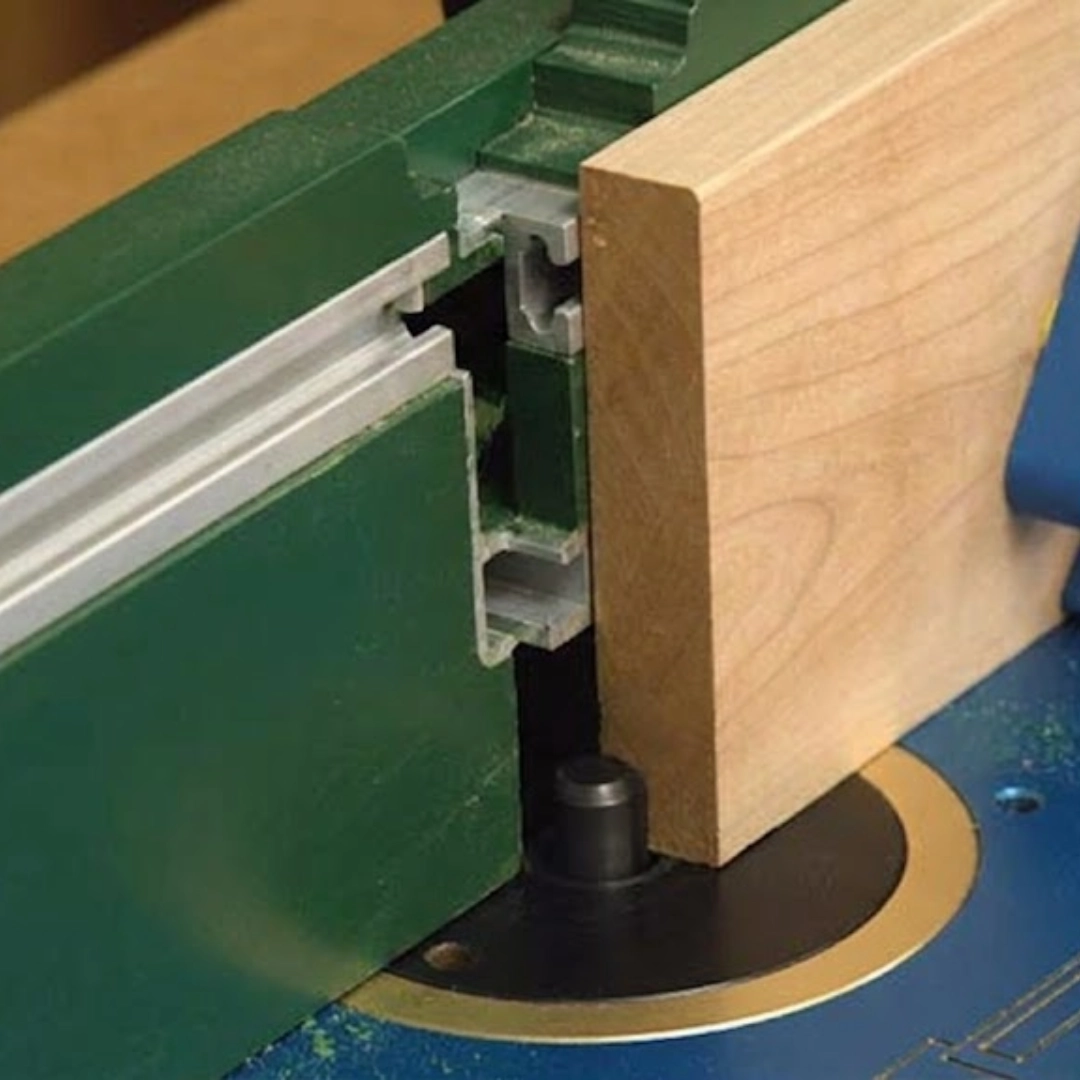
A rabbet is a step-shaped cut along the edge of a board.
It is often used to join two pieces of wood together, like a picture frame. Set the bit height to match the depth of the step you want.
Push the wood past the bit using the fence as your guide.
Template Routing
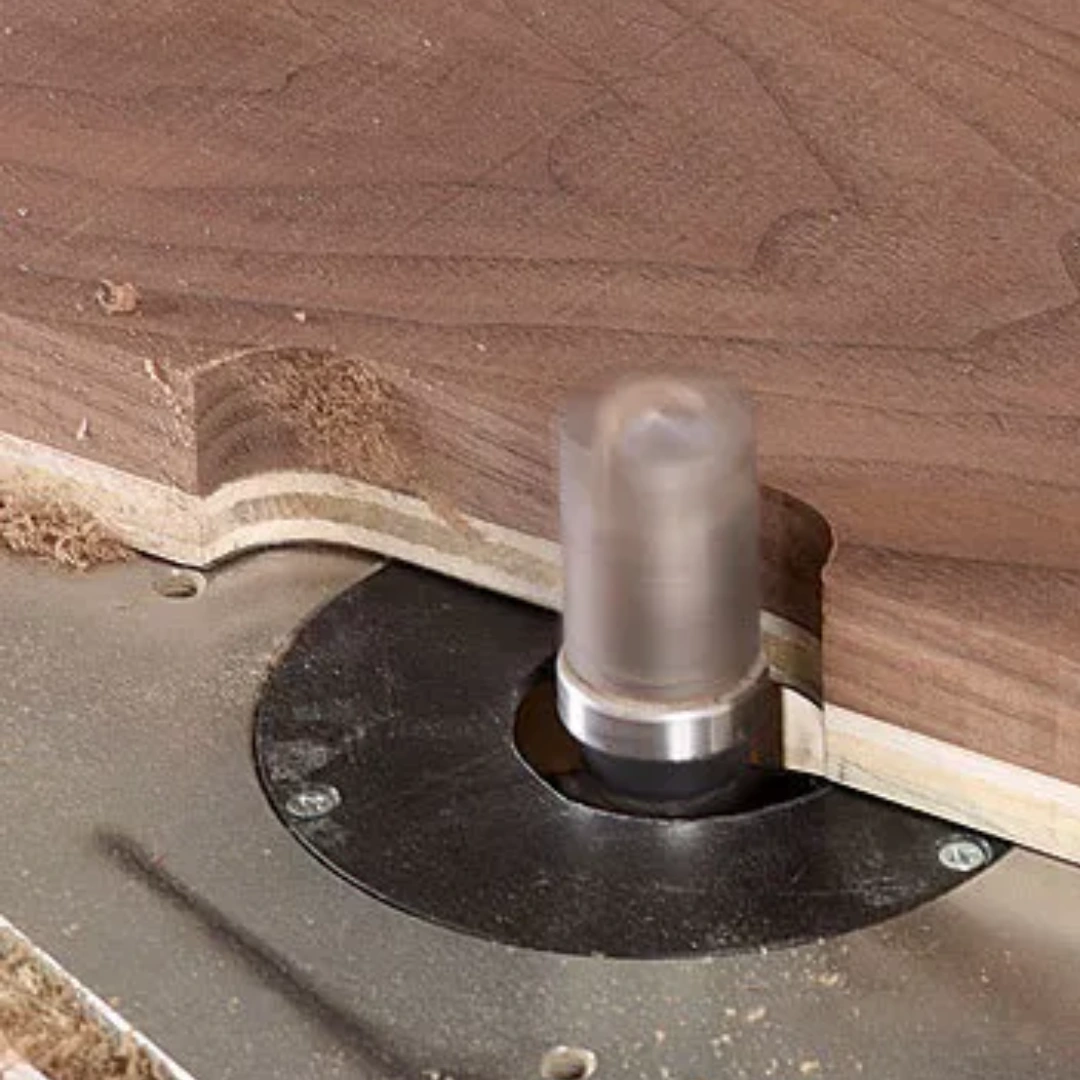
Template routing uses a pattern, or template, to copy a shape onto multiple pieces of wood.
Attach the template to your workpiece with tape or clamps. Use a bit with a guide bearing so it follows the template edge exactly.
This technique is great for making several identical parts, like signs or curved shelf brackets.
Freehand Routing with a Starter Pin
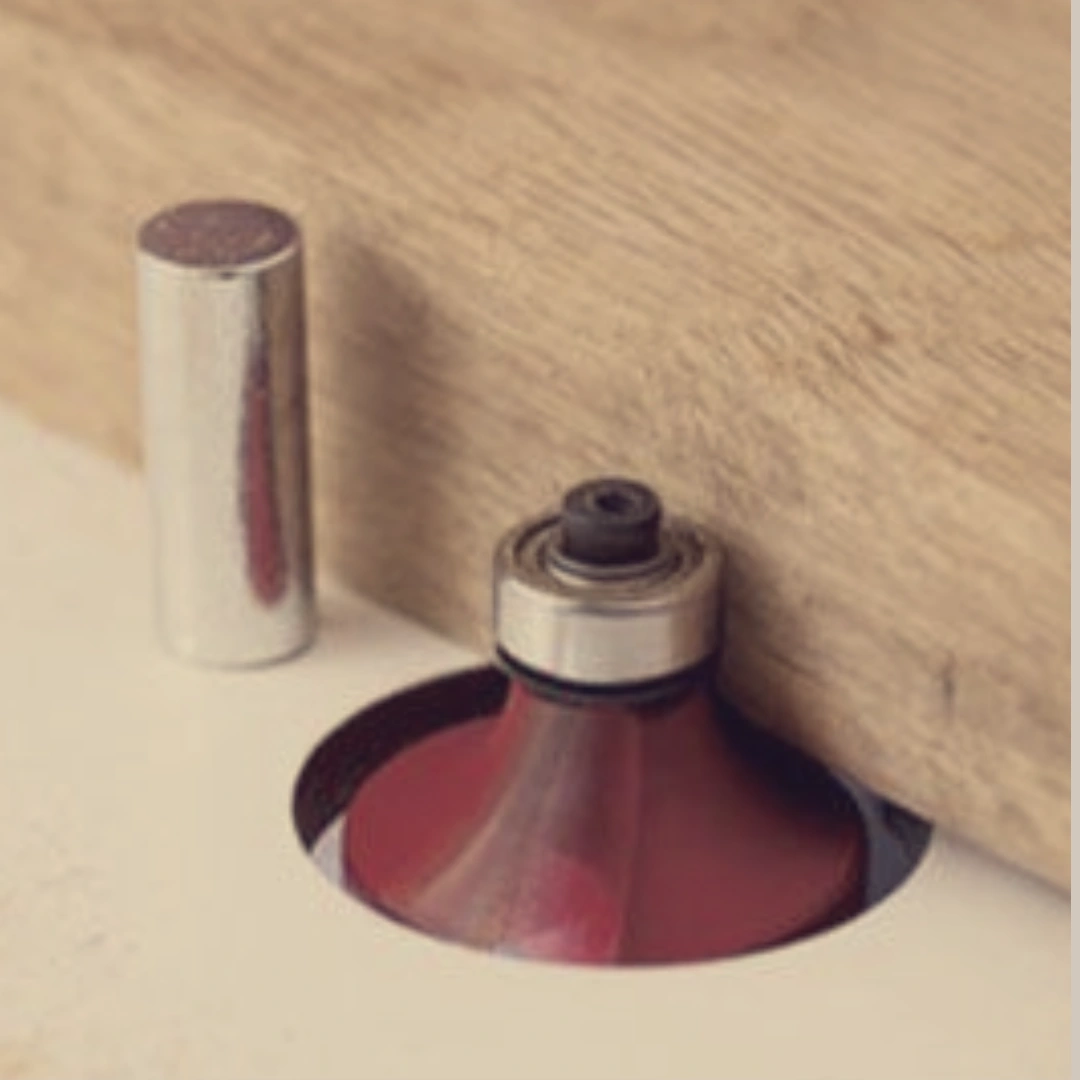
Sometimes a fence will not work for the shape you need to cut.
In that case, use a starter pin as your guide point instead. Rest the wood against the pin, then slowly pivot it into the bit.
This gives you more control on curved or irregular cuts.
Go slow, since freehand cuts take a steadier hand than fence-guided ones.
Router Table Troubleshooting: Why Did Your Cut Go Wrong?
Even careful woodworkers run into rough cuts sometimes. Here are common problems and how to fix them.
1. Rough or Chipped Edges
This usually happens when you feed the wood too fast. The bit does not have time to cut cleanly, so it tears the wood instead. Slow your feed rate and let the bit do the work.
2. Burn Marks on the Wood
Burn marks show up when you feed the wood too slowly, since the bit spins in one spot too long and heats up the wood. So, keep your feed rate steady, and don’t pause mid-cut.
3. Uneven or Wavy Cuts
This often means your fence shifted during the cut. Always double-check the fence is locked tight before you start.
4. Cracked or Splintered Wood
This often comes from cutting too deep in one pass. Removing too much wood at once stresses both the bit and the wood. Make two lighter passes instead of one heavy pass.
Conclusion
A router table makes wood cutting simple.
Once the router is mounted, the bit is set, and the fence is locked, you just have to follow the same steady rhythm.
The real skill comes from feeding the wood at the right pace and in the right direction, since that single habit prevents mistakes.
Practice on scrap wood so you build confidence.
Write down your bit height and fence settings for cuts you repeat often, as this will help you avoid setting it again and again!
People Also Ask
1. What Not to Do on a Router Table?
Never feed wood with the bit’s spin. Don’t remove the bit guard, rush deep cuts, or use dull bits. Always keep hands clear of the bit.
2. What Can I Make with a Router Table?
You can make cabinet doors, picture frames, shelves, decorative edges, moldings, and wood joints like rabbets and dados.
3. Should I Get a 1/4 or 1/2 Router?
Choose a 1/2-inch router when you can. It holds bigger bits more steadily and handles larger cuts with less vibration than a 1/4-inch router.