The renovation ends on paper before it ends in your house.
Workers leave. The new room looks good from the doorway. You stand there for a second thinking, finally. Then the light shifts and you see the film on the floor. You open a drawer and find grit in the back corner. You wipe a sill and the cloth comes away gray. That is the real last phase, and almost nobody talks about it.
People talk plenty about tile choices, paint colors, hardware lead times, and whether the budget got away from them. Then the job is “done” and they are left alone with drywall dust behaving like it pays rent.
So here is the practical checklist.
First, Accept That Construction Dust Is Different
Regular house dust is boring. Renovation dust is pushy.
It travels farther. It gets into places that looked closed. It settles, lifts, and settles again. Drywall dust is the worst for this. You find it on trim, in tracks, on closet shelves, on top of cabinets, even inside drawers you would have sworn stayed shut the whole time.
That is why the cleanup feels so repetitive if you rush it.
One person from Raccoon Cleaning put it in a way I liked: start with what can still fall, not with what is already under your feet.

Go High Before You Touch the Floor
The floor will annoy you first. Ignore it.
Start with the things above eye level. Corners. Light fixtures. Vent covers. Fan blades. The top edge of door trim. Curtain rods. Cabinet tops. Shelf tops. Anything that can keep dropping fine dust while you are busy cleaning the lower half of the room.
Use microfiber, not the kind of duster that mostly waves the dust around and makes you feel productive.
This part is unsatisfying. The room still looks messy afterward. Do it anyway.
Then Do the Vertical Stuff
Walls, trim, frames, switch plates, door casings.
Not with a soaking rag. Not with a wild amount of spray cleaner. Usually a dry cloth or one that is barely damp is enough, especially if paint is still relatively fresh. The point is to lift the powdery residue before it gets rubbed farther in.
A lot of people jump to the windows here because the smears are obvious. I get it. But if the nearby trim and wall surfaces are still dusty, the windows are just going to look bad again.
Windows Are a Four-Part Job, Not One Job
Track first. Frame second. Sill third. Glass last.
If you skip straight to the pane, you wind up dragging grit back and forth. Sticker residue and construction dust like to hide in the corners and along the lower track. Get those out first.
This is one of those steps that makes the room suddenly look more finished, which is exactly why it is worth slowing down for.
Open the Cabinets and Drawers
Yes, all of them.
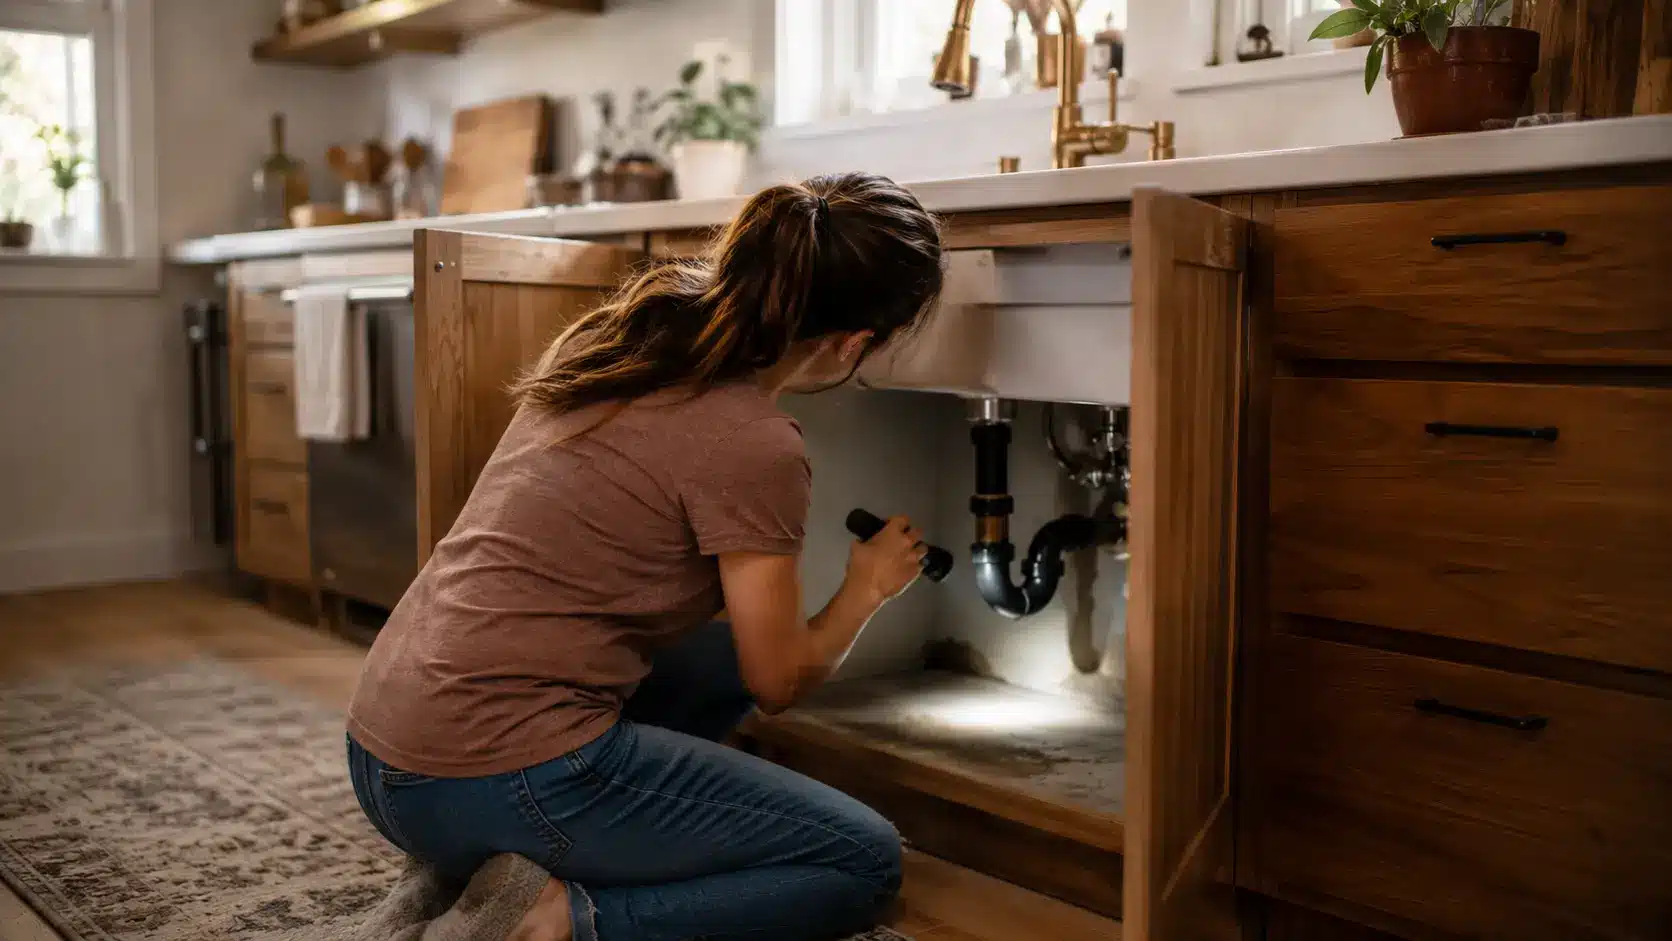
Especially the ones that seemed protected. Kitchens are famous for this, but built-ins, laundry rooms, mudrooms, and bath vanities do it too. Dust works its way through tiny gaps, then settles in the back corners and on the shelf supports where nobody looks until they start putting things away.
Work top to bottom. If you already loaded dishes or linens back in, pull them out and wipe the surfaces properly. It is annoying. It is also better than rediscovering the renovation every time you reach for a mug.
I have heard of more than one household finally calling for house cleaning in Naperville after a remodel for exactly that reason. The room looked fine. The drawers told a different story.
Baseboards and Edges Will Tell You What You Missed
Once the higher work is done, move down.
Baseboards catch dust, sawdust, little paint flakes, pet hair, scraps of dried caulk, all the random leftovers that settle when the main work stops. Corners and hinge sides of doors are repeat offenders. A damp microfiber cloth usually does more here than a dry one.
Do not race this part. These are the spots people notice up close.
The Floor Usually Needs More Than One Round
This is where wishful thinking goes to die.
First pass, remove the obvious debris. Second pass, vacuum slowly for the fine dust. Third pass, wash the floor only after the loose dust is really gone.
If you mop too early, you get that awful chalky paste along the edges and in the corners. Then you are no longer cleaning the renovation. You are cleaning the paste made by cleaning the renovation.
Change water often. Empty the vacuum if it is struggling. Fine dust overwhelms equipment faster than normal dirt does.
A HEPA Vacuum Helps More Than Another Bottle of Cleaner
This is not gear snobbery. It is just useful.
Very fine dust can pass through weaker filtration or clog a vacuum badly enough that you are not really removing much. If sanding, cutting, grout work, or drywall happened in the space, a HEPA vacuum earns its keep quickly.
Sometimes the Mess Is Bigger Than Your Remaining Patience
That is not failure. That is math.
If the work spread across several rooms, got into vents, left adhesive and paint specks behind, or simply arrived at the end of a long renovation that already used up your energy, post-construction cleaning may be the more sensible move.
Some jobs are a Saturday task. Some jobs are a second project.
The Room Is Done When It Stops Leaving Evidence on Your Hands
That is the real standard.
Not when the contractor says finished. Not when the furniture can go back. When you can walk in barefoot, open a drawer, touch the sill, and stop finding the job one last time.
That is when the renovation actually feels over.