The right adhesive can make a DIY project feel solid, clean, and built to last. The wrong one can leave you with peeling trim, loose hooks, warped craft pieces, or a repair that fails the first time it’s bumped. This guide is for homeowners and DIYers choosing glue, caulk, tape, or construction adhesive for small home projects, repairs, and decorating work. By the end, you’ll know how to match the adhesive to the surface, setting, and job.
Start With the Materials You’re Bonding
Before you compare brands or squeeze tubes, look closely at the two surfaces you’re trying to join. Adhesives work by gripping into a surface, chemically bonding with it, or both. That means wood, metal, glass, ceramic, plastic, fabric, drywall, and painted surfaces all behave differently.
Wood is usually forgiving because it’s porous. A basic wood glue can soak into the grain and create a strong bond for furniture repairs, craft projects, picture frames, and small decorative builds. But if the wood is painted, sealed, oily, or dusty, the adhesive may only stick to the surface coating instead of the wood itself. That’s why light sanding and wiping away dust can make such a big difference.
Plastic is trickier. Some plastics bond well with super glue or epoxy, while others resist common household adhesives. If you’ve ever glued a plastic bin, drawer handle, or outdoor planter only to have it pop apart later, the adhesive probably didn’t match the plastic type or the surface was too smooth. For plastics, check the label carefully for compatible materials and roughen glossy surfaces lightly when the product instructions allow it.
Ceramic, tile, glass, and metal usually need an adhesive that can grip nonporous surfaces. Epoxy, silicone adhesive, and certain construction adhesives can work well here, depending on the job. A small ceramic repair is very different from attaching a mirror, setting a backsplash accent, or mounting hardware, so don’t assume one “strong glue” fits every hard surface.
Match the Adhesive to the Job, Not Just the Surface
Once you know the materials, think about what the finished project has to survive. A decorative wreath hook, a loose chair rung, a bathroom shelf, and a cracked garden pot all place different demands on an adhesive.
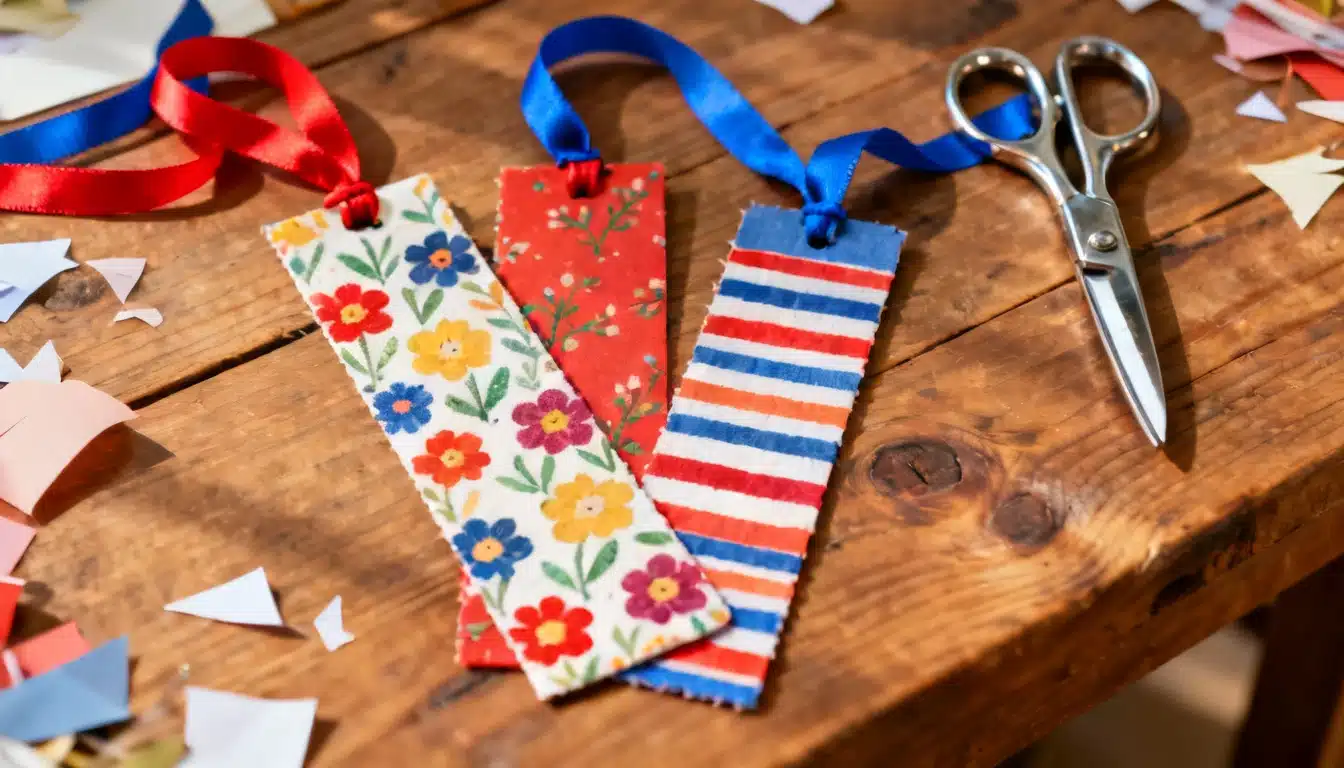
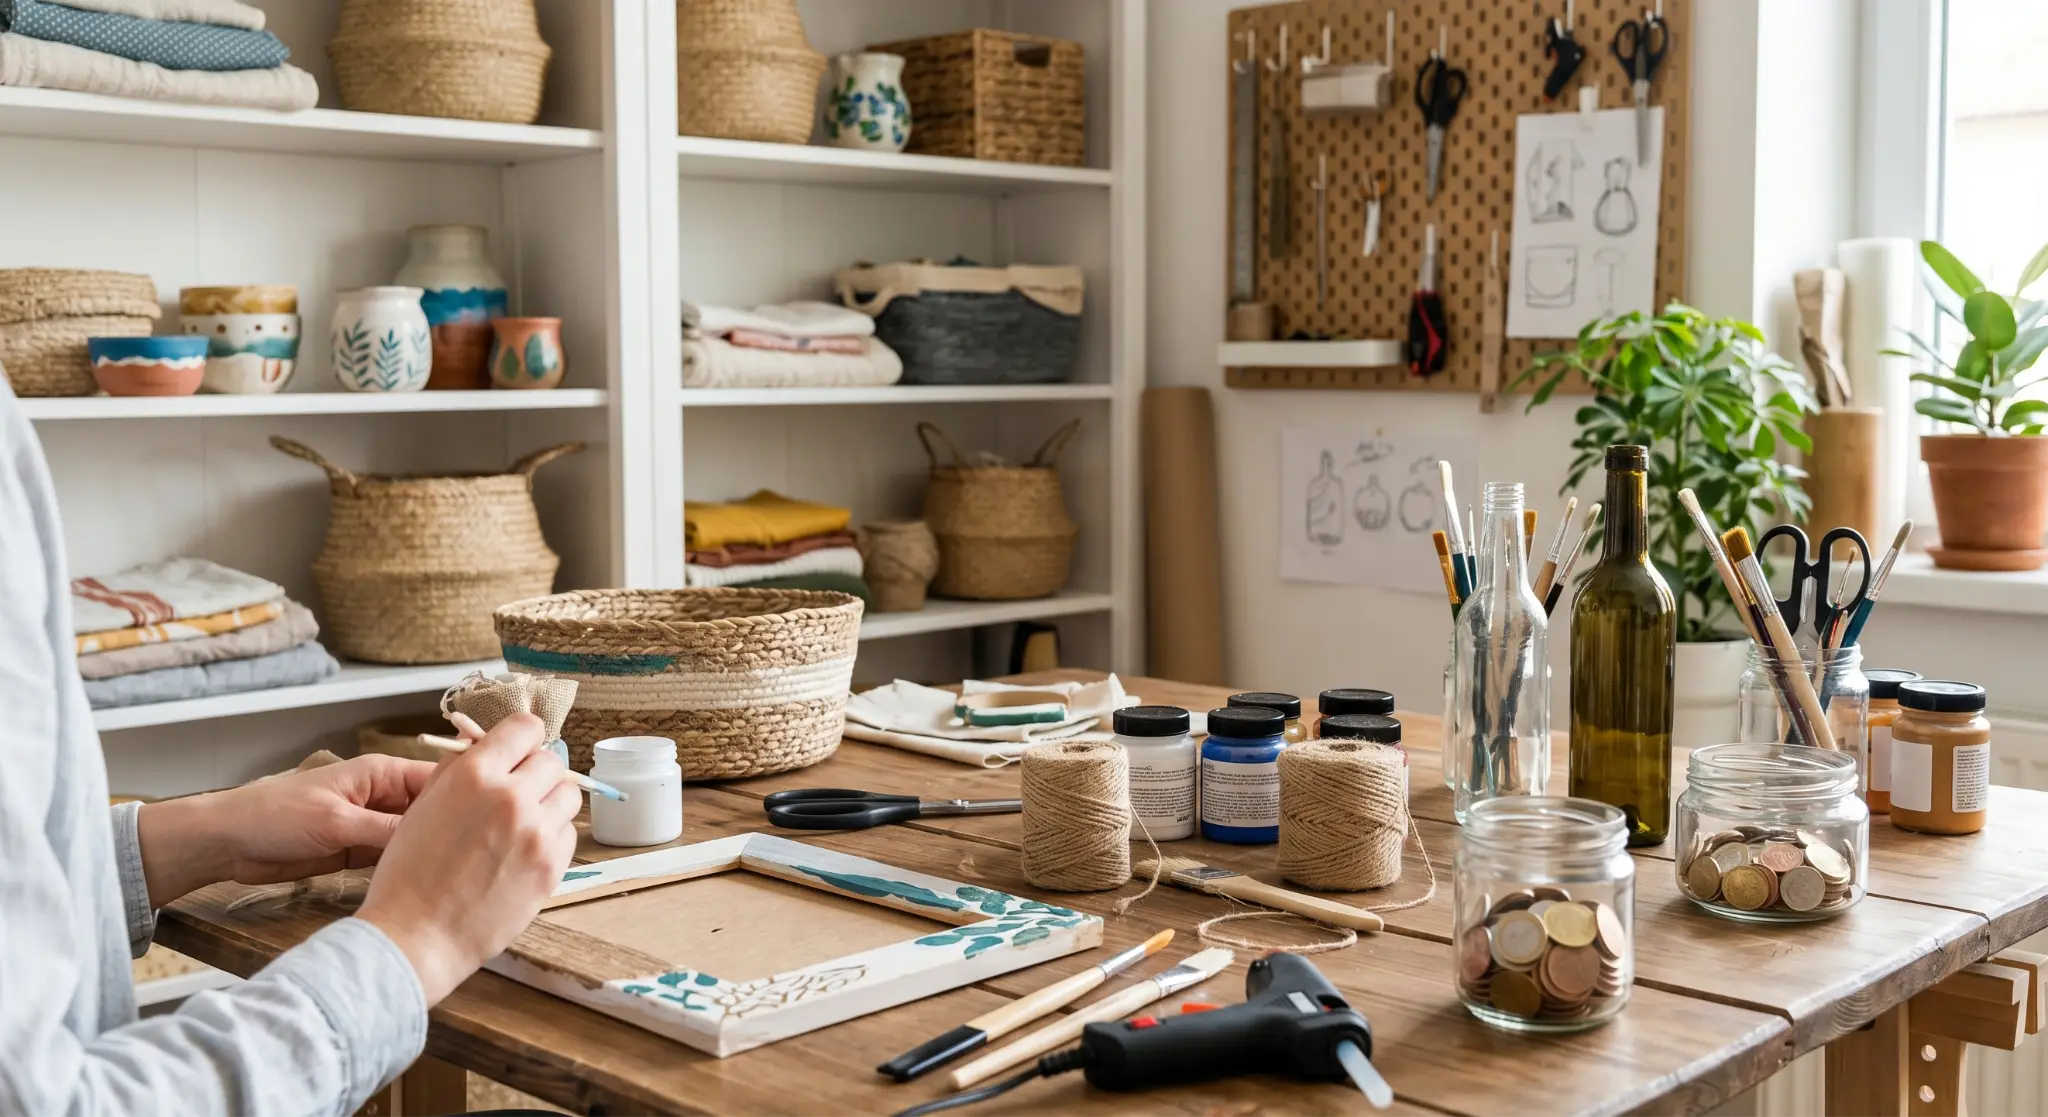
For light indoor craft and decor projects, you may only need a simple glue that dries clear and holds lightweight pieces in place. Hot glue, craft glue, spray adhesive, or double-sided mounting tape can be enough for paper, fabric, ribbon, foam, and seasonal decorations. These are convenient options when the bond doesn’t need to carry much weight or handle moisture.
For furniture, trim, shelving, and repairs that will be touched or loaded, strength matters more. Wood glue is often the right choice for raw wood-to-wood joints. Construction adhesive may be better for bonding trim, panels, or mixed materials where nails alone won’t give enough contact. Epoxy is useful when you need gap filling or a very firm bond between hard materials.
For DIYers working with labels, packaging, specialty tapes, or more technical bonding needs, it can be helpful to understand how adhesive products are designed for different surfaces and environments. Manufacturers such as Technical Adhesives show how varied adhesive formulations can be, which is a useful reminder that “sticky” is not a single category.
The main point is simple: choose for the job’s stress level. Ask whether the bond will carry weight, flex, get wet, sit outdoors, touch heat, or need to stay invisible. That answer will narrow your options faster than strength claims on the front of a package.
Know the Common Adhesive Types and Where They Fit
Most DIY home projects fall into a few adhesive categories. Knowing the basic strengths and limits of each one keeps you from using a product just because it’s already in the drawer.
Wood glue is best for clean, close-fitting wood joints. It’s great for small furniture repairs, loose trim pieces, craft wood, and joinery. It usually needs clamping pressure while it cures, so it’s not ideal for awkward spots where you can’t hold the pieces together.
Construction adhesive is thicker and more heavy-duty. It’s commonly used for baseboards, paneling, molding, some flooring transitions, and general household repairs. It fills small gaps better than thin glue, but it can be messy and may not be removable without damaging the surface.
Epoxy comes in two parts that you mix before use. It can bond many hard materials and often fills gaps well. It’s useful for broken ceramic, metal repairs, loose hardware, and some outdoor fixes. The tradeoff is that it requires careful mixing, has a limited working time, and may be more permanent than you want.
Cyanoacrylate, often called super glue, is good for small, tight repairs where the pieces fit cleanly together. It sets fast, which is helpful for tiny fixes but unforgiving if alignment matters. It can become brittle under impact or movement, so it’s not always the best choice for flexible items.
Silicone adhesive or sealant works well where moisture resistance and flexibility matter. Think bathroom edges, glass, some tile, and areas that expand or contract slightly. However, silicone is not the same as a structural adhesive. It’s excellent for sealing and flexible bonding, but not for holding heavy loads by itself.
Spray adhesive is useful for broad, lightweight materials such as fabric, paper, foam, and some craft surfaces. It gives even coverage, but overspray can be a problem. Use it with careful masking and ventilation.
Mounting tape and adhesive strips are convenient for renters, seasonal decor, and lightweight wall items. They can be surprisingly strong when used correctly, but they depend heavily on clean surfaces, proper weight limits, and enough contact area.
Pay Attention to Indoor Air, Odor, and Ventilation
Many adhesives release fumes while they’re applied and cured. Some products have a strong odor for only a short time, while others can linger depending on the formula, amount used, room size, and ventilation. This matters most in small rooms, children’s spaces, bedrooms, bathrooms, and projects done during cold weather when windows stay closed.
Volatile organic compounds, or VOCs, can be released from many household products, including paints, varnishes, waxes, cleaning products, and hobby products, and the U.S. Environmental Protection Agency notes that concentrations of many VOCs are often higher indoors than outdoors EPA guidance on VOCs and indoor air quality.
For indoor DIY projects, look for low-odor or low-VOC options when they’re suitable for the job. This doesn’t mean you should choose a weaker adhesive for a demanding repair. It means you should weigh performance and indoor comfort together, especially for projects inside occupied rooms.
Read the label for ventilation instructions, cure time, cleanup method, and warnings. Open windows when possible, use fans to move air out of the work area, and avoid storing open adhesive containers indoors. Also, don’t assume “water-based” means no precautions are needed. It may be easier to clean and lower in odor, but the instructions still matter.
Surface Prep Often Matters More Than the Glue Itself
A good adhesive can fail on a dirty, glossy, damp, or unstable surface. Surface prep is one of the easiest ways to improve your results, and it doesn’t require special skill.
Start by removing dust, grease, wax, and loose paint. A painted wall, for example, may look clean but still have cooking residue, furniture polish, or old adhesive film on it. Adhesive strips and mounting tapes are especially sensitive to this. If the surface isn’t clean, the bond sticks to the grime instead of the wall.
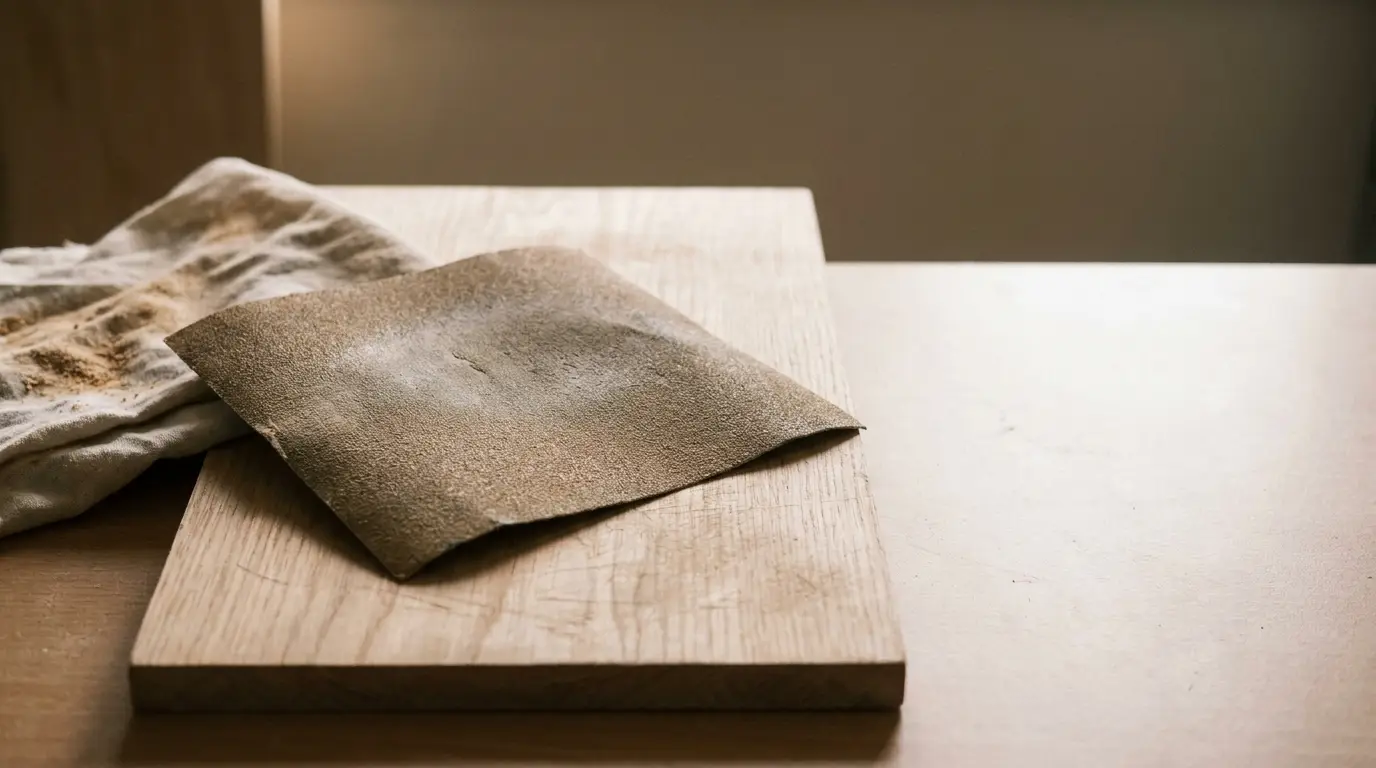
Light sanding can help on glossy wood, smooth plastic, or painted trim when the adhesive instructions allow it. You’re not trying to remove the entire finish. You’re giving the adhesive a slightly better surface to grip. After sanding, wipe away dust completely before applying the product.
Moisture is another common problem. Some adhesives are designed for damp surfaces, but many are not. If you’re repairing a bathroom shelf, outdoor planter, window trim, or laundry room item, let the surface dry first unless the adhesive specifically says it can be used in those conditions.
Fit matters too. Thin glues usually need tight contact between pieces. If there’s a gap, choose a gap-filling adhesive such as epoxy or a suitable construction adhesive. Trying to fill a wide gap with a glue that’s meant for close joints usually leads to a weak repair.
Give the Adhesive Enough Time to Cure
Dry time and cure time are not always the same. An adhesive may feel dry to the touch after 30 minutes but still need hours or days to reach full strength. Moving, loading, painting, or stressing the project too early can weaken the bond before it has a chance to form properly.
This is especially important for shelves, hooks, trim, chair repairs, and bathroom projects. A wall hook may stay up for a few minutes, then fall once weight is added. A repaired chair may feel solid until someone sits on it. A glued tile accent may shift if bumped before the adhesive sets.
Clamping or bracing can also make a major difference. Wood glue usually needs pressure. Trim adhesive may need painter’s tape, small brads, or temporary supports while it grabs. Epoxy may need the pieces held steady so they don’t slide during the working time.
Read the product’s cure instructions before you start, not after the adhesive is already applied. Some products require immediate assembly. Others need a short open time before pressing surfaces together. A few require mixing, spreading, and clamping within a narrow window. Planning that sequence prevents rushed, messy results.
Avoid These Common DIY Adhesive Mistakes
One of the biggest mistakes is using too much adhesive. More glue doesn’t always mean more strength. Excess product can squeeze out, create lumps, slow curing, or leave visible residue. For many adhesives, a thin, even layer works better than a thick glob.
Another common mistake is choosing based only on the word “strong.” Strength can mean different things: shear strength, impact resistance, water resistance, flexibility, or heat tolerance. A rigid adhesive may be strong but crack on a flexible surface. A flexible sealant may resist moisture but not hold a heavy object.
Don’t skip weight limits. This is especially important for adhesive hooks, mounting strips, and tapes. The package weight rating usually assumes proper surface prep, full contact, correct curing time, and ideal conditions. If your item is valuable, fragile, or hung above furniture, use mechanical fasteners instead of relying on adhesive alone.
Also, think about removability. A permanent construction adhesive might be great for trim but a bad choice for temporary decor. On painted walls, removable strips may be better than glue. On antiques, heirlooms, or delicate finishes, test in a hidden area or choose a reversible method when possible.
A Simple Decision Process Before You Buy
When you’re standing in the adhesive aisle, narrow the choice with a few practical questions.
What materials are you joining? If both are porous, you have more options. If one or both are slick, sealed, or nonporous, choose a product made for that surface.
Will the project live indoors or outdoors? Outdoor projects need resistance to moisture, temperature changes, and sometimes sunlight. Indoor projects may put more emphasis on odor, cleanup, and finish appearance.
Will it carry weight or just hold decoration? Lightweight decor can often use strips, craft glue, or hot glue. Structural repairs, shelves, trim, and furniture need stronger, more durable options.
Does the bond need to flex? Fabric, leather, rubber, and some plastics need flexibility. Wood joints and ceramic repairs usually need firmness.
Do you need it to be invisible? Choose a clear-drying adhesive or one that can be sanded, painted, or cleaned neatly after curing.
Can you clamp or brace it? If not, look for an adhesive with strong initial grab, but still respect the full cure time.
These questions prevent guesswork. They also keep you from overbuying heavy-duty products when a cleaner, simpler adhesive would do the job better.
Conclusion
Choosing the right adhesive for your next DIY home project comes down to fit, not force. Match the product to the materials, the environment, and the stress the repair or project will face. Prep the surface well, follow the cure time, and don’t rely on strength claims alone. A little planning before you glue can save you from redoing the same project later.