People think a sauna is a heater in a wooden box, but it is not.
The wood you pick decides whether the bench burns your skin at 190°F. The foil goes shiny-side in, or your walls rot from the inside out.
Get those two things right, and the rest is carpentry.
We show you how to build a diy sauna, indoors or out, from the first stud to the first steam. Grab a tape measure and read on.
Tools & Materials List
Here is everything you need before the first cut. Gather it all up front so you are not stopping mid-build for a hardware run.
I have grouped tools and materials below, with the wood and vapor barrier choices worth extra thought.
Tools
- Tape measure
- Circular saw, or miter saw
- Drill and driver
- Staple gun
- Level
- Stud finder
- Utility knife
- Nail gun or finish nailer
- Caulk gun
- Safety glasses
- Dust mask
Materials
- 2×4 lumber for framing
- Mineral wool insulation
- Aluminum foil vapor barrier
- High-temperature foil tape
- Cedar or hemlock tongue-and-groove interior cladding
- Aspen or basswood bench wood
- Electric sauna heater
- 1×4 furring strips
- Sauna-rated door
- Intake vents and Exhaust vents
- 240V wiring and dedicated breaker
- Concrete or gravel base (for outdoor saunas)
- Sauna backrest
- Duckboard floor
- Heater guard rail
How to Build an Diy Indoor Sauna?
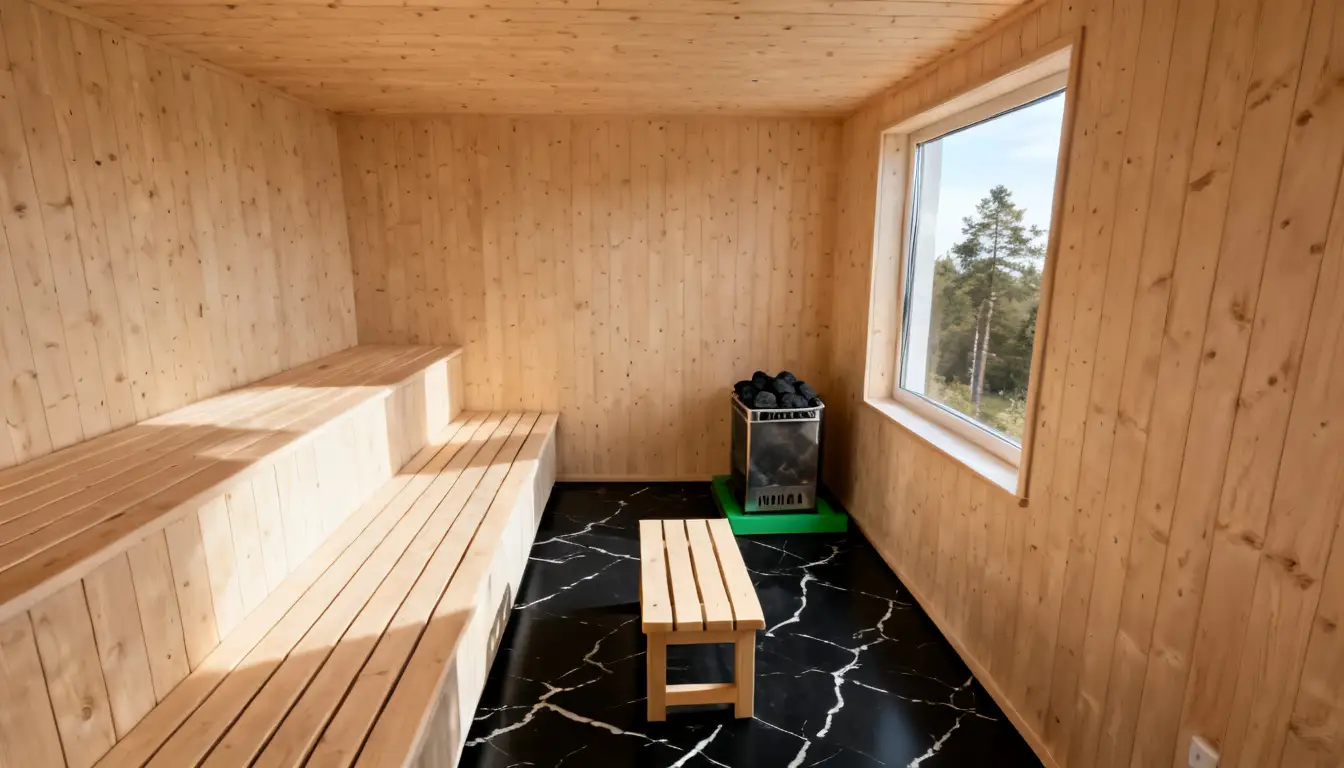
This is the core build, and most of it carries straight over to an outdoor sauna too. I will take you from an empty room to the first step, step by step.
One step needs an electrician, and I will tell you clearly when we get there.
1. Pick Your Spot and Size the Room
Find a space with a floor that tolerates heat and humidity.
Concrete, tile, or a spare closet all work; aim for a 6-by-6-foot footprint with a 7-foot ceiling that gives you 252 cubic feet, a comfortable two- to three-person size.
Keep the ceiling at 7 feet if you can. Higher ceilings heat a lot of dead space up top while your feet stay cold.
Measure the interior, not the exterior, and write the number down.
2. Prep the Floor and Lay out The Base
Indoors, you build on what you have. Clear the floor down to concrete, tile, or sealed subfloor.
Snap chalk lines for your four walls using the interior dimensions from Step 1. Check that the floor is level with a 4-foot level.
A duckboard slat floor on top is optional but keeps bare feet off the hot tile. Skip carpet and vinyl entirely.
3. Frame the Walls and Ceiling
Build stud walls from 2×4 lumber, with studs at 16 inches on-center. Frame all four walls flat on the floor, then stand and fasten them.
Add ceiling joists at the same 16-inch spacing. Rough in your door opening now, sized to your sauna-rated door.
Leave gaps for the two vents from Step 9. Frame the intake low near the heater wall and the exhaust high on the opposite wall.
4. Run the Heater Circuit Before You Close the Walls
Do not do this alone; hire a licensed electrician.
Most home heaters between 4 and 9 kW require a dedicated 240V circuit, while units above 9 kW typically require a 60-amp circuit.
Have the electrician run the wire and set the breaker while the studs are open and easy to reach. Closing walls first means having to tear them back open later.
Never guess on gauge or breaker size. An undersized circuit on a sauna heater is a fire risk. Match the heater’s spec sheet exactly.
5. Insulate, Then Staple the Foil Shiny-Side In
Fill the stud cavities with unfaced mineral wool. Target R-13 to R-15 in the walls.
Use mineral wool behind the heater wall; never foam there. Then cover everything with an aluminum foil vapor barrier.
The shiny side must face inward, toward the sauna. Start at the ceiling and work down so overlaps shed moisture properly.
Overlap seams by 2 to 3 inches and seal every seam with high-temperature foil tape.
A backward barrier is a hidden disaster. The shiny side faces the warm interior, not the cold exterior. Get this wrong and your framing rots from the inside. Once cladding goes on, you cannot see it, so check twice now.
6. Clad the Interior in Cedar or Hemlock
Install tongue-and-groove boards over the foil. If you clad in spruce, aspen, or hemlock, first fasten 1×4 furring strips to create an air gap.
That air gap behind the cladding essentially eliminates the risk of mold in a well-ventilated sauna.
Cedar holds up in moisture without the gap. Cut each panel 1/4 to 1/2 inch shorter than the space, so the wood can expand when heated without buckling.
Leave interior wood bare. Never stain or seal it.
7. Build the Benches at Two Heights
Frame bench supports from 2x4s, then top them with aspen or basswood slats.
I’d build a lower bench around 18 inches high and an upper bench around 36 inches. Heat rises, so the upper bench sits where the good heat lives.
Aspen is my pick for slats. It has a VOC output close to zero and stays comfortable against bare skin at high temperatures.
Leave small gaps between slats for airflow and drainage.
8. Mount the Heater and Size it Right
Size the heater to your room volume. The rule is 1 kW for every 45 to 50 cubic feet.
Your 252-cubic-foot room is near 5 kW. If you add a glass door, add about 1 kW per 11 square feet of glass, then round up.
Mount the heater on the wall per its manual. Follow the manufacturer’s clearance to combustible surfaces exactly.
Do not shrink insulation behind the heater to fit wiring. That wall needs the most insulation, not the least.
9. Cut in The Intake and Exhaust Vents
A sauna has to breathe. Size your vents so the combined intake and exhaust area equals at least 1 square foot per 100 cubic feet of space.
For a 252-cubic-foot room, that is roughly 2.5 square feet in total. Put the intake low near the heater and the exhaust high on the opposite wall.
Fit adjustable covers so you can control airflow during a session. Do not let insulation or paneling block either vent.
10. Run the First Fire Before Anyone Uses It
Fill the heater tray with sauna rocks per the manual. Then run the sauna empty and hot for a first break-in session.
This burns off any manufacturing oils and factory residue on the heater elements. Follow your heater manual for the exact break-in time and temperature.
Keep the door cracked and the room ventilated during this run. Only after that first empty fire should anyone actually sit inside.
Building an Outdoor DIY Sauna
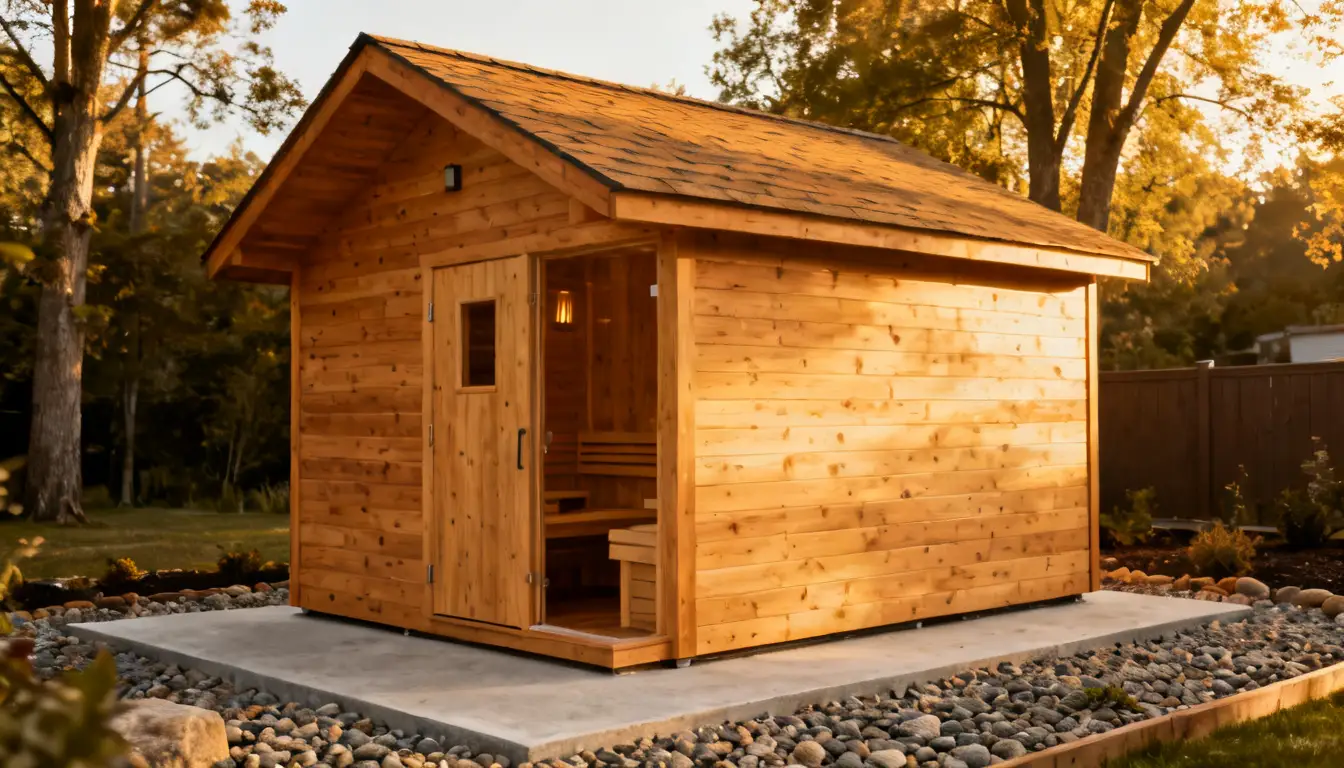
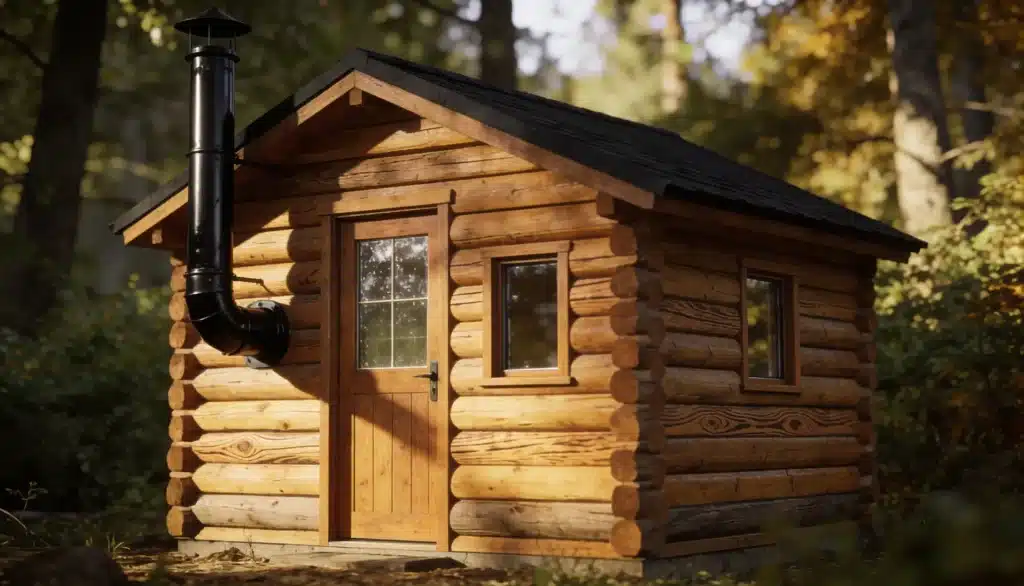
Most of the indoor build carries over exactly as is.
The framing in Step 3, the heater wiring in Step 4, the insulation and foil in Step 5, the cladding in Step 6, the benches in Step 7, the venting in Step 9, and the first fire in Step 10 all work the same outdoors.
Follow those indoor steps as written, and only four things change for an outdoor build.
The Base Replaces Step 2
You cannot build on an existing floor outdoors. Pour a concrete pad or set a level gravel-and-paver base instead.
This is the step that adds waiting time, since concrete needs several days to cure before you frame on it.
The Heater Sizes up From Step 8
Outdoor saunas bleed more heat. Take your indoor kW rating and add 15-20% more power to account for external temperature fluctuations.
In hard winters, size up rather than down.
The Shell Gets a Roof and Weatherproof Cladding
Indoors, you skip this entirely. Outdoors, you need a sloped, sealed roof and exterior-rated wood. Cedar and thermally modified woods handle weather.
Untreated spruce, hemlock, aspen, and pine should be kept off any surface exposed to rain, snow, or ground moisture.
The Insulation Goes Deeper
The indoor R-13 to R-15 still applies inside the walls. For cold climates, though, I’d add more. A continuous layer of rigid foam on the exterior breaks thermal bridges and adds R-5 to R-10.
That is the whole difference; everything else, top to bottom, matches the indoor guide above.
How to Know You’ve Done It Right?
You will know within the first full session. A properly built sauna hits temperature without a struggle.
A well-sized heater brings the room to temperature in about 30 to 45 minutes. If yours takes more than an hour to heat up, the heater is undersized, or the seal is loose.
Toss water on the rocks. You want a satisfying hiss and a burst of steam, not a weak sizzle.
Check the walls after a few sessions. Dry framing and tight seams mean your vapor barrier is doing its job.
Feel the upper bench. It should sit comfortably hot, never scorching against bare skin. Hit those marks, and the build is sound.
Will This Actually Work for Me?
It depends on your skills and your space. If you can frame a wall and read a level, the carpentry is within reach.
The wiring is the real gatekeeper. Most heaters between 4 and 9 kW need a dedicated 240V circuit, so budget for an electrician.
Space matters too. The smallest one-person layout runs 3 feet by 3 feet by 7 feet high.
Renting or short on room? The portable tent build skips framing and wiring entirely. Match the project to your situation, and yes, it works.
When NOT to DIY?
I am all for building this yourself, but some parts are not DIY territory, and pretending otherwise gets people hurt.
Call a professional in these cases:
- The heater wiring, always: A permanent heater needs a dedicated 240V circuit.
- Panel upgrades: If your box lacks capacity, that is an electrician’s job, not a weekend one.
- Structural changes: Cutting into load-bearing walls requires a pro to assess it first.
- Gas or wood-burning stoves: These need proper flue and clearance work. Get it inspected.
Everything else, the framing, insulating, foiling, and cladding, is fair game for a capable DIYer. Know the line, and the build stays safe.
Conclusion
Build a diy sauna right, and you get a private heat retreat that holds a steady 180°F for years.
The framing and cladding are weekend carpentry. The heater circuit is the one line you hand to a licensed electrician.
Respect that split and the project stays safe, legal, and yours. Whether you build indoors, outdoors, or in a portable setup, the payoff is the same on your terms.
Frequently Asked Questions (FAQs)
1. Is it Cheaper to Build Your Own Sauna?
Often yes on materials, but factor in tools, learning curve, mistakes, and time, and savings shrink for beginners.
2. What Wood Should I Not Use in a Sauna?
Avoid treated lumber, plywood, MDF, and resinous woods like pine or spruce; they release toxic fumes when heated.
3. Do I Need a Permit to Build a Sauna?
Usually, yes, for electrical or structural work. Requirements vary by location, so check local building codes first.