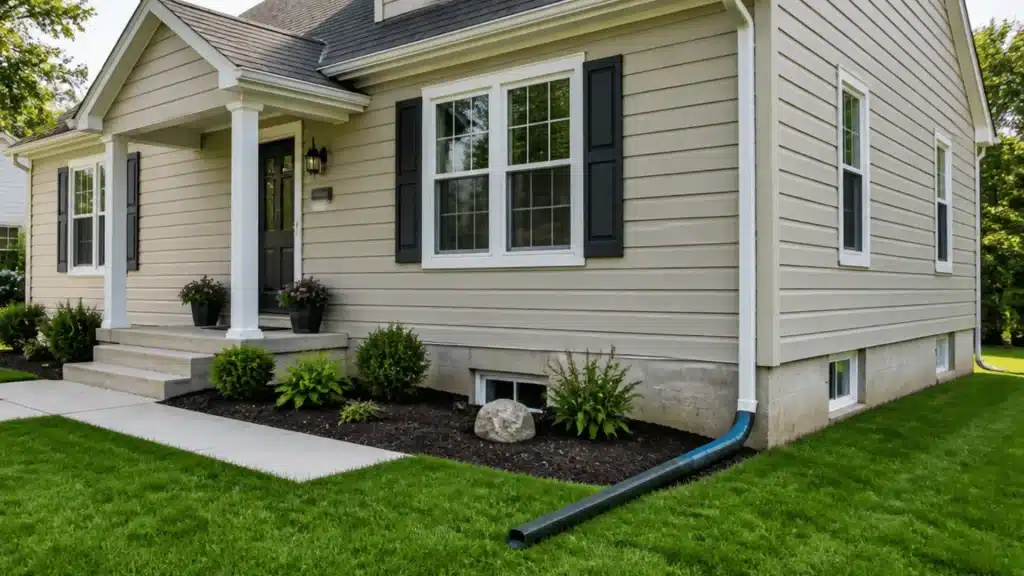
Water pooling by the back corner of a house rarely announces itself until the drywall starts bubbling or the basement smells damp.
By then, the fix costs far more than it would have if the downspout had simply been pointed somewhere else.
That’s what good downspout drainage ideas come down to: getting roof runoff far enough from the house that it can’t work its way back in.
Land that much water three feet from the foundation instead of ten, and the soil saturates, swells, and pushes against the wall until it shows up as basement seepage or cracked mortar.
The fix can be a five-dollar splash block or a buried pipe system; the right call depends on slope, soil, and local rainfall.
How Far Should Downspouts Drain Away From the House?
The Department of Energy program and the EPA’s Indoor airPLUS guidelines both set the same baseline.
Downspouts should discharge at least 5 feet from the foundation, or into an underground catchment system at least 10 feet away.
That’s because backfill soil against the wall, disturbed during construction, drains poorly; water dumped there soaks in and pushes against the foundation instead of running off.
Flat lots and clay-heavy soil often need 8 to 10 feet; a well-sloped yard can often meet the minimum without extra measures.
Whatever distance you choose, make sure the end point keeps draining; this measurement is the starting point for every downspout drainage idea that follows.
Practical Downspout Drainage Ideas
Not every yard needs the same fix. A rental with a mowed lawn calls for something different than a finished patio or a lot that floods every spring.
This list moves from the simplest hardware-store options toward the more permanent, dig-it-in solutions. Match the idea to your slope, soil, and how much digging you’re willing to do.
1. Add a Basic Downspout Extension
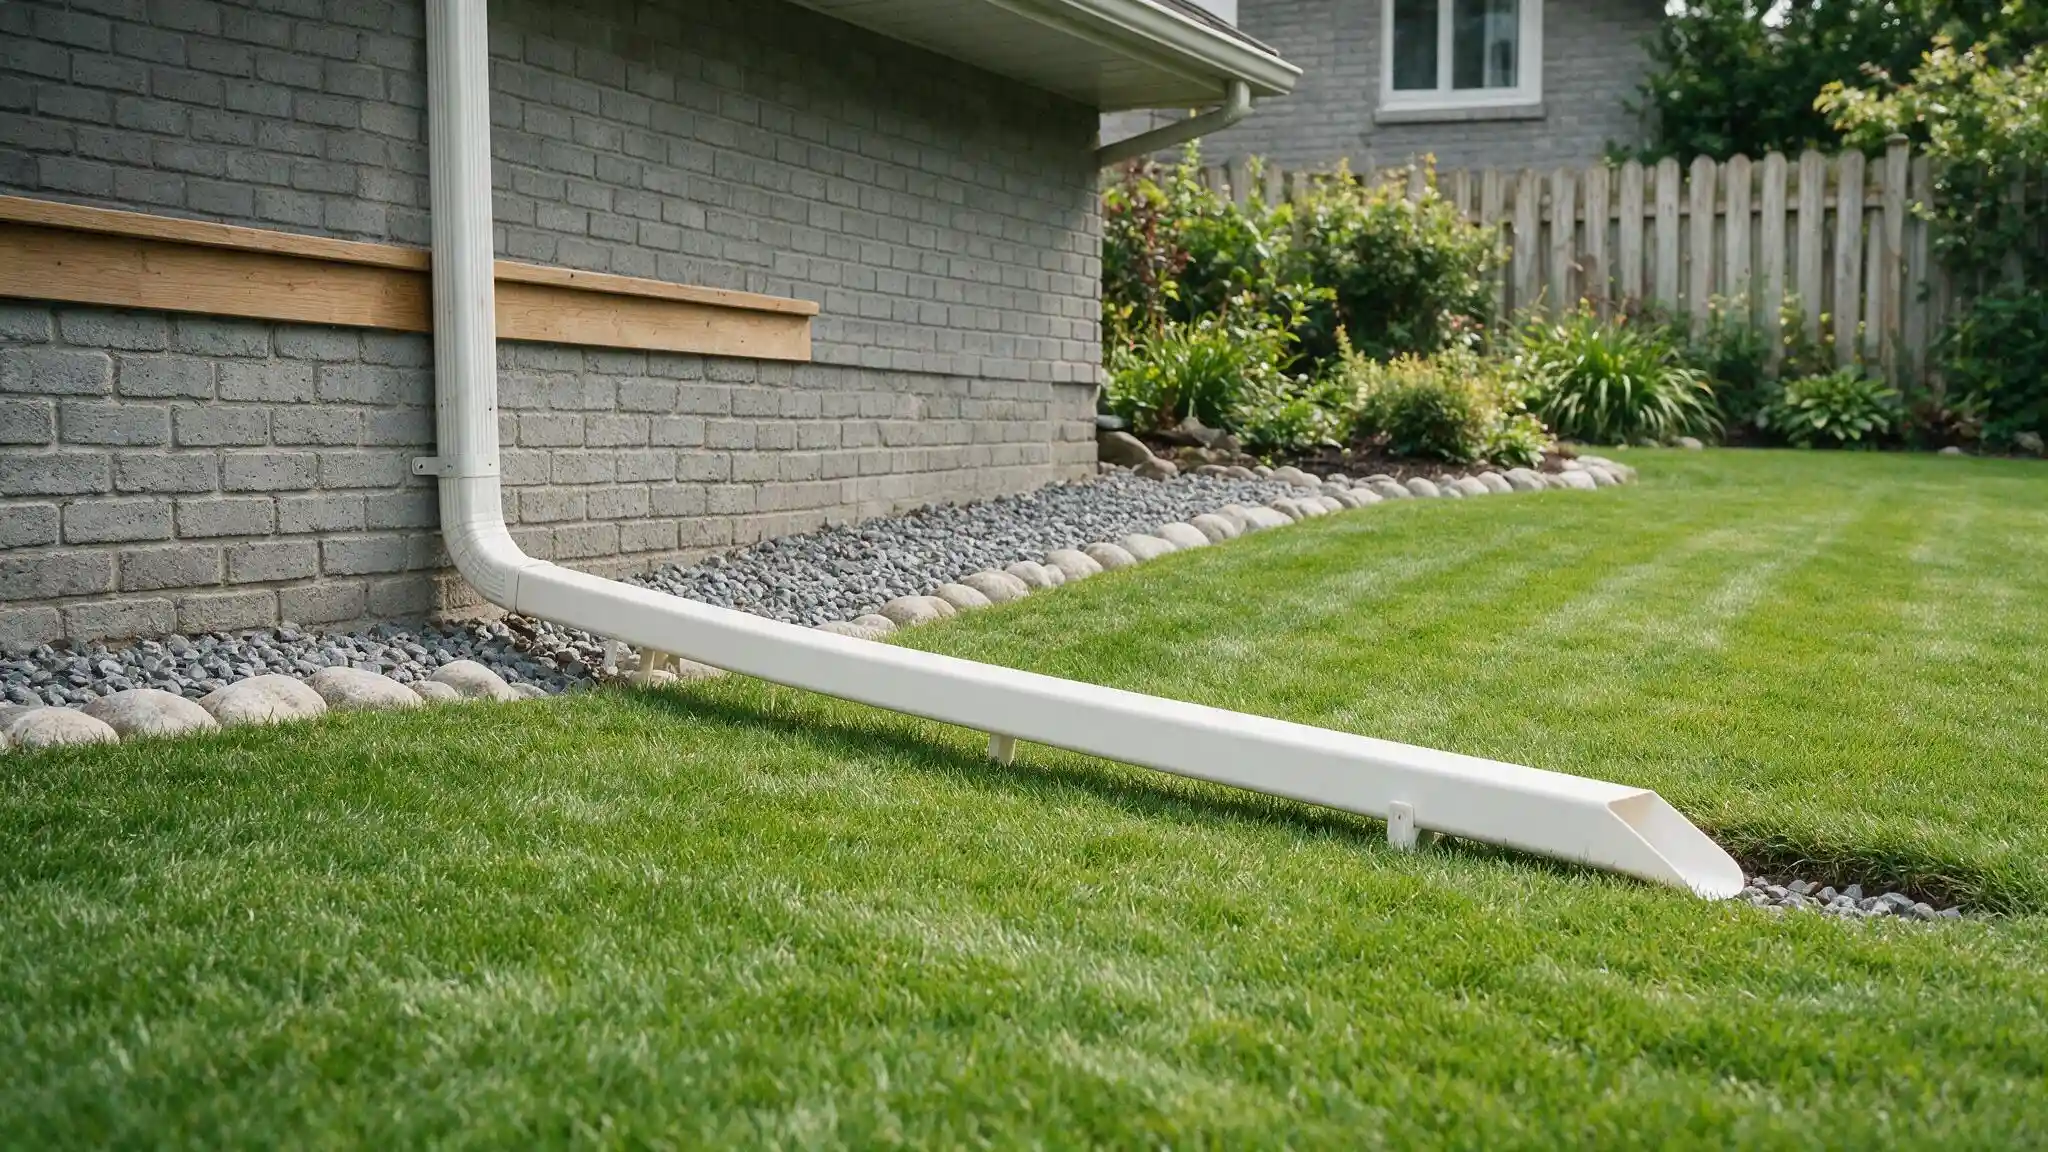
A rigid plastic or aluminum extension snaps onto the existing downspout and carries water a few extra feet before releasing it.
It’s the cheapest fix available; most run under $20 and take about five minutes to install.
The catch is that it needs a slight downward slope to work, and it’s easy to mow over or kick loose, so it’s best treated as a starting point rather than a permanent answer.
2. Use a Flexible Downspout Extension
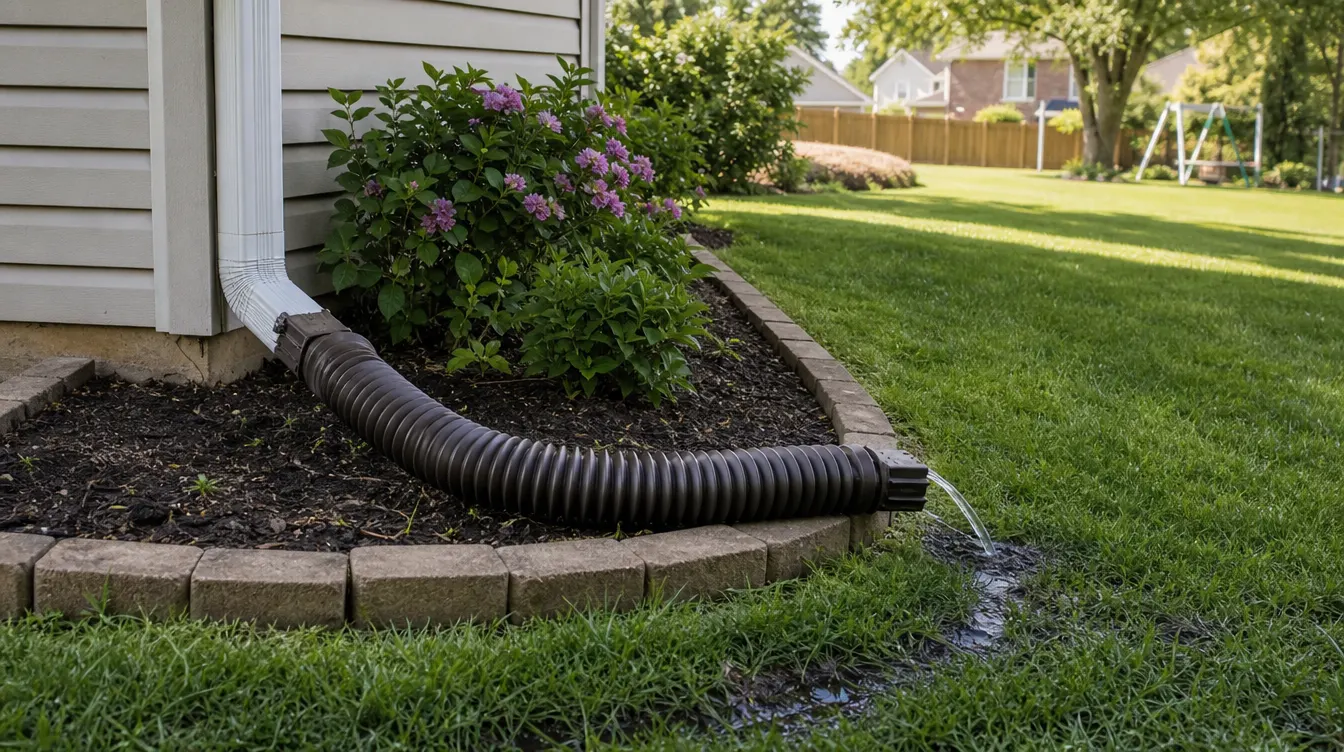
Accordion-style extensions bend around patios, flower beds, or walkways instead of running in a straight line, which makes them a good fit for yards where a straight run isn’t possible.
They’re a good option when the shortest path to open ground isn’t a straight shot from the downspout. Because they collapse when not in use, they’re also easy to store or move for landscaping projects.
3. Install a Hinged or Retractable Downspout Extension
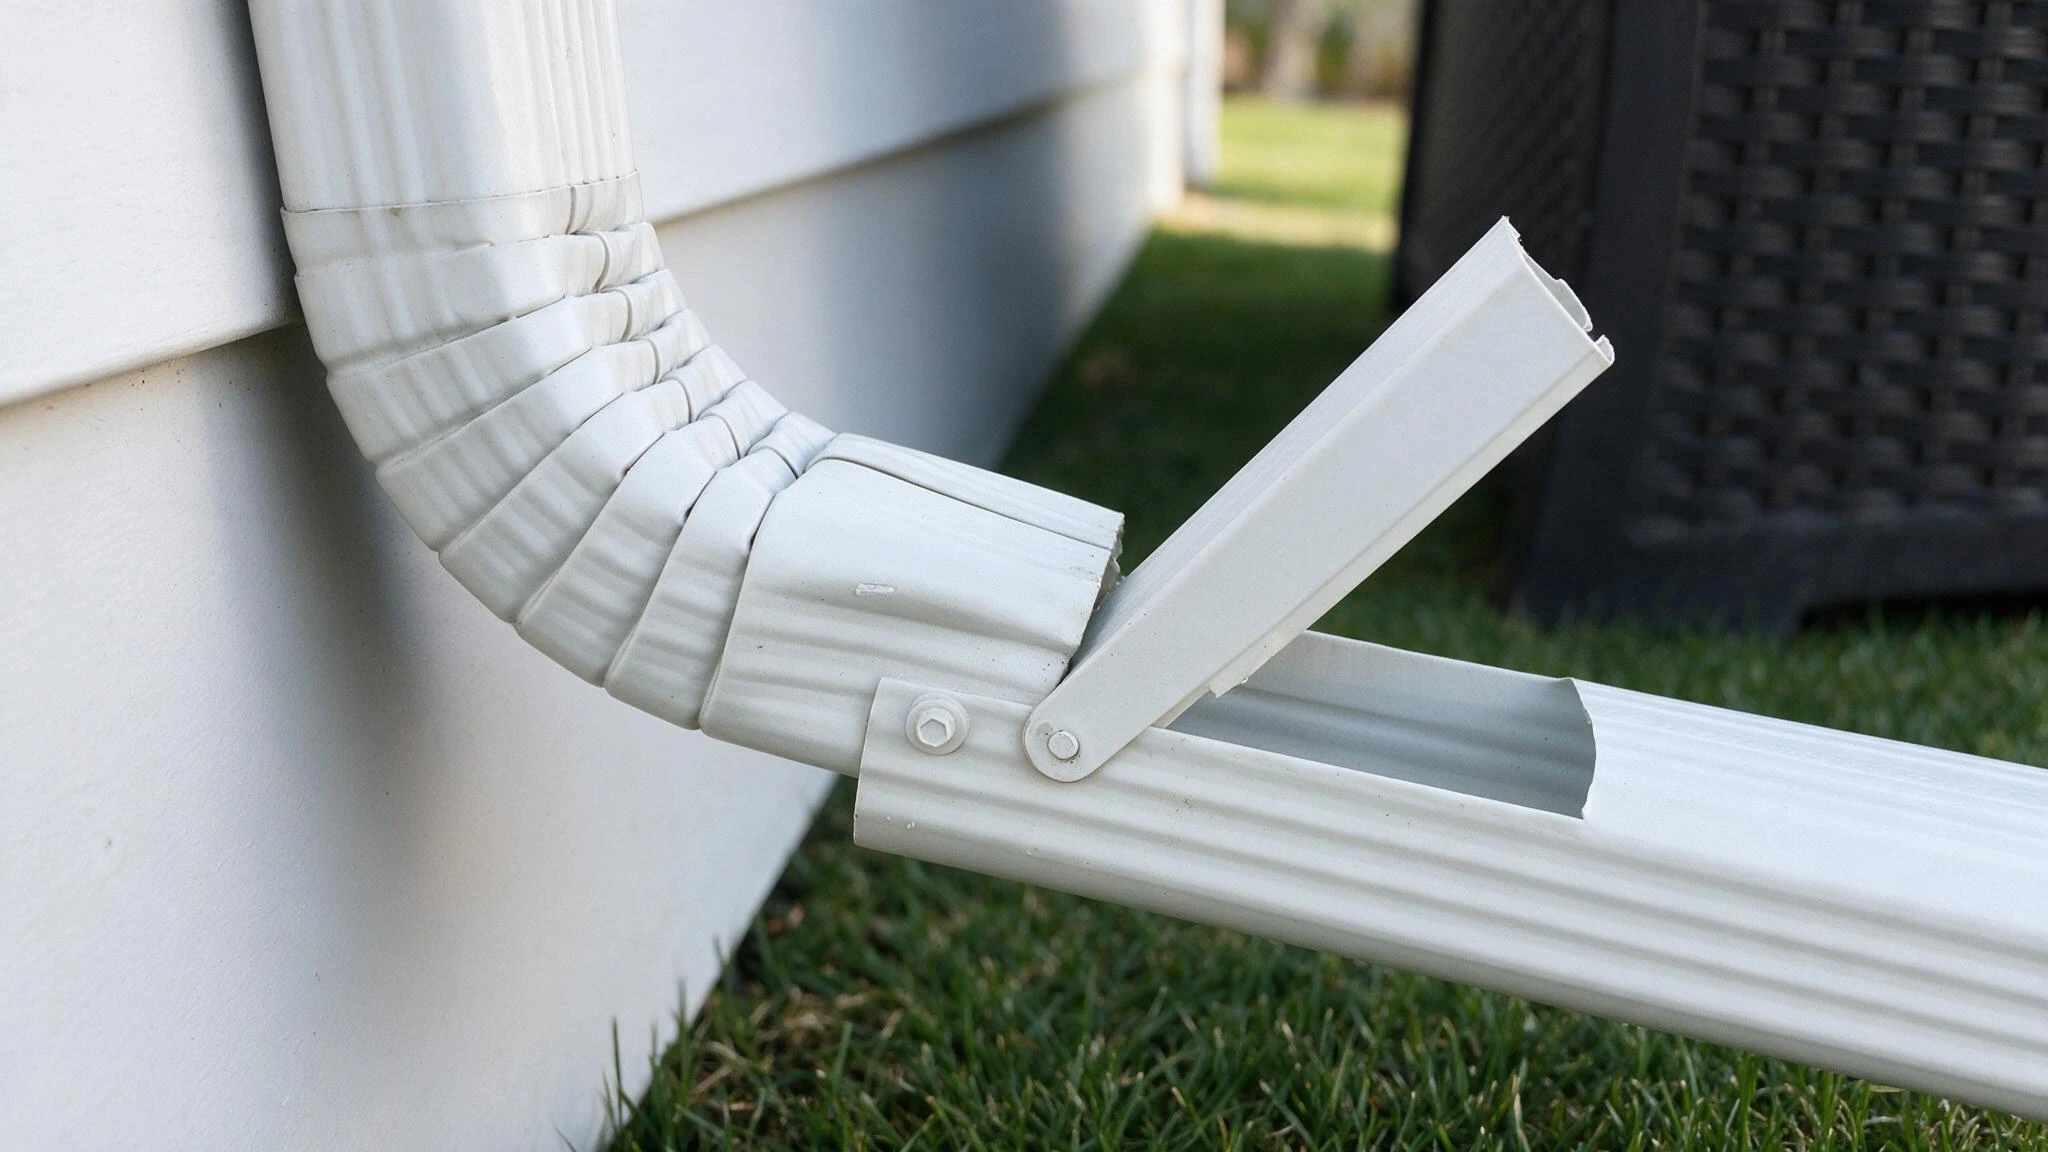
These fold flat against the house or against the ground and pop back into position when it rains, which matters if you mow close to the foundation.
The moving joint is also the weak point; check it each spring, since dirt and grass clippings tend to jam the hinge over time.
4. Connect the Downspout to an Underground Drain Pipe
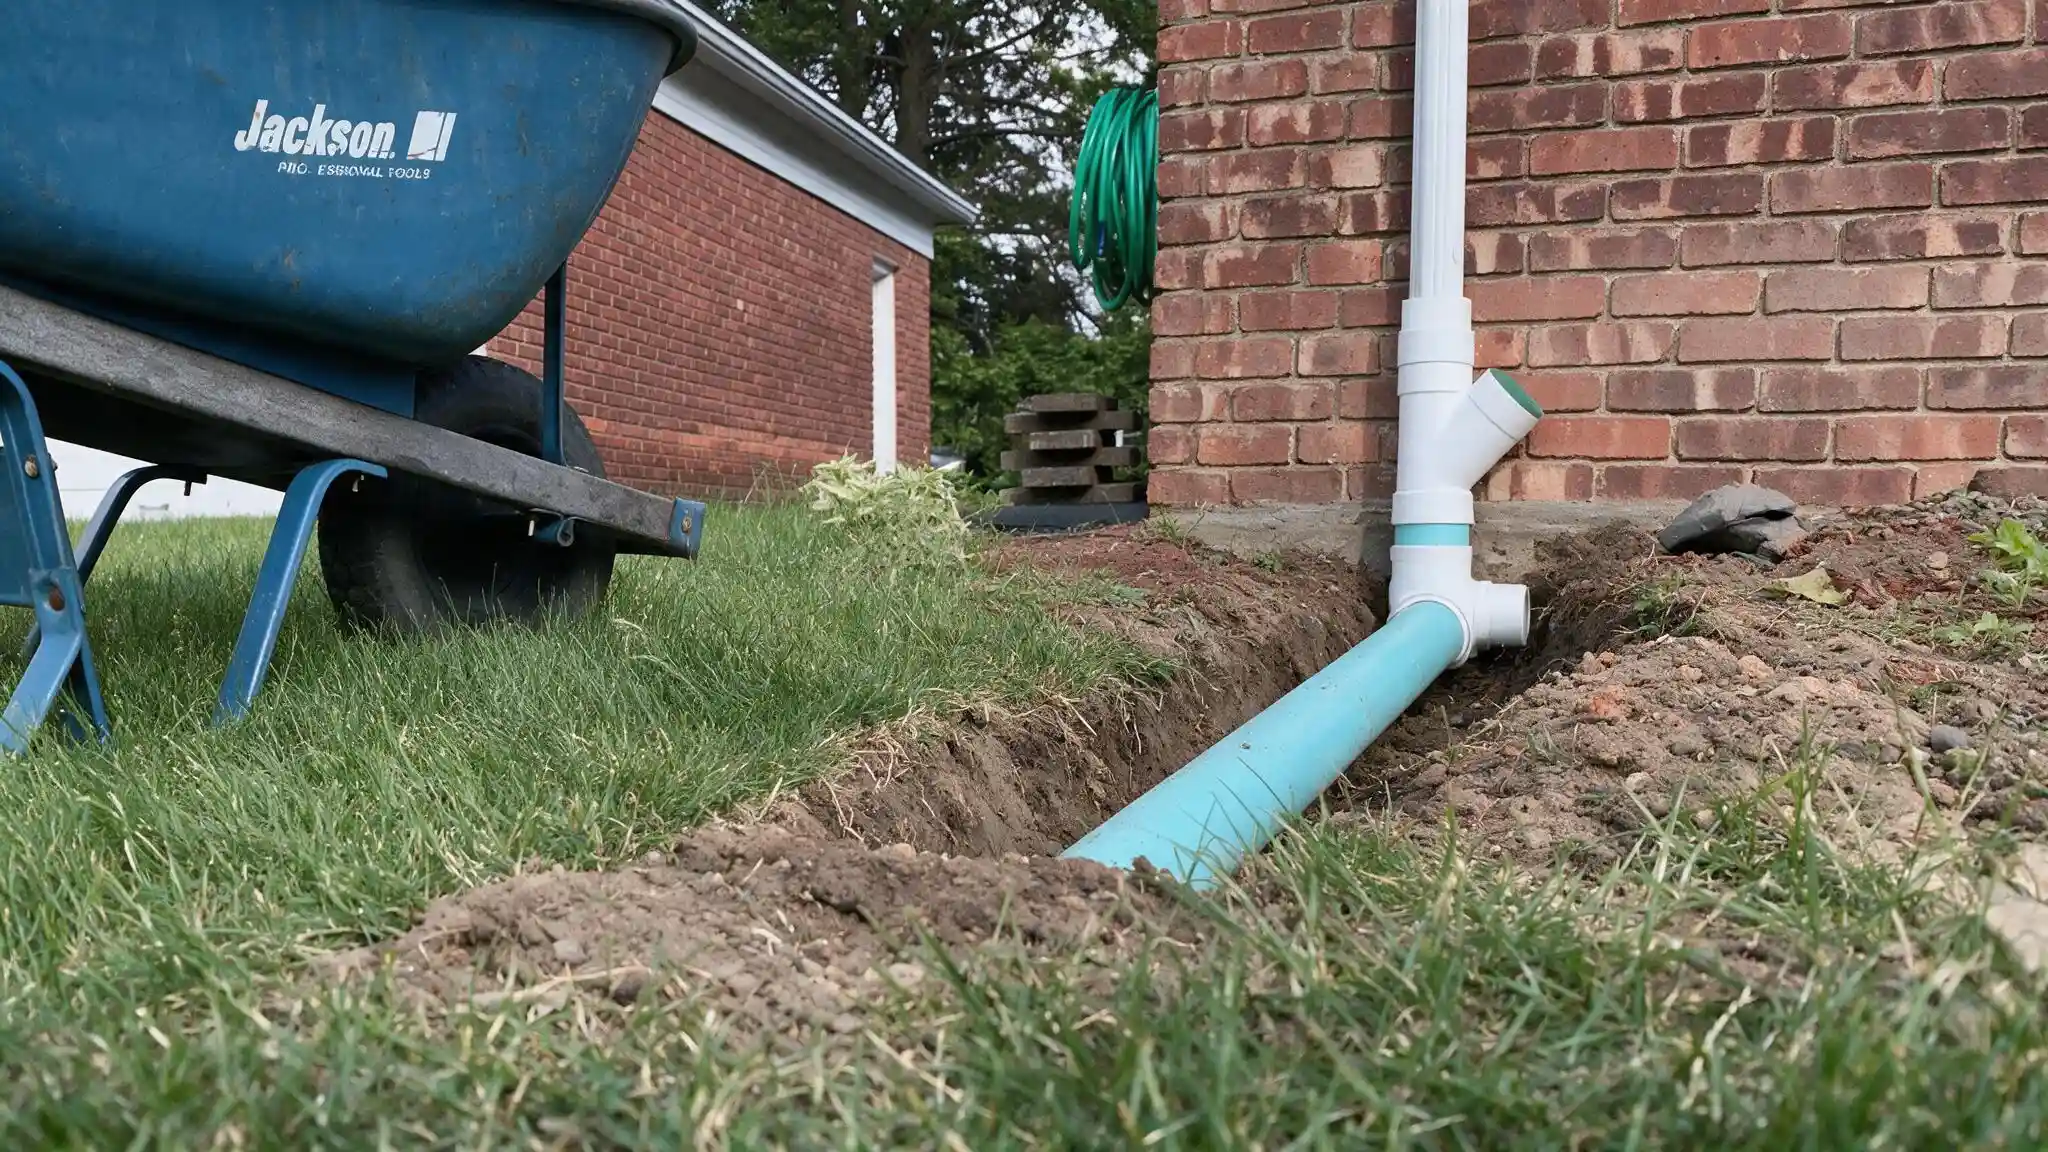
A buried run of solid PVC pipe, not the perforated kind, carries water well past the splash zone and keeps the lawn open above it.
This setup needs a downspout adapter, a steady downward slope, and a clear discharge point.
Solid pipe is important because perforated pipe lets water leak into the surrounding soil, which defeats the purpose when the goal is to move runoff away rather than disperse it near the foundation.
5. Use a Pop-Up Drainage Emitter
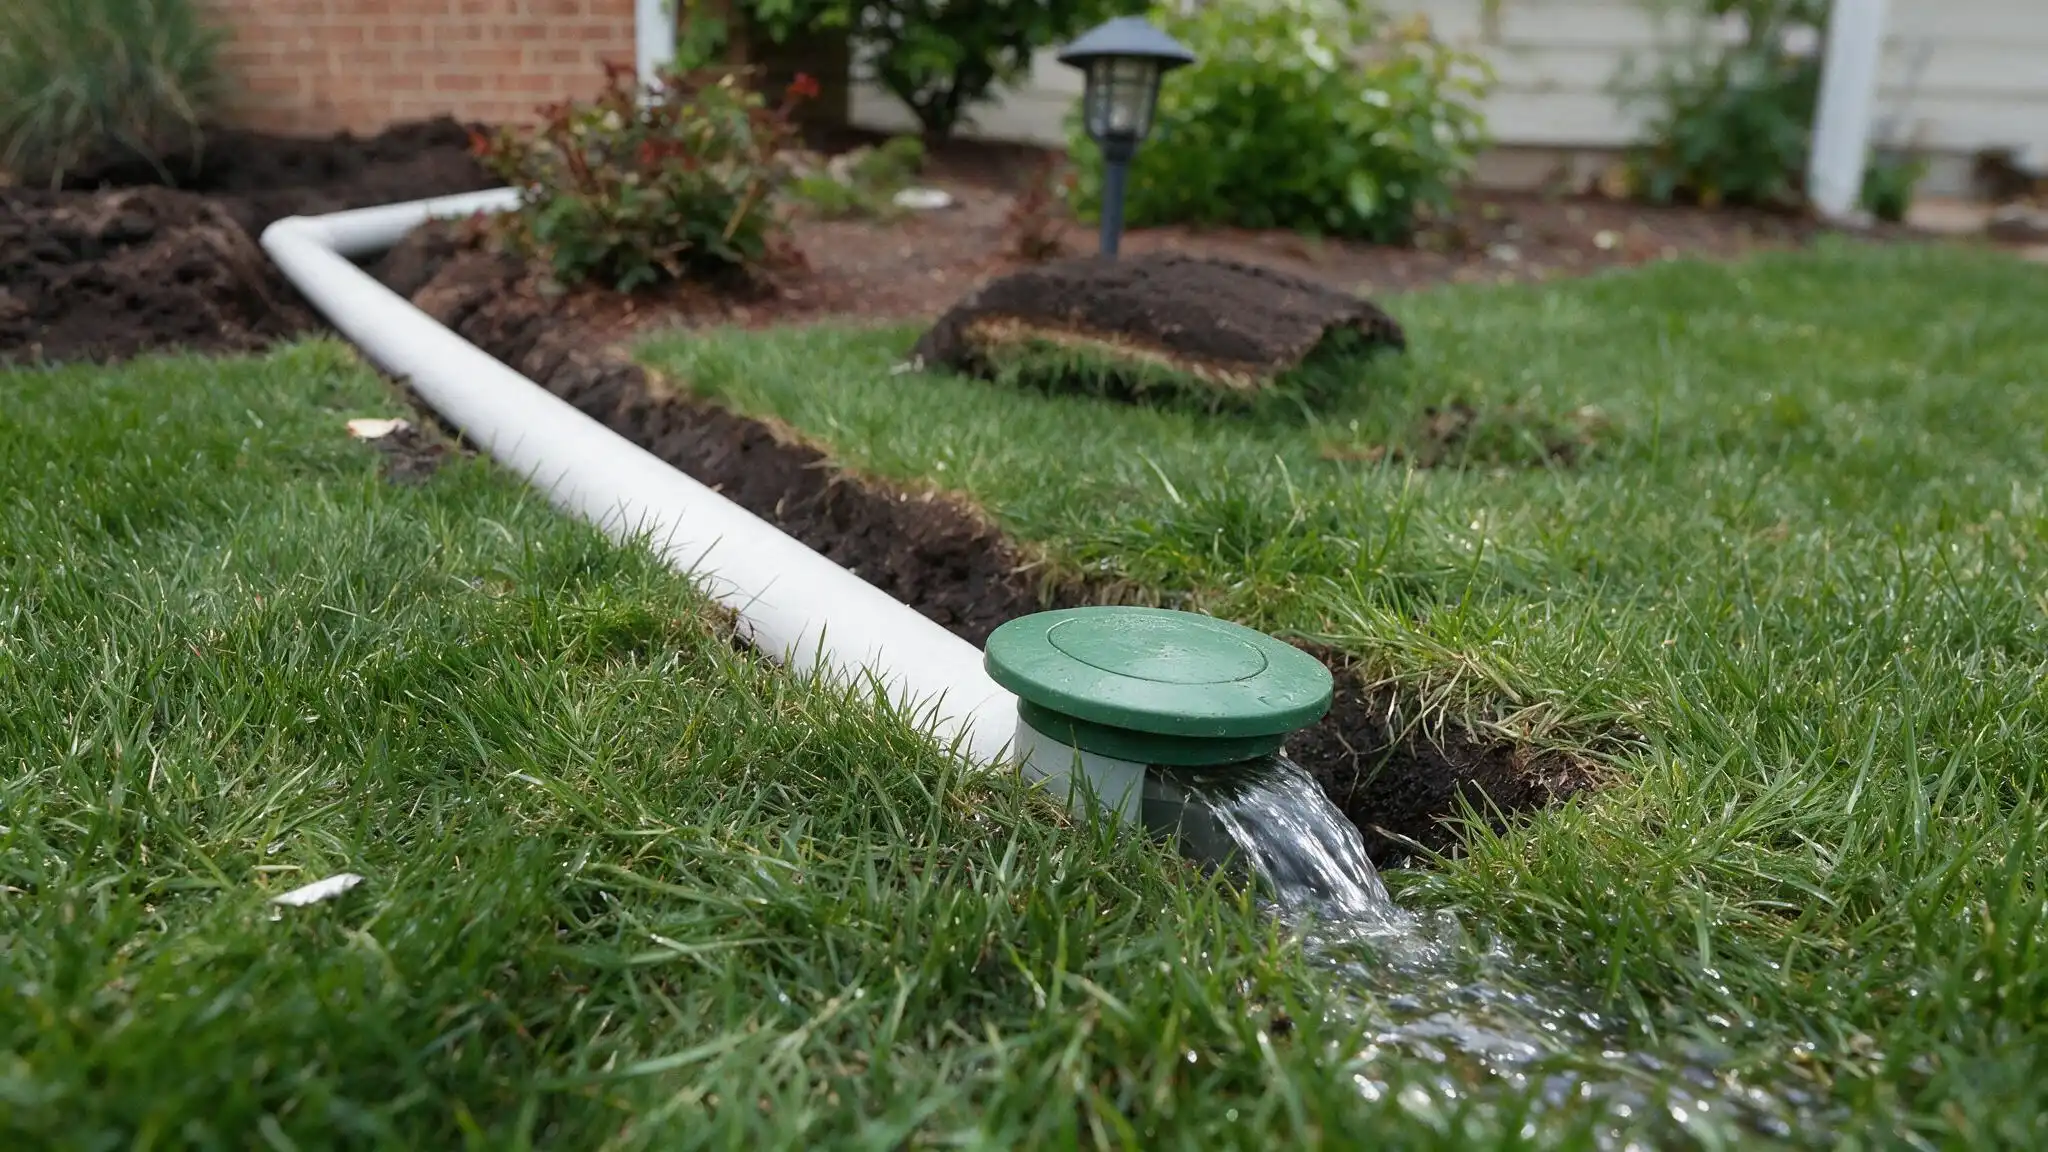
At the far end of a buried pipe, a pop-up emitter sits flush with the lawn and only rises when water pressure pushes it open, then closes again once the flow stops.
It keeps the outlet from looking like an open pipe stub in the yard.
The tradeoff is that the internal spring and screen can clog with grass clippings, so it needs an occasional check after mowing season.
6. Drain Water to a Dry Well
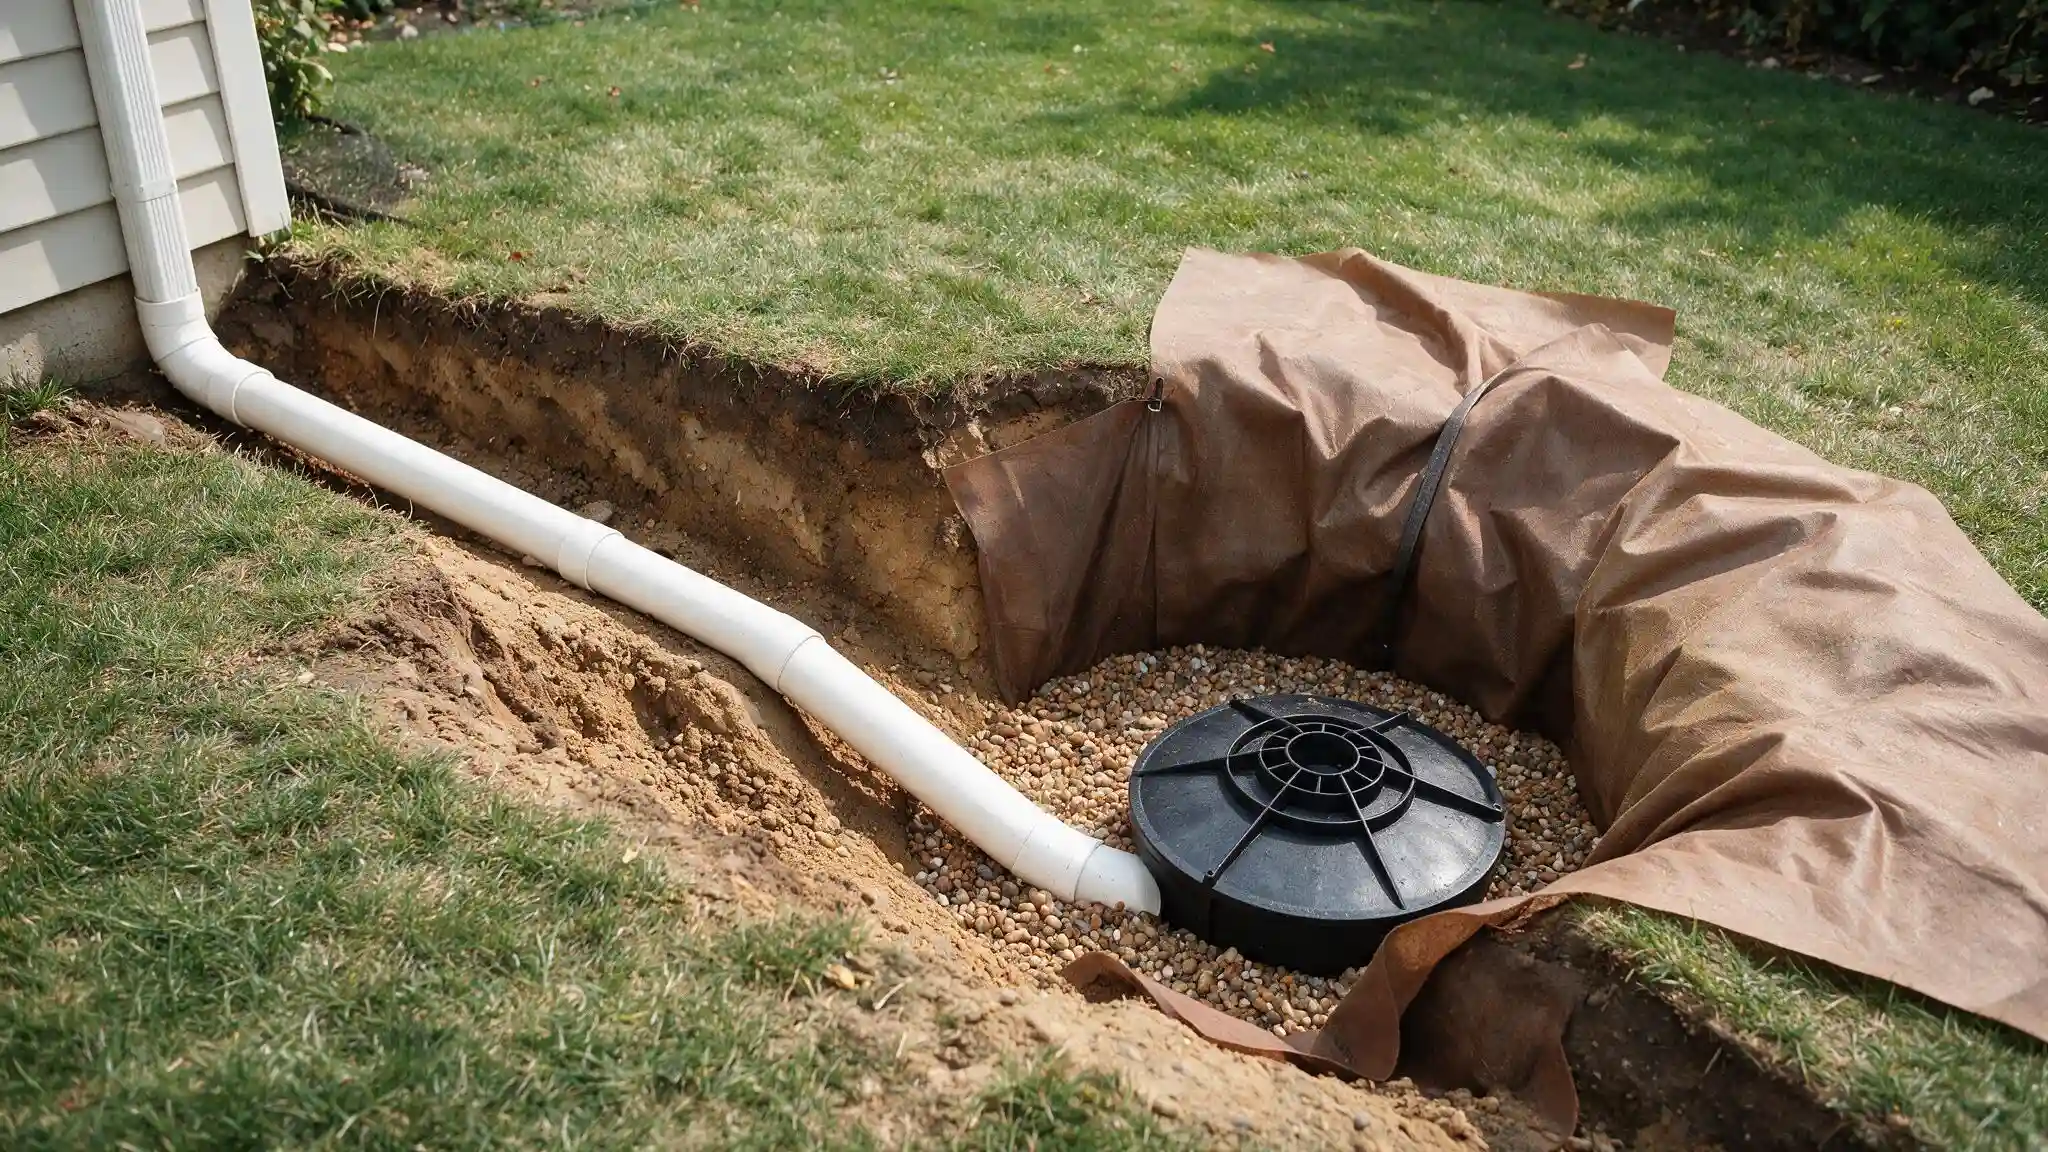
A dry well is essentially a buried gravel-filled pit (sometimes with a perforated chamber) that catches the pipe’s discharge and lets it soak into the surrounding soil gradually.
It works best in sandy or loamy soil that drains well; in dense clay, the well can simply fill up and back up the line. Some municipalities regulate dry wells, so it’s worth a quick call before digging one in.
7. Create a French Drain System
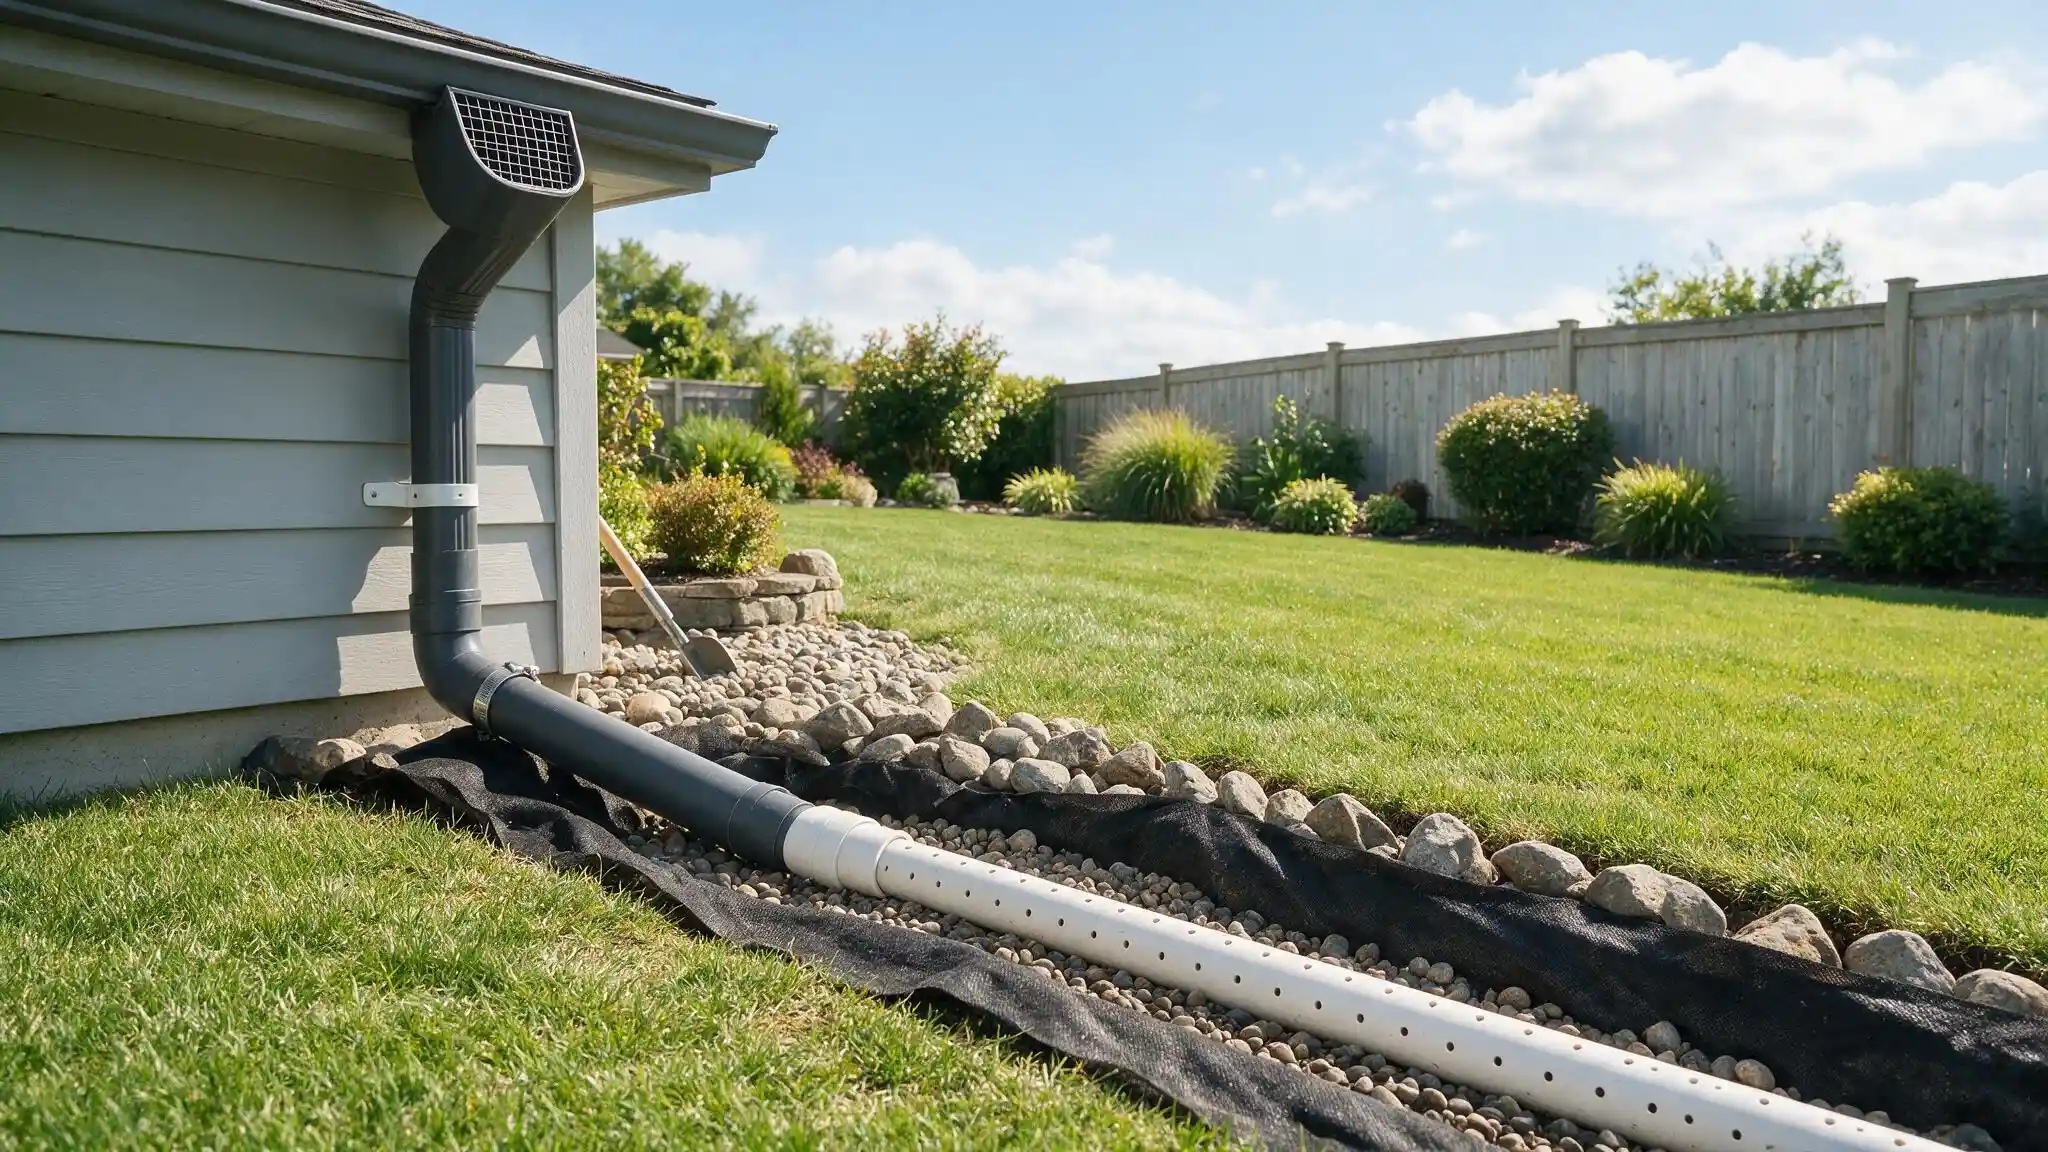
French drains, a gravel-filled trench with perforated pipe underneath, are built to intercept groundwater moving through soil, not a sudden gush from a roof.
When combining the two, run solid pipe from the downspout to the start of the trench, then let the perforated section handle dispersal from there.
That keeps roof water from oversaturating the trench right at the start.
8. Direct the Downspout Into a Rain Garden
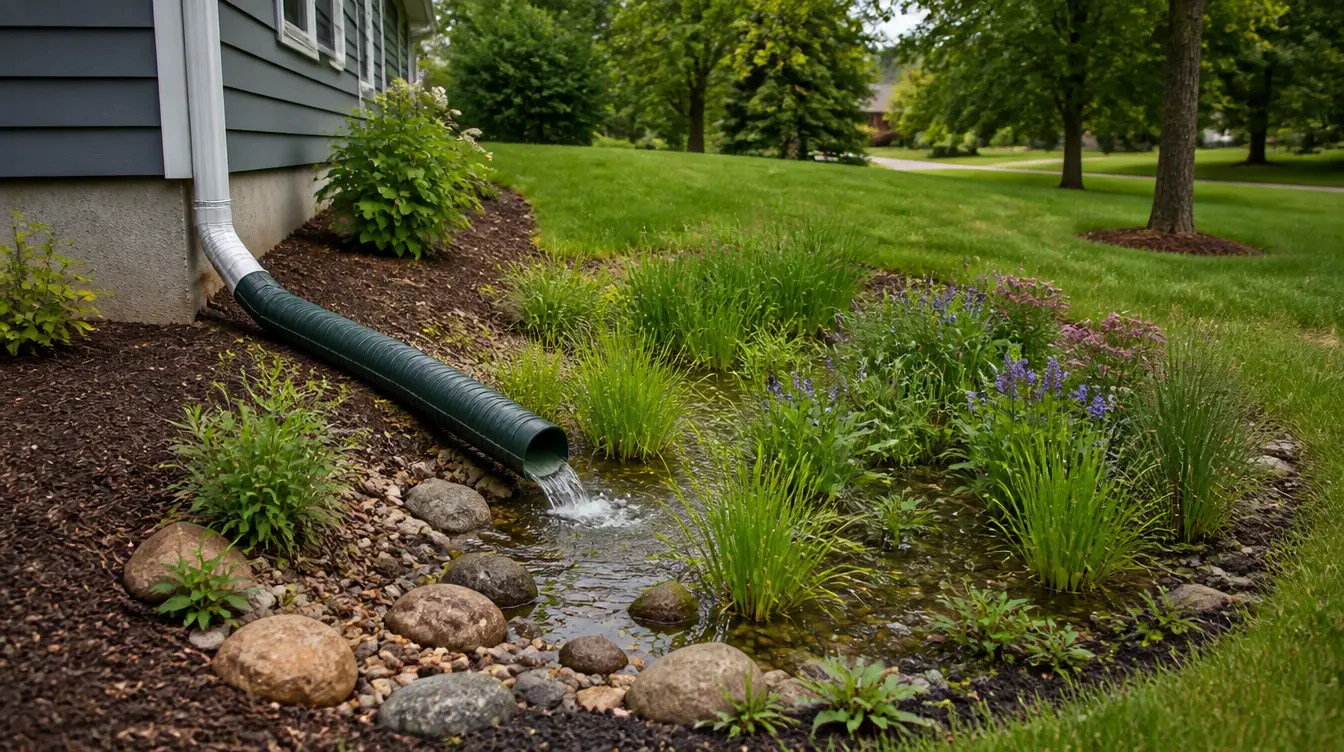
A rain garden is a shallow, planted depression that catches runoff and lets it filter into the ground over a day or two, using deep-rooted, water-tolerant plants like switchgrass or blue flag iris.
Position it at least 10 feet from the foundation so the temporary pooling doesn’t work its way back toward the house.
9. Use a Gravel or Rock Drainage Channel
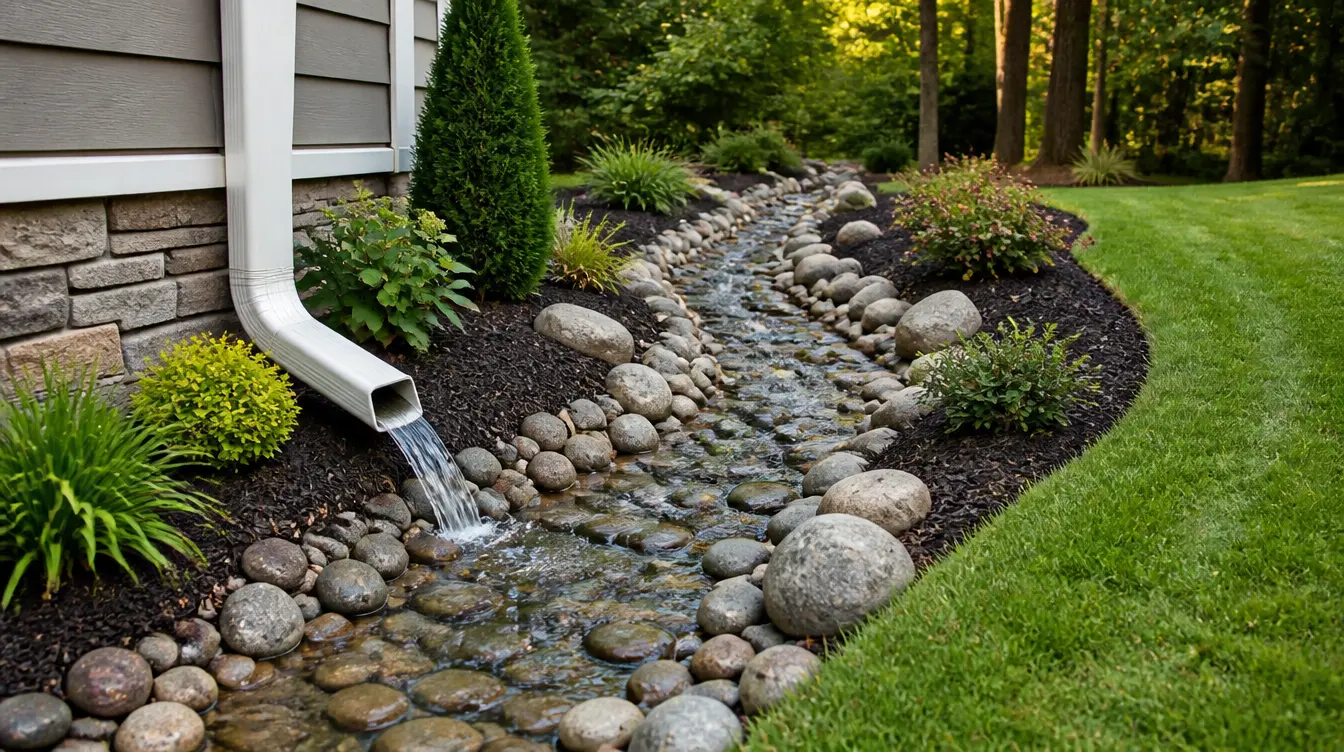
On a yard with a natural downhill grade, a shallow channel lined with river rock can guide water visually and physically without any buried pipe at all.
It also reduces the erosion channels that raw dirt develops under a steady stream of runoff.
It’s more of a decorative fix than a drainage system, so it works best paired with an extension rather than replacing one.
10. Install a Catch Basin and Drainage Pipe
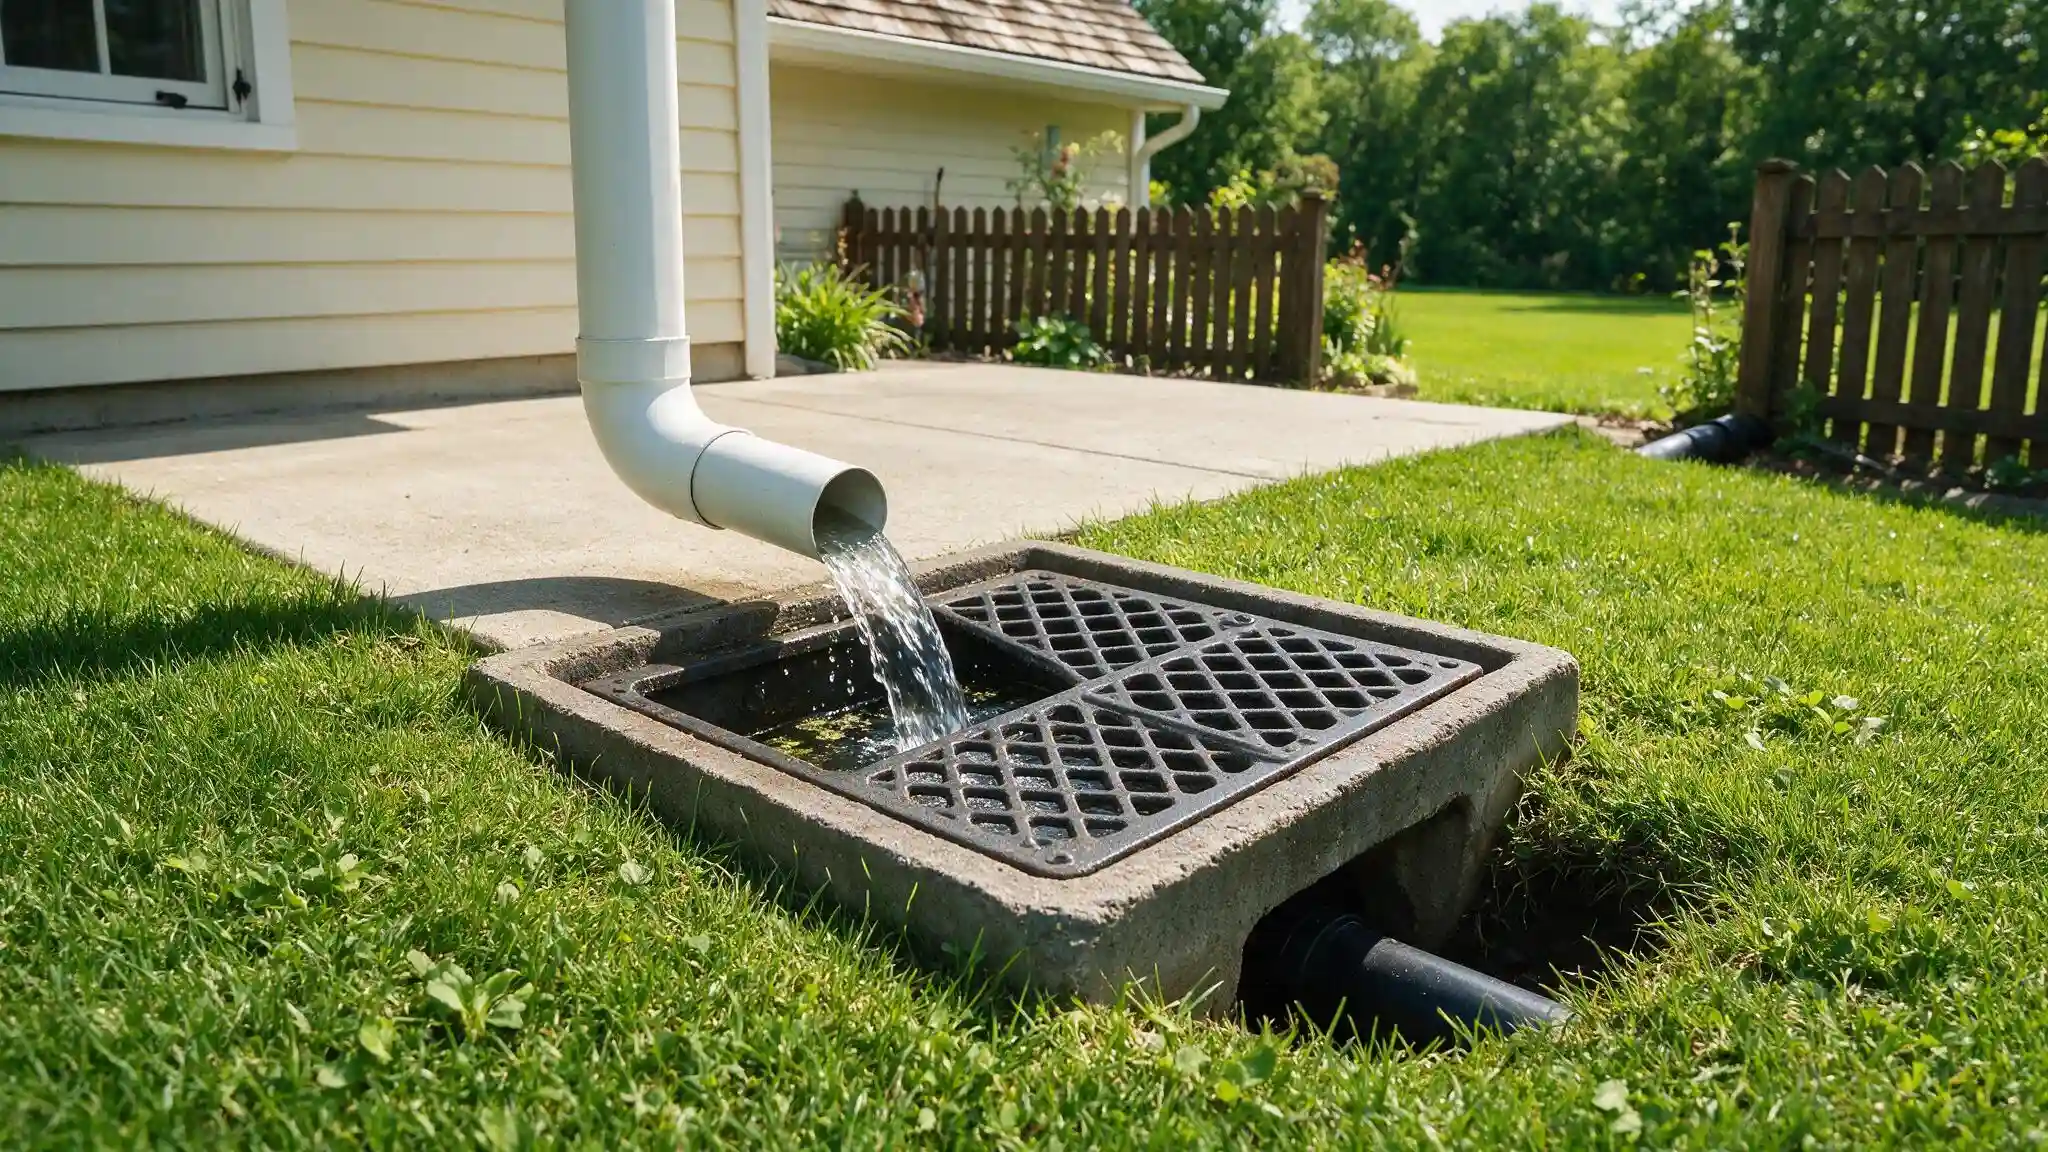
A catch basin is a grated box set into the lawn that collects downspout discharge and surface water, then routes it through underground pipe to a discharge point.
It’s the right call when a downspout, a low patio corner, and a soggy garden bed all drain into the same trouble spot.
Clean the grate after leaf drop; a clogged basin backs up fast in a heavy storm.
11. Collect Downspout Water in a Rain Barrel
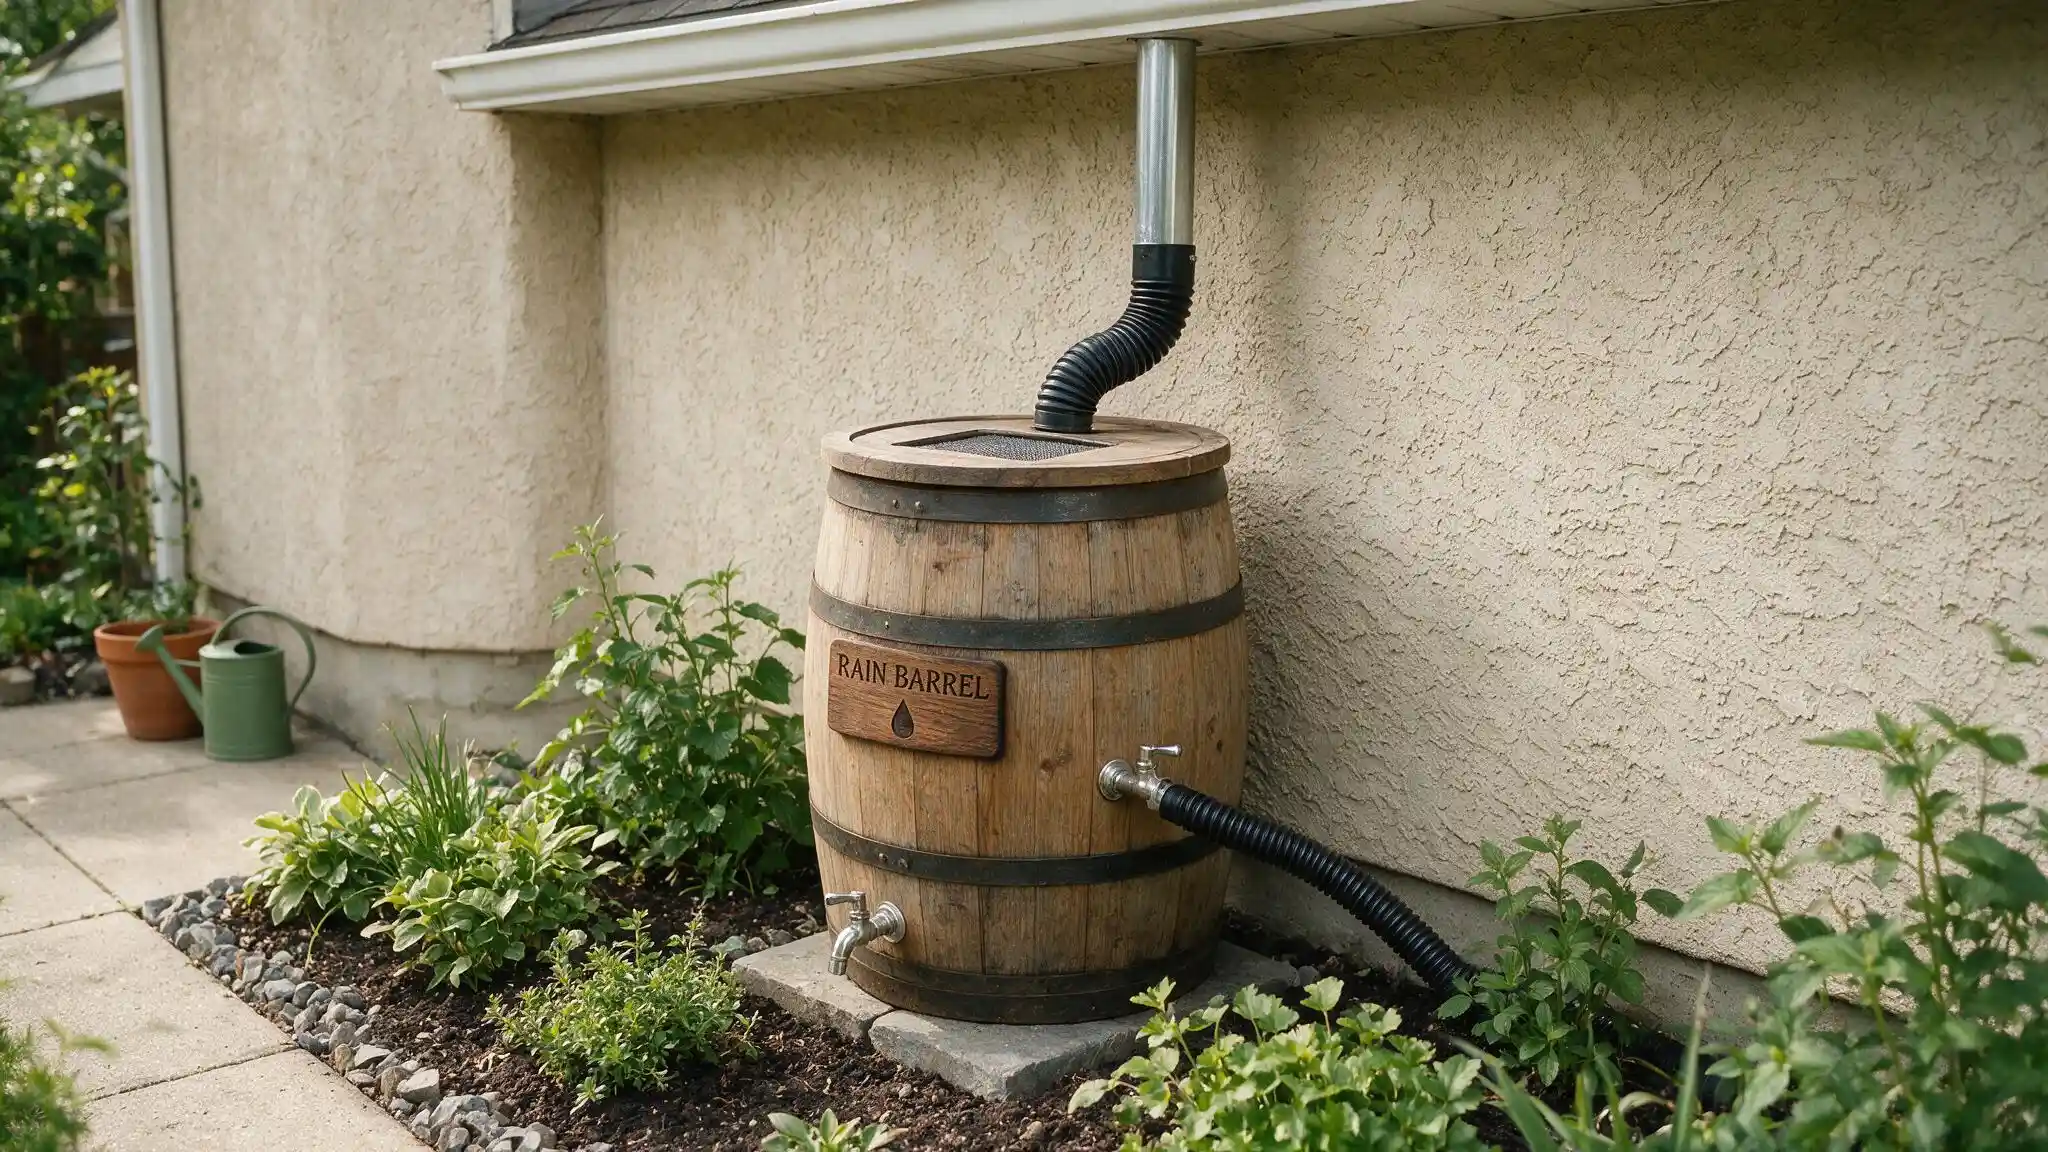
A rain barrel connected to the downspout stores water for later use on the garden, cutting down on runoff volume during smaller storms.
Every barrel needs an overflow hose or valve for when it fills, and that overflow should route just as far from the foundation as any other extension; a barrel doesn’t help if its overflow just pools at the base of the house.
12. Extend Drainage to a Safe Daylight Outlet
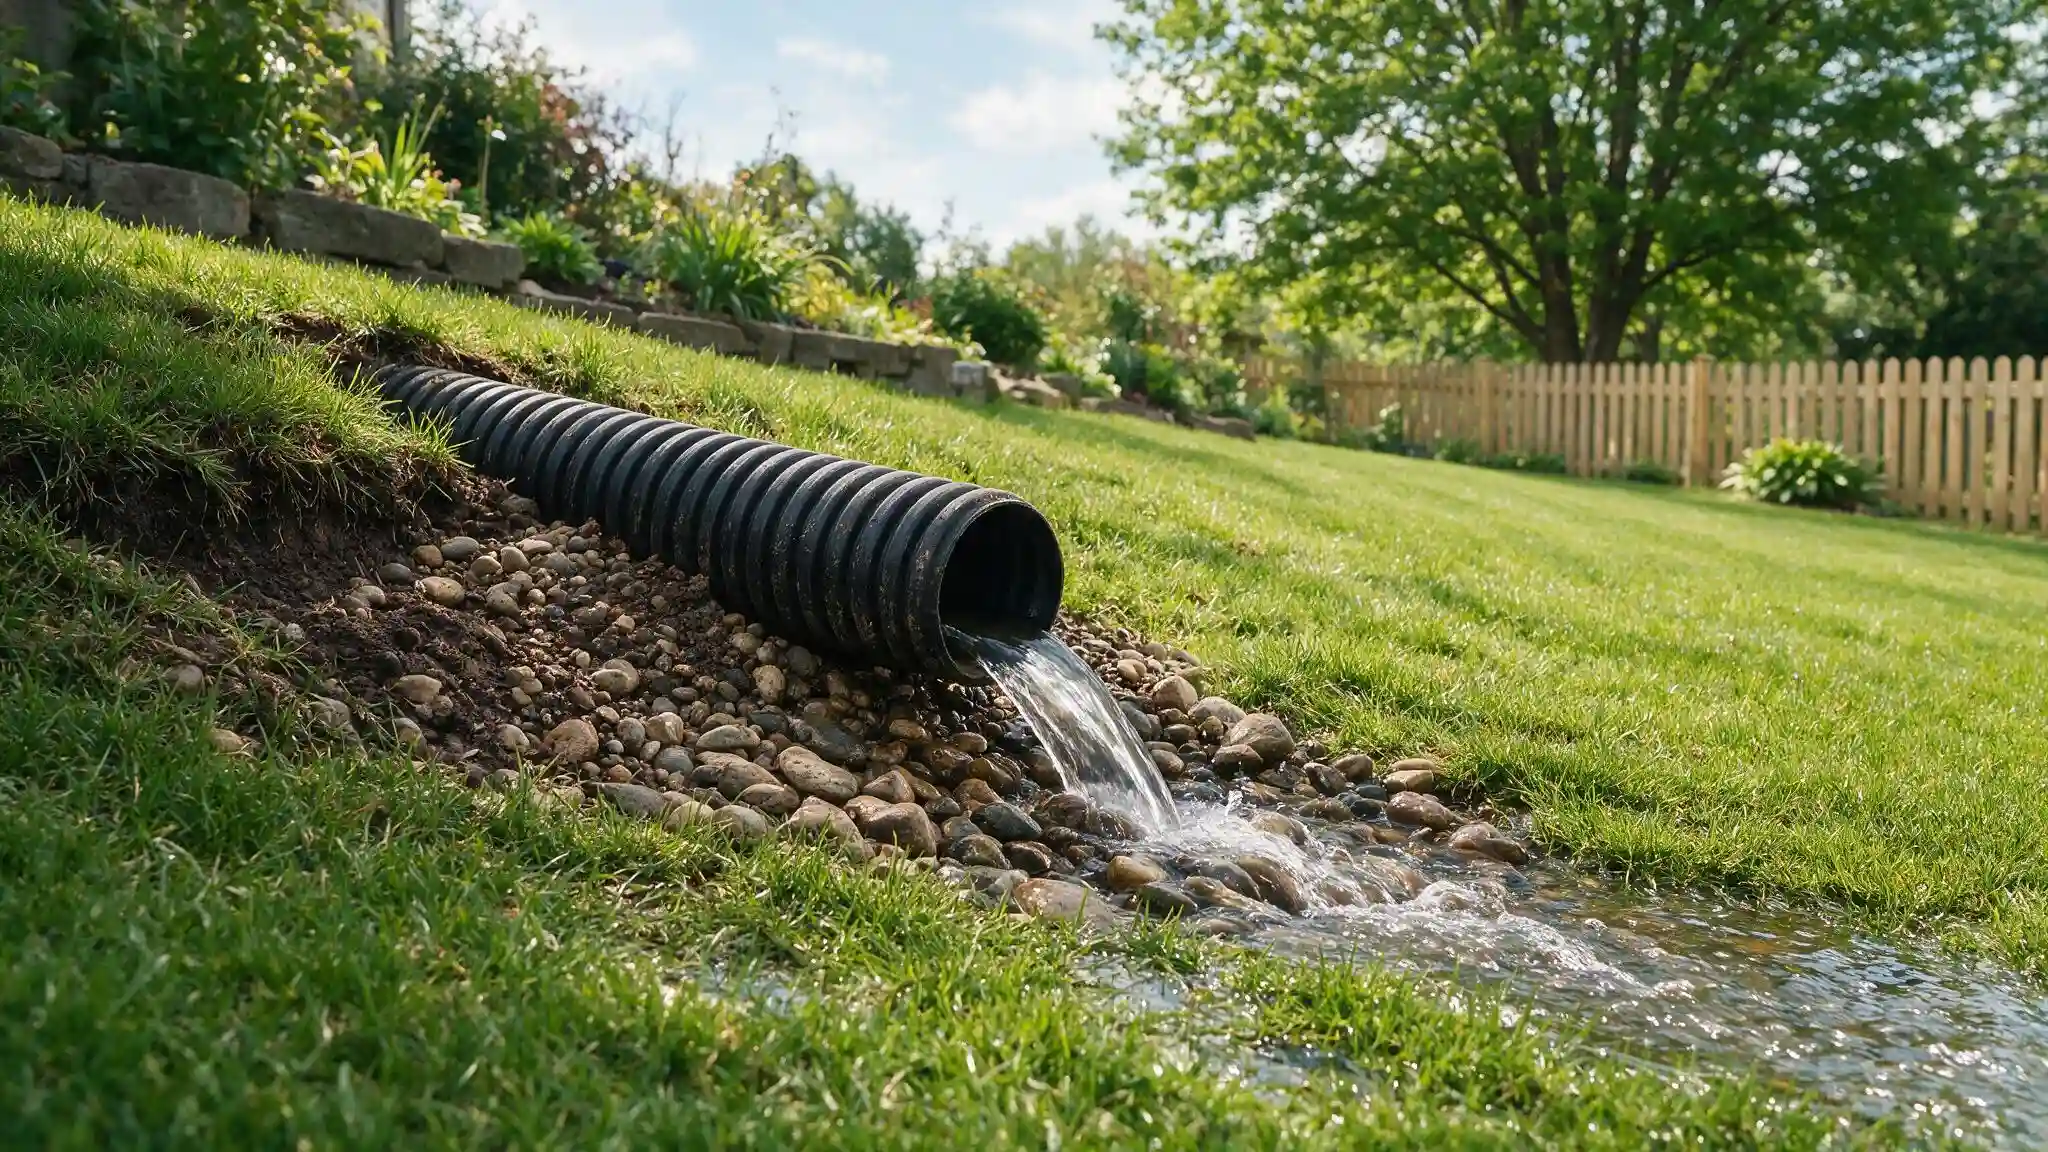
“Daylighting” means running the pipe downhill until it exits at a lower point on the property, using gravity instead of a pump. It’s often the cleanest long-term solution on sloped lots.
The one rule to follow closely: never let a pipe discharge onto a neighbor’s yard, a public sidewalk, or anywhere the discharge will carve a new erosion channel.
Above-Ground vs. Underground Downspout Drainage
Downspout drainage ideas eventually fall into one of two camps: sitting on top of the lawn or buried beneath it.
Above-ground options win on cost and ease, while underground systems trade a bigger upfront investment for a cleaner yard and less routine upkeep.
| Factor | Above-Ground Extensions | Underground Drainage |
|---|---|---|
| Installation cost | $10–$50 | $500–$2,000+ |
| Difficulty | DIY, minutes | Often needs excavation |
| Appearance | Visible on the lawn | Hidden below grade |
| Maintenance | Check slope, clear debris | Inspect outlets, watch for clogs |
| Durability | Can crack, get run over | Long-lasting if properly sloped |
| Best suited for | Quick fixes, rentals, mild drainage issues | Persistent moisture, flat lots, finished landscaping |
A short-term rental or a starter fix usually doesn’t need to go further than an above-ground extension.
Persistent basement moisture, a flat lot, or a finished patio you don’t want interrupted by visible pipe are the situations where the extra excavation cost earns its keep.
Many homes land somewhere in between, running a surface extension into a buried line once it clears the patio or walkway.
Downspout and Drainage Pipe Materials
Downspout and drain pipe come in a few common materials.
Aluminum is lightweight and rust-resistant. Stainless steel is durable and rust-resistant too, but heavy and expensive. Copper lasts a long time and looks the part, but at costs more.
Cast iron is highly durable but rusts and needs more upkeep. PVC is cheap and easy to install, though it doesn’t hold up as long as the metal options.
How to Choose the Right Downspout Drainage Solution?
Choosing the right downspout drainage idea starts with the yard’s slope; a lot that already falls away from the house needs far less engineering than a flat one.
Soil matters just as much: sandy soil absorbs water quickly and suits dry wells, while clay holds water and often calls for solid pipe routed well away from the house.
Factor in roof area per downspout, since a large section concentrates more water than a small one, plus nearby sidewalks, budget, upkeep tolerance, and any local stormwater rules.
Conclusion
None of this requires an engineering degree.
A length of pipe, a splash block, or a folding hinge solves most minor water problems around a house.
When the yard is flat, the soil is dense clay, or water keeps returning toward the foundation, buried pipes, dry wells, and rain gardens pick up where the basic fixes leave off.
Whatever downspout drainage ideas you try, distance and slope decide if the water stays away from the house.
Frequently Asked Questions (FAQs)
1. What is the Best Way to Drain Water from a Downspout?
Among the many downspout drainage ideas out there, the best method carries water at least 5–10 feet from the foundation and keeps it flowing, not pooling.
2. Should I Use PVC or Corrugated Pipe for Downspout Drainage?
Solid PVC resists clogs and holds slope better; corrugated is cheaper, but traps sediment more easily.
3. Can I Bury a Downspout Extension?
Yes, solid PVC pipe, properly sloped and buried to a safe discharge point, works well long-term.