A fresh coat of paint is the cheapest way to transform a room, yet so many DIY jobs end up patchy, streaky, or peeling within a year. The secret professionals know is simple: a flawless finish is far more about preparation than the paint itself. Get the groundwork right, and even a modest paint delivers stunning results.
Sometimes the smartest move is calling in the experts. A team like Ascend Painting Services shows how proper prep and technique produce a finish that lasts for years. Here is how to get a flawless interior paint finish.
Why Does Prep Matter More Than Paint?
Because paint only reveals flaws. Preparation is the process of cleaning, repairing, and priming a surface before painting. Skipping it guarantees a disappointing result.
Surfaces must be ready. Dust, grease, and cracks all sabotage adhesion and smoothness in the final coat. A clean, sound wall is genuinely half the job done. Wiping walls down, filling every nail hole, and sanding glossy patches take time, but they are what separate a finish that lasts from one that peels.
The ratio is telling. Professionals often spend 70 percent of a job on prep and just 30 percent on painting. That balance is exactly why their work lasts.
How Do You Choose the Right Colors?
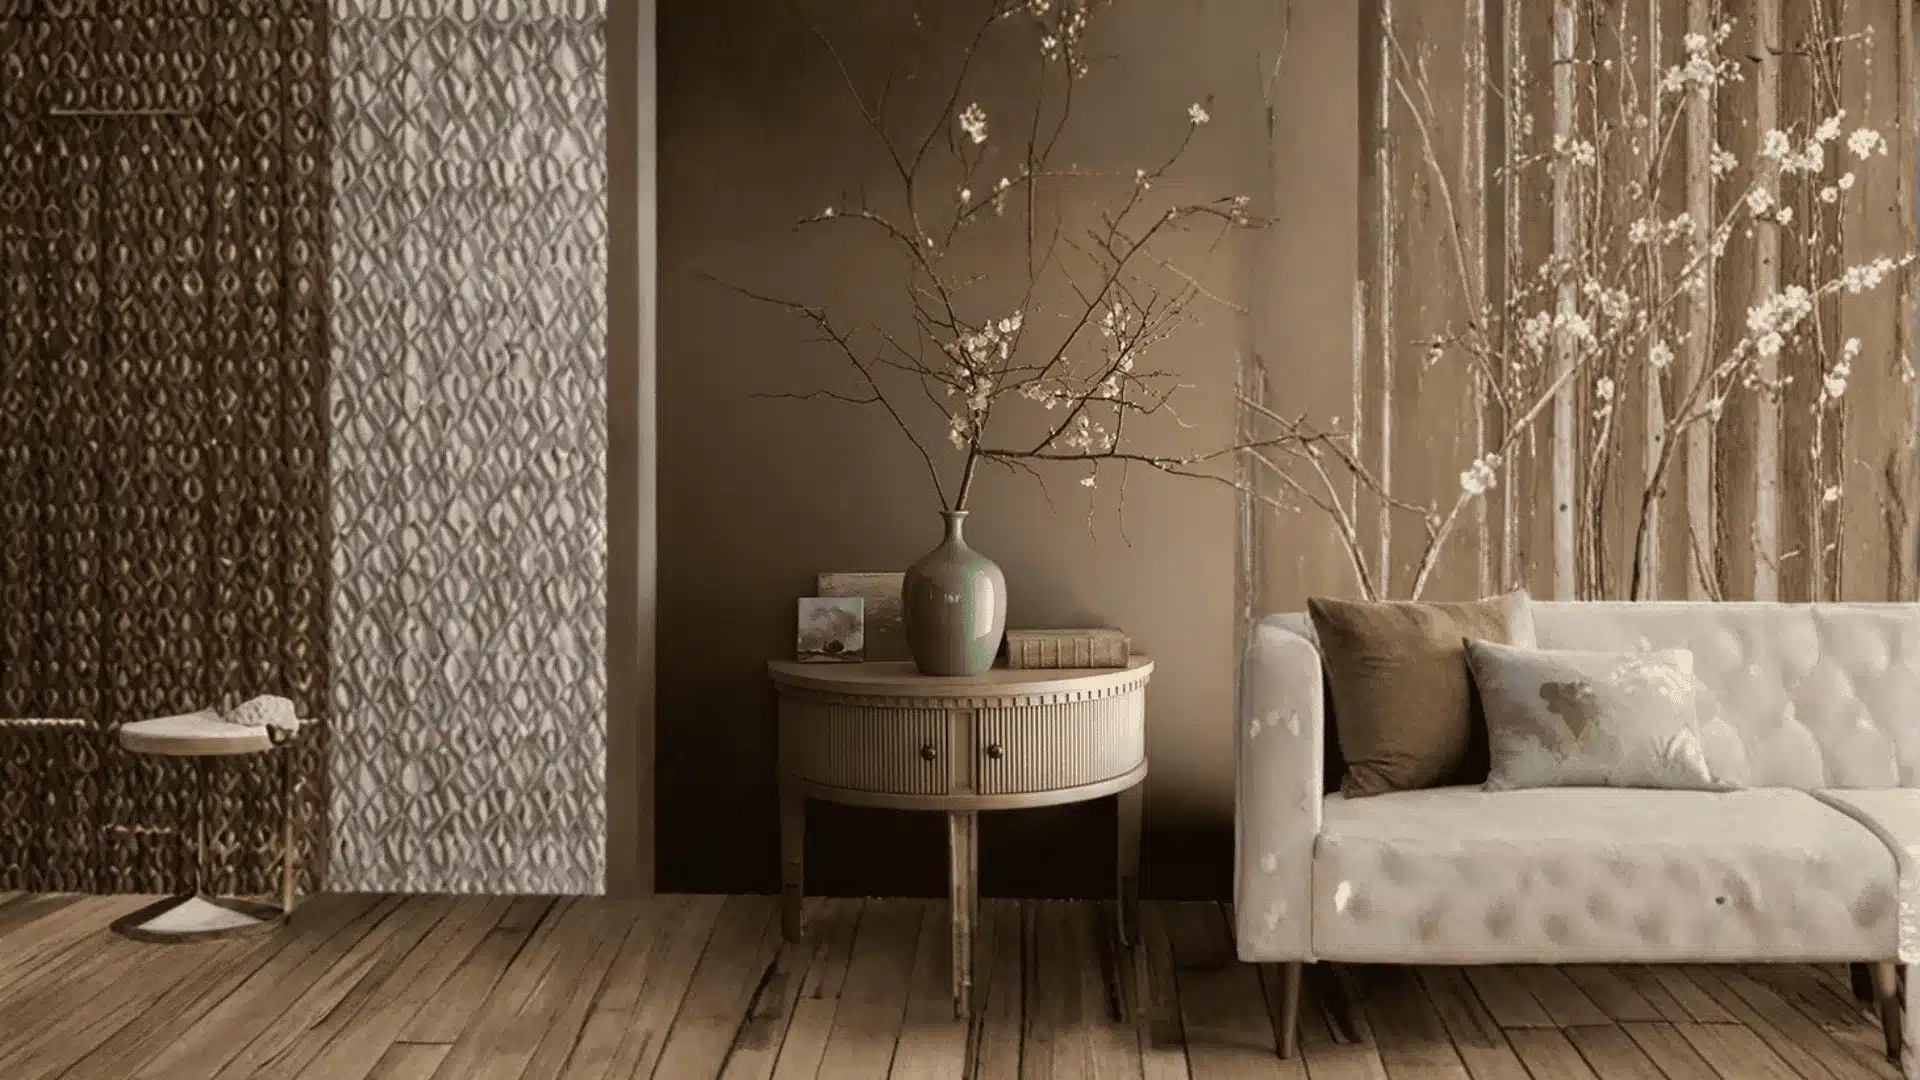
Color makes or breaks a room. The right palette ties a space together, while the wrong one fights the furniture. A little planning pays off.
Match the whole room. Learning to match wall colors and furniture keeps a scheme harmonious rather than jarring. Test samples on the wall before committing to gallons. Paint a large swatch and watch it across a full day, since color shifts dramatically between morning and evening light.
Use a proven formula. A balanced color palette often follows the 60-30-10 rule, splitting a room into a dominant, secondary, and accent color. Structure like this prevents a scheme from feeling random.
What Makes a Finish Look Professional?
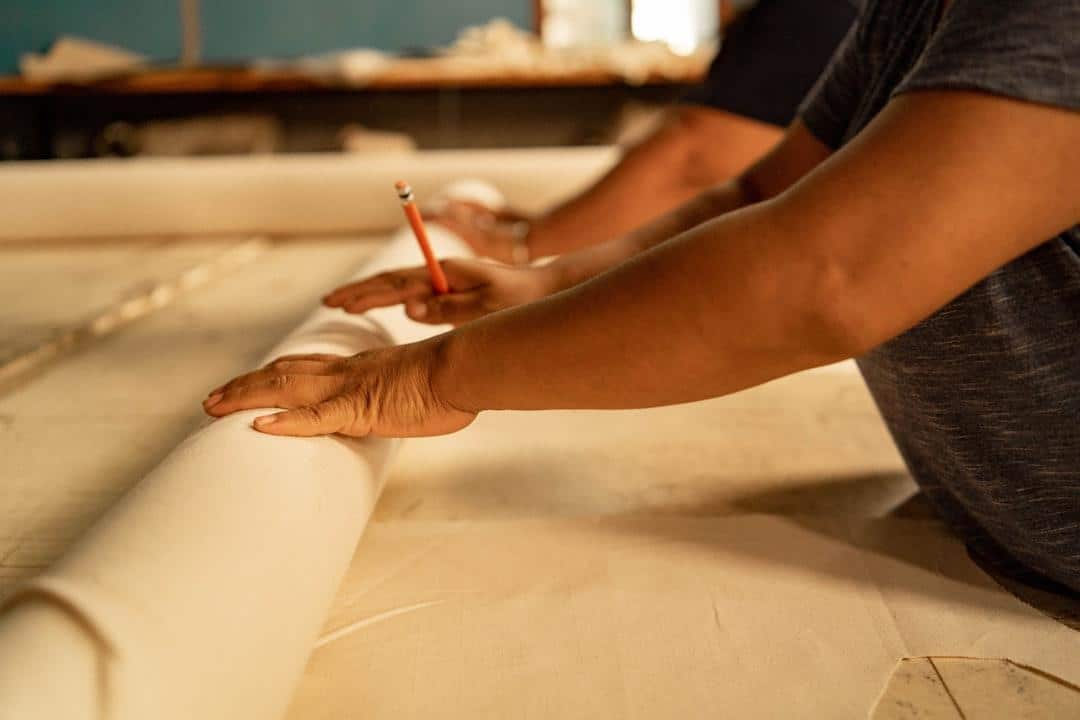
Technique separates the results. The difference between amateur and pro often comes down to a few habits. Master these for a clean finish.
Follow the fundamentals. These steps deliver a professional look.
- Clean the surface. Wash away dust and grease.
- Repair and sand. Fill cracks, then sand smooth.
- Prime bare spots. A primer is a base coat for adhesion.
- Cut in edges. Paint borders before rolling.
- Apply two coats. Thin, even layers beat one thick one.
Mind the details. Deciding on your wall and trim approach early keeps edges crisp and cohesive throughout. Sharp lines are the hallmark of a careful job, and painter’s tape plus a steady hand deliver them. Take your time cutting in, because rushed edges show the most.
When Should You Hire a Professional Painter?
Some jobs reward expertise. Knowing when to call a pro saves time, money, and frustration. A few signs point clearly to hiring out.
Weigh the scope. High ceilings, extensive repairs, or a whole-house repaint are big undertakings for a DIYer. Professionals bring the tools, speed, and finish that are hard to match at home. Ladders, sprayers, and years of technique turn a daunting job into a routine one for a seasoned crew.
Value the result. A pro delivers a lasting, even finish and handles the mess for you. For a bold two-tone effect or intricate trim, that precision is well worth paying for. Professionals also finish in a fraction of the time a weekend DIY job takes.
How Do You Stay Safe While Painting?
Safety is easy to overlook in the rush. Paint and older surfaces carry real hazards worth respecting. A few simple precautions protect everyone in the home.
Beware old paint. Homes built before 1978 may contain lead paint, so guidance on protecting your family from lead matters before you sand anything. Disturbing lead paint without care is genuinely dangerous, releasing fine dust that is harmful to breathe. When in doubt about an older home, test first or call a certified pro.
Ventilate and protect. Good airflow, gloves, and low-VOC paint reduce exposure to fumes. Health information on lead prevention makes clear why caution pays, especially around children.
What to Keep In Mind
- A flawless finish is more about prep than the paint itself.
- Pros spend around 70 percent of a job on preparation.
- Choose colors with the 60-30-10 rule for balance.
- Clean, sand, prime, cut in, then apply two thin coats.
- Hire a pro for big, high, or intricate jobs.
- Homes built before 1978 may contain lead paint, so take care.
Painting for a Finish That Lasts
A beautiful interior paint job is well within reach when you respect the process. By prepping thoroughly, choosing colors with intention, and applying paint with patience, you get a finish that looks professional and lasts for years. And when a job is too big, too high, or too important to risk, calling in a professional painter is the smartest brushstroke of all.
FAQ
What Is the Most Important Step In Painting?
Preparation, by a wide margin. Cleaning, repairing, sanding, and priming determine how smooth and durable the finish will be. Professionals spend most of a job on prep for exactly this reason.
How Many Coats of Paint Do I Need?
Usually two thin, even coats over a primed surface. Two coats give richer color and better coverage than one thick layer. Let each coat dry fully before adding the next.
When Should I Hire a Professional Painter?
Call a pro for high ceilings, extensive repairs, whole-house repaints, or intricate detail work. They bring speed, the right tools, and a lasting finish. It is often worth the cost for a big or important job.
Is Old Paint Dangerous to Sand?
It can be. Homes built before 1978 may contain lead paint, which is hazardous when disturbed. Follow lead-safe guidance, or hire a certified professional, before sanding old surfaces.