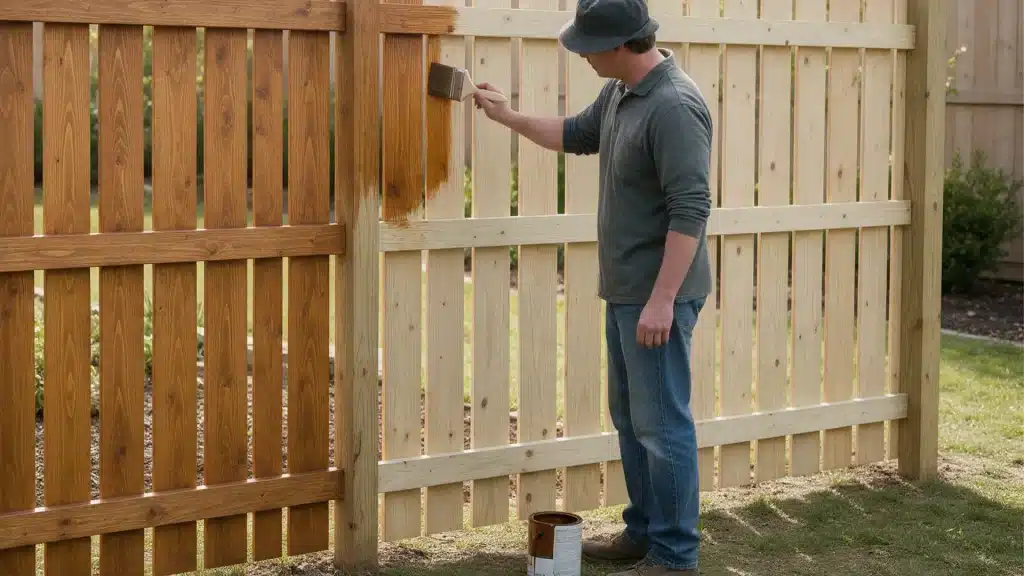
That pressure-treated deck or fence out back often turns grey and tired sooner than expected. The treatment stops rot and insects, but it does nothing against sun and rain.
Left alone, the wood keeps drying out and cracking a little more each season. Stain brings back the color and adds real protection from the weather.
Choosing between painting pressure-treated wood and staining it usually comes down to the finish and the upkeep involved. Knowing when the wood is ready and avoiding a few mistakes makes all the difference.
Can You Stain Treated Wood
Treated wood takes stain just fine, but the timing has to be right. Fresh lumber from a pressure treatment plant comes off the line soaked with water, part of how the preservatives get driven deep into the grain.
If you put stain on before that water leaves, it never really bonds. Within a few weeks, it starts flaking off. There’s a simple way to check.
A quick check with a garden hose settles the question, and it’ll explain exactly how to run that test shortly. Some lumber skips the wait entirely if the tag shows it was already dried after treatment.
That single detail, covered next, changes the whole timeline for a new board.
Why Treated Wood Behaves Differently
Treated wood doesn’t behave like the lumber sitting next to it in the yard. Stain reacts to it differently, and weather wears on it differently too.
Once the reason becomes clear, the rest of the staining process falls into place much faster.
Pressure Treatment Affecting the Moisture
Pressure treatment forces liquid preservatives deep into the wood using intense pressure, not just a surface coating. That is why treated lumber holds so much water when it first shows up at a store or job site.
Moisture levels can sit above 75 percent right out of the treatment plant. Getting that number down before staining takes real time, often several weeks under normal conditions.
Skipping this step causes most staining problems people run into later.
The ADAT/KDAT Shortcut
Some boards skip the long wait entirely. Lumber marked ADAT or KDAT has already been dried after treatment, either air-dried or kiln-dried, before it left the plant.
Checking the tag before buying a board can save weeks of waiting around for wood to dry on its own.
Treated Wood Needs Protection
The chemicals in treated wood guard against rot and insect damage, but do nothing against sun, rain, or daily wear. Left bare, boards fade, crack, and warp faster than expected.
Stain and sealant both add a layer of defense that the treatment never provided on its own. Sealant works well for keeping the natural wood grain visible while still blocking moisture.
Some products combine stain and sealant into one coat, adding color and protection at the same time.
When New Treated Wood is Ready
New lumber isn’t ready just because it looks dry from a few feet away. The surface can feel fine while the wood underneath still holds water from the treatment process.
That water has to leave the board before any stain has a real shot at sticking. A board’s weight even feels different once it dries, noticeably lighter than when it first arrives.
Wood carrying the ADAT or KDAT stamp mentioned earlier skips this wait entirely. Everything else usually sits outdoors for several weeks, sometimes longer in cooler or damp climates, before the moisture drops enough to stain.
Stain applied too early gets trapped under the coat along with the moisture. Peeling shows up within a season.
The Water Test and Moisture Check
A hose and a little water answer this question fast. Splash some on a bare board and watch what happens. If water soaks in within ten minutes, the wood has dried enough for stain.
If water beads up and sits there, it needs more time outside. A moisture meter gives a sharper answer than watching water on a board.
Press the probes into the wood and read the number. Anything between 12 and 16 percent, sometimes listed as 15 percent or under, means the wood is ready. A higher reading means waiting a few more days before the stain goes on.
How Weather Affects Drying
Hot, sunny days dry wood out fast. Cold or shaded spots take a lot longer, sometimes weeks longer. A deck getting full sun all summer might be ready in a few weeks.
The same wood sitting in shade or a wet climate could take two months or more. Humid air slows things down too, since it keeps adding moisture back into the wood while it tries to dry out.
Rain washes that progress away just as fast, sending wet boards that were almost ready right back to square one. Even morning dew adds a small amount of moisture back most days.
Rain or heavy dew soon after staining washes the coat back off. This leaves blotchy patches on the wood. Wait for a 24 to 48 hour stretch without rain before staining.
Choosing the Right Wood Stain

Not every stain works on every board. The base, the color level, and the condition of the wood all play a part.
Oil-Based Versus Water-Based
Oil-based stain goes deep. It penetrates the grain and stays there, so it lasts longer and peels less. Water-based stain is easier to clean up because soap and water do the job, and it dries faster, too.
There’s also a hybrid version that tries to do both. Painting pressure-treated wood is a different game entirely. Paint sits on top as a film. It never soaks in the way stain does.
Transparent, Semi-transparent, or Solid
Transparent barely adds any color. The wood grain still shows through. Semi-transparent adds a bit more pigment but keeps some of that grain visible.
Solid covers everything, including the grain, and blocks the most sun. Newer wood usually looks right with a lighter or transparent stain.
An older board full of marks often looks better with solid, since it hides those flaws instead of showing them off.
Match Stain to Wood Condition
Some wood comes with a water repellent already built in. Water-based stain does not stand much chance against that, since the wood pushes it back out.
Oil-based stain handles it better, because it can get past that barrier more easily. Check the tag on a board, or ask someone at the store, before grabbing the wrong stain off the shelf.
How to Stain Pressure Treated Wood
A few basics make the job easier: a deck cleaner, a stiff brush, a garden hose, gloves and eye protection, a paint pad or brush, and the stain itself.
Having all of it ready before starting keeps the process moving. There is a right order to follow, and skipping ahead usually costs more time than it saves.
Step 1: Clean the Wood

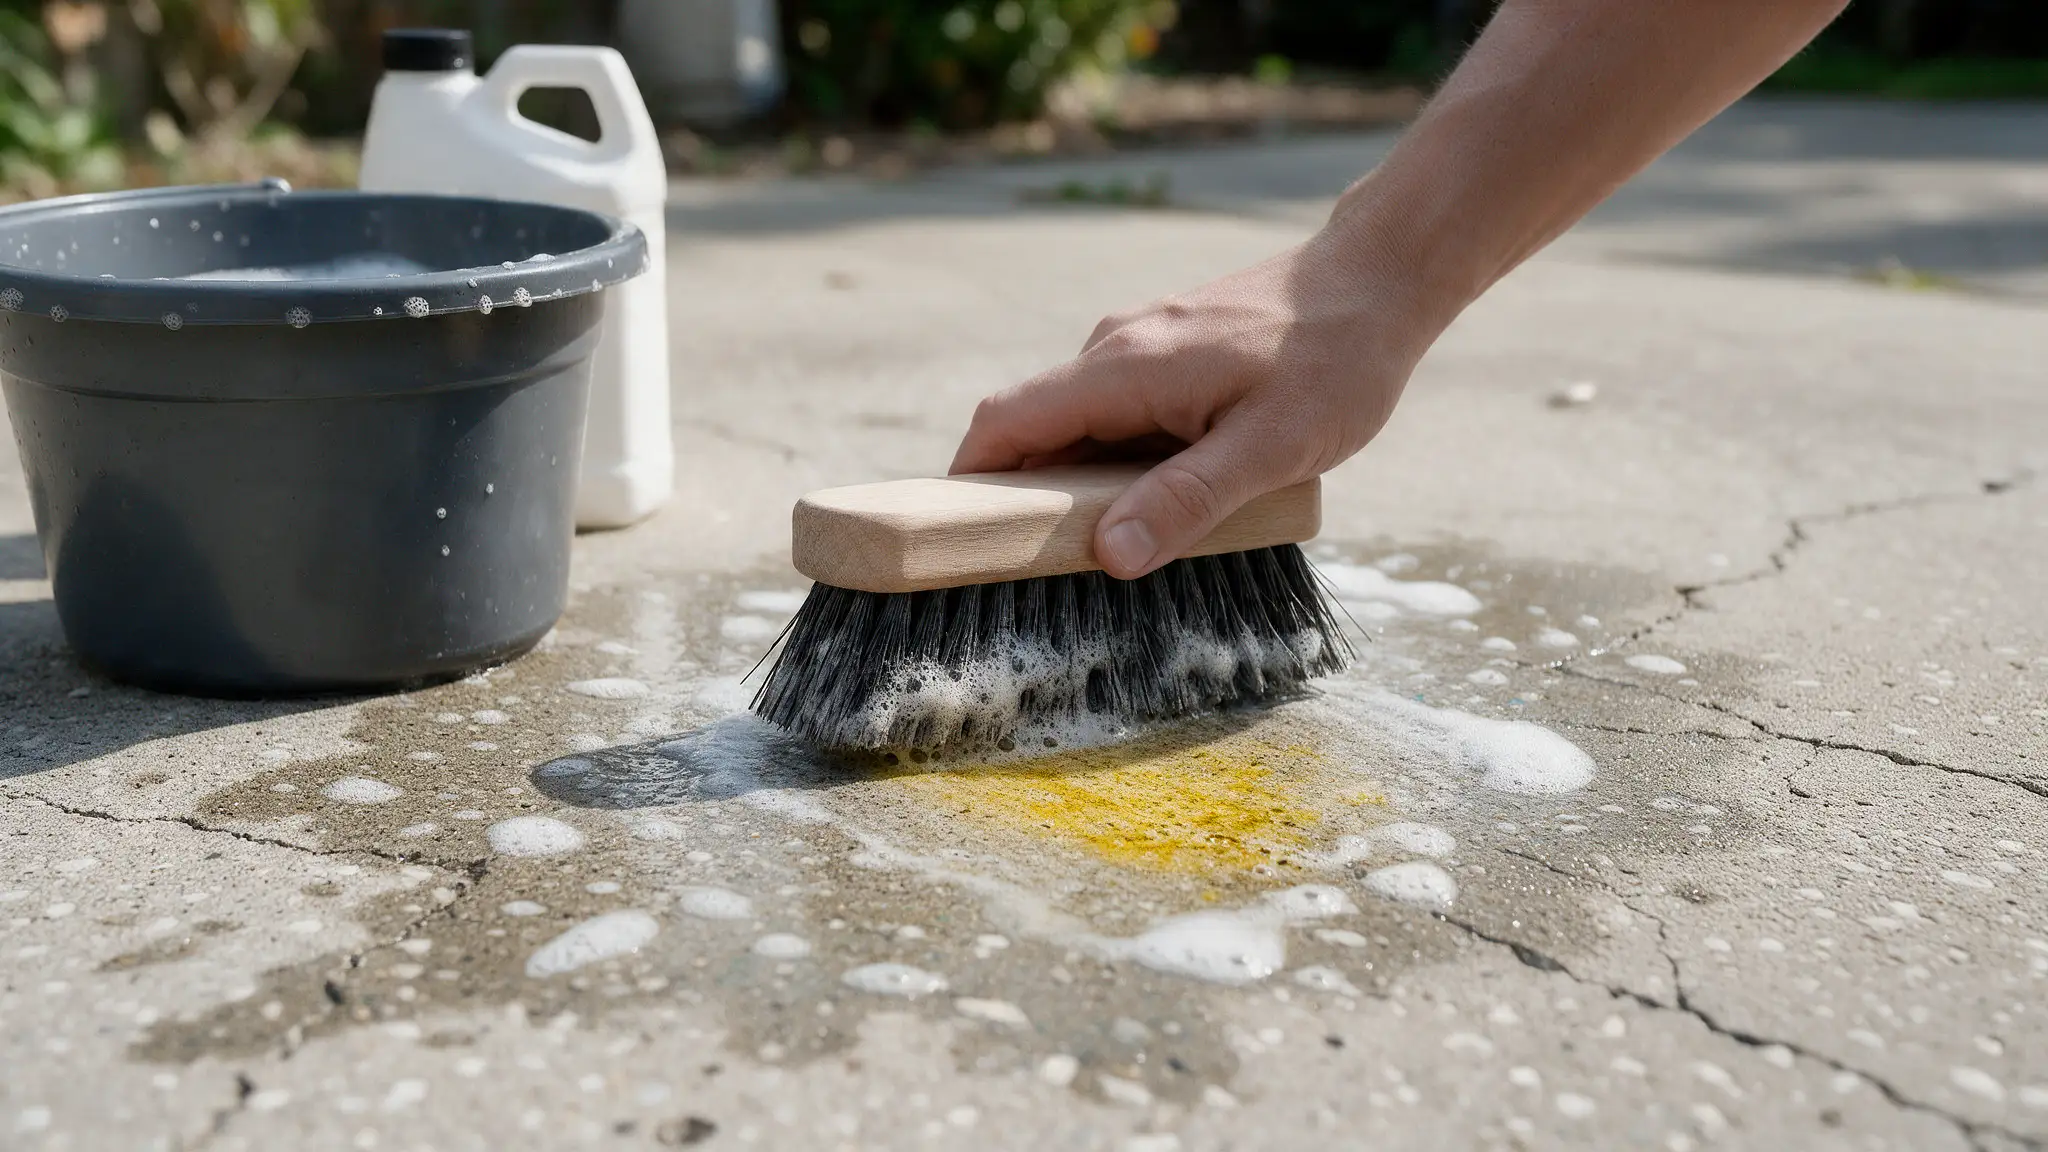
New wood that passes the sprinkle test can go straight to staining. Older wood needs a scrub with a deck cleaner and a stiff brush to clear off dirt and mildew, then a good rinse and a full dry.
Gloves and eye protection help too, since cleaning solutions can irritate skin.
Skip the cleaning and dirt or mildew gets trapped right under the new stain, then pushes through within months.
Step 2: Let It Dry
Wood that was just washed, or wood that is fresh off the truck, needs time before stain touches it. Give it 24 hours at minimum.
Cooler or more humid weather means waiting longer. Rushing here wastes the cleaning work you’ve already done.
Step 3: Apply an Even Coat

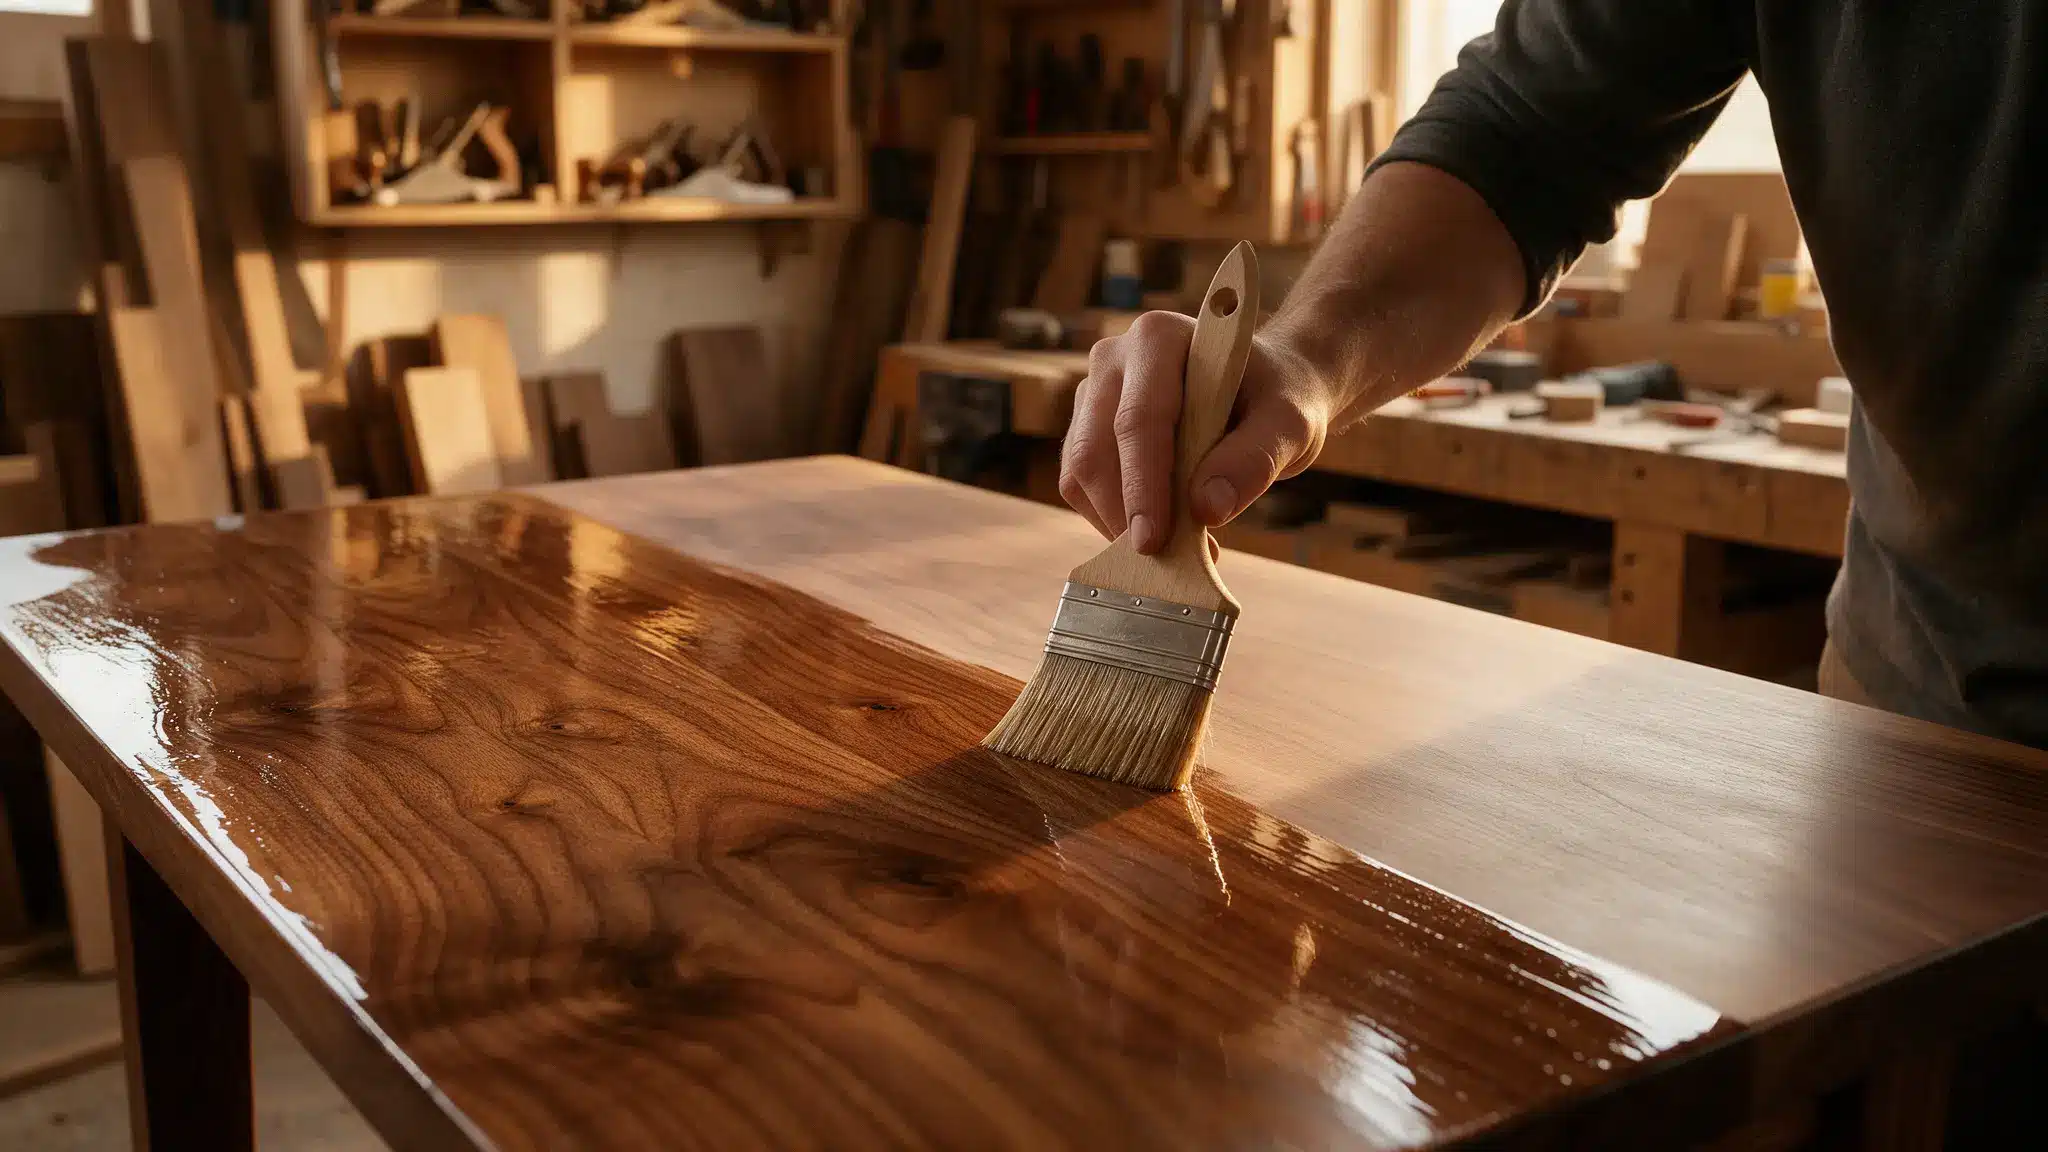
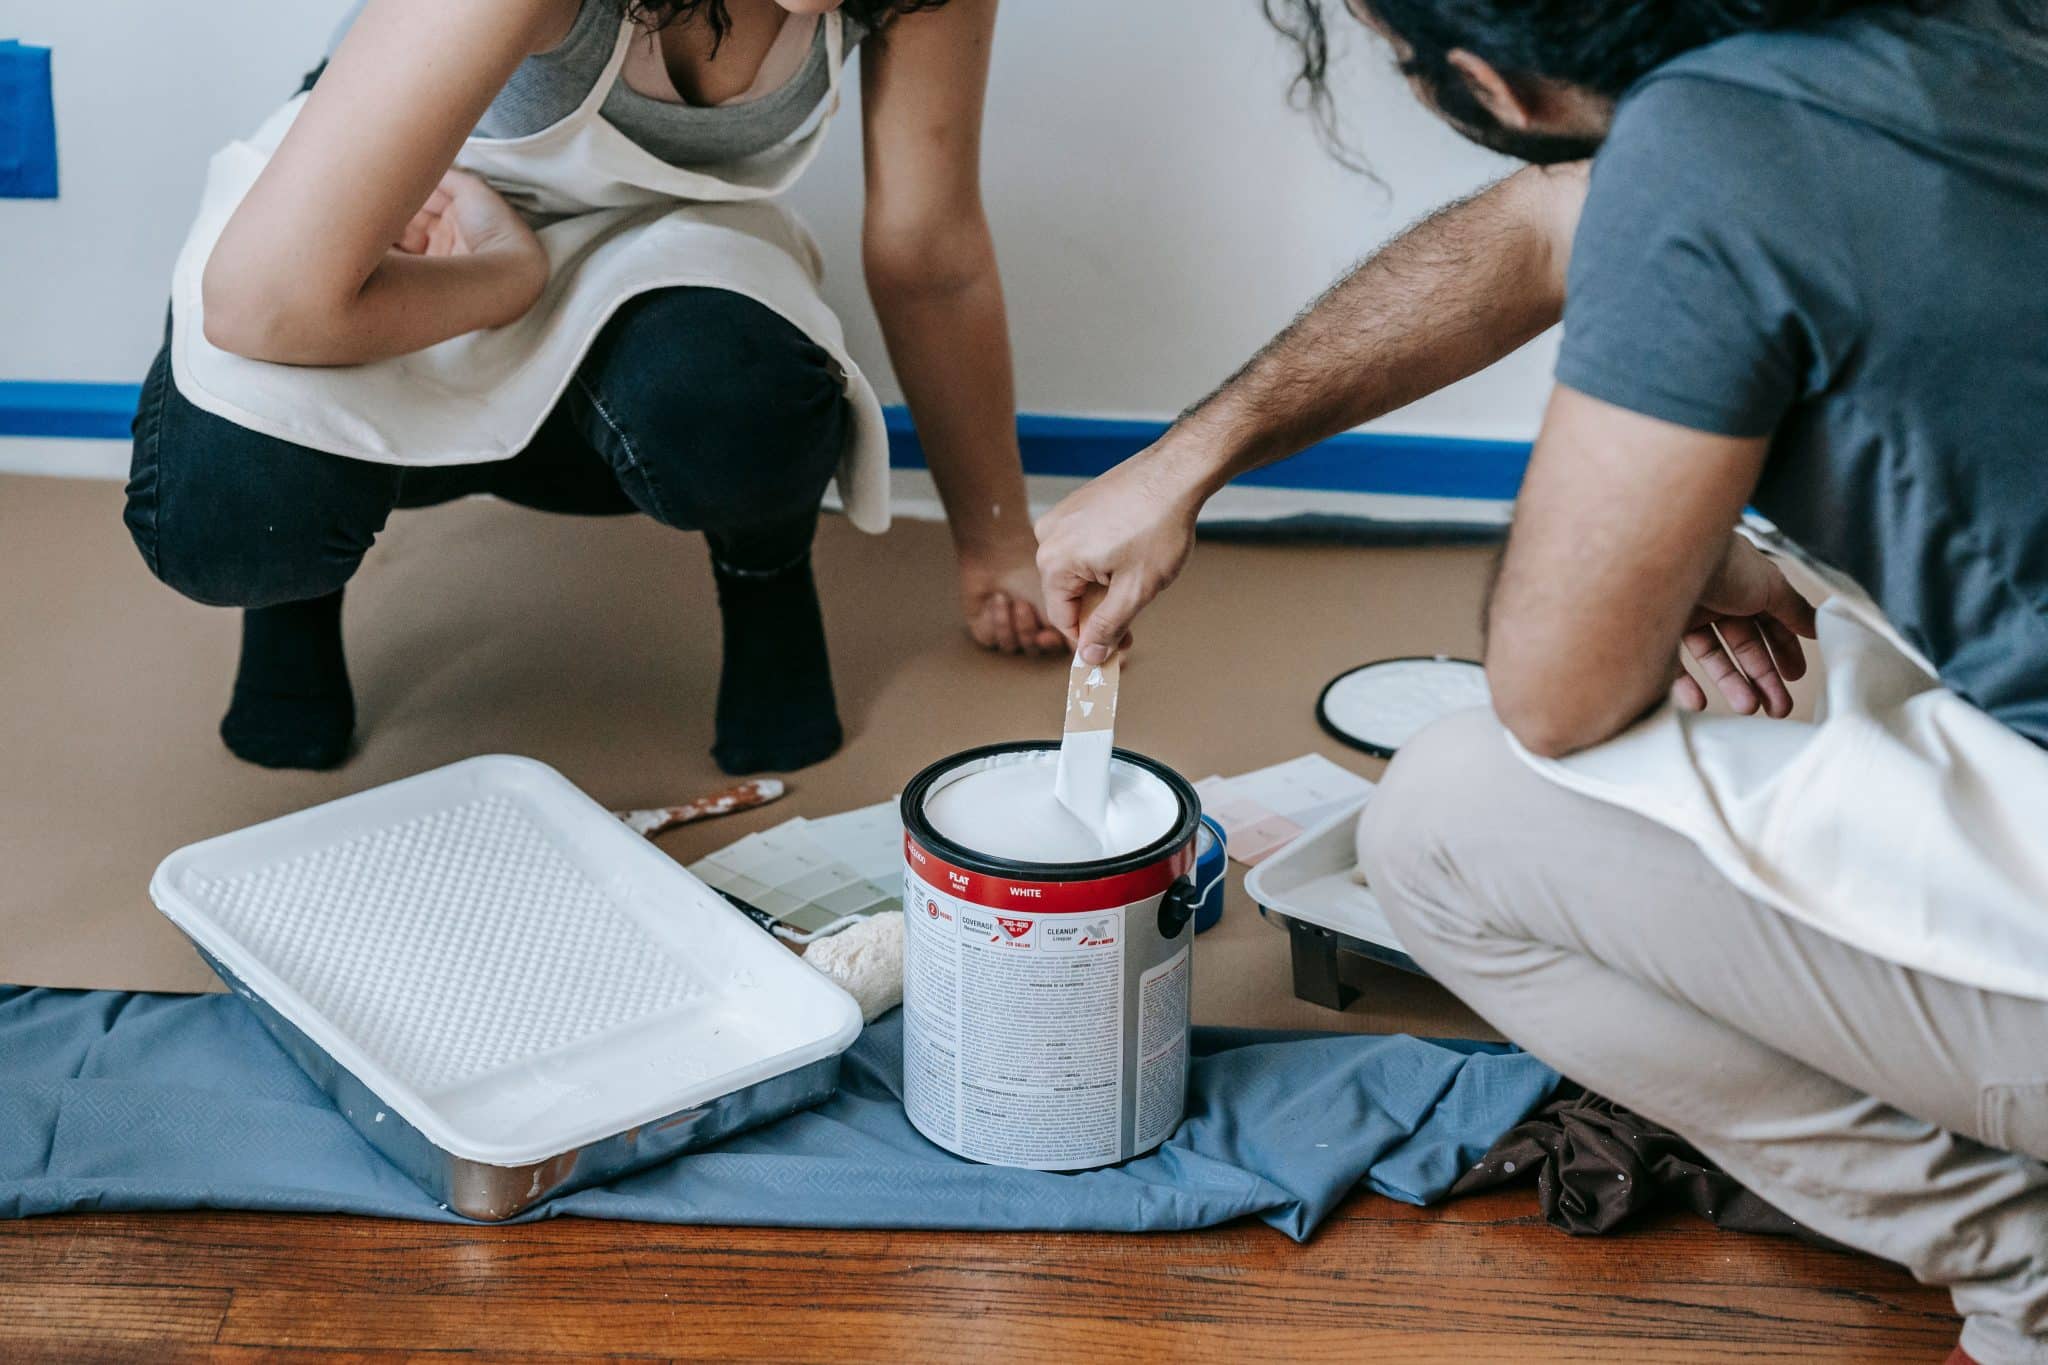
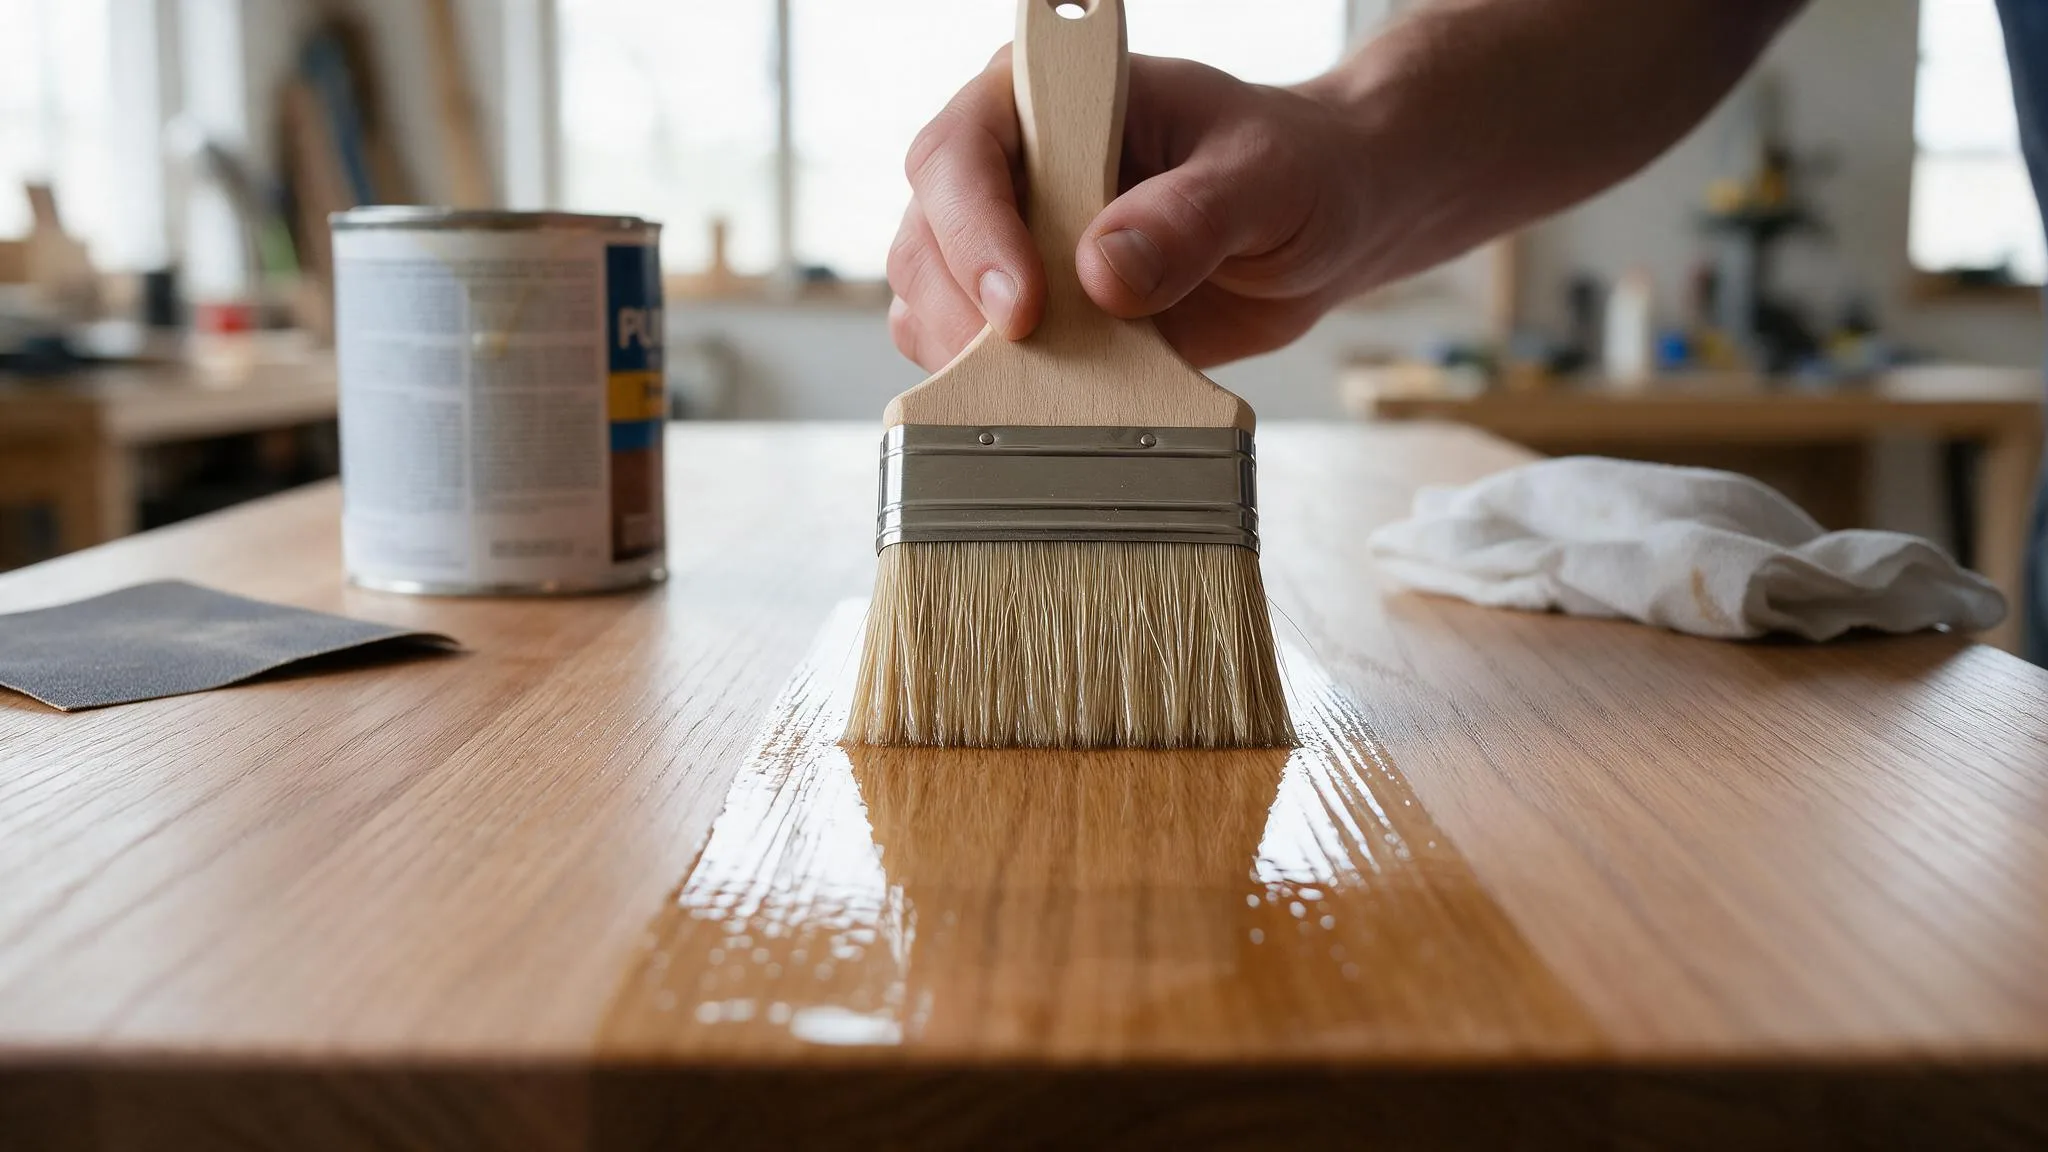
Stir the stain well before starting. Dab a little on the underside of a board and check the color before doing the whole thing. A paint pad works well on large, flat areas.
A brush is better for gaps and corners. Try to keep working while the edge stays wet, since going back over spots that have already dried leaves visible lines behind. One coat is normally enough.
A second coat tends to peel instead of protecting anything better. Got more than one can for a bigger job? Pour them all into one bucket and mix, since batches do not always match in color.
A second coat traps solvent underneath the first layer, which shows up later as a blotchy, uneven sheen rather than a smooth finish.
Step 4: Remove Excess and Let It Dry Fully

Wipe off any stain still sitting on the surface after twenty minutes, since pooled stain dries unevenly. Let the coat cure for at least 24 hours before returning foot traffic or furniture.
Rags soaked in oil-based stain can catch fire if left in a pile, so lay them flat individually outside on non-combustible ground to dry, or keep them completely submerged in a water-filled metal bucket until disposal.
Painting Pressure Treated Wood

Paint and stain solve different problems. Picking the wrong one shows quickly in how the finish looks and how long it lasts.
When Paint Works Better
Paint works well on boards with flaws that need full coverage, or when a color has to match trim elsewhere on the house. It hides grain and knots completely.
Stain lets the wood show through while still adding some protection. Paint chips visibly once it fails. Stain fades and can be refreshed with a new coat over time.
Prime Before Painting
Pressure-treated wood resists paint more than regular lumber, since the chemicals used in treatment get in the way of how paint sticks to the surface.
An exterior primer for treated wood gives the paint something to grip. Skip the primer, and the paint usually peels within a year or two, no matter how many coats you put on after.
Use Exterior Latex Paint
Latex paint flexes as the wood expands and contracts through seasonal temperature swings, so it does not crack the way oil-based paint can.
Two coats, applied with a synthetic bristle brush (nylon or polyester), give the best coverage and the longest-lasting result on treated lumber.
Maintaining the Finished Wood
The job is not done once the stain or paint dries. A deck or fence needs some care after that too, or the finish gives out early.
- Clean the surface regularly: Hose it down or scrub it lightly with mild soap a few times a year. Dirt and mildew work into the finish if left alone too long.
- Check for fading or peeling: Sun wears the color down over time. Spots with more foot traffic or rain peel first. Look it over once or twice a year to catch this early.
- Restain when protection wears: Water that soaks in instead of beading on the surface means the stain is done. This usually happens every two to three years. Rough weather speeds it up.
Conclusion
New lumber needs time before stain goes anywhere near it. A quick water test settles that question, and picking a dry stretch of weather matters just as much.
The mistakes that wear a finish down fastest are usually small ones: rushing the dry time, skipping the wash, or piling on a second coat that was not needed.
Painting pressure-treated wood works fine too, as long as you apply primer first and the wood has fully dried out. So, can you stain treated wood? Yes, get the moisture right and do the prep, and that coat holds up for years.
Frequently Asked Questions (FAQs)
1. Can Pressure Treated Wood Be Stained the Same Day It Is Installed?
Only wood carrying an ADAT or KDAT stamp can be stained the same day.
2. Can a Paint Sprayer Apply Stain Instead of a Brush?
Yes, but brush over it right after spraying so the stain soaks in evenly.
3. Is Stained Pressure Treated Wood Safe for a Vegetable Garden Bed?
Yes, modern residential treatments lack arsenic, but you should line the inside of the bed with heavy plastic sheeting to keep copper preservatives from leaching into the garden soil.
4. What Temperature Works Best for Staining Treated Wood?
Between 50 and 90 degrees Fahrenheit gives the stain the best chance to cure properly.
5. Can Treated Wood Get a Different Stain Color if It Was Stained Before?
Yes, but you need to remove the old stain first through stripping or sanding.