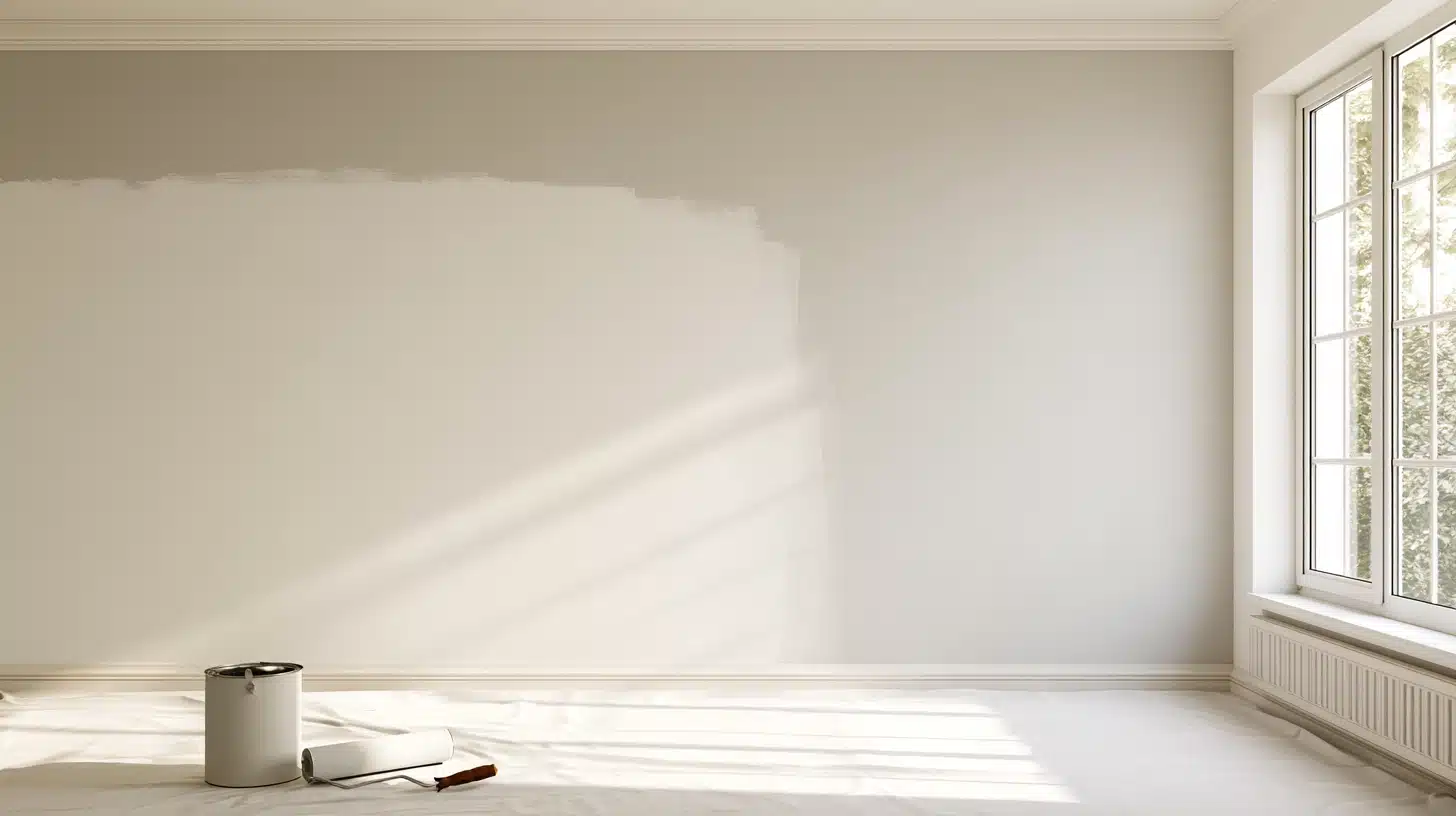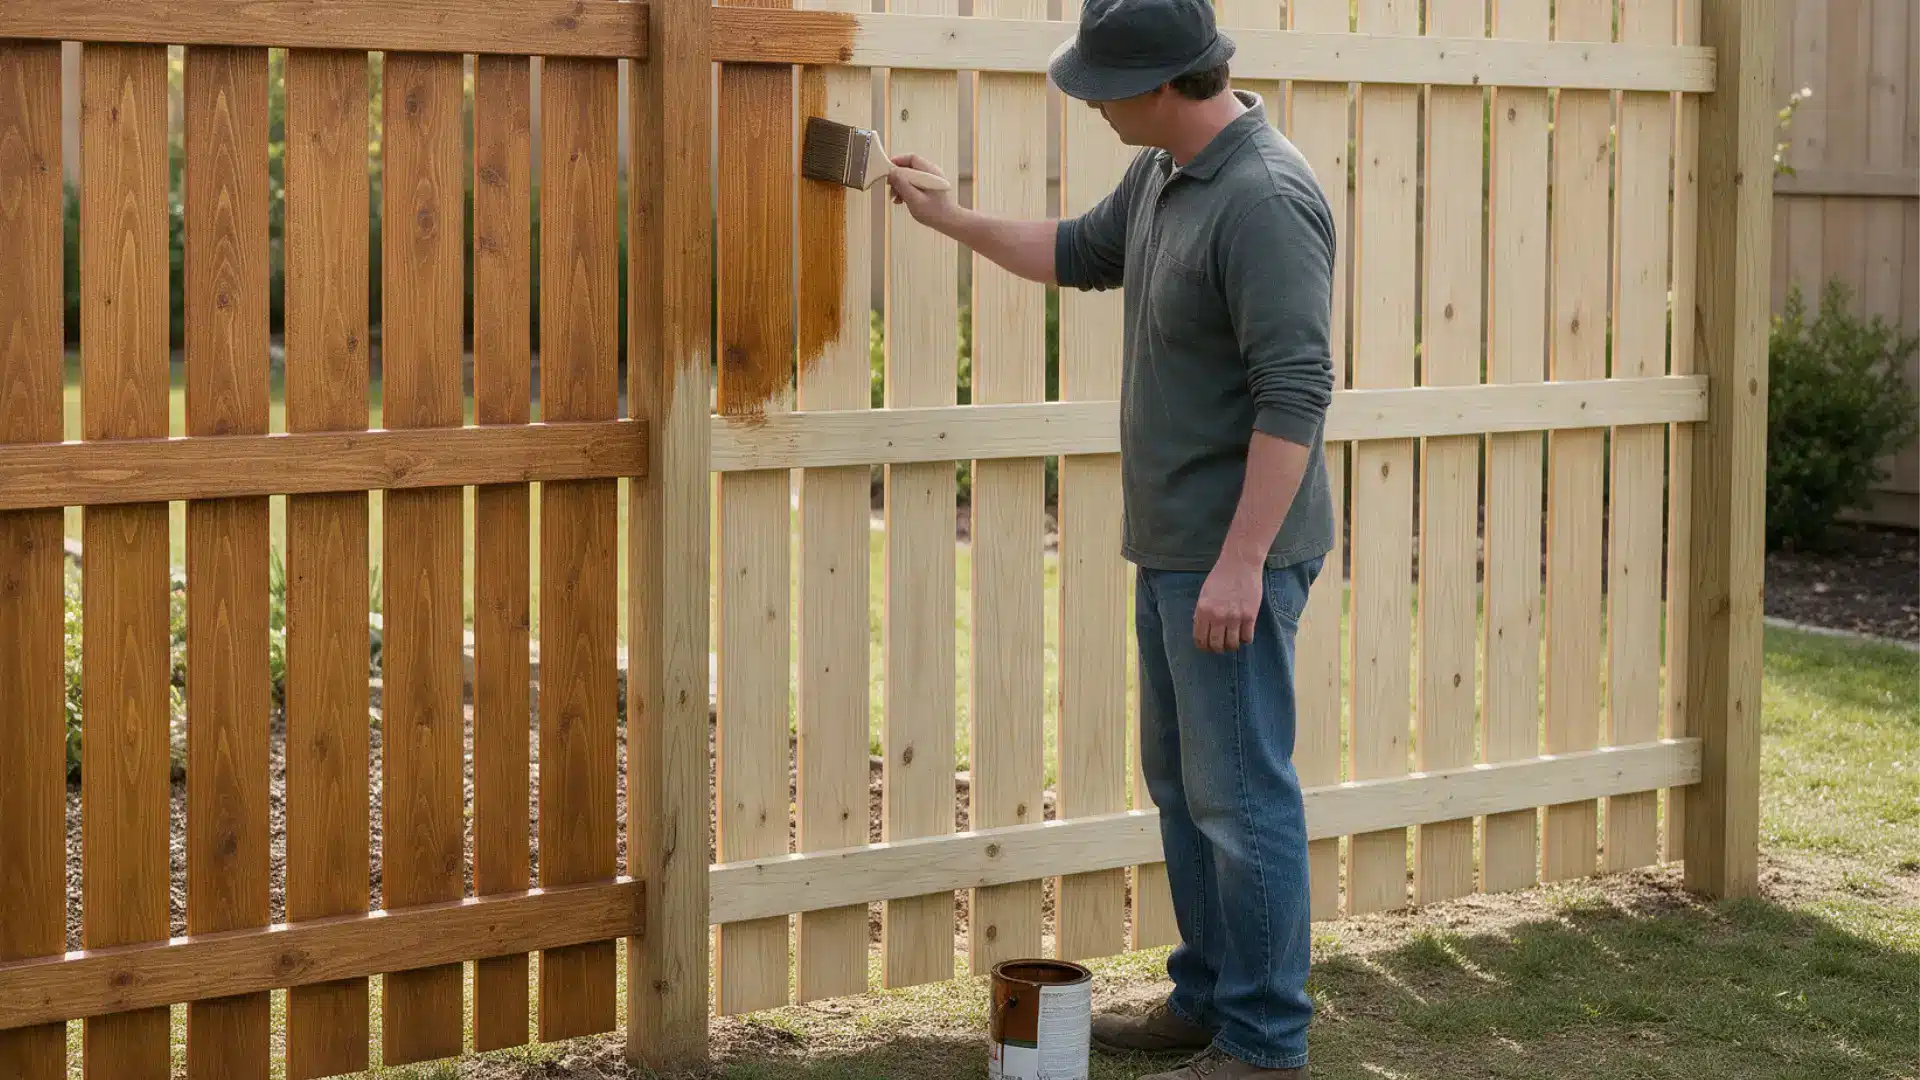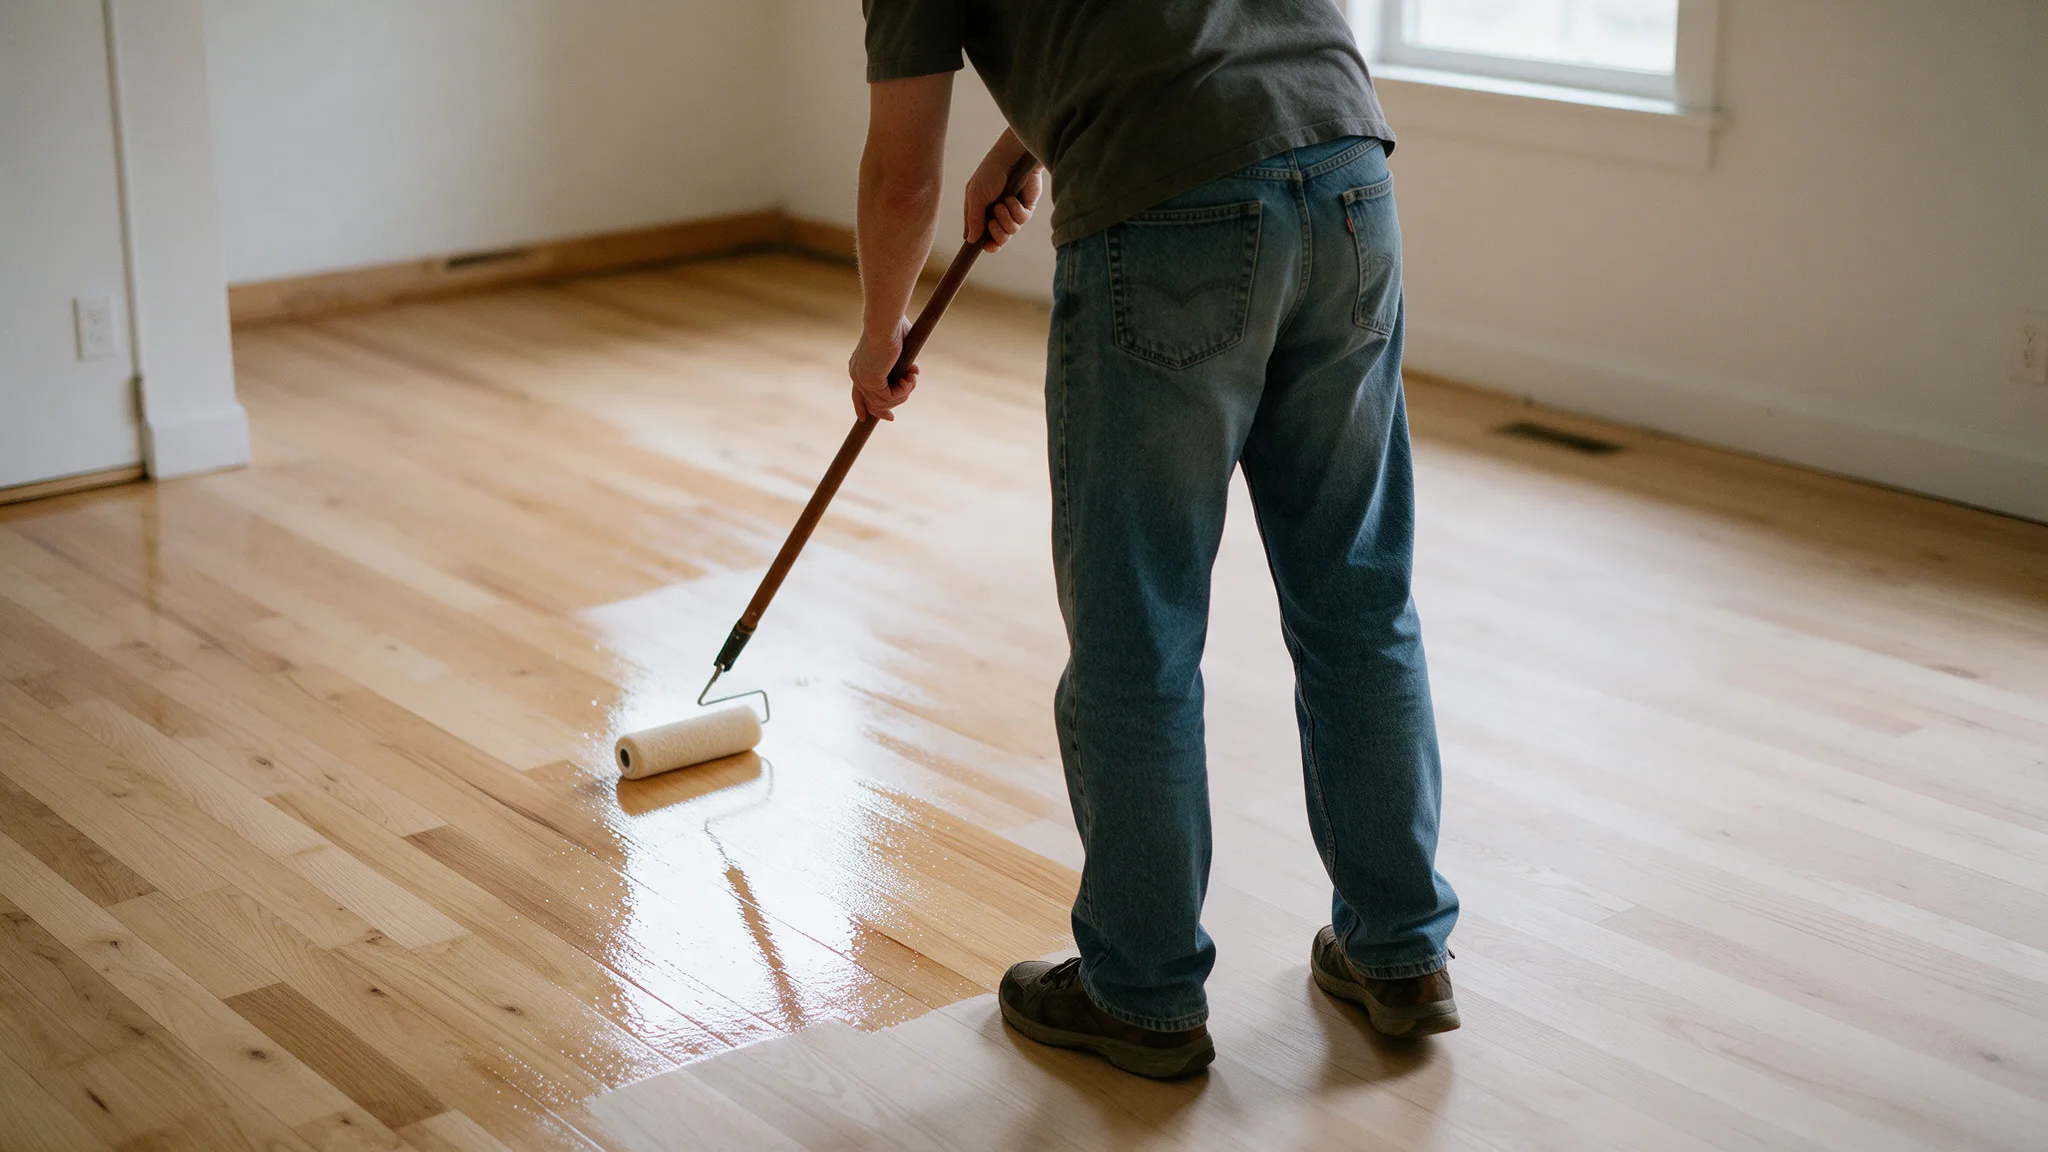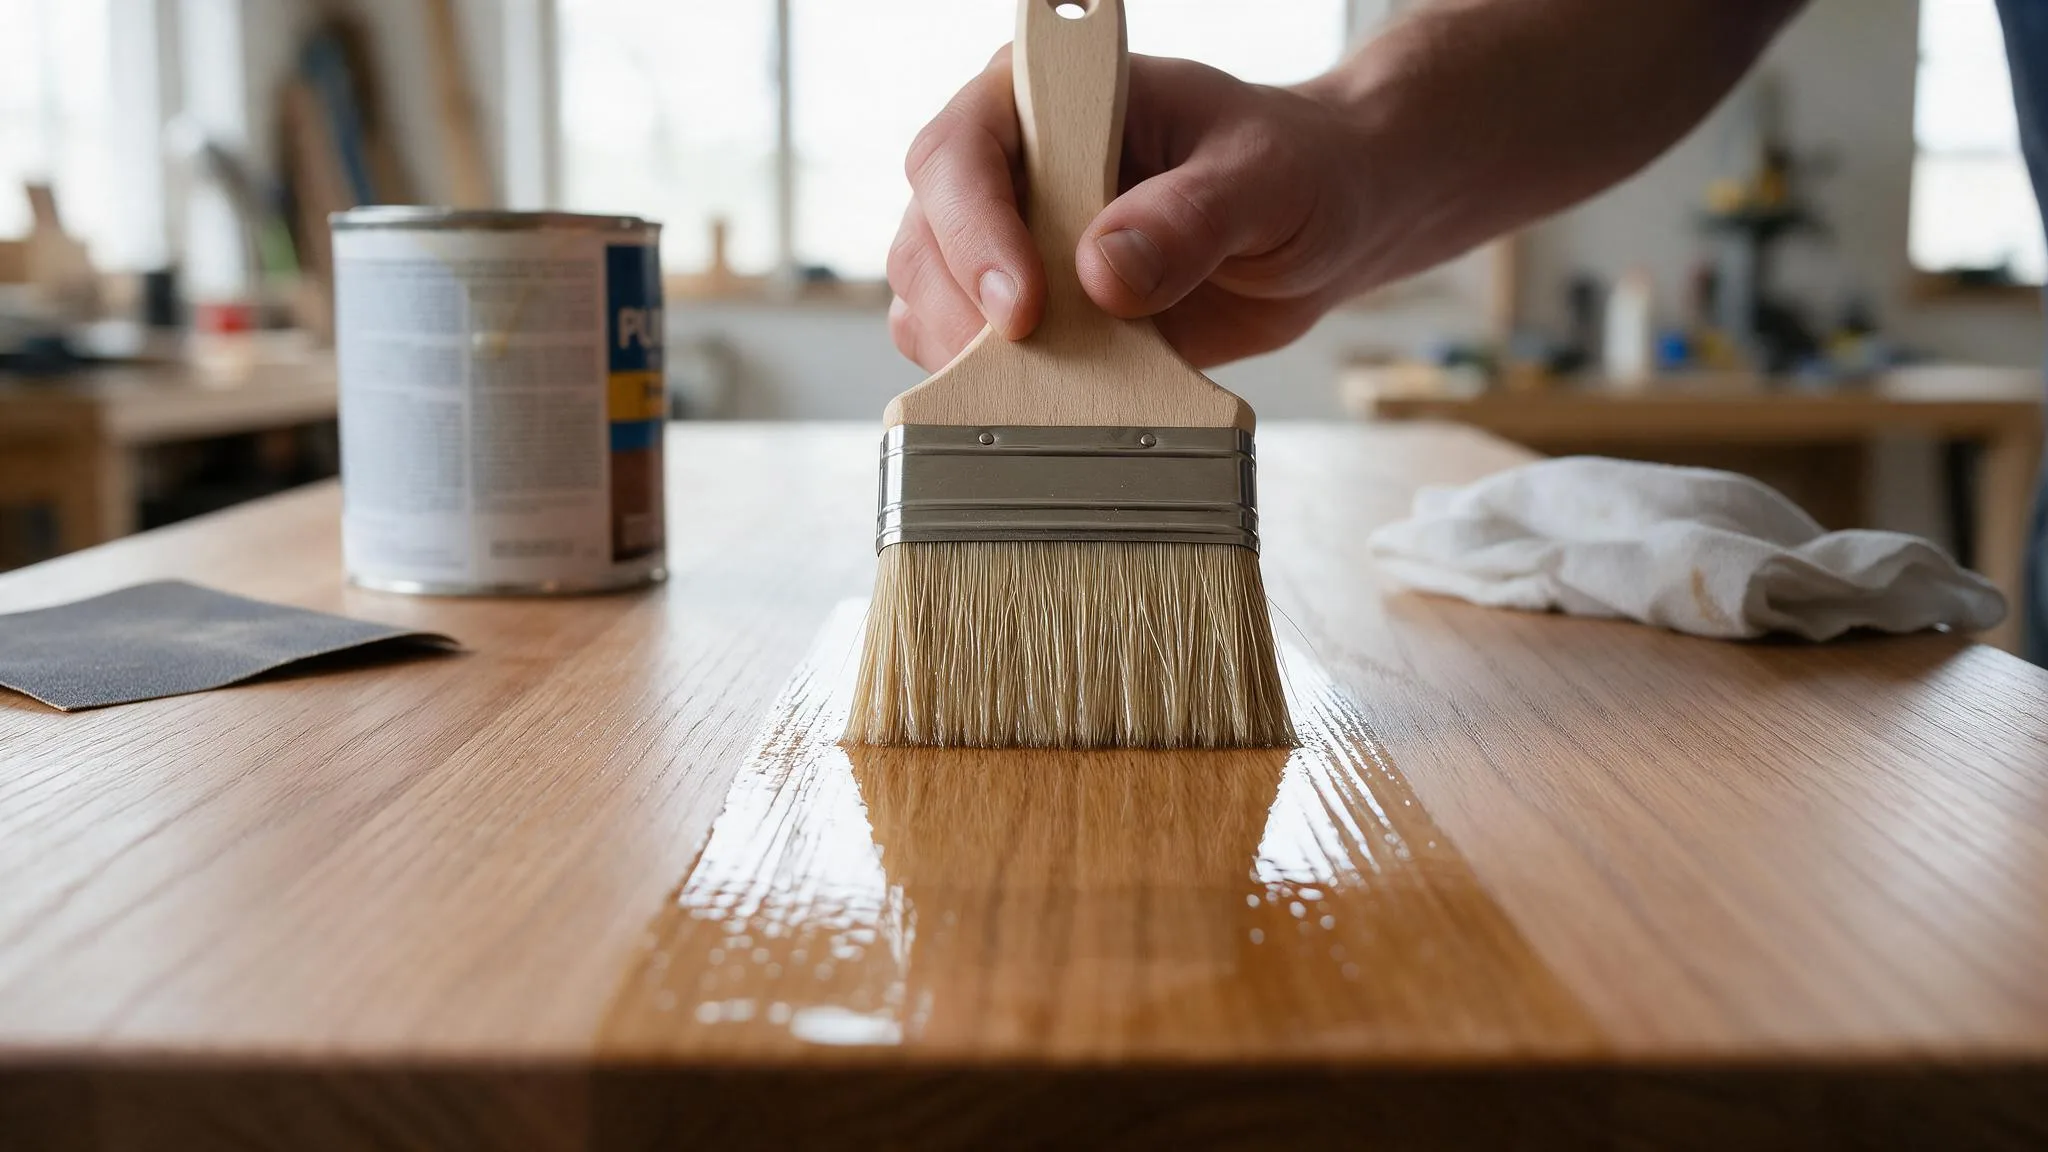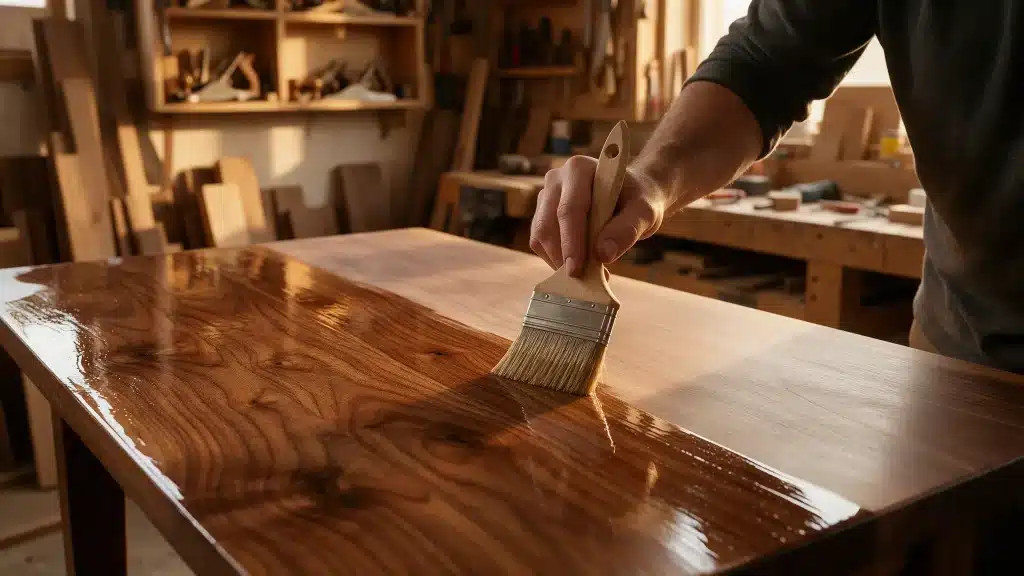
Just finished coating your table or maybe your floor. Now you are standing there, staring at it, wondering one thing: how long does polyurethane take to dry?
You don’t want to touch it too soon and ruin all that hard work. But you also don’t want to wait around forever, doing nothing.
The polyurethane dry time is pretty predictable once you know the basics, like the type of poly and the room conditions.
This guide will explain it all to you without any guesswork or confusion. Just clear answers, so that you know exactly when it’s safe to move forward.
What Exactly is Polyurethane?
You can think of polyurethane as a clear coating used to protect your wood, floors, and furniture.
Imagine it as a shield on top of your surface that guards it against scratches, water, and everyday wear.
You’ll usually find it in two forms; each one dries a bit differently, and we’ll get into that soon. For now, just know that if you want a durable finish, polyurethane is a solid pick for you.
Types of Polyurethane
Two main types of polyurethane exist. Water-based and oil-based. Knowing the difference matters because it changes everything about drying time.
Water-Based Polyurethane

It uses water as its main ingredient and dries fast. It also stays clear, so it won’t change the color of your wood. The strong odor also fades quickly after application.
Oil-Based Polyurethane

It uses oil as its base and takes longer to dry. But it gives wood a warm, amber tone that many people love and is also known for lasting a long time.
This difference comes down to chemistry. Water evaporates quickly, whereas oil does not. That’s the reason drying times vary so much between the two, both between coats and before the surface is ready to use.
Next, we’ll show exactly how long each type takes to dry.
How Long Does Polyurethane Take to Dry?
|
Stage |
Water-Based |
Oil-Based |
|---|---|---|
|
Dry to the touch |
1 to 2 hours |
6 to 24 hours |
|
Safe to recoat |
2 to 4 hours |
24 to 36 hours |
|
Light use |
24 hours |
24 to 48 hours |
|
Full cure |
14 to 21 days |
Up to 30 days |
Save this table as it answers most of your timing questions at a glance.
But what most people miss is that “Dry” and “fully cured” are not the same thing.
Dry just means the surface feels okay to touch. But the polyurethane underneath is still hardening. Full cure is when it reaches its toughest, most durable state. That’s when it can handle heavy use, furniture, and rugs without any damage.
So don’t rush it, even if the surface looks and feels ready.
Water-Based Polyurethane Dry Time
Water-based polyurethane is the quicker option at every stage. It’s dry to the touch in 1 to 2 hours. You can recoat it in 2 to 4 hours. And it’s ready for light use within a day.
Full cure, though, still takes 14 to 21 days. So patience still matters here, even with the faster type.
Oil-Based Polyurethane Dry Time
Oil-based polyurethane takes its time. It stays tacky for 6 to 24 hours before it’s dry to the touch. Between coats, wait 24 to 36 hours.
Full cure can take up to 30 days. That’s a long wait, but the payoff is a tough, long-lasting finish.
Key Factors That Affect Polyurethane Dry Time
The numbers above are a good starting point. But your actual dry time depends on a few things around you, which are listed below.
Temperature
Warmer rooms speed things up. Cooler rooms slow things down. It’s that simple.
At around 70°F, polyurethane dries close to the times we mentioned earlier. Drop the temperature to 60°F or lower, and you could be waiting much longer.
If you can, work in a room that stays warm and steady and avoid drafty spots or cold garages.
Humidity
Moisture in the air plays a big role, especially for water-based polyurethane.
High humidity slows down evaporation, which means longer dry times. Low humidity does the opposite and helps the finish dry faster.
A humidity level between 40 and 60 percent works best. At anything higher, you may want to wait a bit longer between coats.
Air Circulation
Fresh air helps polyurethane dry faster, but stagnant air does not.
A fan or an open window can make a real difference. It pulls moisture and fumes away from the surface, so the finish sets faster.
Just avoid pointing a fan directly at wet polyurethane, as it can stir up dust and ruin the finish.
Number and Thickness of Coats
Thick coats take longer to dry, while thin coats dry faster and more evenly.
Always apply thin and even layers. It might mean an extra coat or two, but it’s worth it for a smoother finish and shorter wait times.
More coats also mean more total drying time, so plan your project around that.
Type of Surface
Not every surface absorbs polyurethane the same way. Porous wood, like oak, soaks it in and may need extra drying time. Sealed or previously finished surfaces dry a bit faster because they absorb less.
Knowing your surface helps you set realistic expectations before you start.
How to Tell If Polyurethane is Fully Dry
Sometimes the clock isn’t enough, and you need a real way to check. Here are a few simple tests I use.
The Touch Test

Lightly press your finger on the surface. If it feels tacky or sticky, it’s not ready yet. A dry surface should feel smooth and firm, with no pull on your skin.
Go easy, though. Press too hard, and you could leave a mark.
The Smell Test

Fresh polyurethane has a strong smell. As it dries, that smell fades.
If you can still catch a sharp, chemical odor, it’s likely still curing. Once the smell is mostly gone, that’s a good sign it’s further along.
Look for a Hazy or Cloudy Finish

Wet polyurethane often looks a little hazy or milky. As it dries, it turns clear and glossy.
If the surface still looks foggy, give it more time. A clear, even shine usually means it’s dry.
The Fingernail Test
For a firmer check, gently press a fingernail into an inconspicuous spot. If it leaves a dent, it’s not fully cured. If the surface resists and springs back, you’re in good shape.
Use this test only on areas that won’t show, just to be safe.
None of these tests replace the timeline we covered earlier. But together, they give you a good, hands-on way to double-check before you move furniture back or start using the surface.
How Long Should Polyurethane Dry Before Sanding?
How long you wait to sand your polyurethane finish depends entirely on whether you are using a water-based or oil-based formula.
Sanding between coats is essential for creating a strong bond, but if you jump the gun, the finish will gum up and wreck your sandpaper.
Water-Based Polyurethane
Water-based polyurethane typically takes 2 to 4 hours to dry before sanding because it dries through evaporation. It’s ready once it feels firm and free of tackiness.
Oil-Based Polyurethane
Oil-based polyurethane requires 24-36 hours of drying time before sanding, which is the safest bet, since it cures through an oxidation process rather than simple evaporation.
A few specialty fast-drying, oil-modified formulas are the exception and can be sanded in 3-4 hours; standard oil-based products need the full 24-36 hours.
Conclusion
So now you can figure out how long polyurethane takes to dry, and it’s not as confusing as it first seems.
Water-based dries fast, while oil-based takes patience, and ultimately both need time to fully cure.
Here’s why polyurethane dry time actually matters. Rushing this step can undo hours of hard work. A little patience protects your floor, table, or furniture.
So next time you finish a coat, don’t guess. Check the type you used, glance at the table above, and give it the time it needs.
Got a project coming up? Bookmark this guide. You’ll want it close by for that next coat.
Frequently Asked Questions
1. How Long Does Polyurethane Take to Dry Before I Can Walk on It?
Water-based polyurethane is usually ready for light foot traffic in about 24 hours. Oil-based takes a bit longer, closer to 24 to 48 hours. Stick to socks and skip shoes for now.
2. How Long Should I Wait Between Coats of Polyurethane?
For water-based, wait 2 to 4 hours. For oil-based, give it 24 to 36 hours. Rushing this step can trap moisture and ruin the finish.
3. Can I Speed Up Polyurethane Drying Time?
Yes. Keep the room warm, add some airflow with a fan, and apply thin coats. Each one speeds up drying.
4. How Long Before I Can Put Furniture or Rugs Back on The Surface?
Give it at least 48 hours for water-based polyurethane, and 3 to 4 days for oil-based. For rugs, wait even longer: closer to 2 weeks for water-based and 30 days for oil-based.