Most people think kale is easy to grow. Most people think kale is easy to grow. And it can be, once you know what you’re actually doing
But what most of us get are yellow leaves. Bitter stalks. Plants that look healthy one day and dead the next.
If this sounds like your garden, you’re not doing anything wrong; you’re just missing a few key steps.
I’ve been through that too. Once I sorted out the soil pH and stopped watering from above, the difference was obvious within a week
When you know exactly how to grow kale the right way, it’s one of the most rewarding plants you can grow.
So let’s get your kale growing the right way.
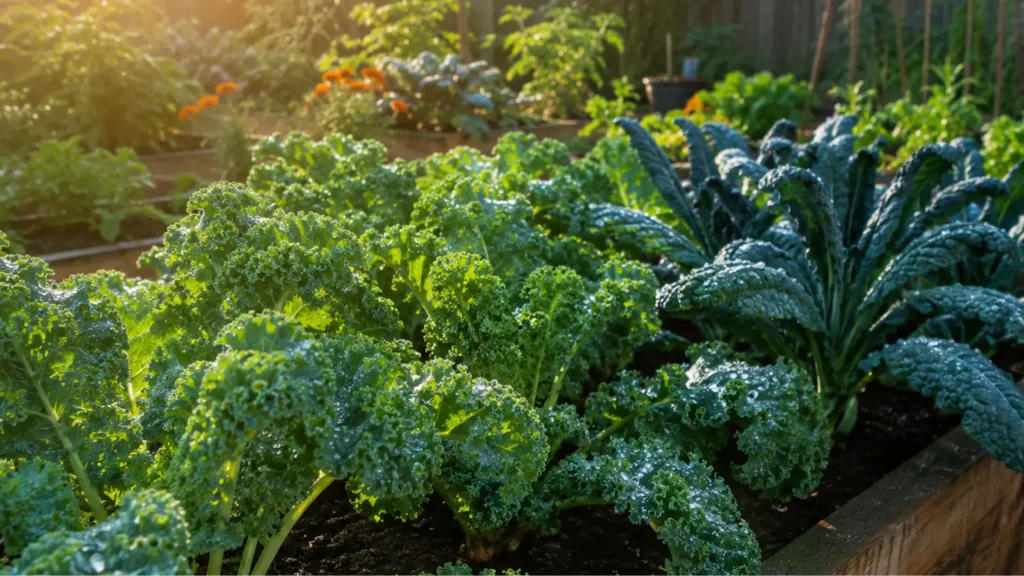
What is Kale and What Does it Look Like?
Kale is a leafy green vegetable from the Brassicaceae family, the same plant group as broccoli and cabbage. The leaves grow on thick stems and feel slightly rough when you handle them.
That texture actually makes kale sturdier than most salad greens, which is part of why it holds up well in both raw and cooked dishes.
Depending on the variety, the edges can be smooth, wavy, or tightly curled.
The color ranges from bright green to deep purple and even blue-green in some types.
Kale plants can grow anywhere from 1 to 3 feet tall. The leaves get bigger and darker as the plant matures.
Different Varieties of Kale
Not all kale is the same. There are several types, and each one looks and tastes a little different.
The most common varieties you’ll come across are:
- Curly Kale: The most popular type. Bright green with tightly ruffled leaves and a slightly bitter taste.
- Lacinato Kale: Also called dinosaur kale. Dark blue-green with long, bumpy leaves and a sweeter, milder flavor.
- Red Russian Kale: Flat, jagged leaves with a purple-red stem. Tender and slightly sweet.
- Siberian Kale: Large, grey-green leaves with a mild flavor. Very cold-hardy and easy to grow.
- Baby Kale: Smaller, softer leaves. Great for salads and light cooking.
If you’re growing kale for the first time, Lacinato or Red Russian are the top picks.
How Long Does Kale Take to Grow?
This is one of the first questions I had when I started growing kale. And the answer surprised me.
Kale is not a slow grower. From seed to harvest, it takes about 55 to 75 days. That’s roughly 8 to 10 weeks.
- Germination: Seeds sprout in 5 to 8 days.
- Seedling stage: Young plants establish themselves in 2 to 3 weeks.
- Mature leaves: Ready to pick in 55 to 75 days from planting.
One thing I love about kale is that you don’t have to wait for the whole plant to mature. You can start picking the outer leaves as early as 3 to 4 weeks after planting. The plant keeps growing from the center.
Kale also grows well in cool weather. So you can plant it in early spring or late summer for a fall harvest.
How to Grow Kale Step by Step From Seed to Harvest
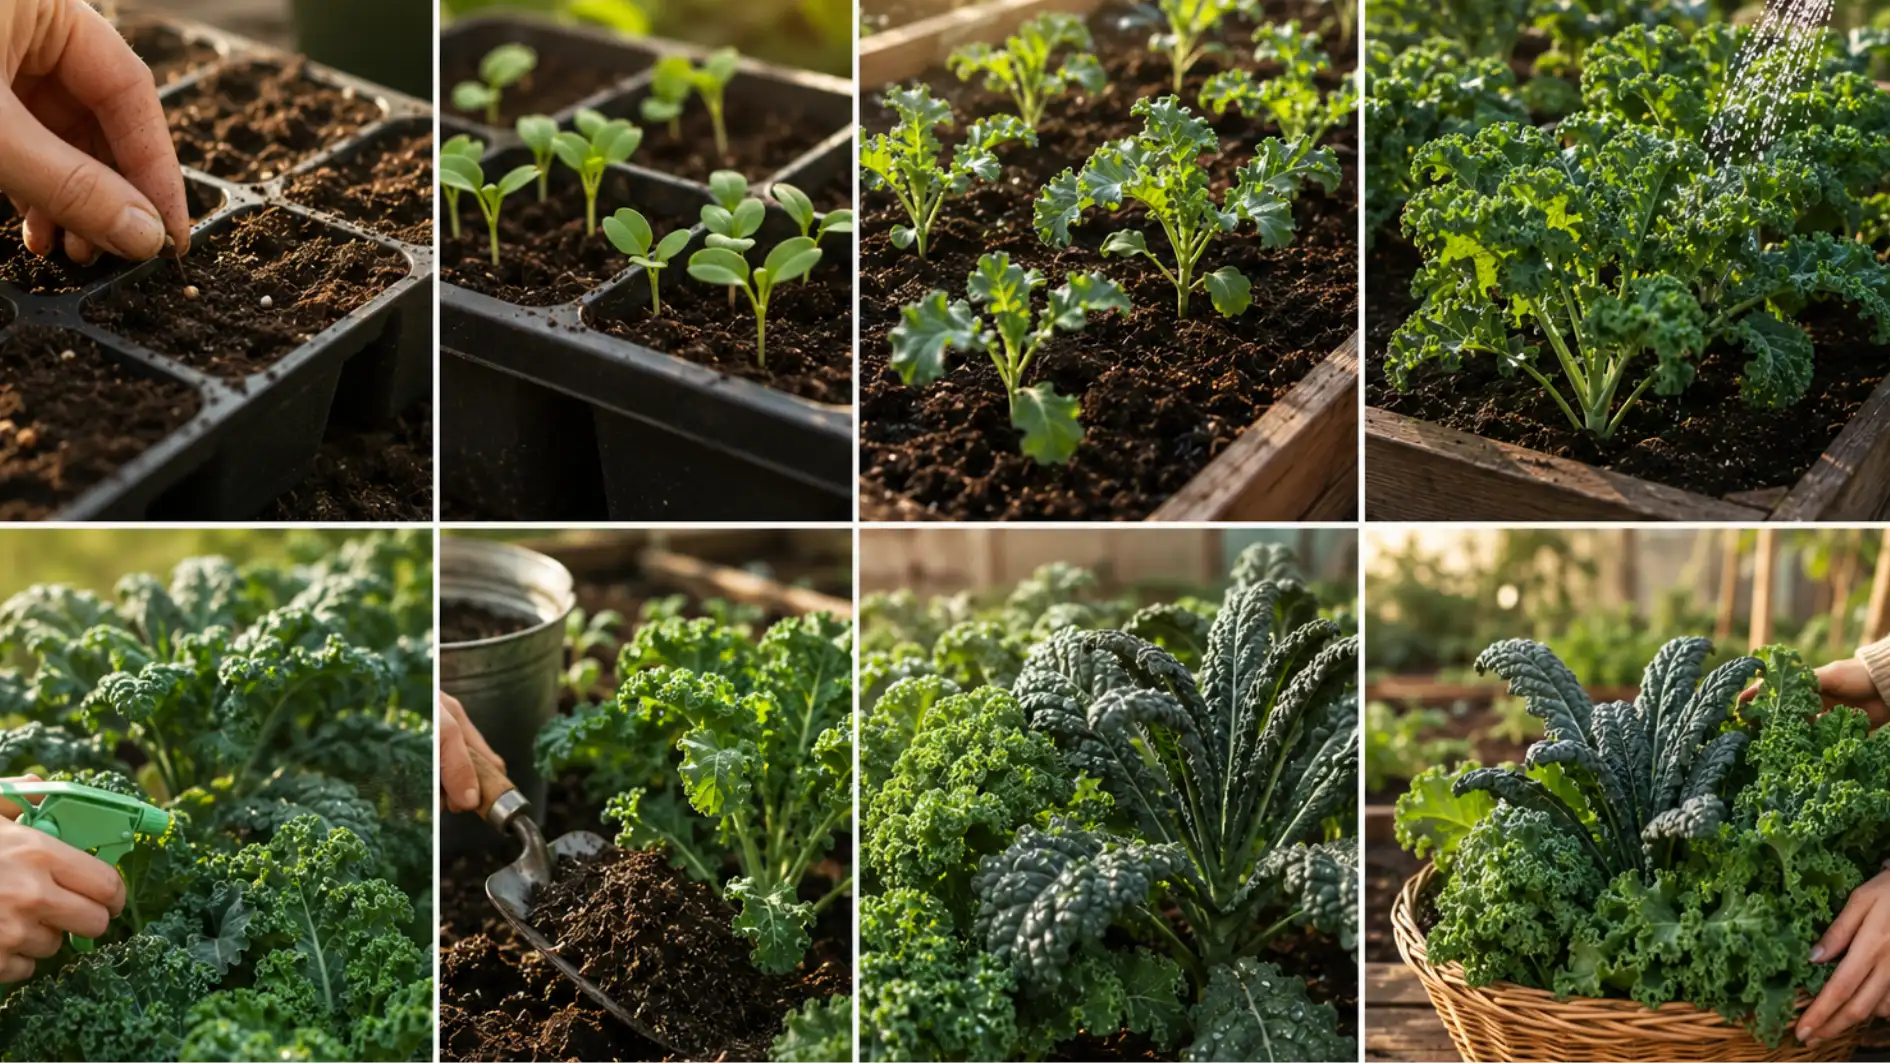
Growing kale from seed sounds complicated. But it’s not.
You just need to follow the right steps in the right order. This is exactly what I did, from planting the first seed to picking the first leaf.
Step 1: Choose the Right Time to Plant
Kale loves cool weather. Plant your seeds in early spring, about 3 to 4 weeks before the last frost. You can also plant in late summer for a fall harvest.
Avoid planting during the peak of summer heat.
Cool temperatures actually make kale taste better. A light frost can sweeten the leaves.
Step 2: Pick the Right Spot
Kale needs at least 6 hours of sunlight every day. Pick a spot that gets good morning sun. The soil should be well-drained and rich in nutrients.
Avoid spots that stay wet after rain. Waterlogged soil is one of the biggest reasons kale plants fail.
If your garden drains slowly, consider raising your beds.
Step 3: Prepare the Soil
Kale grows best in soil with a pH of 6.0 to 7.5. Mix in some compost before planting.
This gives your kale a strong, healthy start.
If you’re unsure about your soil’s pH, a basic testing kit from any garden center will give you a reading in under 10 minutes. It’s a small step that can prevent a lot of guesswork later.
Add lime to raise the pH or sulphur to lower it.
Step 4: Plant the Seeds
Sow seeds about ¼ to ½ inch deep in the soil. Space them 12 to 18 inches apart.
This gives each plant enough room to grow big and strong.
If you’re starting indoors, plant the seeds in small pots 4 to 6 weeks before the last frost. Move them outside once the weather warms up a little.
Give them a few days to adjust before planting them in the ground.
Step 5: Water Regularly
Kale needs about 1 to 1.5 inches of water per week. Water at the base of the plant, not the leaves. Keep the soil moist but never soggy.
Wet leaves can lead to fungal problems.
Always water in the morning so the soil has time to absorb it before the sun gets strong. During dry spells, check the soil every day.
Step 6: Feed Your Plants
Kale is a heavy feeder. Add a nitrogen-rich fertilizer every 3 to 4 weeks. This keeps the leaves dark green and full of flavor.
If you notice the leaves turning yellow, that’s usually a sign your kale needs more nitrogen.
A simple liquid fertilizer works well. Just follow the instructions on the pack and don’t overdo it.
Step 7: Watch for Pests
Aphids and cabbage worms are the biggest threats to kale.
Check the leaves regularly. Pick off any pests by hand or use a mild organic spray.
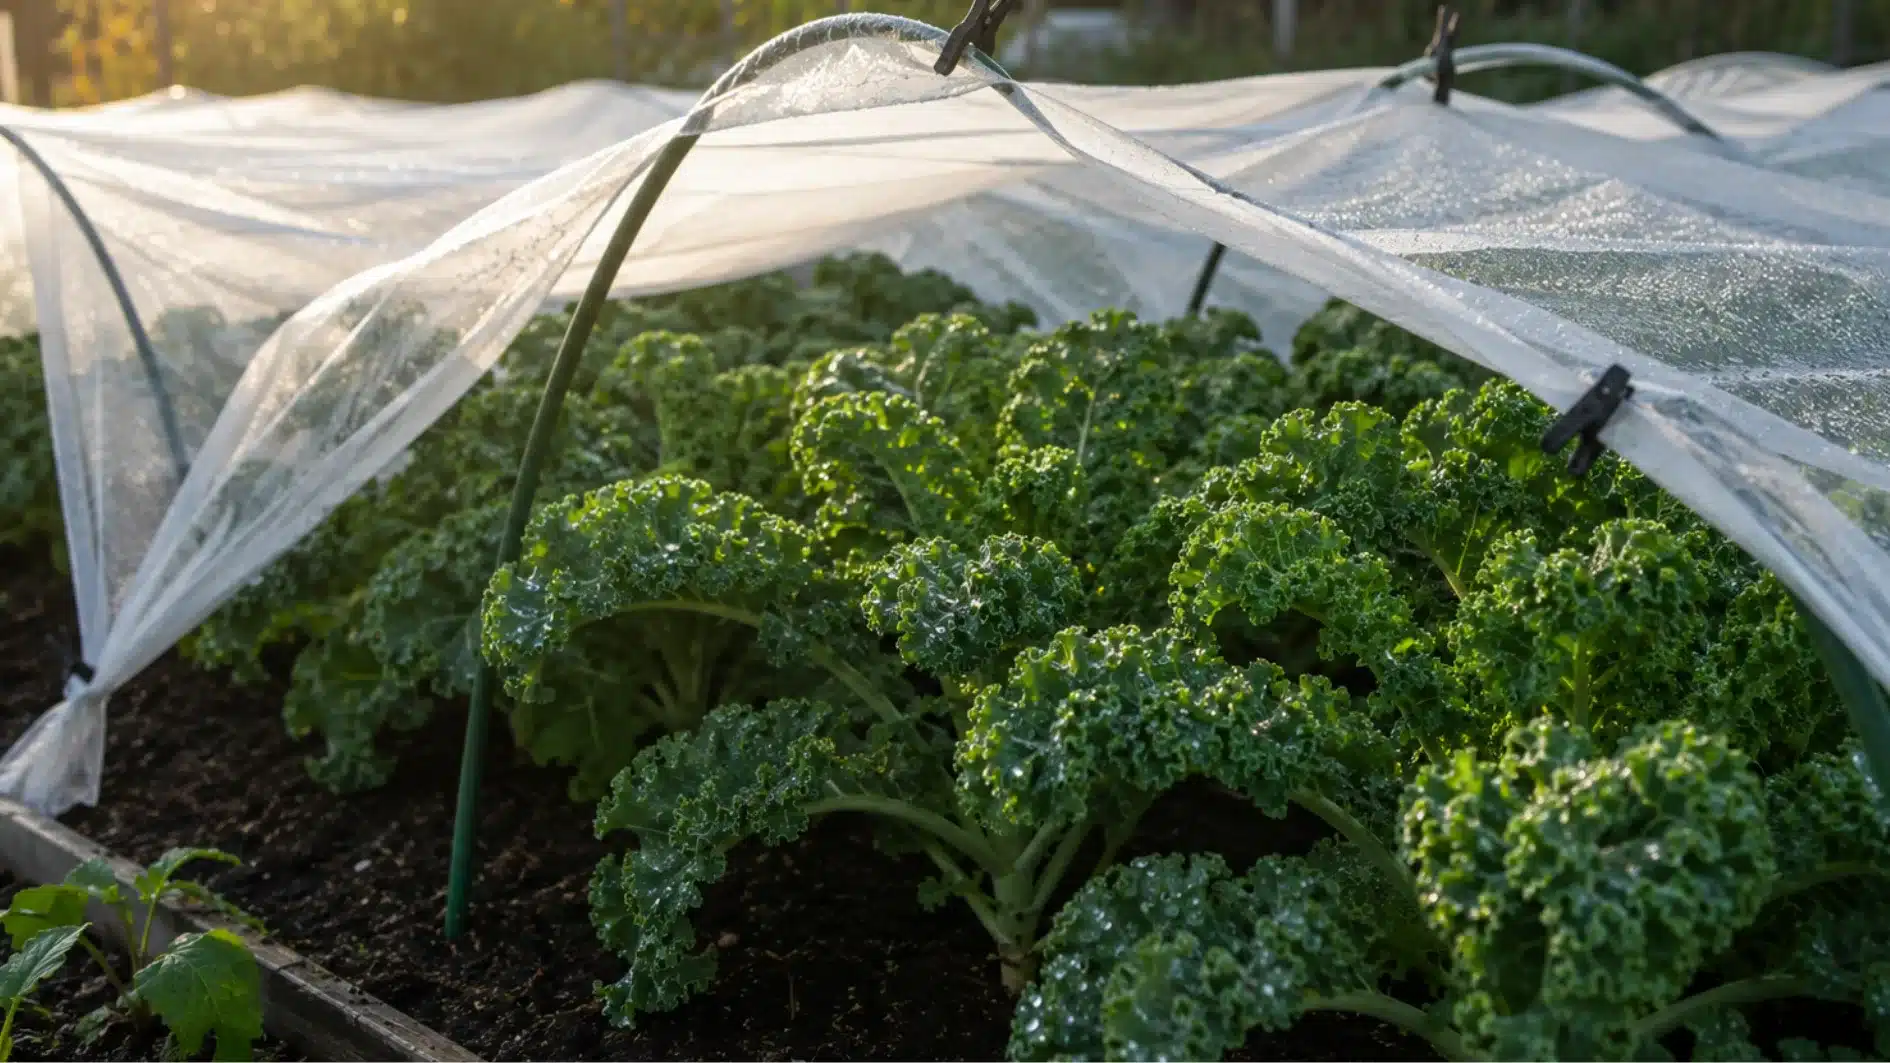
You can also use row covers to keep pests away from young plants. This is especially useful in spring when insects are most active.
Check under the covers every few days to make sure everything looks healthy.
Step 8: Harvest Your Kale
Start picking the outer leaves once the plant is about 12 inches tall. Always leave the centre leaves intact.
This way, the plant continues to produce fresh leaves for weeks.
Harvest in the morning when the leaves are at their freshest. Use a clean pair of scissors or garden shears.
Cut the stem close to the main stalk, and your plant will reward you with a brand new set of leaves within days.
Care Tips for Your Kale Plant
Growing kale is one thing. Keeping it healthy is another.
These simple care tips will help your kale stay strong, green, and productive all season long.
1. Water the Right Way
Kale needs consistent moisture to grow well. Too little water and the leaves turn tough and bitter. Too much, and the roots start to rot.
Aim for 1 to 1.5 inches of water per week. Water at the base of the plant never comes from above. Always check the soil before watering.
If it feels moist an inch below the surface, hold off for another day.
2. Feed Your Kale Regularly
Kale is a hungry plant. It needs regular feeding to keep producing those big, dark green leaves.
Use a nitrogen-rich fertilizer every 3 to 4 weeks. If the leaves start turning pale or yellow, that’s your plant telling you it needs more nutrients.
3. Keep the Weeds Out
Weeds compete with your kale for water and nutrients. Pull them out as soon as you spot them. Don’t let them get established.
A layer of mulch around the base of each plant helps keep weeds under control. It also locks in moisture and keeps the soil temperature steady.
Two to three inches of straw or wood chips works perfectly.
4. Check for Pests Often
Pests can damage a kale plant quickly. Aphids, cabbage worms, and flea beetles are the most common culprits.
Check the leaves every few days, both the top and the underside.
Catch them early, and you can deal with them quickly. Pick them off by hand or use a mild organic spray.
Row covers are also a great way to keep pests away from young plants.
5. Prune the Old Leaves
As your kale grows, the lower leaves will start to age and yellow. Remove them as soon as you notice them.
This keeps the plant looking healthy and stops disease from spreading.
Always use clean scissors or garden shears. Cut close to the main stem.
6. Protect Your Plant From Extreme Heat
Kale struggles in hot weather. If temperatures rise above 80°F, the leaves can turn bitter, and the plant may bolt, meaning it starts to flower and go to seed.
If you’re growing kale in summer, give it some shade during the hottest part of the day. A simple shade cloth works well.
You can also water more frequently to help the plant cope with the heat.
7. Keep an Eye on the Soil
Healthy soil means healthy kale. Check your soil’s pH every season. Kale grows best in soil with a pH between 6.0 and 7.5.
If the pH is off, your plant won’t absorb nutrients properly, no matter how much you feed it. A simple soil test kit tells you exactly where you stand and what needs adjusting.
How to Store Kale After Harvesting?
You’ve grown it. You’ve harvested it, so its the end? No.
Now comes theright way the store kale, keeping it fresh and full of flavor for days, even weeks.
A few simple steps right after harvesting can keep your kale crisp, green, and ready to use whenever you need it.
Store it in the Fridge
Fresh kale stays good in the fridge for up to 5 to 7 days. Don’t wash the leaves before storing; moisture speeds up rotting.
Wrap the dry leaves loosely in a paper towel.
Place them in a zip-lock bag or an airtight container. Store in the crisper drawer of your fridge.
Freeze it for Long-term Storage
If you want to store kale for months, freezing is your best option. Here’s how:
- Wash the leaves under cold water.
- Blanch in boiling water for 2 to 3 minutes.
- Transfer to a bowl of ice-cold water immediately.
- Drain and pat completely dry.
- Pack into freezer bags and label with the date.
Frozen kale stays good for up to 12 months. It works great in soups, smoothies, and cooked dishes.
Wrapping Up
Growing kale is not as hard as it looks.
Now you know exactly how to grow kale, from picking the right spot to harvesting fresh leaves every week. The rest is just practice.
Start small. Make mistakes. Learn as you go. That’s how every great gardener figures it out.
Your garden is waiting. Grab those seeds and get started.
Frequently Asked Questions (FAQ’s)
1. Does Kale Regrow After Cutting?
Yes! Kale is a cut-and-come-again plant. When you cut the outer leaves, the plant keeps growing from the centre. New leaves appear within 1 to 2 weeks.
2. How Often Should I Water Kale?
Kale needs about 1 to 1.5 inches of water per week.
3. What Is the Best Fertiliser for Kale?
Kale grows best with a nitrogen-rich fertiliser. Apply every 3 to 4 weeks throughout the growing season. Compost also works great; mix it into the soil before planting.