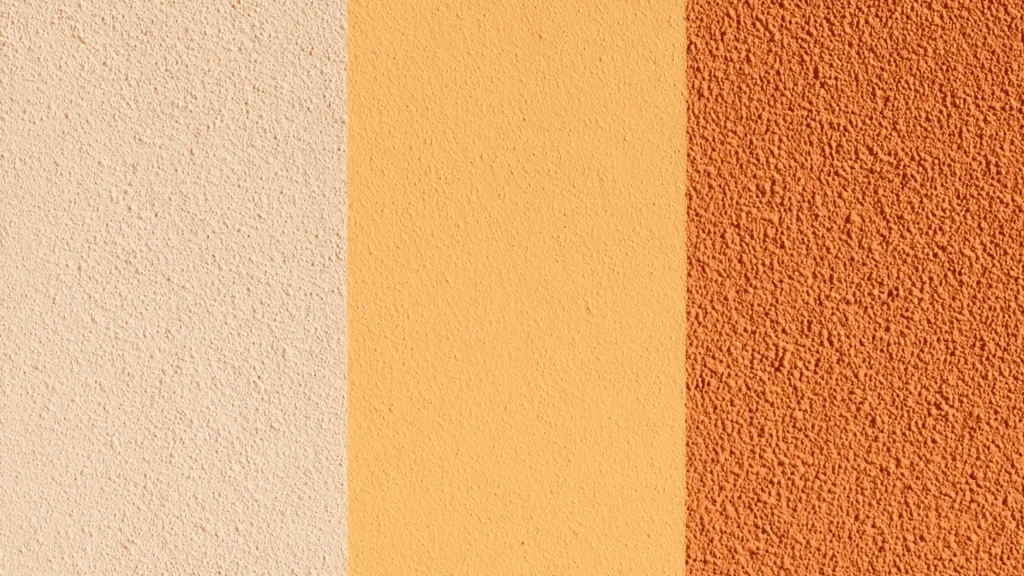
Your drywall guy just asked if you want fine, medium, or heavy orange peel texture, and you have no clue what that means for your walls.
Pick wrong and you end up with bumps that are either too flat to hide anything or way heavier than you pictured.
Before you answer him, here is what orange peel texture actually does and how each version changes the way your walls look.
What is Orange Peel Wall Texture?
Orange peel texture is a sprayed on finish made from thinned joint compound that dries in small raised dots instead of getting smoothed flat.
It is called orange peel because the dried surface looks a lot like the skin of an orange.
Here is how it works. Joint compound gets thinned with water, loaded into a hopper gun, and sprayed on in a fine mist.
The key part is what does not happen next. Nobody flattens it with a knife. That one step is the whole reason it stays subtle instead of turning into something that looks like stucco.
It works on ceilings too, not just walls. That is a big reason you see it so much in new builds and remodels.
Find the different paint texture types.
What Does Orange Peel Texture Look Like?
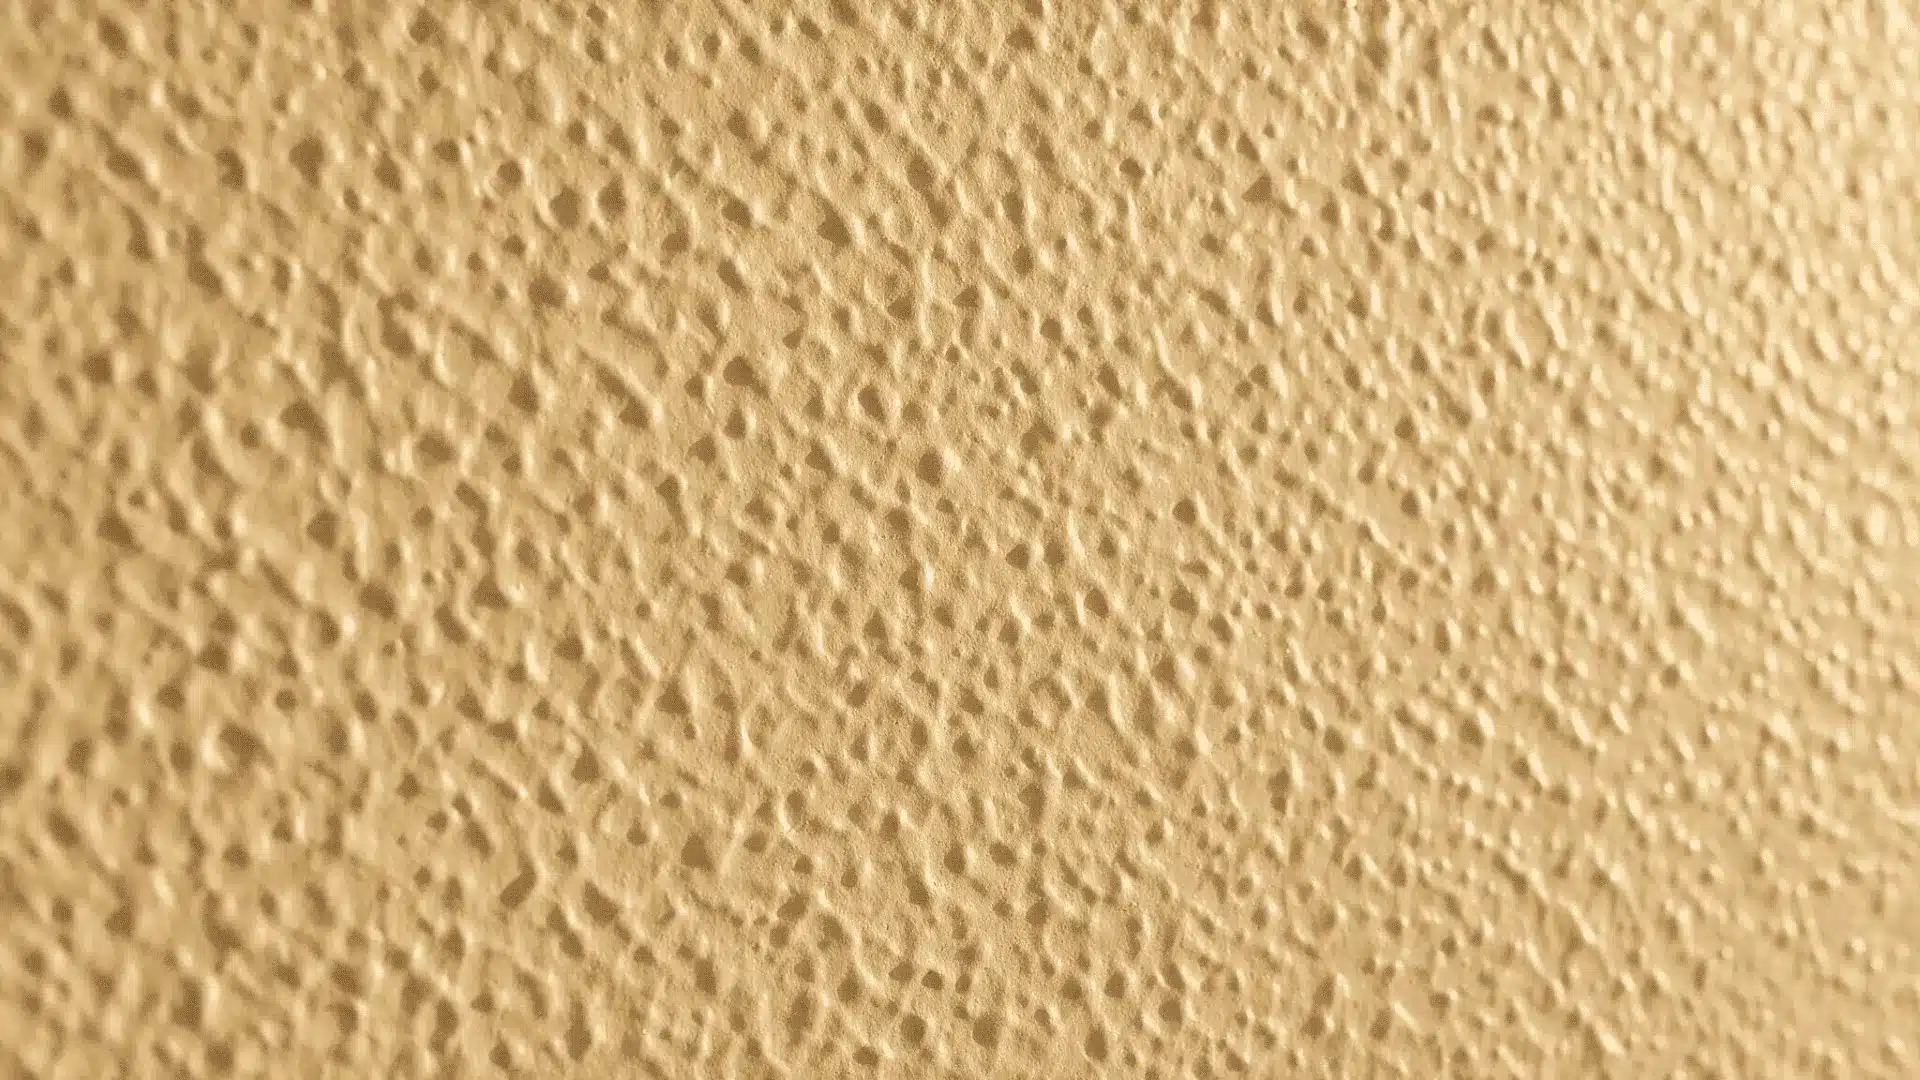
Up close it looks like tiny raised dots sitting next to shallow little dimples. Compared to knockdown texture, which has flattened patches that look a bit random, orange peel looks more even and consistent.
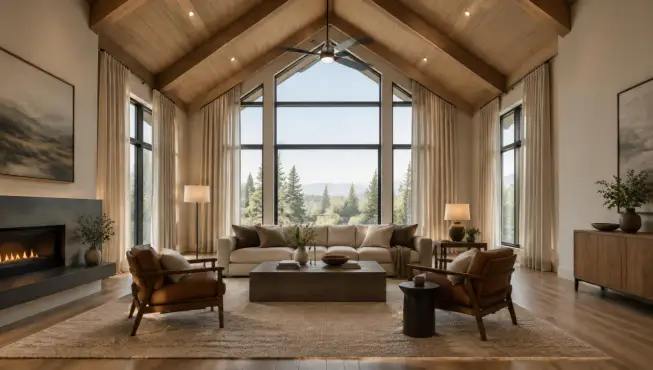
Here is the part people usually miss. Lighting changes everything. Under a flat overhead light, the wall can look almost smooth.
Then the afternoon sun hits it sideways, or you switch on a lamp at an angle, and suddenly every bump and shadow shows up.
If you are still torn between fine, medium, or heavy, pull up close-up photos of each one side by side. That tells you more in ten seconds than any description can.
Types of Orange Peel Wall Texture
1. Fine Orange Peel Texture
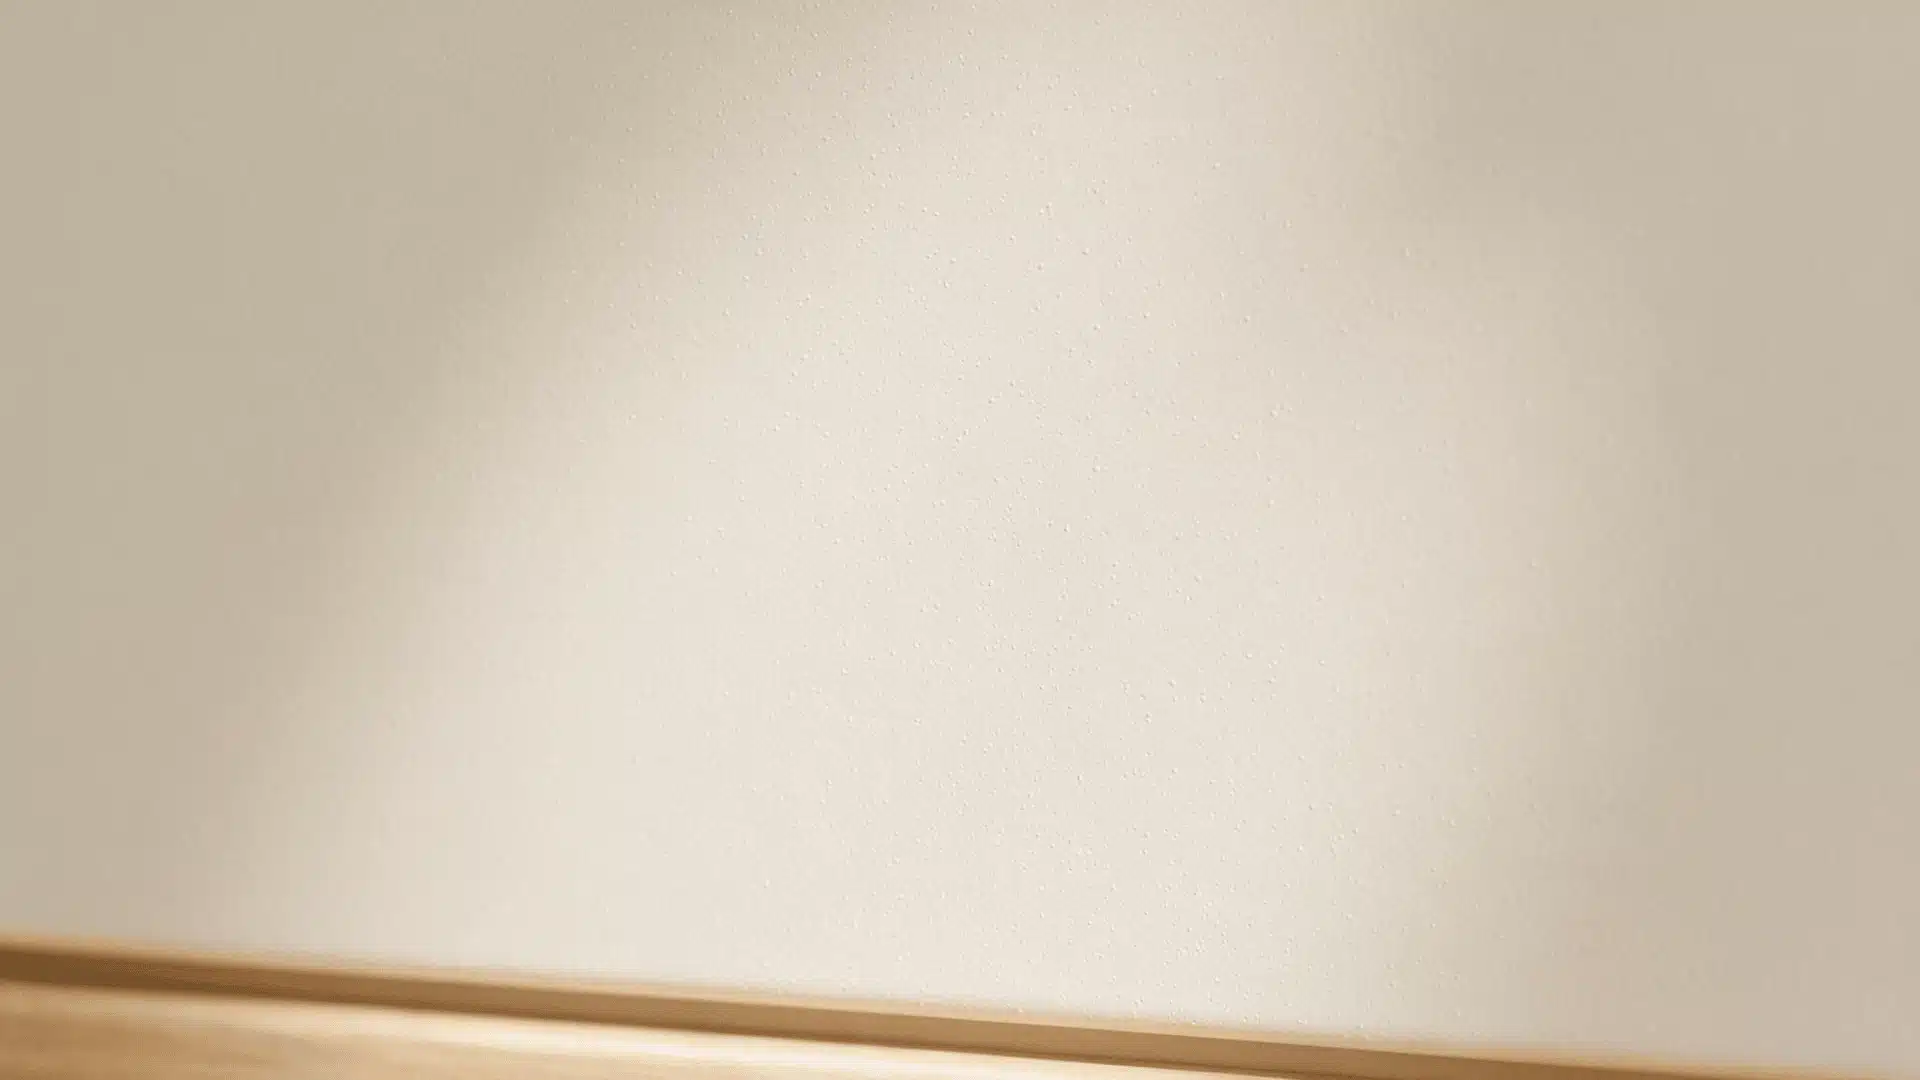
Fine texture keeps the droplets small, so it is the closest thing to a smooth wall you can get while still having texture.
Good pick if you want it to cover small flaws without anyone really noticing it is there. This is why it shows up so often in modern spaces with clean lines.
2. Medium Orange Peel Texture
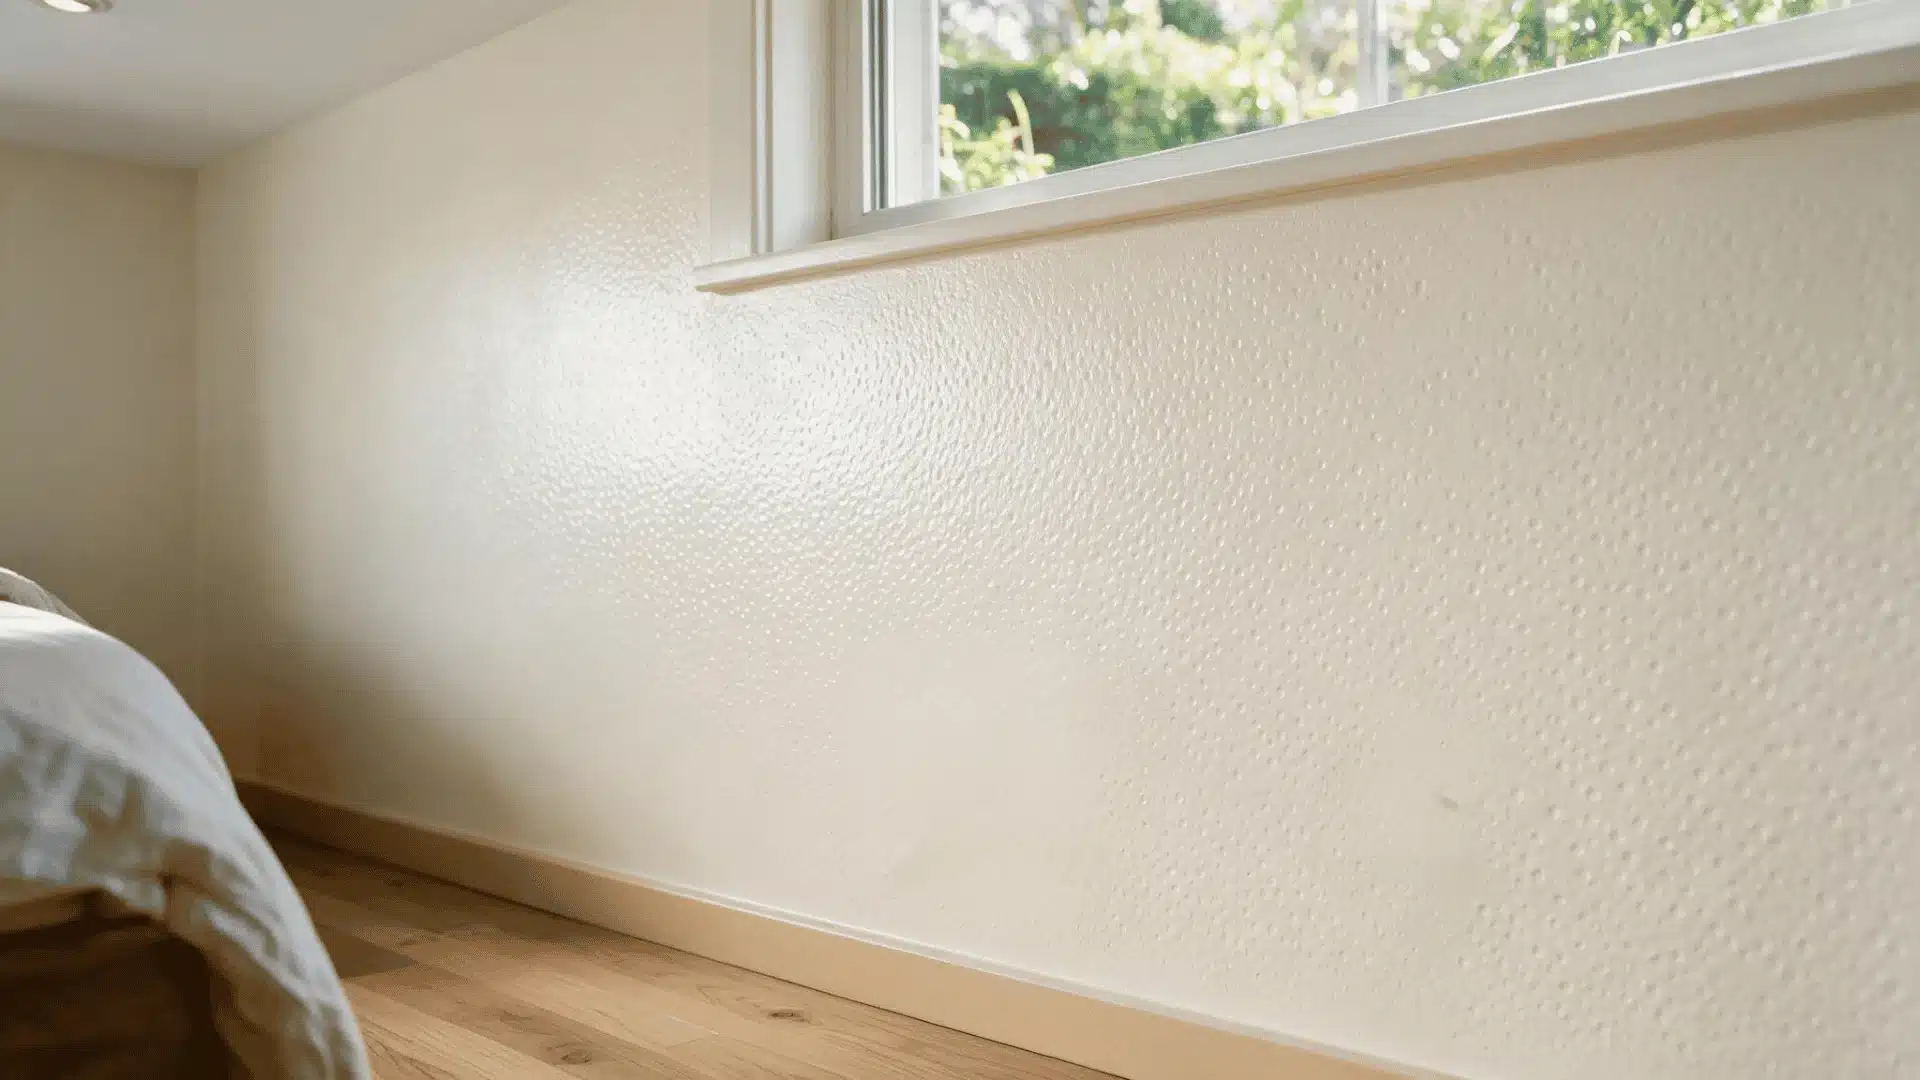
Medium goes bigger on the bumps but still stays fairly quiet on the wall. It covers more than fine texture without looking rough.
This is the one most builders reach for in regular bedrooms, hallways, and living rooms, since it just works without drawing attention.
3. Heavy Orange Peel Texture
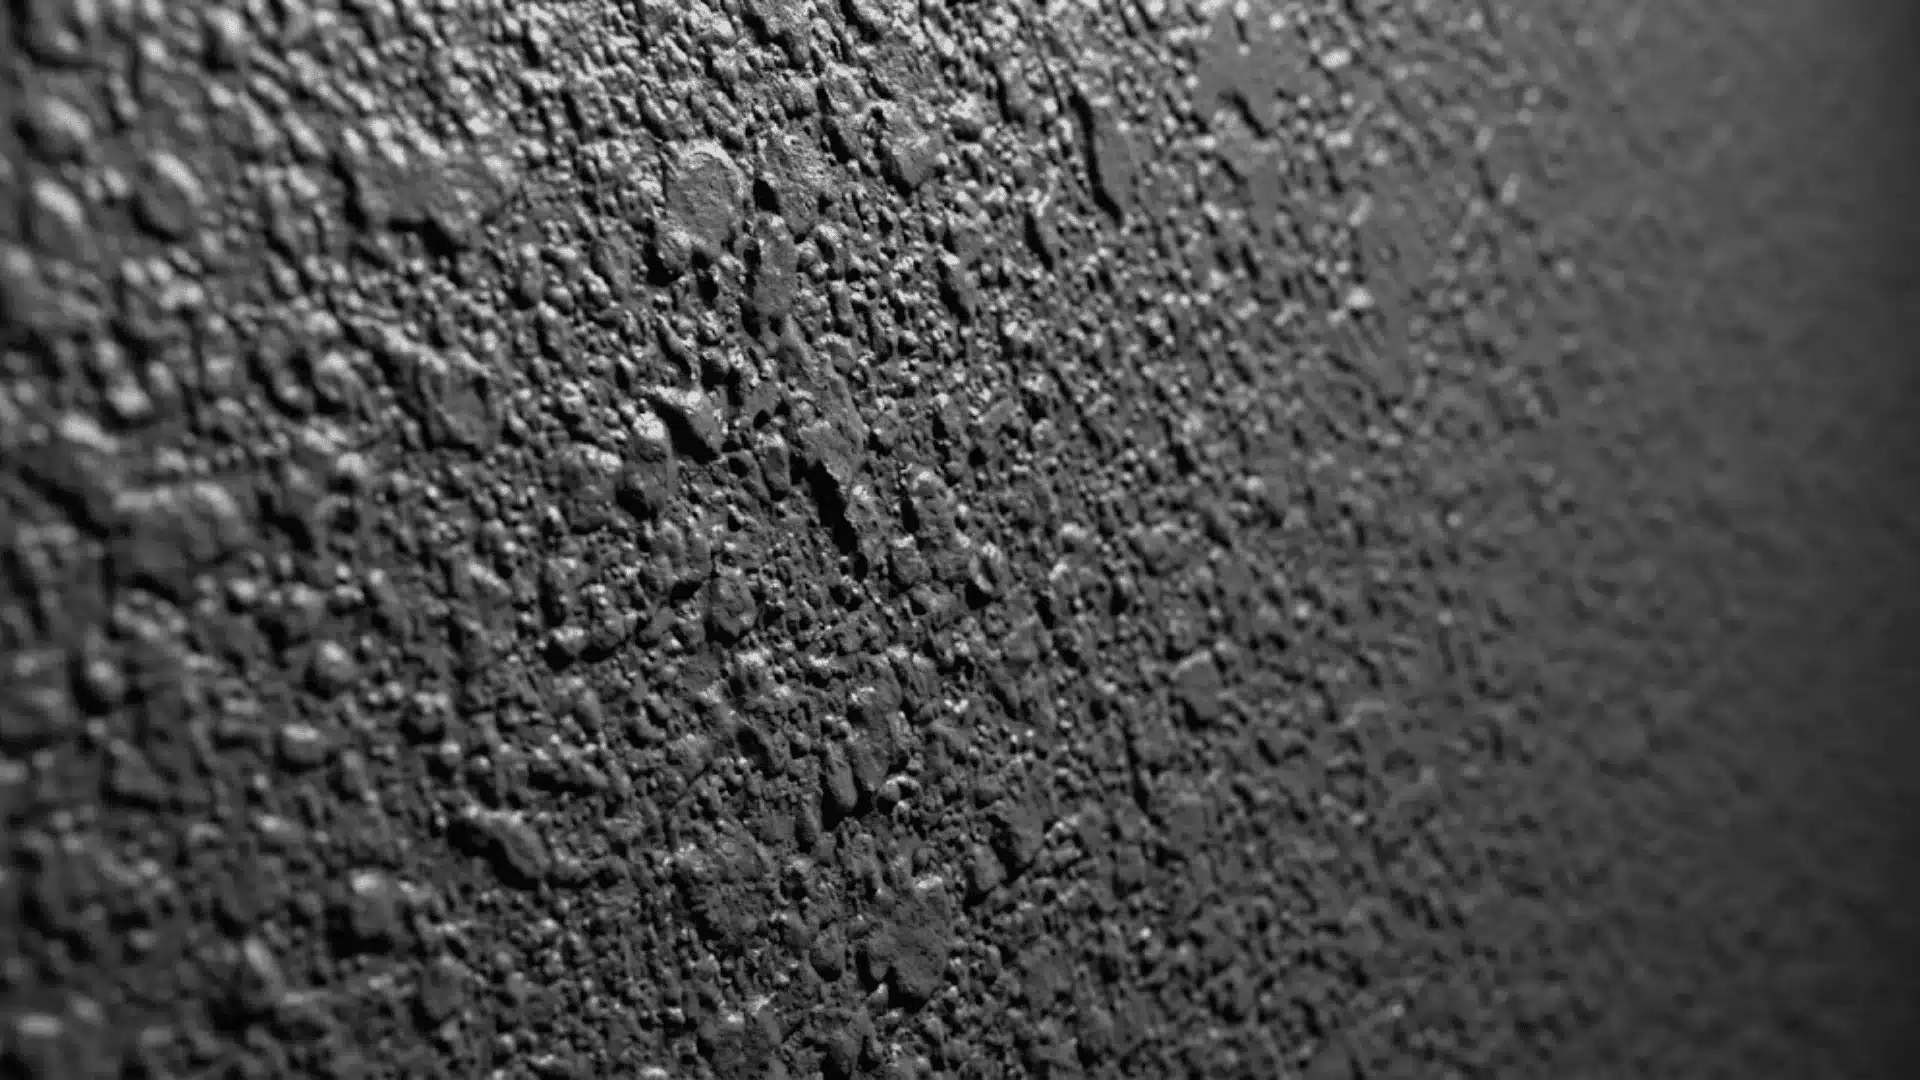
Heavy texture is the version you notice. The droplets are bigger and more obvious, and that is exactly the point.
If your wall has old patches or uneven spots, heavy texture hides them better than fine ever could.
So here is an easier way to understand the 3 types of orange peel wall texture:
| Texture | Appearance | Flaw Coverage | Best For |
|---|---|---|---|
| Fine | Light, subtle | Low | Modern interiors |
| Medium | Clearly dimpled | Moderate | Living spaces |
| Heavy | Pronounced | Higher | Uneven walls |
This is How You Can Apply Orange Peel Texture to Walls
Tools and Materials You’ll Need
- Joint compound or premixed texture material
- Water
- Bucket
- Mixing paddle
- Hopper gun and air compressor or texture sprayer
- Primer
- Drop cloths
- Painter’s tape
- Protective eyewear and mask
Step 1: Prepare the Wall
Patch any holes or damage first and let it dry all the way.
Sand down the obvious high spots, then wipe the dust off with a damp cloth. Cover your floors, trim, outlets, windows, and furniture before you spray anything.
Overspray travels much farther than people expect.
Step 2: Prime the Surface
Do not skip this. Bare or patched drywall soaks up moisture from the joint compound unevenly if it isn’t sealed first, which can leave your texture looking thin or spotty in random places. Let the primer dry all the way before moving on.
Step 3: Mix the Joint Compound
Thin the compound with water until it sprays evenly through your gun. This is the step that decides your droplet size.
Thinner mix, finer droplets. Thicker mix, bigger droplets. Every brand and every sprayer acts a little different, so do not just grab a water ratio off a random forum post. Mix a small batch first and test it.
Step 4: Test the Spray Pattern
Grab a scrap piece of drywall or cardboard and spray that first. Play with the nozzle, the airflow, the material flow, and how far back you are standing until it matches the finish you want.
It takes a few extra minutes, but it saves you from redoing the whole wall.
Step 5: Spray the Wall
Keep your distance steady and move your arm across the wall at a steady pace. Overlap your passes a little so you do not get thin strips.
Whatever you do, do not stop the gun in one spot. That is exactly how you end up with those thick clumpy patches everyone hates once it dries.
Step 6: Let the Texture Dry
Once it is on the wall, walk away and leave it alone. Do not smooth it, do not touch it. That is literally the difference between orange peel and knockdown.
Check the drying time on the product and give it that full window before you prime or paint.
How to Get Fine, Medium, or Heavy Orange Peel Texture
For Fine Texture
Keep your material flow light and your mix a bit thinner. Test it first, since even a small change in flow can push fine into medium territory without you meaning it to.
For Medium Texture
Keep your spray speed and distance steady the whole time you are working. Most patchy medium texture jobs come down to one thing: uneven pacing while spraying.
For Heavy Texture
Push more material out for bigger droplets, but watch it closely. Heavy texture uses the most compound of the three, so it is the easiest one to overdo until it starts running down the wall.
Expert note: No single setting controls droplet size on its own. Compound thickness, nozzle setting, air pressure, material flow, how far back you spray, and your hand movement all play a part. Don’t copy someone else’s exact setting from a video. Test your own gun and compound combo on scrap material before you touch the real wall.
Conclusion
Orange peel texture is a simple way to hide small wall flaws without making the room feel busy.
Fine, medium, and heavy each solve a different problem, from a nearly smooth modern wall to covering up rougher patch jobs.
Test your spray pattern before you commit to the whole wall, and you will end up with a finish that looks like you meant to do it.
Frequently Asked Questions
1. Does Orange Peel Texture Hide Drywall Imperfections?
Yes, especially in medium or heavy form, though deep dents can still peek through.
2. Is Orange Peel Texture Hard to Clean?
No, it wipes clean fine. Just do not scrub hard, or you will flatten that one spot.
3. Can You Roll on Orange Peel Texture Instead of Spraying It?
Yes, roll on products exist, but the pattern usually comes out less even than spraying.
4. Can you Spray Orange Peel Texture Over Paint?
You can, but priming first helps it stick properly instead of peeling later.