We all love decorating our homes with different decor, don’t we? And lighting plays the most important role in that.
Because even if your room looks organized and clean, something seems missing or incomplete without the better lighting that makes it glow on a different level.
It’s good to know the recessed lighting layout, which is the most minimalist way to decorate your space without putting in much effort.
This blog will break down everything you need to know about recessed lighting decor, the formula, layout, and step-by-step guidance for correct spacing.
What Exactly are Recessed Lights?
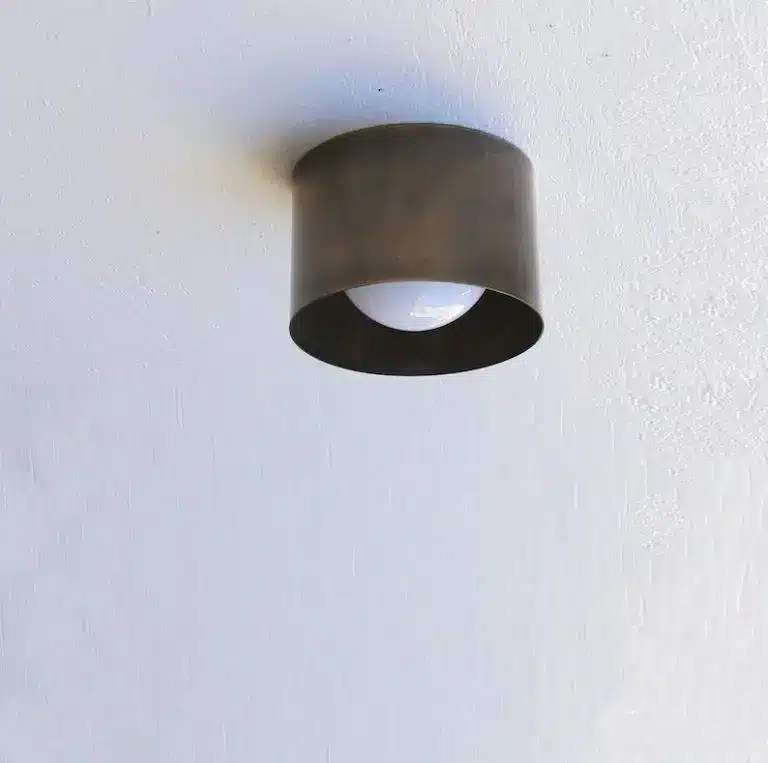
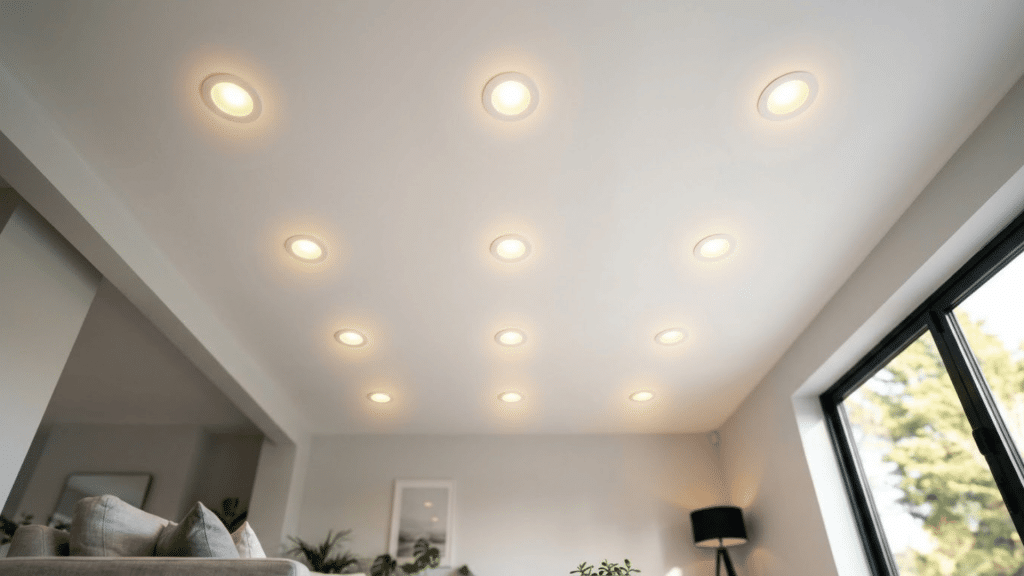
These are the lights that are built into the ceiling, and only the bulb and the trim are visible to the eye.
Unlike pendant lights that hang downward, recessed lights are built into the ceiling, which is why most people love them, as they enhance the beauty of the home without taking up much space.
They usually come in either a round or a square shape that fits perfectly into your ceiling. They are also known as downlights, pot lights, or can lights.
Most people use LED lights now, as they run cooler and last longer than old bulbs. Recessed lights come in different sizes too, usually 4, 5, or 6 inches wide.
The size you pick changes how much light spreads across the room, which is why spacing matters.
Why Should You Use Recessed Lighting?
The following are some benefits of using recessed lighting:
- Space-Saving Design: These lights don’t take up physical space in the room, giving it a more expansive feel.
- Even Light Distribution: If you have light-colored ceilings, they reflect the light around the room, ensuring even coverage without shadows.
- Energy Efficiency: LED recessed lights use 75% less energy and last much longer than incandescent bulbs, making them an eco-friendly option.
- Versatility: If you need ambient lighting or want to highlight artwork, recessed lights can handle a wide range of tasks.
- Clean, Modern Look: With no visible fixture hanging down, recessed lights give a room a sleek, updated feel that works with almost any interior style.
- Rated for Wet Areas: Many recessed lights come rated for bathrooms and showers, so you get reliable lighting even in damp spaces where regular fixtures aren’t safe to use.
How to Calculate Recessed Lighting Spacing?
Getting the spacing right is easier than it sounds, and once you know the formula, you won’t have to guess where each light should go.
Rule of Thumb
To figure out the gap between each light, take your ceiling height and cut it right down the middle. For example, a 12-foot-high ceiling would require lights every 6 feet or so.
Also, the distance between lights and walls should be 2-3 feet. This avoids weird shadows that give the room a horror filter.
Spacing = ½ Ceiling Height (e.g., 12 ft ceiling → 6 ft spacing between lights)
Formula
Room Area (sq ft) ÷ Light Coverage Area = # of Lights
A 4-inch light covers approximately 25 sq ft, and a 6-inch light covers approximately 36 sq ft.
This is a middle ground between aesthetics and functionality, as the lights will be spaced according to the size of your room and the height of your ceiling.
How to Plan Your Recessed Lighting Layout in Simple Steps
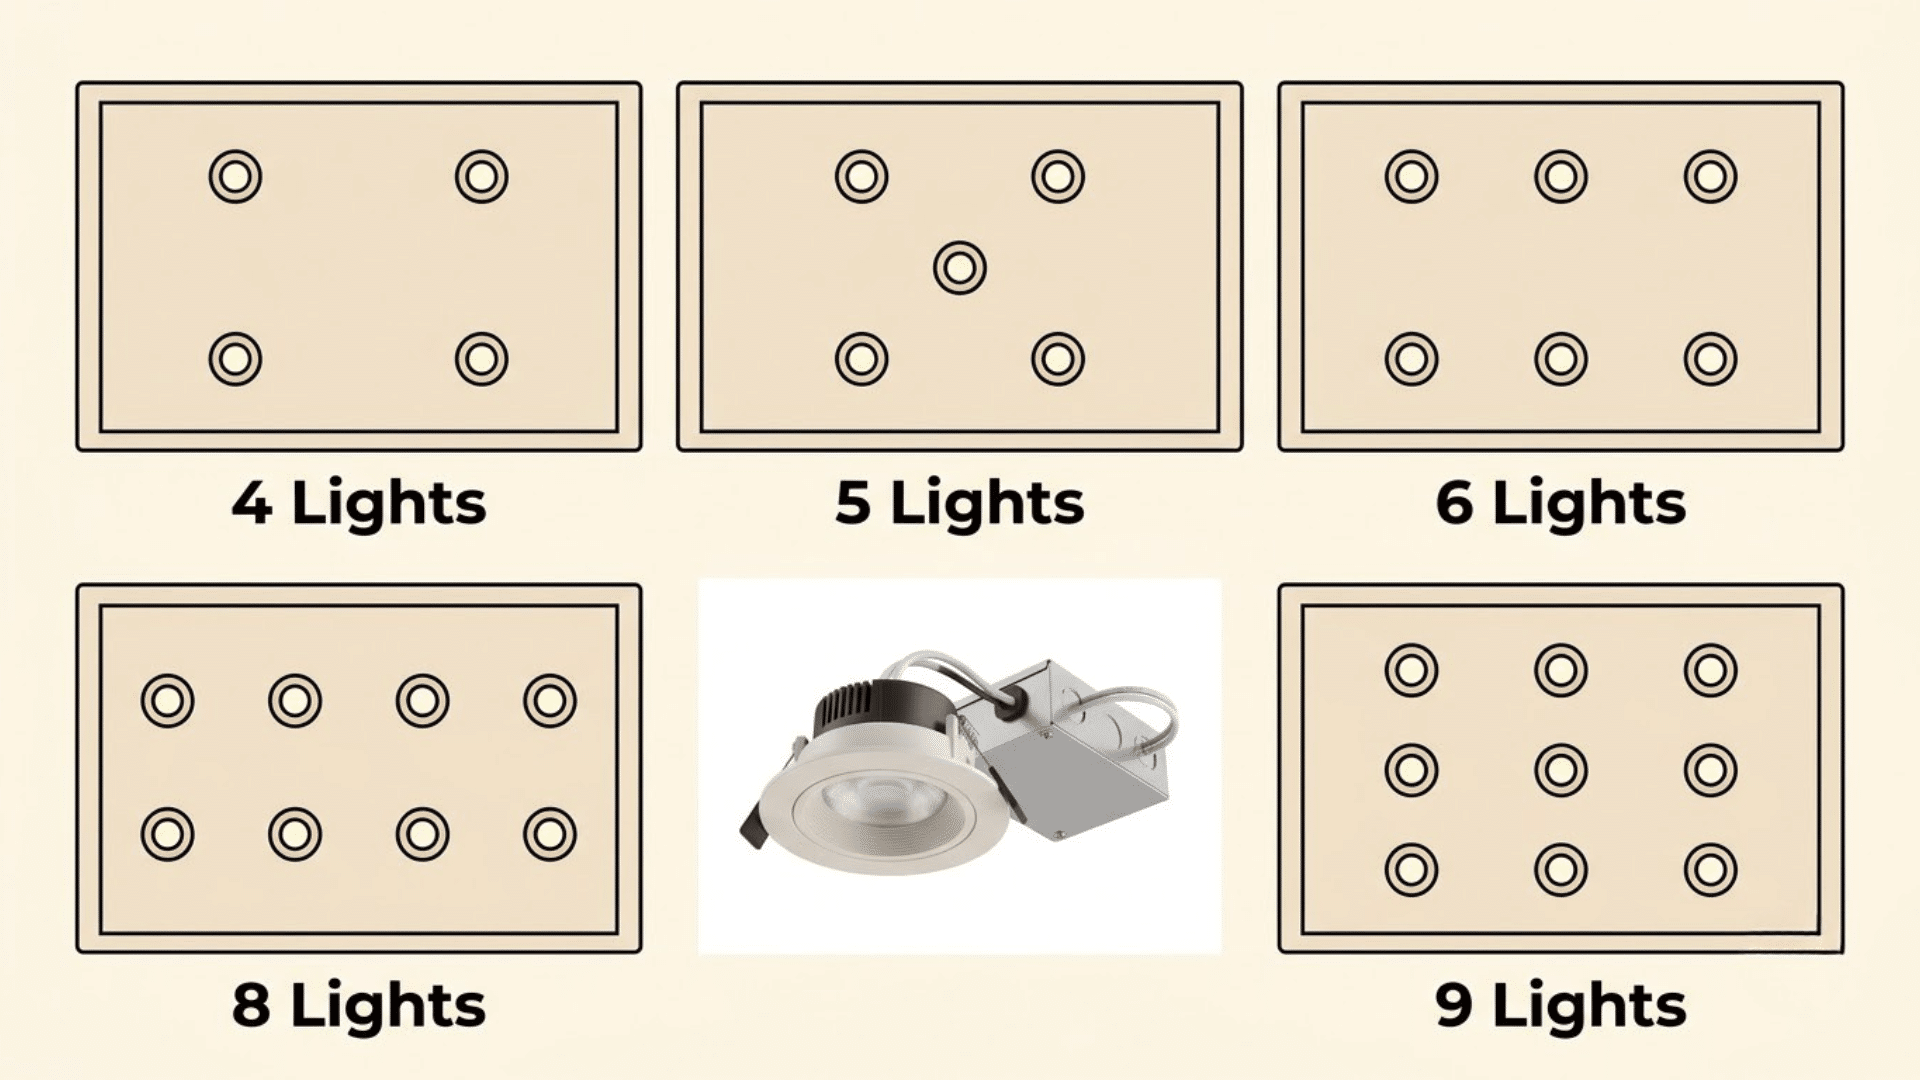
Just follow these five simple steps to maintain the correct spacing between your lights, so they don’t look weird later and you dont have to drill the ceiling over and over again.
Step 1: Measure Room and Ceiling Height
First things first, you need to measure your room and the height of the ceiling because these numbers are going to be useful in every formula we use to determine the spacing.
Round to the nearest half foot if your room isn’t a perfect rectangle.
Step 2: Select Layout Pattern
Your room’s shape decides which layout works best.
A square bedroom usually calls for a grid, while a small bathroom might only need one centered light. Kitchens with counters require a task-based layout instead of an even spread.
Step 3: Calculate Your Spacing and Fixture Count
Divide your ceiling height by two to get the distance between each light. Then use the lumens-per-square-foot method to figure out how many fixtures your room actually needs.
A recessed lighting calculator can do both of these in seconds if you’d rather skip the math.
Step 4: Mark and Plot Your Grid
Sketch your room on paper and mark where each light will go, keeping the spacing even in every direction.
Don’t forget the wall offset – Space the first row of lights half your normal spacing distance from the wall, so edge lights don’t sit too close to it.
Step 5: Double-Check Before You Drill
Walk through your sketch one more time and compare it against furniture placement, ceiling joists, and any wiring in the attic.
A five-minute check now saves you from patching extra holes in your walls.
Does Ceiling Height Change Your Spacing?
Yes, ceiling height changes your spacing more than almost anything else.
Taller ceilings need wider spacing since light spreads out as it travels down, so a 10-foot ceiling can handle lights spaced farther apart than an 8-foot one without leaving dark gaps.
Beam angle matters too. A narrow beam throws a tight circle of light, which works on lower ceilings but leaves gaps on taller ones.
Wider beam angles spread more, making them a better match for higher ceilings and larger rooms.
If your ceiling height changes room to room, like a vaulted living room next to a standard hallway, don’t use the same spacing for both. If you don’t, one room ends up too dim or too bright.
Factors That Can Affect Your Fixture Count
Ceiling height isn’t the only thing that changes how many lights you need. A few other things matter too, and skipping them can leave your room too dark or too bright.
- Room Purpose: Reading or work rooms need brighter, closer lights, while relaxing rooms can use softer, wider-spaced light.
- Ceiling and Wall Color: Light walls and ceilings bounce light around, so you need fewer fixtures than dark rooms.
- Bulb Wattage and Lumens: Brighter bulbs cover more space, so picking strong bulbs means you may need fewer lights.
- Furniture and Layout: Big furniture or islands can block light and cause shadows, so plan lights around them first.
- Natural Light Sources: Big windows bring in free light by day, but still plan for full brightness at night.
Recessed Lighting Spacing by Room Type
Not every room needs the same amount of light. Here’s how the spacing shifts once you look at what each room is actually for.
1. Kitchen
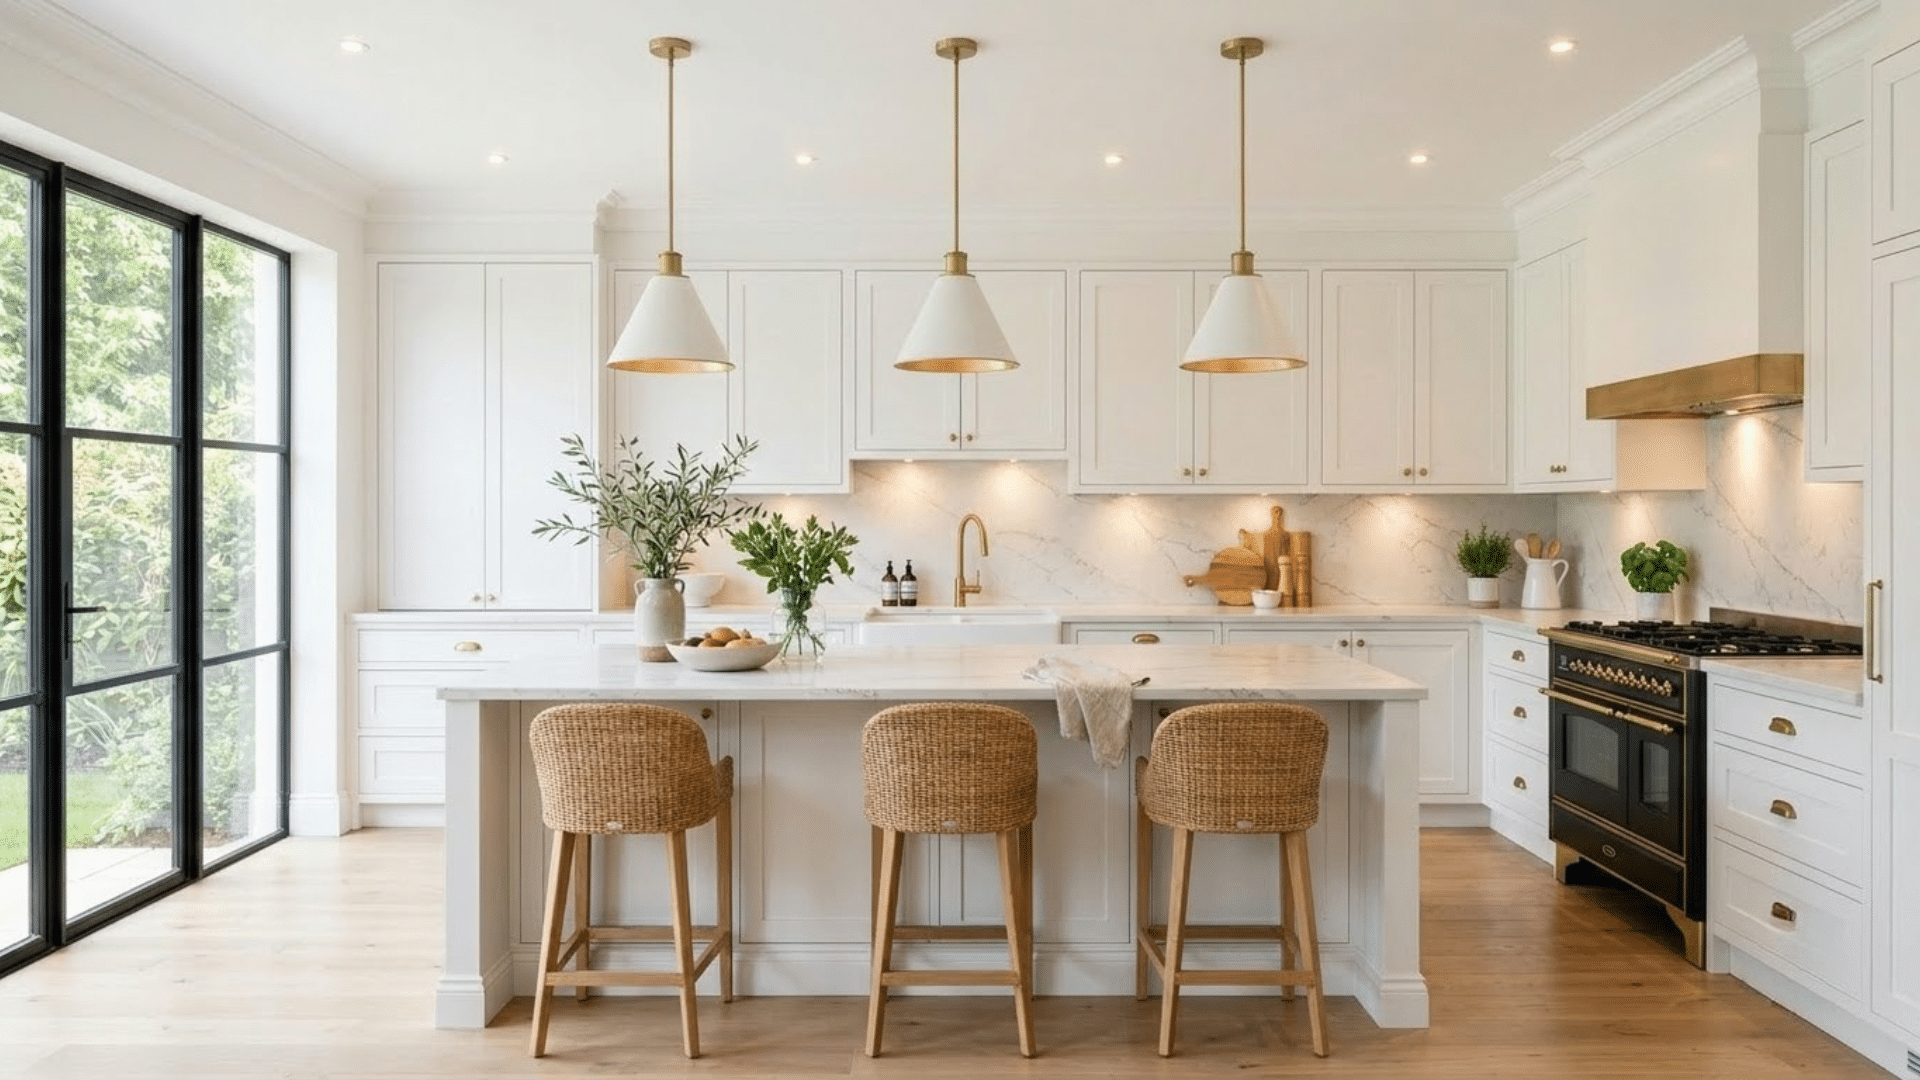
Kitchens need brighter spacing since you’re chopping, reading labels, and cooking under that light. Space fixtures 3 to 4 feet apart, and add extra lights over counters where you actually need to see clearly.
Bright light helps you see if food is fully cooked and also stops you from cutting your fingers by accident.
2. Bedroom
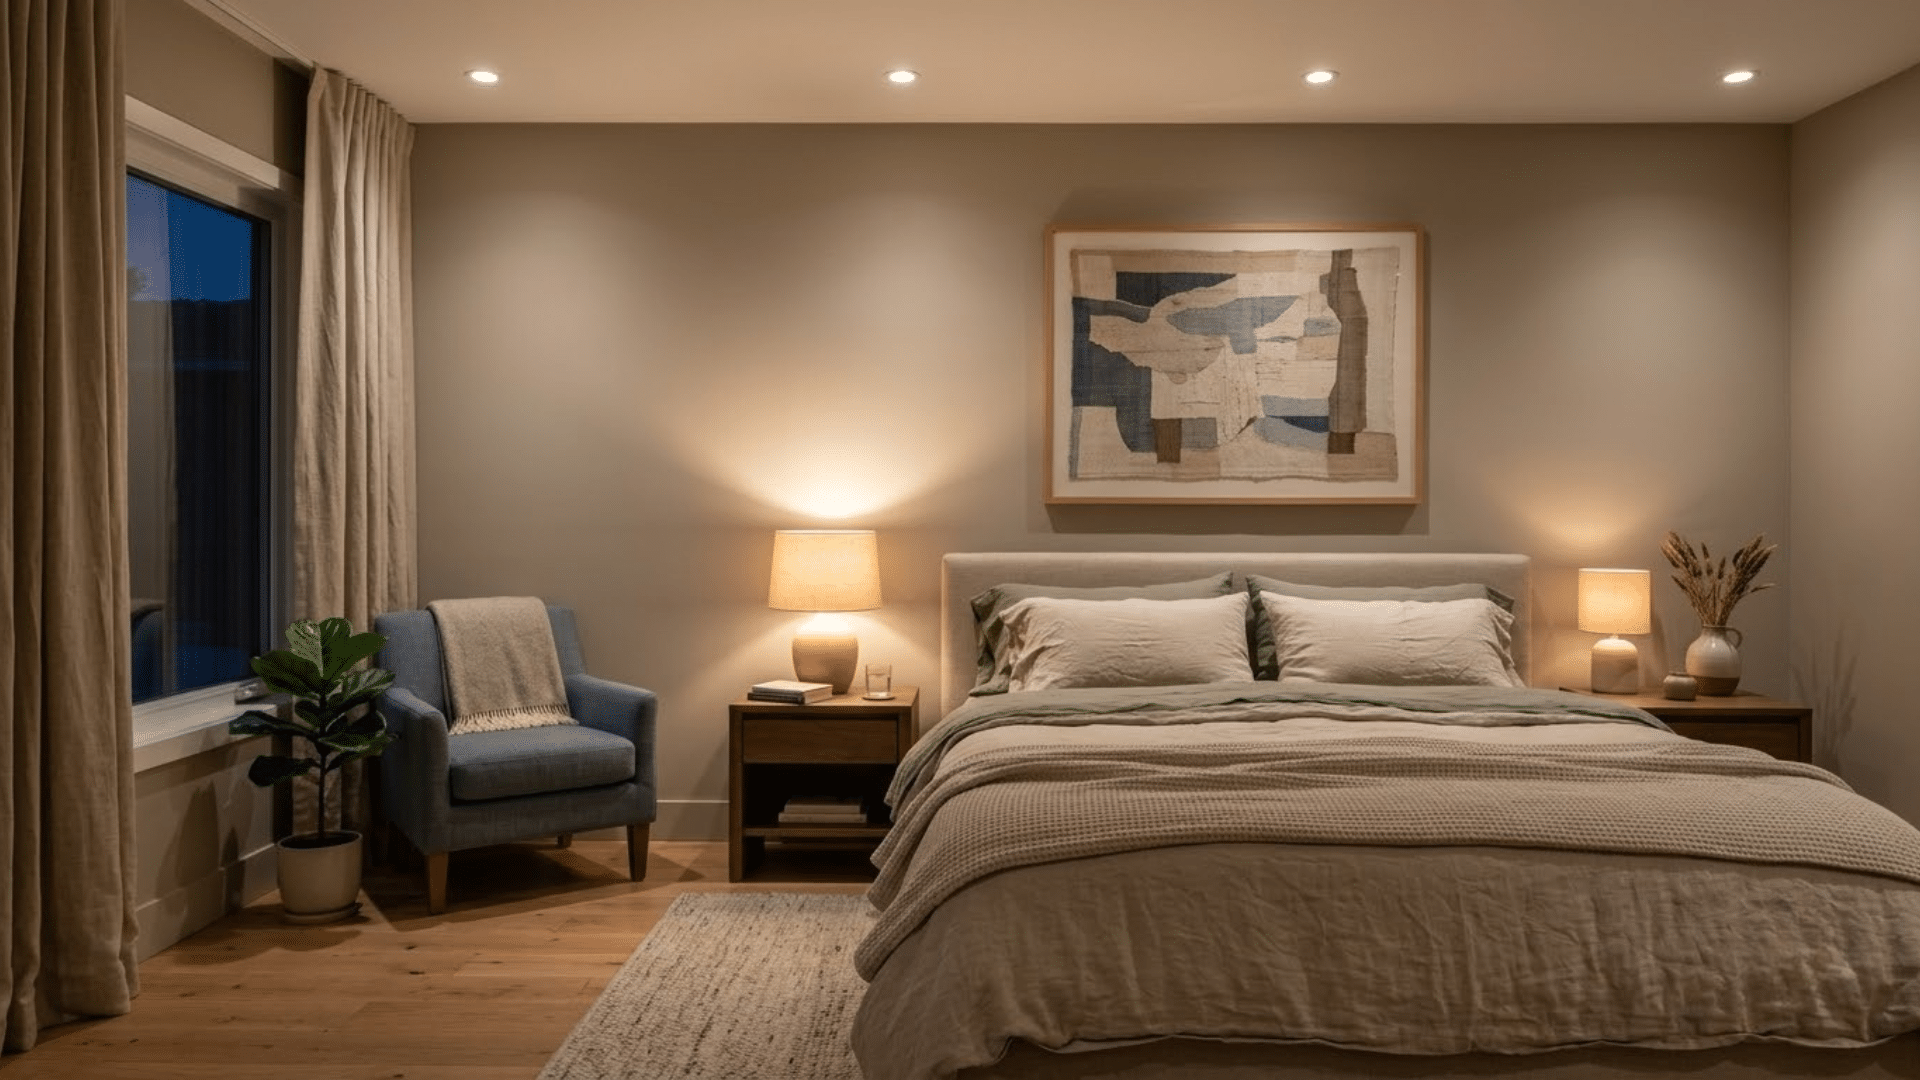
Bedrooms usually have standard 8-foot ceilings, so stick close to the basic formula and space lights about 4 feet apart for even coverage.
Avoid placing a bright light directly above the bed, since that spot gets used for reading and relaxing. Use soft light that helps you fall asleep faster; also, a dimmer switch is a nice add-on here too.
3. Bathroom
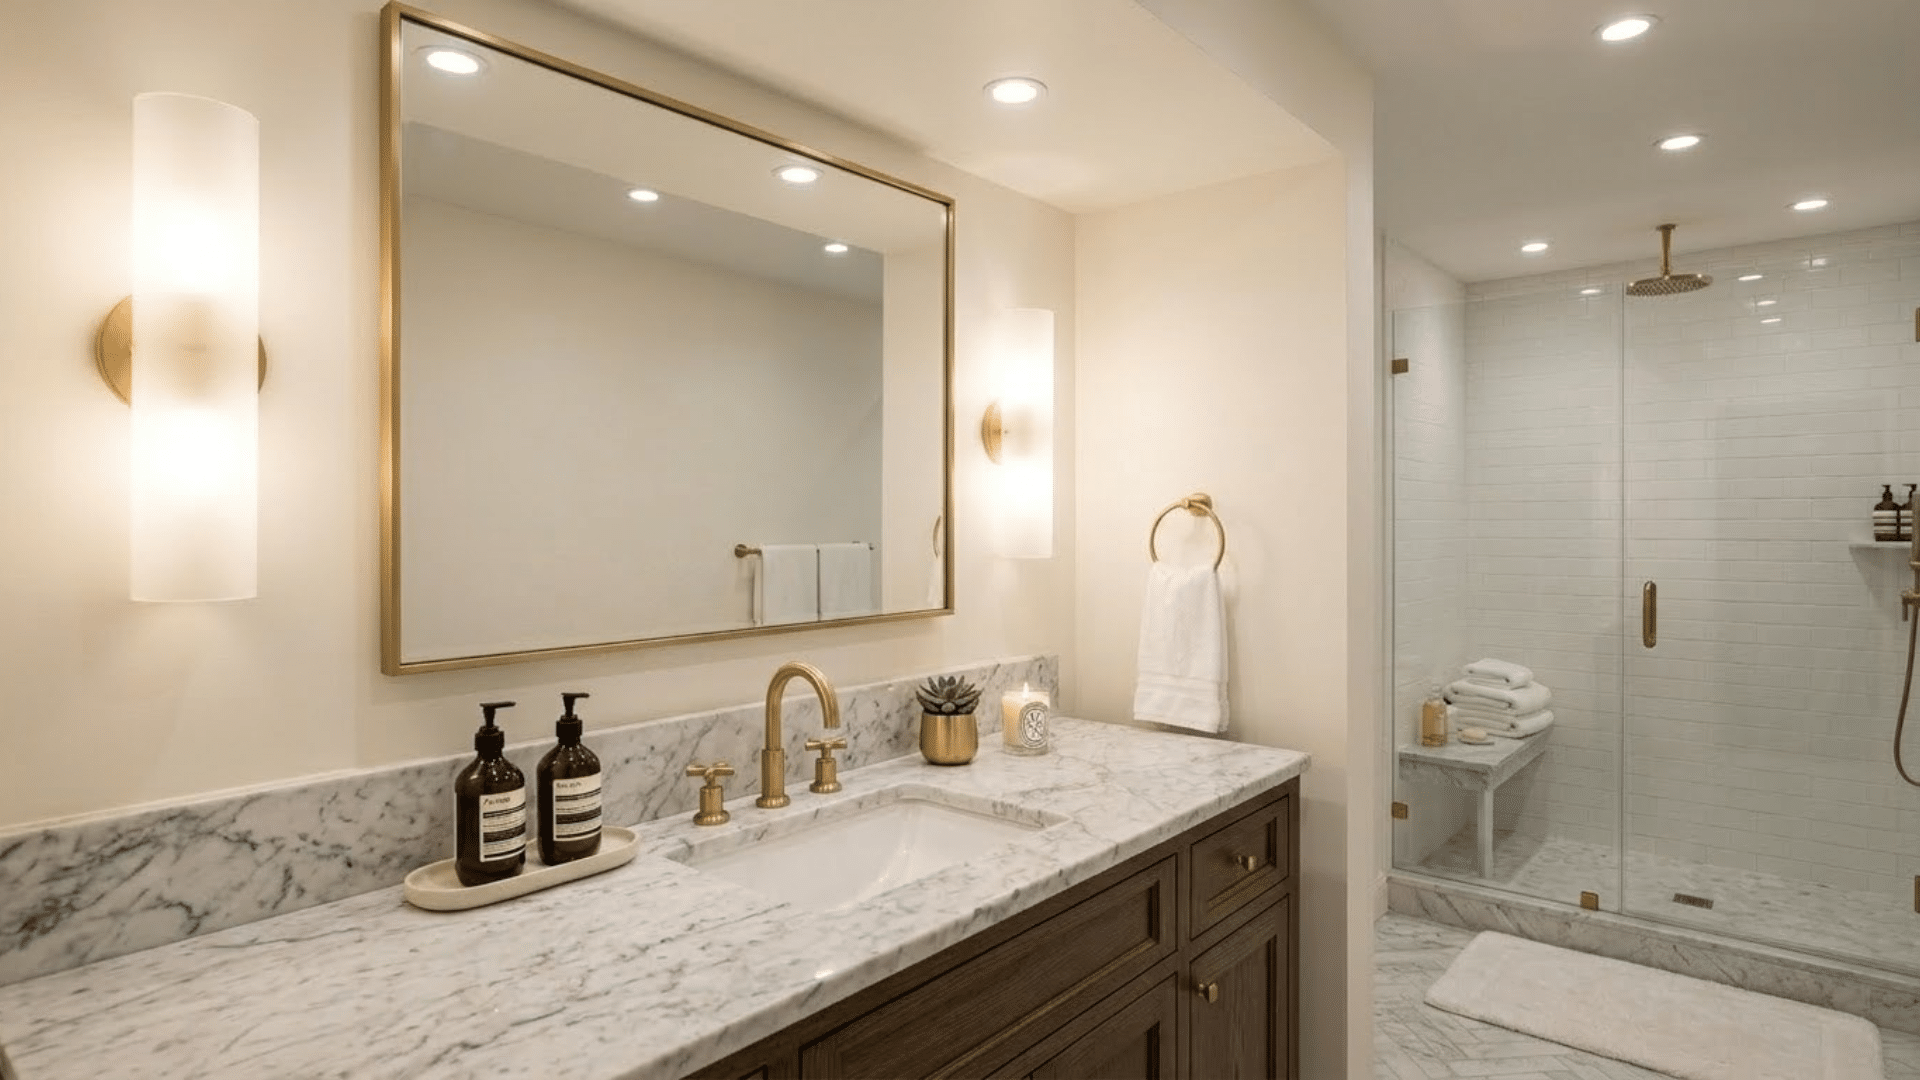
Bathrooms are smaller, so 2 to 3 feet of spacing usually works fine.
Add a dedicated light near the mirror for shaving or makeup, since general ceiling lights alone tend to leave shadows on your face.
Good mirror light helps you see small details clearly since nobody wants uneven eyeliner or a bad shave.
4. Living Room
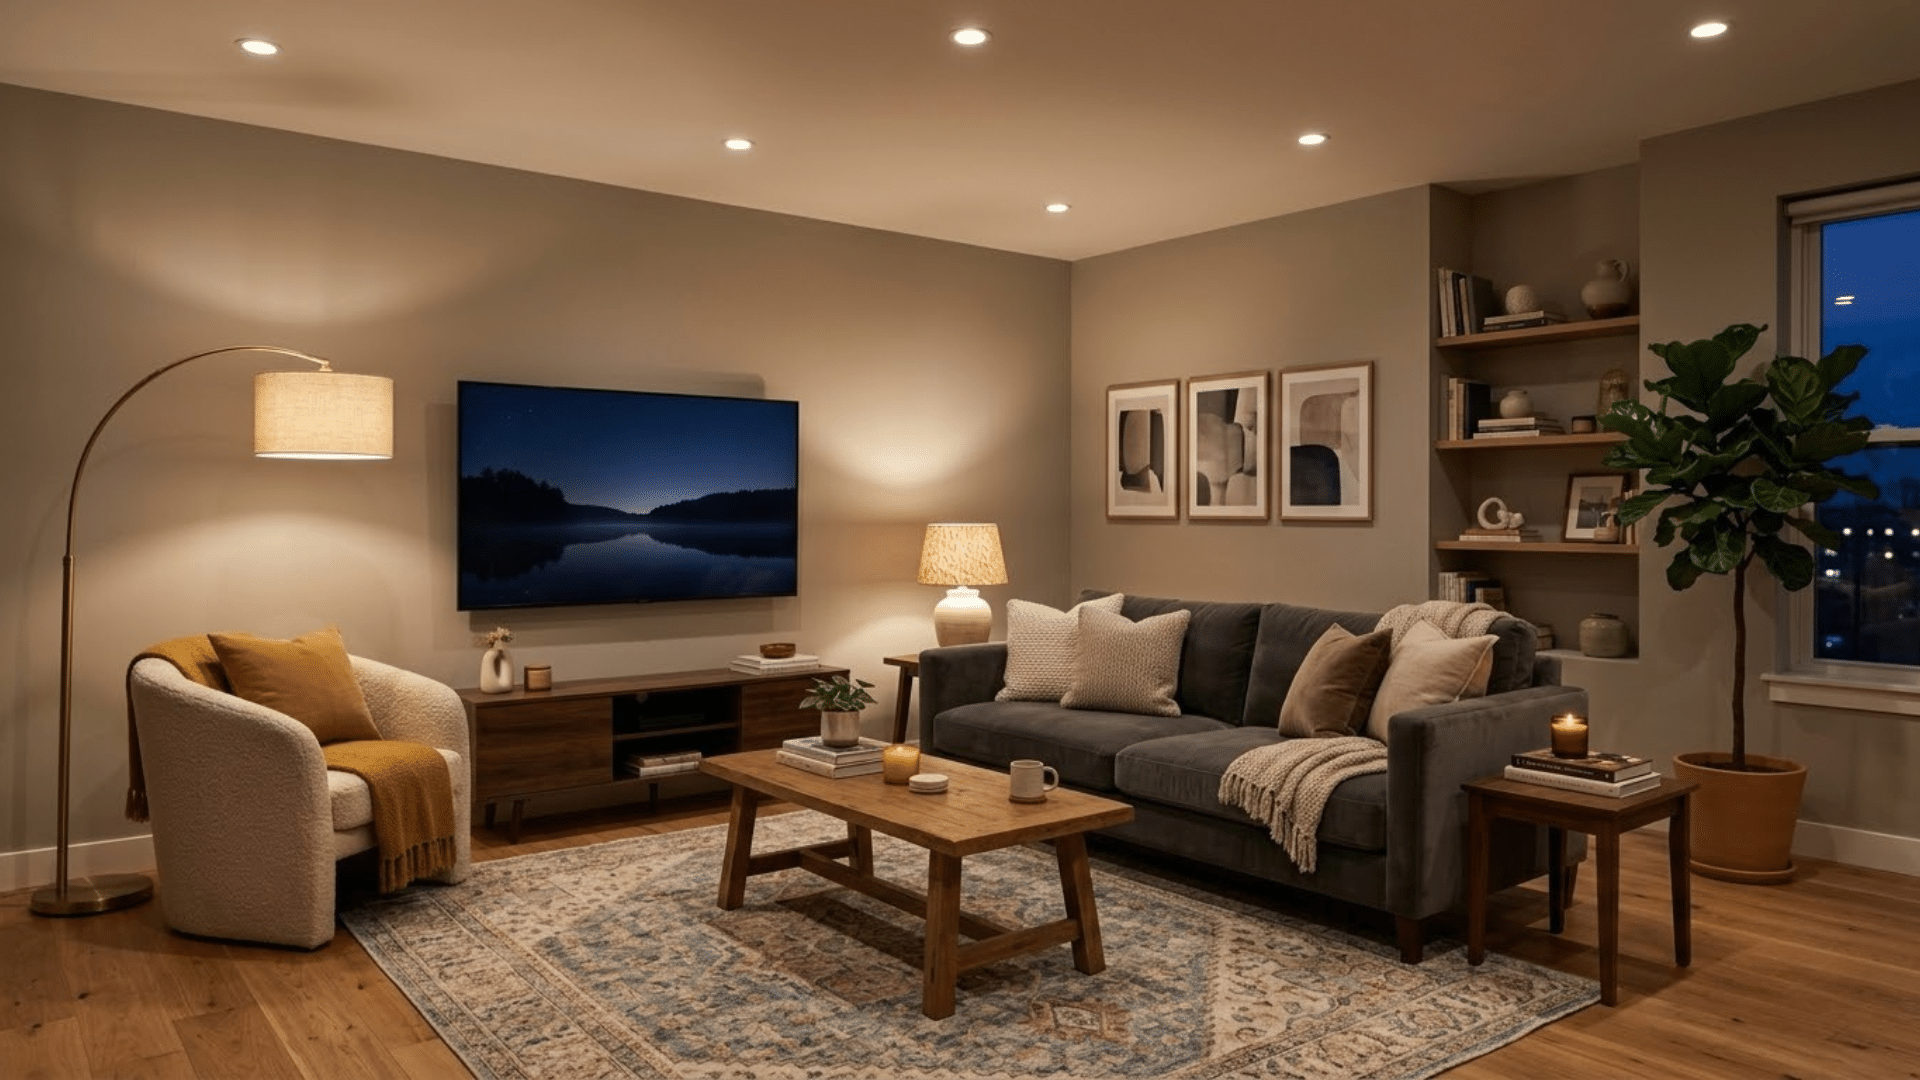
Living rooms can handle wider spacing, around 4 to 6 feet, since the goal is soft, even light rather than task lighting.
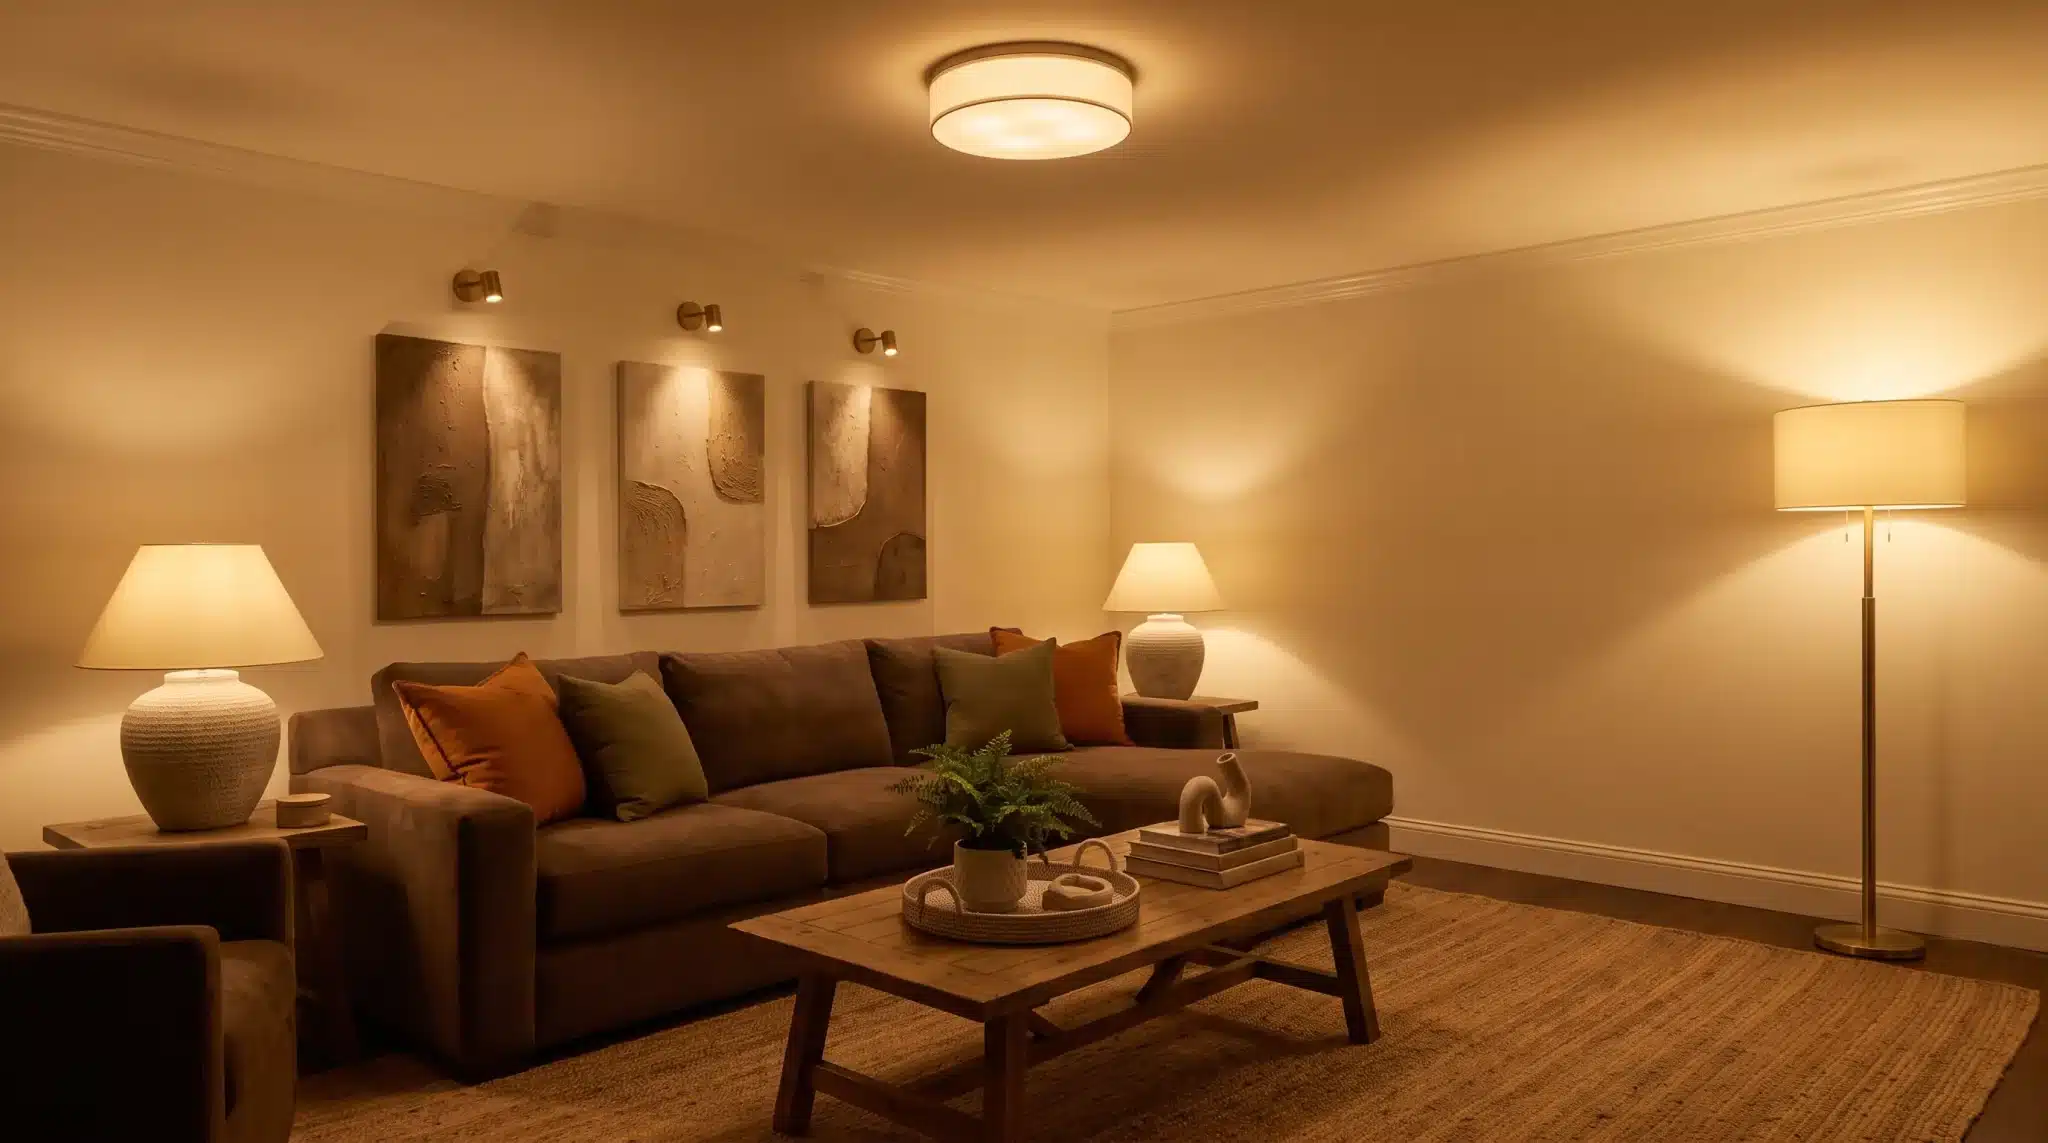
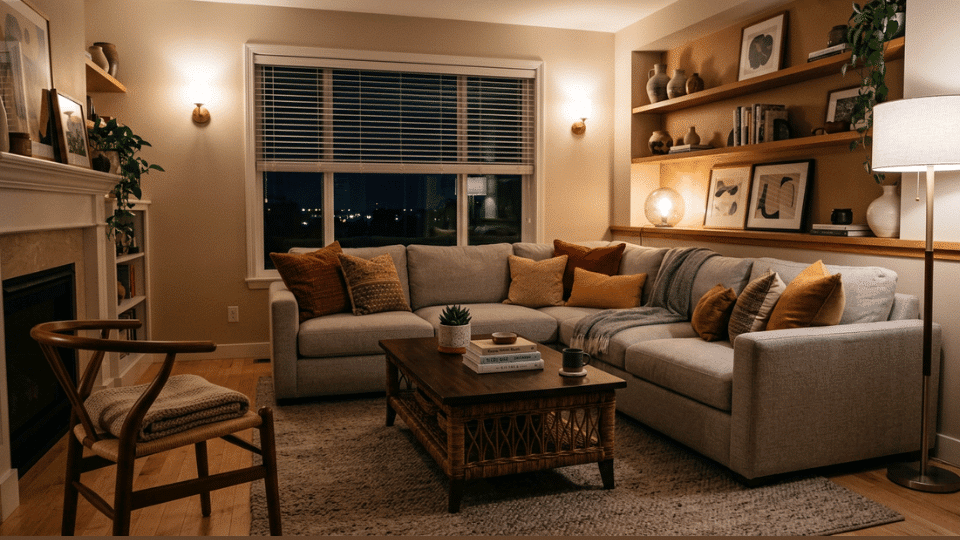
Pair it with lamps so the room can shift from bright to relaxed depending on the time.
This room is where movie nights happen; soft light makes it feel warm and cozy. If you have a TV, keep lights slightly off to the side instead of right above it, so the screen doesn’t get a harsh glare.
5. Hallway
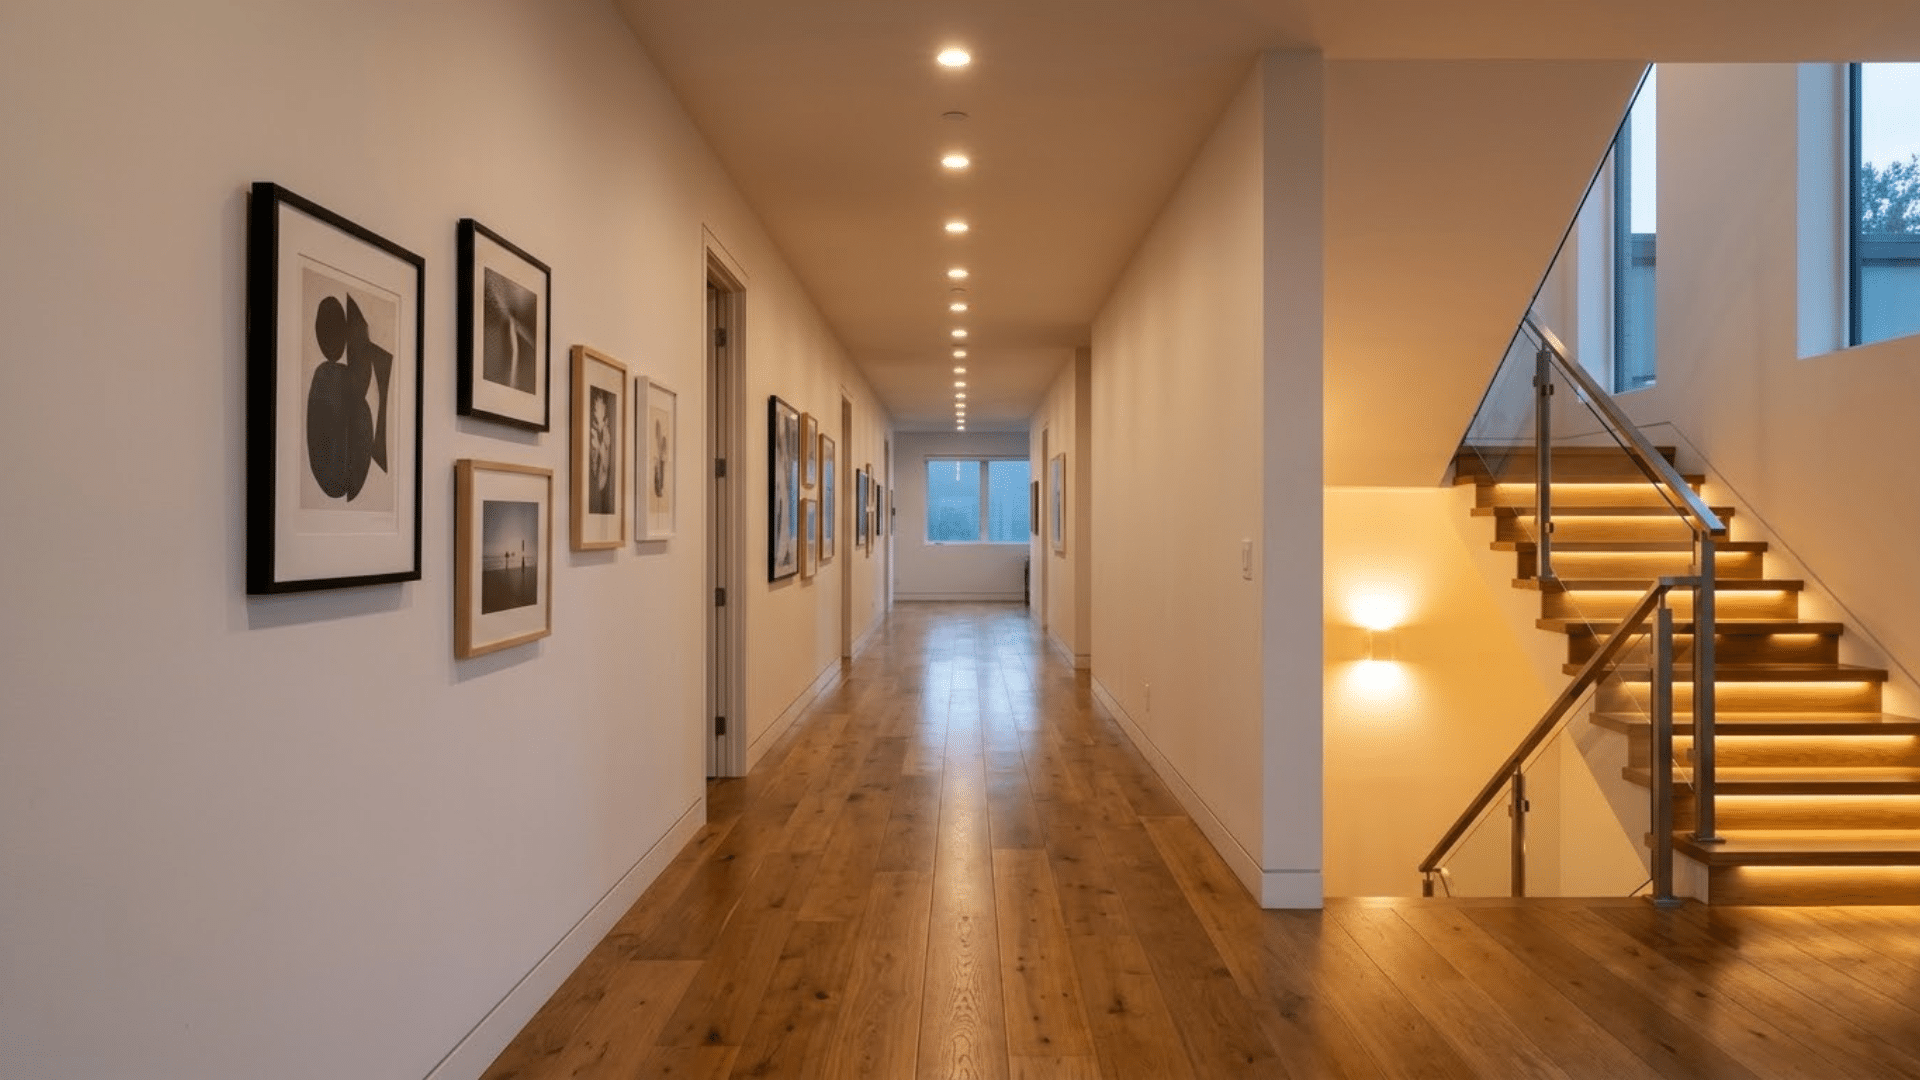
Hallways don’t need a full grid; space single-row lights 4 to 6 feet apart down the center of the hall so you’re not walking through dark patches between them.
Even lighting helps prevent dark spots where you might trip at night.
If your hallway has a turn or leads to a staircase, add one extra light right at that spot, since corners tend to stay darker than the rest of the hall.
Wrapping it Up
Getting your recessed lighting layout right really just comes down to three numbers: your ceiling height, room size, and how many lights you need.
Once you plug those numbers into the formulas, you don’t have to guess anymore. Every part of the room gets the same amount of light, with no dark spots and no bright spots either.
Before you drill anything, draw your room on paper first. Mark where each light will go, and check it against the room-by-room tips. That one extra step can save you from drilling holes in the wrong spot.
So grab your tape measure, check your ceiling height, and start planning your lights tonight. Your ceiling will thank you for it.
Frequently Asked Questions (FAQs)
1. Do LED and Incandescent Lights Need Different Spacing?
Not really. Spacing depends on ceiling height and room size, not bulb type. LEDs just run cooler and last longer than incandescent bulbs at the same spacing.
2. Can You Install Recessed Lights Without Rewiring the Whole Ceiling?
Often, yes. Retrofit kits fit into existing electrical boxes or use recessed housing designed for renovations, so you can add lights without opening up the whole ceiling.
3. Should Recessed Lights be on a Dimmer Switch?
Yes, dimmers give you flexibility. They let one layout work for bright tasks during the day and softer, relaxed lighting at night without installing extra fixtures.
4. How Much Does it Cost to Add Recessed Lighting?
Costs vary by fixture count and wiring access, but expect $150 to $250 per light installed, including materials and labor, depending on your local area.