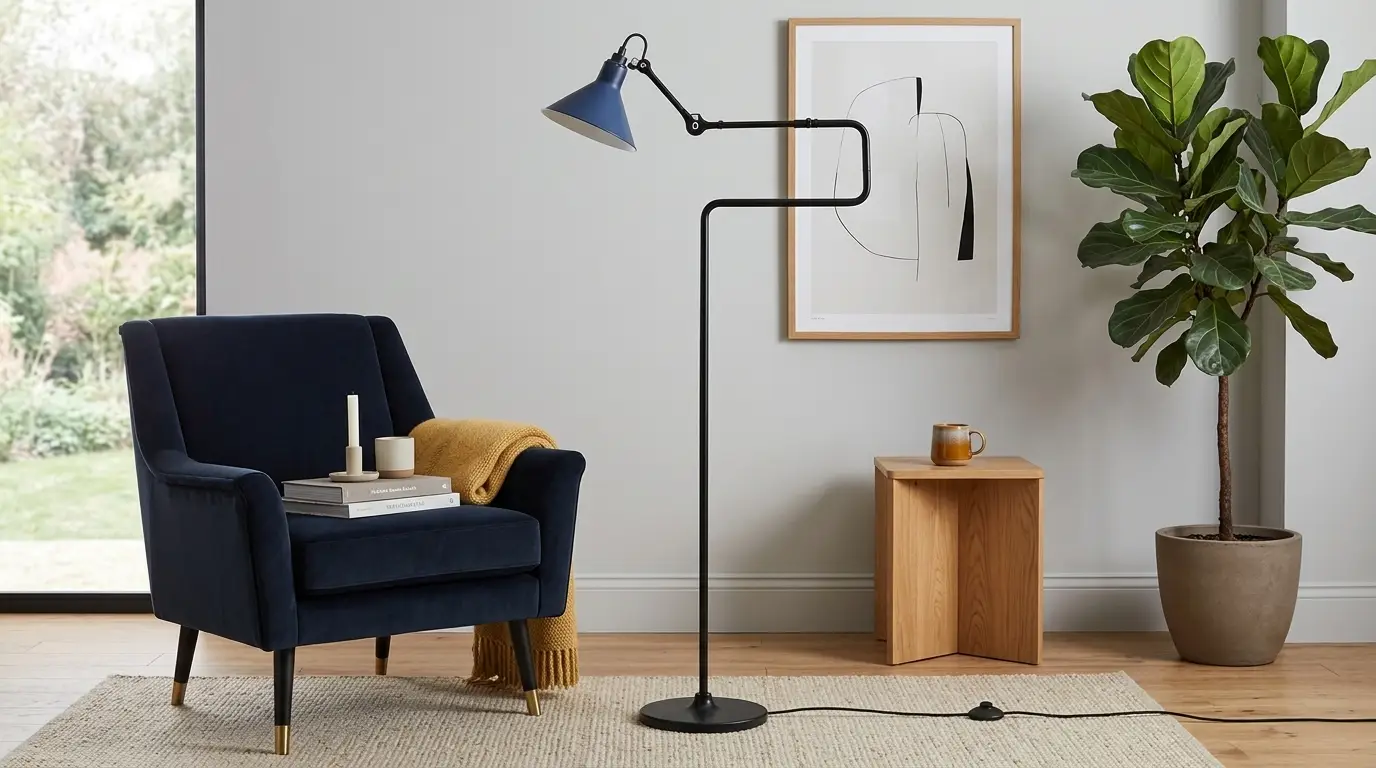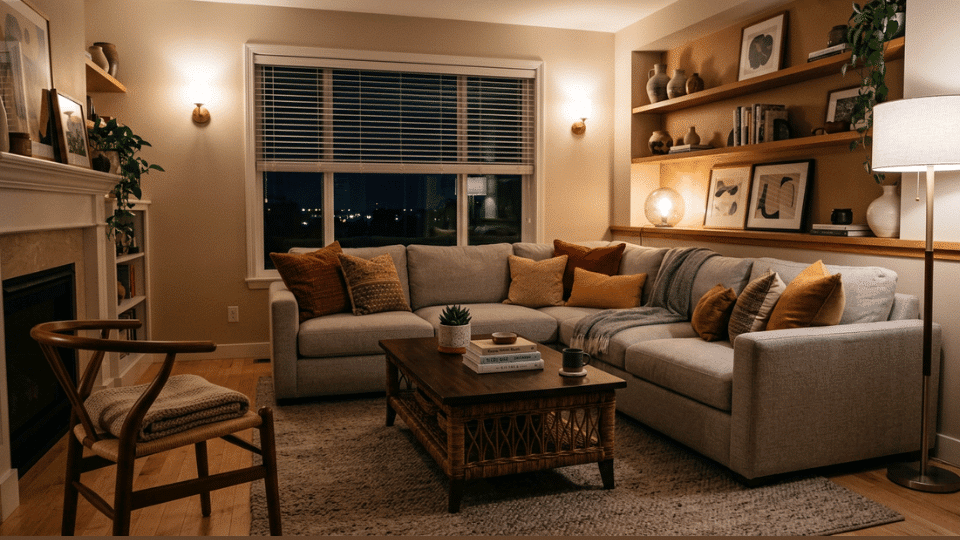
A living room can have beautiful furniture and thoughtful decor, yet still feel incomplete when the lighting falls flat.
The difference often comes down to how light is distributed across the space.
Layered lighting combines ambient, task, and accent sources to support everyday activities while giving the room greater depth.
This includes choosing suitable fixtures and placement and balancing heights and color temperatures.
This guide explains how to build a layered lighting living room that feels comfortable, practical, and visually balanced from day to night.
What is Layered Lighting?
Layered lighting is an approach that uses multiple light sources to illuminate a room for different purposes.
Instead of relying on a single ceiling fixture, it combines ambient, task, and accent lighting.
Ambient light provides general illumination, task light supports activities such as reading, and accent light draws attention to artwork, shelves, or architectural details.
In a living room, combining these layers helps distribute light across the space, reduce overly dark areas, and create a comfortable setting that works for everyday activities and different times of day.
How to Create Layered Lighting in a Living Room
Creating layered lighting starts with giving each light source a clear purpose, then positioning ambient, task, and accent fixtures where they work together naturally.
1. Start With Ambient Lighting for Overall Illumination
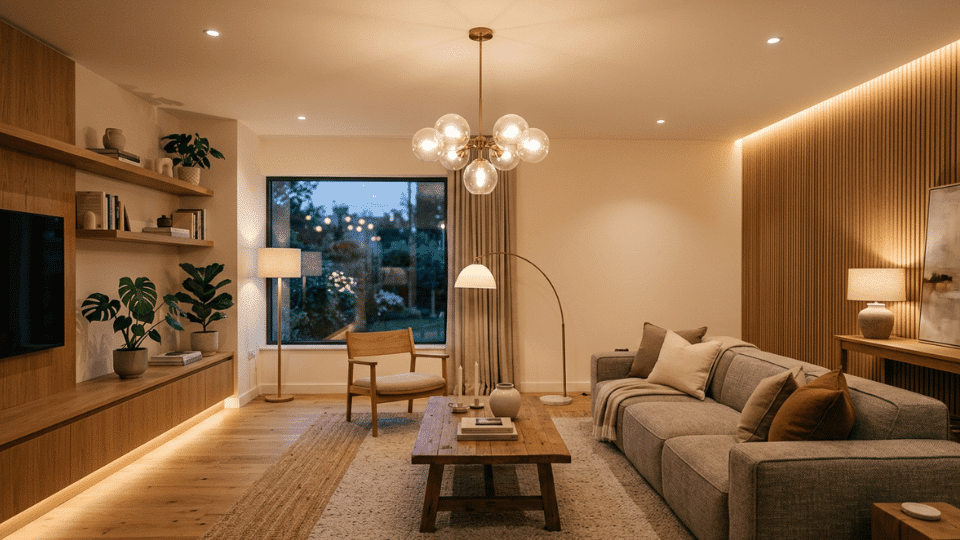
Ambient lighting provides general illumination, creating a comfortable base for other focused light sources.
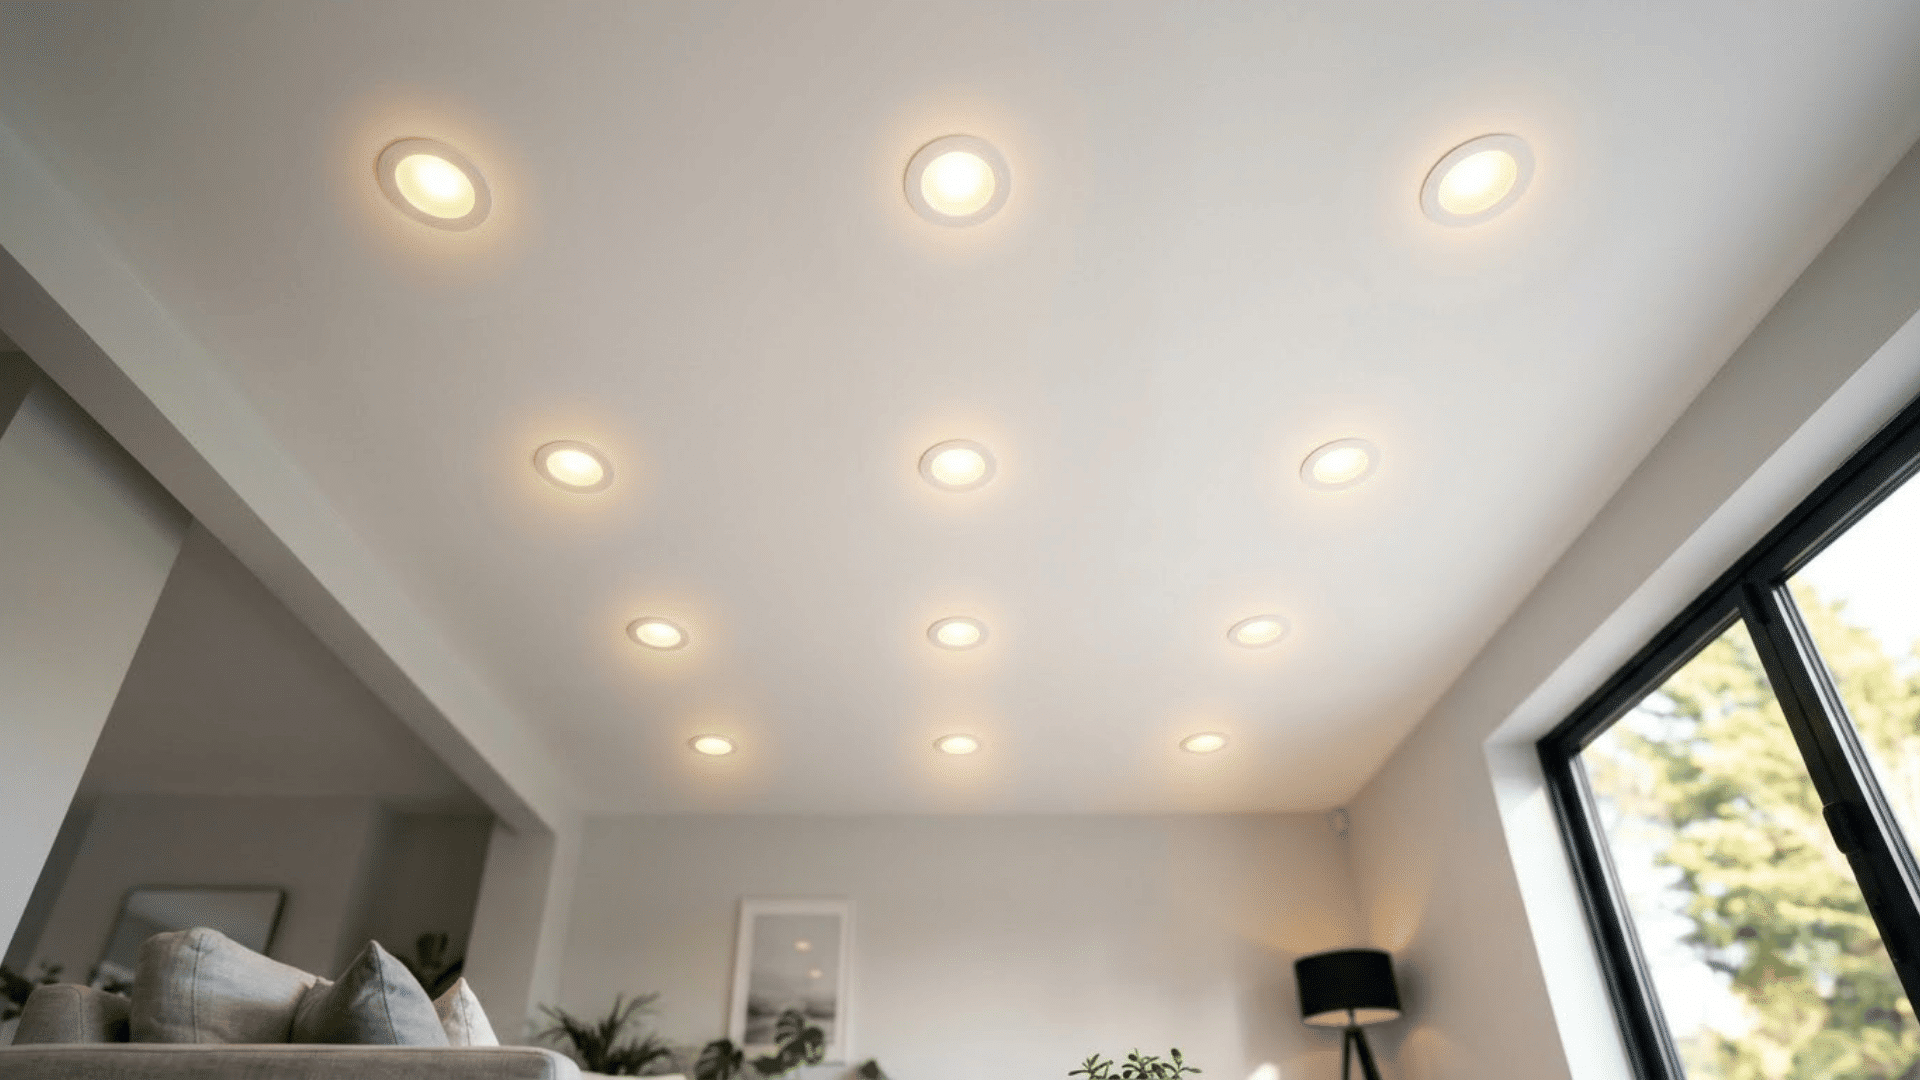
- Choose chandeliers, pendants, recessed lights, or wall-mounted fixtures based on the room layout.
- Match fixture size with the room dimensions and ceiling height.
- Distribute ambient light evenly instead of concentrating brightness in one area.
- Use dimmers to adjust brightness while preventing dark corners and harsh lighting.
2. Add Task Lighting Where You Actually Need It
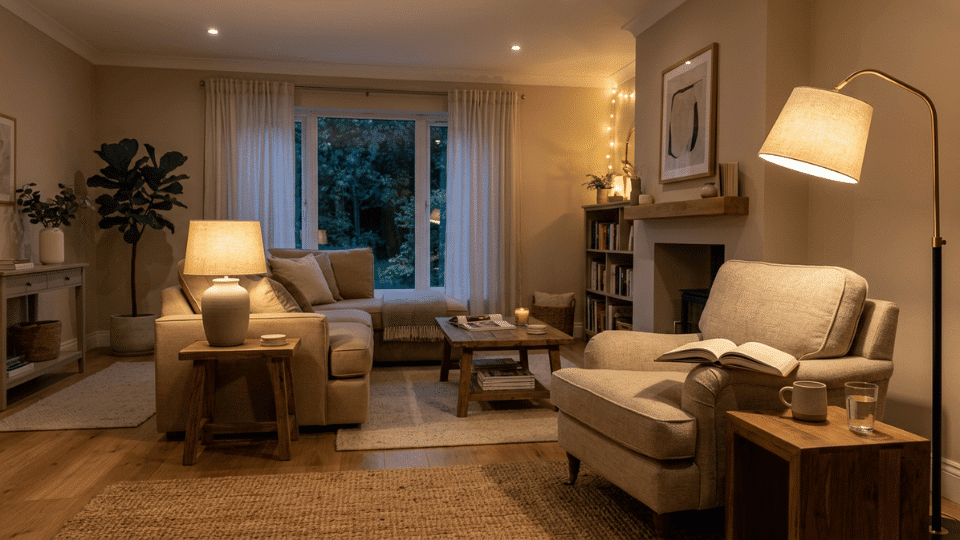
Task lighting provides focused illumination for reading, working, writing, games, and other detailed activities.
- Place floor lamps beside sofas, armchairs, or reading areas for focused light.
- Use table lamps on side tables or consoles near activity areas.
- Choose adjustable fixtures for seating areas used for different activities.
- Position lamps carefully to reduce glare and uncomfortable shadows while seated.
3. Use Accent Lighting to Add Depth and Character
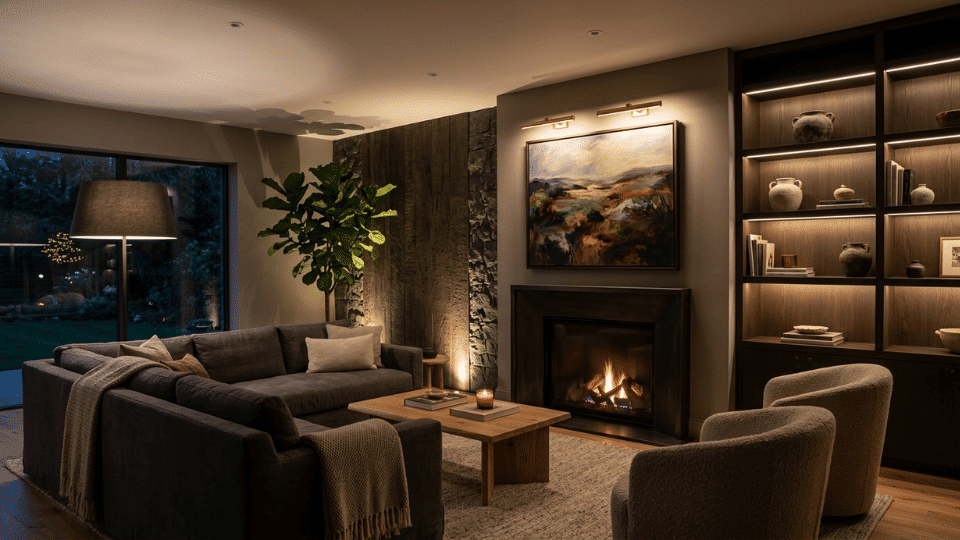
Accent lighting highlights decorative and architectural features, adding visual depth and definition throughout the living room.
- Highlight artwork, plants, fireplaces, shelves, or architectural details worth emphasizing.
- Use picture lights, sconces, spotlights, uplights, or integrated shelf lighting.
- Choose only a few focal points to avoid visual clutter.
- Position accent lights to create contrast, depth, and visual interest.
Choose Living Room Lighting Fixtures That Work Together
Choose fixtures with shared visual details while allowing each light to have its own style and purpose.
Step 1: Pick a Common Design Detail
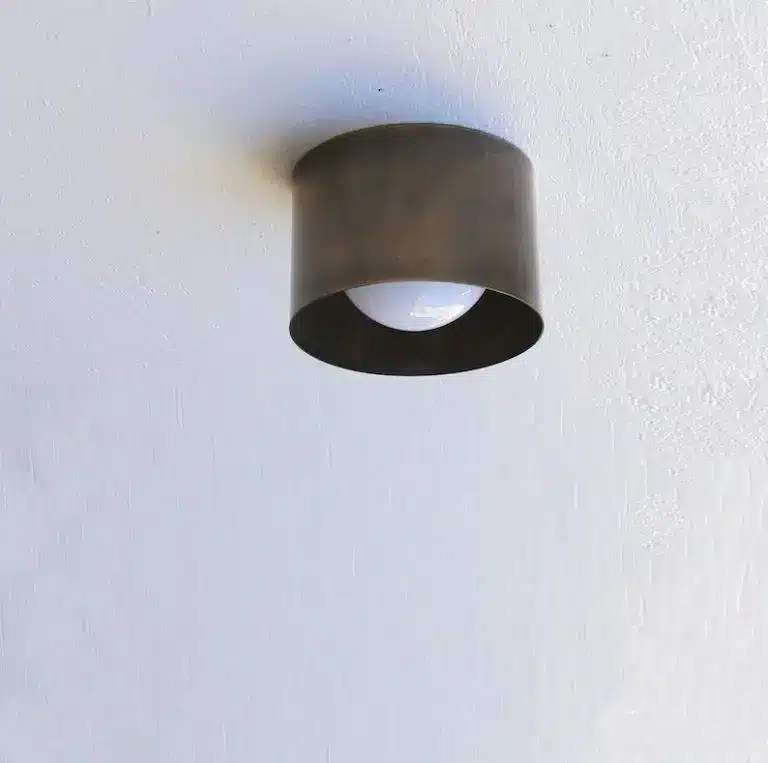
Connect different fixtures through one recurring element, such as finish, material, shape, or shade style.
A brass ceiling fixture, for example, can pair well with a floor lamp featuring smaller brass details without looking overly matched.
Step 2: Let One Fixture Take the Lead
Choose one statement fixture to draw attention, especially if you have a decorative chandelier or pendant.
Keep surrounding floor lamps, table lamps, and sconces simpler so they support the main fixture instead of competing with it.
Step 3: Consider the Room’s Existing Style
Look at your furniture, finishes, materials, and decorative features before selecting lighting.
Fixtures can have different designs, but connecting them to existing shapes, textures, or materials helps them feel like a natural part of the room.
Step 4: Pay Attention to Fixture Scale
Match each fixture’s proportions to the room and nearby furniture.
An oversized floor lamp may overpower compact seating, while a small ceiling fixture can appear lost in a spacious living room or beneath a particularly high ceiling.
Step 5: Coordinate Instead of Matching Everything
Avoid choosing identical fixtures throughout the living room.
A statement ceiling light, understated floor lamp, and simple sconces can work well together when subtle similarities in their finishes, materials, shapes, or proportions visually connect them.
Mix Lighting Heights to Give the Room More Depth
Relying only on ceiling lighting can make a living room appear flat while leaving lower areas darker and less visually defined.
Place light sources at different heights, using pendants overhead, sconces at eye level, table lamps near seating, and low uplights.
Each fixture illuminates a different part of the space, helping create depth while making the layered lighting arrangement feel more balanced.
After dark, check the room from different seating positions and adjust fixture heights or placement wherever the lighting appears uneven.
Where Should You Place Lights in a Living Room?
Thoughtful light placement supports everyday activities, reduces dark areas, and creates better balance throughout your room.
1. Around the Sofa and Main Seating Area
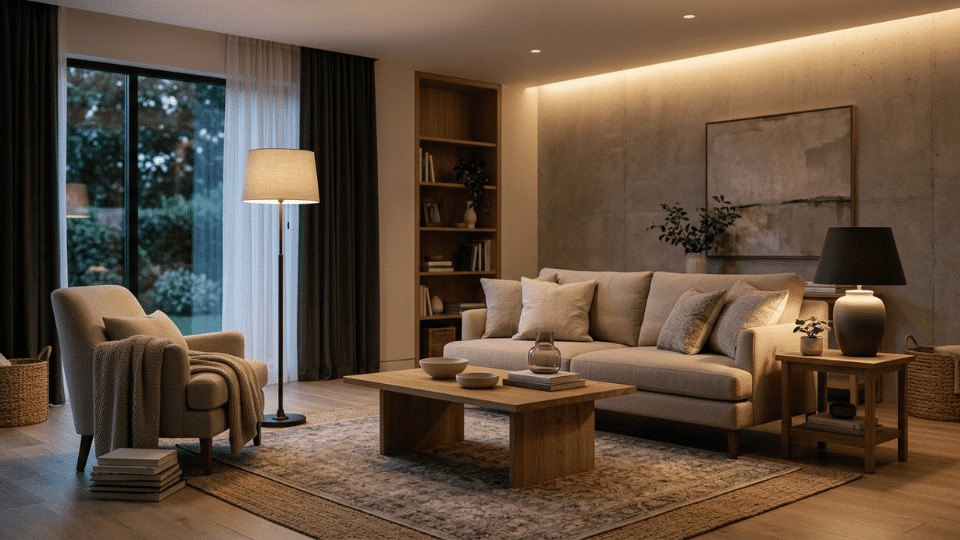
Place task lighting close to sofas and chairs used for reading or other focused activities.
A floor lamp works well when there is no room for a side table, while table lamps suit larger seating arrangements.
Matching lamps are not necessary, as long as their styles complement each other. Position shades and bulbs outside direct sightlines to reduce glare.
Placing lamps on opposite sides of the seating area can also distribute illumination more evenly.
2. In Dark Corners and Around the Room’s Edges
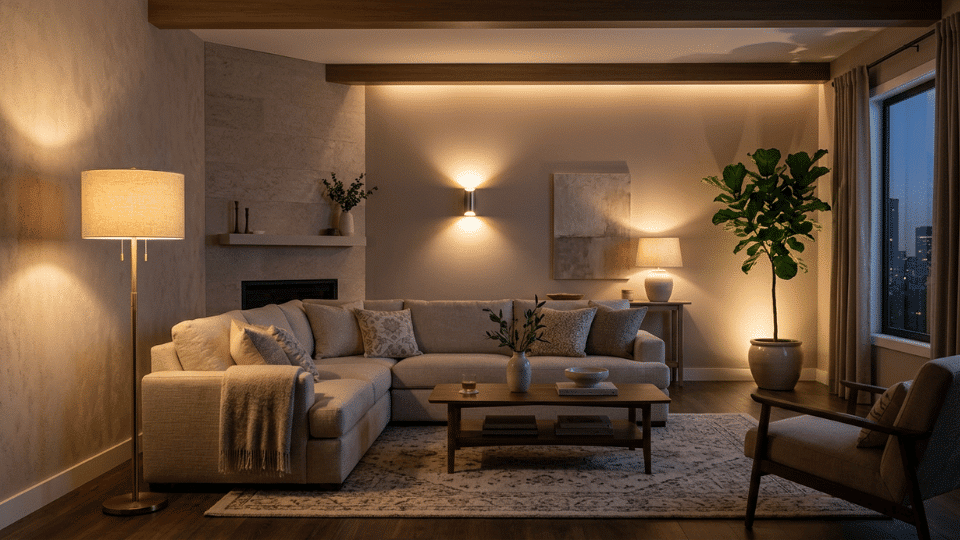
Do not concentrate every light near the center of the living room. After switching on your ambient lighting, check which corners and edges remain noticeably dark.
Depending on the available space, add a floor lamp, small table lamp, wall sconce, or uplight where illumination is needed.
Lighting the perimeter can make the room feel more open and balanced.
However, avoid placing fixtures in every corner simply to create unnecessary visual symmetry.
3. Around the TV
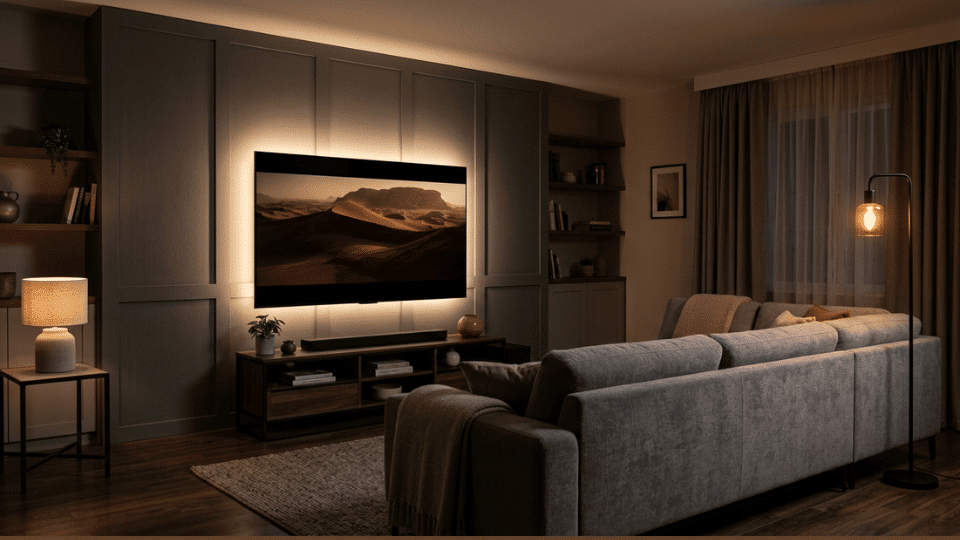
Keep strong light sources away from positions directly opposite the television, where they can create distracting reflections on the screen.
Instead, use softer surrounding light from table lamps, floor lamps, or other indirect sources positioned outside the main viewing line.
Gentle illumination near the television can also reduce the strong contrast between a bright screen and a dark room.
Check reflections from your usual seat before deciding on the final placement of nearby fixtures.
4. Around Artwork, Shelves, and Architectural Features
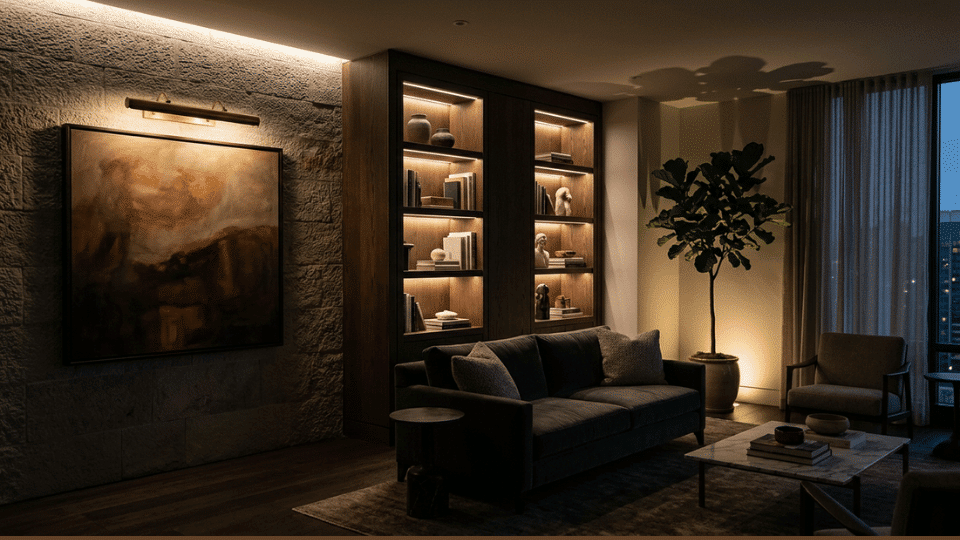
Choose decorative or architectural features worth highlighting before adding accent lighting, keeping attention on meaningful focal points.
Picture lights can highlight artwork, while discreet integrated lighting provides subtle illumination for bookshelves and display units.
Low uplights can emphasize plants, textured walls, fireplaces, and architectural details while creating greater visual depth.
Limit illuminated features to prevent visual clutter and keep each selected element noticeable within the living room.
Choose the Right Color Temperature for Living Room Lighting
Color temperature affects how warm or cool your living room feels, so choose bulbs with care.
| Recommended Starting Point | What to Consider |
|---|---|
| Color Temperature | Lower Kelvin values look warmer; higher values appear cooler. |
| 2700K Reference | Around 2700K works well for warm living room lighting. |
| Consistency | Keep nearby bulbs at similar temperatures for a balanced look. |
| Room Elements | Consider daylight, wall colors, furniture, and materials. |
| Test First | Check bulbs in the room, especially after dark. |
A Simple Layered Lighting Formula for Your Living Room
Follow these simple steps to create balanced lighting suited to your living room’s everyday activities.
- Identify how you use your living room throughout each day.
- Establish comfortable ambient lighting for clear overall room illumination.
- Mark seating areas where reading or focused activities usually happen.
- Add floor or table lamps beside frequently used seating areas.
- Select artwork or architectural features you want to visually highlight.
- Mix lighting heights to distribute illumination throughout the entire room.
- Check dark corners and add lighting only where truly needed.
- Test lighting after sunset and adjust brightness or fixture placement.
Final Thoughts
Layered lighting can change how a living room looks, feels, and functions throughout the day.
Combining ambient, task, and accent lighting helps distribute illumination while supporting reading, relaxing, entertaining, and other everyday activities.
Thoughtful fixture placement, varied lighting heights, suitable color temperatures, and careful brightness control can bring greater balance to the room.
Start with the areas that need light most, then build each layer around them.
Share your favorite living room lighting ideas or layering tips in the comments below.
Frequently Asked Questions (FAQs)
1. Should All Living Room Lights Have the Same Color Temperature?
Keeping nearby lights at similar color temperatures creates a more consistent appearance, though intentional variations can work.
2. Can Layered Lighting Work Without Recessed Lights?
Layered lighting can combine floor lamps, table lamps, sconces, pendants, and accent fixtures without using recessed lights.
3. What Lighting Works Best for Watching TV?
Soft surrounding illumination works well because it reduces strong contrast while helping prevent distracting reflections on screens.